Introduction
Welcome to the world of Chromebook! Whether you are a student, a professional, or someone who simply loves the convenience of cloud-based computing, setting up your Chromebook is the first step towards a seamless and efficient digital experience.
Chromebooks are lightweight, affordable laptops that run on Google’s Chrome Operating System (Chrome OS). They are designed to be user-friendly, secure, and optimized for online tasks, making them a popular choice for those who primarily use web-based applications and services.
In this guide, we will walk you through the process of setting up your Chromebook from unboxing to personalization. We will cover essential steps such as connecting to Wi-Fi, configuring your Google Account, and installing apps. Additionally, we’ll provide tips on managing files and folders, adjusting system settings, and utilizing the Chromebook for productivity.
Whether you’re a tech-savvy individual or new to the Chromebook world, this guide will help you get started and make the most out of your device. So, let’s dive in and unlock the full potential of your Chromebook!
Step 1: Unboxing and Setting Up Your Chromebook
Congratulations on your new Chromebook! The first step in setting up your device is the unboxing process. Once you’ve opened the package, you’ll find your shiny new Chromebook, a power adapter, and any accompanying documentation.
Before you power on your Chromebook, it’s a good idea to familiarize yourself with its physical features. Take a moment to locate the power button, the USB ports, the headphone jack, and any other connections that may be present on your device.
Once you’re familiar with the physical layout, it’s time to power on your Chromebook. Press the power button and wait for it to boot up. You’ll be greeted by a welcoming screen that prompts you to choose your language and keyboard layout. Select the appropriate options and click “Continue.”
Next, you may be prompted to connect to a Wi-Fi network. Ensure that you’re within range of a stable and secure network, and select your desired network from the list of available options. If the network requires a password, enter it when prompted. Once connected, click “Continue.”
In some cases, your Chromebook may prompt you to update the software before proceeding. It’s always a good idea to keep your device up to date, so it’s recommended to allow the update to proceed if prompted. This may take a few minutes, but it ensures that you have the latest features and security patches.
After any necessary updates have been installed, you’ll be guided through the setup process. This includes signing in with your Google Account or creating a new one. If you already have a Google Account, simply enter your username and password. If you don’t have an account, you can create one by clicking the “Create account” link.
Once you’ve signed in or created your Google Account, your Chromebook will synchronize your settings and preferences. This allows you to access your personalized experience across multiple devices, making it easy to switch seamlessly between them.
Finally, take a moment to review the terms of service and privacy policy. Once you’ve read and accepted them, click “Accept” to proceed. Your Chromebook may then ask you to set up additional security measures such as a PIN or password. This adds an extra layer of protection to your device and ensures your files and data remain secure.
Step 2: Connecting to Wi-Fi
Now that you’ve powered on your Chromebook, the next step is to connect it to a Wi-Fi network. A stable and secure internet connection is crucial for accessing online applications, browsing the web, and utilizing the full potential of your device.
Once your Chromebook has started up, you will be prompted to choose a Wi-Fi network. If there are multiple networks within range, select the one you wish to connect to from the list of available options. If the network is password-protected, enter the password when prompted.
It’s important to connect to a reliable Wi-Fi network to ensure smooth and uninterrupted browsing. If possible, choose a network with a strong signal and a password that you can easily remember. If you frequently use your Chromebook in different locations, consider connecting to trusted networks, such as those at home, work, or school.
If you’re having trouble connecting to a Wi-Fi network, here are a few troubleshooting steps you can try:
- Make sure the Wi-Fi router or access point is powered on and within range.
- Double-check that you entered the correct password for the network.
- Restart your Chromebook and try connecting again.
- Move closer to the Wi-Fi router to ensure a better signal.
- If possible, restart your Wi-Fi router or access point.
- If the issue persists, try connecting to a different Wi-Fi network to determine if the problem is specific to your current network.
Once you have successfully connected to a Wi-Fi network, your Chromebook will automatically remember the network and connect to it whenever it’s in range. This eliminates the need to manually enter the network password every time you want to connect.
If you frequently use your Chromebook on the go, you can also connect to mobile hotspots or tethering from your smartphone. This allows you to access the internet even when Wi-Fi networks are not available.
By connecting your Chromebook to a Wi-Fi network, you unlock the ability to maximize its productivity and enjoy seamless browsing. With a stable internet connection, you can effortlessly access your favorite online apps, effortlessly stream media, and stay connected wherever you go.
Step 3: Configuring Your Google Account
Configuring your Google Account is an essential step in setting up your Chromebook. Your Google Account not only provides you with access to various Google services but also ensures synchronization of your settings, preferences, and data across multiple devices.
If you already have a Google Account, simply enter your username and password on the login screen of your Chromebook. Your Chromebook will then synchronize your account settings and preferences, such as bookmarks, extensions, and apps. This allows you to seamlessly switch between devices and have a consistent experience.
If you don’t have a Google Account, you can create one by clicking on the “Create account” link during the setup process. Follow the on-screen instructions to complete the account creation, including providing a valid email address, creating a password, and setting up account recovery options.
Once you have signed in or created your Google Account, you can customize your account settings and preferences. Access the settings menu by clicking on your profile picture in the bottom right corner of the screen, then selecting “Settings.” Here, you can personalize various aspects, such as the wallpaper, theme, and font size, to match your preferences.
Additionally, you can manage your Google Account settings by visiting the Google Account page in your web browser. From here, you can update your profile information, privacy settings, security options, and even review and manage the apps and services connected to your account.
Your Google Account also provides you access to cloud storage through Google Drive. Google Drive allows you to store and access files, documents, photos, and more, seamlessly across all your devices. Take advantage of this feature to keep your important files backed up and easily accessible, no matter where you are.
By configuring and managing your Google Account, you ensure a personalized and secure experience on your Chromebook. Customizing your account settings and utilizing Google services like Google Drive adds a layer of convenience and productivity to your daily digital tasks.
Step 4: Personalizing Your Chromebook
Now that your Chromebook is set up and connected, it’s time to make it truly yours by personalizing its appearance and functionality. Customizing your Chromebook allows you to tailor it to your preferences and make it reflect your style.
1. Customizing the Wallpaper and Theme: To change the wallpaper on your Chromebook, simply right-click anywhere on the desktop and select “Set wallpaper.” Choose from the available options, including predefined wallpapers or your own custom image. You can also personalize the theme of your Chromebook by clicking on your profile picture in the bottom right corner, selecting “Settings,” and navigating to the “Appearance” section.
2. Managing Chrome Browser Extensions: Chrome browser extensions are small software programs that add additional features and functionality to your browsing experience. Explore the Chrome Web Store to find extensions that align with your interests and needs. To manage your installed extensions, click on the menu icon in the top-right corner of the Chrome browser, select “More tools,” then “Extensions.” From here, you can enable, disable, or remove extensions.
3. Organizing Apps on the Shelf: The Shelf is the taskbar located at the bottom of the screen on your Chromebook. You can customize it by adding or removing app shortcuts for quick access to your favorite applications. To add an app shortcut to the Shelf, simply find the desired app in the Launcher (click on the circle icon in the bottom left corner), right-click on the app, and select “Pin to Shelf.” To remove an app from the Shelf, right-click on the app icon and choose “Unpin.”
4. Using Your Google Account for Personalization: Your Google Account provides a seamless experience across devices. By signing in to your Google Account on your Chromebook, your settings, bookmarks, extensions, and other personalized features will sync automatically. This allows you to have a consistent experience across multiple devices, saving you time by not having to set up each device individually.
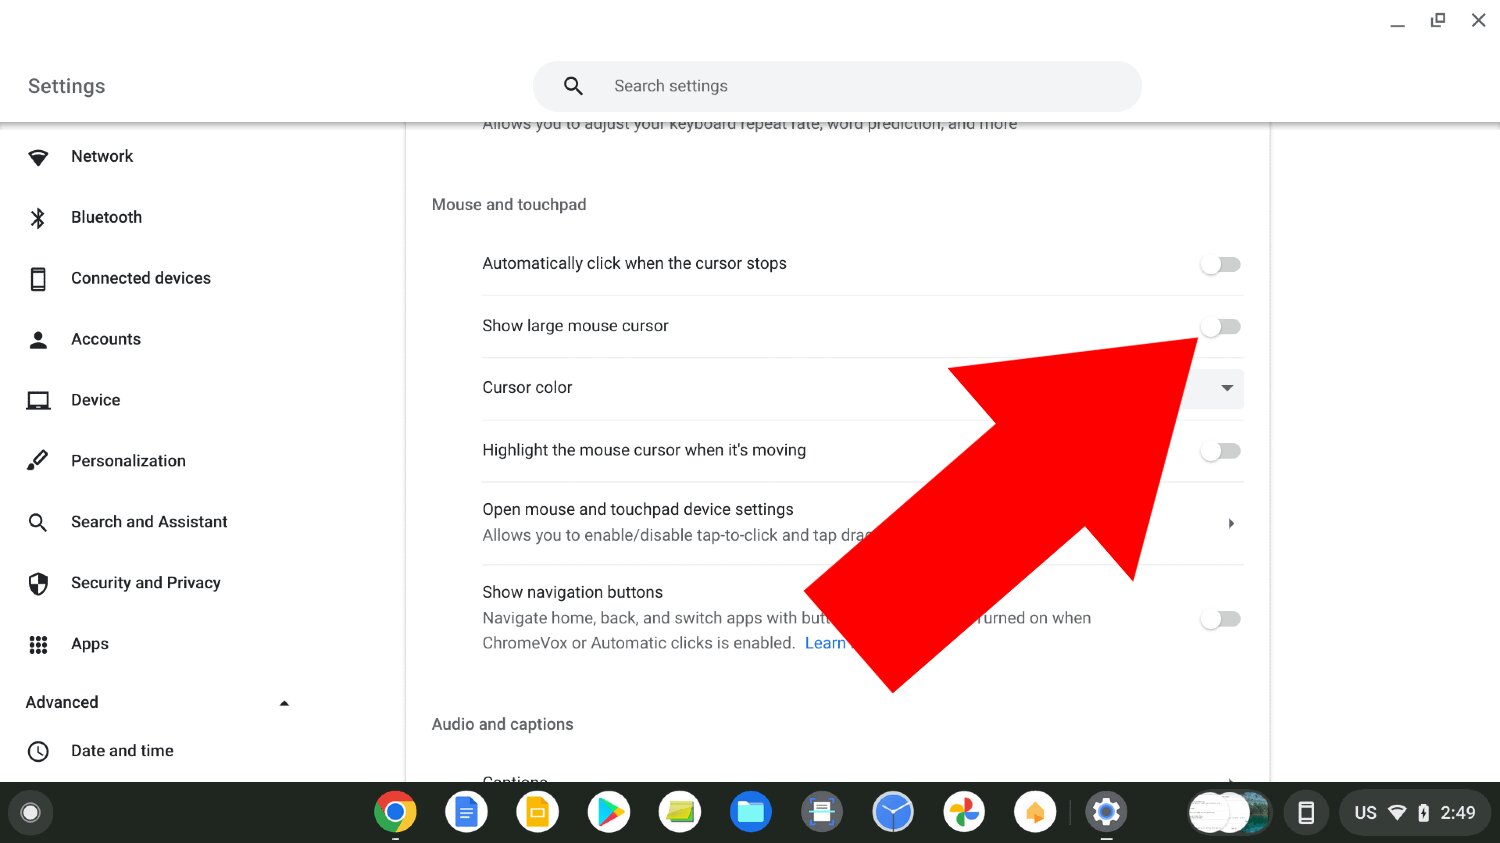
5. Changing Accessibility Settings: Chromebooks offer a range of accessibility settings that cater to different needs and preferences. To access these settings, click on your profile picture in the bottom right corner, select “Settings,” then navigate to the “Accessibility” section. Here, you can customize options such as screen magnification, high contrast mode, and text-to-speech features, ensuring your Chromebook is accessible and comfortable for you to use.
Personalizing your Chromebook provides not only visual enhancements but also a more tailored user experience. Feel free to experiment with different options and settings to make your Chromebook truly yours.
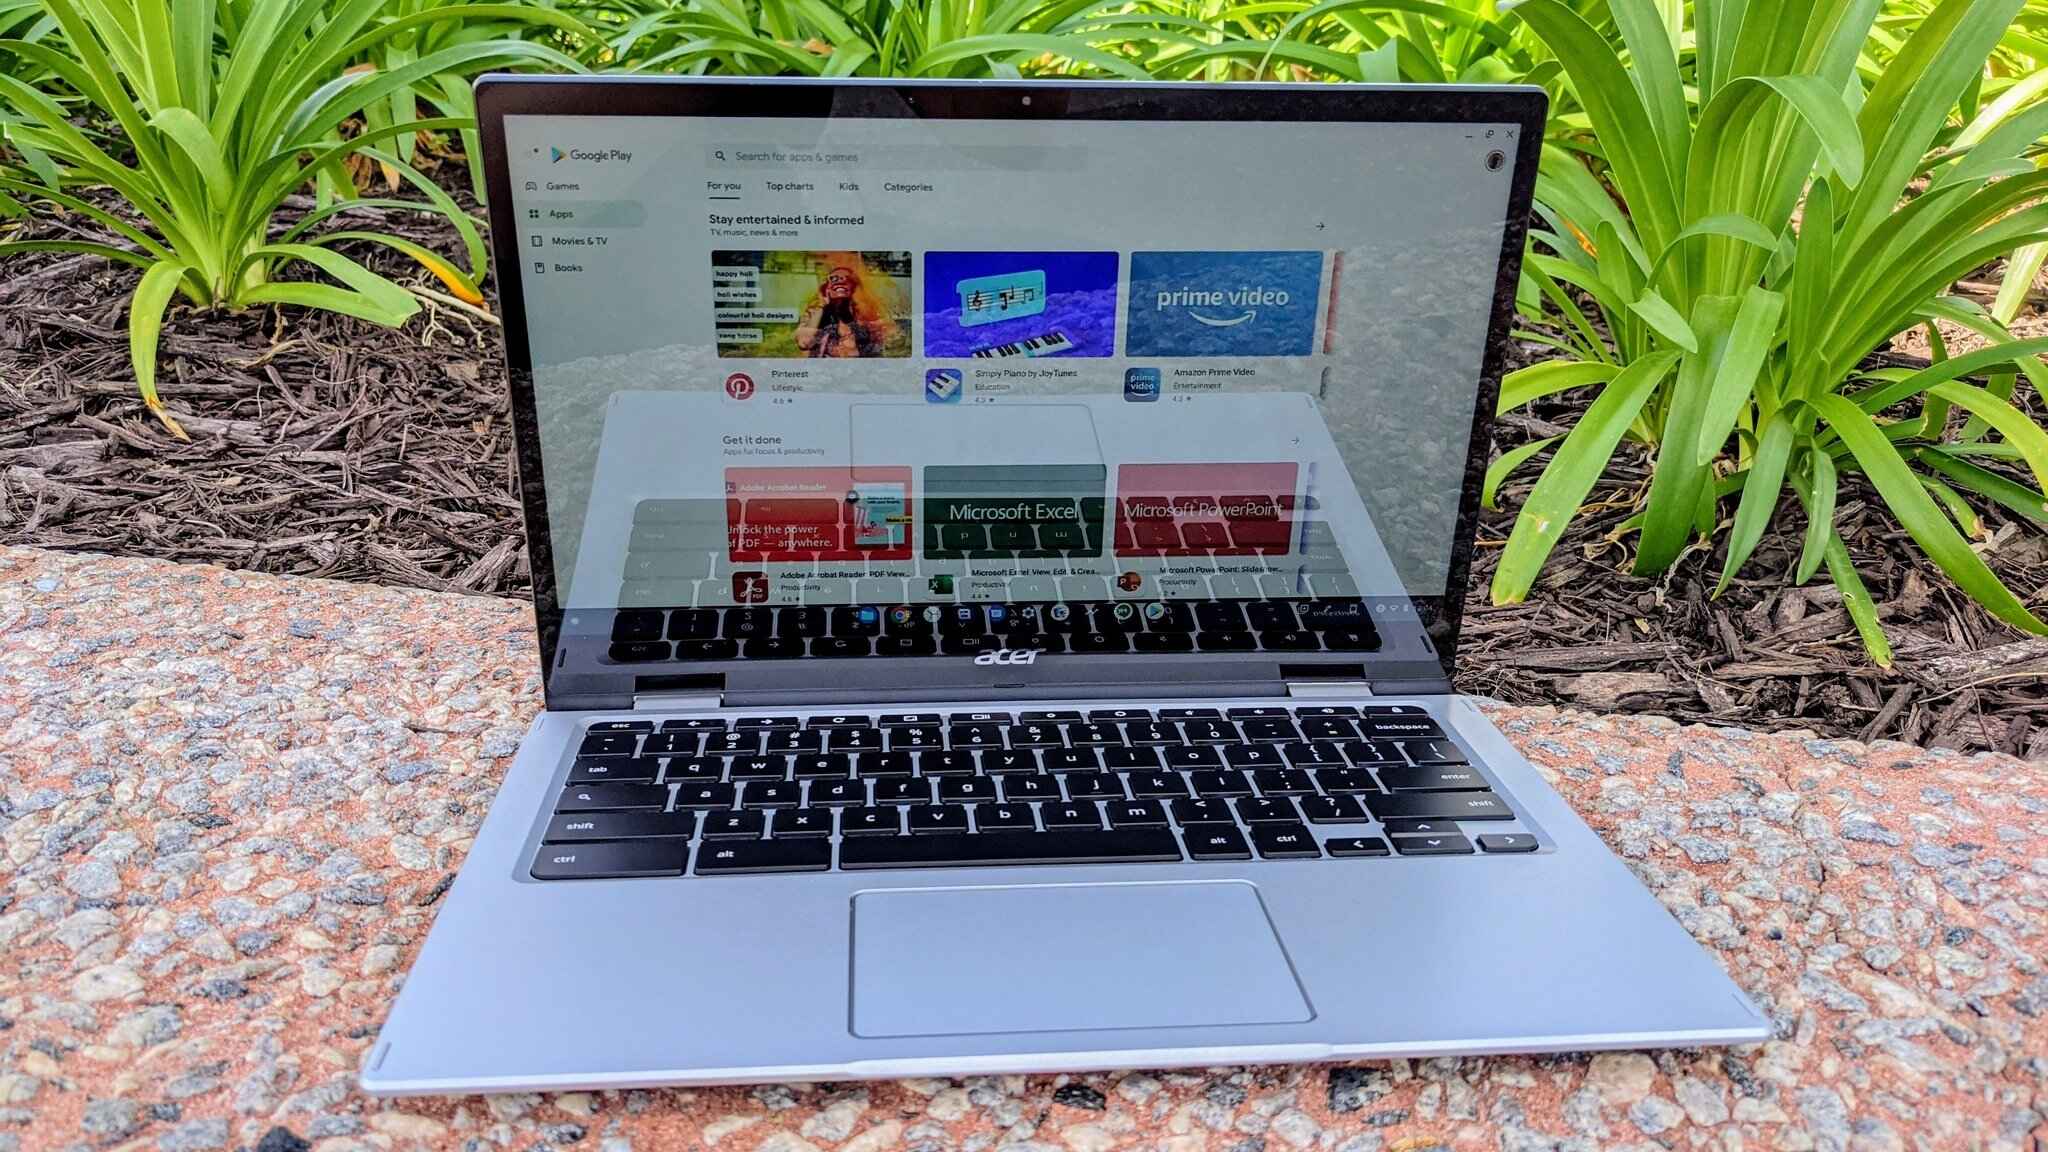
Step 5: Installing and Updating Apps
One of the major advantages of using a Chromebook is the ability to access a wide range of web-based apps from the Chrome Web Store. These apps can enhance your productivity, entertainment, and overall user experience. In this step, we will explore how to install and update apps on your Chromebook.
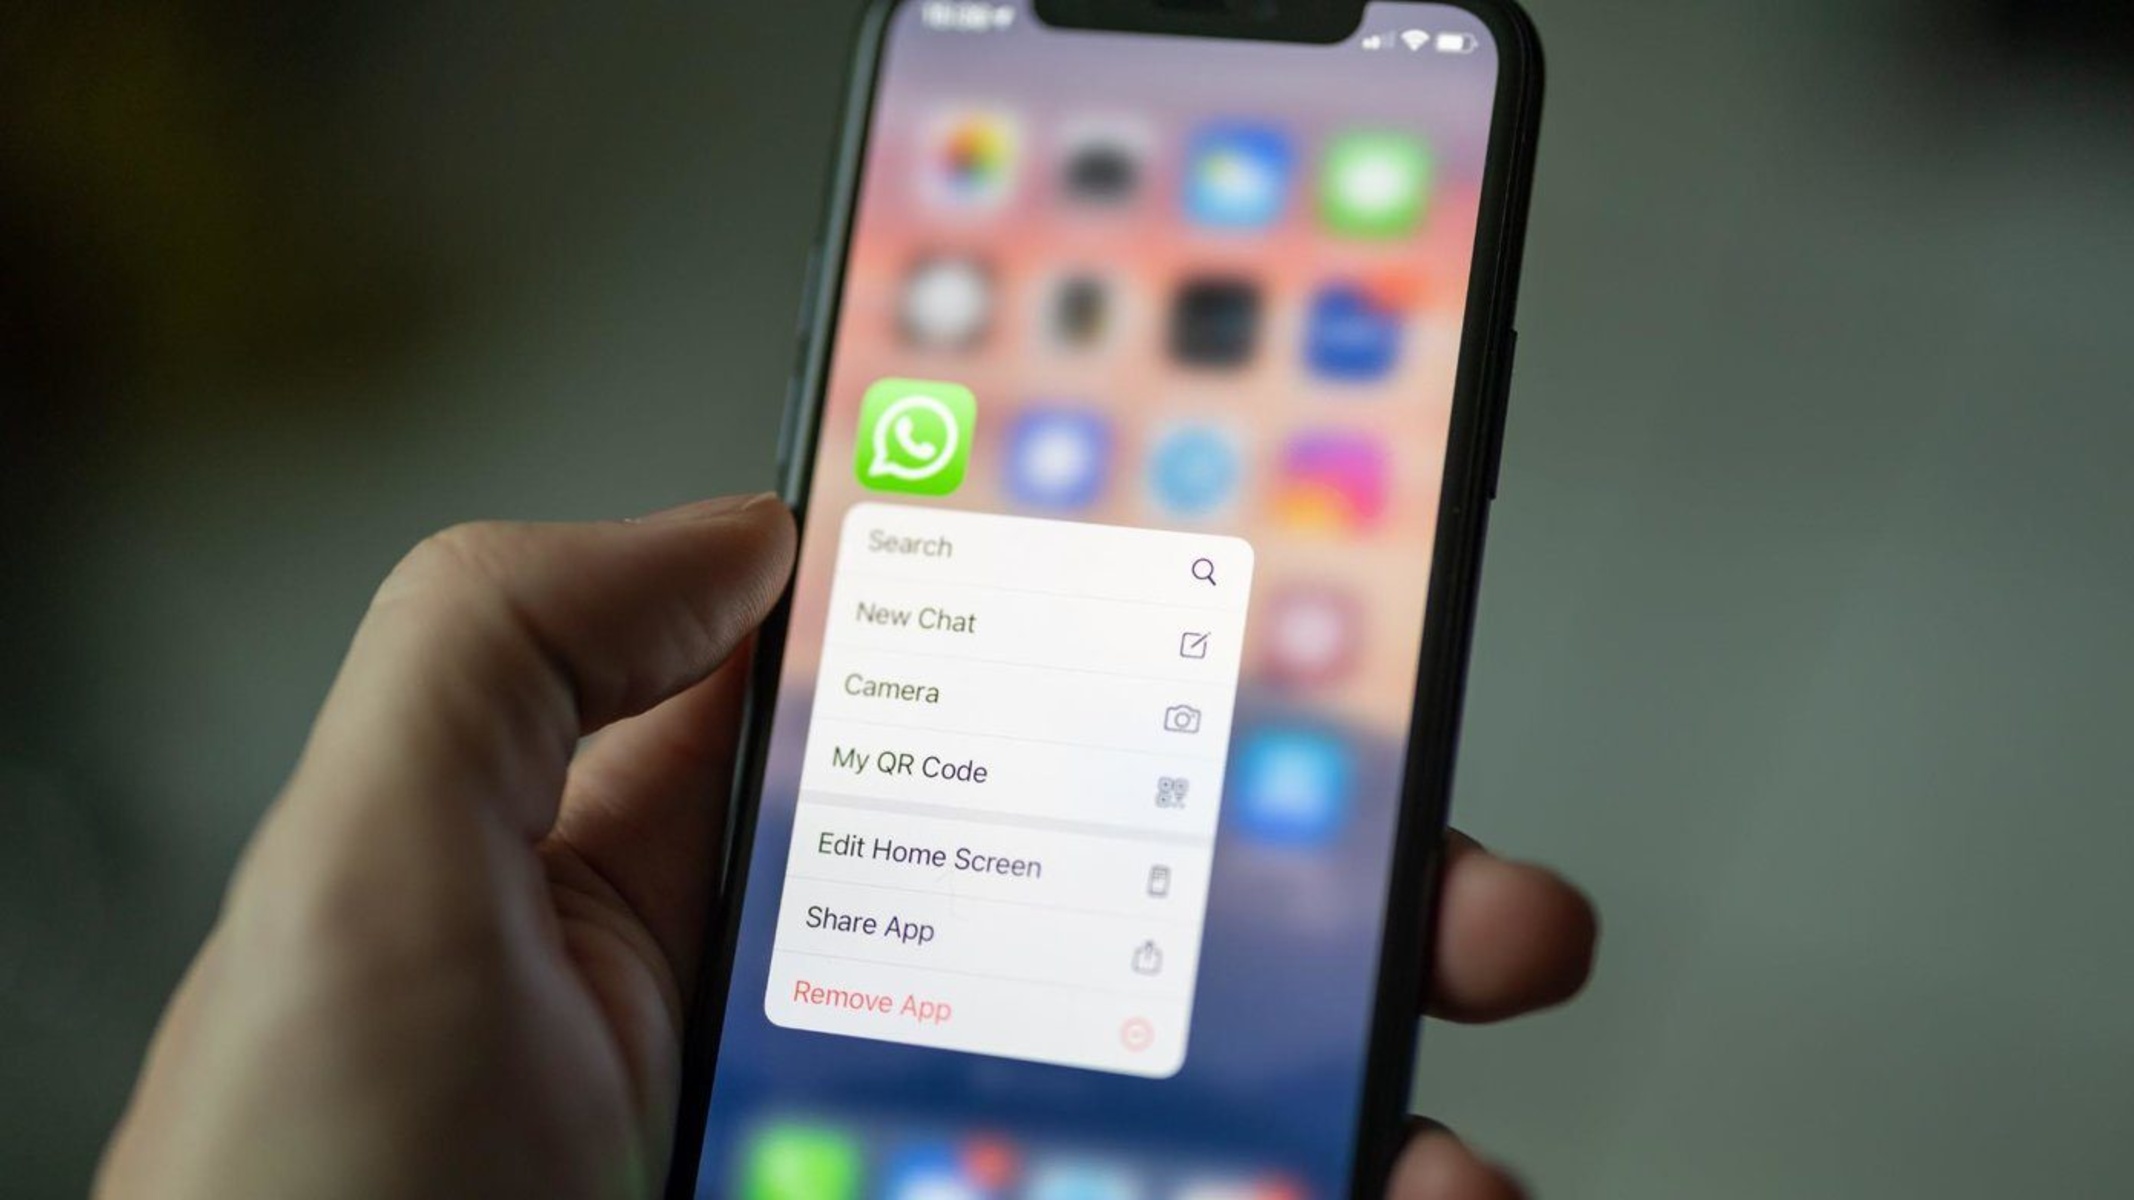
1. Installing Apps: To install an app from the Chrome Web Store, open the Chrome browser on your Chromebook and navigate to the Web Store. Browse or search for the desired app, then click on the app’s icon to view its details. Click on the “Add to Chrome” button to initiate the installation process. The app will be added to your app launcher and can be accessed from there.
2. Managing Installed Apps: To manage your installed apps, click on the circle icon in the bottom left corner of your screen to open the app launcher. Here, you will see a grid of icons representing your installed apps. You can organize these apps by dragging and dropping them into different folders or rearranging their positions on the launcher.
3. Updating Apps: Apps installed from the Chrome Web Store are automatically updated by default. However, if you want to manually update your apps or check for available updates, open the Chrome browser and go to “chrome://extensions” in the address bar. This will take you to the Extensions page. Here, you will see a list of your installed apps and extensions. Click on the “Update” button next to an app to manually update it.
4. Managing Android Apps: If your Chromebook supports Android apps, you can also install and manage apps from the Google Play Store. Simply open the Play Store app on your Chromebook and search for the desired app. Click on the app’s icon to view its details and click on “Install” to install the app.
5. Uninstalling Apps: To uninstall an app from your Chromebook, right-click on its icon in the app launcher and select “Remove from Chrome.” Confirm the uninstallation when prompted. If you have installed Android apps, you can uninstall them by long-pressing the app icon on your Chromebook’s shelf and selecting “Uninstall.”
By installing and updating apps on your Chromebook, you can enhance its functionality and tailor it to your specific needs. Discover new apps that enhance your productivity, entertainment, or creativity and keep your apps up to date to ensure you have the latest features and improvements.
Step 6: Managing Files and Folders
Managing files and folders is an important aspect of using any computing device, including your Chromebook. Understanding how to organize, access, and share your files efficiently will help you stay organized and find what you need quickly. In this step, we will explore various methods for managing files and folders on your Chromebook.
1. File Manager: Your Chromebook comes with a built-in file manager that allows you to navigate, organize, and view your files and folders. To open the file manager, click on the Launcher icon in the bottom left corner of the screen and select “Files.” Here, you can browse through different locations such as Downloads, Google Drive, and external storage devices.
2. Creating Folders: To create a new folder to organize your files, open the file manager and navigate to the desired location. Right-click on an empty area and select “New folder.” Provide a name for the folder and press Enter. You can then drag and drop files into the created folder or right-click on a file and select “Move to” or “Copy to” to place it in the desired location.
3. Moving and Renaming Files: To move a file to a different folder, simply drag and drop it from its current location to the desired destination in the file manager. To rename a file, right-click on it, select “Rename,” and enter the new name.
4. Deleting Files and Folders: To delete a file or folder, select it in the file manager, right-click, and choose “Move to trash.” Alternatively, you can press the “Delete” key on your keyboard. Deleted files are moved to the trash folder, where they can be permanently deleted or restored if needed.
5. Accessing External Storage: If you have connected external storage devices, such as USB drives or SD cards, to your Chromebook, they will appear as separate locations in the file manager. You can browse, copy, move, and delete files on these devices in the same way as you would with internal storage.
6. Syncing with Google Drive: Google Drive is a cloud-based storage solution that allows you to store, access, and share files across devices. Your Chromebook comes with Google Drive integration, making it easy to save and access your files online. Files saved in the “My Drive” folder are automatically synced with your Google Drive account, ensuring you can access them from any device with an internet connection.
By effectively managing files and folders on your Chromebook, you can keep your digital workspace organized and easily locate the files you need. Take advantage of the file manager and Google Drive integration to streamline your file management processes and stay productive.
Step 7: Adjusting System Settings
To fully personalize your Chromebook experience and make it suit your needs, it’s important to adjust the system settings. System settings allow you to customize various aspects of your device, from display and sound preferences to privacy and security settings. In this step, we will explore how to adjust the system settings on your Chromebook.
1. Display Settings: Access the display settings by clicking on your profile picture in the bottom right corner, selecting “Settings,” and navigating to the “Display” section. Here, you can change the screen resolution, adjust display brightness, and set up external monitors. You can also enable or disable features like night light mode, which reduces blue light emission for a more comfortable reading experience in the evening.
2. Sound Settings: To adjust the sound settings, click on your profile picture, select “Settings,” and navigate to the “Sound” section. Here, you can adjust the volume, choose audio input and output devices, and customize notification sounds. You can also enable or disable features like the on-screen keyboard or sound effects.
3. Language and Input Settings: To change the language and input options, click on your profile picture, select “Settings,” and go to the “Language & input” section. Here, you can add and switch between different languages, select the keyboard layout, and customize input methods. You can also enable or disable options like spell checking and auto-correction.
4. Privacy and Security Settings: Privacy and security are essential concerns when using any computing device. Chromebooks offer various settings to customize your privacy and security preferences. Click on your profile picture, select “Settings,” and navigate to the “Privacy and security” section. Here, you can manage permissions for websites and apps, control location access, clear browsing data, set up password options, and enable features like Safe Browsing and Chrome OS security enhancements.
5. Power Settings: To adjust power settings, click on your profile picture, select “Settings,” and go to the “Power” section. Here, you can customize options such as sleep settings, screen timeout, and power button behavior. You can also enable or disable features like power-saving mode, which helps conserve battery life.
6. About Chrome OS: To view information about your Chromebook and its software, click on your profile picture, select “Settings,” scroll down to the bottom, and click on “About Chrome OS.” Here, you can check for system updates, view your Chrome OS version, and access additional information and resources.
By adjusting the system settings on your Chromebook, you can optimize its performance, tailor it to your preferences, and ensure a secure and personalized experience. Take the time to explore different settings and customize your Chromebook to maximize its potential.
Step 8: Using Chromebook for Productivity
Chromebooks are not just efficient web-browsing devices; they can also be powerful tools for productivity. With the right apps, settings, and techniques, you can leverage your Chromebook to boost your productivity and accomplish tasks more efficiently. In this step, we will explore how to use your Chromebook for productivity purposes.
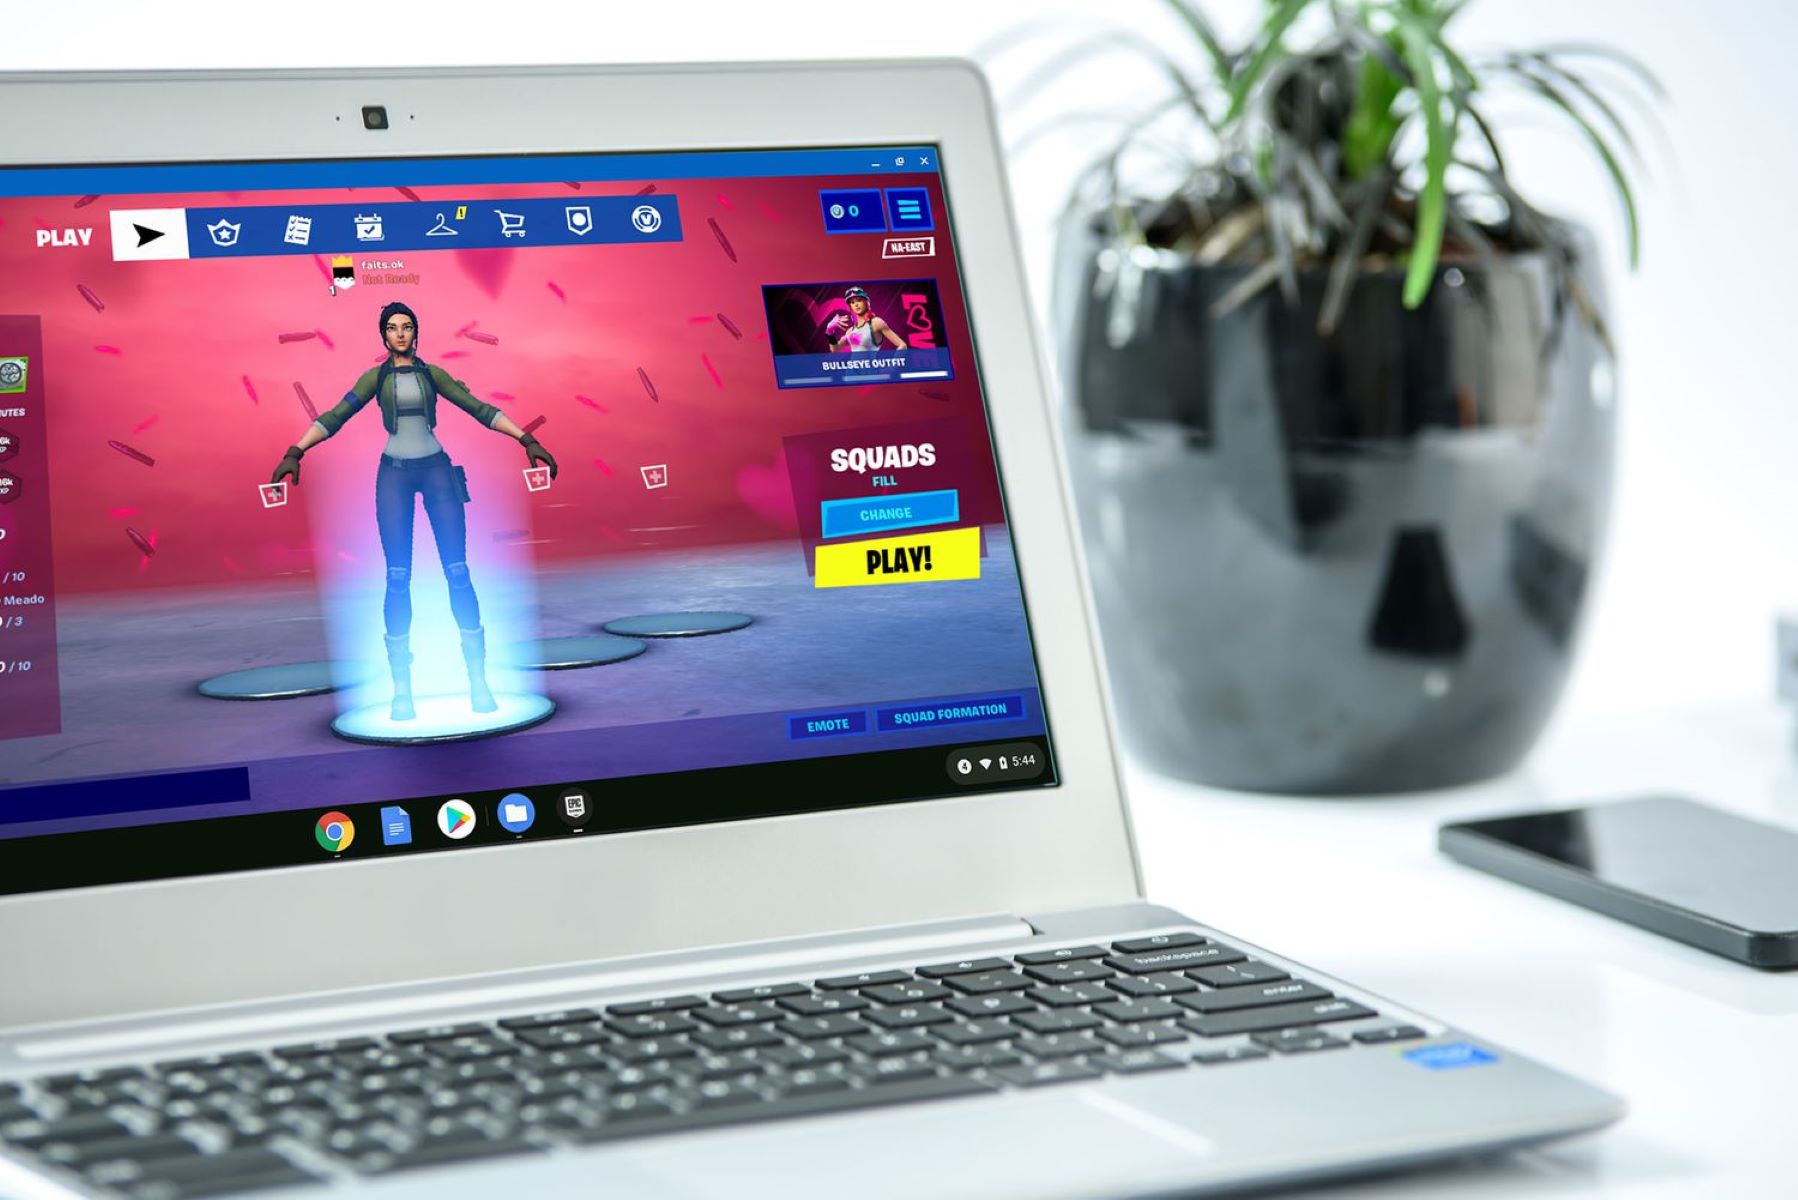
1. Google Workspace: Google offers a suite of productivity tools known as Google Workspace (formerly G Suite), including Google Docs, Sheets, Slides, and Drive. These web-based applications allow you to create, edit, and collaborate on documents, spreadsheets, presentations, and more. Take advantage of the collaborative features to work on projects simultaneously with others, whether it’s for work, school, or personal use.
2. Chrome Extensions for Productivity: The Chrome Web Store offers a wide range of extensions that can enhance your productivity. These extensions can help with tasks such as task management, note-taking, time tracking, email management, and more. Explore the store and find extensions that align with your specific needs and work style.
3. Multitasking with Multiple Windows: Chromebooks allow you to open multiple windows or tabs simultaneously, making it easy to multitask. You can switch between applications by using the “Overview” key (the key with a square icon on your keyboard). This allows you to work on multiple tasks at once, increasing your efficiency and productivity.
4. Offline Support: While Chromebooks excel at being connected to the internet, they also offer offline capabilities for certain apps. Applications like Google Docs, Sheets, and Slides have offline support, allowing you to access and edit documents even when you don’t have an internet connection. Make sure to enable offline access for these apps in the settings to take advantage of this feature.
5. Keyboard Shortcuts: Familiarize yourself with keyboard shortcuts to speed up your Chromebook workflow. Common keyboard shortcuts include Ctrl+C (copy), Ctrl+V (paste), and Ctrl+T (open a new tab). You can find a comprehensive list of Chromebook keyboard shortcuts in the Chrome OS help center.
6. Workspace Organization: Keep your workspace organized by utilizing virtual desks. To create a new virtual desk, press the “Overview” key (the key with a square icon on your keyboard) and click on the “New desk” icon in the top right corner. This allows you to separate your workspaces and have a clean and focused workspace for each task or project.
By implementing these productivity tips and utilizing the available tools and features on your Chromebook, you can enhance your efficiency, collaboration, and overall productivity. Adapt your Chromebook to your work style and take advantage of its capabilities to excel in your professional and personal endeavors.
Step 9: Troubleshooting Common Issues
While Chromebooks are known for their reliability and ease of use, occasional technical issues may arise. Knowing how to troubleshoot common problems can help you quickly resolve any issues and get back to using your Chromebook smoothly. In this step, we will discuss some common issues and their troubleshooting steps.
1. Internet Connection Issues: If you’re experiencing connectivity problems, ensure that your Wi-Fi is turned on and that you’re within range of a stable network. Try restarting your Chromebook and the Wi-Fi router. If the issue persists, try connecting to a different Wi-Fi network to determine if the problem is specific to your current network.
2. Slow Performance: If your Chromebook is running slowly, close any unnecessary tabs or applications that may be using up system resources. Clearing your browsing data can also improve performance. To do this, click on your profile picture, select “Settings,” then navigate to the “Privacy and security” section. Click on “Clear browsing data” and choose the desired time range and data types to clear.
3. App Issues: If an app is not functioning as expected, try closing and reopening it. If that doesn’t resolve the problem, uninstall and reinstall the app to ensure you have the latest version. If you’re experiencing issues with Android apps, try clearing the cache or data for the specific app in the Chrome OS settings.
4. System Updates: Regularly check for system updates to ensure that your Chromebook has the latest features and security patches. To check for updates, click on your profile picture, select “Settings,” then scroll down to the bottom and click on “About Chrome OS.” Click on “Check for updates” to see if there are any available updates.
5. Battery Issues: If you’re experiencing battery drain or your Chromebook is not charging properly, ensure that the charger is securely connected to both your Chromebook and the power source. Check for any damage to the charger or charging port. You can also optimize battery life by reducing screen brightness, closing unnecessary applications, and enabling power-saving mode in the power settings.
6. Resetting Your Chromebook: If all else fails, performing a Chromebook reset can help resolve persistent issues. To reset your Chromebook, click on your profile picture, select “Settings,” then navigate to the “Reset settings” section. Click on “Reset” to initiate the reset process. Remember, this will erase all local data, so ensure you have backed up any important files.
If you encounter other specific issues with your Chromebook, consult the Chromebook Help Center or the Chrome OS community forums for assistance. These resources provide valuable troubleshooting tips and solutions for a wide range of technical issues.
By following these troubleshooting steps and utilizing available resources, you can quickly resolve common issues and enjoy a seamless experience with your Chromebook.
Conclusion
Congratulations on successfully setting up and optimizing your Chromebook! Through the steps outlined in this guide, you have learned how to unbox and set up your Chromebook, connect to Wi-Fi, configure your Google Account, personalize your device, install and update apps, manage files and folders, adjust system settings, utilize your Chromebook for productivity, and troubleshoot common issues.
By now, you should feel comfortable navigating your Chromebook’s operating system, taking advantage of its features, and customizing it to suit your preferences. Whether you’re using your Chromebook for work, school, or leisure, it provides a streamlined and efficient experience with its web-based apps, secure operating system, and seamless integration with Google services.
Remember, as you continue to use your Chromebook, there may be new updates, apps, and features introduced. Stay up to date with the latest developments by regularly checking for system updates and exploring the Chrome Web Store for new apps and extensions.
Should you encounter any challenges or need additional assistance, don’t hesitate to explore the resources available to you, such as the Chromebook Help Center and the Chrome OS community forums. These valuable resources are designed to provide you with troubleshooting tips, how-to guides, and support from fellow Chromebook users.
Now it’s time to unleash the full potential of your Chromebook and enjoy all the benefits it brings to your digital life. Whether you’re working on a project, collaborating with others, or simply exploring the web, your Chromebook will be your reliable companion, providing you with ease of use, security, and productivity.
Embrace the power of your Chromebook and make the most of your digital journey. Happy Chromebooking!