Introduction
Welcome to this guide on how to connect your Chromebook to an Epson projector. Whether you’re a student, a teacher, or a professional, being able to connect your Chromebook to a projector can be incredibly useful for presentations, lectures, or simply enjoying a larger display for watching movies and videos.
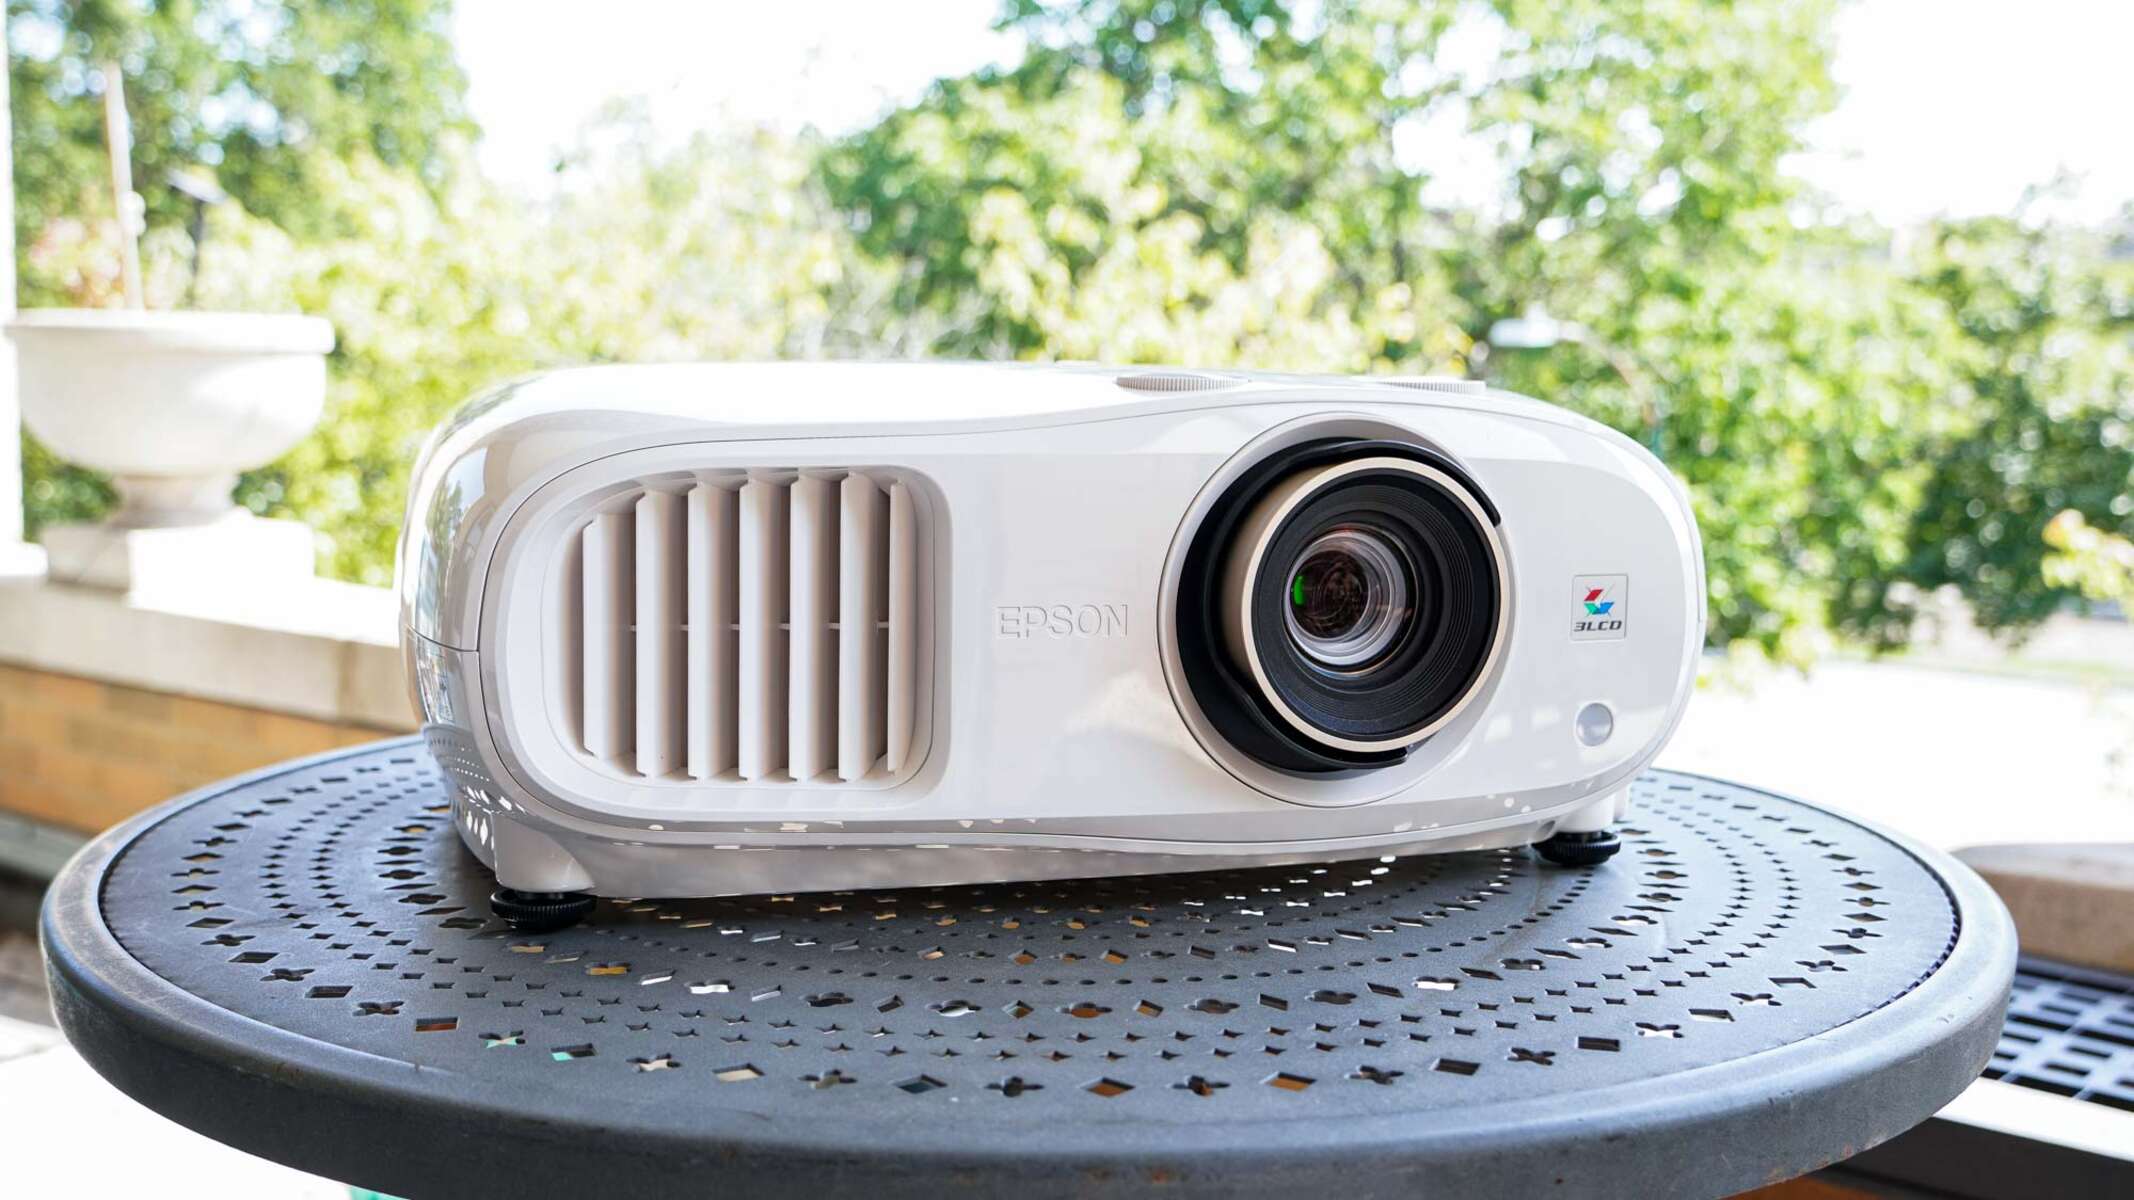
The Epson projector is known for its high-quality display and versatility, and with a few simple steps, you’ll be able to easily connect your Chromebook and project your screen onto a larger surface. In this guide, we’ll walk you through the entire process, from setting up the Epson projector to adjusting the display settings on your Chromebook.
Before we get started, it’s important to note that the instructions provided in this guide are specifically for connecting a Chromebook to an Epson projector. While the process may be similar for other projector brands, there may be slight variations in the steps involved. Additionally, make sure that both your Chromebook and the Epson projector are powered on and in close proximity before attempting to establish a connection.
Now, let’s dive into the steps required to connect your Chromebook to an Epson projector and enjoy a larger display for all your multimedia needs.
What You Will Need
Before you begin the process of connecting your Chromebook to an Epson projector, there are a few things you’ll need to have on hand. Here’s a list of the essential items:
- Chromebook: Ensure that you have a working Chromebook with a fully charged battery. The process might differ slightly depending on the model, but the general steps will apply to most Chromebooks.
- Epson Projector: Make sure you have an Epson projector that is compatible with your Chromebook. Check the model and specifications of your projector to ensure compatibility.
- HDMI Cable: You’ll need an HDMI cable to establish a connection between your Chromebook and the Epson projector. Make sure the cable is in good condition and of sufficient length to reach from your Chromebook to the projector.
- Power Cables: Ensure that you have the necessary power cables for both your Chromebook and the Epson projector. It’s important to have a stable power supply during the connection process.
- Display Adapter (if necessary): Depending on the type of Chromebook you have, you may need a display adapter to connect to the HDMI cable. Check your Chromebook’s ports to determine which adapter, if any, you need.
Having these essential items ready will ensure a smooth and hassle-free connection process. Double-check that you have everything before moving on to the next steps. With all the necessary components in place, let’s proceed to setting up the Epson projector.
Step 1: Set Up the Epson Projector
Before you can connect your Chromebook to the Epson projector, you need to properly set up the projector itself. Follow these steps to ensure a correct setup:
- Find a suitable location: Choose a location where you want to project your Chromebook’s screen. Make sure it’s a flat surface with enough space for the projector and has easy access to power outlets.
- Unbox and position the projector: Carefully unbox the Epson projector and place it on a stable surface. Ensure that there is enough ventilation around the projector to prevent overheating.
- Connect the power cable: Plug one end of the power cable into the power socket on the projector and the other end into a nearby power outlet. Ensure the projector is receiving power.
- Adjust the projection screen: If you plan to project onto a screen or a wall, position it at an appropriate distance from the projector to achieve your desired screen size. Refer to the Epson projector’s manual for the recommended distance.
- Power on the projector: Press the power button on the projector or use the remote control to turn it on. Wait for the projector to fully boot up.
- Configure projector settings: Use the on-screen menu or the remote control to adjust settings such as brightness, contrast, and aspect ratio according to your preference.
By following these steps, you’ll have your Epson projector set up and ready to connect with your Chromebook. Remember to consult the projector’s manual for any specific instructions or additional settings that you may need to configure. With the Epson projector ready, let’s move on to connecting your Chromebook.
Step 2: Connect the Chromebook to the Epson Projector
Now that you have set up the Epson projector, it’s time to connect your Chromebook. Follow these steps to establish a connection between the two devices:
- Locate the HDMI port: Identify the HDMI port on your Chromebook. Most Chromebooks have a full-size HDMI port, but some newer models may have a USB-C or mini HDMI port. Check your Chromebook’s user manual or specifications to determine which type of port you have.
- Connect the HDMI cable: Take one end of the HDMI cable and plug it into the HDMI port on your Chromebook. Make sure the connection is secure.
- Connect the other end to the projector: Take the other end of the HDMI cable and plug it into the HDMI input port on the Epson projector.
- Switch to the correct input source: On the Epson projector or its remote control, locate the “Input” or “Source” button. Press this button until you reach the HDMI input source that corresponds to the port you connected the cable to.
Once you’ve completed these steps, your Chromebook should be successfully connected to the Epson projector. You should now see your Chromebook’s screen displayed on the projection surface. However, keep in mind that some Chromebooks may require additional steps to mirror or extend the display onto the projector.
If you don’t see anything on the projected screen or encounter any issues with the connection, double-check the HDMI cable connection and ensure that both the Chromebook and the Epson projector are powered on. If the problem persists, refer to the troubleshooting tips section of this guide for assistance.
Now that your Chromebook and the Epson projector are connected, let’s move on to adjusting the display settings on your Chromebook to ensure optimal viewing experience.
Step 3: Adjust Display Settings on the Chromebook
Once you have successfully connected your Chromebook to the Epson projector, it’s time to adjust the display settings to ensure the best image quality and fit for your needs. Follow these steps to make the necessary adjustments:
- Open the display settings: Click on the clock in the bottom-right corner of the Chromebook screen. In the menu that appears, click on the gear icon to access the Chromebook settings.
- Select “Displays”: In the settings menu, scroll down and click on the “Displays” option. This will bring up the display settings for your Chromebook.
- Configure external display: You should see two display icons on this screen: one representing your Chromebook’s built-in display and another for the external display (in this case, the Epson projector). Click on the external display icon.
- Adjust the resolution: From the display settings for the external display, you can adjust the resolution to match the optimal settings for the Epson projector. Choose a resolution that provides clear and sharp visuals.
- Set display mode: You can choose to mirror your Chromebook’s screen onto the projector (Duplicate) or extend your screen onto the projector to create an extended workspace (Extend).
- Make additional adjustments: Depending on your preferences and the specific requirements of your presentation or content, you can make additional adjustments such as brightness, contrast, and screen orientation.
Take your time to tune the display settings to your liking and ensure that the projected image accurately represents your Chromebook’s screen. If needed, refer to the user manual of your Chromebook for more detailed instructions on adjusting display settings.
Now that you’ve adjusted the display settings on your Chromebook, it’s time to move on to the final step – testing the connection to ensure everything is working correctly.
Step 4: Test the Connection
After connecting your Chromebook to the Epson projector and adjusting the display settings, it’s important to test the connection to ensure that everything is working as expected. Follow these steps to verify the connection:
- Start playing content: Open a video, presentation, or any other content on your Chromebook that you want to project onto the Epson projector. Ensure that the audio is also playing if needed.
- Check the projected image: Look at the projection surface and ensure that the image from your Chromebook is accurately displayed. Verify that the content is clear, properly sized, and without any distortions or glitches.
- Test audio output: If you’re playing audio from your Chromebook, ensure that the sound is being transmitted to the projector’s speakers or connected audio system. Adjust the volume as needed.
- Interact with your Chromebook: Proceed to use your Chromebook as you normally would while keeping an eye on the projected screen. This will help you ensure that the connection remains stable and that the projected image reflects any changes you make on your Chromebook.
By following these steps, you can confirm that your Chromebook is successfully connected to the Epson projector and that the projection is working correctly. If you encounter any issues during this testing phase, refer to the troubleshooting tips section for possible solutions.
Now that you have tested the connection and confirmed that everything is working properly, you’re all set to enjoy your content on the larger projection surface. Whether you’re delivering a presentation, watching a movie, or engaging in any other multimedia activities, the connection between your Chromebook and the Epson projector will enhance your viewing experience.
Troubleshooting Tips
While connecting your Chromebook to an Epson projector is typically a straightforward process, you may encounter some issues along the way. Here are a few troubleshooting tips to help you resolve common problems:
- No signal on the projected screen: Double-check the HDMI cable connections on both your Chromebook and the Epson projector. Ensure that they are securely plugged in. If the problem persists, try using a different HDMI cable.
- Chromebook not detecting the projector: Restart your Chromebook and the Epson projector. Make sure both devices are on and properly connected. If the issue persists, try disconnecting and reconnecting the HDMI cable.
- Incorrect display on the projected screen: Access the display settings on your Chromebook and make sure the resolution and display mode are properly configured for the Epson projector. Try adjusting the settings and see if it resolves the issue.
- No audio from the projector: Check the audio settings on your Chromebook to ensure that the audio output is set to the external display or the HDMI output. Make sure the volume on the projector is not muted and adjusted to an audible level.
- Dim or distorted image: Adjust the brightness, contrast, and other display settings on the Epson projector to improve image quality. Make sure the projection surface is properly illuminated and clean of any obstructions.
- Intermittent connection: Ensure that the HDMI cable is not loose or damaged. Consider using a cable with better quality or try a different HDMI port on the Epson projector if available.
If you have exhausted these troubleshooting tips and are still experiencing issues with the connection between your Chromebook and the Epson projector, refer to the user manuals for both devices for further guidance. You may also reach out to technical support for assistance.
By following these troubleshooting tips, you will be able to tackle common issues that may arise during the process of connecting your Chromebook to an Epson projector. Remember, patience and a systematic approach can help you overcome any challenges and ensure a smooth and successful connection.
Conclusion
Congratulations! You have successfully learned how to connect your Chromebook to an Epson projector. By following the step-by-step guide and troubleshooting tips provided, you can now enjoy the benefits of a larger display for presentations, multimedia content, and more.
In this guide, we covered everything from setting up the Epson projector to connecting your Chromebook using an HDMI cable. We also discussed how to adjust the display settings on your Chromebook and provided troubleshooting tips to overcome common issues.
Remember, the process may vary slightly depending on the model of your Chromebook and the Epson projector you are using. Always refer to the user manuals and documentation specific to your devices for accurate information and any additional steps that may be required.
Now that you have a solid understanding of how to connect your Chromebook to an Epson projector, you can take full advantage of the larger display for work, school, or entertainment purposes. Whether you’re giving presentations, watching movies, or collaborating on projects, the combination of your Chromebook and the Epson projector will greatly enhance your experience.
Thank you for choosing this guide as your resource for connecting your Chromebook to an Epson projector. We hope that this information has been helpful and that you are now enjoying the benefits of a connected and expanded display. Should you have any further questions or need additional assistance, feel free to consult the user manuals or reach out to the respective customer support teams for your Chromebook and Epson projector.
Happy projecting!