Introduction
Welcome to our guide on how to flip the screen on an Epson projector. Epson projectors are renowned for their exceptional image quality and versatility, making them a popular choice for both professional presentations and home theater setups. However, there may be situations where you need to flip the projected image horizontally or vertically to suit your specific needs.
Whether you want to correct the orientation of the image, display content for overhead projection, or simply add a creative touch to your projection setup, flipping the screen on an Epson projector is a straightforward process.
In this guide, we will walk you through the step-by-step process of accessing and navigating the projector’s settings menu to find the screen flip option. By following these instructions, you will be able to adjust the screen orientation to your desired configuration.
Please note that the exact menu options and layout may vary slightly depending on the model and firmware version of your Epson projector. However, the general process remains consistent across Epson projector models, so you should be able to find the necessary settings with ease.
So, without further ado, let’s dive into the step-by-step instructions to flip the screen on your Epson projector and unlock a whole new world of projection possibilities.
Step 1: Connecting the Epson projector to a device
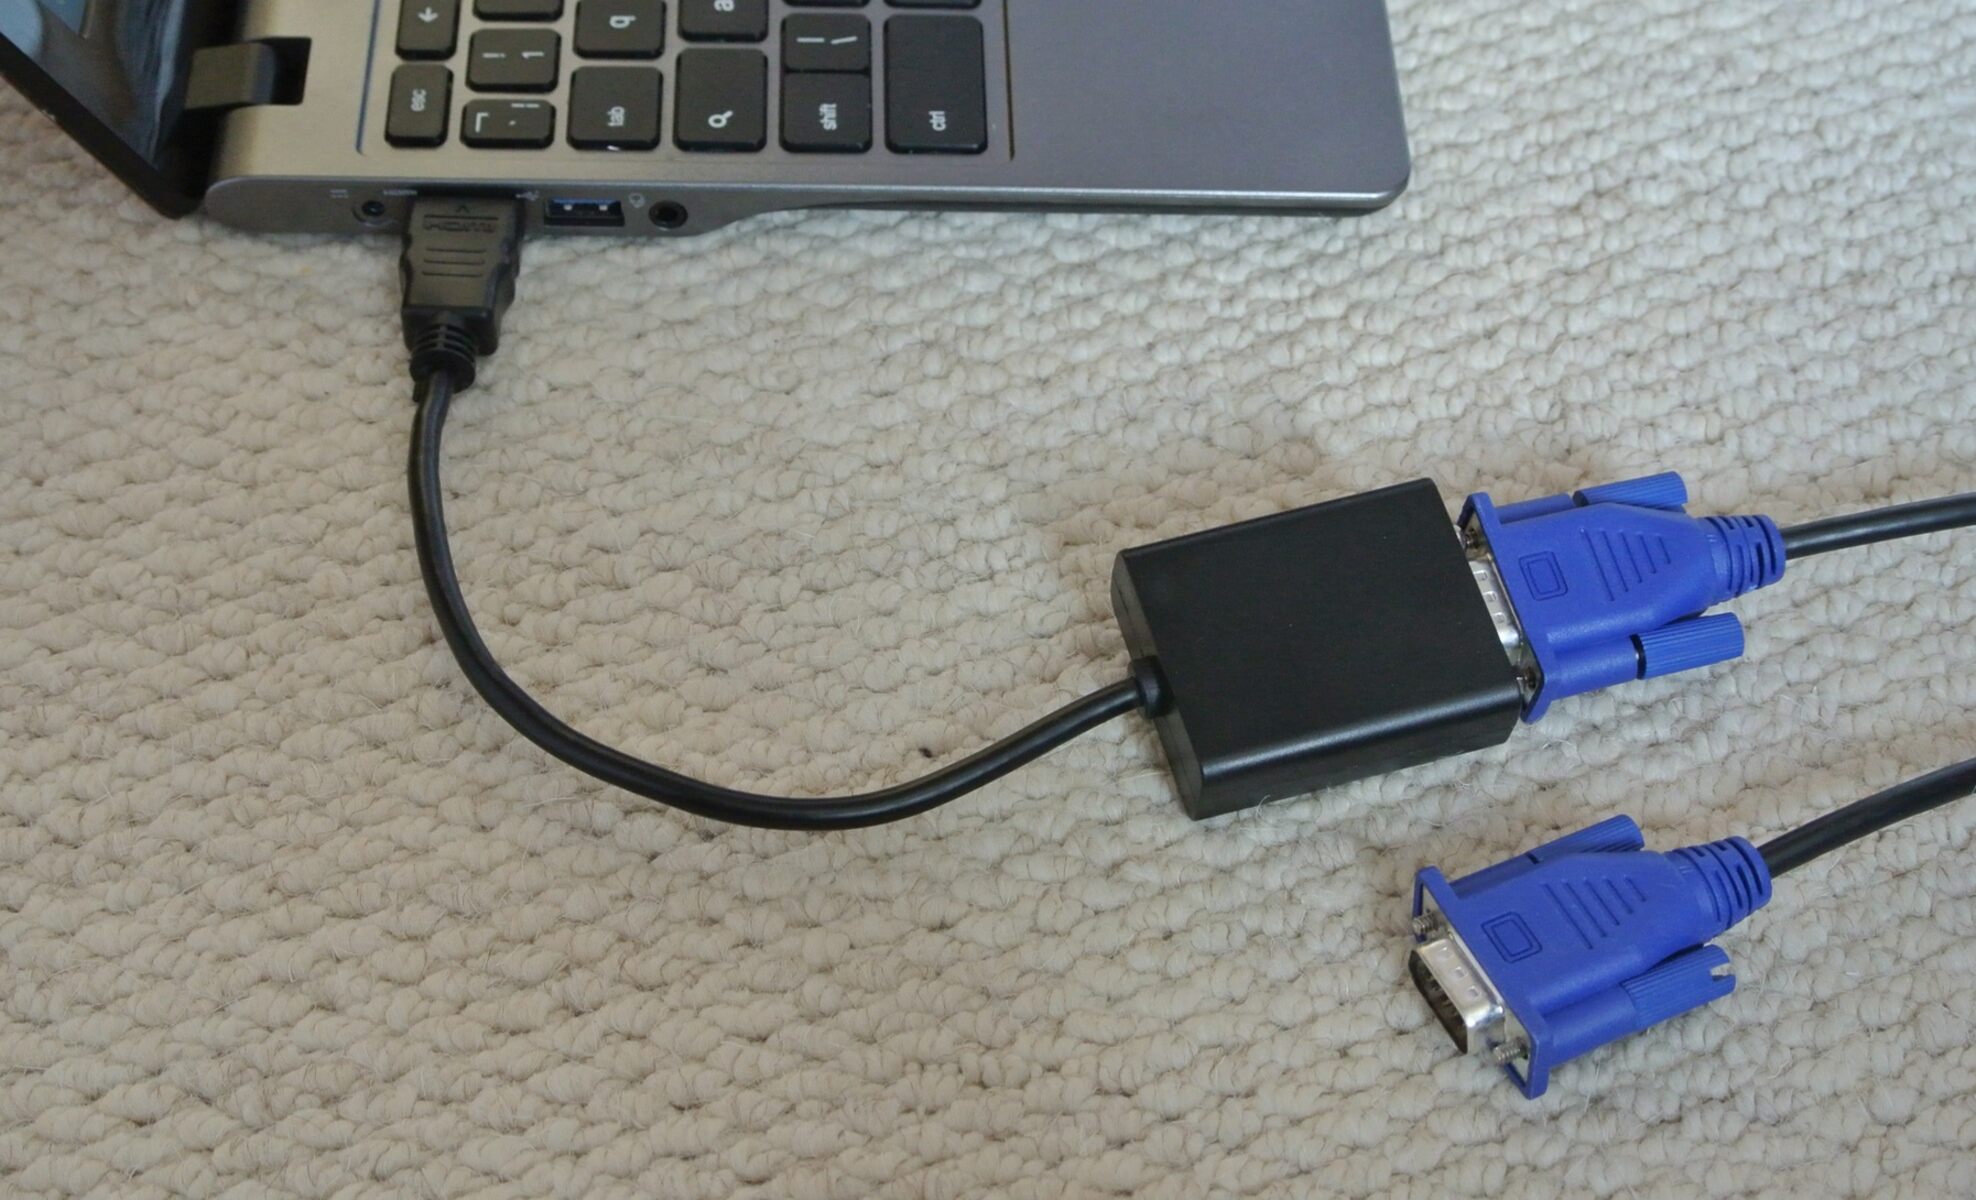
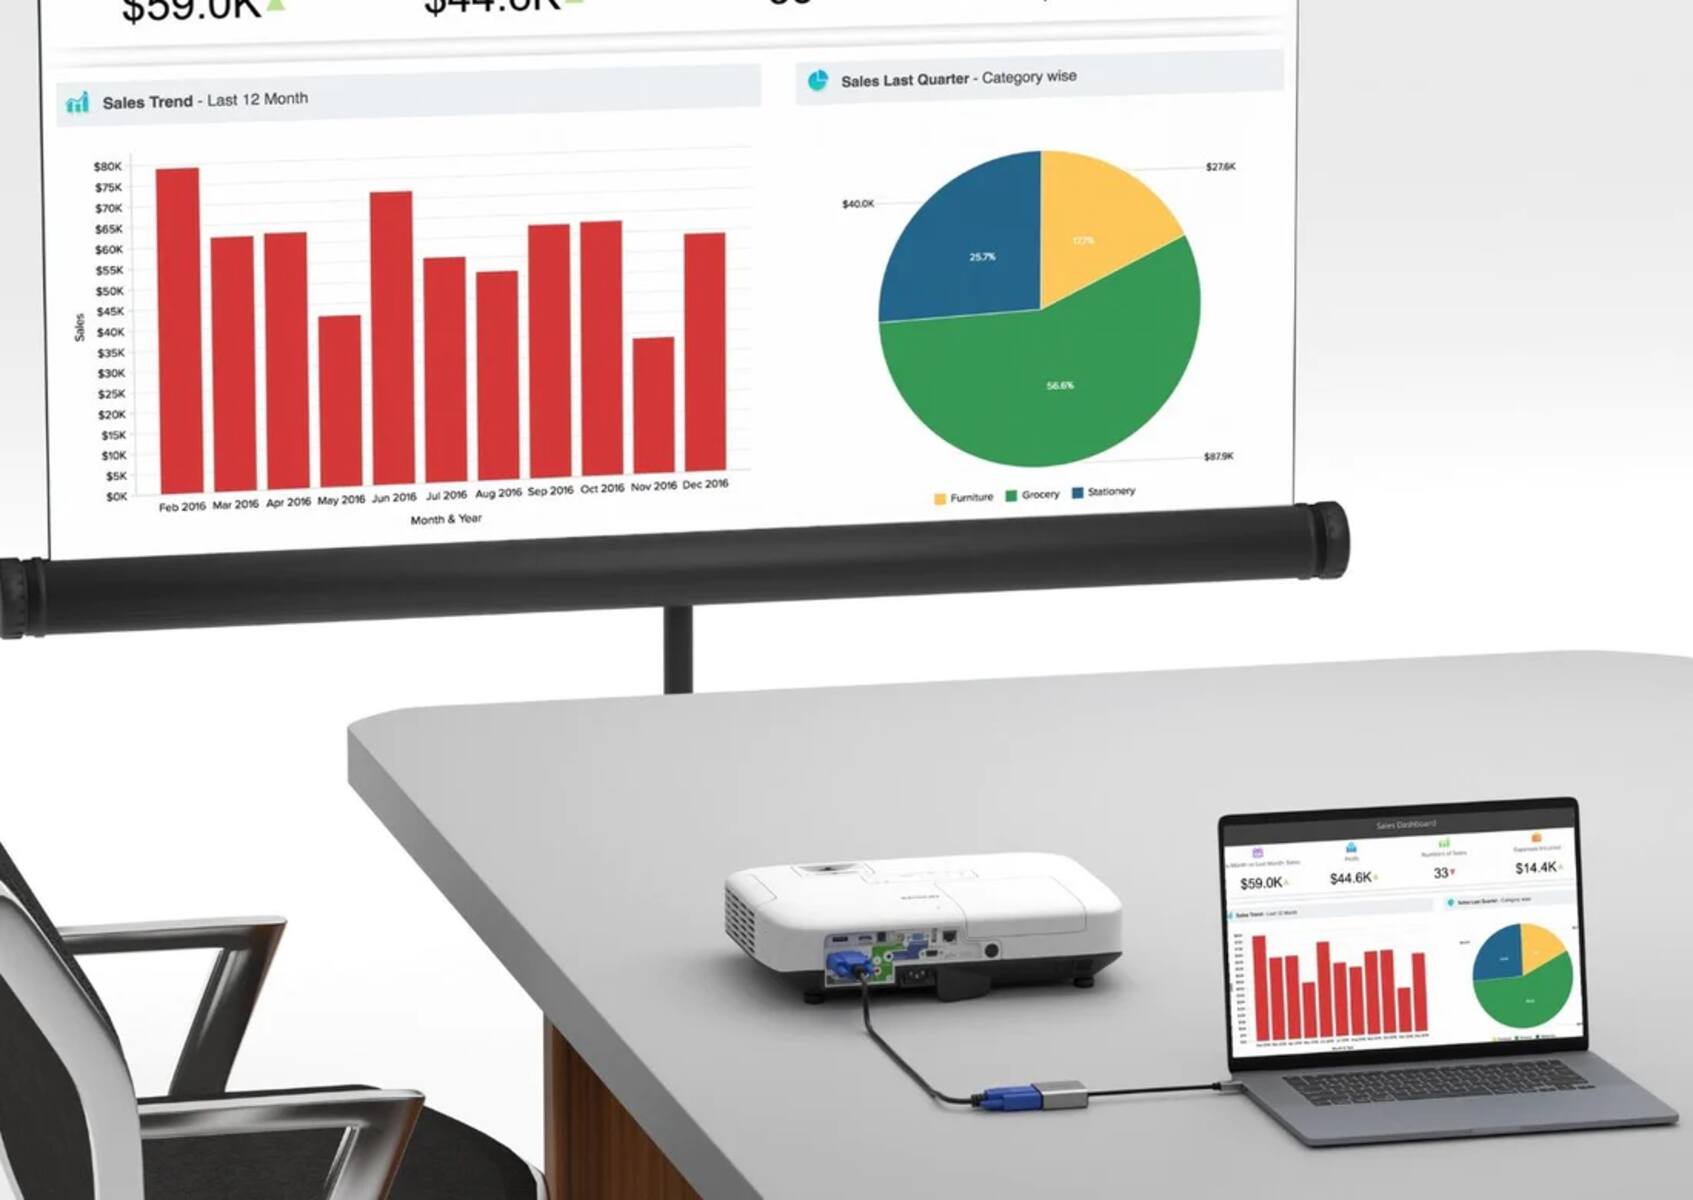
Before we can begin flipping the screen on the Epson projector, it’s essential to ensure that it is properly connected to the device you want to display from. This can be a laptop, desktop computer, DVD player, or any other device with HDMI, VGA, or USB connectivity options.
Here are the steps to connect your Epson projector to a device:
- Identify the ports on the back or side of your Epson projector. Typical ports include HDMI, VGA, and USB.
- Using the appropriate cable, connect one end to the corresponding port on the projector.
- Connect the other end of the cable to the output port of your device.
- If you are using an HDMI connection, ensure that the device’s display settings are set to output through the HDMI port.
- If you are using a VGA connection, make sure to tighten the screws on both ends of the VGA cable for a secure connection.
- If you are using a USB connection, install any necessary drivers or software provided by Epson for the projector to function correctly.
- Power on both the Epson projector and the connected device.
Once the Epson projector is successfully connected to the device, you can proceed to the next step of accessing the projector’s settings menu.
Step 2: Accessing the projector’s settings menu
To flip the screen on an Epson projector, you need to access the projector’s settings menu. The settings menu allows you to make various adjustments to optimize your projection experience.
Follow these steps to access the settings menu on your Epson projector:
- Ensure that the Epson projector is powered on and that it has finished initializing.
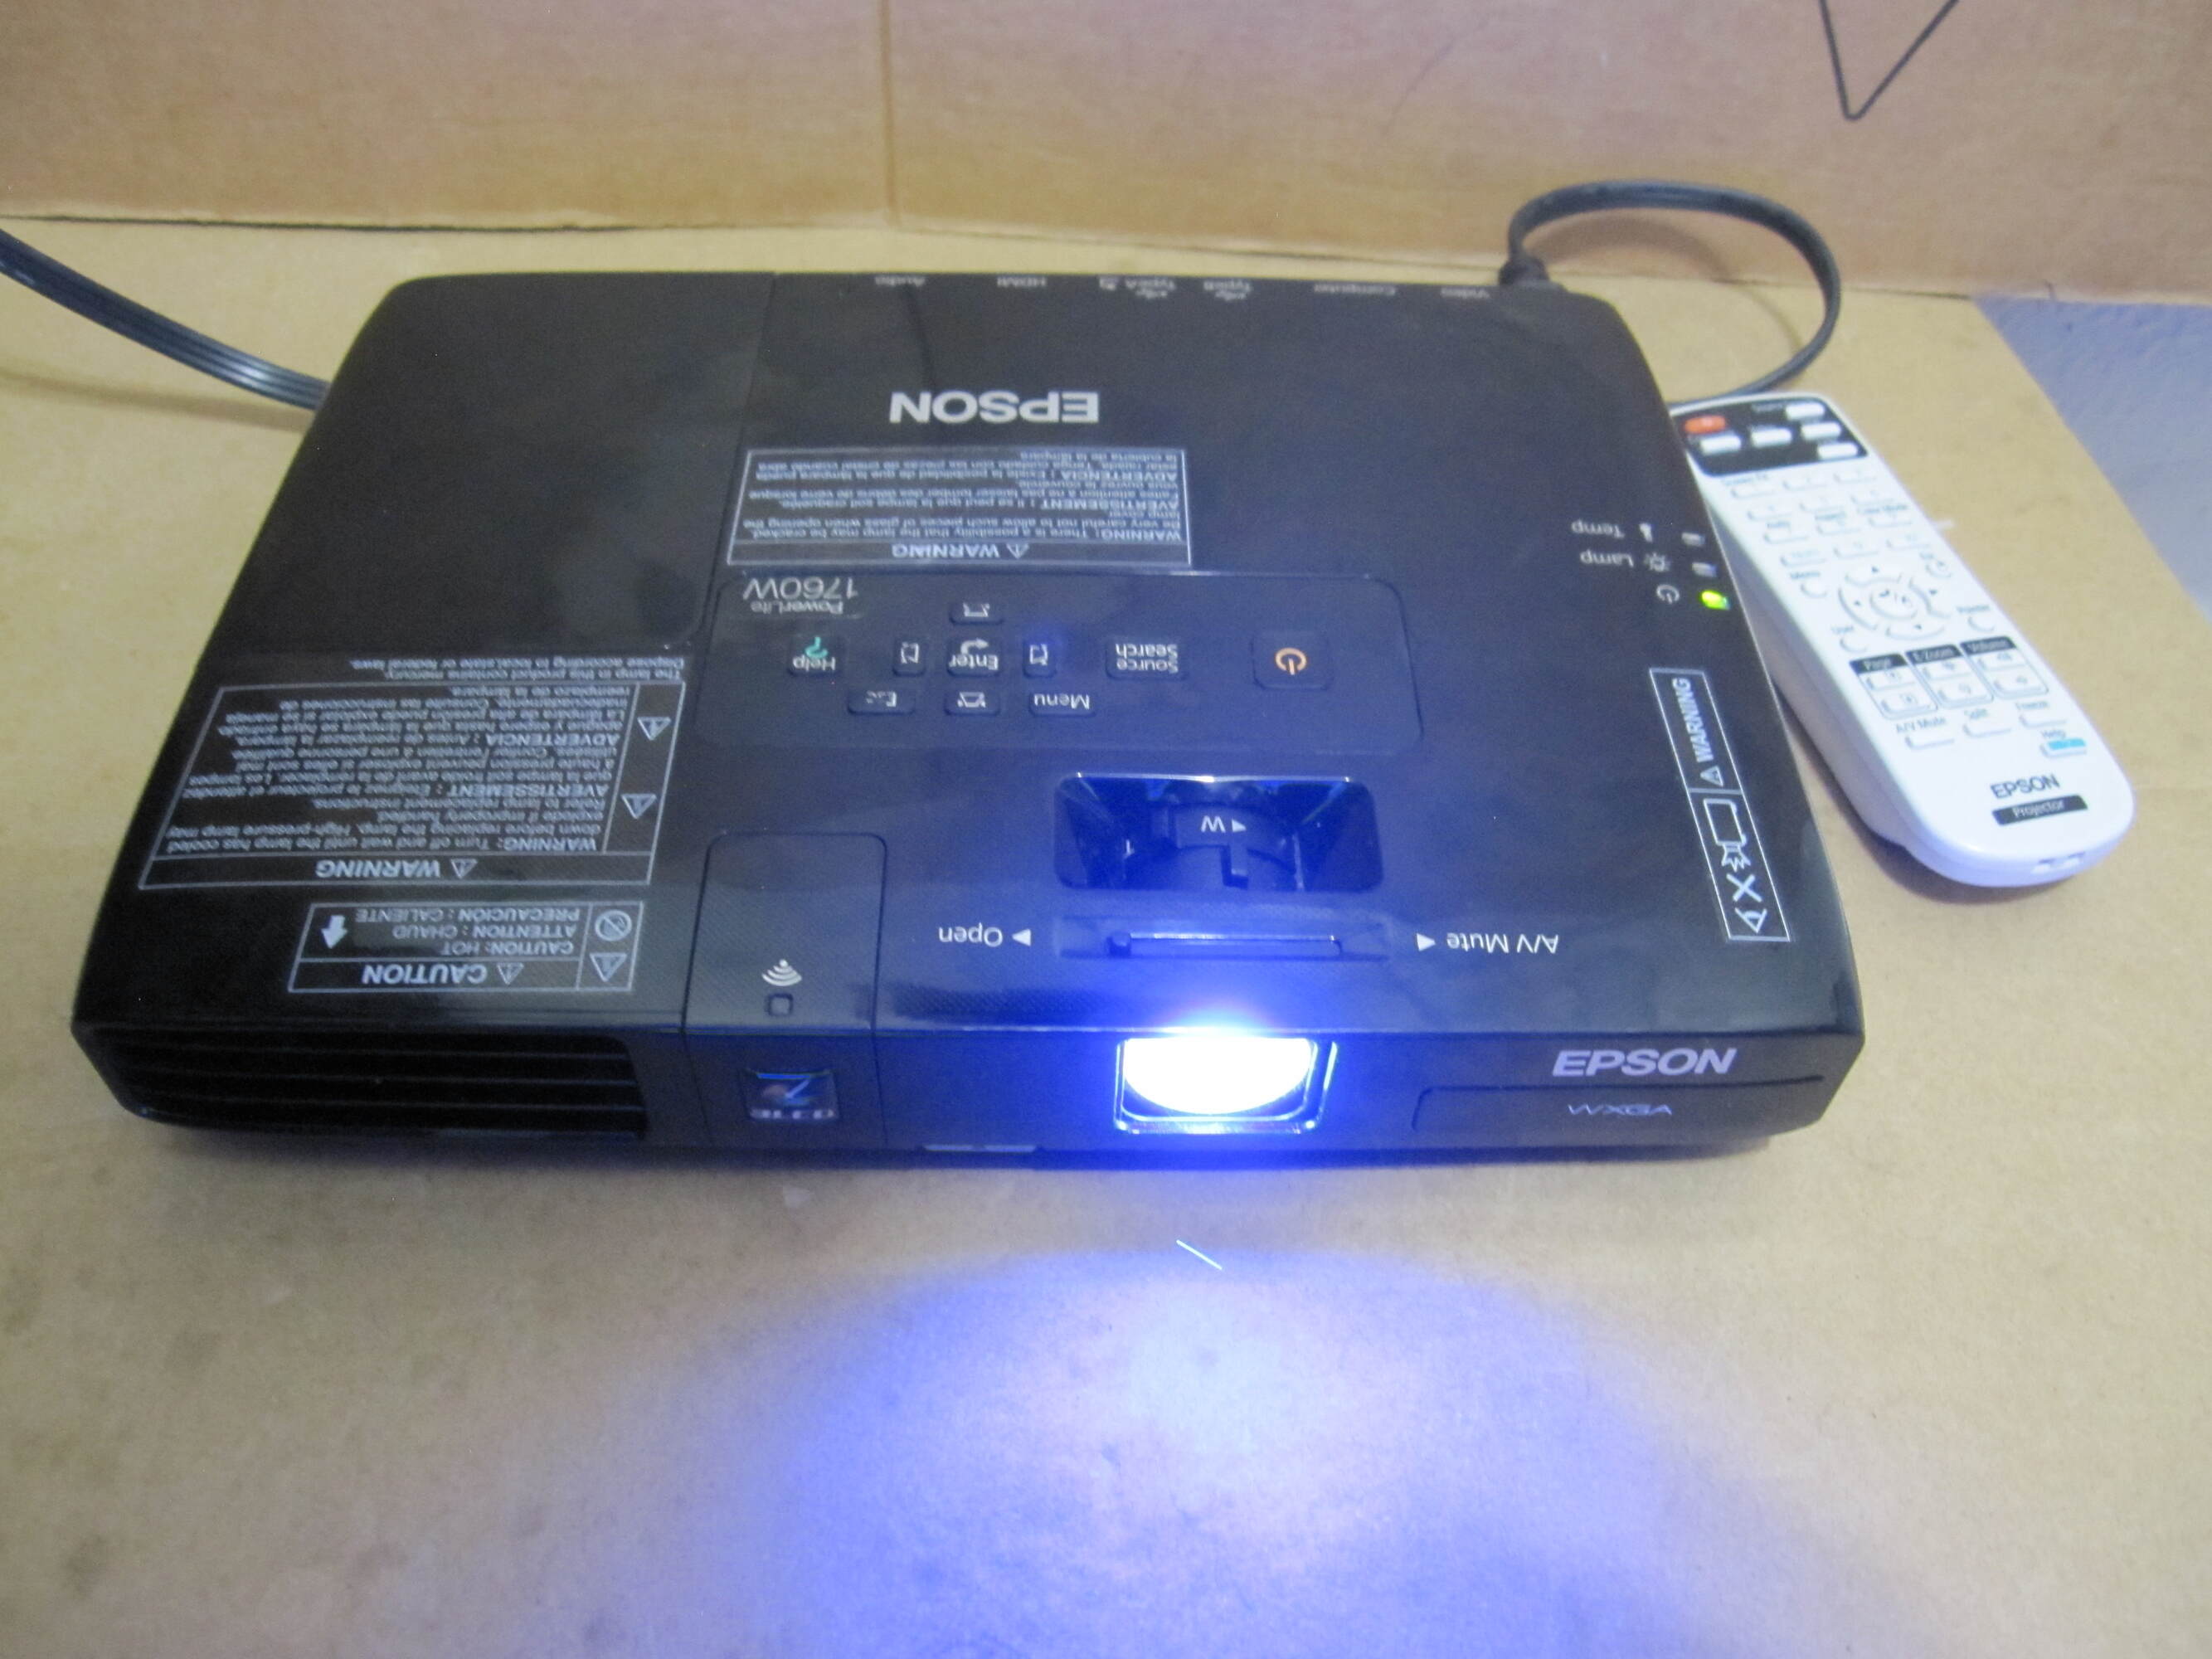
- Locate the control panel on the projector or use the remote control provided.
- On the control panel or remote control, look for a button or menu option labeled “Menu,” “Settings,” or “Setup.” Press this button to access the projector’s settings menu.
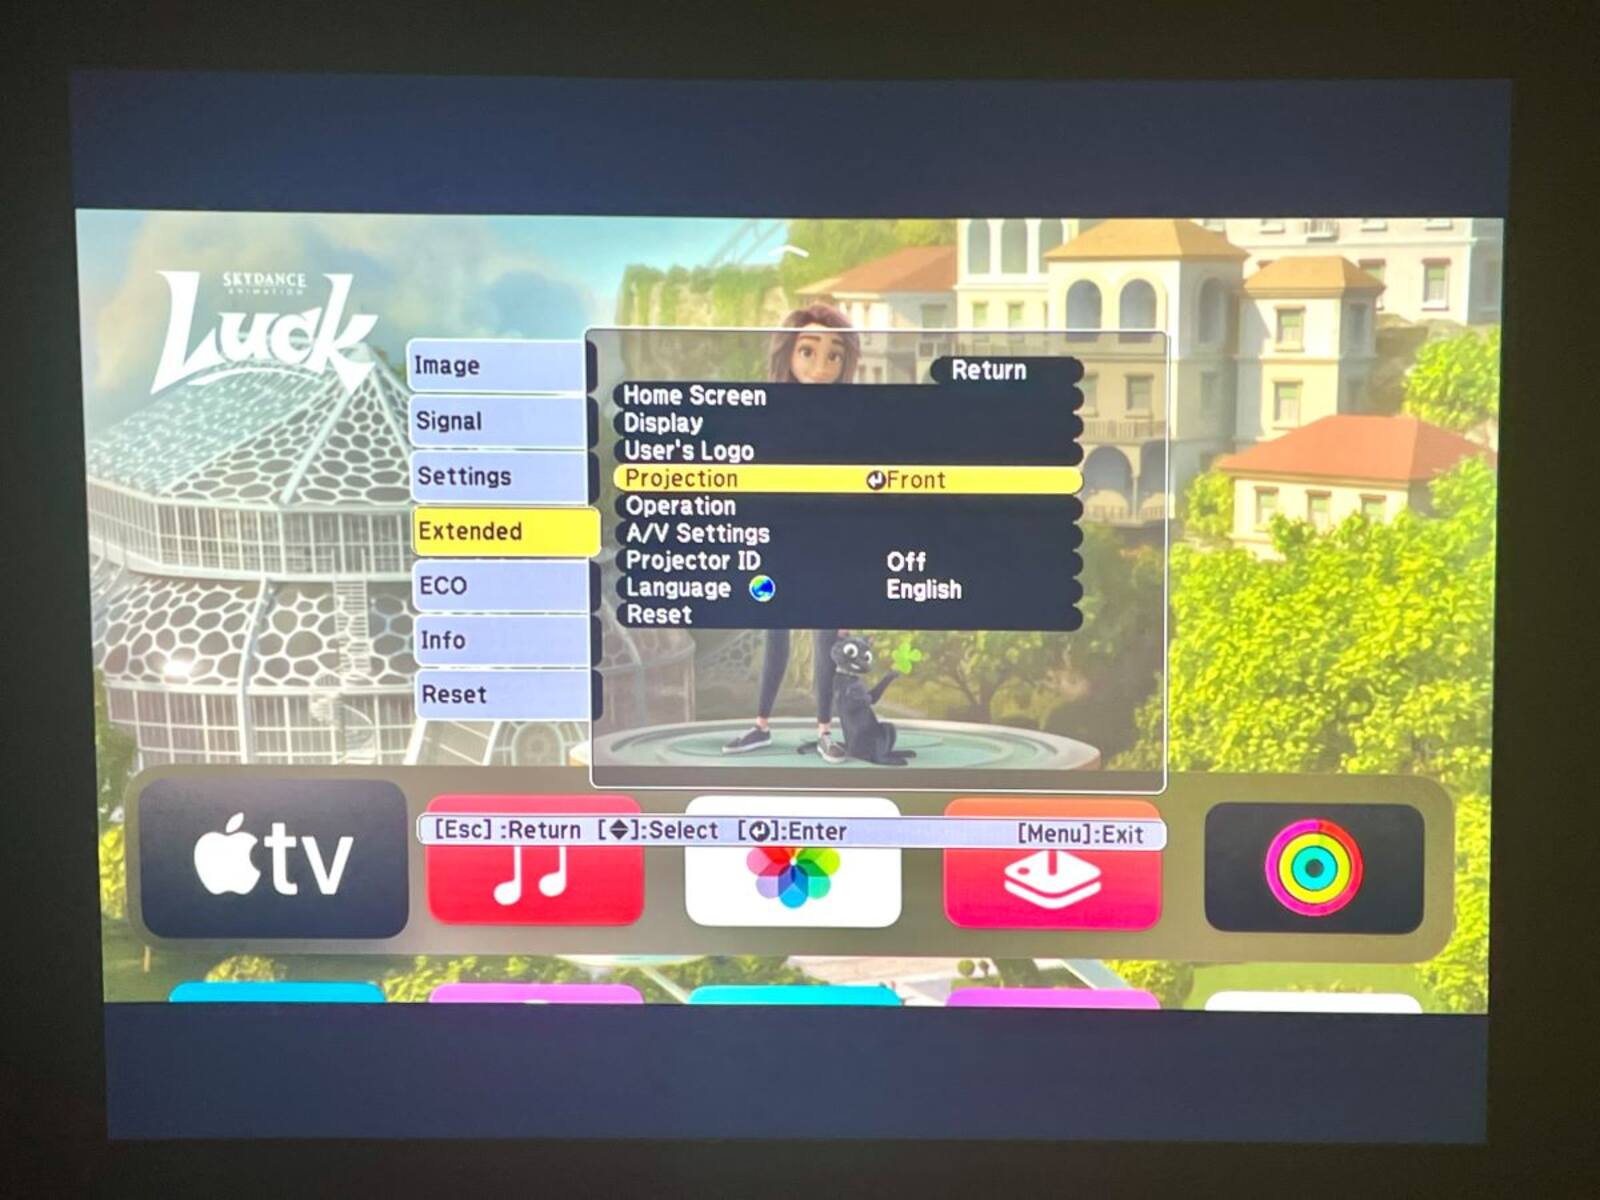
Once you press the designated button, the settings menu will appear on the projector screen. The menu options may differ depending on the specific model of your Epson projector, but you should be able to navigate through the menu using the arrow buttons on the control panel or remote control.
If you are using the remote control, there may be a dedicated “Menu” button or a button with a gear icon to access the settings menu directly.
Now that you are in the projector’s settings menu, it’s time to move on to the next step of navigating to the “Image” or “Display” settings.
Step 3: Navigating to the “Image” or “Display” settings
To flip the screen on an Epson projector, you need to navigate to the “Image” or “Display” settings in the projector’s menu. These settings allow you to adjust various aspects of the projected image, including the screen orientation.
Follow these steps to navigate to the “Image” or “Display” settings:
- Using the arrow buttons on the control panel or remote control, navigate through the settings menu until you find an option related to image or display settings.
- The exact location of these settings may vary depending on the model of your Epson projector. Look for menu options like “Image,” “Display,” “Screen,” or “Projection” to find the desired settings.
- Once you have found the appropriate settings option, select it by pressing the “Enter,” “OK,” or “Select” button on the control panel or remote control.
If you are having trouble locating the “Image” or “Display” settings, consult the user manual or refer to the Epson support website for specific instructions on your projector model.
Now that you have successfully navigated to the “Image” or “Display” settings, you can proceed to the next step of finding the screen flip option.
Step 4: Finding the screen flip option
Now that you have accessed the “Image” or “Display” settings on your Epson projector, it’s time to find the screen flip option. This option will allow you to change the orientation of the projected image to your desired configuration.
Follow these steps to find the screen flip option:
- Navigate through the “Image” or “Display” settings menu using the arrow buttons on the control panel or remote control.
- Look for an option that is related to the screen orientation or flip. Common labels for this option include “Screen Orientation,” “Rotate,” “Flip,” or “Mirror.”
- Select the screen flip option by pressing the “Enter,” “OK,” or “Select” button on the control panel or remote control.
Keep in mind that the exact labeling and placement of the screen flip option may vary depending on the model of your Epson projector. If you are unsure, refer to the user manual or visit the Epson support website for more precise instructions.
Once you have located the screen flip option, you are ready to move on to the next step of flipping the screen orientation according to your preference.
Step 5: Flipping the screen orientation
Now that you have found the screen flip option in the “Image” or “Display” settings of your Epson projector, it’s time to flip the screen orientation according to your preference. This step will allow you to customize the projected image to match your specific needs or creative vision.
Follow these steps to flip the screen orientation:
- Select the screen flip option by highlighting it using the arrow buttons on the control panel or remote control.
- Once the screen flip option is highlighted, press the “Enter,” “OK,” or “Select” button to toggle the screen orientation.
- Depending on the projector model, you may have the option to flip the screen horizontally, vertically, or both. Choose the appropriate option that aligns with your desired screen orientation.
- As you toggle the screen flip option, the projected image should change in real-time, reflecting the new orientation.
Take a moment to visually inspect the projected image and ensure that it is now displayed in the desired flipped orientation. If adjustments are needed, you can repeat the process until you achieve the desired result.
Once you have successfully flipped the screen orientation, you can proceed to the next step of optionally adjusting other display settings to further optimize your projection experience.
Step 6: Adjusting other display settings (optional)
After flipping the screen orientation on your Epson projector, you have the option to further optimize your projection experience by adjusting other display settings. This step is optional but can be beneficial in fine-tuning the image quality and ensuring an optimal viewing experience.
Follow these steps to adjust other display settings:
- Navigate to the “Image” or “Display” settings menu, similar to the previous steps.
- Look for additional options related to brightness, contrast, color temperature, sharpness, or any other visual settings.
- Using the arrow buttons on the control panel or remote control, adjust these settings to your liking. Pay attention to the changes on the projected image as you make adjustments.
- It’s recommended to refer to the user manual or Epson support materials to understand the impact of each setting and make informed adjustments.
- Continue experimenting and fine-tuning the display settings until you achieve the desired image quality for your specific projection needs.
Remember that the available display settings may vary depending on the model of your Epson projector. Some advanced projectors may offer additional features like keystone correction, aspect ratio adjustment, or color calibration. Feel free to explore these options if they are available on your projector.
Once you are satisfied with the display settings, you can proceed to the final step of saving the changes and testing the flipped screen.
Step 7: Saving the changes and testing the flipped screen
After adjusting the screen orientation and other display settings on your Epson projector, it’s time to save the changes and test the flipped screen to ensure that everything is working correctly. This final step will confirm that the projected image is now correctly flipped, allowing you to enjoy your content in the desired orientation.
Follow these steps to save the changes and test the flipped screen:
- Once you have finished adjusting the screen orientation and display settings, navigate to the “Save” or “Apply” option in the settings menu.
- Select the “Save” or “Apply” option by pressing the “Enter,” “OK,” or “Select” button on the control panel or remote control. This will save the changes you have made.
- Exit the settings menu by pressing the appropriate button on the control panel or remote control.
- Now, project your desired content onto the screen or wall and observe the flipped screen orientation.
- Verify that the projected image is correctly flipped according to your desired configuration. If needed, make any additional adjustments in the settings menu to achieve the desired result.
It’s recommended to test the flipped screen with different types of content, such as videos, presentations, or images, to ensure that the orientation is consistent across all media.
If you encounter any issues during the testing phase or if the flipped screen is not displaying as expected, refer back to the previous steps to retrace your adjustments and make any necessary changes.
Once you are satisfied with the flipped screen orientation and everything is working as intended, you can now enjoy your content in the flipped configuration on your Epson projector.
Conclusion
Congratulations! You have successfully learned how to flip the screen on an Epson projector. By following the step-by-step instructions in this guide, you can now customize the orientation of the projected image to suit your needs.
We began by ensuring that the Epson projector is properly connected to a device such as a laptop or DVD player. Then, we accessed the projector’s settings menu and navigated to the “Image” or “Display” settings. In these settings, we found the screen flip option and adjusted the screen orientation as desired. Furthermore, we explored the option of adjusting other display settings to optimize the projection experience.
Remember, the exact menu options and layout may vary slightly depending on the model of your Epson projector. Refer to the user manual or Epson support materials for specific instructions related to your device.
Flipping the screen orientation on an Epson projector opens up a world of possibilities for presentations, creative projects, and home theater setups. Whether you need to correct the orientation, display content for overhead projection, or simply want to add a unique touch to your projection experience, the ability to flip the screen gives you more control and flexibility.
Now that you have mastered this technique, have fun exploring the endless possibilities of projection with your Epson projector!


