Introduction
Welcome to ‘Why My Projector Is Blurry’, where we will explore the possible reasons behind this common issue and provide you with troubleshooting tips to fix it. Projectors are a popular choice for home theaters, business presentations, and educational settings, but sometimes they can display blurry images, compromising the overall viewing experience. If you’re experiencing this problem with your projector, you’ve come to the right place.
A blurry projector can be frustrating and make it difficult to enjoy movies, presentations, or any content you want to display. Understanding the potential causes of the blurriness can help you identify and resolve the issue, saving you time and frustration.
Before we dive into the possible reasons for a blurry projector, it’s important to note that different projectors may have varying features and settings. However, the most common causes of blurriness are usually consistent across different projector models. By addressing these common issues, you can optimize the image quality and regain clarity in your projector’s display.
In the next sections, we will discuss the possible reasons for a blurry projector and provide troubleshooting tips to help you resolve the issue. Whether you’re a movie enthusiast, a business professional, or a teacher, this guide will assist you in getting the most out of your projector and ensure a clear, sharp image every time.
Possible Reasons for Blurry Projector
When your projector is displaying a blurry image, there could be a few different factors contributing to the issue. Understanding these potential reasons will help you diagnose and resolve the blurriness. Here are the most common causes:
- Dirty Lens: One of the main culprits behind a blurry projector is a dirty lens. Over time, dust and debris can accumulate on the lens surface, leading to a loss of image sharpness. Cleaning the lens with a soft, lint-free cloth can often solve this problem.
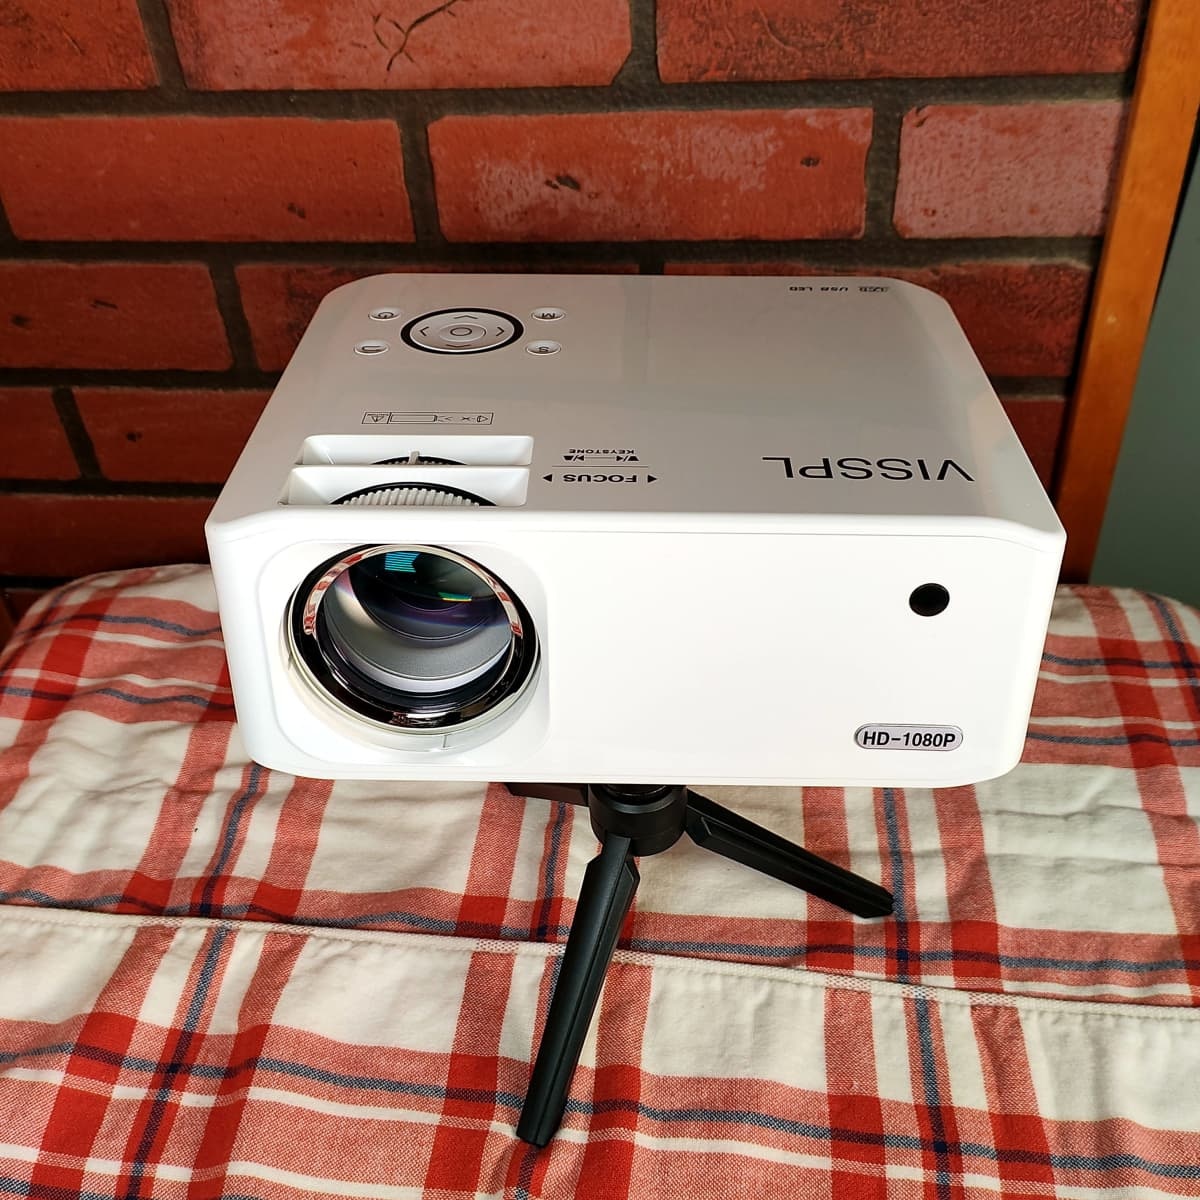
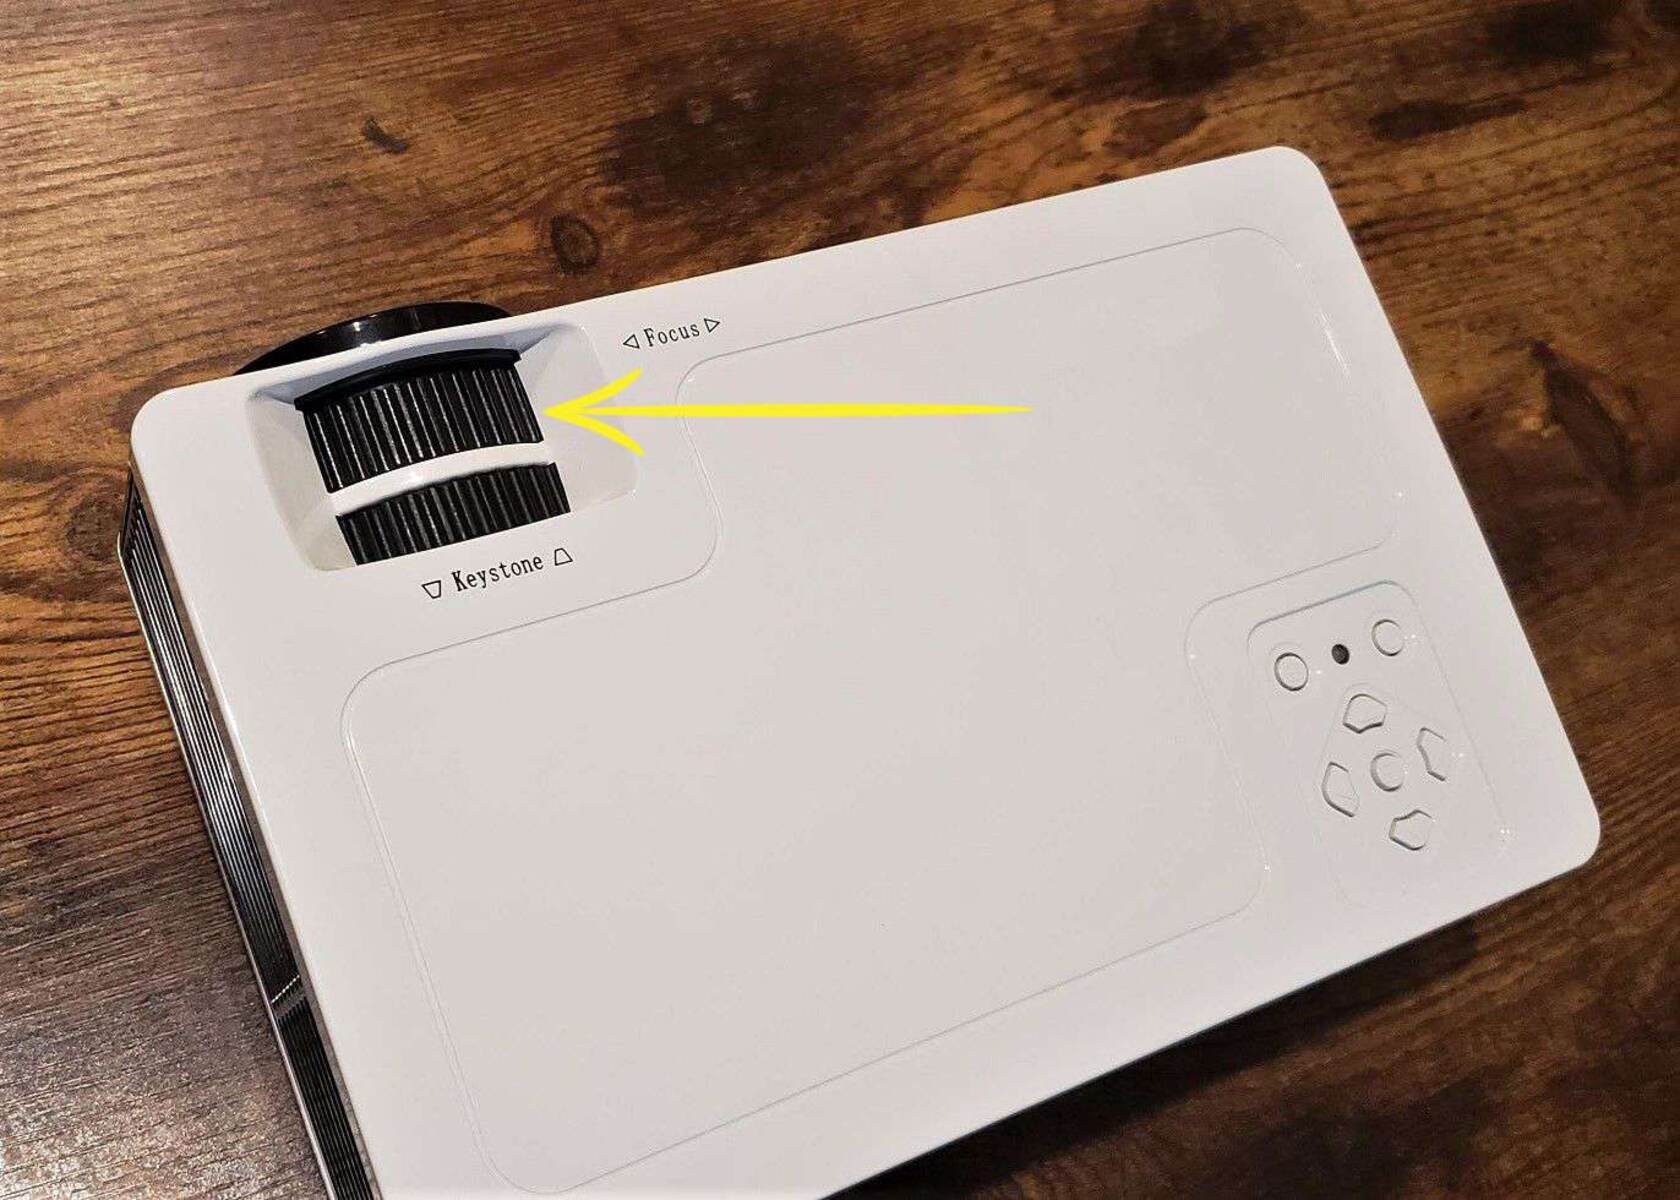
- Incorrect Focus: Another common reason for a blurry projector is an incorrect focus. If the focus is not properly adjusted, the image will appear fuzzy or out of focus. Most projectors have a focus ring or button that allows you to adjust the focus. Take the time to fine-tune the focus until you achieve a clear and crisp image.
- Improper Projection Distance: Projectors have a specific range of projection distances within which they can provide optimal clarity. If the projector is too far or too close to the screen or projection surface, it can result in a blurry image. Consult your projector’s user manual for the recommended projection distance and adjust accordingly.
- Incorrect Keystone Adjustment: Keystone adjustment is used to correct the shape of the projected image when the projector is not placed perpendicular to the screen. If the keystone adjustment is not set correctly, it can introduce blurriness or distortion. Ensure that the keystone adjustment is properly configured for a clear and well-defined image.
- Faulty Bulb: A worn-out or defective projector bulb can also cause blurriness in the projected image. If you notice that the image is dim or lacks brightness, it could be an indication that the bulb needs to be replaced. Check the bulb’s lifespan and consider replacing it if necessary.
By taking these possible reasons into account, you can narrow down the cause of your projector’s blurriness and focus on the appropriate troubleshooting steps. In the next section, we will provide you with some helpful tips to fix a blurry projector and restore the clarity to your projected images.
Dirty Lens
A dirty lens is one of the most common causes of a blurry projector image. Over time, dust, fingerprints, and other debris can accumulate on the lens surface, obstructing the light and leading to a loss of image sharpness. Cleaning the lens is a simple and effective solution to restore clarity to your projector’s display. Follow these steps to clean the lens:
- Turn off the projector and unplug it to ensure your safety during the cleaning process.
- Use a soft, lint-free cloth or a lens cleaning brush to gently remove any loose dust particles from the lens surface. Be careful not to apply too much pressure, as this can scratch the lens.
- If there are smudges or fingerprints on the lens, dampen the cloth slightly with a mild lens cleaning solution or isopropyl alcohol. Avoid using harsh chemicals or abrasive cleaners, as they can damage the lens coating.
- Gently wipe the lens in a circular motion, starting from the center and working your way outwards. Avoid rubbing the lens vigorously, as this can cause smearing.
- Allow the lens to dry completely before turning on the projector. This will prevent any moisture from interfering with the image quality.
After cleaning the lens, power on the projector and check if the blurriness has been resolved. If the image is still blurry, move on to the next troubleshooting step. Remember to periodically clean the lens to prevent a buildup of dirt and ensure optimal image quality.
Incorrect Focus
Incorrect focus is another common culprit behind a blurry projector image. If the focus is not properly adjusted, the projected image will appear fuzzy or out of focus. Fortunately, most projectors offer a focus adjustment feature that allows you to fine-tune the focus for a clear and sharp image. Follow these steps to adjust the focus:
- Display a test pattern or a sharp, high-resolution image on the screen or projection surface.
- Locate the focus ring or button on the projector. This is usually located near the lens.
- Adjust the focus ring or press the focus button to incrementally sharpen the image. Take your time and make small adjustments until you achieve the desired level of clarity.
- Step back and ensure that the entire image is in focus, including the edges. If necessary, make slight adjustments to the projector’s position or angle to achieve a uniformly focused image.
It’s important to note that different projectors may have varying focus mechanisms. Some projectors may offer an automatic focus feature, while others may require manual adjustment. Refer to your projector’s user manual for specific instructions on adjusting the focus.
Once you have properly adjusted the focus, check the projected image to see if the blurriness has been resolved. If the image is still blurry, proceed to the next troubleshooting step. Remember to double-check the focus each time you set up your projector to ensure optimal image quality.
Improper Projection Distance
The projection distance plays a crucial role in obtaining a clear and sharp image from your projector. If the projector is positioned too far or too close to the screen or projection surface, it can result in a blurry image. To ensure optimal image quality, it’s important to determine and maintain the proper projection distance for your specific projector.
Here are some steps to help you adjust the projection distance:
- Refer to your projector’s user manual or specifications to find the recommended projection distance for your particular model. This information is typically provided in a chart or table.
- Measure the distance from the projector lens to the screen or projection surface. Ensure that it falls within the recommended range.
- If the projection distance is too long, move the projector closer to the screen or projection surface. If it is too short, move the projector farther away. Use a measuring tape or ruler to get accurate distance measurements.
- Once you have adjusted the projection distance, check the projected image for blurriness. If the image is still blurry, proceed to the next troubleshooting step.
It’s worth noting that the size of the projected image will also vary based on the projection distance. Adjusting the projector’s zoom or lens shift settings, if available, can help you achieve the desired image size without sacrificing clarity.
By ensuring that your projector is positioned at the correct distance from the screen or projection surface, you can maximize the image sharpness and eliminate blurriness. Take the time to measure and adjust the projection distance for optimal results.
Incorrect Keystone Adjustment
Keystone adjustment is a feature found in many projectors that helps correct the shape of the projected image when the projector is not placed perpendicular to the screen or projection surface. If the keystone adjustment is not set correctly, it can introduce blurriness or distortion to the image. To ensure a clear and well-defined image, it’s important to properly configure the keystone adjustment on your projector.
Here’s how you can adjust the keystone settings:
- Display a rectangular test image or a content with straight lines on the screen or projection surface.
- Locate the keystone adjustment buttons or menu option on your projector. The buttons are often labeled with arrows pointing in opposite directions.
- Use the arrow buttons or navigation menu to adjust the keystone settings. Make small adjustments and observe the changes in the shape of the projected image. The goal is to align the image so that the vertical and horizontal lines appear straight and parallel.
- Check the entire image to ensure that there are no distortions or blurriness. Make additional adjustments if necessary.
It’s important to note that excessive keystone adjustments can degrade image quality, so it’s always best to strive for a properly aligned projector placement whenever possible. Consider adjusting the projector’s position or angle to reduce the reliance on excessive keystone correction.
If your projector does not have built-in keystone adjustment, you may need to use external tools like a projector stand or ceiling mount to achieve the desired alignment.
By ensuring that the keystone adjustment is properly set, you can eliminate blurriness and ensure a crisp and clear image. Take the time to fine-tune the keystone settings for optimal projection quality.
Faulty Bulb
If your projector is still producing a blurry image after checking the lens, focus, projection distance, and keystone adjustment, it may be due to a faulty bulb. Over time, projector bulbs can wear out or become defective, resulting in reduced brightness and image quality.
Here are a few signs that indicate your projector bulb may be faulty:
- The image appears dimmer than usual, even with optimal settings.
- Colors appear faded or distorted.
- There are visible black spots or streaks on the projected image.
- You’ve been using the projector for an extended period, and the bulb has exceeded its average lifespan.
If you suspect a faulty bulb, follow these steps to address the issue:
- Consult your projector’s user manual or specifications to determine the average lifespan of the bulb. If the bulb has exceeded this lifespan, it’s likely time for a replacement.
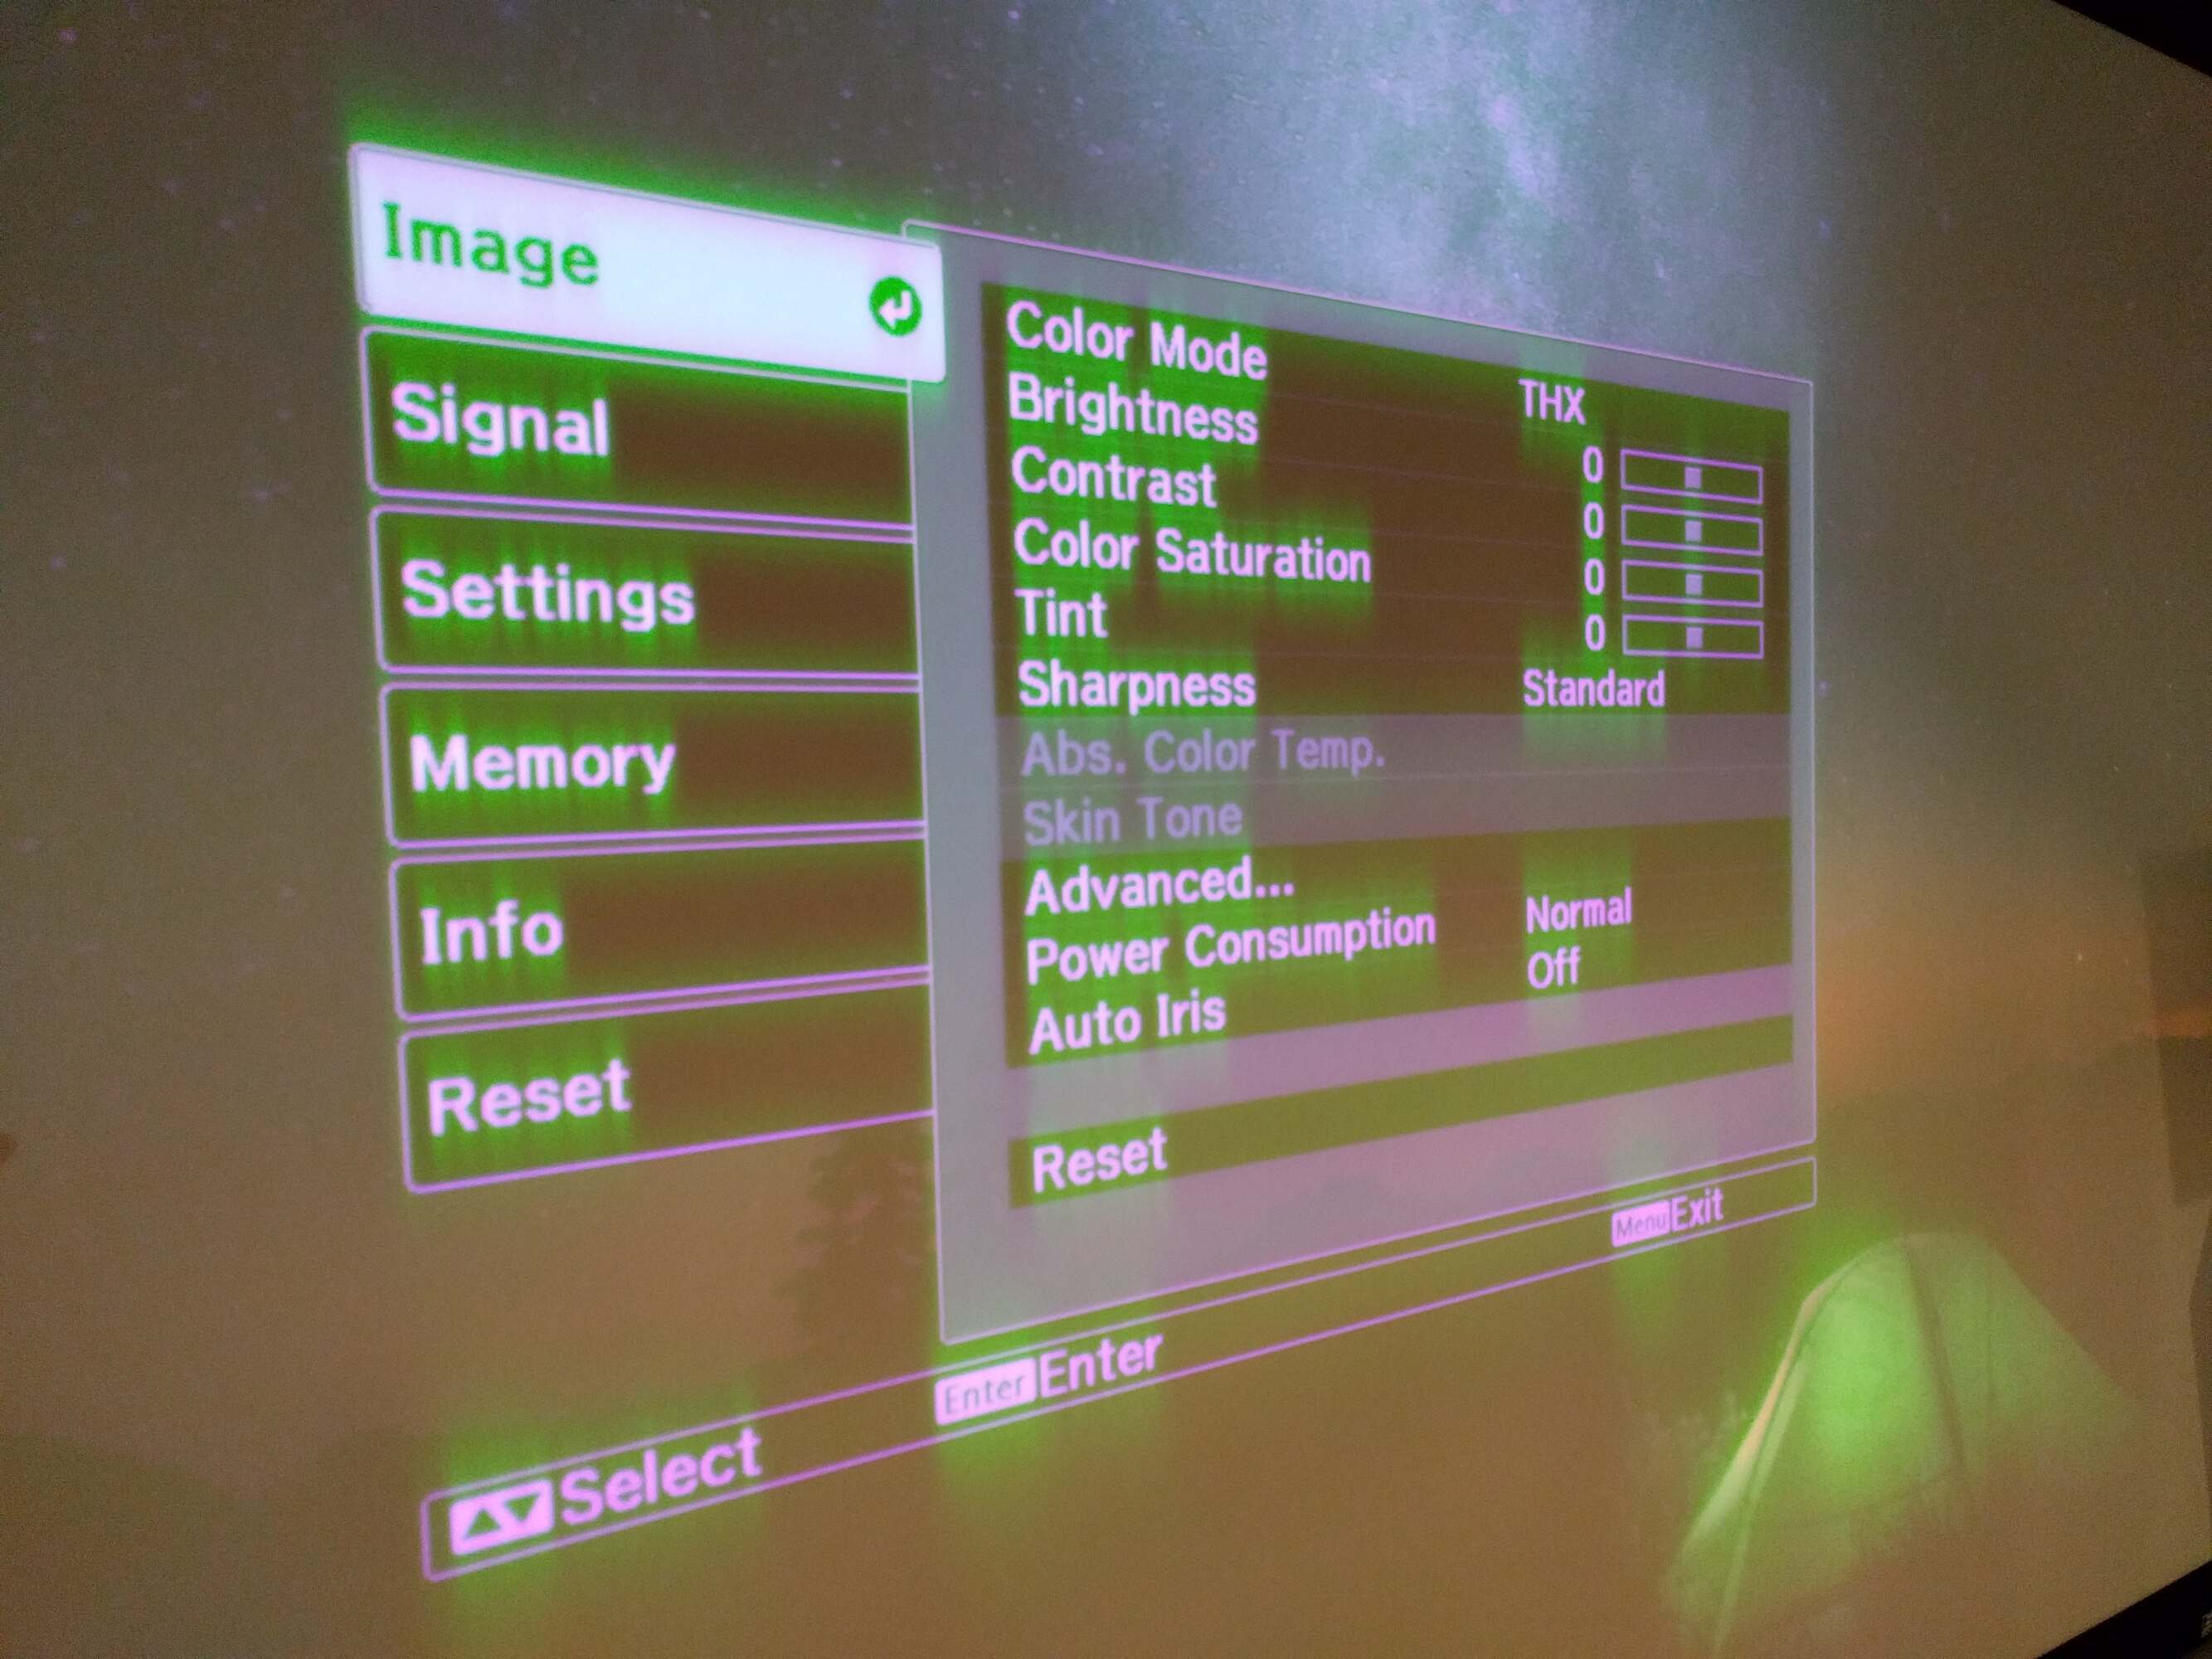
- Check the projector’s menu or settings to see if there is a bulb status indicator. Some projectors have a feature that displays the bulb’s remaining lifespan.
- If your projector has a replaceable bulb, purchase a new one from a reputable seller or the manufacturer. Follow the manufacturer’s instructions for replacing the bulb. Be sure to handle the new bulb with care and avoid touching the glass surface.
- If your projector has a non-replaceable bulb, you may need to contact the manufacturer or an authorized service center for support and bulb replacement.
After replacing the bulb, power on the projector and check if the blurriness is resolved. A new, properly functioning bulb should restore the brightness and clarity of the projected image.
Remember to keep track of the bulb’s lifespan and replace it accordingly to maintain optimal image quality. Regular maintenance and bulb replacement will ensure that your projector continues to deliver crisp and sharp images.
Troubleshooting Tips to Fix a Blurry Projector
If your projector is still displaying a blurry image after checking the lens, focus, projection distance, keystone adjustment, and bulb, there are a few additional troubleshooting tips you can try before seeking professional assistance. Here are some suggestions:
- Check the input source: Ensure that the input source (e.g., HDMI cable, VGA cable) is securely connected to both the projector and the device sending the signal. A loose or faulty connection can lead to a degraded image quality.
- Adjust the resolution: If the image appears blurry when displaying certain resolutions, try adjusting the resolution on the source device to match the native resolution of the projector. Mismatched resolutions can cause blurriness and distortion.
- Reset the projector: Some projectors have a reset option in the settings menu. Resetting the projector to its default settings can help resolve any software or configuration issues that may be causing blurriness.
- Update the firmware: Check the manufacturer’s website for firmware updates for your projector model. Updating the firmware can fix bugs or glitches that may contribute to blurriness and improve overall performance.
- Test with a different source device: Connect the projector to a different source device, such as a laptop or DVD player, to determine if the blurry image is specific to one input device or universal across all sources. This can help isolate the issue and determine if the problem lies with the projector or the source.
- Contact technical support: If you have tried all the troubleshooting steps and the projector is still blurry, reach out to the manufacturer’s technical support or consult a professional technician for further assistance. They may be able to provide additional guidance or recommend repairs or servicing options.
Remember, troubleshooting steps may vary depending on your specific projector model and its features. Refer to your projector’s user manual or consult the manufacturer’s website for detailed instructions and support resources.
By following these troubleshooting tips, you can hopefully resolve the blurriness issue and enjoy a crisp and clear image from your projector once again.
Conclusion
A blurry projector can be frustrating, but by understanding the possible causes and following the troubleshooting tips provided, you can resolve the issue and restore the clarity to your projected images.
We discussed various reasons for a blurry projector, including a dirty lens, incorrect focus, improper projection distance, incorrect keystone adjustment, and a faulty bulb. Each of these factors can contribute to blurriness in the projected image, but they can be addressed with simple steps and adjustments.
Cleaning the lens, adjusting the focus, ensuring proper projection distance, configuring the keystone adjustment, and replacing a faulty bulb are all effective solutions to improve image sharpness. These troubleshooting steps can help you pinpoint the cause of the blurriness and take appropriate action.
Remember to consult your projector’s user manual for specific instructions and to adapt the troubleshooting tips to your particular projector model.
Whether you use a projector for home entertainment, business presentations, or educational purposes, having a clear and sharp image enhances the viewing experience and ensures that your content is displayed in the best possible way.
By utilizing these troubleshooting tips and maintaining regular maintenance on your projector, you can enjoy stunning visuals and a visually pleasing experience every time you use your projector.