Introduction
Welcome to our guide on how to fix a projector screen. Whether you’re a movie enthusiast, a business professional, or someone who frequently uses a projector for presentations, a properly functioning projector screen is essential for a clear and immersive viewing experience. Over time, projector screens can encounter common issues like wrinkles, stains, or even tears, which can adversely affect the visual quality. But don’t worry, we’ve got you covered!
In this article, we will walk you through a step-by-step process to help you troubleshoot and resolve common problems with your projector screen. From identifying the issue to implementing the necessary fixes, you’ll be able to restore your screen to its pristine condition in no time.
Please note that the methods mentioned here are applicable to various types of projector screens, including manual pull-down screens, motorized screens, and fixed frame screens. So, whether you have a home theater setup or a professional presentation system, these techniques will be helpful.
Before we dive into the steps, it’s important to emphasize the importance of safety. If you’re not comfortable or confident in performing any of the fixes suggested in this guide, it’s always a good idea to consult a professional technician or contact the manufacturer for assistance.
Now, let’s get started and learn how to fix common problems with your projector screen!
Step 1: Identify the Problem
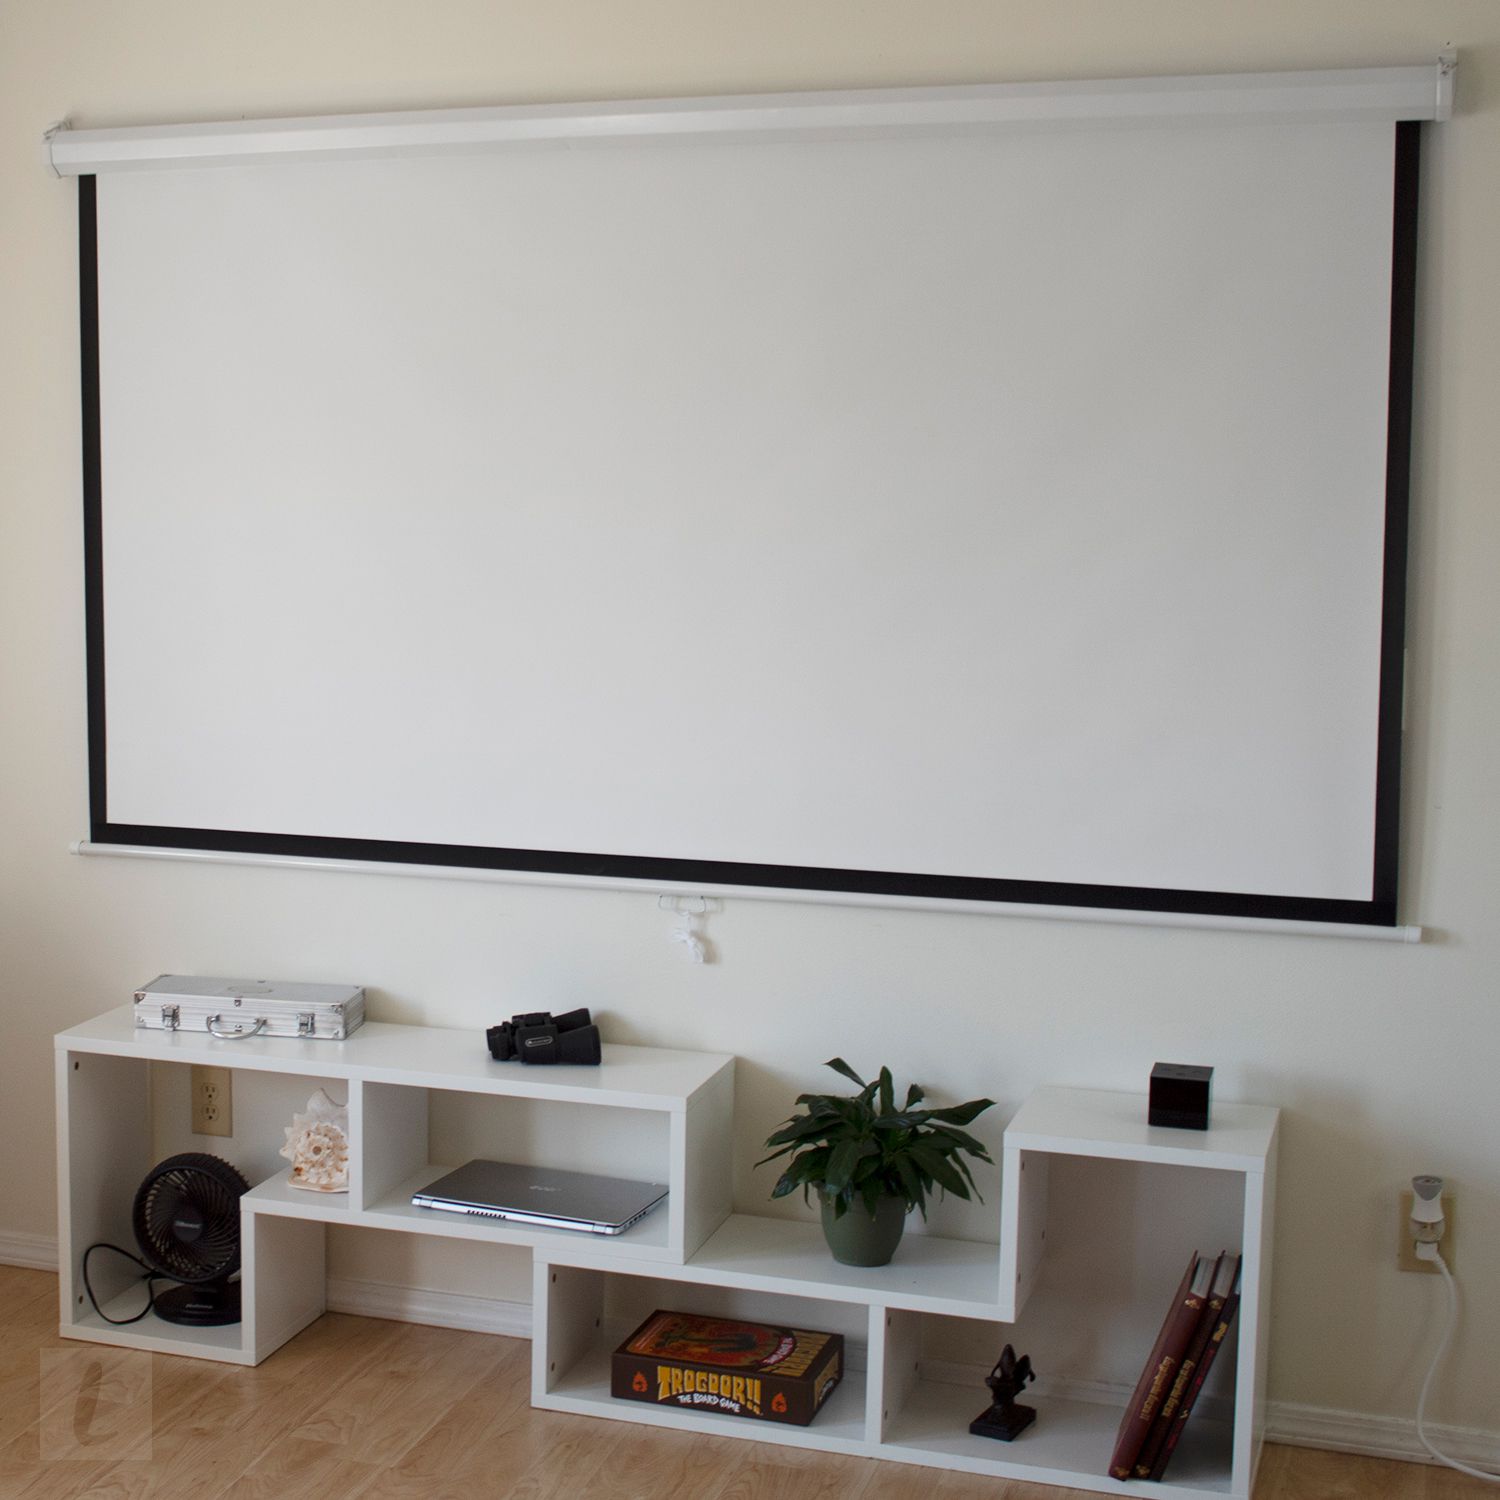
Before you can fix any issue with your projector screen, it’s important to identify what exactly is causing the problem. There can be multiple reasons why your screen is not functioning properly, so take some time to carefully assess the situation.
Start by inspecting the screen for any visible signs of damage, such as wrinkles, stains, or tears. Look closely at the edges and corners, as these areas are more prone to wear and tear. If you notice any physical damage, it may be the cause of the problem.
Next, check the tension of the screen. A loose or sagging screen can affect the image quality as it may not provide a flat and even surface for projection. Ensure that the screen is tightly stretched across the frame or mounting brackets. If needed, you may need to adjust the tension mechanism according to the instructions provided by the manufacturer.
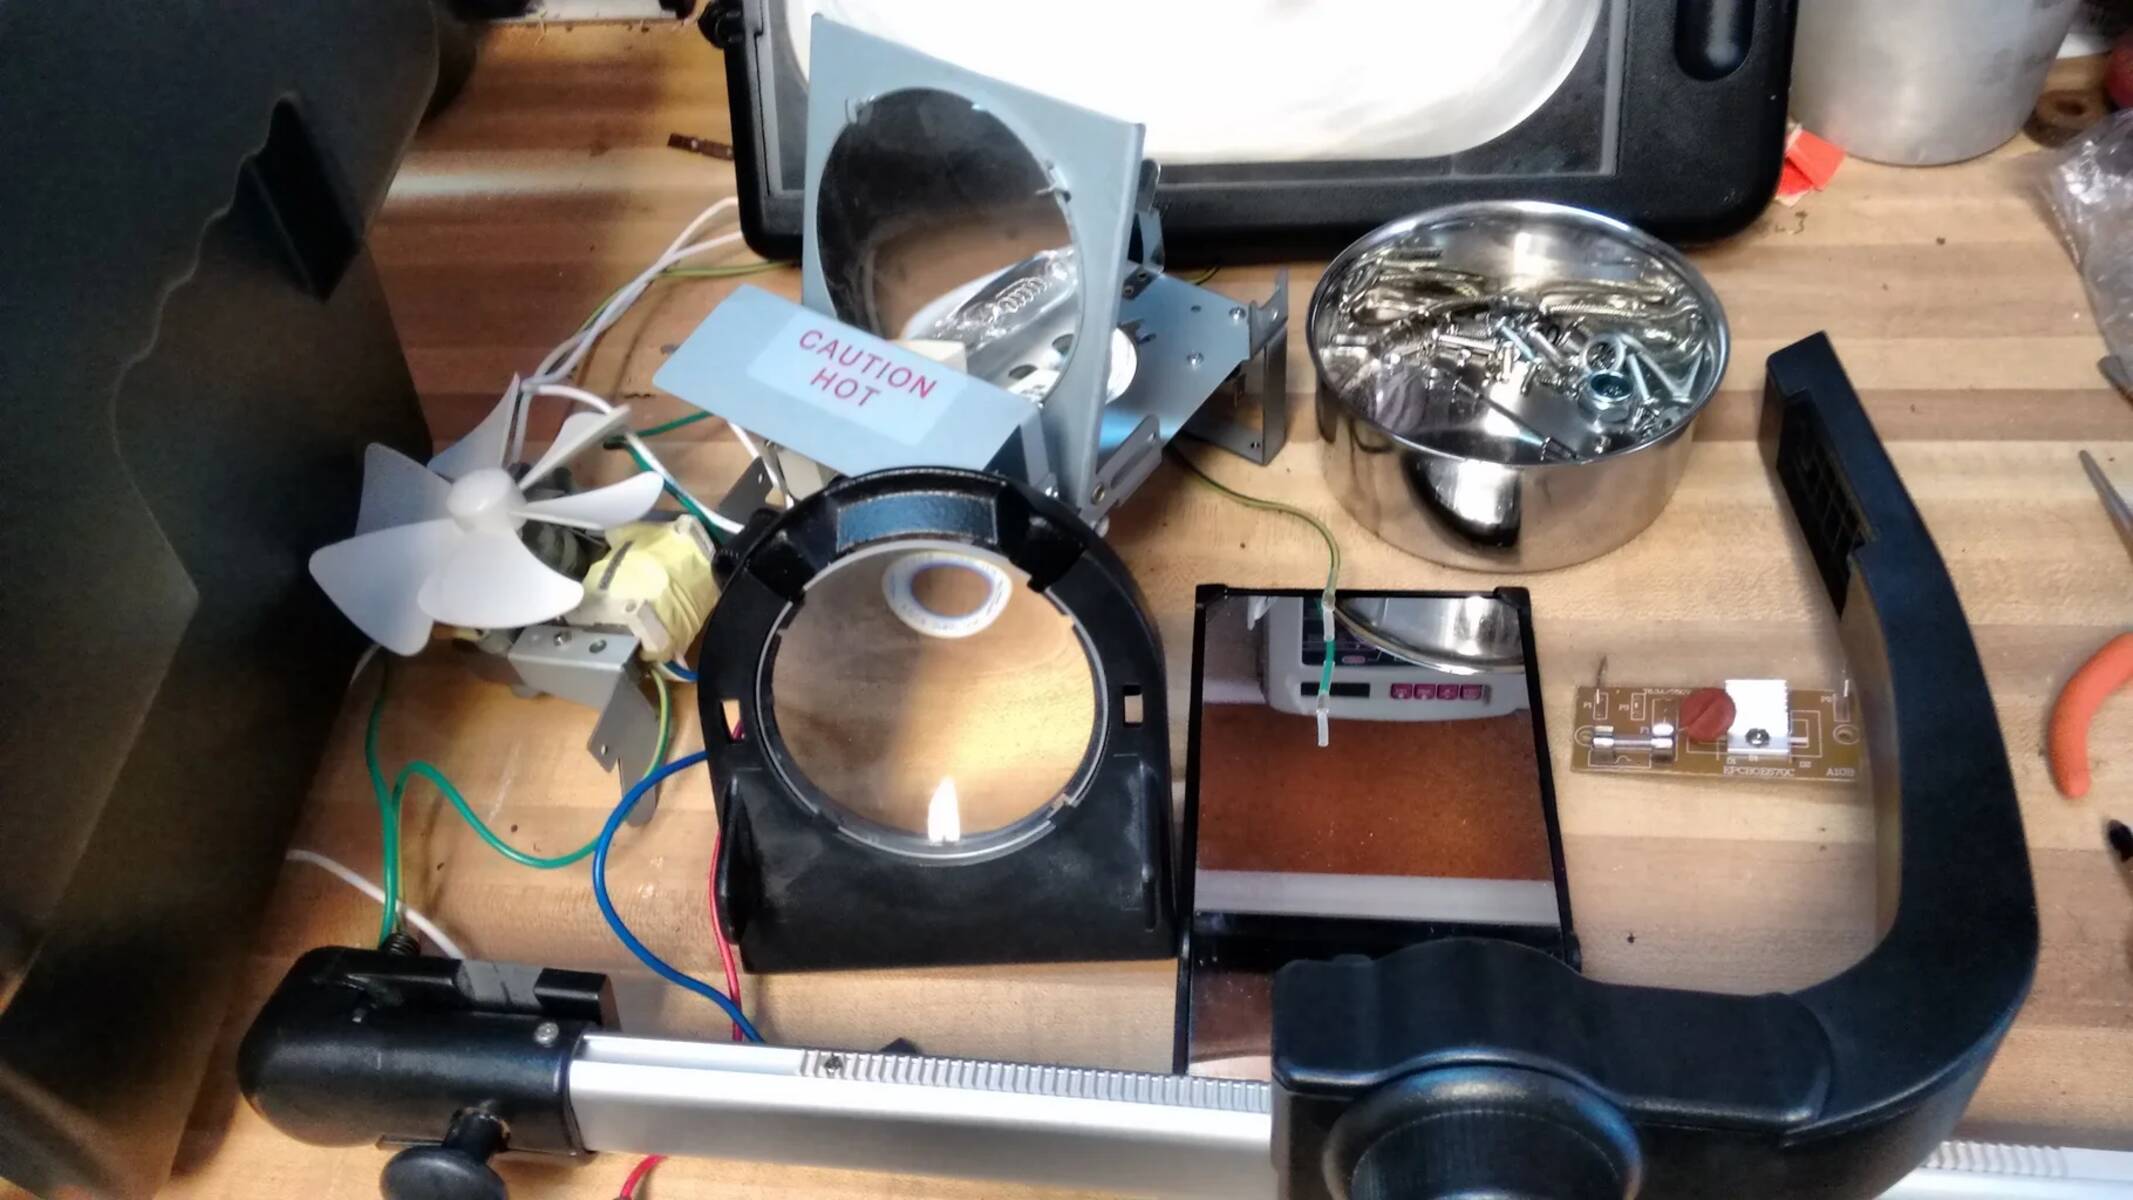
If you have a motorized screen, check for any issues with the motor or the remote control. Make sure that the power supply is connected correctly and that the remote has fresh batteries. If the motor is not functioning, it may need to be repaired or replaced.
Additionally, it’s worth examining the projector itself. Check the lens for any dirt or smudges that may be impacting the image quality. Clean the lens gently using a microfiber cloth or lens cleaning solution. Also, ensure that the projector is positioned correctly and that the input settings are properly configured.
Once you have identified the problem or potential issues, you can move on to the next steps to fix your projector screen. Remember, understanding the underlying cause is crucial to implementing the most appropriate solution.
Step 2: Clean the Screen
One of the common issues that can affect the visual quality of your projector screen is dirt, dust, or smudges that accumulate over time. Cleaning the screen can significantly improve the overall viewing experience. Here’s how you can do it:
1. Start by turning off the projector and allowing it to cool down. Cleaning a hot projector screen can lead to damage.
2. Using a soft, lint-free cloth or a microfiber cloth, gently wipe the surface of the screen. Begin from the top and move downwards in a vertical motion. Avoid using excessive pressure as it may cause damage to the screen material.
3. For stubborn stains or dirt, slightly dampen the cloth with mild soapy water or a screen cleaning solution specifically designed for projector screens. Ensure that the cloth is not dripping wet or soaked, as excessive moisture can damage the screen.
4. If your screen has a vinyl or fabric surface, avoid using harsh chemicals or abrasive cleaners that can cause discoloration or damage. Stick to mild solutions and gentle wiping.
5. Pay attention to the corners and edges of the screen, as these areas tend to accumulate more dirt. Use gentle circular motions to clean these areas.
6. Once you’ve finished cleaning, allow the screen to air dry completely before retracting or rolling it back up if it’s a retractable or motorized screen.
Regularly cleaning your projector screen can prevent the buildup of dirt and ensure optimal image quality. Aim to clean the screen at least once every few months or more frequently if it’s used in a high-traffic area or prone to dust accumulation.
Remember, always follow the manufacturer’s guidelines and recommendations for cleaning your specific type of projector screen.
Step 3: Adjust the Screen Tension
If you notice that your projector screen is sagging or not stretched tightly enough, adjusting the screen tension can help improve the image quality and overall performance. Here are the steps to adjust the tension:
1. Start by locating the tensioning mechanism of your projector screen. This mechanism could be in the form of tension knobs, hooks, or clips that hold the screen in place.
2. Loosen the tensioning mechanism by turning the knobs counterclockwise or releasing the hooks or clips, depending on the design of your screen.
3. Gently pull the screen to remove any wrinkles or sagging. Be careful not to pull too forcefully as it may cause the screen material to tear or become damaged.
4. Once the screen is taut and wrinkle-free, tighten the tensioning mechanism by turning the knobs clockwise or reattaching the hooks or clips. Make sure to apply even tension across the entire screen surface.
5. Test the screen by retracting and extending it a few times to ensure that it rolls up and down smoothly without any issues. If you encounter any difficulties, double-check the tension and make adjustments as necessary.
Some projector screens come with automatic tensioning systems that adjust the tension automatically. If you have this type of screen, consult the manufacturer’s instructions for proper adjustment procedures.
Remember, maintaining the appropriate tension in your projector screen is crucial for optimal image projection. If the screen remains saggy or uneven despite your best efforts to adjust it, it may be an indication of a more significant issue, and professional assistance might be needed.
Now that you’ve adjusted the tension of your projector screen, you can move on to the next steps to troubleshoot any remaining issues.
Step 4: Replace a Damaged Screen
If your projector screen has extensive damage, such as a large tear or irreparable stains, it may be necessary to replace the screen. Here’s how you can go about replacing a damaged projector screen:
1. Start by assessing the extent of the damage. Determine whether the damage is minor and can be repaired or if it’s severe enough to warrant a complete replacement.
2. Check if your projector screen is under warranty. If it is, contact the manufacturer or the retailer from whom you purchased it to inquire about warranty coverage for screen replacement. Follow their instructions on how to proceed.
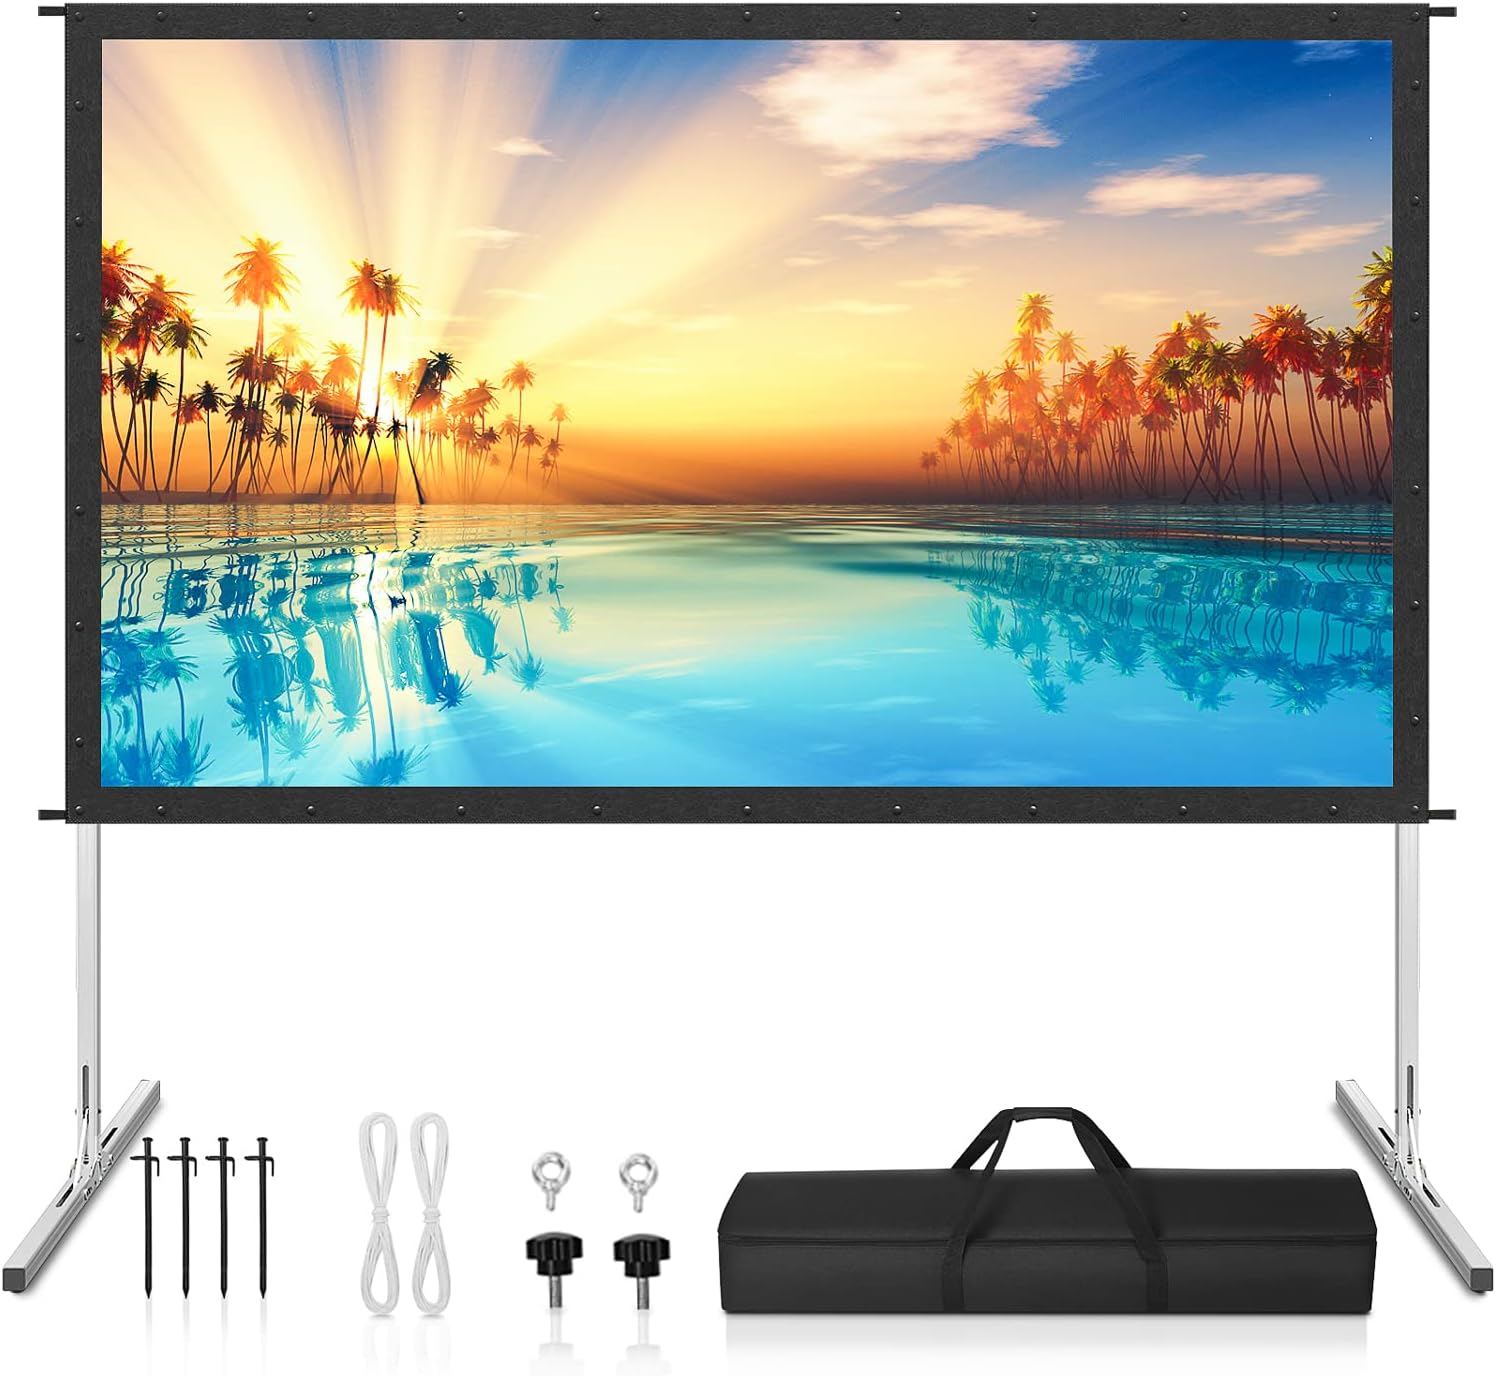
3. If your screen is not under warranty or the damage is not covered, research suitable replacement screens that fit your projector and setup requirements. Consider factors such as screen type (manual, motorized, fixed frame), size, aspect ratio, and material.
4. Purchase a replacement screen from a reputable retailer or online supplier. Take accurate measurements of your existing screen or frame to ensure you select the correct size.
5. Once you have the replacement screen, carefully remove the old screen from its frame or mount. Follow the manufacturer’s instructions for disassembly to avoid causing any further damage.
6. Install the new screen according to the manufacturer’s guidelines. Follow the specific instructions for your type of screen, whether it requires mounting brackets, hooks, or other installation methods.
7. Ensure the replacement screen is properly tensioned and aligned, avoiding any wrinkles or sagging. Adjust the tension mechanism if necessary and double-check for a smooth, flat surface.
8. Test the new screen by projecting an image to verify that it functions correctly and provides the desired viewing experience.
Replacing a damaged projector screen can be a more involved process, but it’s a necessary step for screens that are beyond repair. Take your time and follow the instructions carefully to ensure a successful replacement.
If you’re unsure about how to replace the screen or encounter any difficulties during the process, consider seeking assistance from a professional or a specialized technician to ensure the installation is done correctly.
Step 5: Check the Projector Settings
If you’re experiencing issues with the image quality or display on your projector screen, it’s essential to check the projector settings to ensure they are properly configured. Here are the steps to follow:
1. Begin by accessing the menu settings on your projector. This can usually be done using the remote control or by pressing the corresponding buttons on the projector itself.
2. Check the display mode or aspect ratio settings. Ensure that it matches the aspect ratio of your projector screen. Common aspect ratios include 16:9 for widescreen and 4:3 for standard screens. Select the appropriate aspect ratio for optimal image projection.
3. Verify the resolution settings. Make sure the projector is set to the native resolution of your content source, such as a computer or Blu-ray player. Higher resolutions may not be supported by the projector and can result in distorted or blurry images. Adjust the resolution accordingly.
4. Adjust the brightness, contrast, and color settings. These settings can significantly impact the overall image quality. Experiment with different settings to achieve the desired brightness, contrast, and color accuracy. Refer to the projector’s user manual for guidance on adjusting these settings.
5. Check the keystone correction settings. Keystone correction helps to correct any distortion caused by the projector’s angle or placement. Use the keystone correction feature to align the projected image and ensure it appears rectangular and not skewed.
6. Examine the input source settings. Ensure that the correct input source is selected and that it matches the device you are using to connect to the projector, whether it’s a laptop, Blu-ray player, or gaming console, for example.
7. Test the image and make adjustments as needed. Project a sample image or video to see how the adjustments have affected the display. Make further tweaks as necessary until you achieve the desired image quality.
Remember to refer to the projector’s user manual for specific instructions and guidance on accessing and adjusting these settings, as the exact steps may vary depending on the make and model of your projector.
By checking and adjusting the projector settings, you can optimize the image quality and ensure a clear and vibrant display on your projector screen.
Step 6: Fix Issues with Image Display
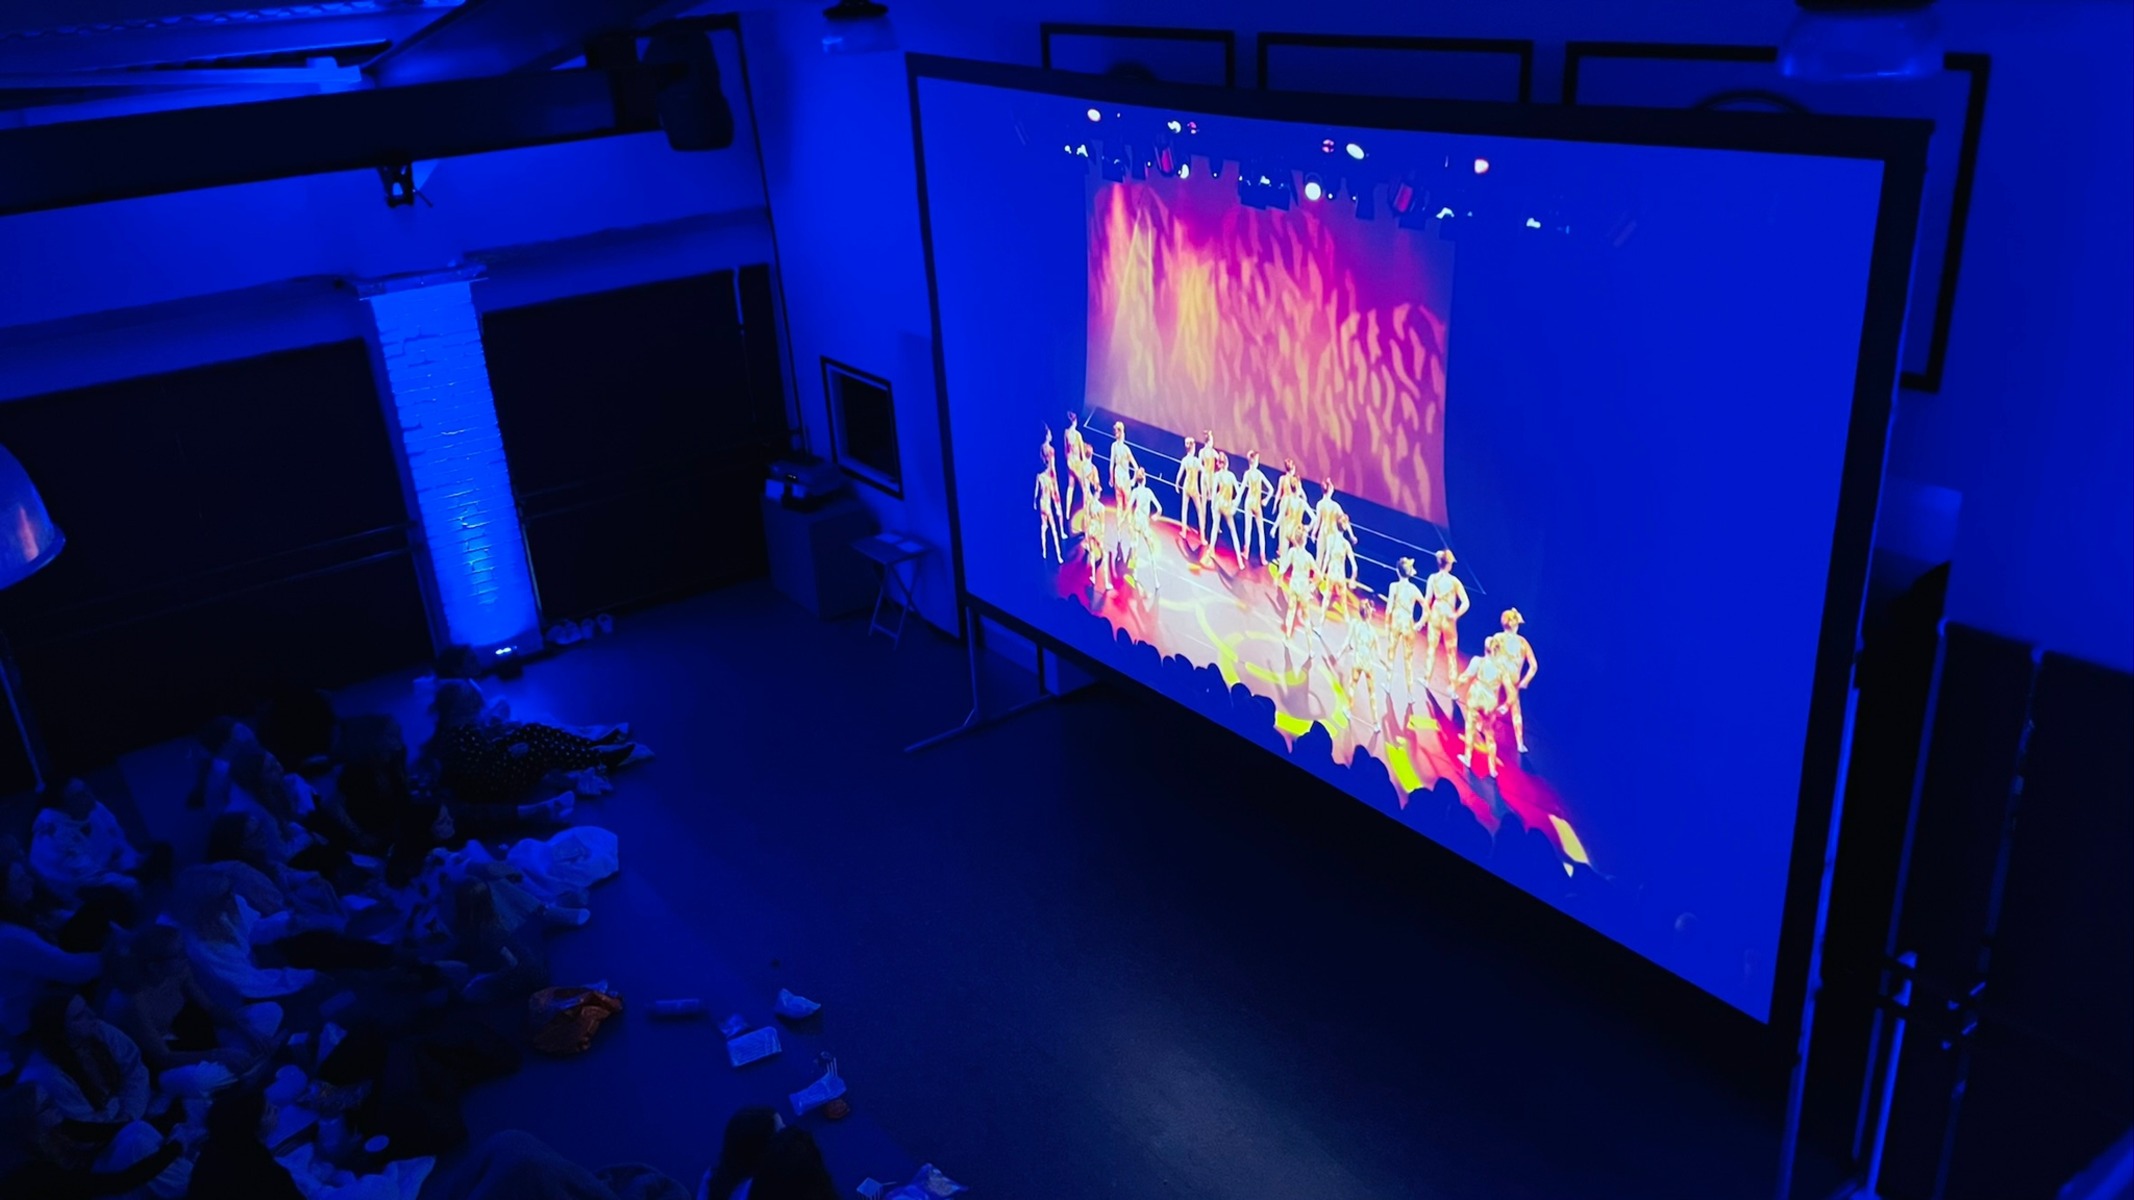
If you’re experiencing issues with the image display on your projector screen, such as distortion, misalignment, or poor focus, there are several troubleshooting steps you can take to address these problems. Here’s what you can do:
1. Check the projector’s distance and placement. Ensure that the projector is positioned at the optimal distance from the screen. Refer to the projector’s manual for the recommended distance range. Adjust the distance if needed to achieve the desired image size and focus.
2. Adjust the zoom and focus settings. If the image is blurry or out of focus, use the projector’s zoom and focus controls to sharpen the image. Experiment with different settings until the image appears clear and well-defined.
3. Verify the screen alignment. If the image is not properly aligned with the screen, adjust the projector’s horizontal and vertical lens shift or keystone correction settings. This will help correct any distortion and ensure a straight and evenly projected image.
4. Check the signal connections. Ensure that all cables connecting the projector to the video source are securely plugged in. Loose or faulty connections can result in image flickering or loss of signal. Consider using high-quality cables and adapters for optimal performance.
5. Adjust the color and brightness settings. If the image appears washed out or too dark, adjust the projector’s color, brightness, and contrast settings to enhance the overall image quality. Refer to the projector’s manual for recommended settings or experiment to find the right balance.
6. Calibrate the projector. Some projectors offer advanced calibration options, such as gamma adjustment or color temperature settings. Use the calibration features to fine-tune the image and achieve accurate color reproduction.
7. Test different sources and content. If the issue persists, try connecting different devices or using different media content to isolate if the problem lies with the projector or the source. This will help determine if there are any compatibility issues or specific settings required for certain devices or content.
If you’ve tried these troubleshooting steps and are still experiencing issues with the image display, consider consulting the projector’s manual or contacting technical support for further assistance. They may be able to provide specific solutions or recommend additional troubleshooting steps.
By addressing and fixing issues with the image display, you can ensure that your projector screen delivers a clear, vibrant, and visually appealing viewing experience.
Conclusion
In conclusion, fixing common problems with your projector screen is a manageable task that can greatly enhance your viewing experience. By following the steps outlined in this guide, you can identify and troubleshoot issues, clean the screen, adjust the tension, replace a damaged screen if necessary, check the projector settings, and fix any issues with image display.
Remember to always prioritize safety when working with your projector screen. If you’re unsure or uncomfortable with any of the steps, it’s best to seek professional assistance or contact the manufacturer for guidance.
Regularly cleaning and maintaining your projector screen can help prevent future problems and ensure optimal image quality. Take the time to clean the screen regularly and adjust the tension as needed to keep it in prime condition.
Additionally, checking and adjusting the projector settings can play a significant role in achieving the best visual experience. Pay attention to the resolution, aspect ratio, brightness, contrast, and color settings, as well as the keystone correction and input source settings, to optimize the image display on your projector screen.
By following these steps, you can troubleshoot and resolve common issues with your projector screen, allowing you to enjoy crisp, vibrant, and immersive visuals during your movie nights, presentations, or any other events where a projector is used.
We hope this guide has been helpful in assisting you with fixing your projector screen. Now, put your knowledge into practice and get ready to enjoy a seamless and captivating viewing experience!