Introduction
Welcome to our article on the topic of How Big Is A 120 Inch Projector Screen. If you’re interested in setting up a home theater or looking to upgrade your existing viewing experience, using a projector screen can greatly enhance your entertainment. One common question that arises when considering a projector screen is the ideal size to choose.
Projector screens come in various sizes, and the 120-inch size is a popular choice for many home theater enthusiasts. In this article, we will delve into the factors that make a 120-inch projector screen a compelling option. We will also discuss the important considerations you need to keep in mind when deciding on the size of your projector screen.
Understanding the various aspects of projector screens will help you make an informed decision when it comes to choosing the right size for your needs. Whether you’re a casual viewer, avid movie lover, or gaming enthusiast, finding the perfect screen size will significantly impact your overall viewing experience.
So, if you’ve ever wondered about the benefits and considerations of a 120-inch projector screen, read on as we explore the factors that make it an attractive choice.
Understanding Projector Screen Sizes
When it comes to projector screens, the size refers to the diagonal measurement of the screen surface. This measurement is typically given in inches and represents the distance from one corner of the screen to the opposite corner.
Projector screen sizes can vary significantly, ranging from small portable screens to massive theater-sized screens. The size you choose for your projector screen depends on various factors, including the purpose of its use, the viewing distance, and the dimensions of your viewing room.
It’s important to note that the size of the screen has a direct impact on the viewing experience. A larger screen allows for a more immersive and cinematic experience, while a smaller screen is suitable for casual or intimate viewing.
When considering the size of your projector screen, it’s essential to take into account the viewing distance. The general rule of thumb is that the screen size should be proportional to the viewing distance. For example, if you plan to sit relatively close to the screen, a larger screen size may be suitable to avoid any pixelation or loss of detail.
On the other hand, if you have a large viewing room or plan to sit farther away from the screen, a smaller screen size can still provide an impressive viewing experience without overwhelming the space.
Another important factor to consider is the aspect ratio of the screen. The most common aspect ratios are 16:9, which is the standard for widescreen content, and 4:3, which is common for older video formats. Make sure to choose a screen size that matches the aspect ratio of the content you will be displaying.
By understanding the concept of projector screen sizes and considering factors such as viewing distance and aspect ratio, you can make an informed decision when choosing the ideal size for your 120-inch projector screen.
Why Choose a 120 Inch Projector Screen
When it comes to selecting a projector screen size, there are a multitude of options available. However, the 120-inch projector screen stands out as a popular choice among home theater enthusiasts. Here, we’ll explore the reasons why you might consider choosing a 120-inch screen for your setup.
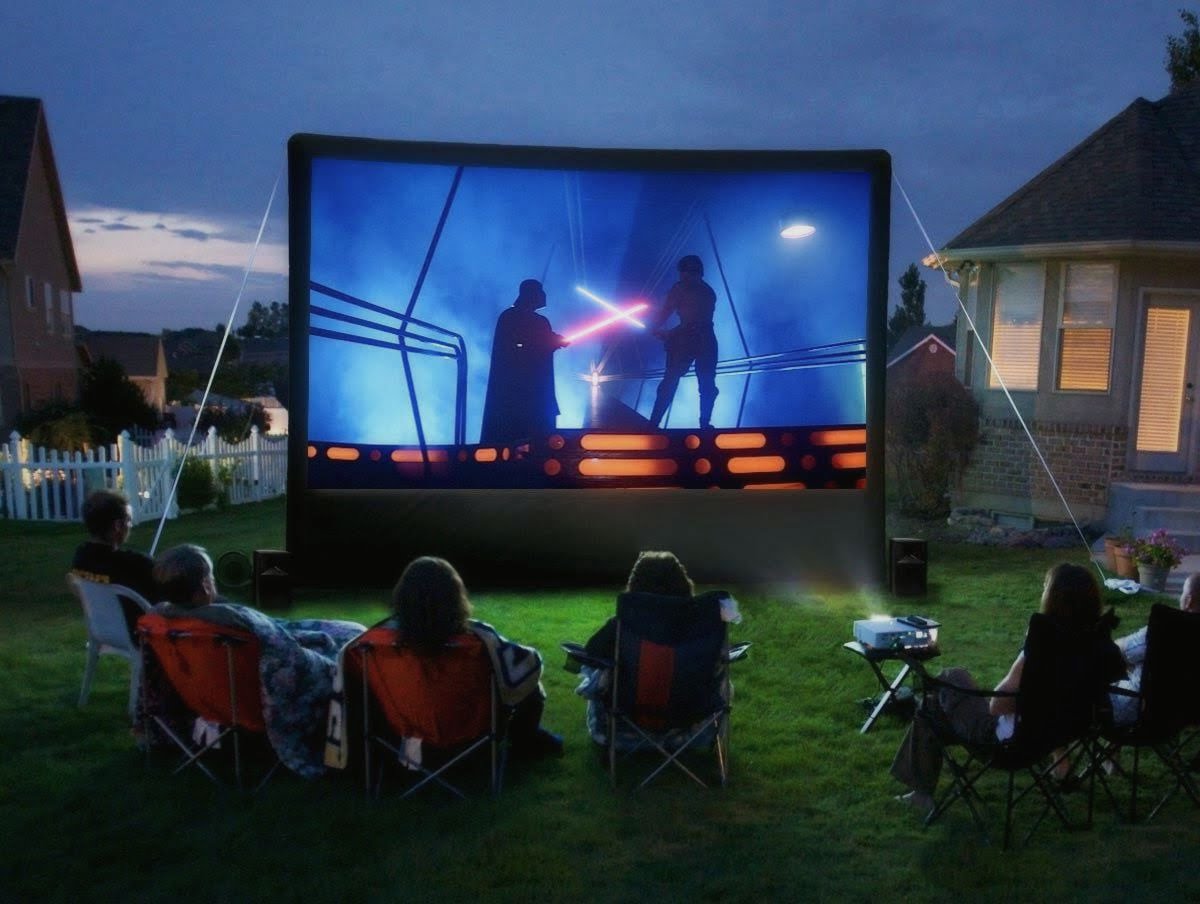
1. Immersive Viewing Experience: One of the primary advantages of a 120-inch projector screen is the immersive viewing experience it provides. The larger screen size allows for a more cinematic feel, enveloping viewers in the action and enhancing the sense of realism. It’s ideal for recreating a theater-like experience from the comfort of your own home.
2. Enhanced Detail and Image Quality: With a 120-inch screen, the size alone provides a larger canvas for the projected image. This leads to enhanced detail and improved image quality, allowing you to fully appreciate the nuances and intricacies of the content being displayed. Whether you’re watching movies, sports events, or playing video games, the larger screen size offers a more visually captivating experience.
3. Ideal for Larger Viewing Rooms: If you have a spacious viewing room or dedicated home theater space, a 120-inch projector screen is an excellent choice. The size is well-suited for larger rooms, maintaining a balance between visual impact and ensuring comfortable viewing from different seating positions.
4. Suitable for Seating Arrangements: A 120-inch screen accommodates a variety of seating arrangements. Whether you have a single row or multiple rows of seating, the larger screen size ensures that everyone in the room can enjoy an optimal viewing experience without straining their eyes.
5. Versatile Use: A 120-inch projector screen is versatile in its use. It can cater to various entertainment needs, from watching movies and TV shows to gaming and even presentations. This flexibility makes it an ideal choice for those looking for a multi-purpose screen that can be utilized in different scenarios.
In summary, choosing a 120-inch projector screen offers numerous benefits, including an immersive viewing experience, enhanced detail and image quality, suitability for larger viewing rooms, accommodating various seating arrangements, and versatility in its use. By considering these advantages, you can determine if a 120-inch screen is the right choice for your home theater or entertainment setup.
Factors to Consider
When choosing a projector screen size, there are several important factors to consider. Ensuring that you have the right size screen for your needs will optimize your viewing experience and avoid any potential drawbacks. Here are some key factors to keep in mind:
1. Viewing Distance: Determining the ideal viewing distance is crucial in selecting the appropriate screen size. Consider the distance between the screen and the seating area. Too large a screen for a close viewing distance may result in discomfort or pixelation, while a small screen for a far viewing distance may cause loss of detail. Striking the right balance ensures comfortable viewing and optimal immersion.
2. Room Size and Layout: Take into account the dimensions and layout of your viewing room. A 120-inch screen may be overwhelming in a small space, while it could be underwhelming in a large, open room. Assess the available space and consider how the screen size will fit within the room’s overall aesthetic and functionality.
3. Projector Brightness: The brightness output of your projector should match the screen size you choose. A larger screen may require a more powerful projector in order to maintain a vibrant and well-lit image. Check the specifications of your projector and ensure that it can adequately illuminate the selected screen size.
4. Ambient Light Conditions: Consider the lighting conditions in your viewing area. If you have a dedicated home theater with controlled lighting, a 120-inch screen should be suitable. However, if your room has excessive ambient light or windows that cannot be fully covered, a smaller screen may be preferable to maintain image quality and prevent washout.
5. Aspect Ratio: The aspect ratio of your content should match the screen size. Most modern content is in a 16:9 aspect ratio, but older formats or specialized content may require a different aspect ratio. Ensure that the screen size you choose maintains the correct proportions for your preferred content.
By considering these factors, you can make an informed decision when selecting the size of your projector screen. Remember that the goal is to create an immersive and enjoyable viewing experience that suits your specific needs and preferences.
Viewing Distance
When it comes to the optimal viewing experience with a projector screen, determining the right viewing distance is crucial. The distance between the screen and the seating area plays a significant role in selecting the appropriate screen size. It directly affects how the content is perceived and can impact your overall enjoyment. Here are some key considerations when determining the viewing distance:
1. Comfortable Viewing: The viewing distance should ensure comfortable viewing without causing strain or discomfort. Sitting too close to a large screen may result in a distorted image, making it challenging to focus on the content. On the other hand, sitting too far from a small screen may cause the details to appear blurry. Finding the right balance ensures that you can fully enjoy the visuals without any discomfort.
2. Immersion and Presence: The right viewing distance can enhance the immersive experience. With a larger screen, such as a 120-inch projector screen, sitting at an appropriate distance will make you feel more involved and immersed in the content. It creates a sense of presence, as if you are part of the action unfolding on the screen.
3. Pixelation and Image Quality: Sitting too close to a screen that is too large for the viewing distance may result in pixelation. This occurs when the individual pixels that make up the image become visible, compromising the overall image quality. Conversely, sitting too far from a small screen may lead to loss of detail and sharpness. Adjusting the viewing distance ensures that you maintain a high level of image clarity and detail.
4. Content Type: The type of content you plan to watch also influences the optimal viewing distance. For movies with intricate details or gaming with fast-moving action, a closer viewing distance may be preferable. However, if you mostly watch televised sports or casual TV shows, a slightly farther viewing distance may be suitable.
5. Space Constraints: The size of your room or viewing area may impose limitations on the viewing distance. Measure the available space and consider any furniture or other obstructions. Ensure that the viewing distance you choose allows for comfortable seating arrangements and does not hinder the overall functionality of the room.
By considering these factors and experimenting with different viewing distances, you can determine the optimal position for an immersive and enjoyable viewing experience. Remember that the goal is to find a balance between comfortable viewing, image quality, and the size of your projector screen.
Room Size and Layout
When considering the size of your projector screen, it’s essential to take into account the dimensions and layout of your viewing room. The room size and layout play a significant role in determining the suitable screen size for your space. Here are some key factors to consider:
1. Available Space: Measure the dimensions of your room to understand how much space you have for your home theater setup. Consider the width, height, and depth of the room, as well as any architectural features like windows, doors, or columns. This will help you determine the maximum screen size your room can accommodate without overcrowding or compromising functionality.
2. Seating Arrangement: Consider how you plan to arrange your seating in relation to the projector screen. Whether you opt for a single row of seats or multiple rows, ensure that there is sufficient distance between the screen and the seating area. This will prevent viewers from feeling too close or too far away, maintaining an optimal viewing experience for everyone in the room.
3. Proportionality: The screen size should be proportionate to the room size to create a visually balanced and aesthetically pleasing setup. In a smaller room, a very large projector screen may dominate the space and overwhelm the overall decor. Conversely, a small screen in a large room may feel underwhelming. Finding the right balance ensures that your home theater setup enhances the visual appeal of the room.
4. Viewing Angles: Consider the angles from which viewers will be watching the screen. If you have a wide room or seating arrangement, ensure that the screen is visible from all angles without any significant distortion or loss of image quality. Test different seating positions and sightlines to ensure an optimal viewing experience throughout the room.
5. Acoustic Considerations: Keep in mind that the size of the projector screen may impact the acoustics of the room. Larger screens can affect sound distribution and reflections, especially if they are placed in close proximity to the speakers. Ensure proper audio calibration and consider any acoustic treatments that may be necessary to maintain balanced sound throughout the room.
By considering the room size and layout, you can choose a projector screen size that fits seamlessly into your viewing room. It will not only optimize the visual experience but also enhance the overall aesthetics and functionality of your home theater setup.
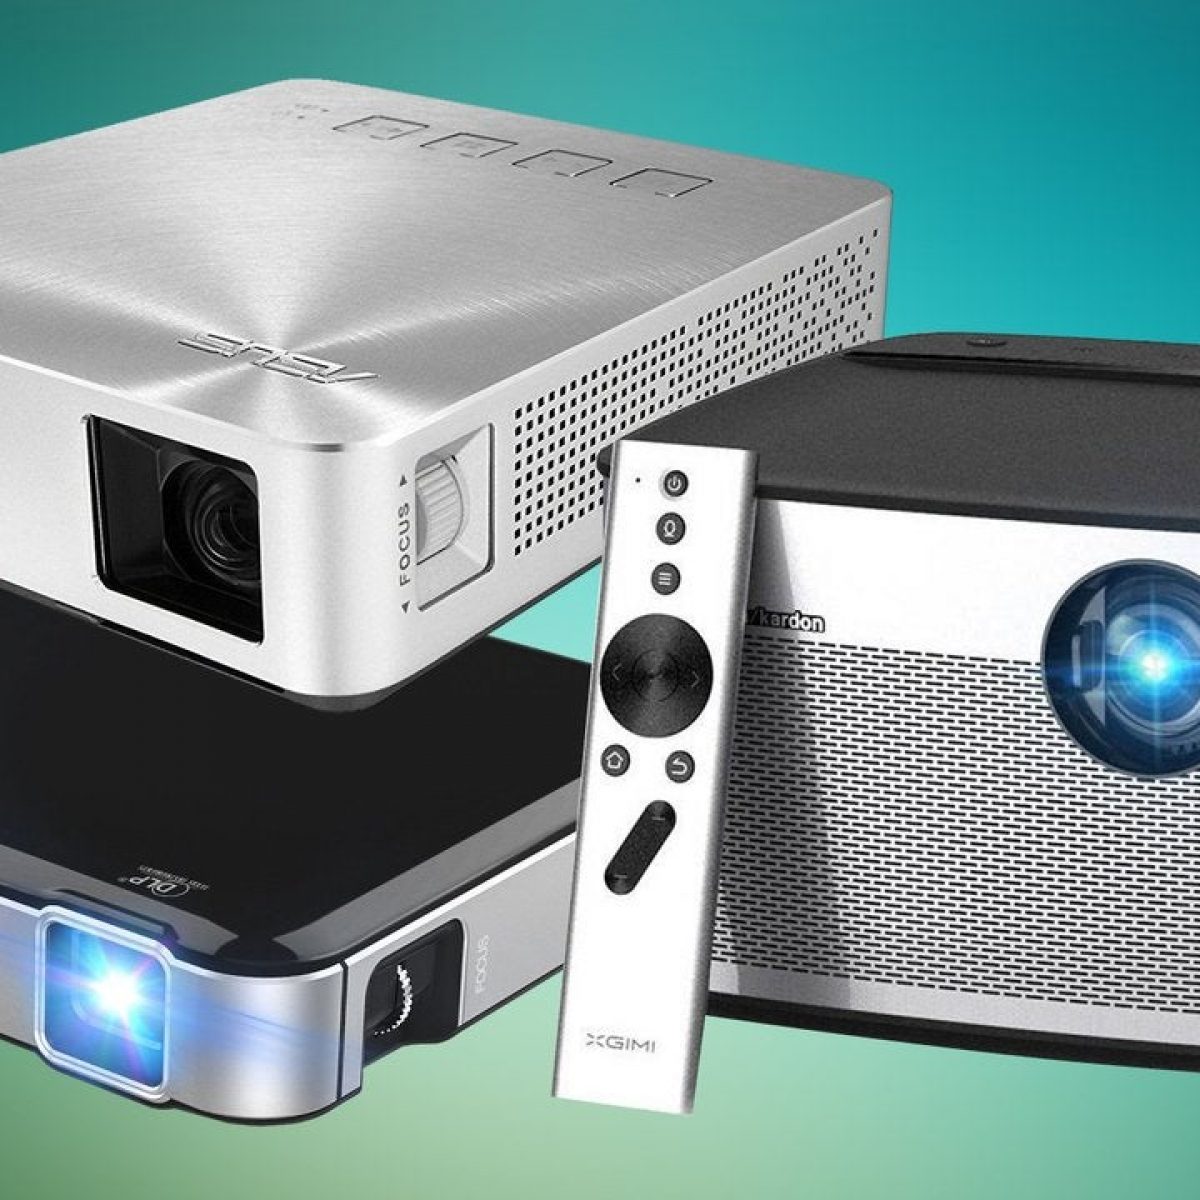
Projector Brightness
When selecting a projector screen size, it’s vital to consider the brightness capabilities of your projector. The brightness output plays a significant role in ensuring a clear and vibrant image on the screen. Here are some key factors to consider regarding projector brightness:
1. Screen Size and Brightness: Larger projector screens require a higher brightness output to ensure that the image remains vivid and well-defined. As the screen size increases, the amount of light that needs to be projected onto the screen also increases. If your projector does not have sufficient brightness, the image may appear dim or washed out, compromising the overall viewing experience.
2. Lumens: Projector brightness is measured in lumens, which indicate the amount of light emitted by the projector. Higher lumen values generally result in brighter images. For a 120-inch projector screen, it is recommended to have a projector with a minimum brightness of 2000 to 2500 lumens. This range will provide a crisp and vibrant image, even in moderately lit rooms.
3. Ambient Light Conditions: Consider the ambient light conditions in the room where the projector screen will be used. If you have a dedicated home theater with controlled lighting, you can opt for a projector with lower brightness. However, if you have windows or abundant natural light in the room, a brighter projector is necessary to combat the light interference and maintain image quality.
4. Projection Surface and Gain: The type of projection surface used can also impact the perceived brightness of the image. Some screens have a higher gain, which reflects more light back to the viewer, resulting in a brighter image. Conversely, screens with lower gain may require a projector with higher brightness to compensate for the light loss. Consider the gain of your screen when selecting a projector, ensuring compatibility and maximizing image brightness.
5. Calibration and Contrast Ratio: Proper calibration of your projector can significantly enhance the perceived brightness of the image. Adjusting the brightness, contrast, and gamma settings can optimize the image quality for your specific viewing environment. Additionally, a projector with a higher contrast ratio can deliver greater depth and detail in dark scenes, further enhancing the overall viewing experience.
By considering the brightness capabilities of your projector and its compatibility with the screen size, you can ensure a visually compelling and bright image on your 120-inch projector screen. Remember to take into account the ambient light conditions and properly calibrate your projector to achieve the best results.
Ambient Light Conditions
When setting up a projector screen, it’s essential to consider the ambient light conditions in the room. The amount of light present in the environment can have a significant impact on the perceived image quality and overall viewing experience. Here are some key considerations regarding ambient light conditions:
1. Natural Light: If your room has windows or skylights, the natural light entering the room can affect the image quality on the projector screen. Direct sunlight or bright daylight can cause the projected image to appear washed out, reducing color vibrancy and overall visibility. Consider using curtains, blinds, or shades to block out or reduce the amount of natural light, creating a darker viewing environment.
2. Artificial Lighting: The type and placement of artificial lighting in the room should be taken into account. Bright overhead lights, floor lamps, or wall sconces can create glare and reflections on the screen, making it difficult to see the projected image clearly. Opt for dimmable lighting options or use lighting fixtures strategically to minimize direct light falling on the screen.
3. Screen Material: The type of screen material used can also impact the visibility under ambient light conditions. Some projector screens are designed to reject ambient light and maintain image quality even in well-lit rooms. These screens typically have a higher gain, which enhances the reflectivity of the projected light. Consider screens with higher gain or ambient light rejection capabilities if your viewing room has moderate to high ambient light levels.
4. Image Contrast: The contrast ratio of your projector and screen can play a crucial role in dealing with ambient light. A higher contrast ratio allows for better differentiation between light and dark areas of the image, resulting in improved visibility and detail. If your room has unavoidable ambient light, consider a projector with a higher contrast ratio to maintain image clarity and definition even in challenging light conditions.
5. Room Color and Surfaces: The color of the walls, ceiling, and other surfaces in the room can affect the overall perception of image quality. Darker colored walls and surfaces absorb more light, reducing the potential for reflections and glare. Opting for neutral or dark-colored surfaces can help create a conducive environment for projecting onto the screen, minimizing distractions caused by reflections and scattered light.
By considering the ambient light conditions in your viewing room, you can make informed decisions regarding lighting control and screen selection. Striving for a darker viewing environment with minimal light interference will ensure that the image on your 120-inch projector screen remains vibrant, clear, and enjoyable.
Types of Projector Screens
When it comes to choosing a projector screen, there are several types available, each with its own unique features and benefits. Understanding the different options will help you select the right screen that suits your specific needs and preferences. Here are some commonly used types of projector screens:
1. Fixed Frame Screens: Fixed frame screens are permanently mounted on a frame, providing a taut, flat surface for projection. These screens offer a sleek and professional appearance and are best suited for dedicated home theaters or spaces where the screen remains in place. Fixed frame screens typically provide excellent picture quality and have minimal wrinkles or creases that can affect the image.
2. Motorized Screens: Motorized screens are retractable and can be raised or lowered using an electric motor. These screens are controlled with a remote or wall switch, offering convenient operation and the ability to easily hide the screen when not in use. Motorized screens are versatile and can be installed in various locations, making them suitable for multi-purpose rooms or spaces where aesthetics and flexibility are important.
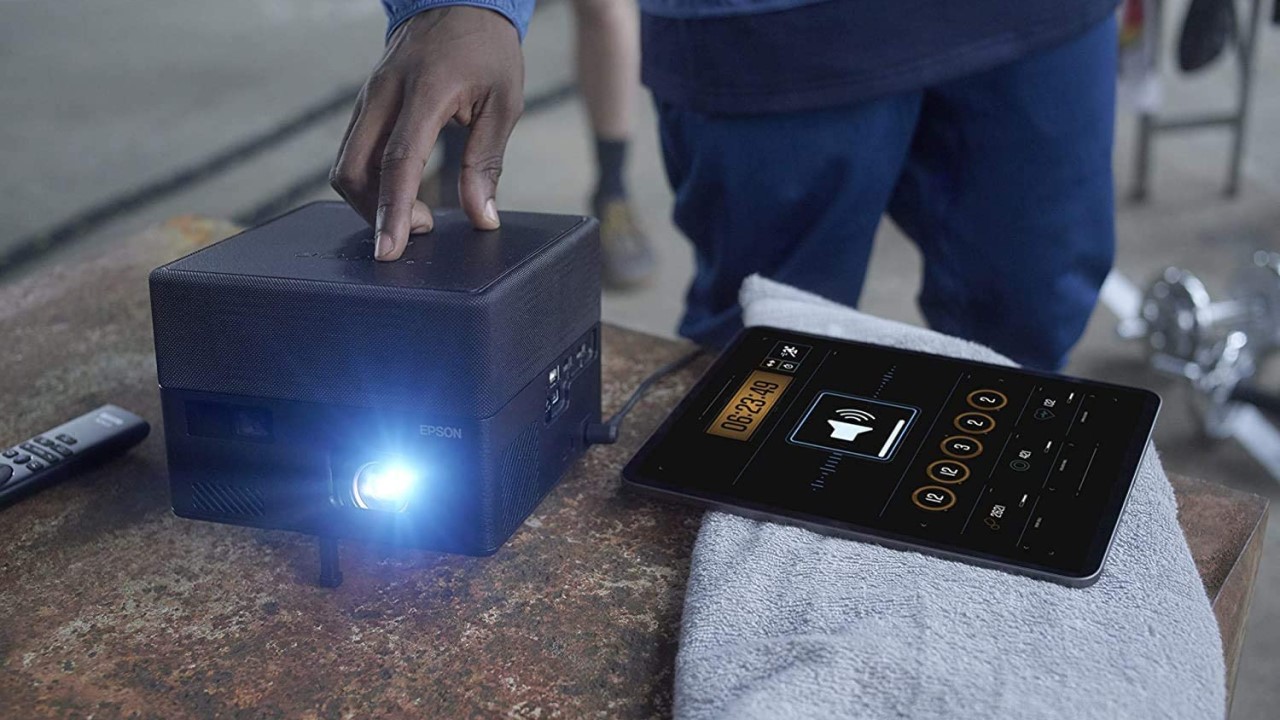
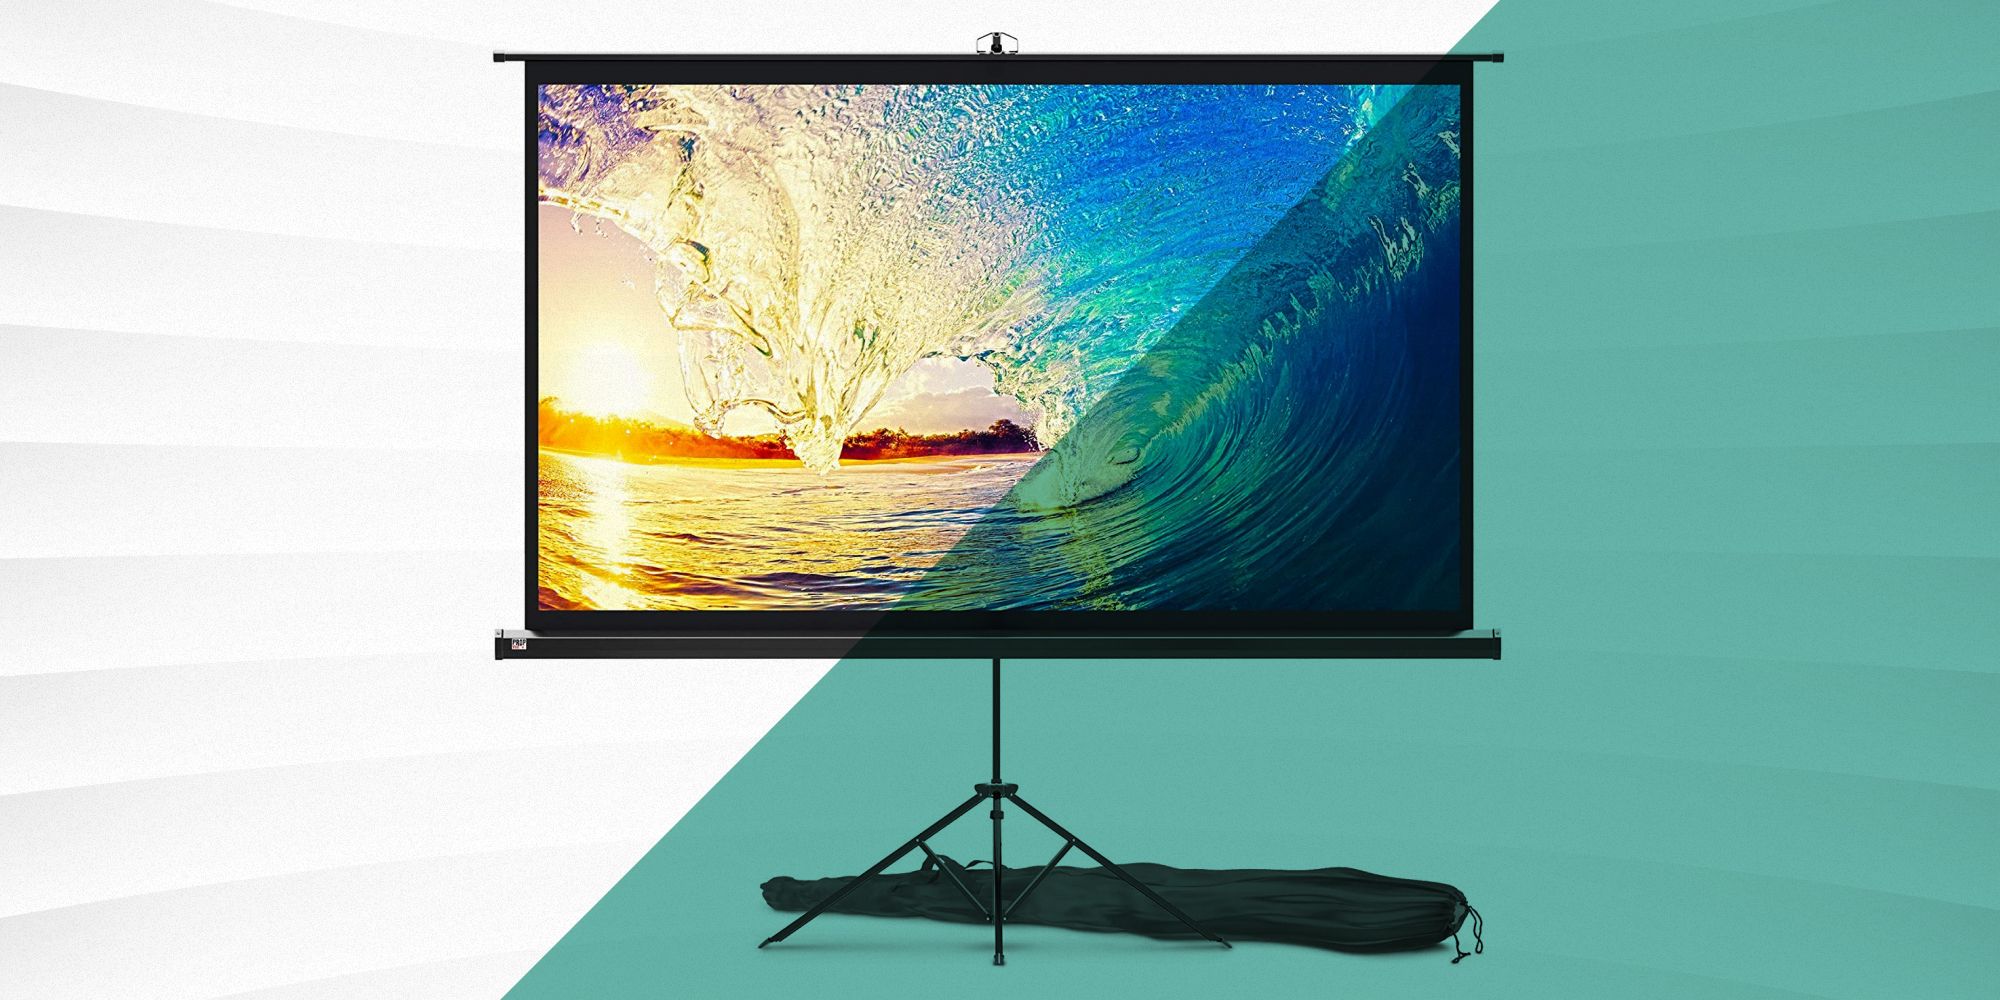
3. Portable Screens: As the name suggests, portable screens are lightweight and easy to transport, making them ideal for users who need a screen that can be moved between different locations. These screens typically come in a self-contained casing and can be set up quickly without the need for permanent installation. Portable screens are popular for outdoor movie nights, business presentations, and other temporary projection needs.
4. Manual Pull-Down Screens: Manual pull-down screens are similar to motorized screens, but they require manual pulling to lower or retract the screen. These screens are less expensive than motorized screens and can be a suitable option for users on a budget. The manual operation may require more effort, but they still offer reliable performance and can be a practical choice for smaller rooms or spaces.
5. Tab-Tensioned Screens: Tab-tensioned screens use a system of tensioning cords or rods to ensure the screen surface remains flat and wrinkle-free. These screens are particularly useful in preventing image distortion or waves that may occur over time. Tab-tensioned screens are often found in high-end home theater setups or applications where precise image reproduction is essential.
Each type of projector screen offers unique advantages, so it’s important to consider your specific requirements before making a decision. Factors such as installation convenience, portability, image quality, and budget will help guide you in selecting the right type of projector screen for your needs.
Fixed Frame Screens
Fixed frame screens are a popular choice among home theater enthusiasts and professional installations. These screens consist of a fixed frame that is permanently mounted on the wall or in a dedicated screen enclosure. Here are some key features and benefits of fixed frame screens:
1. Picture Quality: Fixed frame screens offer excellent picture quality due to their flat and taut surface. The fixed frame ensures that the screen remains perfectly stretched, minimizing any wrinkles, waves, or distortions that could affect the projected image. This results in a clear and detailed picture with accurate color representation.
2. Sleek Appearance: Fixed frame screens provide a sleek and professional appearance that enhances the aesthetics of any home theater or presentation space. The frame is typically made of high-quality materials, such as aluminum or steel, which not only gives the screen a polished look but also ensures its durability and longevity.
3. Immersive Experience: With a fixed frame screen, you can achieve a true cinematic experience. The large, unwavering screen size, combined with the lack of distractions like visible seams or fold lines, creates an immersive viewing environment. It allows viewers to fully engage with the content, whether watching movies, sports events, or gaming sessions.
4. Enhanced Sound Performance: Another advantage of fixed frame screens is their ability to improve audio performance. The screen material used is often acoustically transparent, allowing sound to pass through without obstruction. This enables speakers to be placed behind the screen, creating a clearer and more realistic soundstage for an immersive audio experience.
5. Easy Installation: Installing a fixed frame screen is a relatively straightforward process. Once the frame is securely mounted on the wall or in an enclosure, the screen material is attached and stretched tightly using tensioning mechanisms or snap fasteners. This ensures a flat and flawless screen surface. The installation is typically permanent, meaning you won’t have to worry about setting up or taking down the screen after each use.
While fixed frame screens offer exceptional performance, it’s important to consider the size and dimensions of your room before choosing this option. These screens work best in dedicated home theater spaces or rooms with sufficient wall space to accommodate the screen. Additionally, fixed frame screens are typically more expensive than other types of screens, but their high-quality construction and durable design make them a worthwhile investment for those seeking an exceptional viewing experience.
Motorized Screens
Motorized screens are a popular choice for those seeking convenience and flexibility in their projection setup. These screens feature an electric motor that allows for easy and automated raising or lowering of the screen. Here are some key features and benefits of motorized screens:
1. Easy Operation: The main advantage of motorized screens is their effortless operation. With a push of a button on a remote control or a wall-mounted switch, the screen smoothly rolls down or retracts into a protective casing. This makes it convenient to use and eliminates the need for manual effort or adjustment. Motorized screens are particularly beneficial in multi-purpose rooms or spaces where the screen needs to be hidden when it’s not in use.
2. Versatile Placement: Motorized screens offer versatile placement options. They can be mounted on a wall, ceiling, or even in tight spaces like cabinets or recessed enclosures. This flexibility allows users to install the screen in various locations, depending on their specific room design and viewing setup. Motorized screens are a popular choice for those seeking a clean and unobtrusive appearance for their home theater or presentation area.
3. Adjustable Screen Positioning: Motorized screens provide the advantage of adjustable screen positioning. With programmable settings, you can stop the screen at different heights, depending on your preferred aspect ratio or audience size. The ability to raise or lower the screen to the desired position ensures optimal viewing angles and ensures that the content is visible to all viewers in the room.
4. Wide Range of Sizes and Fabrics: Motorized screens are available in a wide range of sizes, accommodating various projection needs. Whether you require a smaller screen for a compact space or a larger one for a spacious room, motorized screens offer options to suit your requirements. Additionally, you can choose from different screen fabrics and gain values to optimize the image quality and viewing experience.
5. Integration with Smart Home Technology: Many motorized screens can be integrated into smart home automation systems. This integration allows you to control the screen along with other home theater or entertainment devices, such as projectors, speakers, and lighting, all from a single interface. The ability to synchronize screen movements with other components enhances the overall user experience and simplifies the operation of your home theater setup.
Motorized screens offer convenience and flexibility, making them an excellent choice for those who value ease of use and seamless integration into their viewing environment. Whether you have a dedicated home theater or a multi-purpose living area, motorized screens provide an efficient and stylish solution for your projection needs.
Portable Screens
Portable screens are a versatile and convenient option for users who require a screen that can be easily moved and set up in different locations. These screens are lightweight, compact, and designed for quick assembly. Here are the key features and benefits of portable screens:
1. Easy Mobility: The main advantage of portable screens is their portability. They are lightweight and often come with a carry bag or case, allowing you to easily transport them to different venues or events. Whether you’re hosting outdoor movie nights, business presentations, or educational workshops, portable screens provide flexibility and the ability to bring the big-screen experience wherever you go.
2. Quick and Simple Setup: Portable screens are designed for ease of use and quick assembly. Most models utilize a pop-up or pull-up mechanism that allows the screen to be set up within minutes. The collapsible framework and flexible screen material make it easy to extend and lock the screen into position, providing a stable and flat projection surface.
3. Space-Saving Design: Portable screens are designed to be compact and space-saving. When not in use, they can be folded down and stored in their carry bag or case, occupying minimal storage space. This makes them ideal for users with limited storage areas or those who need a temporary screen solution without the need for a dedicated projection setup.
4. Versatile Screen Sizes: Depending on your specific needs, portable screens are available in different sizes to accommodate various projection requirements. Whether you need a smaller screen for intimate gatherings or a larger screen for larger events, portable screens offer options to suit your preferences. This versatility allows you to adapt to different venues and projection setups.
5. Flexibility in Location: Portable screens can be set up in a variety of locations. They can be used indoors or outdoors, in homes, offices, conference rooms, parks, and more. The ability to easily move and set up the screen in different environments provides flexibility and adaptability to different projection scenarios.
Portable screens provide a convenient and flexible solution for users who require mobility and versatility in their projection setups. Whether you’re a presenter, educator, event organizer, or enthusiast hosting movie nights, portable screens offer an easy-to-use and transportable option for bringing your visual content to life.
Installation and Setup
Proper installation and setup of your projector screen are crucial to ensure optimal performance and a seamless viewing experience. Whether you’re setting up a fixed frame screen, motorized screen, or portable screen, here are some key considerations and steps to follow:
1. Determine the Screen Placement: Before installing the screen, decide where it will be positioned in your room. Consider factors such as viewing angles, seating arrangement, and the screen’s compatibility with your projector. Take measurements and ensure that there is sufficient space for the screen size you’ve chosen.
2. Mounting the Screen: For fixed frame screens, securely mount the frame on the wall using appropriate hardware. Make sure the frame is level, and the screen is stretched tightly across it. For motorized screens, follow the manufacturer’s instructions for mounting the casing on the wall or ceiling. Ensure that the screen is aligned properly and retracts smoothly without any obstructions.
3. Connecting and Testing: If you’re using a motorized screen, connect the power source and control unit as per the manufacturer’s instructions. Test the screen’s movement to ensure it operates smoothly and stops at the desired positions. For portable screens, follow the assembly instructions provided by the manufacturer to set up the collapsible framework and attach the screen material.
4. Adjusting Screen Height and Tension: For motorized and portable screens, ensure that the screen is at the appropriate height and is taut without any wrinkles or sagging. Adjust the tensioning mechanisms or spring-loaded mechanisms as necessary to achieve a flat and even surface. This will provide the best picture quality and prevent any distortion or waviness.
5. Calibration and Alignment: Once the screen is installed, calibrate your projector to match the screen size and aspect ratio. Adjust the image settings such as brightness, contrast, and color to achieve the desired visual quality. Use test patterns or calibration tools to align the projector and screen properly, ensuring a crisp, accurately aligned image.
6. Cable Management: Consider cable management to keep your installation clean and organized. Route cables discreetly along walls or use cable covers to prevent tripping hazards and maintain a tidy appearance. This step is particularly important for fixed frame screens where cables may be hidden behind the frame or within walls.
7. Testing and Fine-Tuning: Once everything is set up, test the system by attempting various content types and adjusting settings as needed. Take the time to fine-tune the image quality, audio synchronization, and any other factors that affect the overall viewing experience. This will ensure that your projector screen setup performs optimally and delivers the desired results.
By following these installation and setup guidelines, you can achieve a professional and efficient projector screen installation, regardless of the type of screen you choose. Taking the time to properly install and calibrate your projector screen will enhance your viewing experience and allow you to enjoy your favorite content in the best possible way.
Conclusion
Choosing the right size and type of projector screen plays a significant role in creating an immersive and enjoyable viewing experience. From understanding projector screen sizes to considering factors such as viewing distance, room size and layout, projector brightness, ambient light conditions, and screen types, each decision contributes to the overall quality of your setup.
A 120-inch projector screen stands out as a popular choice for its ability to deliver a truly cinematic experience, enhance image detail, and accommodate larger viewing rooms and seating arrangements. However, it is essential to consider individual factors and preferences before making a final decision.
Fixed frame screens offer excellent picture quality and a sleek, professional appearance, ideal for dedicated home theaters. Motorized screens provide convenience and versatility, allowing for adjustable screen positioning and integration with smart home technology. Portable screens offer mobility and flexibility, making them suitable for various locations and events.
When installing and setting up your projector screen, ensuring proper placement, mounting, calibration, and cable management will optimize performance. Taking the time to fine-tune the system and test different content types will further enhance the overall viewing experience.
Ultimately, the goal is to create a personalized viewing area that caters to your specific needs and preferences. Whether you’re a casual viewer, avid movie lover, or gaming enthusiast, selecting the right projector screen size and type will significantly impact your enjoyment of movies, shows, games, or presentations.
By considering the factors discussed in this article and following proper installation and setup procedures, you can create a truly immersive and captivating home theater or projection experience, bringing your entertainment to life on the big screen.