Introduction
Welcome to the world of projectors and projector screens! Whether you are a movie enthusiast, a presenter, or a teacher, a projector screen is an essential tool that brings your content to life. However, sometimes, you may face the challenge of getting your projector screen to roll up properly. Don’t worry, as we are here to guide you through the process.
In this article, we will dive into the basics of a projector screen and provide you with step-by-step instructions on adjusting the tension, cleaning and maintaining, troubleshooting, and rolling up your projector screen correctly. By following these tips, you can ensure the longevity and optimal performance of your projector screen, allowing you to enjoy crystal-clear images and presentations without any hassles.
So, whether you have just purchased a new projector screen or have been struggling with an existing one, read on to discover the secrets of getting your projector screen to roll up effortlessly. Soon, you’ll be able to enjoy the convenience and professional quality of a well-functioning projector screen.
Understanding the Basics of a Projector Screen
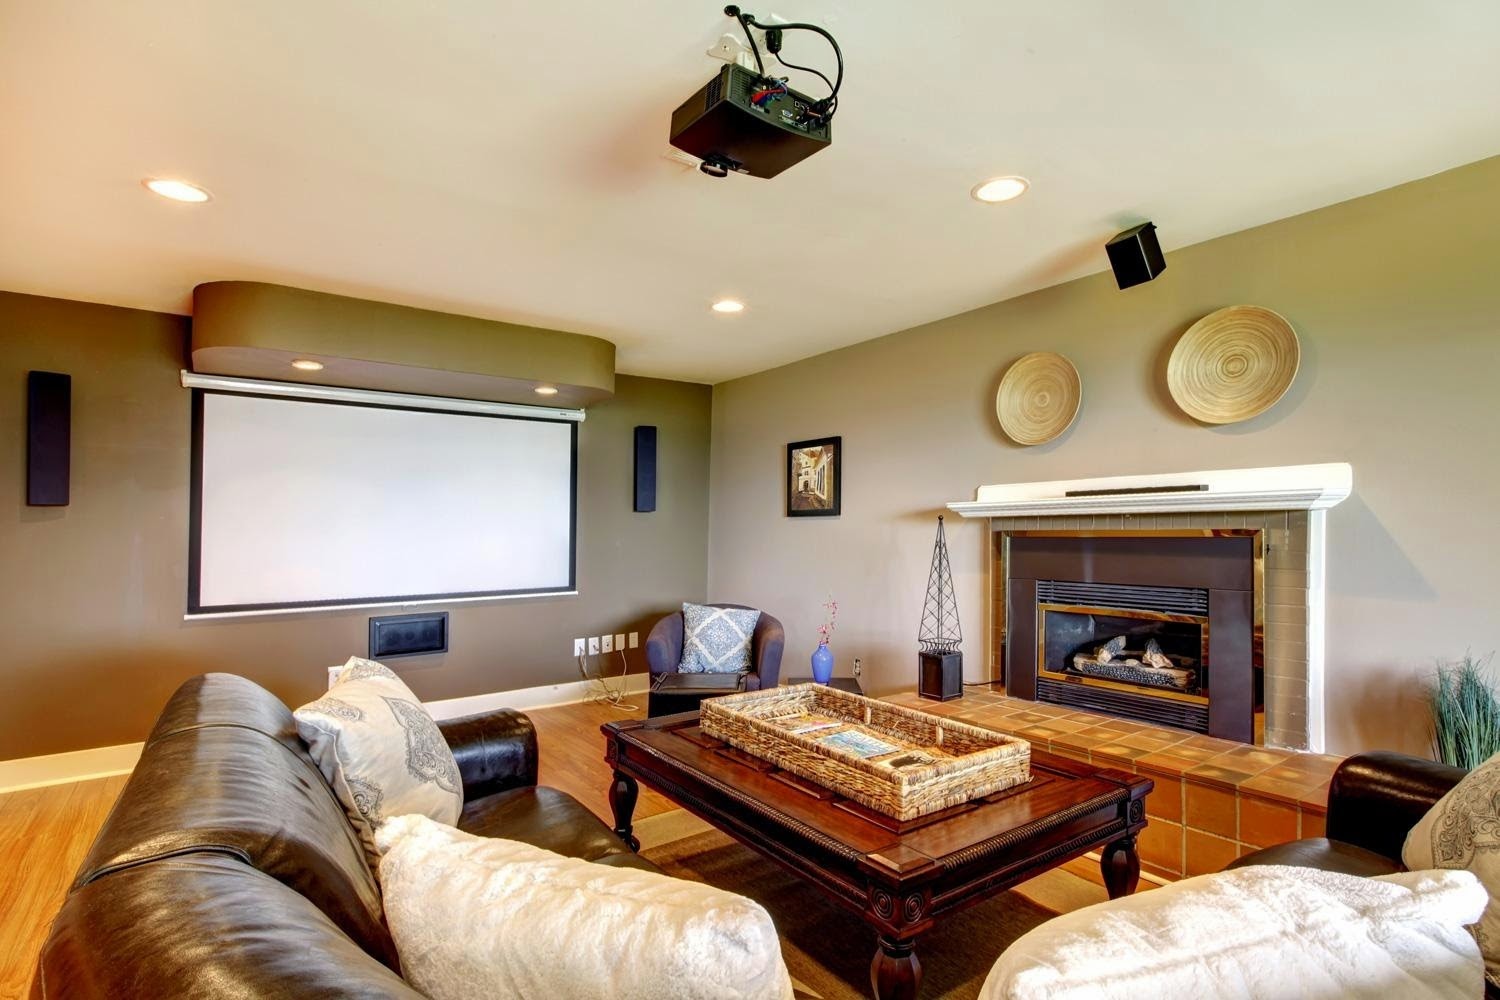
Before diving into the process of getting your projector screen to roll up smoothly, it’s essential to have a basic understanding of how a projector screen works. A projector screen is a specially designed surface that reflects light evenly to create a clear and focused image. It is commonly used in home theaters, classrooms, boardrooms, and other spaces where presentations or movie screenings take place.
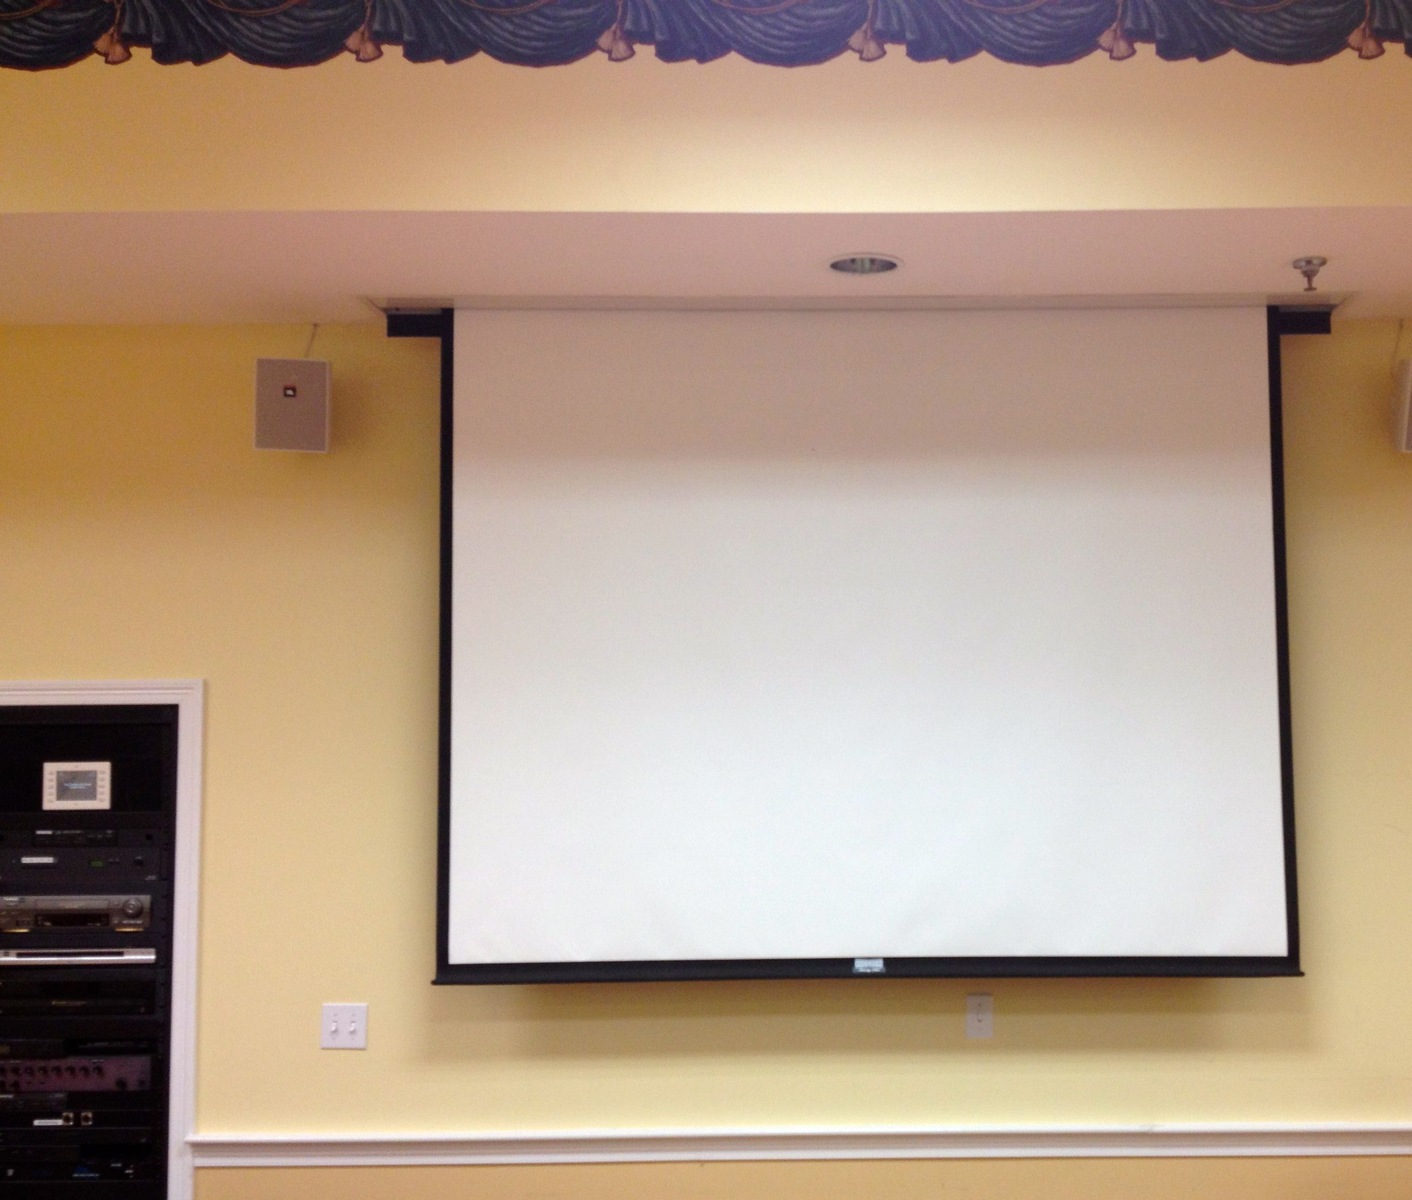
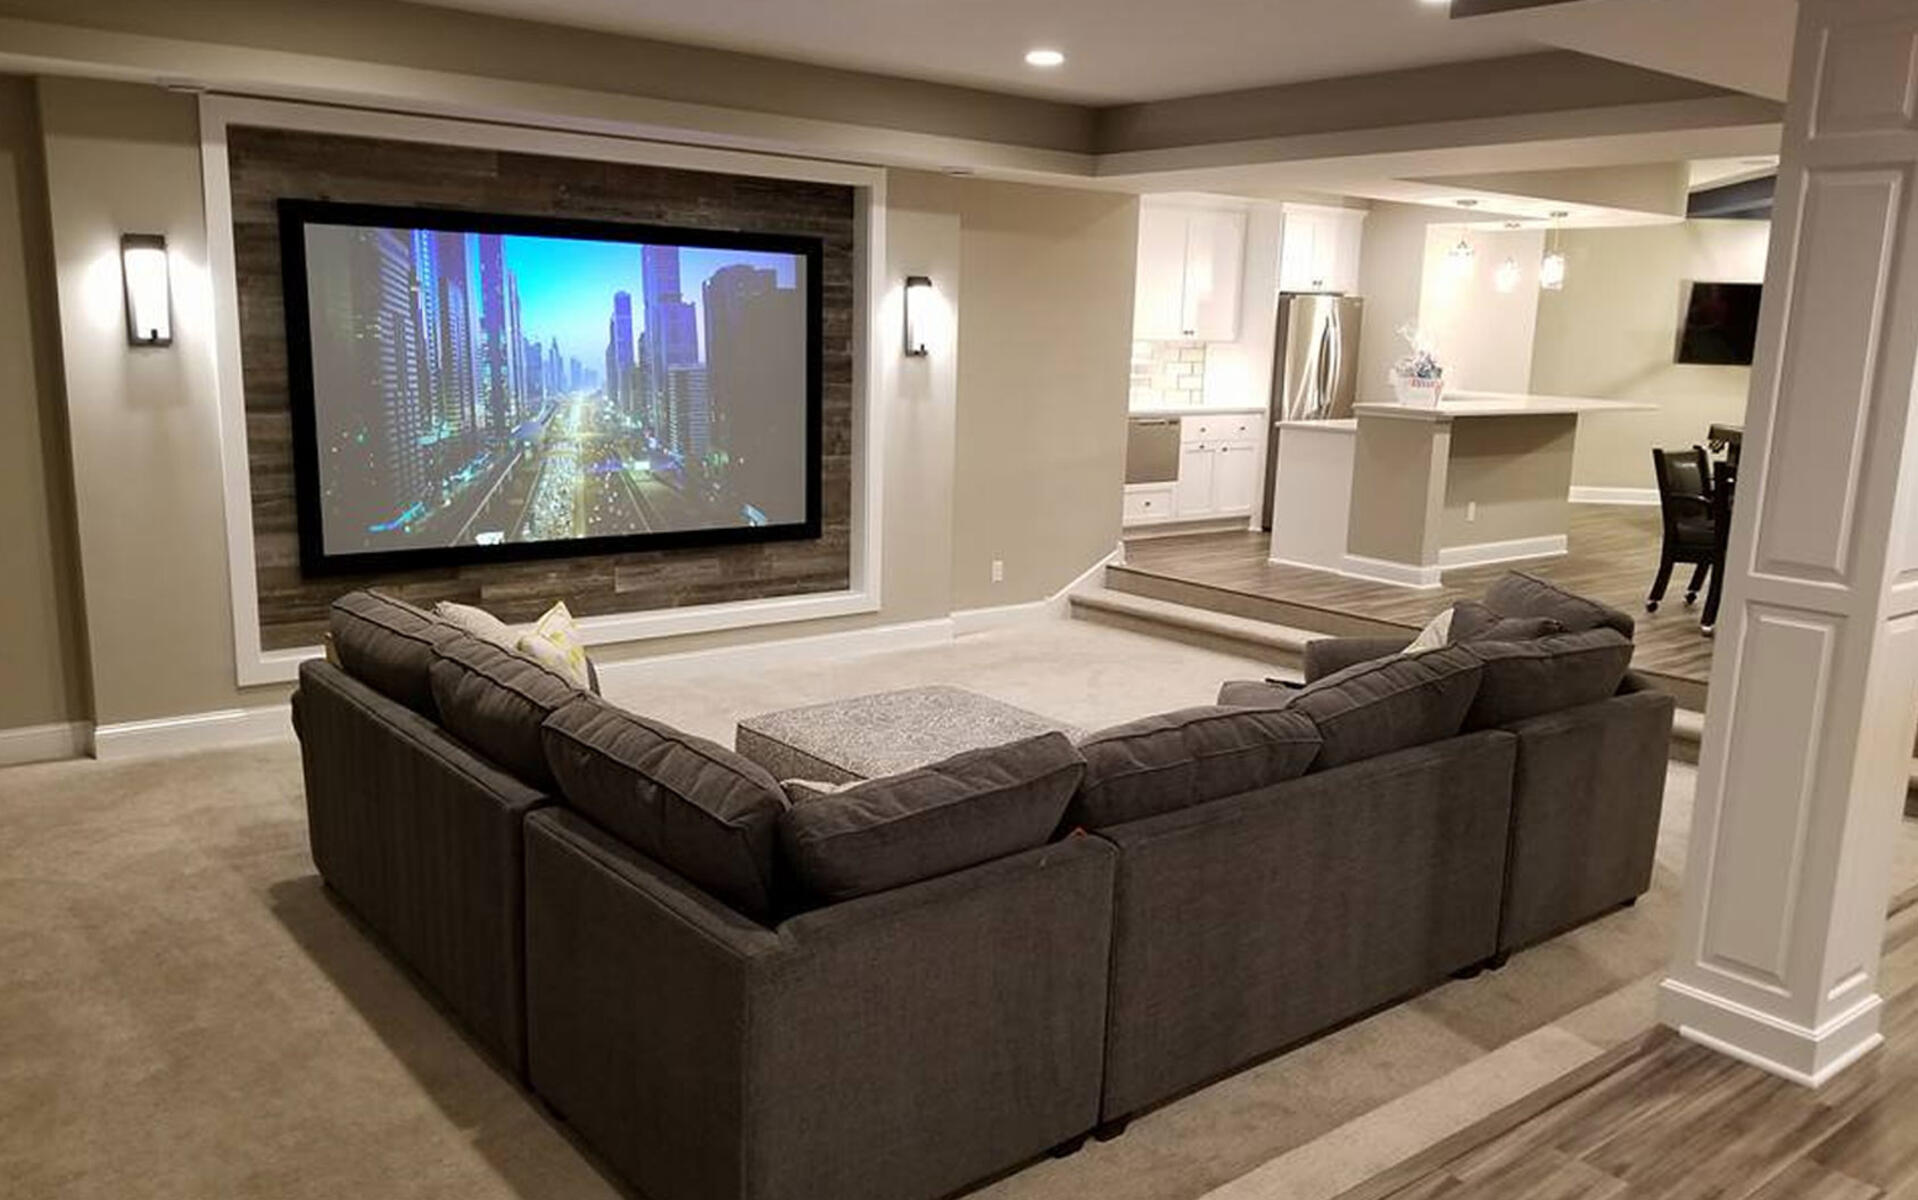
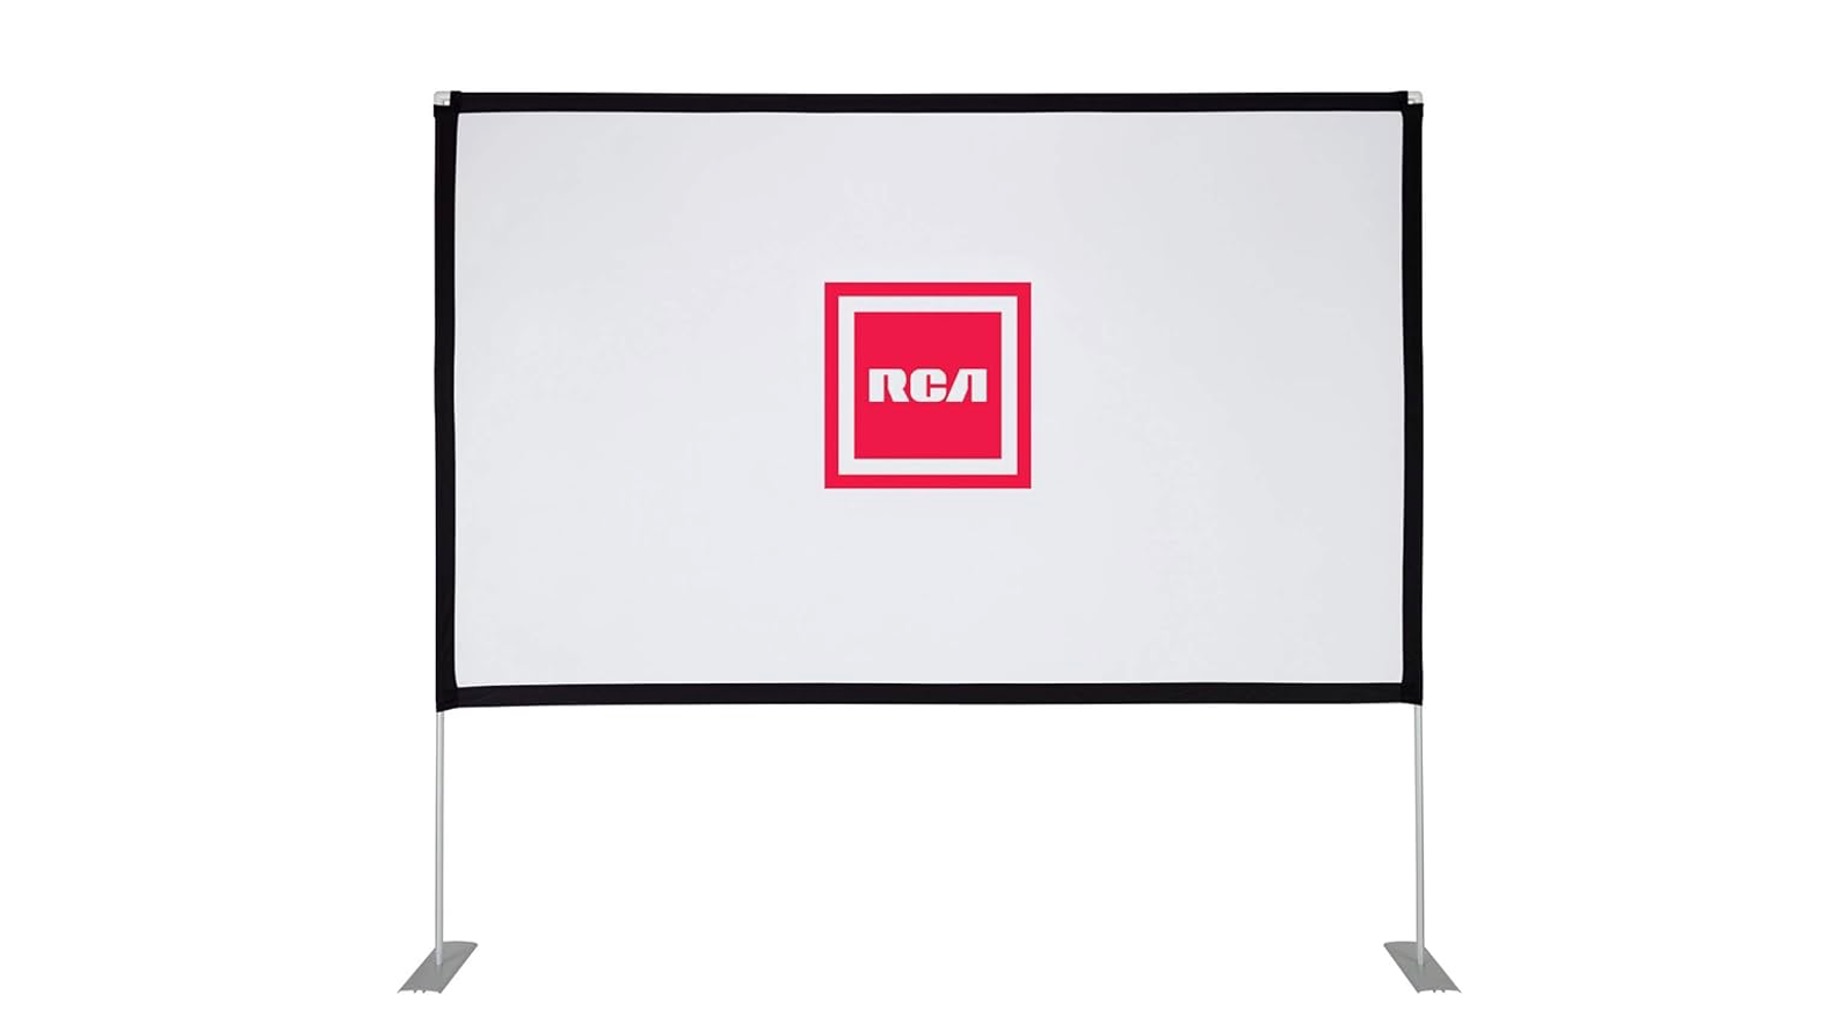
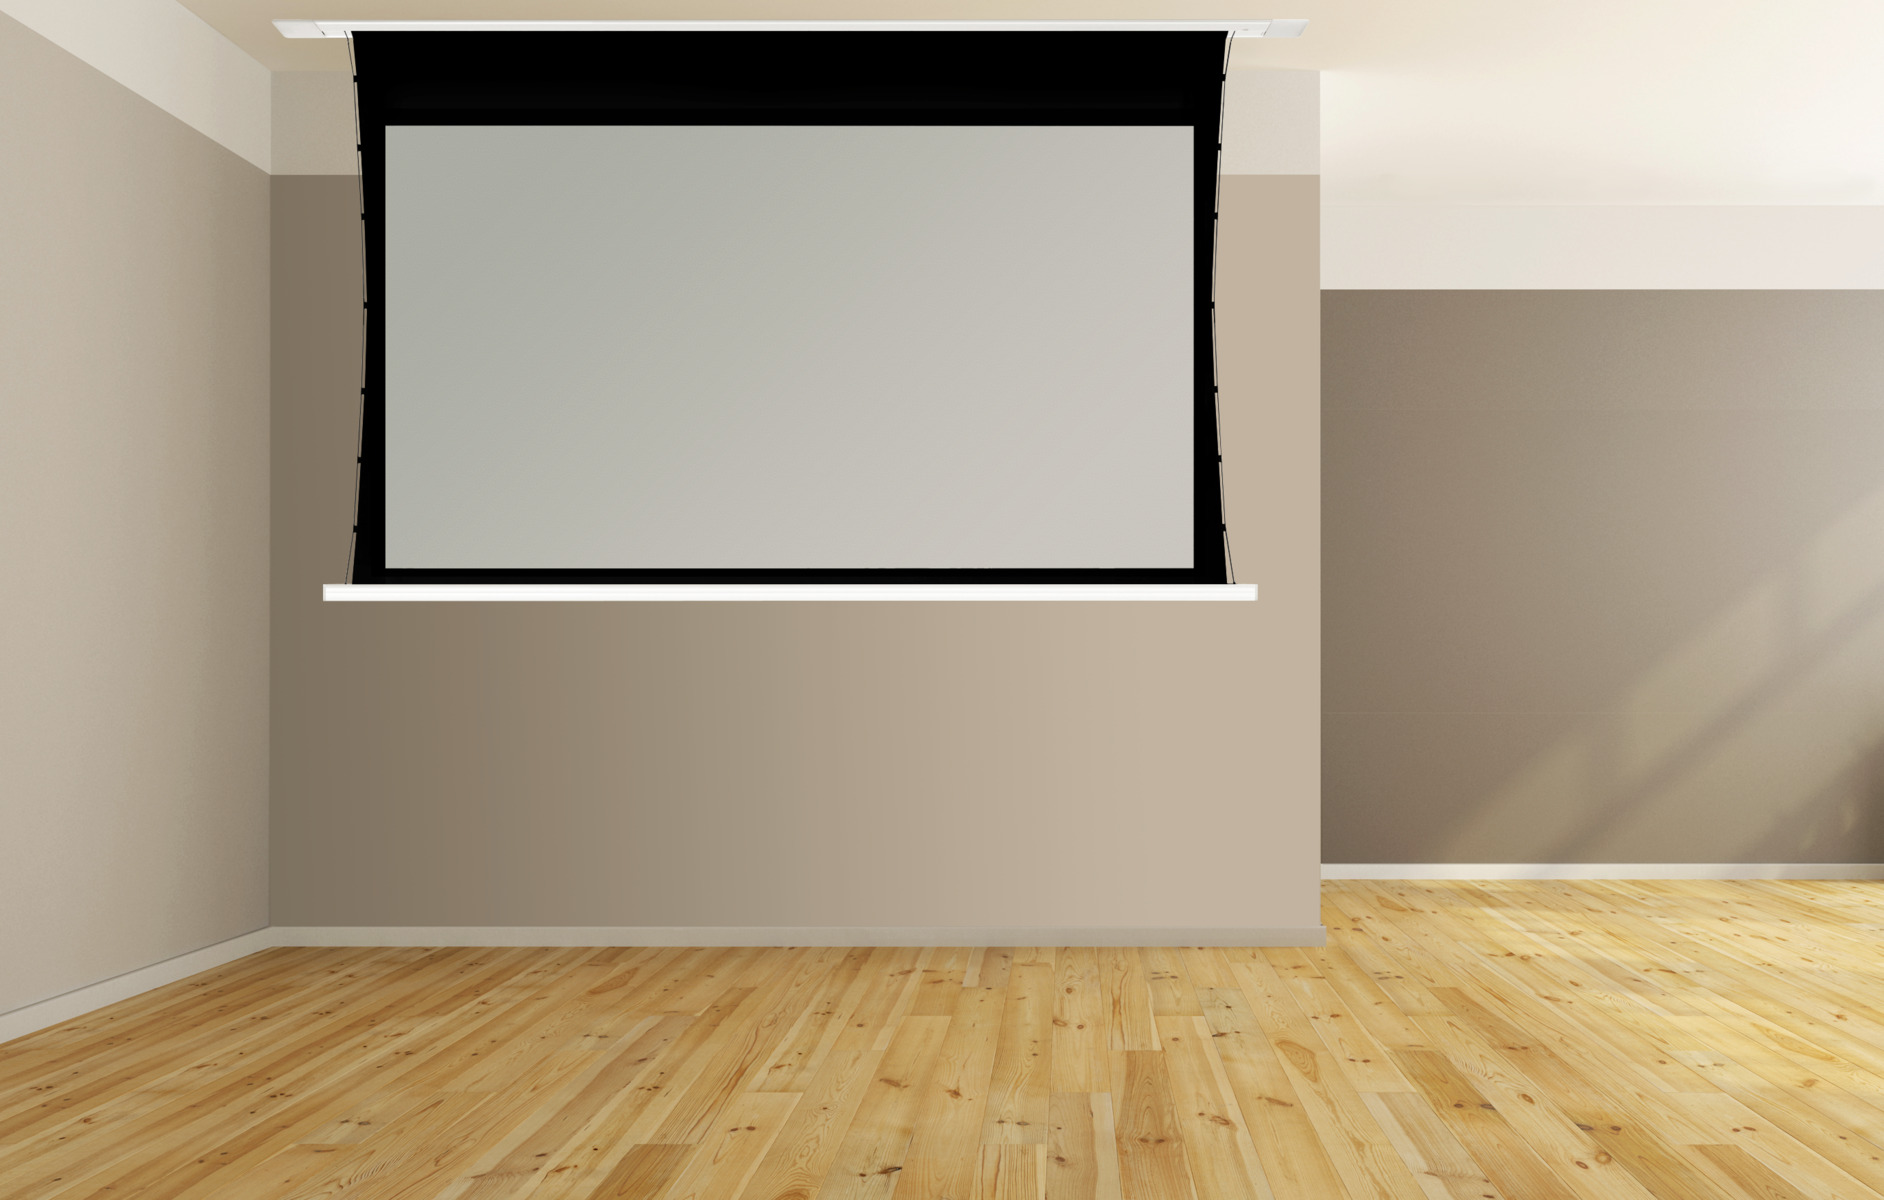
Projector screens come in various sizes, materials, and types. The two primary types of projector screens are fixed-frame screens and retractable screens. Fixed-frame screens are permanently mounted to a wall or frame and provide a flat, taut surface for optimal image projection. Retractable screens, on the other hand, can be rolled up or down using a manual or motorized mechanism, allowing for easy storage and flexibility.
When it comes to selecting a projector screen, you need to consider factors such as screen gain, aspect ratio, and viewing angle. Screen gain refers to the amount of light reflected by the screen. A higher screen gain provides brighter images, but it may also lead to narrower viewing angles. The aspect ratio determines the screen’s width and height proportions, with the most common being 16:9 for widescreen content. The viewing angle indicates the maximum angle from which the projected image can be viewed without significant loss in quality.
Understanding the different components of a projector screen is also crucial. The screen material is the surface that reflects the projected images. It can be made of materials like vinyl, fabric, or specialized materials for enhanced image quality. The screen housing or casing holds the screen material and facilitates the rolling or unrolling process. The tensioning system ensures that the screen material remains flat and free from wrinkles or creases, providing optimal image quality.
Having a good grasp of these basics will help you better understand how to troubleshoot issues, clean and maintain your screen, and effectively roll it up when necessary. Now that you have a foundation of projector screen knowledge, let’s move on to the next section and delve into the details of checking the components of your projector screen.
Checking the Components of the Projector Screen
Before you can successfully roll up your projector screen, it’s important to ensure that all the components are in proper working condition. By performing a quick check of the components, you can identify any issues that may be causing difficulties in rolling up the screen. Here are the key components to inspect:
- Screen Material: Start by inspecting the screen material itself. Look for any signs of damage such as tears, wrinkles, or stains. If you notice any issues, consider replacing the screen material as it can affect the overall image quality.
- Screen Housing: Next, examine the screen housing or casing. Make sure it is securely mounted and free from any obstructions that could hinder the smooth rolling up of the screen. Check for any loose screws or damaged parts that may need repair or replacement.
- Tensioning System: The tensioning system plays a crucial role in keeping the screen material taut and free from wrinkles. Inspect the tensioning mechanism, whether it’s a manual tensioner or a motorized system. Ensure that it is functioning properly and that there is adequate tension on the screen material.
- Roller Mechanism: If you have a retractable screen, check the roller mechanism. Look for any signs of wear and tear, such as bent or misaligned parts. Lubricate the mechanism if necessary to ensure smooth rolling up and down of the screen.
- Control System: If your projector screen is motorized or controlled electronically, examine the control system. Ensure that the remote control or keypad is working, and the wiring is properly connected. If there are any issues with the control system, consult the user manual or contact the manufacturer for troubleshooting steps.
By thoroughly inspecting these components, you can identify any potential issues that may be preventing your projector screen from rolling up correctly. Addressing these issues early on will save you from frustrating experiences and ensure that your screen functions optimally.
Now that you have checked the components of your projector screen, it’s time to move on to the next section, where we will guide you through the process of adjusting the tension to ensure the proper functioning of your screen.
Adjusting the Tension of the Projector Screen
One of the key factors in ensuring a smooth and hassle-free rolling up of a projector screen is proper tension adjustment. When the tension is too loose, the screen may sag or have wrinkles, affecting image quality. Conversely, if the tension is too tight, it can put unnecessary strain on the screen material and the mechanism, leading to potential damage. Here are the steps to adjust the tension of your projector screen:
- Identify the tensioning mechanism: Different projector screens will have different tension adjustment methods. Consult your projector screen’s user manual or manufacturer’s instructions to determine the specific mechanism to adjust the tension.
- Loosen the tension: If you notice that the screen is too tight or has wrinkles, start by loosening the tension. Some screens have manual tensioners that require a tool such as an Allen wrench or a screwdriver to adjust. Carefully turn the tensioning mechanism counterclockwise to release tension on the screen.
- Tighten the tension: If the screen is too loose, you will need to tighten the tension. Use the appropriate tool to carefully turn the tensioning mechanism clockwise. Be cautious not to overtighten, as this can cause damage to the screen material or the mechanism.
- Test and make adjustments: After making initial tension adjustments, test the screen by rolling it up and down a few times. Check for any wrinkles or sagging in the screen material. If necessary, continue fine-tuning the tension until the screen rolls up smoothly without any distortions.
It’s important to note that not all projector screens have adjustable tension mechanisms. In such cases, the tension is pre-set and cannot be adjusted. However, regular inspection of the screen material for any signs of sagging or wrinkles is still recommended.
By properly adjusting the tension of your projector screen, you ensure optimal image quality and avoid any potential damage to the screen material or the mechanism. Now that you have adjusted the tension, let’s move on to the next section, where we will discuss the important topic of cleaning and maintaining your projector screen.
Cleaning and Maintaining the Projector Screen
A clean and well-maintained projector screen is essential for optimal image quality and longevity. Dust, fingerprints, and other contaminants can accumulate on the screen material over time, affecting brightness and clarity. Regular cleaning and maintenance will not only improve the overall viewing experience but also extend the lifespan of your projector screen. Here are some important tips for cleaning and maintaining your projector screen:
- Start with a dry cleaning: Before using any liquid cleaners, start by gently dusting the screen with a soft, lint-free microfiber cloth. Move the cloth in a smooth, sweeping motion to remove any loose dust or particles. Avoid using abrasive materials or vigorous rubbing, as this can damage the screen material.
- Use a mild cleaning solution: If your screen requires more than just dry dusting, prepare a mild cleaning solution by mixing water and a small amount of gentle, non-abrasive soap. Dip a clean, soft cloth into the solution and wring out any excess liquid. Gently wipe the screen surface in a circular motion, being careful not to apply excessive pressure.
- Focus on any stains or marks: If there are stubborn stains or marks on the screen, use a specialized screen cleaner recommended by the manufacturer. Follow the instructions provided with the cleaner, applying it directly on the stain and gently wiping it away with a clean cloth. Avoid using harsh chemicals or abrasive cleaners, as they can cause damage to the screen material.
- Avoid spraying liquid directly on the screen: Whether using a mild cleaning solution or a specialized cleaner, it’s important to avoid spraying the liquid directly onto the screen. This can lead to excess moisture seeping into the screen housing or the tensioning mechanism, causing damage. Always apply the liquid to a cloth first, then gently wipe the screen.
- Inspect and clean the screen housing: Don’t forget to inspect and wipe down the screen housing or casing as well. Dust and dirt can accumulate in these areas, affecting the smooth rolling and unrolling of the screen. Use a soft cloth or a brush to clean any debris, making sure not to damage any delicate components.
- Regular maintenance checks: In addition to cleaning, perform regular maintenance checks on the tensioning system, roller mechanism, and control system. Ensure that all screws and components are securely fastened, and any moving parts are lubricated if necessary. Refer to the user manual for specific maintenance guidelines provided by the manufacturer.
By following these cleaning and maintenance tips, you can keep your projector screen in excellent condition, ensuring optimal image quality and longevity. Now that you know how to clean and maintain your projector screen, let’s move on to the next section, where we will discuss troubleshooting and fixing a stuck projector screen.
Troubleshooting and Fixing a Stuck Projector Screen
It can be frustrating when your projector screen gets stuck and refuses to roll up or down. However, before panicking, there are several troubleshooting steps you can take to resolve the issue and get your screen moving smoothly again. Here are some common problems and solutions for fixing a stuck projector screen:
- Check the power supply: If you have a motorized projector screen, the first step is to ensure that it is receiving power. Check the power source, power cable, and any switches or remote controls. If necessary, try connecting the screen to a different power outlet or replace the batteries in the remote control.
- Inspect the control system: If the motorized screen is not responding to the controls, check the control system for any issues. Ensure that the wiring is properly connected and that there are no loose connections. If you still encounter problems, consult the user manual or contact the manufacturer for specific troubleshooting steps.
- Manually roll up or down the screen: If your screen is stuck midway, try gently nudging it in the direction you want it to go while simultaneously pressing the control switch or using the remote. Sometimes, a slight push can overcome any resistance or obstructions causing the screen to get stuck.
- Inspect the roller mechanism: A common cause of a stuck projector screen is a malfunctioning roller mechanism. Inspect the roller for any misalignments, obstructions, or damage. Remove any debris that may be blocking the smooth movement of the screen. Lubricate the roller mechanism if required, following the manufacturer’s instructions.
- Adjust the tension: If the screen is stuck due to excessive tension or wrinkle formation, refer back to the previous section on adjusting the tension of the projector screen. Loosen the tension slightly to relieve any strain on the screen material, allowing it to roll up more smoothly.
- Seek professional assistance: If you have tried the above troubleshooting steps without success, it may be necessary to seek professional assistance. Contact the manufacturer or a qualified technician who specializes in projector screens for further diagnosis and repairs.
Remember to always exercise caution when troubleshooting and fixing a stuck projector screen. Avoid using excessive force or attempting repairs beyond your expertise. It’s better to seek professional help if you are uncertain about any steps or if the issue persists.
Now that you have some troubleshooting tips in your arsenal, let’s move on to the next section, where we will discuss essential tips for rolling up the projector screen properly.
Tips for Rolling Up the Projector Screen Properly
Rolling up your projector screen may seem like a simple task, but doing it properly is essential for maintaining the longevity and functionality of the screen. Here are some important tips to keep in mind when rolling up your projector screen:
- Use a gentle and steady motion: When rolling up the screen, avoid quick or jerky movements. Use a gentle and steady motion to ensure that the screen material is not stretched or damaged during the process.
- Align the edges evenly: As you roll up the screen, make sure to align the edges evenly. This will prevent any wrinkles or creases from forming, ensuring a smooth and taut surface for the next use.
- Avoid rolling over obstructions: Before rolling up the screen, make sure there are no obstructions or objects in the way. Rolling over any obstacles can cause damage to both the screen material and the roller mechanism.
- Use the appropriate control switch or mechanism: If your projector screen is motorized, always use the designated control switch or remote control to roll it up. Avoid manually forcing the screen as it can strain the motor and lead to malfunction.
- Secure the screen in the housing: Once the screen is fully rolled up, double-check that it is securely held in the housing or casing. Make sure any latches or locks are engaged to prevent the screen from accidentally unrolling or becoming damaged while in storage.
- Store the screen in a clean and dry environment: When not in use, store your projector screen in a clean and dry environment. Avoid exposure to extreme temperatures, humidity, or direct sunlight, as these can affect the screen material over time.
- Regularly inspect the screen: After each use, take a moment to inspect the screen for any signs of damage, wrinkles, or stains. Address any issues promptly to prevent them from worsening and impacting the image quality during your next projection.
Following these tips will help ensure that your projector screen rolls up properly and remains in excellent condition for years to come. Proper rolling and storage practices go a long way in preserving the functionality and performance of your screen.
With these valuable tips in mind, you are now equipped with the knowledge and techniques to effectively roll up your projector screen. In the next section, we will summarize the key points discussed and offer some final thoughts on maintaining and getting the most out of your projector screen.
Conclusion
Having a properly functioning and well-maintained projector screen is crucial for a seamless and enjoyable visual experience. By understanding the basics of a projector screen, checking its components, adjusting the tension, cleaning and maintaining it, troubleshooting any issues, and rolling it up properly, you can ensure optimal performance and maximize the lifespan of your screen.
Remember to regularly inspect your projector screen for any signs of damage, stains, or wrinkles. By addressing these issues promptly, you can prevent them from worsening and affecting image quality during your presentations or movie nights.
Additionally, always refer to the manufacturer’s instructions and guidelines for your specific projector screen model. Following their recommendations and maintenance practices will help keep your screen in excellent condition and avoid any potential damage or malfunctions.
Lastly, don’t hesitate to seek professional assistance if you encounter persistent issues with your projector screen. A qualified technician or the manufacturer’s customer support can provide further guidance and help resolve any complex problems.
By implementing the tips and techniques outlined in this article, you can enjoy the convenience and optimal performance of your projector screen for years to come. Whether you are hosting a movie night, delivering a presentation, or enjoying your favorite TV shows, a well-maintained projector screen will enhance your viewing experience and captivate your audience.
So, go ahead, adjust the tension, clean and maintain your screen, and roll it up properly. Embrace the world of projection with confidence, knowing that your projector screen is in excellent shape and ready to deliver stunning visuals.