Introduction
Welcome to the world of big screen entertainment! Whether you’re setting up a home theater or preparing for a professional presentation, a projector screen is an essential component for achieving stunning visuals. A well-chosen and properly installed projector screen can enhance the viewing experience and ensure that your content is displayed with optimal clarity and brightness.
But where do you start? With a multitude of options available in the market, selecting the right projector screen can feel overwhelming. And once you have chosen the screen, you need to navigate the process of setting it up correctly to maximize its performance.
Fortunately, in this guide, we will walk you through the key steps to set up a projector screen successfully. From selecting the right screen to installing and adjusting it, we will cover everything you need to know to create a captivating visual experience.
Whether you’re a novice or a seasoned pro, this guide will provide you with valuable insights and practical tips to ensure that your projector screen setup goes smoothly. So, without further ado, let’s dive in and get started on setting up your projector screen!
Choose the Right Projector Screen
Before you can begin the setup process, it’s crucial to choose the right projector screen for your needs. There are several factors to consider when making this decision.
First, you’ll need to determine the screen type. There are two main types to choose from: fixed screens and retractable screens. Fixed screens are permanently mounted on a wall or ceiling, providing a dedicated viewing area. On the other hand, retractable screens can be rolled up and stored when not in use, offering flexibility and convenience.
Next, consider the screen material. Different materials will affect the image quality, brightness, color accuracy, and viewing angle. Popular options include matte white screens, high-gain screens for rooms with ambient light, and acoustically transparent screens for those who desire a hidden speaker setup.
Size is another critical factor. Consider the space where the screen will be installed and the viewing distance. The screen size should be appropriate for the space and ensure that viewers can comfortably see the entire projected image without straining their eyes.
Aspect ratio is also an important consideration. The most common aspect ratios are 16:9 (widescreen) and 4:3 (standard). Choose an aspect ratio that matches the content you’ll be displaying. For movie lovers, a widescreen format is ideal, while a standard format may be more suitable for presentations and business settings.
Lastly, budget is a factor that shouldn’t be overlooked. Set a realistic budget and consider the quality and features you desire. Remember, investing in a high-quality screen will enhance your viewing experience and provide lasting satisfaction.
By carefully evaluating these factors and matching them to your specific requirements, you’ll be able to choose the perfect projector screen that will deliver outstanding performance and meet your expectations.
Decide on the Projection Method
Once you have selected the right projector screen, it’s time to decide on the projection method that will best suit your setup. There are three main projection methods to consider: front projection, rear projection, and ceiling-mounted projection.
The most common and widely used method is front projection. With front projection, the projector is placed in front of the screen, facing towards the audience. This allows for easy setup and flexibility in terms of screen size and placement. It is suitable for most home theater setups and presentation environments where the projector can be positioned on a table or mounted on the ceiling.
Rear projection, on the other hand, involves placing the projector behind the screen, with the image projected onto it from the back. This method requires a specially designed translucent screen that allows the image to pass through from the rear. Rear projection is ideal for situations where the projector needs to be hidden or where space constraints prevent front projection.
The third method is ceiling-mounted projection. As the name suggests, the projector is mounted on the ceiling, allowing for a clean and unobstructed setup without any wires or equipment visible. Ceiling-mounted projection is commonly used in dedicated home theaters or conference rooms, providing a professional and polished look.
When deciding on the projection method, consider the layout of the room, the available space, and the aesthetic you wish to achieve. Take into account factors such as ambient light, seating arrangements, and the overall design of the room. Each projection method has its advantages and considerations, so choose the one that best aligns with your needs and preferences.
By carefully selecting the projection method, you can ensure that your projector screen setup is optimized for the intended viewing experience and seamlessly integrates into your space.
Determine the Best Location for the Projector Screen
Choosing the right location for your projector screen is crucial to ensure optimal viewing angles, clear visibility, and a comfortable viewing experience. Here are key factors to consider when determining the best location for your projector screen:
1. Room Layout: Assess the layout of the room and identify the wall or area where the screen can be placed without any obstructions. Consider the distance from the seating area to the screen to ensure that it is neither too close nor too far, allowing viewers to comfortably see the entire projected image.
2. Viewing Angle: Consider the angle at which the screen will be viewed from various seating positions. You want to ensure that the screen is positioned at a height and angle that allows for a clear and unobstructed view for everyone in the room.
3. Ambient Light: Take into account the amount of ambient light in the room. If the room tends to have a lot of natural light or other light sources, choose a location that minimizes glare and allows for optimal image quality. Consider using blackout curtains or blinds to control the amount of incoming light if needed.
4. Wall Structure: Assess the structure and condition of the wall where the screen will be mounted. Ensure that the wall is strong enough to support the weight of the screen and any accompanying mounting brackets. Consider using a stud finder to locate the wall studs for secure mounting.
5. Wiring and Connectivity: Plan for the wiring and connectivity needs of your projector and audio system. Choose a location that allows for easy access to power outlets and audio/video connections. It’s also important to consider cable management to keep wires organized and hidden, providing a neat and clutter-free setup.
By considering these factors, you can determine the best location for your projector screen, ensuring an immersive and enjoyable viewing experience for yourself and your audience.
Prepare the Mounting Surface
Before you can install your projector screen, it’s essential to properly prepare the mounting surface to ensure a secure and stable setup. Here are the key steps to follow when preparing the mounting surface:
1. Clean the Wall: Start by cleaning the wall where the screen will be mounted. Remove any dust, dirt, or debris to ensure a smooth and clean surface. Use a mild solution of water and non-abrasive detergent, along with a soft cloth or sponge, to gently wipe the wall. Allow the wall to dry completely before proceeding to the next step.
2. Locate Studs: Use a stud finder to locate the wall studs. This step is crucial for ensuring a secure and stable mount. Mark the positions of the studs on the wall using a pencil or tape measure. Centering the screen on one or more studs will provide the necessary support for the weight of the screen.
3. Measure and Mark: Measure the height and width of the screen to determine the exact placement on the wall. Use a level to ensure that the marked positions are straight and aligned. Double-check the measurements to ensure accuracy.
4. Mounting Brackets: Depending on the type of screen you have chosen, you may need to attach mounting brackets to the wall. Follow the manufacturer’s instructions for installing the brackets. Use screws that are appropriate for the type of wall and ensure that they are securely fastened into the studs.
5. Test the Mounting: Once the brackets are installed, test their stability by gently applying pressure. Ensure that they do not wobble or move. If needed, adjust or tighten the screws to achieve a secure and stable mount.
By properly preparing the mounting surface, you can ensure that your projector screen is securely and safely installed, providing a reliable platform for optimal viewing experiences.
Install the Projector Screen
Now that you have prepared the mounting surface, it’s time to install the projector screen. Follow these steps to ensure a successful installation:
1. Gather the Necessary Tools: Before you begin, gather all the tools you will need, including a screwdriver or drill, a level, measuring tape, and any additional hardware provided with the screen.
2. Attach the Screen to the Mounting Brackets: Depending on the type of screen you have, there may be different attachment methods. Follow the manufacturer’s instructions to secure the screen to the mounting brackets or frame. Make sure to align the screen properly and double-check that it is level.
3. Secure the Screen: Once the screen is attached to the mounting brackets, ensure that it is stable and securely fastened. Check that all screws are tightened, but be careful not to overtighten and risk damaging the screen or mounting brackets.
4. Test the Retraction Mechanism (If Applicable): If you have a retractable screen, test the retraction mechanism to ensure that it is functioning properly. Extend and retract the screen a few times to ensure smooth operation.
5. Adjust the Screen Height (If Applicable): If your screen is adjustable, adjust the height to your preferred viewing level. Ensure that it is positioned at a height that provides a clear view for all viewers in the room.
6. Double-Check Level and Alignment: Use a level to verify that the screen is straight and aligned. Adjust if necessary to ensure a visually appealing and balanced installation.
7. Clean the Screen Surface: Once the screen is installed, gently wipe the surface with a soft, lint-free cloth to remove any fingerprints or smudges. This will help maintain optimal image quality for your viewing pleasure.
By following these steps, you can successfully install your projector screen and be ready to enjoy stunning visuals in no time.
Adjust the Screen Tension
Adjusting the screen tension is an important step in the setup process to ensure that the projector screen is properly stretched and provides a smooth and flat viewing surface. Follow these steps to adjust the screen tension:
1. Locate the Tension Adjustment Mechanism: Depending on the type of projector screen you have, there may be different tension adjustment mechanisms. These can include tension rods, turn knobs, or tensioning systems located at the bottom, sides, or back of the screen.
2. Loosen the Tension: Begin by loosening the tension adjustment mechanism. Follow the manufacturer’s instructions to know how to release the tension. This may involve turning knobs counterclockwise, releasing spring-loaded tension rods, or unlocking tensioning mechanisms.
3. Adjust the Tension: Once the tension is released, make any necessary adjustments to the tensioning system. This may involve tightening or loosening the tensioning mechanisms or applying pressure to certain areas of the screen to achieve even tension across the surface.
4. Check for Wrinkles or Bumps: After making adjustments, inspect the screen for any wrinkles, creases, or bumps. Use your hand or a soft cloth to smoothen out any imperfections on the surface. Pay close attention to the corners and edges, as they are prone to gathering excess material.
5. Test the Screen Retraction and Extension: If your screen is retractable, test the retraction and extension function after adjusting the tension. Make sure the screen rolls up and unrolls smoothly without any issues or resistance.
6. Retighten the Tension Adjustment Mechanism: Once you are satisfied with the tension and the screen’s appearance, retighten the tension adjustment mechanism. Follow the manufacturer’s instructions to ensure that the tension is securely set and will remain consistent during use.
7. Verify the Screen’s Flatness: Step back and observe the screen from different angles to verify that it is flat and evenly tensioned. Make any additional adjustments if needed.
Properly adjusting the screen tension is vital to ensure optimal image quality and prevent any distortions or waves on the projected image. Take your time during this step to achieve a smooth and flawless viewing surface.
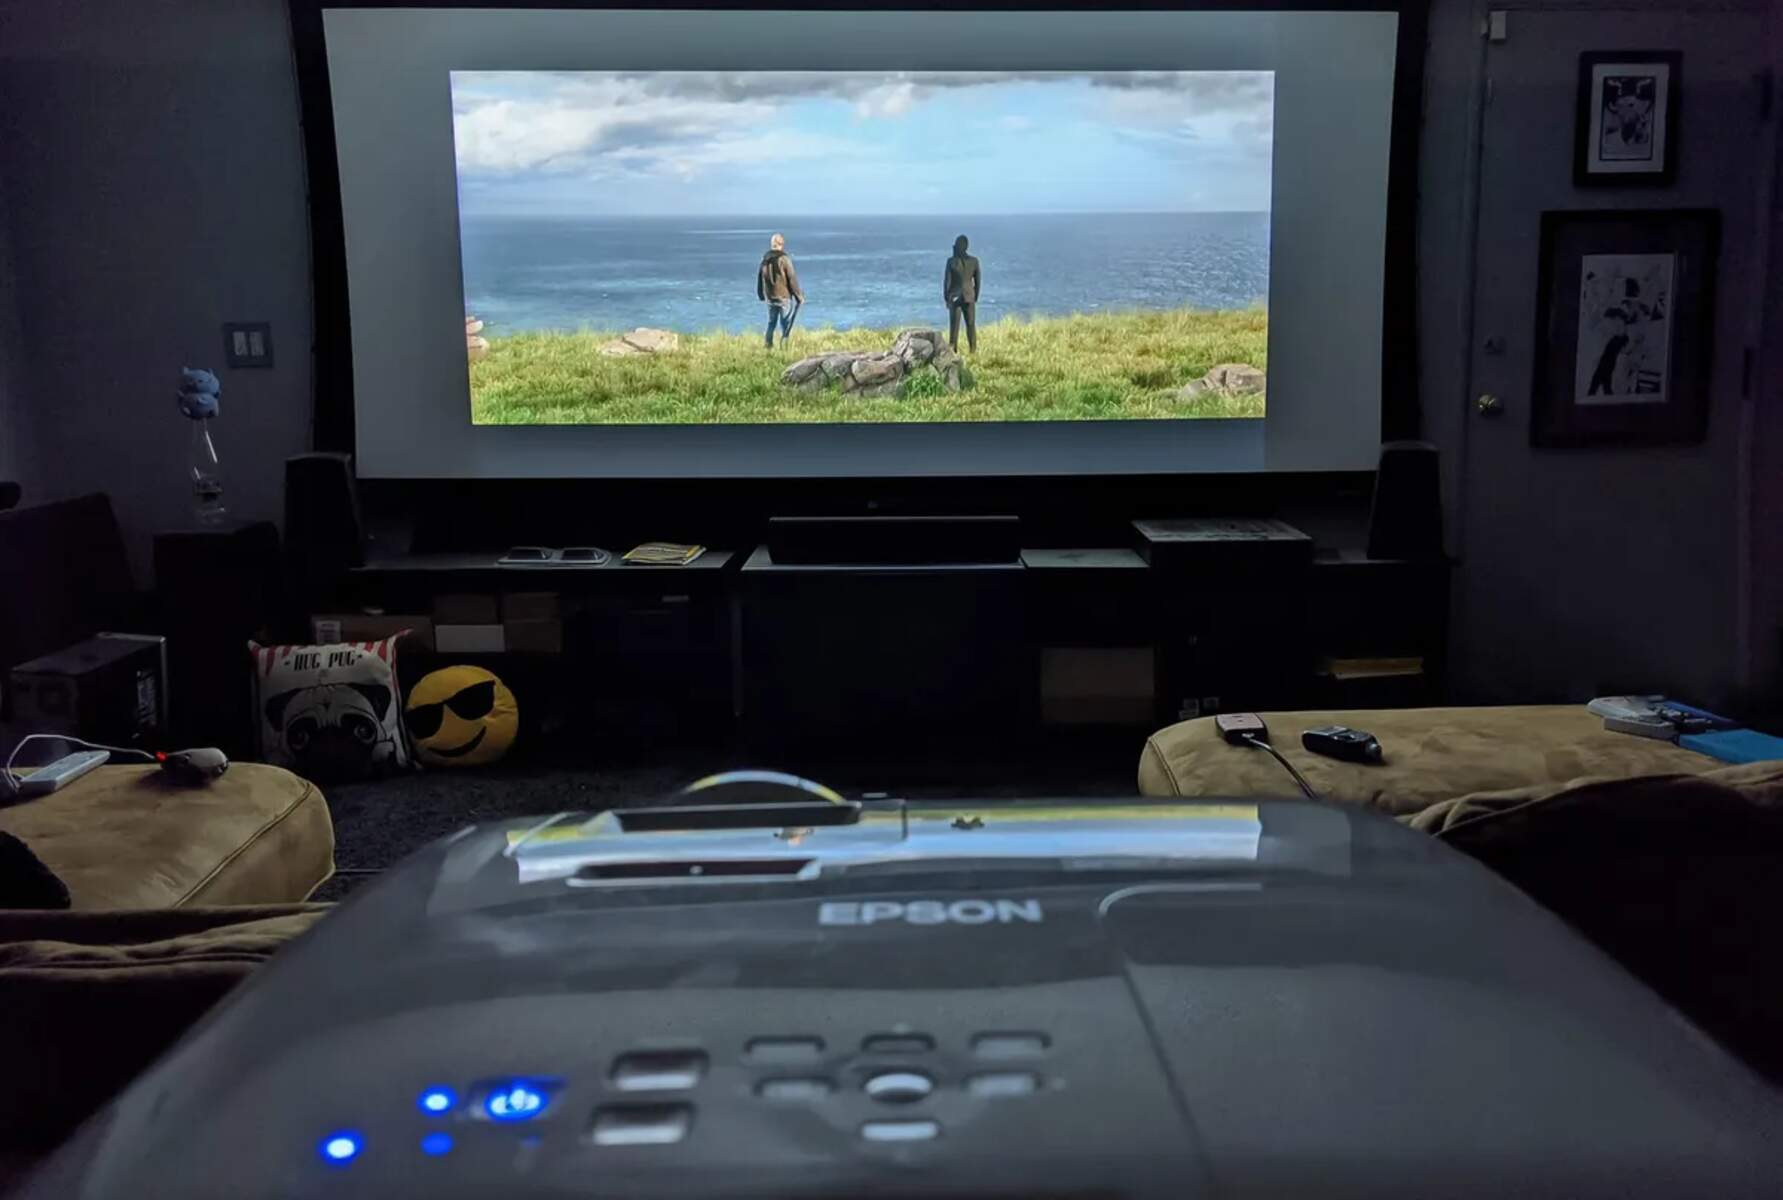
Connect the Projector
Now that your projector screen is properly adjusted, it’s time to connect the projector to complete the setup. Follow these steps to connect your projector:
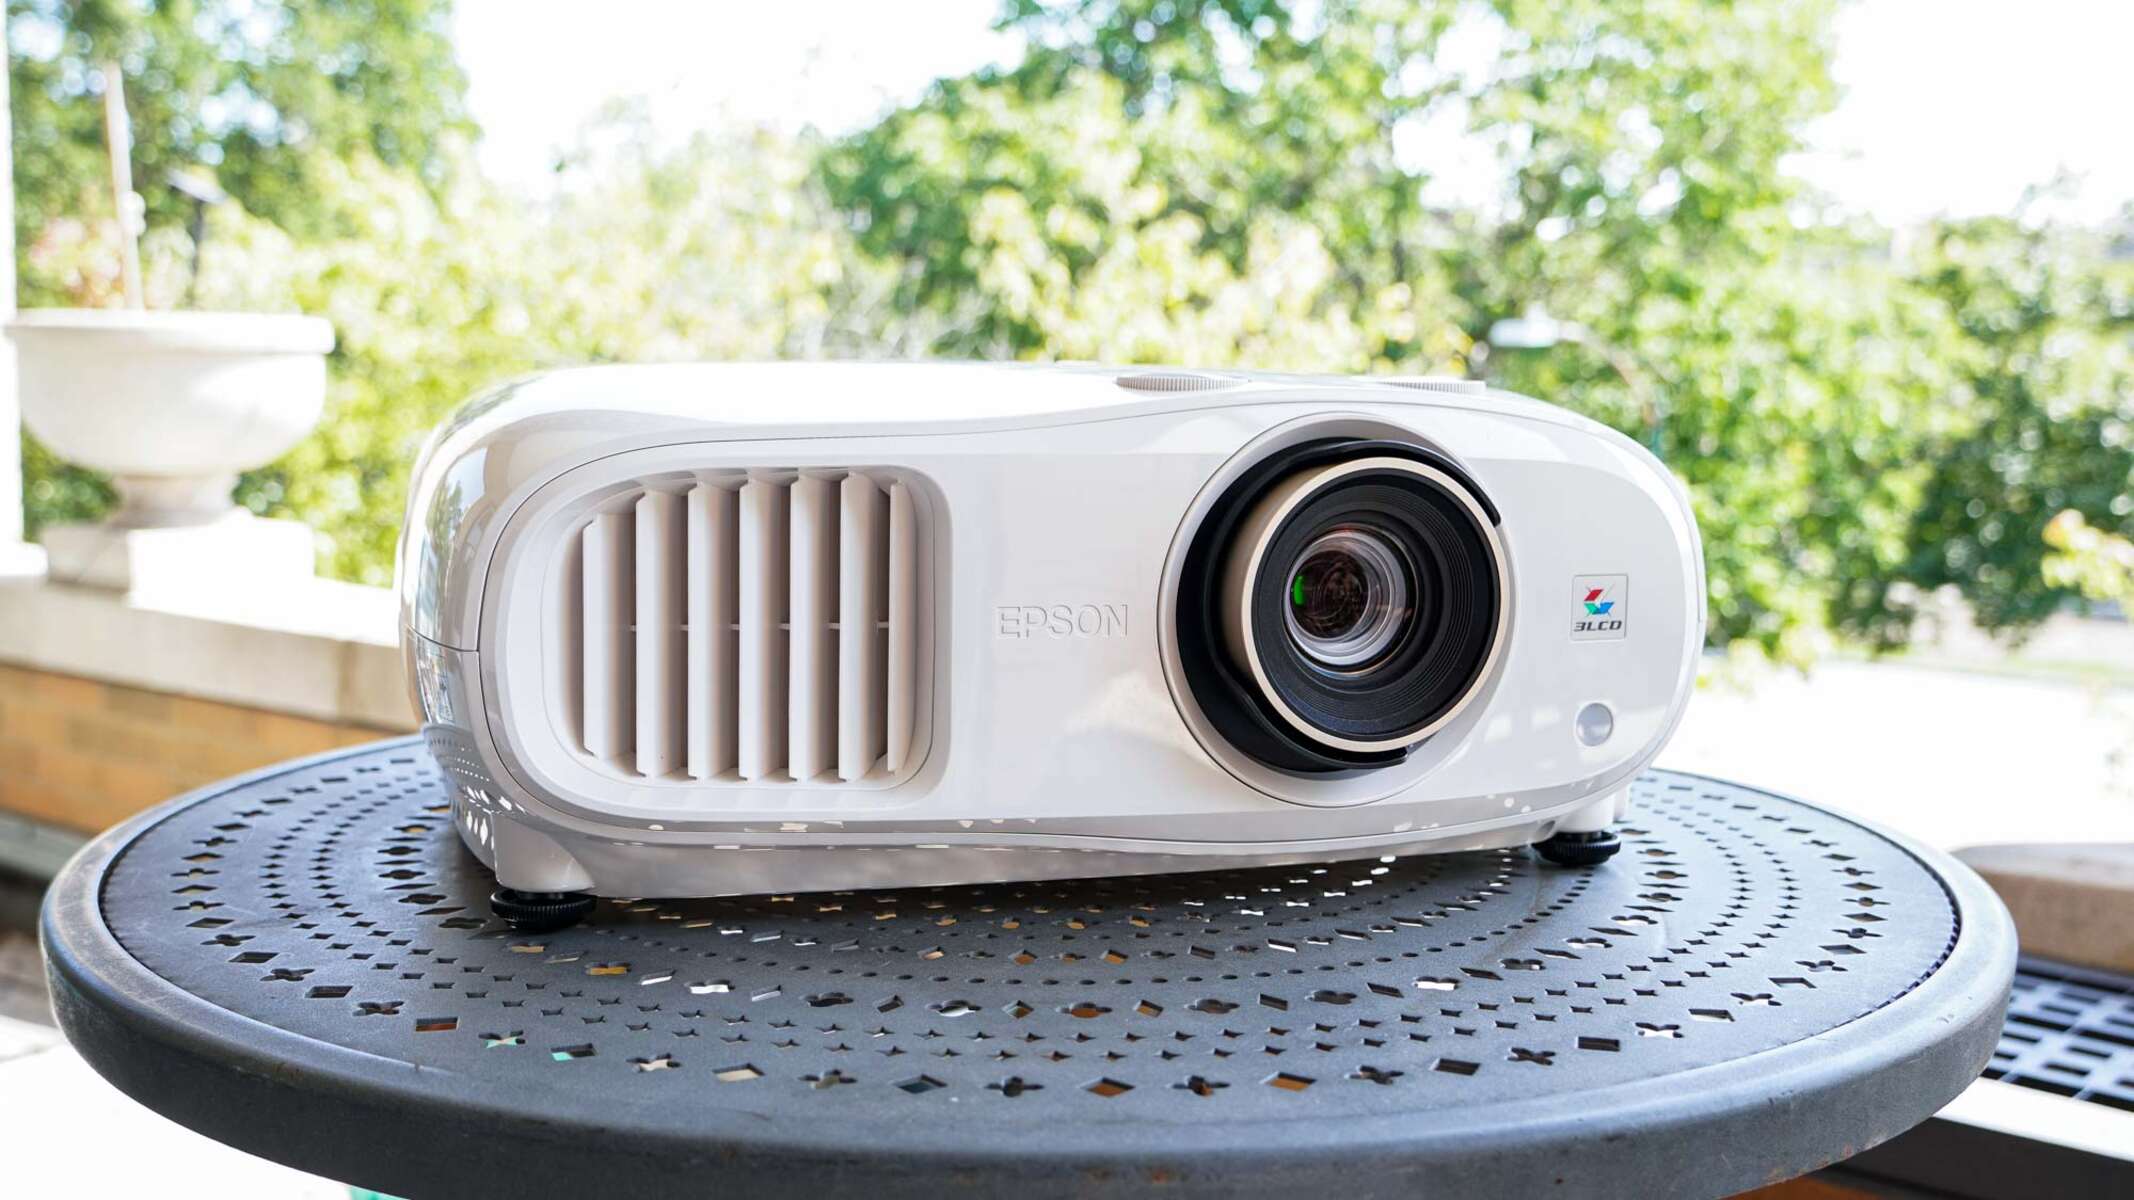
1. Position the Projector: Determine the optimal placement for your projector, taking into account factors such as distance from the screen, projection angle, and any mounting options available. Ensure that the projector is level and aligned with the screen for a straight and centered image.
2. Power Connections: Connect the power cord of the projector to a power outlet. Make sure the outlet is easily accessible and close to the projector. If using an extension cord, ensure it is properly rated for the projector’s power requirements.
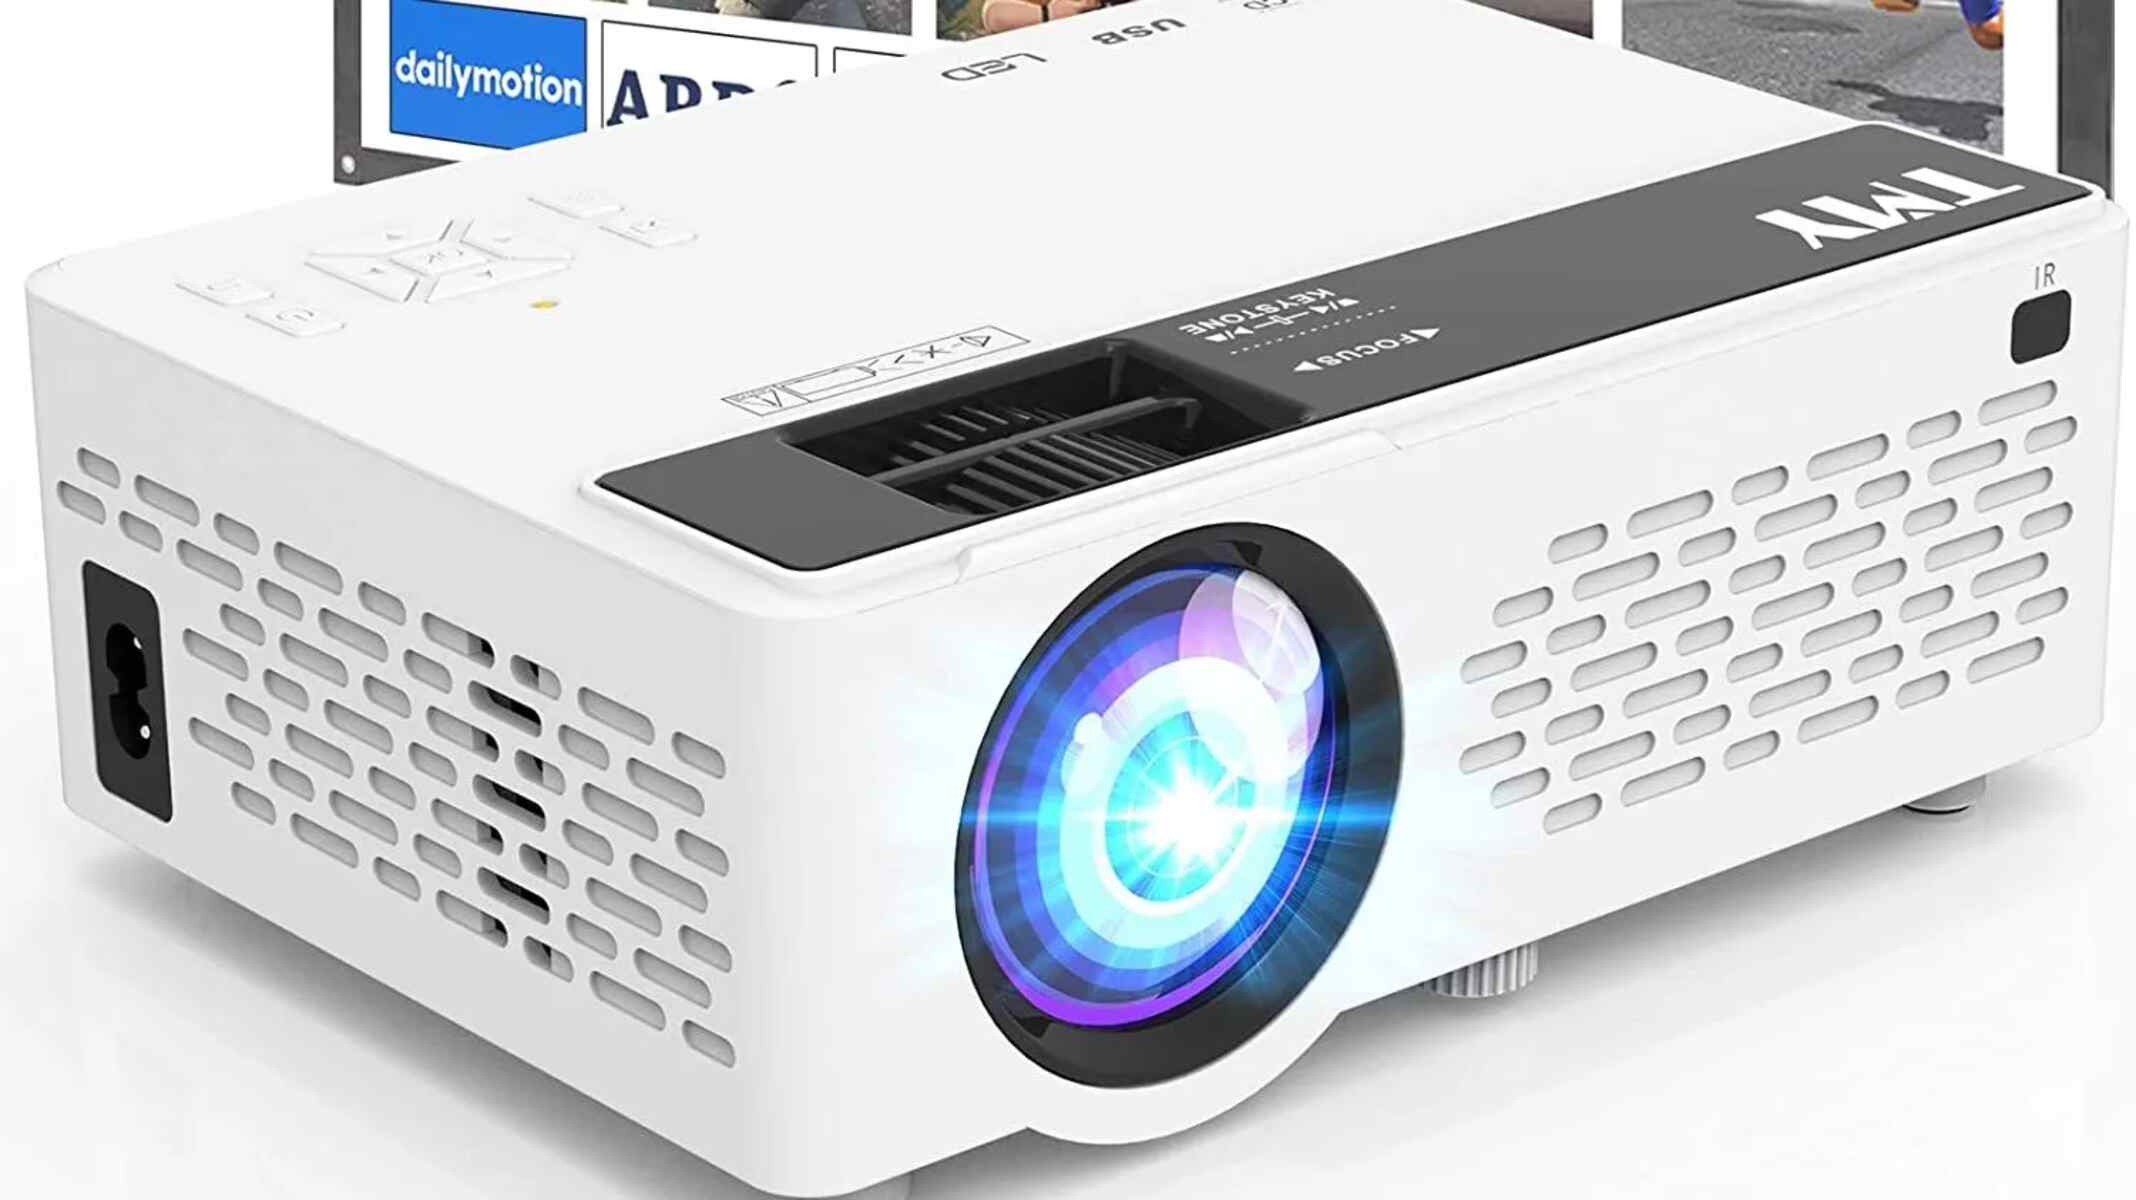
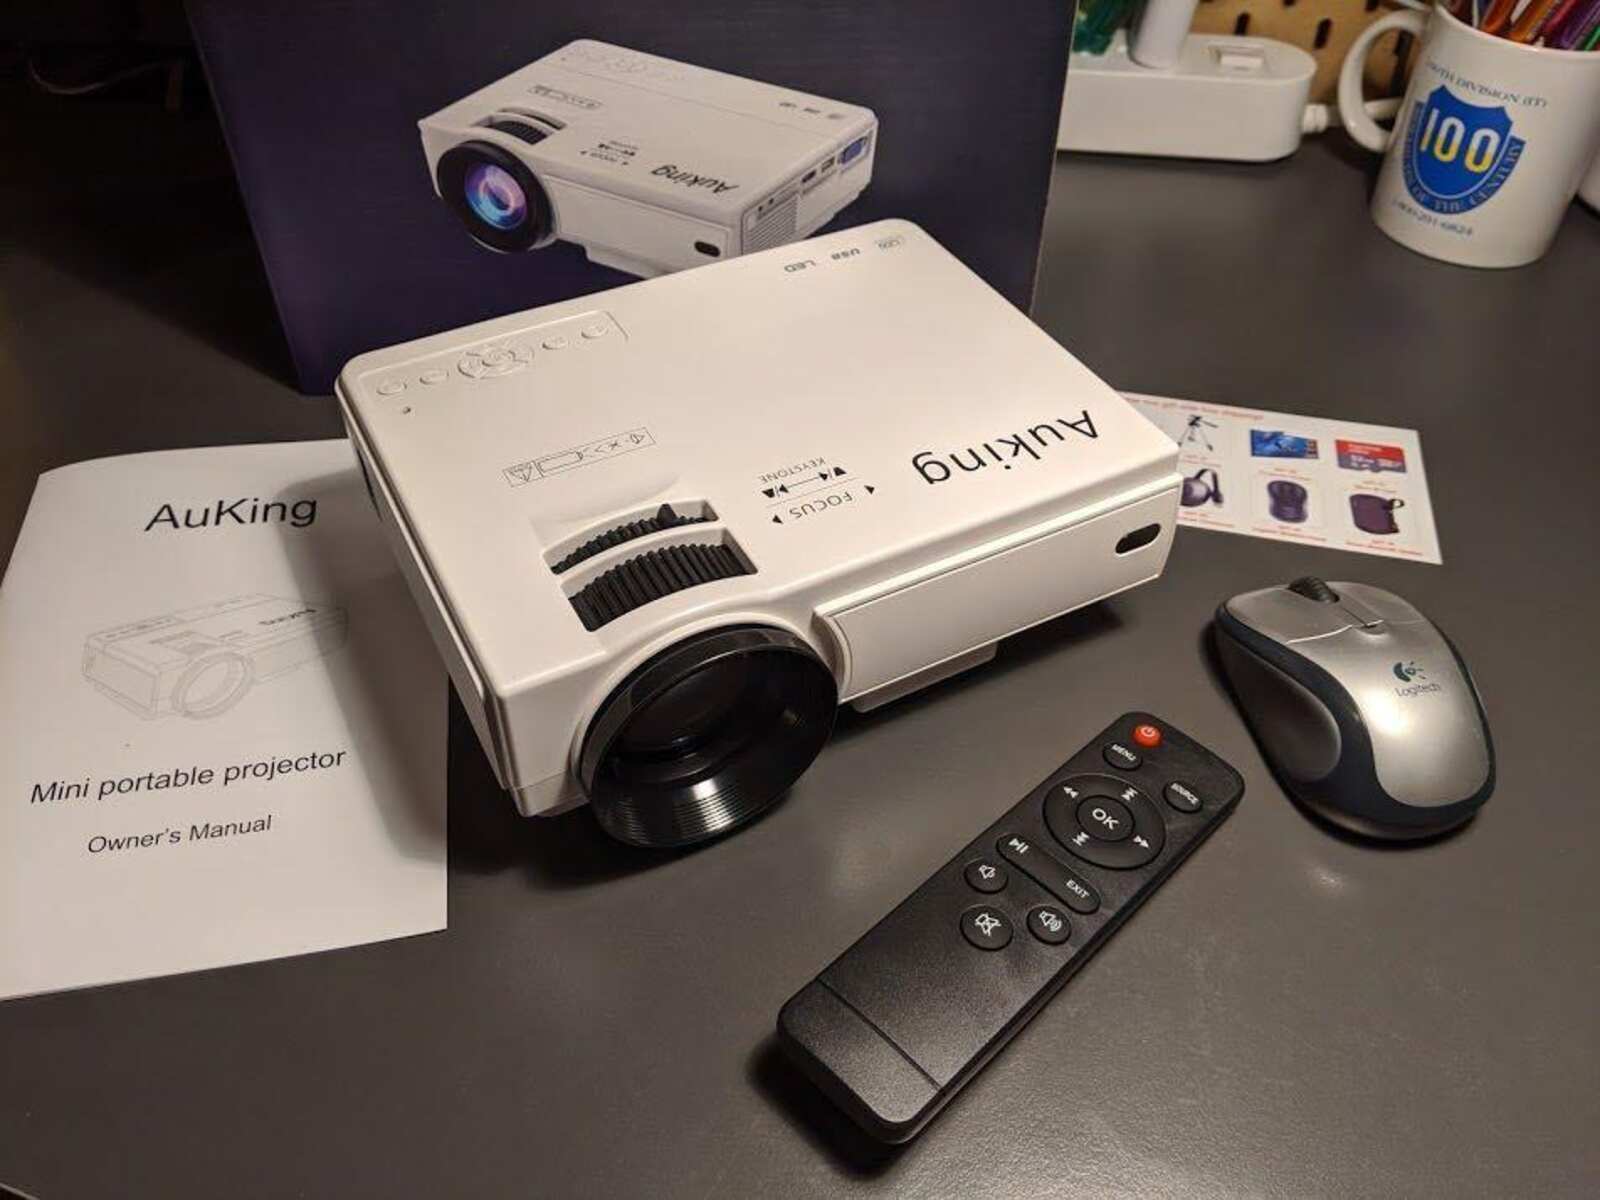
3. Video Source Connection: Depending on the type of projector and video source you have, there may be various connection options available. The most common methods include HDMI, VGA, DisplayPort, or USB. Use the appropriate cable to connect your video source (such as a laptop, DVD player, or streaming device) to the projector.
4. Audio Connections: If your projector has built-in speakers, you can connect an audio cable from the audio output of your video source to the audio input of the projector. Alternatively, you can connect external speakers or a sound system directly to the video source for enhanced audio quality.
5. Adjust Image Settings: Once the projector is connected, power it on and navigate to the settings menu. Adjust the image settings such as brightness, contrast, color, and aspect ratio to achieve the desired visual quality. Consult the projector’s user manual for instructions on accessing and adjusting the settings.
6. Test the Projection: Project an image or video onto the screen to test the display quality. Make any necessary adjustments to the projector’s positioning or settings to achieve a clear and well-aligned image. Ensure that the entire projected image is visible on the screen.
7. Mount Cable Management: If necessary, organize and secure the projector cables using cable management solutions such as adhesive clips or cable covers. This will help keep the cables neat and minimize the risk of tripping hazards.
By following these steps, you can connect your projector to the screen and enjoy your favorite movies, presentations, or multimedia content with exceptional visual clarity.
Test the Display Quality
After connecting your projector and setting up the screen, it’s crucial to test the display quality to ensure optimum visual performance. Follow these steps to conduct a display quality test:
1. Check Image Focus: Start by adjusting the focus of the projector to ensure a clear and sharp image. Use the focus ring or menu settings on the projector to fine-tune the focus until the image appears crisp and well-defined.
2. Adjust Keystone Correction: Some projectors offer keystone correction to compensate for image distortion caused by the projector’s position relative to the screen. Use the keystone correction feature to adjust the shape of the image and ensure it appears rectangular and proportionate.
3. Assess Image Brightness: Evaluate the brightness of the projected image in relation to the ambient light conditions in the room. If the room is brightly lit, consider using curtains, blinds, or dimming the lights to enhance the image visibility and color vibrancy. Adjust the projector’s brightness settings if necessary.
4. Evaluate Color Accuracy: Check the color accuracy of the projected image by displaying different colors and shades. Ensure that the colors appear natural and well-represented. If needed, adjust the color settings on the projector to achieve the desired color balance and accuracy.
5. Test Image Size and Position: Verify that the projected image is correctly sized and positioned on the screen. Ensure that the entire image is visible and aligned within the frame. Use the zoom and positioning controls on the projector to make necessary adjustments.
6. Playback Different Content: Test the display quality across a range of content, such as movies, videos, presentations, or photos. This will help evaluate the projector’s performance with different resolutions, aspect ratios, and color depths. Pay attention to any noticeable distortions, artifacts, or abnormalities in the image.
7. Evaluate Contrast Ratio: Assess the contrast ratio of the projected image, which refers to the difference between the darkest and brightest points. A high contrast ratio will result in a more dynamic and immersive viewing experience. Adjust the contrast settings on the projector to achieve optimal contrast levels.
8. Consider Audio Quality: If your projector has built-in speakers or you have connected external speakers, test the audio quality to ensure clear and balanced sound reproduction. Adjust the volume and audio settings to achieve the desired sound levels and quality.
By conducting a thorough display quality test, you can fine-tune the settings of your projector and screen to deliver the best possible viewing experience for your specific content and room conditions.
Conclusion
Setting up a projector screen might seem like a daunting task, but with careful consideration and attention to detail, you can achieve a captivating visual experience that enhances your home theater or professional presentations. By following the steps outlined in this guide, you can confidently select the right projector screen, decide on the projection method, determine the best location, prepare the mounting surface, install the screen, adjust the tension, connect the projector, and test the display quality.
Choosing the right projector screen involves considering various factors such as screen type, material, size, aspect ratio, and budget. Deciding on the projection method depends on your room layout, space availability, and desired aesthetic. Determining the best location requires assessing seating positions, viewing angles, ambient light, and wall structure. Preparing the mounting surface ensures a secure and stable installation. Installing the projector screen includes attaching it to the mounting brackets and verifying its stability. Adjusting the screen tension ensures a smooth and flat viewing surface. Connecting the projector involves powering it on, connecting video and audio sources, and adjusting image settings. Lastly, testing the display quality ensures optimal focus, image brightness, color accuracy, and audio performance.
By following these steps, you can enjoy a stunning visual experience, whether you’re watching movies, giving presentations, or immersing yourself in multimedia content. Remember to regularly clean the screen surface and maintain the projector to prolong their lifespan and preserve image quality.
Now that you have a solid foundation for setting up your projector screen, go ahead and create an immersive and captivating viewing environment that will captivate and delight yourself and your audience!