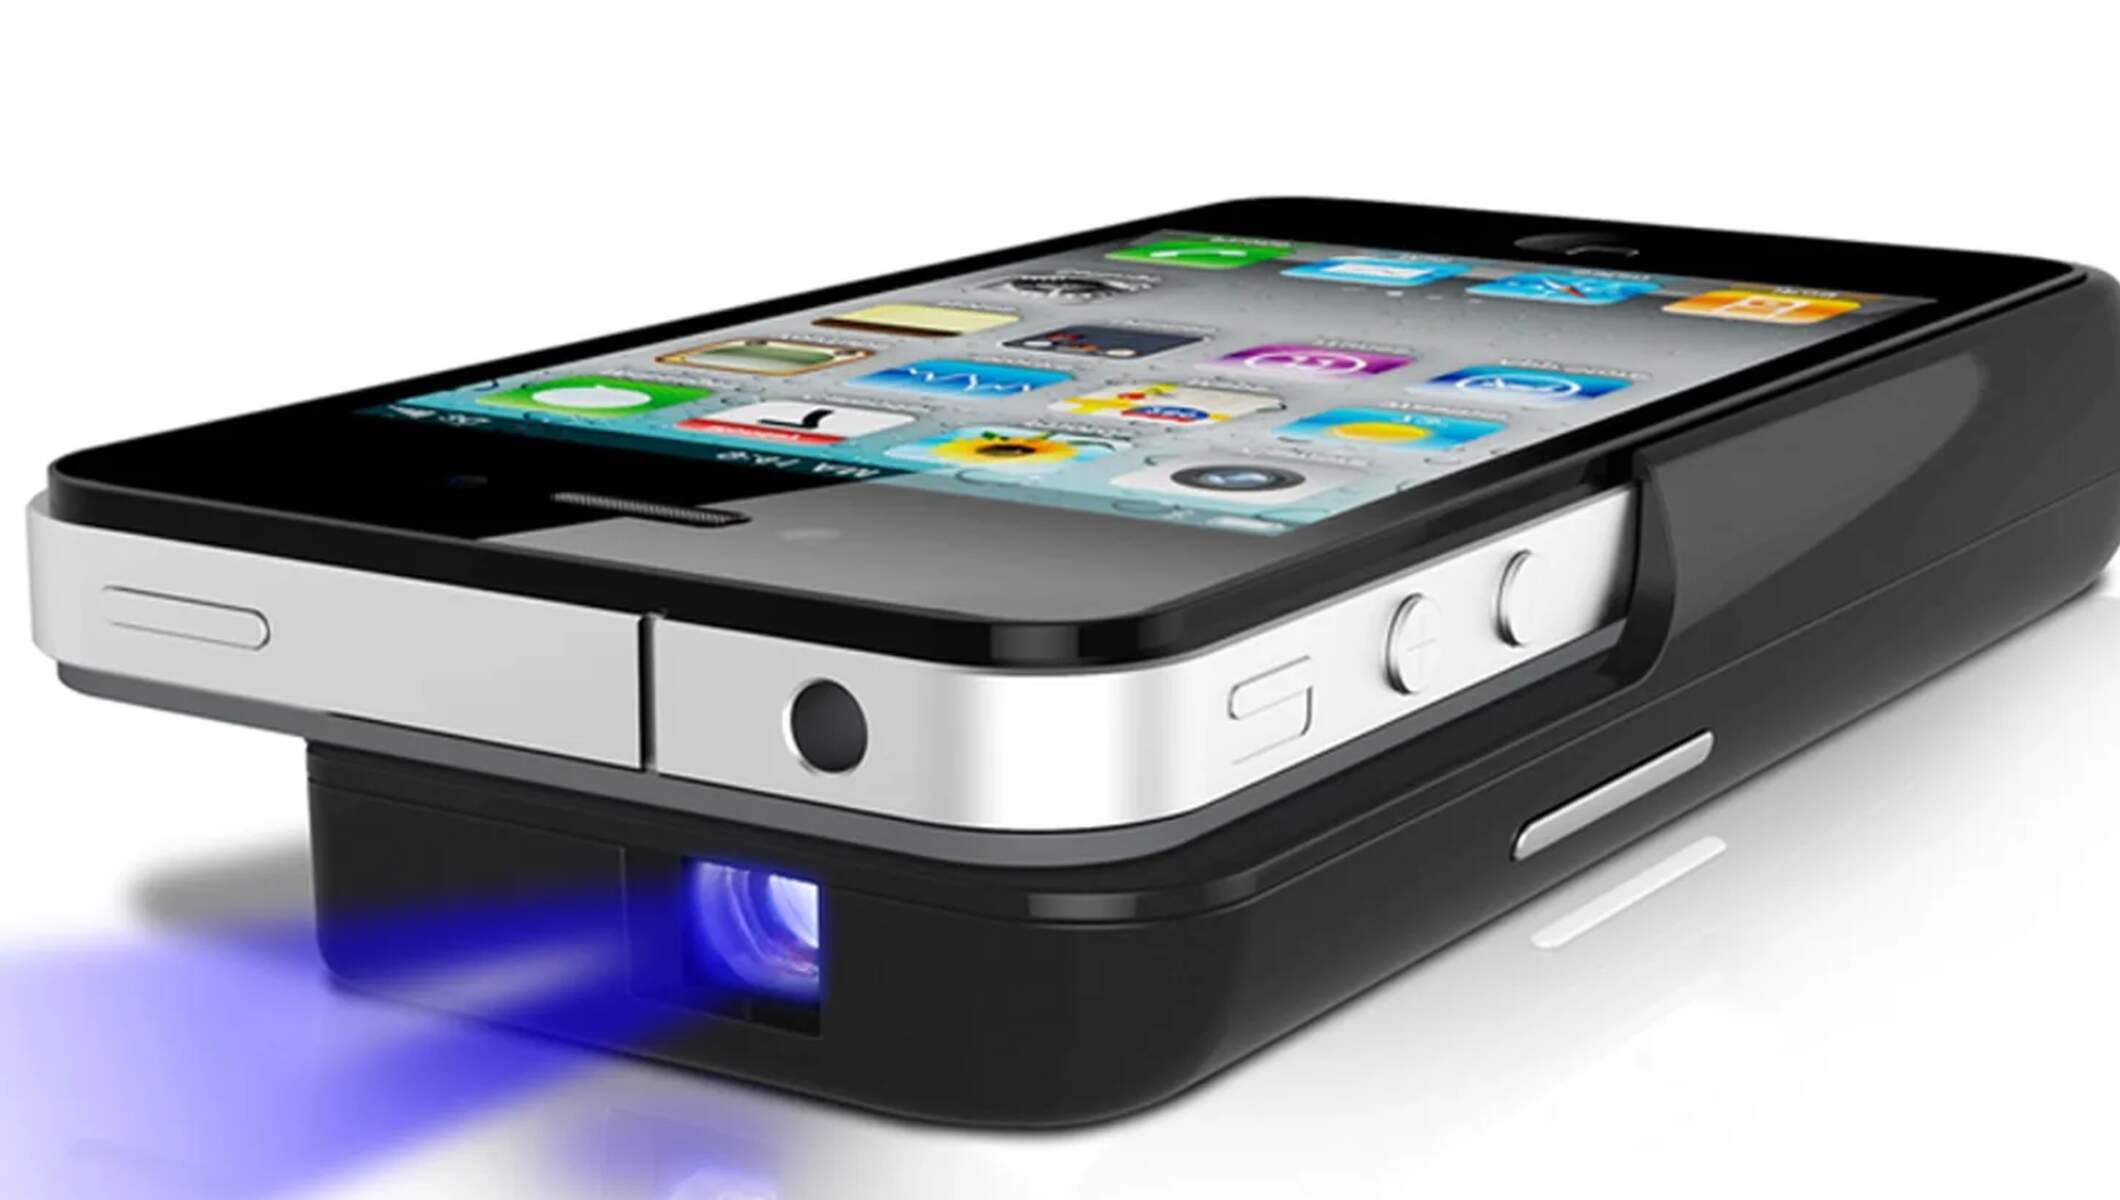
Introduction
Welcome to the ultimate guide on how to use a projector with your phone. In this digital age, projectors have become increasingly versatile devices that allow you to display your phone’s content on a larger screen. Whether you want to share presentations, watch movies, or play games, connecting your phone to a projector opens up a world of possibilities.
Gone are the days when projectors were limited to classrooms and conference rooms. With advancements in technology, portable projectors have become more affordable and accessible to the average consumer. Connecting your phone to a projector allows you to enjoy a cinematic experience at home, share important information during business meetings, or even create a captivating outdoor movie night.
The convenience of using a projector with your phone lies in its portability and simplicity. You can quickly set up a projector and project your phone’s screen onto any flat surface, whether it be a wall, a screen, or a whiteboard. This opens up a wide range of applications, from educational purposes to entertainment and multimedia experiences.
In this guide, we will walk you through the process of connecting your phone to a projector, adjusting the projection settings, playing media and apps, troubleshooting common issues, and more. So, whether you’re a tech enthusiast, a business professional, or someone looking to enhance their entertainment setup, you’ve come to the right place.
To get started, let’s dive into the steps you need to follow to connect your phone to a projector and begin enjoying the benefits of this powerful combination.
Getting Started
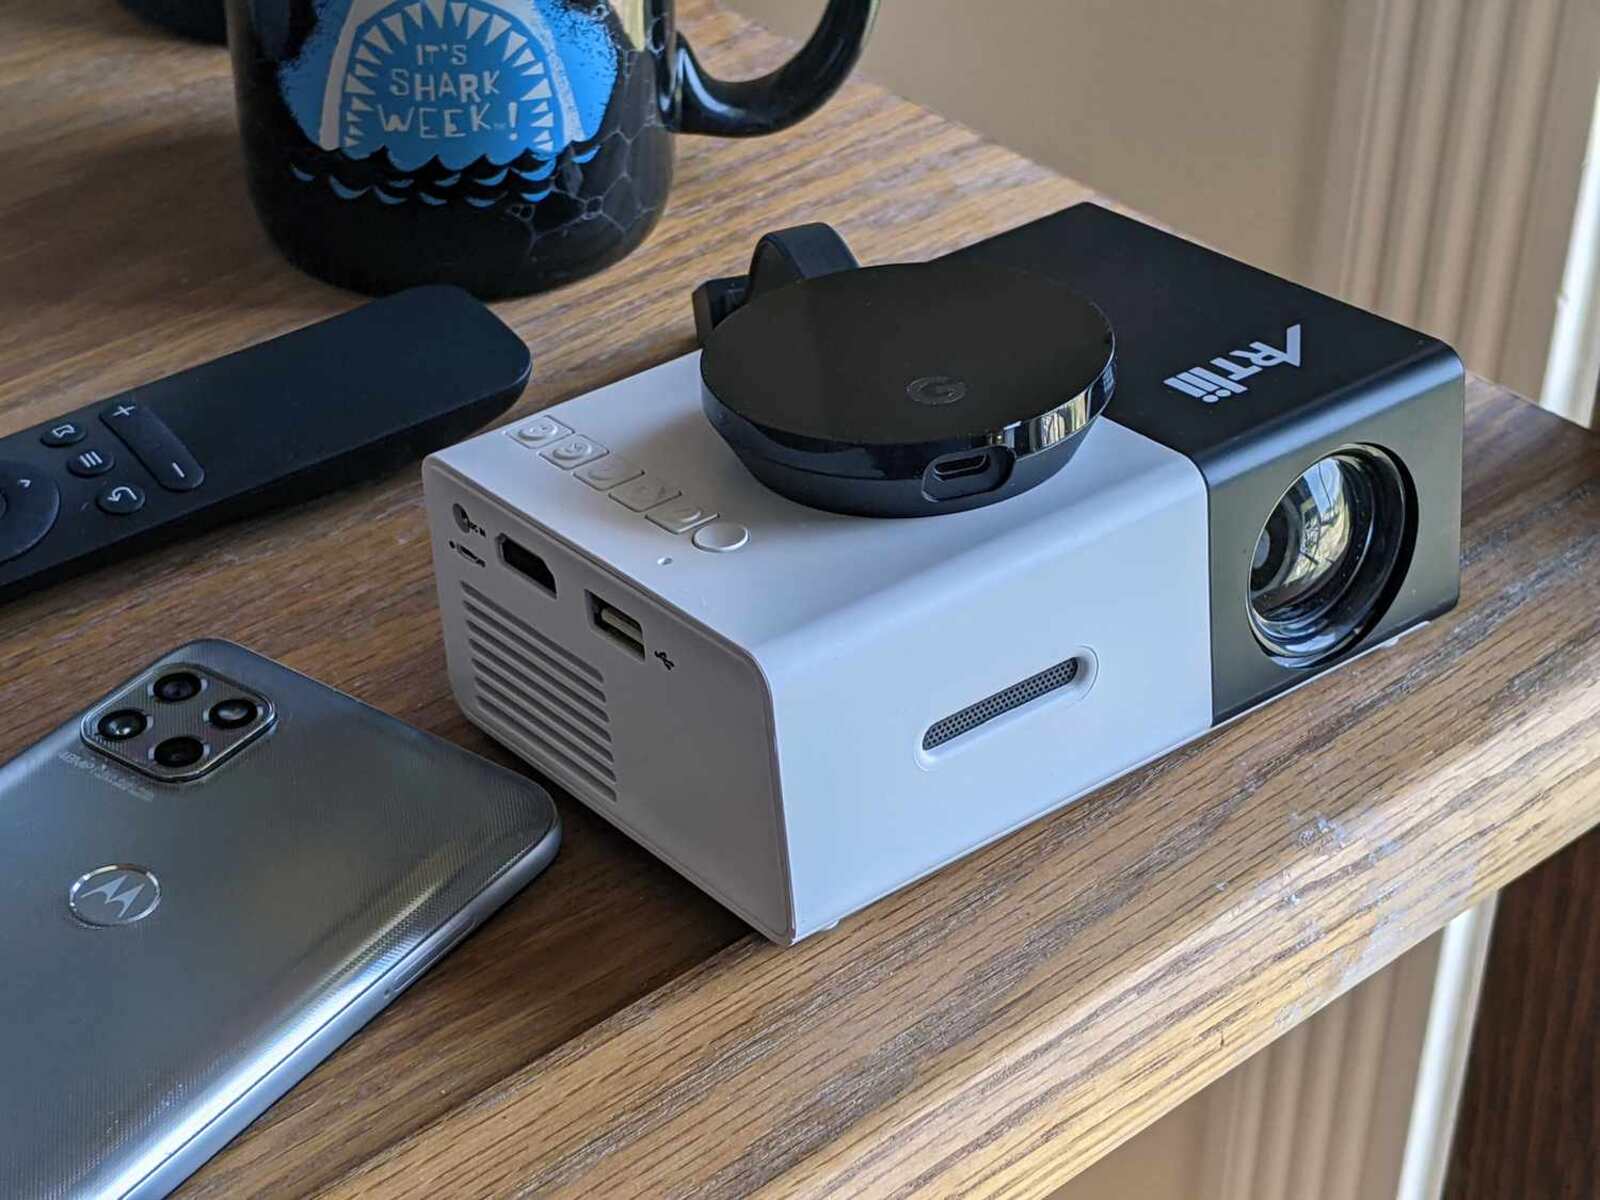
Before diving into the process of connecting your phone to a projector, it’s important to ensure that you have all the necessary equipment and understand the basic requirements. Here’s what you’ll need:
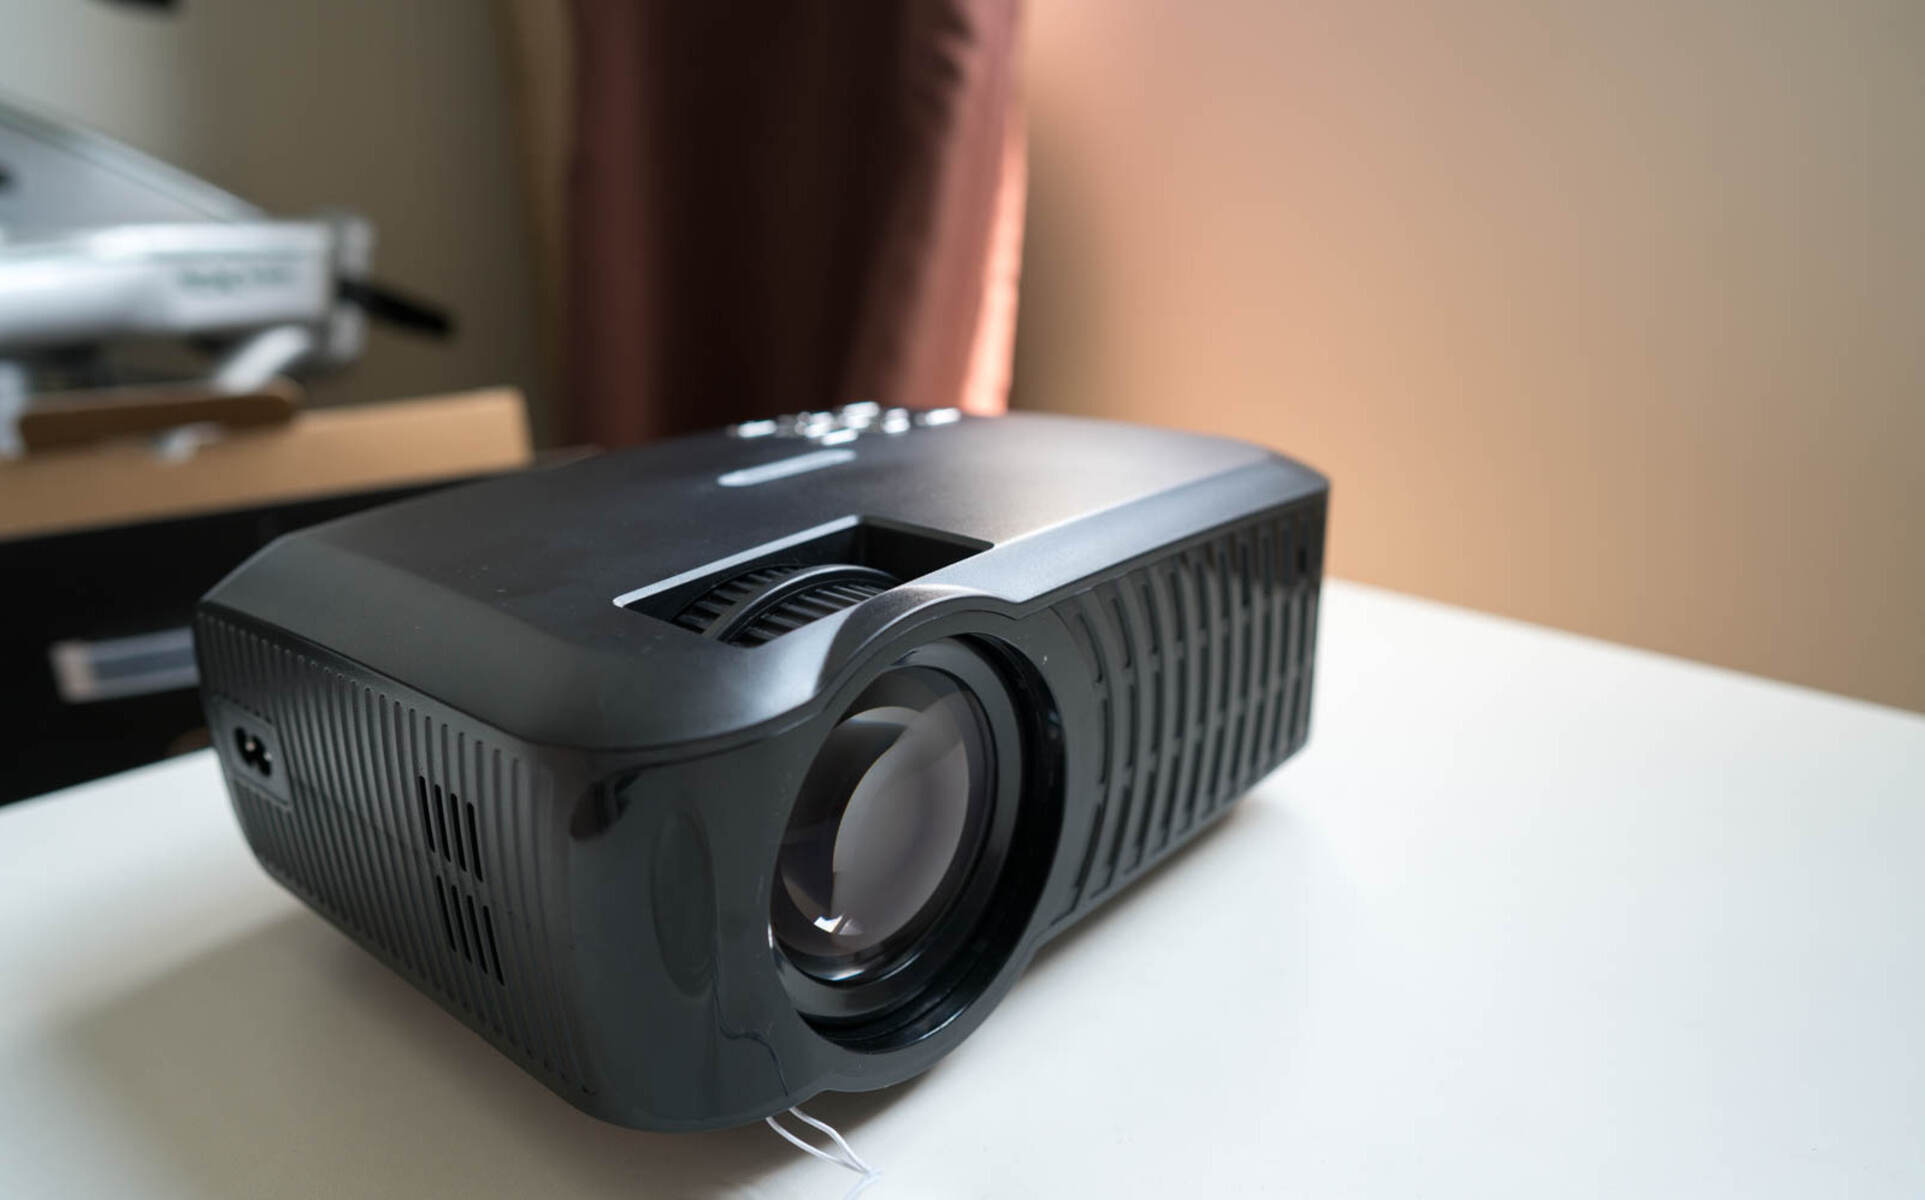
1. Projector:
Choose a projector that suits your needs and budget. Consider factors such as brightness, resolution, and connectivity options. Keep in mind that some projectors may require a specific type of cable or adapter to connect to your phone.
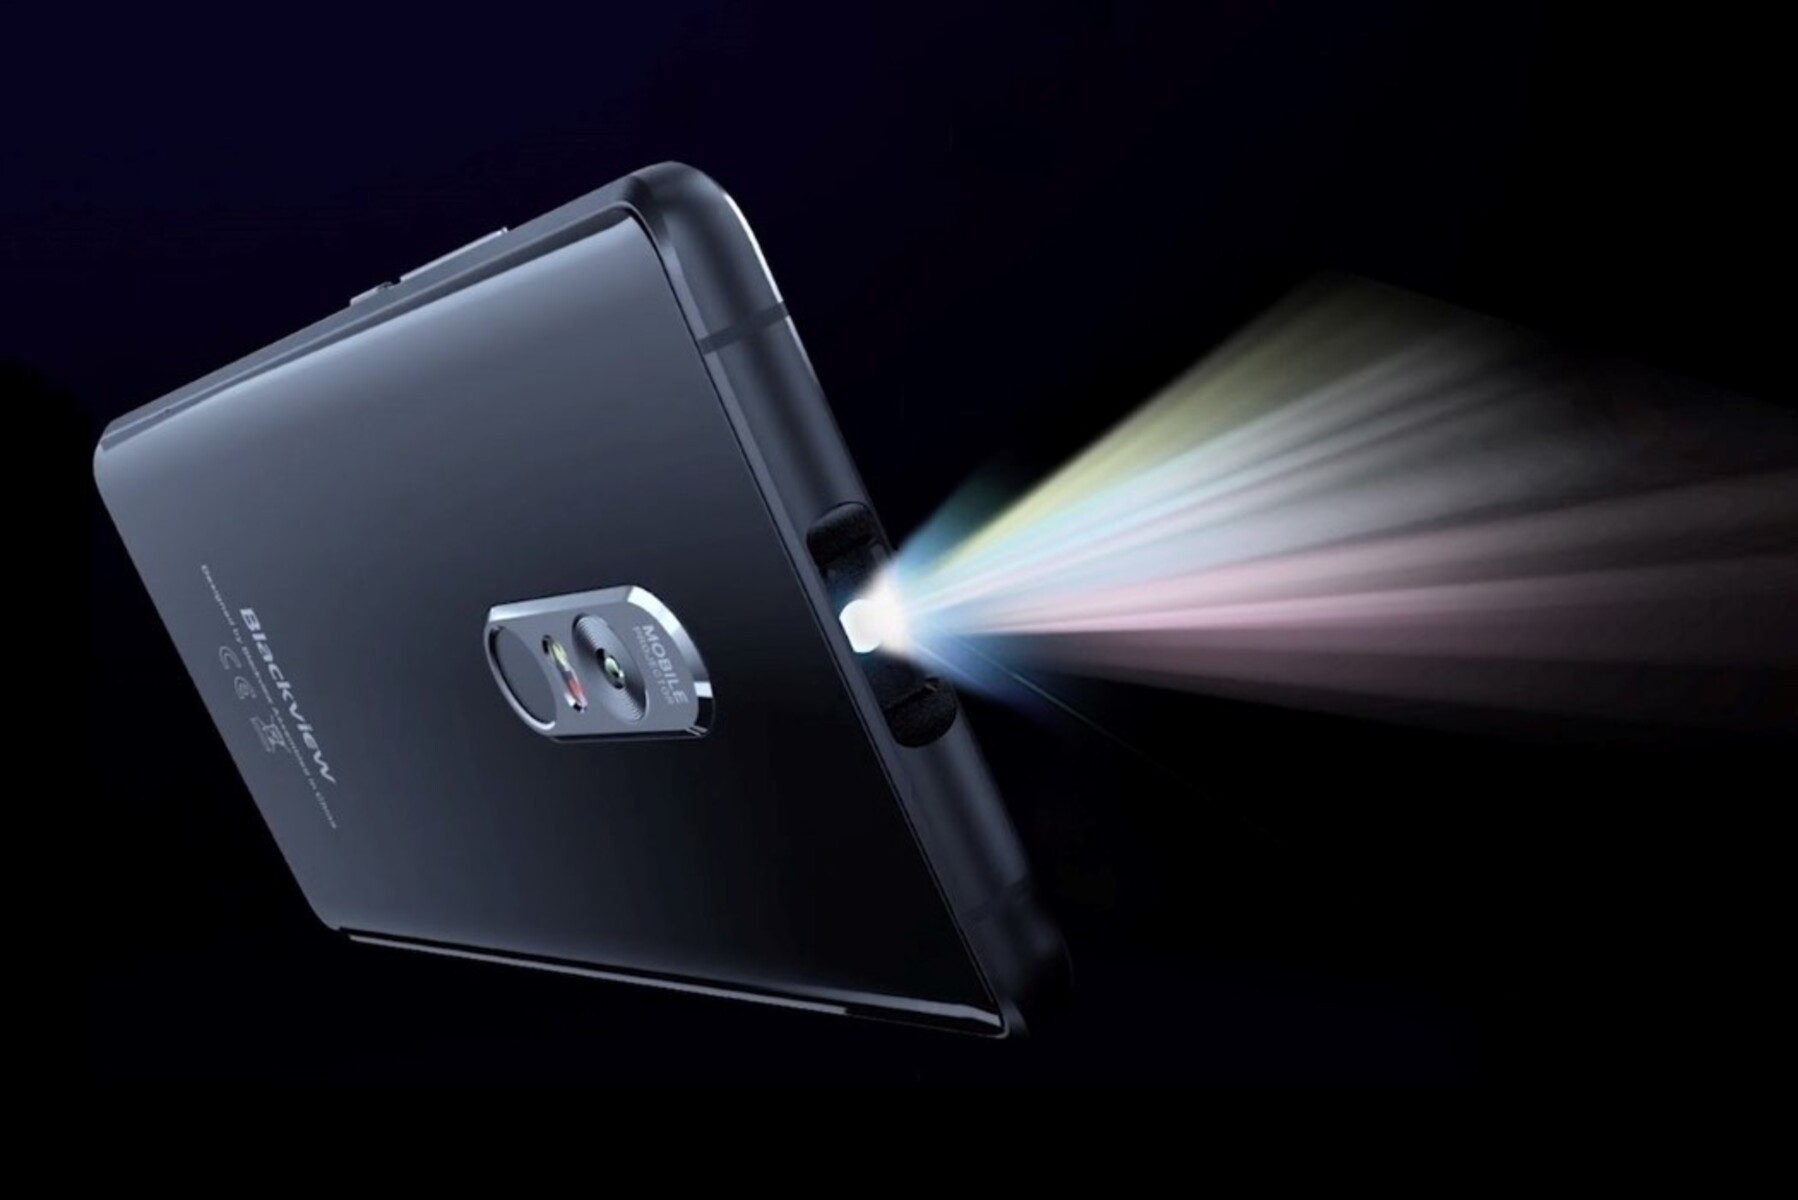
2. Phone:
Make sure your phone supports screen mirroring or has the necessary connectivity options to connect with a projector. Most modern smartphones have wireless screen mirroring capabilities, while others may require an adapter to establish a wired connection.
3. HDMI or MHL Cable:
If your projector and phone both have HDMI ports, use an HDMI cable to connect them. If your phone doesn’t have an HDMI port, you’ll need an MHL (Mobile High-Definition Link) cable, which connects to your phone’s charging port and provides an HDMI output.
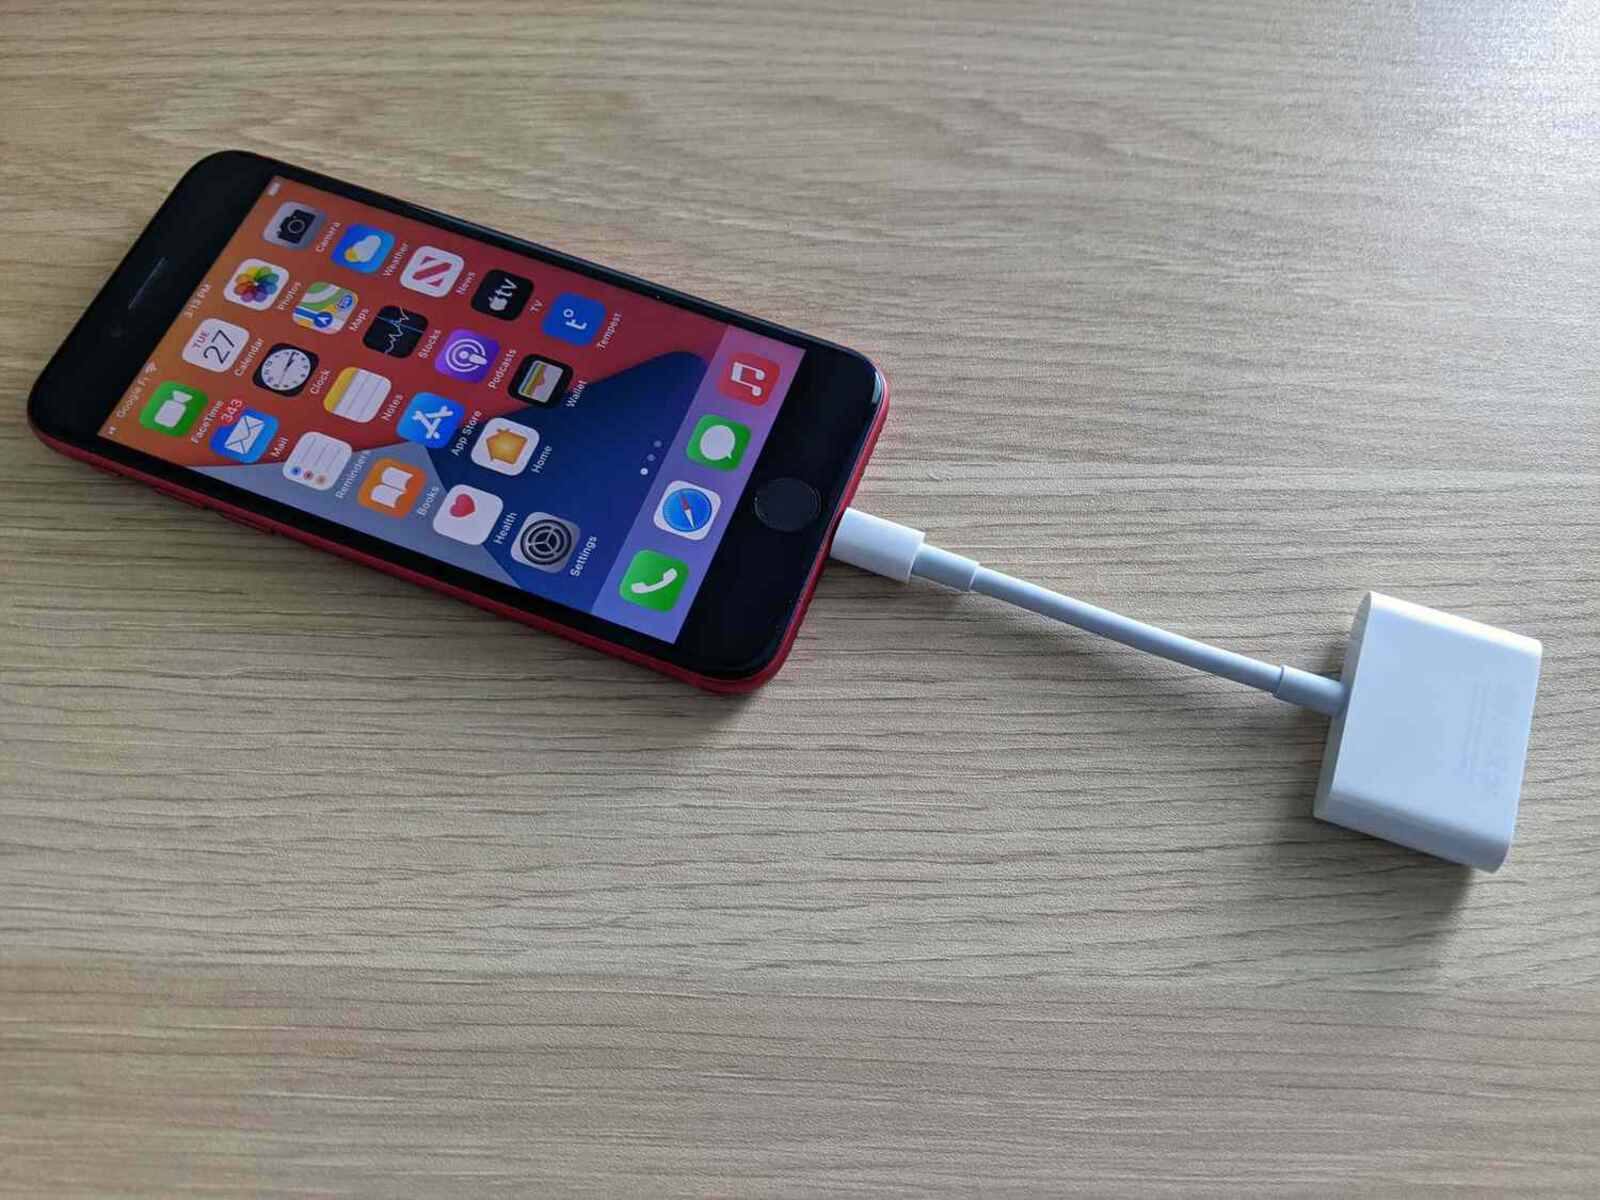
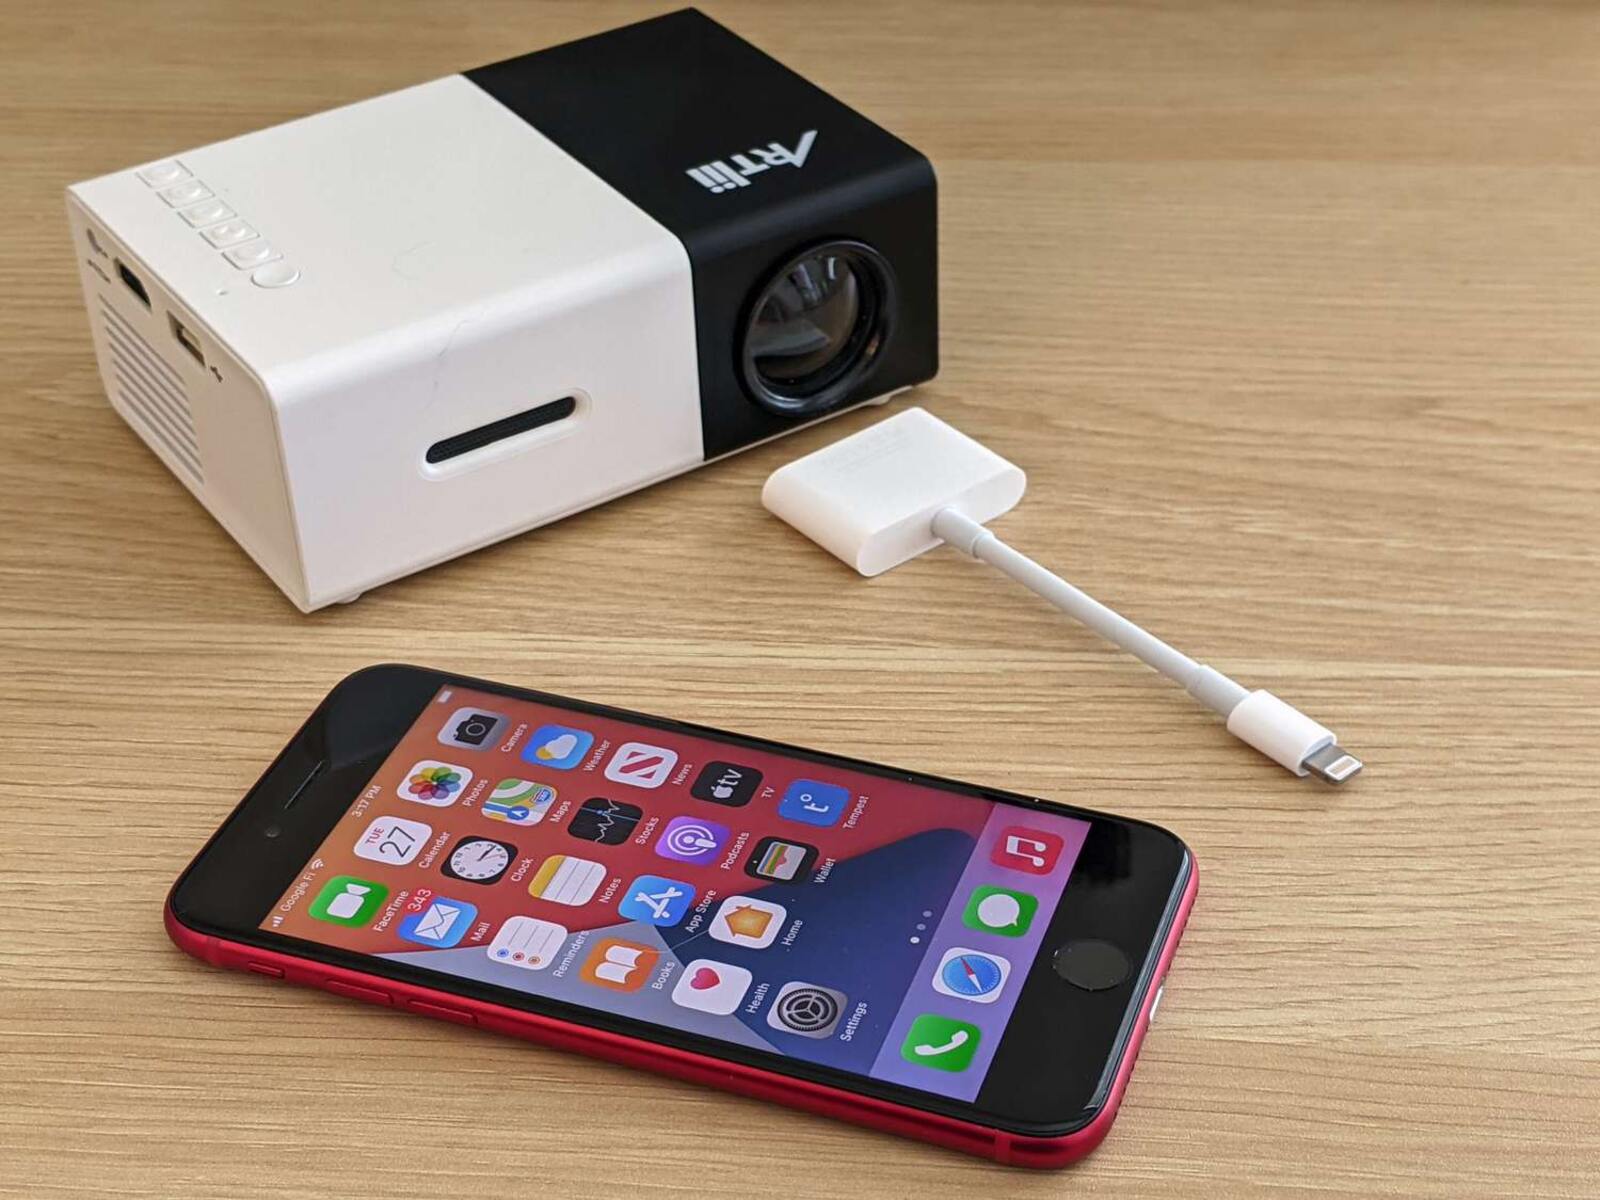
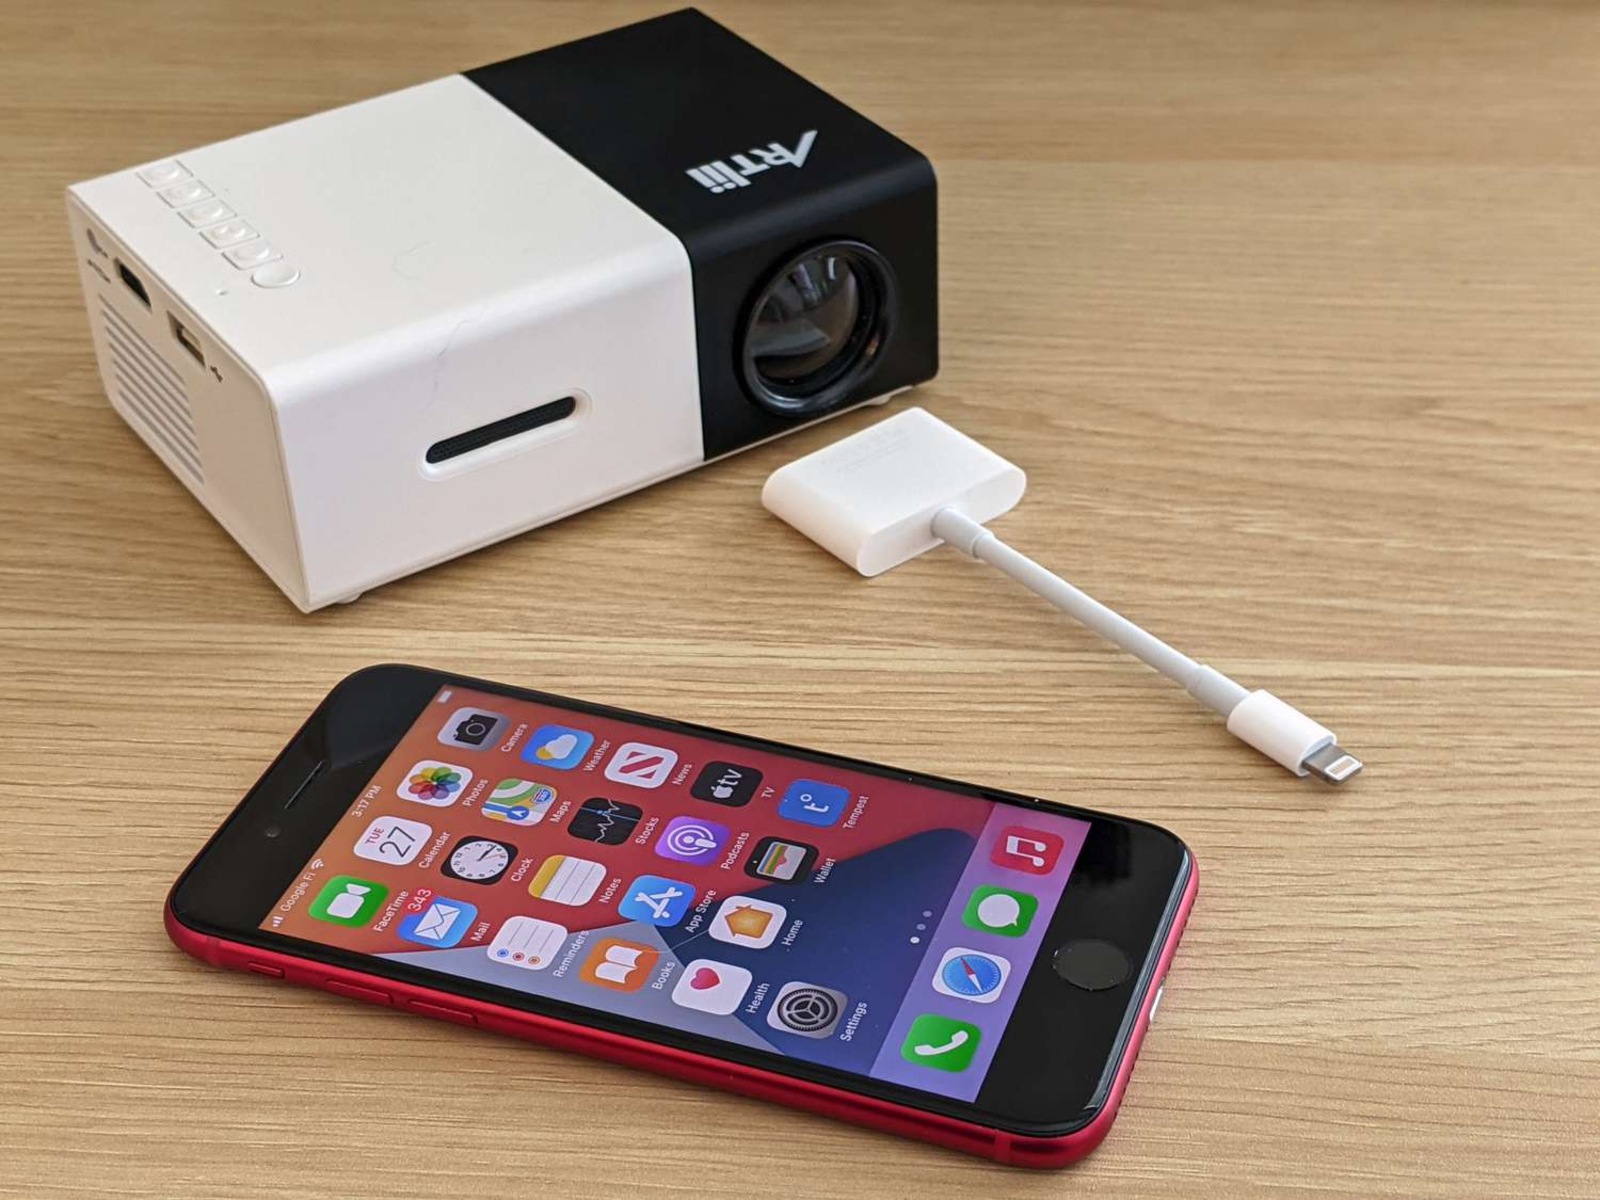
4. Adapter (if needed):
Depending on your phone’s port and the projector’s compatibility, you may require an adapter. Common adapters include USB-C to HDMI or Lightning to HDMI adapters. Refer to your phone’s specifications and the projector’s documentation to determine if an adapter is necessary.
5. Screen/Projection Surface:
Choose a suitable projection surface, such as a blank wall, projector screen, or whiteboard. Ensure that the surface is clean, flat, and has adequate space to display the projected image. Consider factors such as ambient light and viewing distance to optimize the viewing experience.
Once you have gathered all the necessary equipment, you’re ready to start connecting your phone to the projector. In the next section, we will explore the various methods of establishing a connection and project your phone’s screen onto the big screen.
Connecting Your Phone to the Projector
Now that you have everything you need, it’s time to connect your phone to the projector. There are several methods you can use, depending on the available ports and connectivity options on your phone and projector. Let’s explore these methods:
1. Wireless Screen Mirroring:
Many modern smartphones support wireless screen mirroring, also known as screen casting or mirroring. This allows you to mirror your phone’s screen on the projector without any cables or adapters. To use this method, ensure that both the projector and your phone are on the same Wi-Fi network. On your phone, go to the Settings menu, find the screen mirroring option, and select your projector from the list of available devices. Follow any additional prompts to establish the connection.
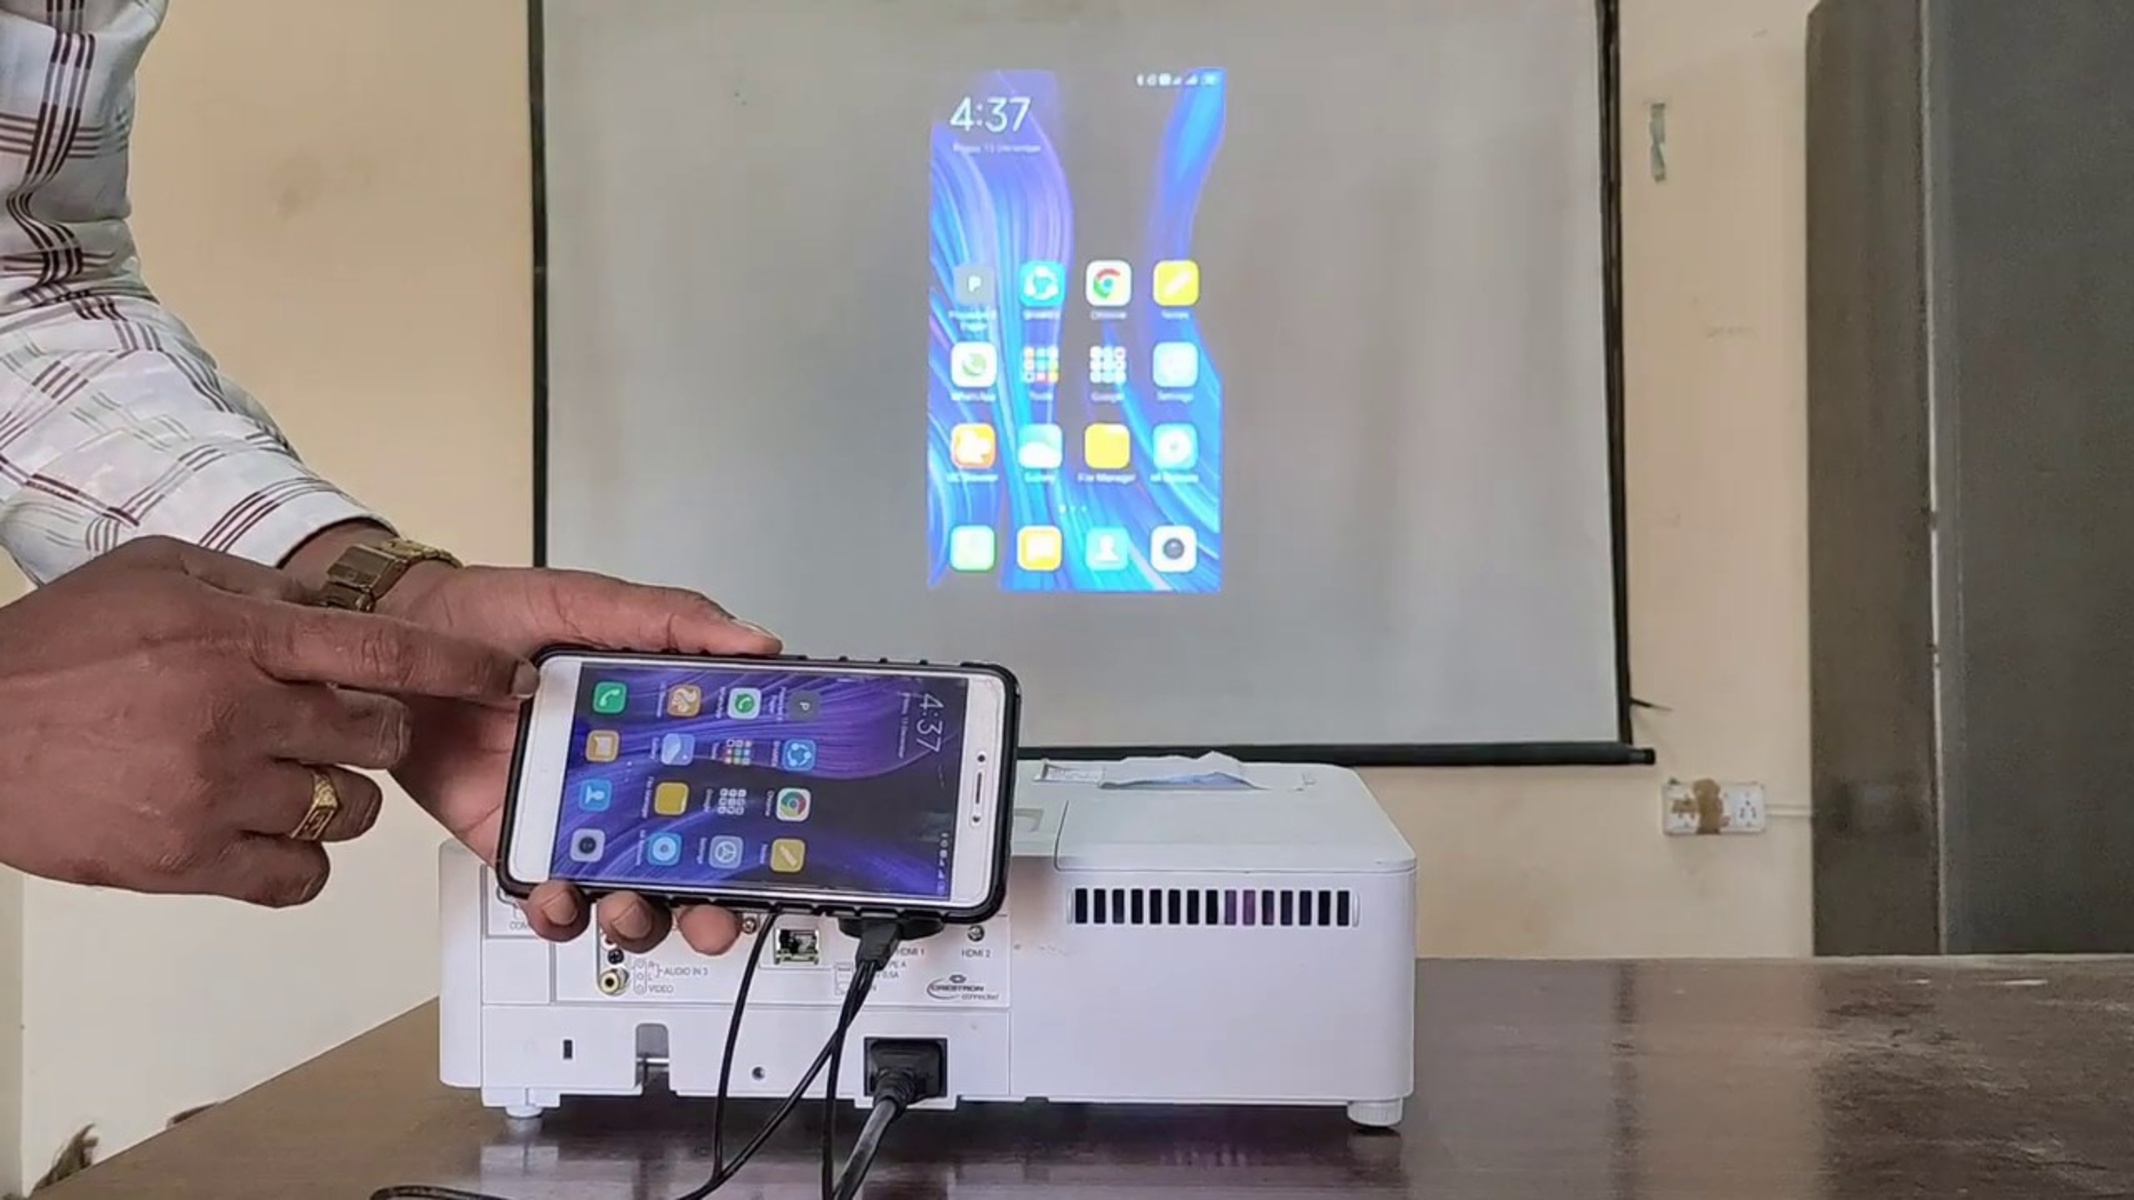
2. HDMI Connection:
If your phone and projector both have HDMI ports, this is the simplest and most straightforward method. Use an HDMI cable to connect the HDMI port on your phone to the HDMI input on the projector. Make sure the HDMI cable is securely plugged in on both ends. Once connected, the projector should automatically detect and display the phone’s screen. If not, use the projector’s input selection function to switch to the HDMI input source.
3. MHL Connection:
If your phone doesn’t have an HDMI port, you can use the Mobile High-Definition Link (MHL) technology to establish a wired connection. Connect one end of the MHL cable to your phone’s charging port and the other end to the projector’s HDMI input. Make sure the MHL cable is firmly connected. The projector should recognize the MHL connection and display your phone’s screen accordingly.
4. USB-C or Lightning Adapter:
If your phone has a USB-C or Lightning port, you may need an adapter to connect it to the projector. USB-C to HDMI or Lightning to HDMI adapters are commonly used for this purpose. Simply plug the adapter into your phone’s port and connect the HDMI cable from the adapter to the projector. Ensure that the adapter is securely attached, and the projector is set to the correct HDMI input source.
Once you have successfully connected your phone to the projector, you’ll be able to see your phone’s screen displayed on the big screen. In the next section, we will explore how to adjust the projection settings to optimize the viewing experience.
Adjusting the Projection Settings
After successfully connecting your phone to the projector, you may need to adjust the projection settings to ensure the best possible display quality. Here are some key settings you should consider:
1. Image Size and Focus:
Start by adjusting the image size and focus. Most projectors have a zoom function that allows you to increase or decrease the size of the projected image. Use the projector’s remote control or the manual zoom controls on the projector itself to adjust the size to your preference. Once you have set the desired size, use the focus ring on the projector to make the image sharp and clear.
2. Keystone Correction:
Keystone correction helps to correct any distortion caused when the projector is not aligned perpendicular to the projection surface. This is especially useful when projecting onto a wall or other uneven surfaces. Use the keystone correction feature on the projector’s menu options to adjust the image and make it appear rectangular and straight rather than distorted.
3. Brightness and Contrast:
Depending on the lighting conditions in the room, you may need to adjust the brightness and contrast settings on the projector. This will help you achieve the optimal image quality. Use the projector’s menu options to adjust the brightness and contrast levels according to your personal preferences and the ambient lighting in the room.
4. Color and Picture Mode:
Projectors often offer different picture modes that are optimized for specific content types, such as movies, presentations, or gaming. Experiment with these modes to find the one that best suits your viewing needs. You may also have the option to adjust the color temperature and saturation settings to enhance the vibrancy and richness of the projected image.
5. Sound and Audio:
If your projector has built-in speakers, make sure the audio output is set to the correct source, whether it’s HDMI or the projector’s audio output. Additionally, if you prefer a better audio experience, consider connecting external speakers or a sound system to the projector for improved sound quality.
Take your time to play around with these settings and make adjustments until you achieve the desired projection quality. Once you have optimized the projection settings, you’re ready to start enjoying your favorite media and apps on the big screen. In the next section, we will explore how to play media and use apps with your phone and projector.
Playing Media and Apps
Now that your phone is successfully connected to the projector and the projection settings have been adjusted, it’s time to explore the various ways you can play media and use apps on the big screen. Here’s how:
1. Media Players and Casting Apps:
One of the easiest ways to play media on the projector is by using media player apps or casting apps. Popular options include apps like VLC, MX Player, or Plex. Simply open the media player app on your phone, select the desired content, and cast it to the projector using the screen mirroring or casting feature of your phone. This allows you to enjoy movies, TV shows, and videos on the larger screen of the projector.
2. Streaming Services:
If you have subscriptions to streaming services like Netflix, Amazon Prime Video, or Disney+, you can take advantage of their mobile apps to stream content directly to the projector. Open the streaming app on your phone, select the movie or TV show you want to watch, and use the screen mirroring or casting feature to project it onto the big screen. This brings the cinema experience right to your living room.
3. Gaming:
If you’re a gaming enthusiast, connecting your phone to the projector allows you to enjoy mobile games on a much larger scale. Many mobile games support screen mirroring or casting, allowing you to project the game directly onto the projector. Grab a wireless gamepad or connect your phone to a Bluetooth controller for a more immersive gaming experience.
4. Presentations and Productivity Apps:
For business professionals, connecting your phone to the projector opens up new opportunities for presentations and productivity tasks. Whether you’re giving a presentation or collaborating on a document, you can use apps like Microsoft Office Suite, Google Slides, or Dropbox to access and display your files on the big screen. This makes it easier to share information and collaborate effectively in meetings or conferences.
Remember to explore the capabilities of your phone and the compatibility of the apps you use to make the most of your projector setup. Whether it’s watching movies, playing games, or giving presentations, the combination of your phone and the projector offers endless possibilities for entertainment and productivity.
In the next section, we will discuss how to troubleshoot common issues that may arise during the process of using a projector with your phone.
Troubleshooting Common Issues
While using a projector with your phone is generally a seamless experience, you may encounter some common issues that can be easily resolved. Here are a few troubleshooting steps to help you overcome these issues:
1. No Image or Signal:
If you’re not seeing any image or signal on the projected screen, double-check the connections between your phone and the projector. Ensure that the cables or adapters are securely plugged in and that the projector is set to the correct input source. If you’re using wireless screen mirroring, make sure your phone and the projector are connected to the same Wi-Fi network and that the mirroring feature is enabled on your phone.
2. Poor Image Quality:
If the projected image appears blurry or distorted, check the focus and zoom settings on the projector. Adjust them accordingly to achieve a clear and sharp image. Additionally, ensure that the projection surface is smooth and clean. If using a wall, consider projecting onto a white surface or using a projector screen for improved image quality.
3. Sound Issues:
If you’re experiencing sound issues, check the audio settings on both your phone and the projector. Ensure that the audio output is set to the correct source, whether it’s the HDMI connection or the projector’s audio output. If necessary, connect external speakers or a sound system to the projector for enhanced audio quality.
4. Incompatible Apps or Content:
Sometimes certain apps or content may not be compatible with screen mirroring or casting. If you encounter this issue, try using a different media player app that supports the specific content format you’re trying to play. Additionally, ensure that your phone’s operating system and apps are up to date to avoid compatibility issues.
5. Connectivity or Signal Interruptions:
If you experience intermittent connectivity or signal interruptions during screen mirroring or casting, check the Wi-Fi strength and stability. Ensure that both your phone and the projector are in close proximity to the Wi-Fi router to maintain a strong and stable connection. Consider restarting the devices or switching to a different Wi-Fi network if necessary.
If you’re still experiencing issues despite trying these troubleshooting steps, refer to the user manual or contact the manufacturer’s support for further assistance. Remember, every projector and phone combination may have different settings and requirements, so it’s important to familiarize yourself with the specific instructions for your devices.
Now that you’re equipped with troubleshooting knowledge, you’re ready to overcome any obstacles that may arise during the process of using a projector with your phone. In the next section, we’ll wrap up this guide with a summary of the key points discussed.
Conclusion
Using a projector with your phone opens up a world of possibilities for entertainment, presentations, and productivity. With the right equipment and understanding of the connection and projection settings, you can enjoy a larger-than-life viewing experience in the comfort of your home or during important business meetings.
In this guide, we have explored the process of connecting your phone to a projector, adjusting the projection settings, playing media and apps, and troubleshooting common issues. By following these steps, you can make the most out of your projector setup and achieve optimal image quality and sound.
Remember to gather all the necessary equipment including the projector, phone, appropriate cables and adapters, and a suitable projection surface. Then, establish the connection between your phone and the projector using either wireless screen mirroring or a wired connection like HDMI or MHL. Once connected, adjust the projection settings such as image size, focus, keystone correction, brightness, and contrast to suit your preferences and viewing environment.
With your phone and projector linked, you can enjoy a range of media and apps on the big screen. Whether it’s watching movies, streaming content from popular services, playing games, or presenting important information, the possibilities are endless. Just make sure to troubleshoot common issues that may arise, such as connectivity problems or audio and video quality, by checking the connections, adjusting settings, and updating apps if necessary.
So, whether you’re a movie enthusiast, a business professional, or simply looking to elevate your entertainment setup, using a projector with your phone can enhance your viewing experience and open up new opportunities. Embrace the power of this versatile combination and enjoy the convenience of sharing your phone’s content on a larger screen.
Now that you have the knowledge and confidence to embark on your projector journey, go ahead and explore the endless possibilities. Get ready to immerse yourself in a world of captivating visuals and engaging presentations with the perfect blend of technology and creativity.