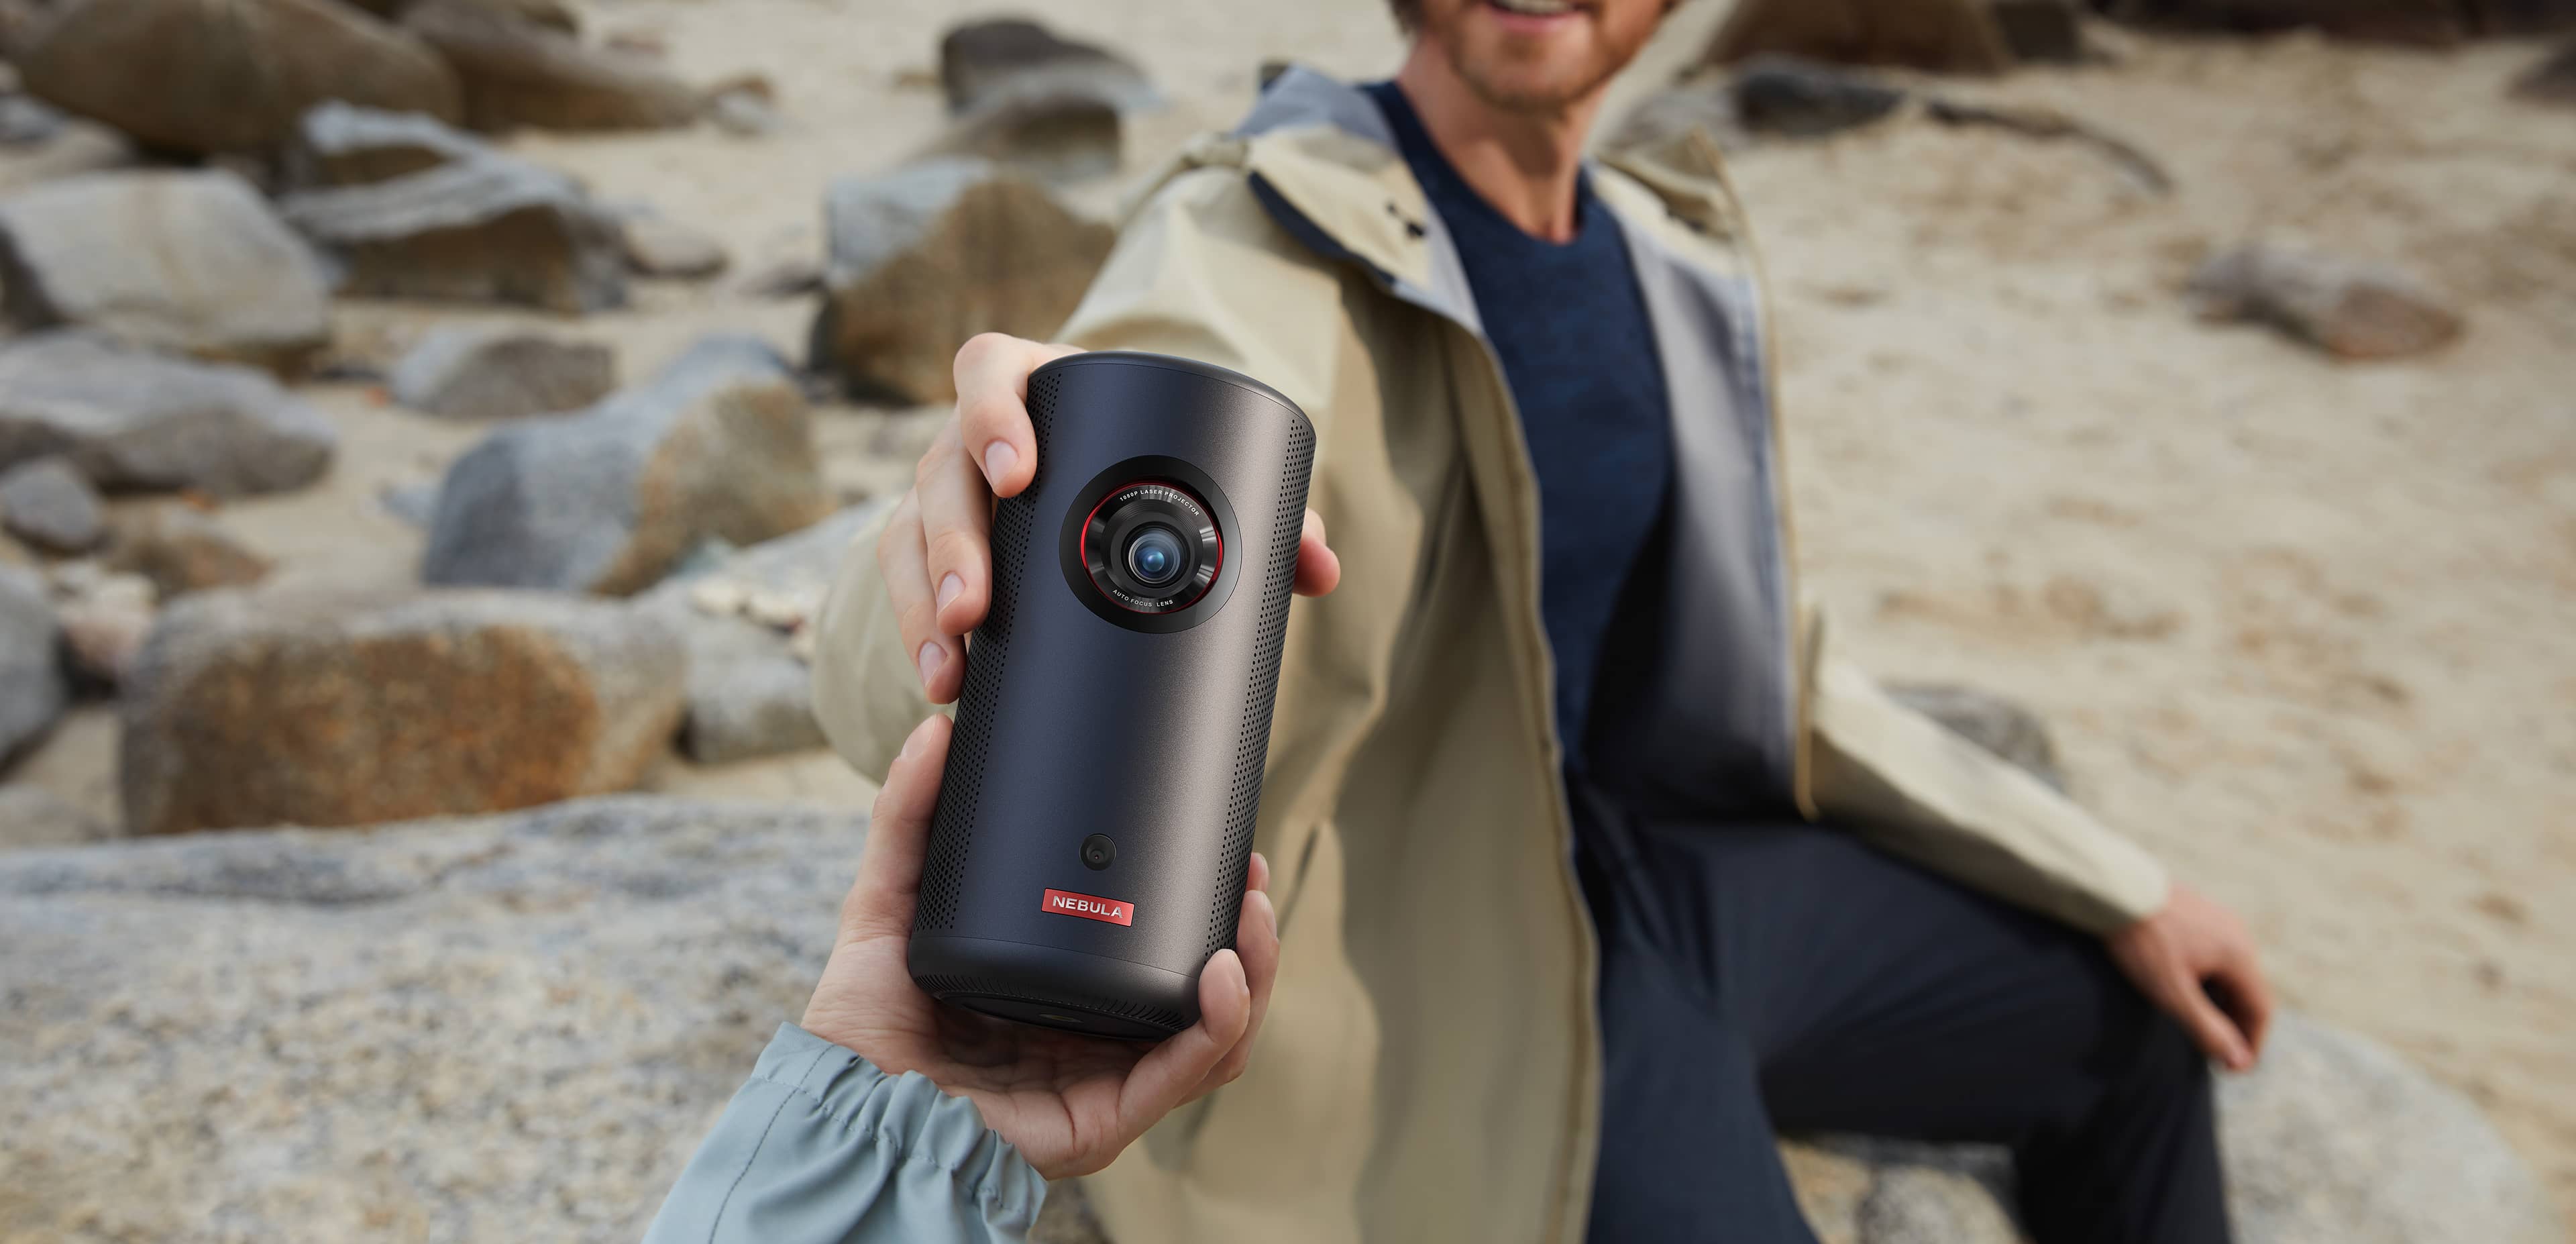
Introduction
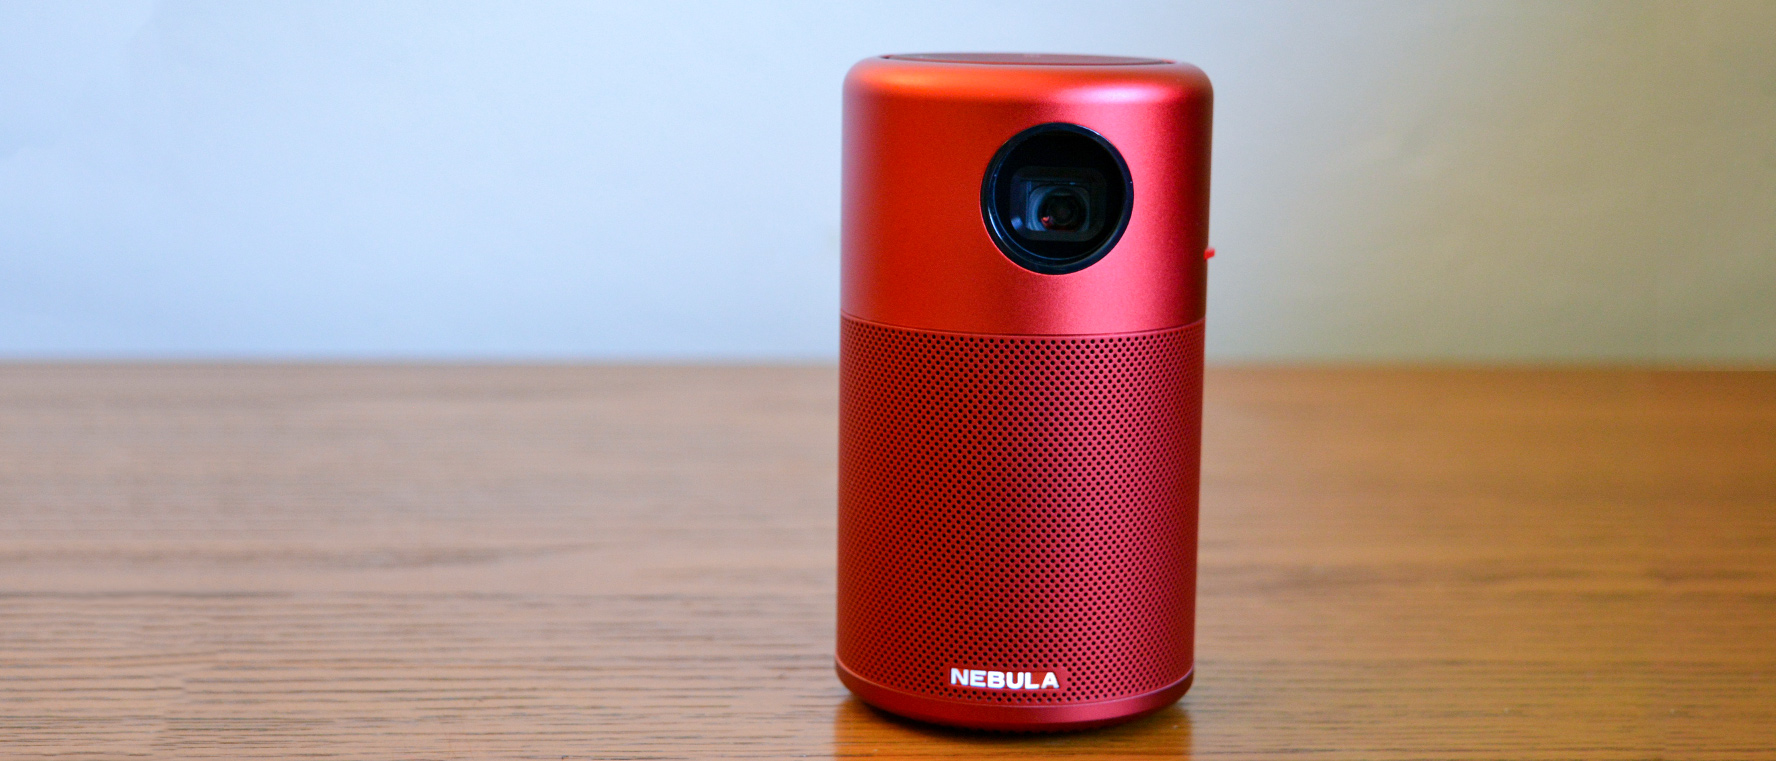
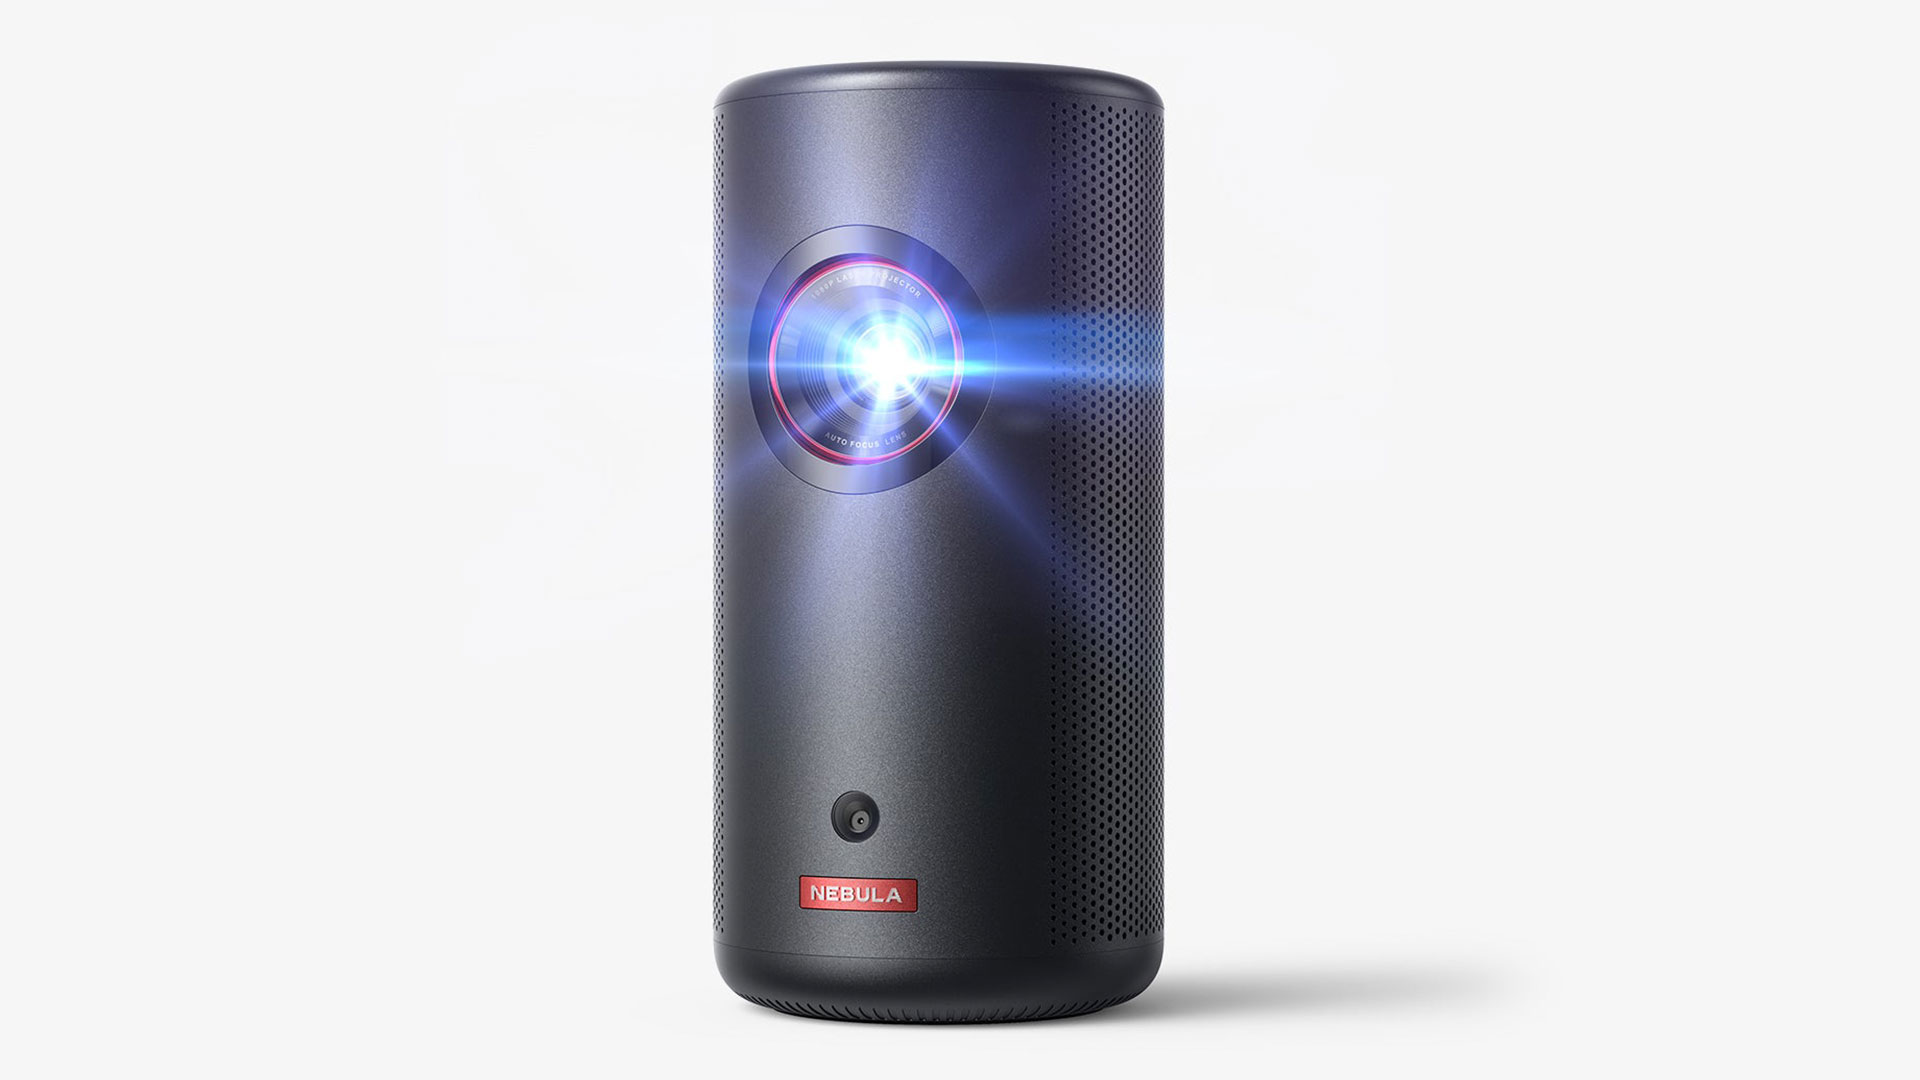
Connecting your phone to a Nebula projector opens up a whole new world of entertainment possibilities. Whether you want to stream movies, play games, or share photos and videos with a larger audience, the ability to connect your phone to a projector can transform your viewing experience. In this article, we will guide you through the steps to connect your phone to a Nebula projector, allowing you to enjoy your favorite content on a big screen.
Before we delve into the technicalities, it’s crucial to ensure compatibility between your phone and the Nebula projector. Different projectors may have varying compatibility options, so it’s important to familiarize yourself with the specific requirements of your Nebula projector model.
Once you have verified compatibility, the next step is to prepare your smartphone for connection. This includes ensuring that your phone’s software is up to date, adjusting display settings, and enabling any necessary connectivity features. Unleashing the full potential of your phone’s content on a larger screen requires a seamless connection, whether it’s through a wired or wireless method.
For those who prefer a direct and reliable connection, using an HDMI cable is the way to go. This method guarantees a stable connection and high-quality visuals, making it ideal for streaming movies or playing games that require minimal latency. We will guide you through the process of connecting your phone to the Nebula projector via an HDMI cable.
If you prefer a wireless connection, casting your phone’s screen to the Nebula projector is an excellent option. Wireless casting allows for greater flexibility and convenience, as it eliminates the need for cables. You can effortlessly share your favorite videos and photos with friends and family, or even use your phone as a remote control for the projector.
Once you have successfully connected your phone to the Nebula projector, it’s important to adjust the settings to ensure the best possible display quality. This includes adjusting the screen resolution, aspect ratio, and brightness to suit your preferences. Fine-tuning these settings will enhance your viewing experience and make the content truly come to life on the big screen.
Now that you have all the necessary steps and tips at your disposal, it’s time to connect your phone to the Nebula projector and start enjoying the numerous benefits of a larger screen. So let’s dive into the step-by-step process and make the most out of your phone’s content on the big screen.
Step 1: Check Compatibility
Before attempting to connect your phone to a Nebula projector, it’s crucial to ensure that both devices are compatible with each other. Not all projectors support smartphone connectivity, so it’s essential to check the specifications of your particular Nebula model.
Start by referring to the user manual or the manufacturer’s website for information about compatibility options. Look for features such as HDMI ports, wireless casting capabilities, and supported operating systems.
If your Nebula projector supports HDMI connectivity, make sure that your smartphone has a corresponding HDMI output port or a compatible adapter. Some newer smartphones may use USB-C instead of HDMI, so ensure that you have the necessary adapter or cable to connect the devices.
For wireless casting, your phone and projector should support the same casting technology, such as Miracast or Chromecast. Check if both devices are compatible and if any additional software or apps are required for casting.
Additionally, verify that your smartphone and projector have the latest software updates. Manufacturers often release firmware updates that improve compatibility and fix any known issues. Updating both devices ensures a smoother connection and enhances functionality.
If you are unsure about the compatibility or have any specific questions, reach out to the manufacturer’s customer support for assistance. They can provide you with the most accurate information regarding phone compatibility and recommended connection methods.
By taking the time to check compatibility between your phone and Nebula projector, you can avoid any frustrating connectivity issues and ensure a seamless experience. Once you have confirmed compatibility, you can proceed to the next steps of preparing your smartphone for connection.
Step 2: Prepare Your Smartphone
Before you can connect your smartphone to a Nebula projector, it’s essential to prepare your device by following a few simple steps. These steps will help ensure a smooth and hassle-free connection.
Firstly, check for any software updates on your smartphone. Keeping your device up to date ensures that you have the latest features and security enhancements. To check for updates, go to the settings menu on your phone and look for the software update option. If an update is available, follow the prompts to download and install it.
Next, adjust the display settings on your smartphone. Depending on your device’s operating system, you can typically find display settings under the settings or display menu. Make sure to set the screen brightness to a comfortable level for viewing on the projector. You may also want to disable any auto-rotate or sleep settings that could interrupt your viewing experience.
For optimal performance, it’s recommended to close any unnecessary applications running in the background. This ensures that your smartphone’s resources are optimized for the projection task at hand, providing a smoother and more responsive connection.
Furthermore, if you plan on using a wired connection via an HDMI cable, ensure that you have the necessary adapter or cable that corresponds to your phone’s port. Some smartphones may require additional adapters, such as USB-C to HDMI, so make sure you have the correct equipment on hand.
If you prefer a wireless connection, make sure that both your smartphone and the Nebula projector are connected to the same Wi-Fi network. This is essential for smooth casting and prevents any interruption in the connection.
Lastly, familiarize yourself with the casting options available on your smartphone. Most smartphones offer built-in casting features, such as Miracast or Chromecast. These options allow you to wirelessly cast your phone’s screen directly to the Nebula projector. Explore the settings on your phone to enable and configure the casting feature.
By preparing your smartphone before attempting to connect to a Nebula projector, you can ensure a seamless connection and an enjoyable viewing experience. Taking the time to check for updates, adjust display settings, and familiarize yourself with the casting options will help you make the most out of your phone’s content on the big screen.
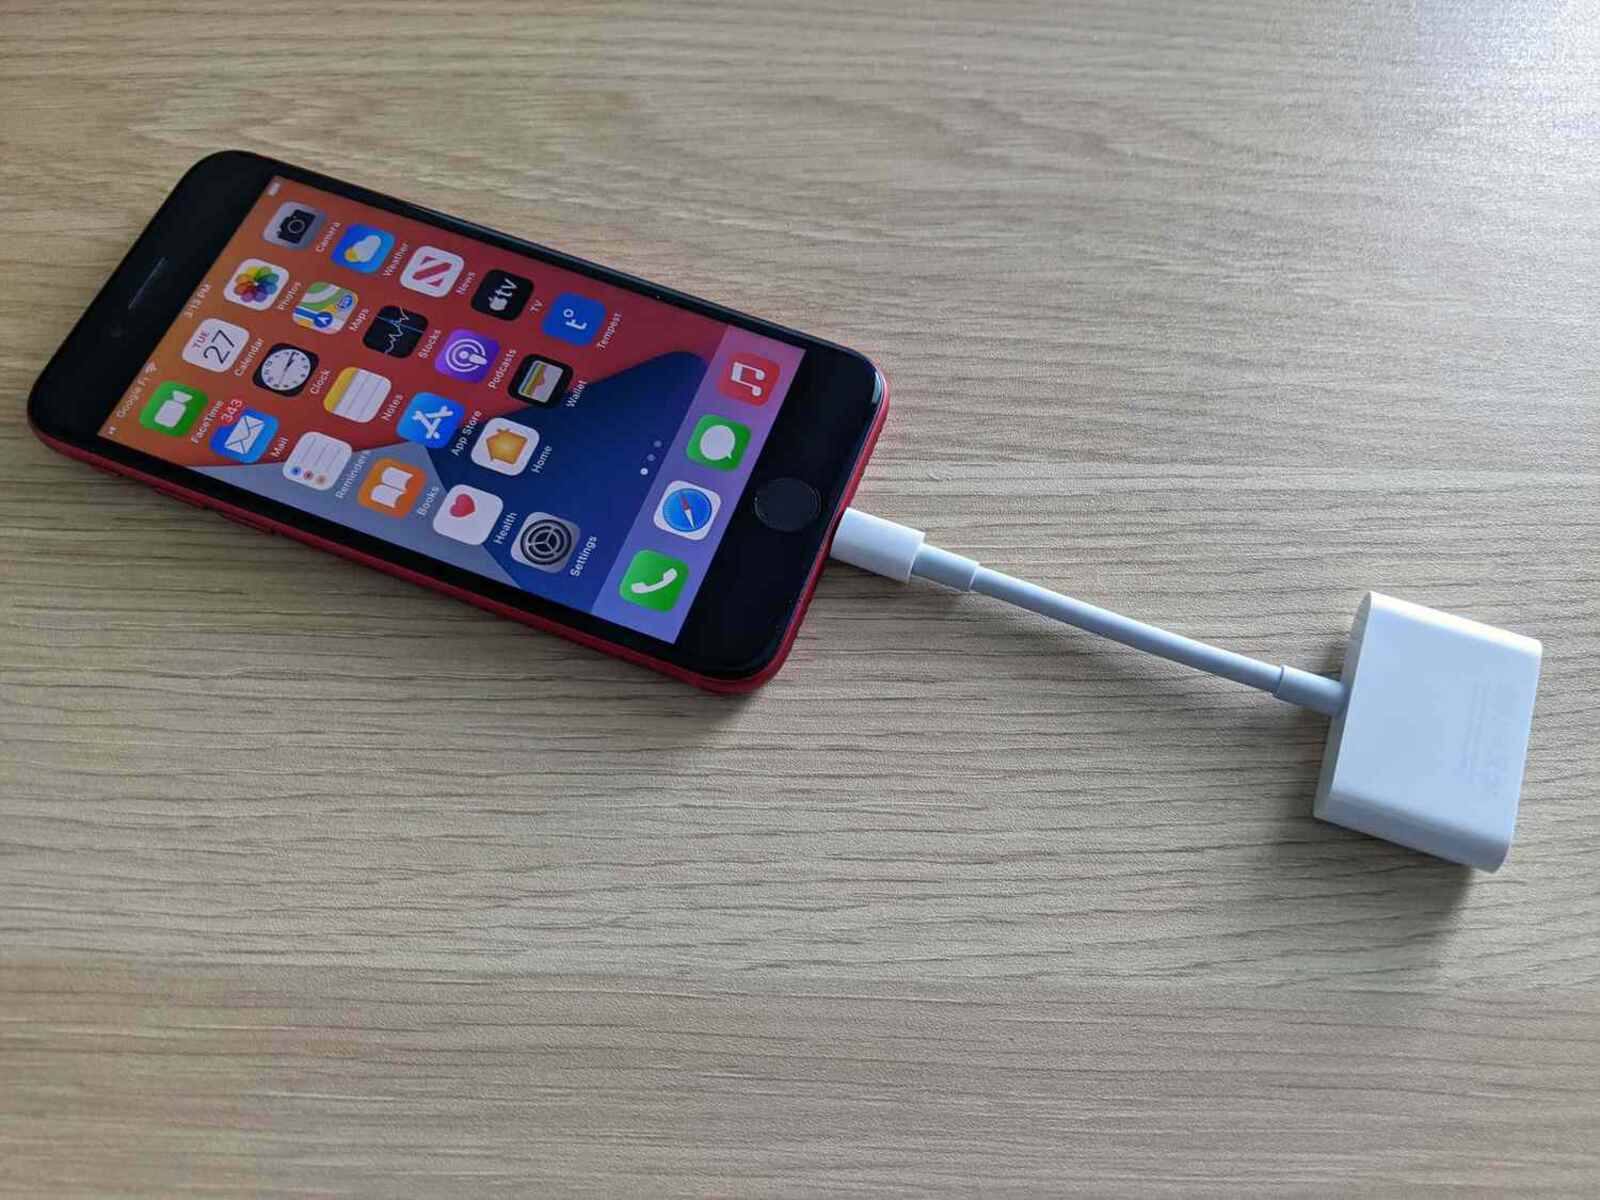
Step 3: Connect via HDMI Cable
If you prefer a direct and reliable connection, using an HDMI cable to connect your smartphone to a Nebula projector is a straightforward and effective method.
Start by ensuring that you have the necessary HDMI cable that is compatible with your phone’s port. Some smartphones may require an additional adapter, such as a USB-C to HDMI adapter, to connect to the projector. Connect one end of the HDMI cable to the HDMI port on the Nebula projector and the other end to your phone’s HDMI port or adapter.
Once connected, switch on your Nebula projector and set it to the correct HDMI input source that matches the port you used to connect your smartphone. On your smartphone, you may need to change the display settings to output to the HDMI connection. The exact steps to do this may vary depending on your phone’s operating system, but generally, you can find these settings under the display or connected devices menu.
After adjusting the display settings on your smartphone, you should see your phone’s screen projected on the Nebula projector. You can now enjoy your favorite movies, videos, games, or any other content directly from your phone’s screen.
It’s important to note that some DRM (Digital Rights Management) protected content, such as certain streaming services, may not be displayed via the HDMI connection due to copyright restrictions. However, most locally stored videos, photos, and non-DRM streaming services should work seamlessly.
Remember to adjust the audio settings on your phone as well if you want the sound to play through the projector’s speakers. You can typically find audio settings under the sound or connected devices menu on your smartphone. Select the Nebula projector as the audio output device to ensure the audio is played through the projector.
When you’re finished using the HDMI connection, make sure to disconnect the cable properly. Avoid pulling on the cable itself, as this can damage the connectors. Instead, hold onto the plug and gently remove it from the ports on both the projector and the smartphone.
Connecting your phone to a Nebula projector via an HDMI cable is a reliable and simple method to enjoy your phone’s content on a larger screen. The direct connection ensures a stable and high-quality viewing experience, making it ideal for streaming movies, gaming, or sharing presentations. Now that you have the HDMI connection set up, you can proceed to adjust the settings on both your phone and the Nebula projector for the optimum display.
Step 4: Connect via Wireless Casting
If you prefer a cable-free and more flexible method to connect your phone to a Nebula projector, wireless casting is the way to go. This method allows you to mirror your phone’s screen directly onto the projector, giving you the freedom to move around while using your phone.
To begin, make sure that both your smartphone and the Nebula projector are connected to the same Wi-Fi network. This is crucial for establishing a stable and seamless wireless connection between the two devices.
On your smartphone, open the settings menu and look for the “Cast” or “Screen Mirroring” option. The exact location of this option may vary depending on your phone’s operating system. Once located, tap on it to initiate the casting process.
Your smartphone will then search for available devices to cast to. Select your Nebula projector from the list of available devices. This will establish a connection between your phone and the projector.
Once the connection is established, your phone’s screen will be mirrored on the Nebula projector. You can now navigate your phone’s interface, play videos, stream content, or display presentations directly on the big screen.
Wireless casting also allows you to use your phone as a remote control for the Nebula projector. Some casting applications offer additional features, such as controlling playback and adjusting volume directly from your smartphone.
It’s important to note that the performance of wireless casting can be affected by factors such as network congestion, distance between devices, and the capabilities of your smartphone and Nebula projector. For a smoother experience, try to minimize interference and stay within a reasonable range from the Wi-Fi router.
When you’re done with the wireless casting, you can disconnect by either navigating back to the casting menu in your phone’s settings and selecting “Stop Casting,” or by turning off the Nebula projector.
Wireless casting offers the convenience and flexibility to share your phone’s content on a larger screen without the hassle of cables. Whether you want to stream videos, share photos, or display presentations, wireless casting allows you to enjoy the full capabilities of your phone on the Nebula projector. Now that you have successfully connected via wireless casting, it’s time to move on to the next step of adjusting the settings to optimize the display.
Step 5: Adjust Settings for Optimum Display
After connecting your phone to a Nebula projector, it’s important to adjust the settings on both devices to ensure an optimal display quality.
Start by adjusting the screen resolution on your phone. Some smartphones allow you to adjust the resolution directly in the display settings. Higher resolutions generally offer sharper and more detailed visuals, but keep in mind that higher resolutions may consume more battery power.
Next, consider adjusting the aspect ratio on the Nebula projector to match the content you are viewing. Most projectors offer options such as 16:9 (widescreen) or 4:3 (standard), which will help prevent distortion or black bars on the sides of the screen.
Brightness is a crucial setting to adjust for a clear and vibrant display. Use the projector’s brightness controls to enhance visibility and optimize the viewing experience based on the ambient lighting conditions. A too dim or too bright screen can affect the overall quality, so finding the right balance is key.
Additionally, explore other projector settings such as contrast, color temperature, and sharpness to fine-tune the image according to your preferences. These settings can greatly enhance the visual quality and provide a more immersive viewing experience.
Don’t forget about the audio settings as well. Ensure that the sound is projected through the Nebula projector’s speakers by adjusting the audio output settings on your phone. This will provide synchronized audio and video, enhancing the overall enjoyment of your content.
Experiment with different settings and test various content types to see how they appear on the big screen. Adjusting the settings may be a trial-and-error process, but taking the time to find the right configuration will ultimately enhance your viewing experience.
Remember to save your preferred settings on both your phone and the Nebula projector to avoid readjusting each time you connect. Many projectors offer the option to save custom settings profiles, allowing you to quickly switch between different configurations for different types of content.
By taking the time to adjust the settings for optimum display, you can ensure that your phone’s content is showcased in the best possible way on the Nebula projector. With the settings configured to your liking, you’re ready to fully immerse yourself in the larger-than-life experience of enjoying your phone’s content on the big screen.
Step 6: Enjoy Your Phone Content on the Nebula Projector
Now that you’ve successfully connected your phone to a Nebula projector and adjusted the settings for optimum display, it’s time to sit back, relax, and enjoy your phone’s content on the big screen.
Whether you want to watch your favorite movies, binge-watch a TV series, play games, or share photos and videos with a larger audience, the Nebula projector provides an immersive and cinematic experience.
Take advantage of the large screen size to catch every detail and enjoy a truly cinematic experience at home. Whether it’s an action-packed blockbuster or a visually stunning nature documentary, the Nebula projector will bring your favorite movies to life with vibrant colors and impressive clarity.
Gaming on the Nebula projector takes your gaming experience to a whole new level. Immerse yourself in the captivating worlds of video games and enjoy the thrill of playing on a large screen. Whether you’re a casual gamer or a hardcore enthusiast, the Nebula projector delivers an immersive and captivating gaming experience.
Sharing photos and videos with friends and family has never been easier. Gather around the Nebula projector to showcase your vacation photos, reminisce about memorable moments, or share a slideshow of the latest family gathering. The larger screen ensures that everyone can enjoy the content together.
If you’re using the Nebula projector for professional purposes, such as giving presentations or conducting meetings, it offers an excellent platform to showcase your ideas and engage with your audience. With the ability to project your phone’s screen, you can easily navigate through slides, demonstrate software, or present data to make a lasting impression.
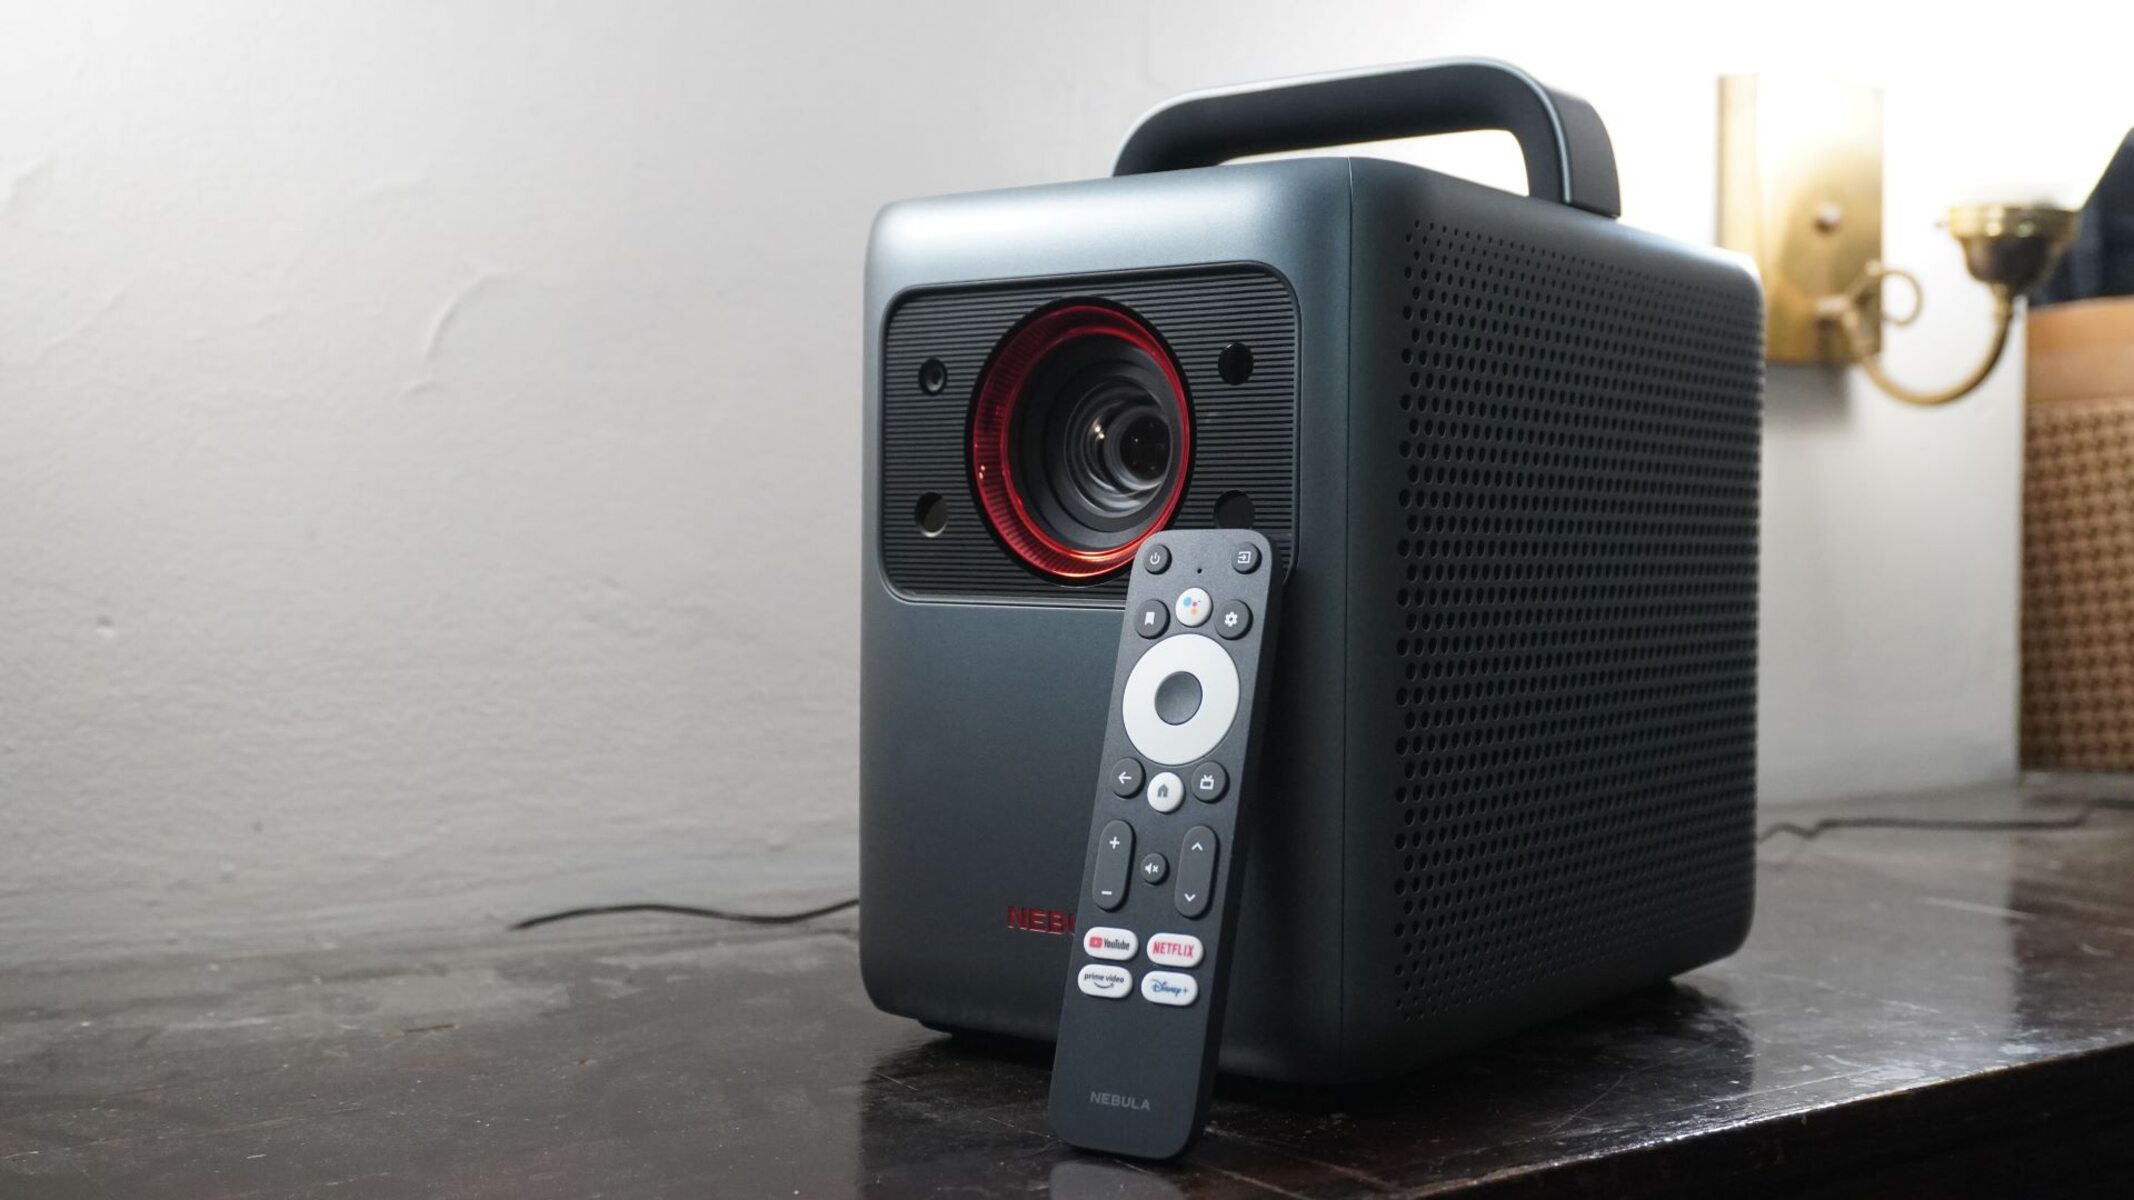
Don’t forget to make use of any additional features or applications available on the Nebula projector. Some projectors offer built-in multimedia players, streaming services, or even voice control. Explore these features to enhance your experience and take full advantage of the projector’s capabilities.
Lastly, remember to enjoy the experience! Relax in the comfort of your own home or create a cozy outdoor movie night with friends. The Nebula projector gives you the freedom to enjoy your phone’s content on a grand scale.
With your phone connected to the Nebula projector, you can immerse yourself in a world of endless entertainment and share unforgettable experiences with those around you. So grab some popcorn, dim the lights, and let the Nebula projector transport you to a whole new level of viewing pleasure.
Conclusion
Connecting your phone to a Nebula projector opens up a world of possibilities for entertainment and sharing. Whether you choose to connect via an HDMI cable or through wireless casting, the process is relatively straightforward and can greatly enhance your viewing experience.
By following the steps outlined in this guide, you can confidently connect your phone to a Nebula projector and enjoy your favorite movies, videos, games, and more on a larger screen. Checking compatibility, preparing your smartphone, adjusting settings, and selecting the right connection method are all key factors in ensuring a seamless and enjoyable experience.
The Nebula projector provides a captivating and immersive experience, whether you’re watching movies, playing games, sharing photos, or giving presentations. The ability to showcase your phone’s content on a bigger screen allows you to truly appreciate the details and immerse yourself in the entertainment.
Remember to personalize the settings to suit your preferences. Adjust the display settings, aspect ratio, brightness, and audio settings to optimize the visual and auditory experience. Experiment with different configurations until you find the perfect setup that suits your needs.
Whether you’re enjoying a movie night with family and friends, hosting a gaming session, or showcasing your work, the Nebula projector adds a touch of cinematic magic to your everyday activities.
So, connect your phone to a Nebula projector and elevate your entertainment experience to new heights. Sit back, relax, and enjoy the captivating visuals and immersive sound on the big screen. Let the Nebula projector transport you to a world of larger-than-life entertainment.
Embrace the power of technology and take advantage of the incredible capabilities of your phone and the Nebula projector. It’s time to experience your favorite content like never before. Connect, adjust, and enjoy!