Introduction
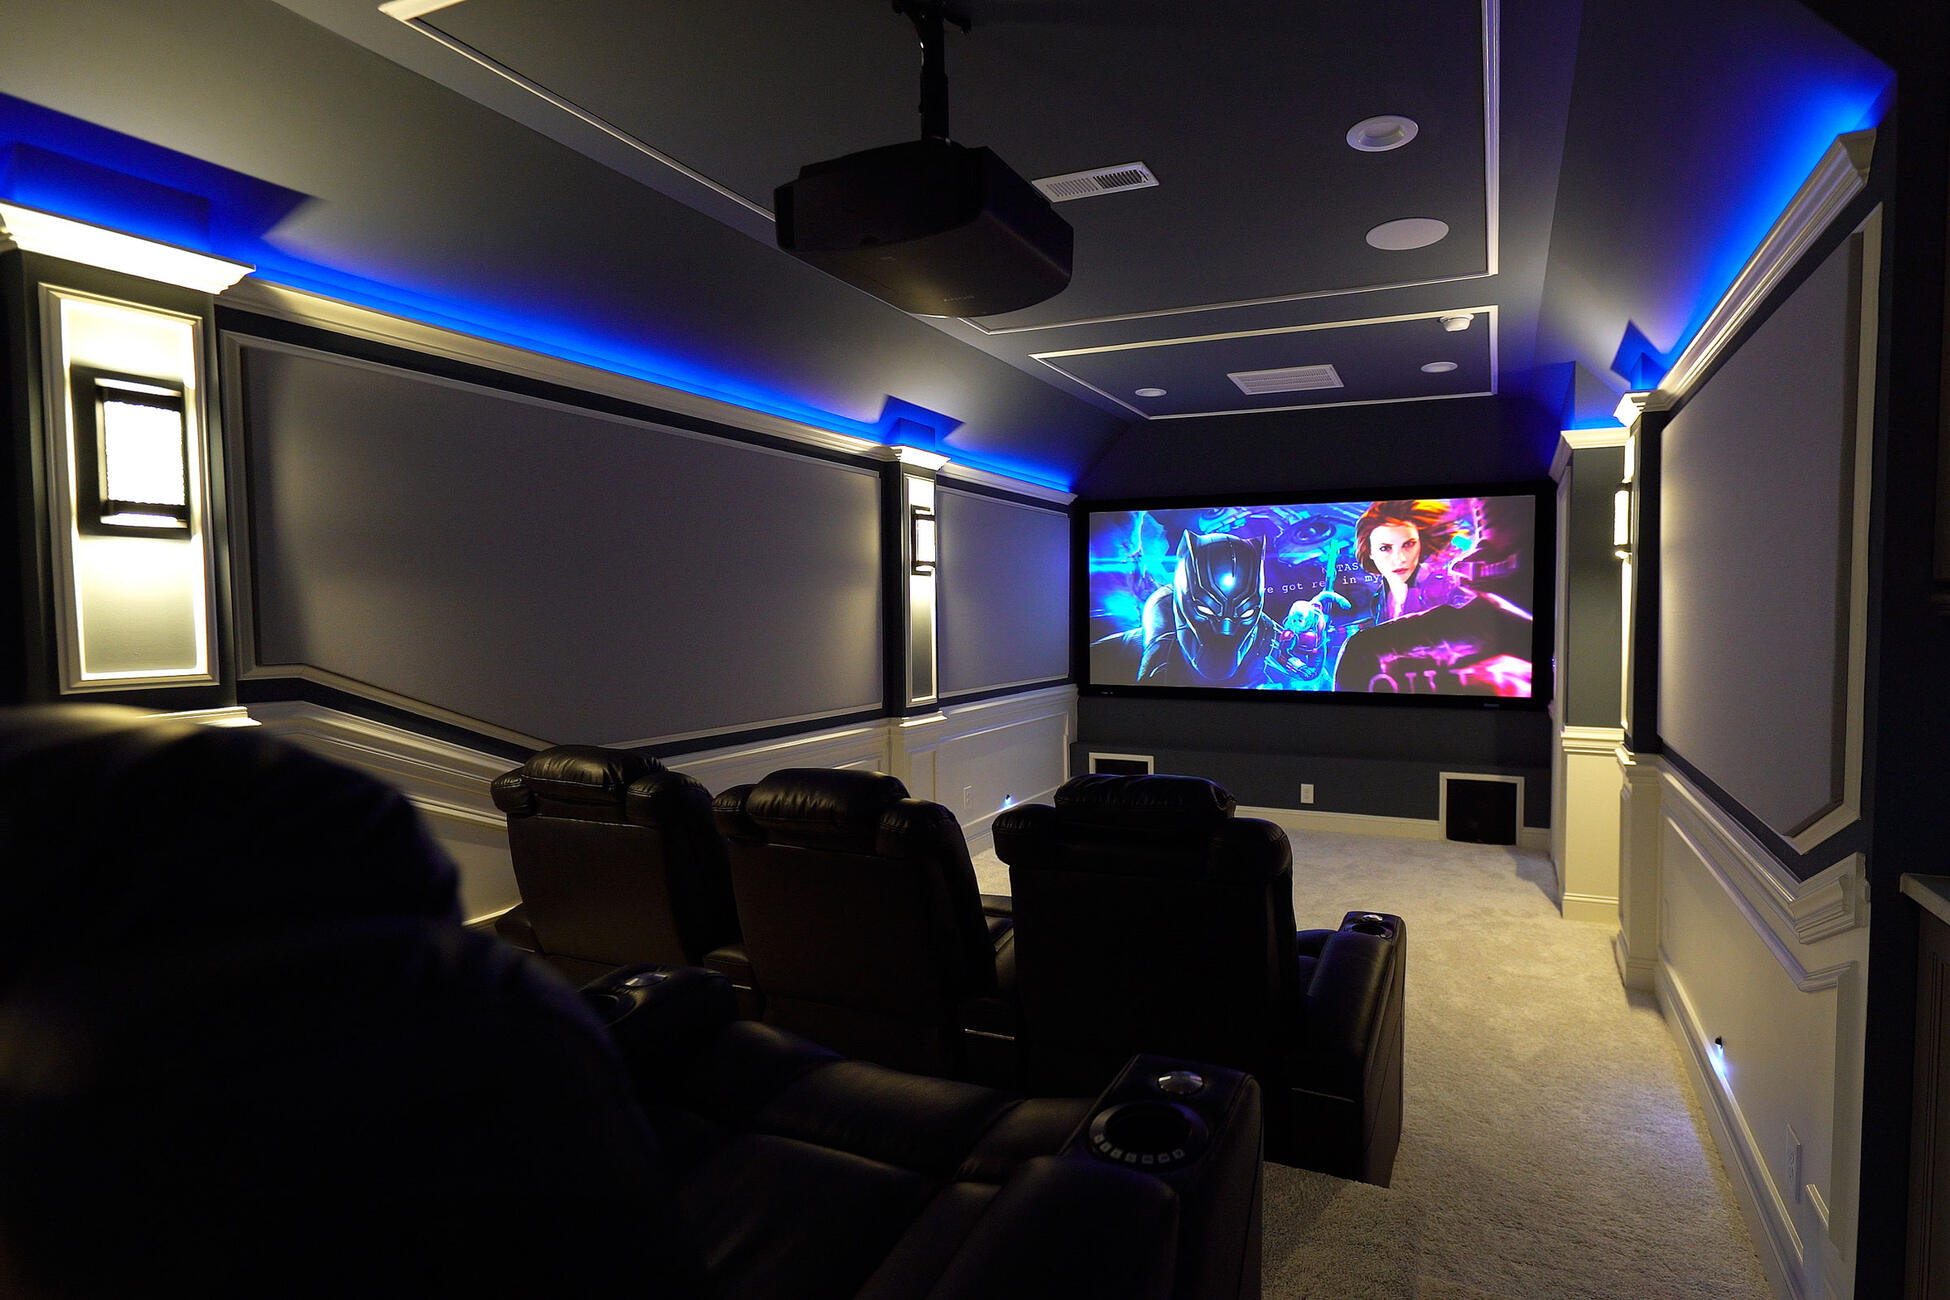
Welcome to our guide on how to level a projector! Whether you’re setting up a home theater system or preparing for a business presentation, ensuring that your projector is properly leveled is crucial for optimal image quality and viewer experience. A leveled projector ensures that the image is sharp, focused, and free from distortions caused by uneven projection angles.
Leveling a projector may seem like a simple task, but it requires attention to detail and a proper setup process. In this guide, we will walk you through the steps needed to level your projector effectively. We will also discuss the importance of leveling and the tools you will need to get the job done right.
Properly leveling a projector has numerous benefits. First and foremost, it ensures that the image projected on the screen appears as intended, without any misalignment or skewing. This is especially important when watching movies or presenting visual content, as it allows viewers to fully immerse themselves in the experience. Additionally, a level projector prevents keystone distortion, which can occur when the projection angle is not aligned with the screen. Keystone distortion can negatively impact image clarity, making it vital to eliminate it by leveling the projector correctly.
To level a projector, you will need a few essential tools. These include a leveling device, such as a bubble level or a laser level, to ensure accurate alignment. Additionally, having a stable surface or mounting system for your projector is crucial, as it provides a solid foundation for leveling.
In the following sections, we will explain each step in detail, guiding you through the process of leveling your projector from start to finish. By the end of this guide, you will have the knowledge and confidence to level your projector effectively, resulting in an outstanding viewing experience for yourself and others.
Why is it important to level a projector?
Leveling a projector is vital for several reasons. The main purpose of leveling is to ensure that the projected image appears correctly on the screen, without any distortions or misalignments. Here are a few key reasons why leveling a projector is important:
- Image Quality: A leveled projector ensures optimal image quality. When a projector is not properly leveled, it can result in a skewed image, distorted proportions, and uneven focus. By leveling the projector, you can achieve a sharper and clearer image, enhancing the overall viewing experience.
- Elimination of Keystone Distortion: Keystone distortion is a common issue when a projector is not leveled correctly. It occurs when the projector’s projection angle is not aligned with the screen, causing the image to appear trapezoidal instead of rectangular. This distortion can be distracting and impact the legibility of text and the overall visual appeal of the content. By leveling the projector, you can eliminate keystone distortion and ensure a perfectly rectangular image on the screen.
- Consistency: Leveling a projector helps maintain consistency across different viewing experiences. Whether you’re watching movies, giving presentations, or playing games, having a leveled projector ensures that the image is consistent and uniform. This consistency is essential, especially when multiple people are viewing the projected content simultaneously.
- Professionalism: When presenting in a professional setting, having a leveled projector demonstrates attention to detail and a commitment to quality. It shows that you have taken the time to properly set up your equipment and ensures that your audience will have a professional viewing experience. A well-leveled projector enhances the credibility and impact of your presentation.
- Longevity of Equipment: Levelling your projector also helps prolong its lifespan. When a projector is not properly aligned, it can put undue stress on the internal components, which may lead to premature wear and tear. By leveling the projector, you reduce the risk of damage and ensure that the equipment operates optimally for an extended period.
By understanding the importance of leveling a projector and taking the necessary steps to achieve proper alignment, you can enjoy a superior visual experience with accurate image reproduction and enhanced viewer satisfaction.
Tools needed for leveling a projector
Before you begin the process of leveling your projector, it’s important to have the right tools on hand. These tools will help you achieve precise alignment and ensure an accurate projection. Here are the essential tools you will need:
- Leveling Device: The most crucial tool for leveling a projector is a leveling device. You have several options to choose from, including a bubble level, a laser level, or a smartphone app equipped with a built-in level. These tools help you determine if the projector is perfectly level in all directions.
- Stable Surface: It’s essential to place your projector on a stable surface to achieve accurate leveling. Whether you’re using a table, a projector stand, or mounting the projector on a wall or ceiling, ensure that the surface is sturdy and level itself. A wobbly or uneven surface can affect the accuracy of the leveling process and compromise the image alignment.
- Screwdriver or Allen Key: Depending on the type of projector you have, you may need a screwdriver or an Allen key to adjust the feet or mounting bracket. These tools allow you to make fine adjustments to the projector’s position and ensure it is perfectly aligned.
- Tape Measure: While not necessarily a must-have tool, a tape measure can be handy for measuring distances and ensuring that the projector is positioned at the optimal viewing distance from the screen. It also helps maintain consistent placement if you need to move or reposition the projector in the future.
- Projection Screen or Wall: To properly level a projector, you need to have a projection screen or a blank wall on which to display the image. Make sure that the screen or wall is clean and free from any obstructions that may interfere with the projection. This will ensure that you can accurately assess and adjust the alignment of the projected image.
Having these tools readily available before you start the leveling process will save you time and ensure a smooth and effective setup. Remember to gather all the necessary tools before beginning, as this will help you achieve the best possible alignment for your projector.
Step 1: Choose the right location for your projector
The first step in leveling your projector is to choose the right location for its setup. The location you select will greatly impact the quality of the projected image and the overall viewing experience. Here are some key factors to consider when choosing a location:
- Room Lighting: Choose a location with controlled lighting conditions. Too much ambient light can wash out the projected image, while complete darkness may strain the eyes. Optimal viewing conditions are achieved in a dimly lit or darkened room. If you cannot control the lighting, consider investing in blackout curtains or blinds to minimize external light sources.
- Projection Distance: Determine the optimal projection distance based on your projector’s specifications and the size of the screen or wall. Most projectors have a range within which they can project a clear and focused image. Measure the distance from the projector to the screen and ensure it falls within this range for the best results.
- Screen Height: Consider the height of the projection screen or wall. Ideally, the center of the screen should be at eye level when seated in the viewing area. This ensures a comfortable viewing experience for all viewers and reduces strain on the neck and eyes. Adjust the positioning of the screen or wall accordingly to achieve the desired height.
- Obstructions: Check for any potential obstructions that may obstruct the projected image. Furniture, lights, or other objects in the room should not block the projector’s line of sight to the screen. Adjust the positioning of these items as needed to ensure a clear projection path and unobstructed view for everyone in the room.
- Electrical Outlets: Ensure that there is a nearby electrical outlet available to power the projector. It is important to have the projector plugged in securely without relying on extension cords or power strips that could pose safety hazards. Consider the proximity of the outlet when selecting the location for your projector setup.
By carefully considering these factors and choosing an optimal location for your projector, you set the foundation for accurate leveling and an enjoyable viewing experience. Take your time to find the best spot in the room that meets these criteria before moving on to the next step.
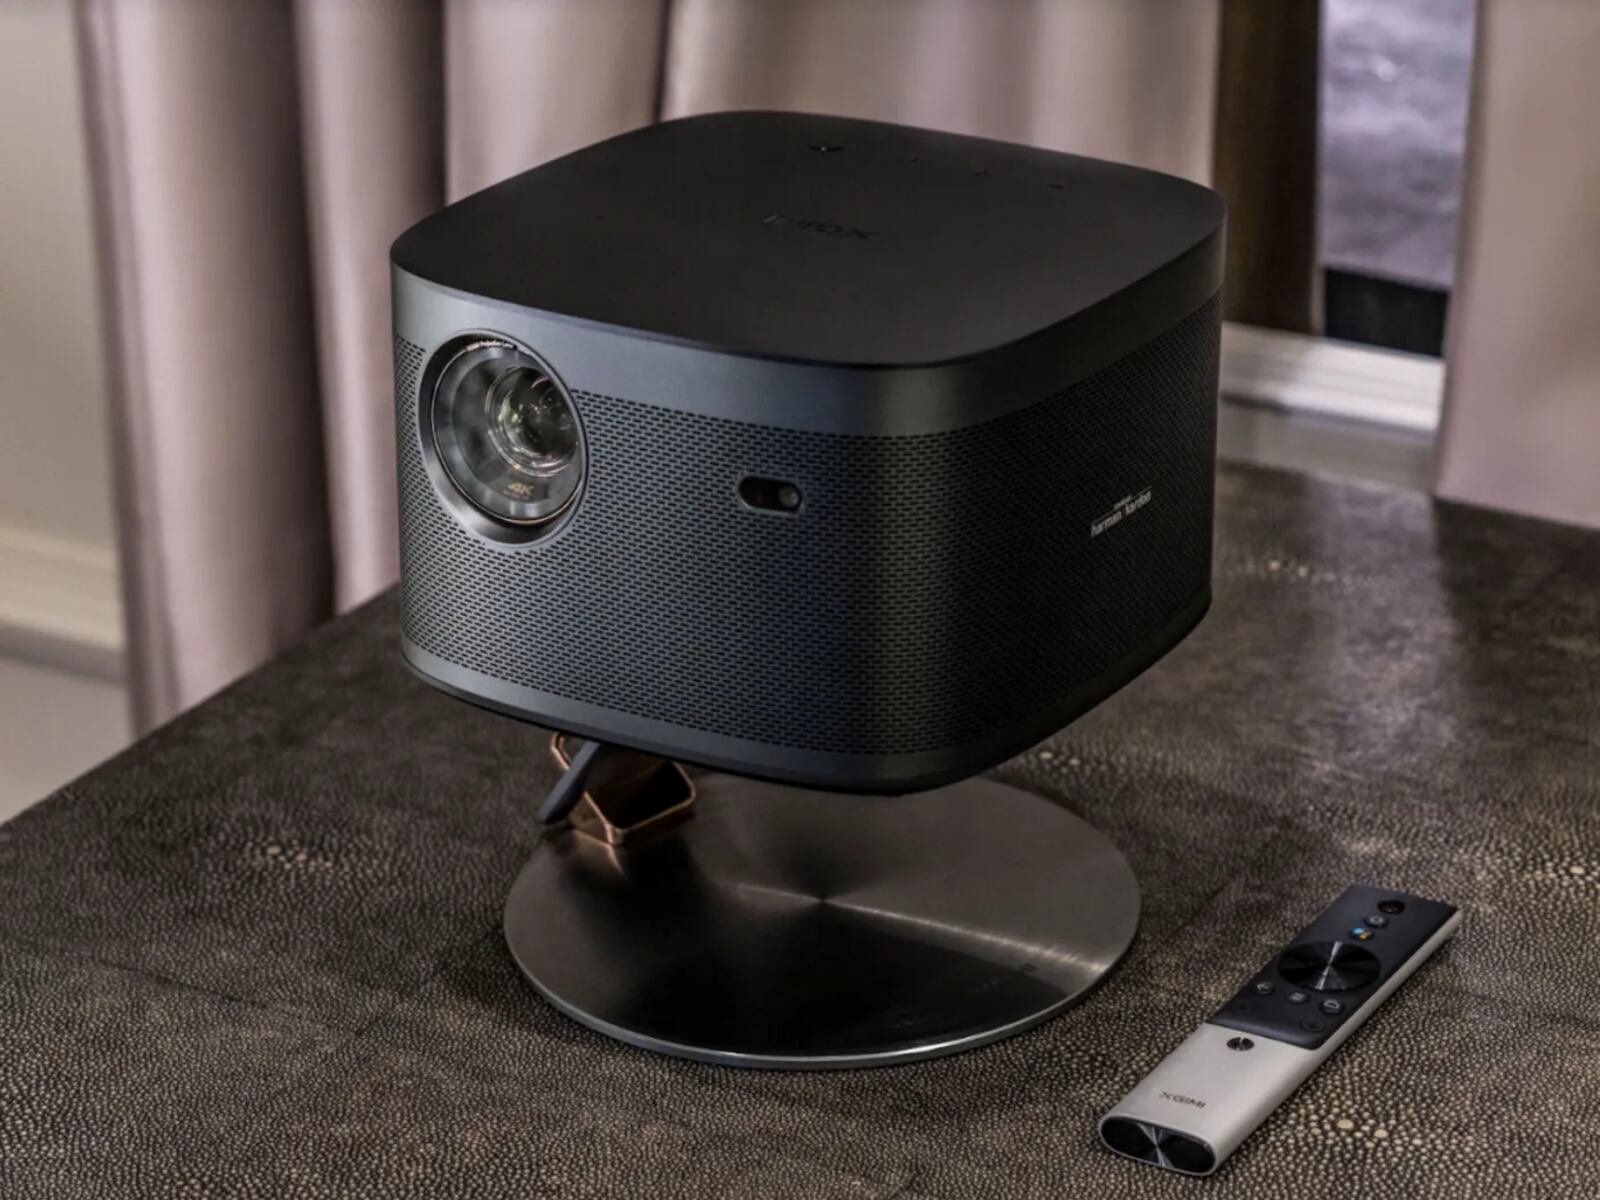
Step 2: Set up the projector on a stable surface
Once you have chosen the right location for your projector, the next step is to set it up on a stable surface. This is crucial for achieving accurate leveling and ensuring a consistent projection. Follow these steps to properly set up your projector:
- Clear the Area: Before placing the projector, clear the surface area of any dust, debris, or objects that may interfere with the placement. A clean surface will ensure a stable base for the projector.
- Choose the Surface: Depending on your setup, you can place the projector on a table, a projector stand, or mount it on a wall or ceiling. Make sure the chosen surface is stable, level, and capable of supporting the weight of the projector.
- Align the Projector: Position the projector in the desired location on the surface. Align it with the center of the screen or wall to ensure an even projection. Use a tape measure or your judgment to achieve accurate positioning if needed.
- Connect Power and Cables: Connect the power cord to an electrical outlet and ensure a secure connection. If necessary, connect any additional cables such as HDMI, VGA, or audio cables to their respective ports on the projector. Keep the cables tidy and organized for a clean setup.
- Secure the Projector: If you are using a table or stand, ensure the projector is securely placed and stable on the surface. If you are mounting the projector, use the appropriate mounting hardware and follow the manufacturer’s instructions for a secure installation.
- Adjust Projector Angles: Some projectors offer adjustment options to tilt or rotate the lens vertically or horizontally. If needed, make minor adjustments to align the projector with the screen. Take care not to introduce any significant tilt or angle which may impact the leveling process.
By setting up your projector on a stable surface, you create a solid foundation for accurate leveling and a consistent projection. Ensure that the projector is secure and correctly positioned before proceeding to the next step.
Step 3: Adjust the projector’s feet
After setting up your projector on a stable surface, the next step in leveling is to adjust the projector’s feet. Most projectors have adjustable feet located on the bottom or back of the device, allowing you to make fine adjustments in height and angle. Follow these steps to adjust the projector’s feet:
- Locate the Feet: Identify the adjustable feet on your projector. They are typically located at the corners or sides of the device. Some projectors may have two or four feet, depending on their design.
- Extend or Retract the Feet: Use a screwdriver or Allen key (if required) to extend or retract the feet. If the projection angle needs to be increased, retract the feet. If the angle needs to be decreased, extend the feet. Make sure to adjust all feet evenly to maintain balance and stability.
- Level the Projector: Use a leveling device, such as a bubble level or a laser level, to check if the projector is level horizontally and vertically. Place the level on top of the projector or against the screen and adjust the feet as needed until the bubble is centered or the laser line aligns with the level line.
- Test Stability: Gently shake or nudge the projector to ensure that it remains stable after adjusting the feet. If you notice any wobbling or instability, recheck the feet and make necessary adjustments to secure the projector in a stable position.
- Recheck Leveling: After adjusting the feet, recheck the leveling with your leveling device. Ensure that both the horizontal and vertical alignment are accurate. Fine-tune the adjustments if needed to achieve level projection.
By carefully adjusting the projector’s feet, you can achieve a level position and eliminate any potential angles or tilts that may affect the projection quality. Take the time to make precise adjustments and ensure the projector is stable and perfectly level before moving on to the next step.
Step 4: Use a leveling tool to check the projector’s alignment
Once you have adjusted the feet of your projector, it’s time to use a leveling tool to check and fine-tune the projector’s alignment. A leveling tool, such as a bubble level or a laser level, helps you determine if the projector is perfectly leveled both horizontally and vertically. Here’s how to use a leveling tool to check the projector’s alignment:
- Select a Leveling Tool: Choose a leveling tool that suits your preference and the available options. A bubble level is a simple and cost-effective tool that uses a bubble inside a vial to indicate levelness. A laser level emits a straight beam of light, making it easier to see the alignment on the screen or wall.
- Place the Leveling Tool: Position the leveling tool on top of the projector or against the screen. If using a bubble level, ensure it rests on a flat surface. If using a laser level, align the laser line with a reference point or a horizontal/vertical guide on the screen or wall.
- Check Horizontal Level: Use the leveling tool to check if the projector is level horizontally. Look for the bubble inside the vial in a bubble level or align the laser line with a horizontal reference point on the screen or wall. Adjust the projector if necessary by making small movements either left or right until it is perfectly leveled.
- Check Vertical Level: Now, check the vertical alignment of the projector using the leveling tool. Ensure that the bubble is centered in a vertical orientation or align the laser line with a vertical reference point on the screen or wall. Adjust the projector by making small movements up or down until it is perfectly leveled.
- Recheck and Fine-Tune: Double-check the horizontal and vertical alignment using the leveling tool. Fine-tune the adjustments if needed to achieve precise leveling. Take your time during this step to ensure the projector’s alignment is accurate.
Using a leveling tool allows you to confirm that the projector is positioned correctly and aligned accurately. By checking both the horizontal and vertical alignment, you can eliminate any remaining angles or tilts. Once you are satisfied with the alignment, you can proceed to the next step.
Step 5: Make fine adjustments to the projector’s position
After using a leveling tool to check the alignment of your projector, you may need to make some fine adjustments to its position. These adjustments will help ensure that the projector is perfectly aligned with the screen or wall. Follow these steps to make fine adjustments to the projector’s position:
- Refer to the Leveling Tool: Take another look at the leveling tool to confirm if the projector is still level both horizontally and vertically. This will serve as a reference point as you make the fine adjustments.
- Slowly Move the Projector: If you notice any slight misalignment, carefully adjust the position of the projector. Depending on the setup, you may need to tilt it slightly or make small movements in any direction. Take it slow and make incremental adjustments to avoid overcorrecting.
- Use the Screen or Wall Guides: If you have guides or markers on the screen or wall indicating the ideal position for the projector, use them as a visual reference. Make adjustments based on these guides to ensure the projector is in the correct position and aligned accurately.
- Test the Alignment: After making each adjustment, test the alignment of the projected image on the screen. Check for any remaining distortions, keystone effects, or misalignments. If needed, repeat the process of fine adjustments until you achieve the desired alignment.
- Consider Zoom and Focus Settings: If your projector has zoom and focus settings, you may need to make additional adjustments to ensure the projected image is sharp and focused. Fine-tune these settings as necessary to enhance the overall image quality.
By making these fine adjustments to the projector’s position, you can eliminate any minor misalignments that may affect the projection quality. Take your time during this step and test the alignment thoroughly to ensure optimal performance and a properly aligned image.
Step 6: Test the projector’s alignment on the screen
After adjusting the position of your projector and making fine adjustments, the next step is to test the alignment of the projected image on the screen. This step allows you to ensure that the projector is accurately aligned and that the projected image appears as intended. Follow these steps to test the projector’s alignment on the screen:
- Display a Test Image or Content: Start by displaying a test image or content on the screen. This can be a simple grid pattern or any other image that clearly shows lines and shapes. Use the projector’s built-in test image or connect a device that displays a test image specifically designed for alignment purposes.
- Check for Misalignments: Observe the test image on the screen and look for any misalignments, distortions, or uneven edges. Pay attention to the straight lines and corners to ensure they appear straight and crisp. If you notice any issues, adjustments may still be required to achieve optimal alignment.
- Make Final Adjustments: Based on your observations, make any final adjustments to the projector’s position. Use the leveling tool and the screen or wall guides as references to fine-tune the alignment. Take small, incremental movements or adjustments until the projected image appears properly aligned on the screen.
- Recheck the Alignment: After making the final adjustments, carefully examine the test image again. Ensure that the lines are straight, the corners are sharp, and the content is centered. Double-check both the horizontal and vertical alignment to make sure there are no remaining issues.
- Test Videos or Presentations: Once you are satisfied with the projector’s alignment using the test image, test it further by playing videos or presentations. This allows you to see the alignment in real-world scenarios and make any necessary adjustments for optimal viewing.
Testing the projector’s alignment on the screen is crucial to ensure that your projected image appears correctly and without any distortions. Take your time during this step and make necessary adjustments until you achieve the desired alignment. Once you’re satisfied with the alignment, you can proceed to enjoy your properly leveled projector for your viewing pleasure.
Conclusion
Leveling a projector is an essential step in ensuring optimal image quality and a satisfying viewing experience. By following the steps outlined in this guide, you can achieve accurate alignment and eliminate distortions or misalignments in the projected image. Here’s a recap of the key steps discussed:
- Choose the right location for your projector, considering factors like room lighting and screen height.
- Set up the projector on a stable surface, ensuring it is secure and positioned correctly.
- Adjust the projector’s feet to achieve an initial level position.
- Use a leveling tool to check the projector’s alignment and make any necessary adjustments.
- Make fine adjustments to the projector’s position, considering visual guides and testing the alignment thoroughly.
- Test the projector’s alignment on the screen using a test image or content, and make final adjustments as needed.
By dedicating time and attention to the leveling process, you can enjoy a sharp, focused, and properly aligned image. Whether you’re watching movies, giving presentations, or playing games, a leveled projector enhances the visual experience and ensures that your content is displayed accurately.
Remember to refer back to this guide whenever you need to level your projector, as proper alignment may need to be reestablished if you move or adjust your projector. Take the time to set up your projector properly each time to maintain consistent image quality and viewer satisfaction.
Now that you have the knowledge and step-by-step guidance on how to level a projector, you can confidently set up your projector and enjoy a clear, aligned, and immersive visual experience.