Introduction
Are you looking to connect your iPhone to a Dr J Projector and enjoy your favorite videos, photos, or presentations on a larger screen? The good news is that it’s easier than you might think! By following a few simple steps and gathering the necessary equipment, you can seamlessly connect your iPhone to the Dr J Projector and start enjoying a big-screen experience in no time.
Whether you’re planning a movie night with friends, giving a presentation at work, or simply want to enjoy your iPhone content on a larger display, connecting your iPhone to a Dr J Projector is an excellent choice. The Dr J Projector is a portable and versatile device that allows you to project high-quality images and videos onto a large screen, making it perfect for both entertainment and professional use.
Before diving into the step-by-step process, it’s essential to check the compatibility between your Dr J Projector and iPhone. The Dr J Projector typically supports various devices, including iPhones, but it’s always a good idea to ensure that your specific model is compatible.
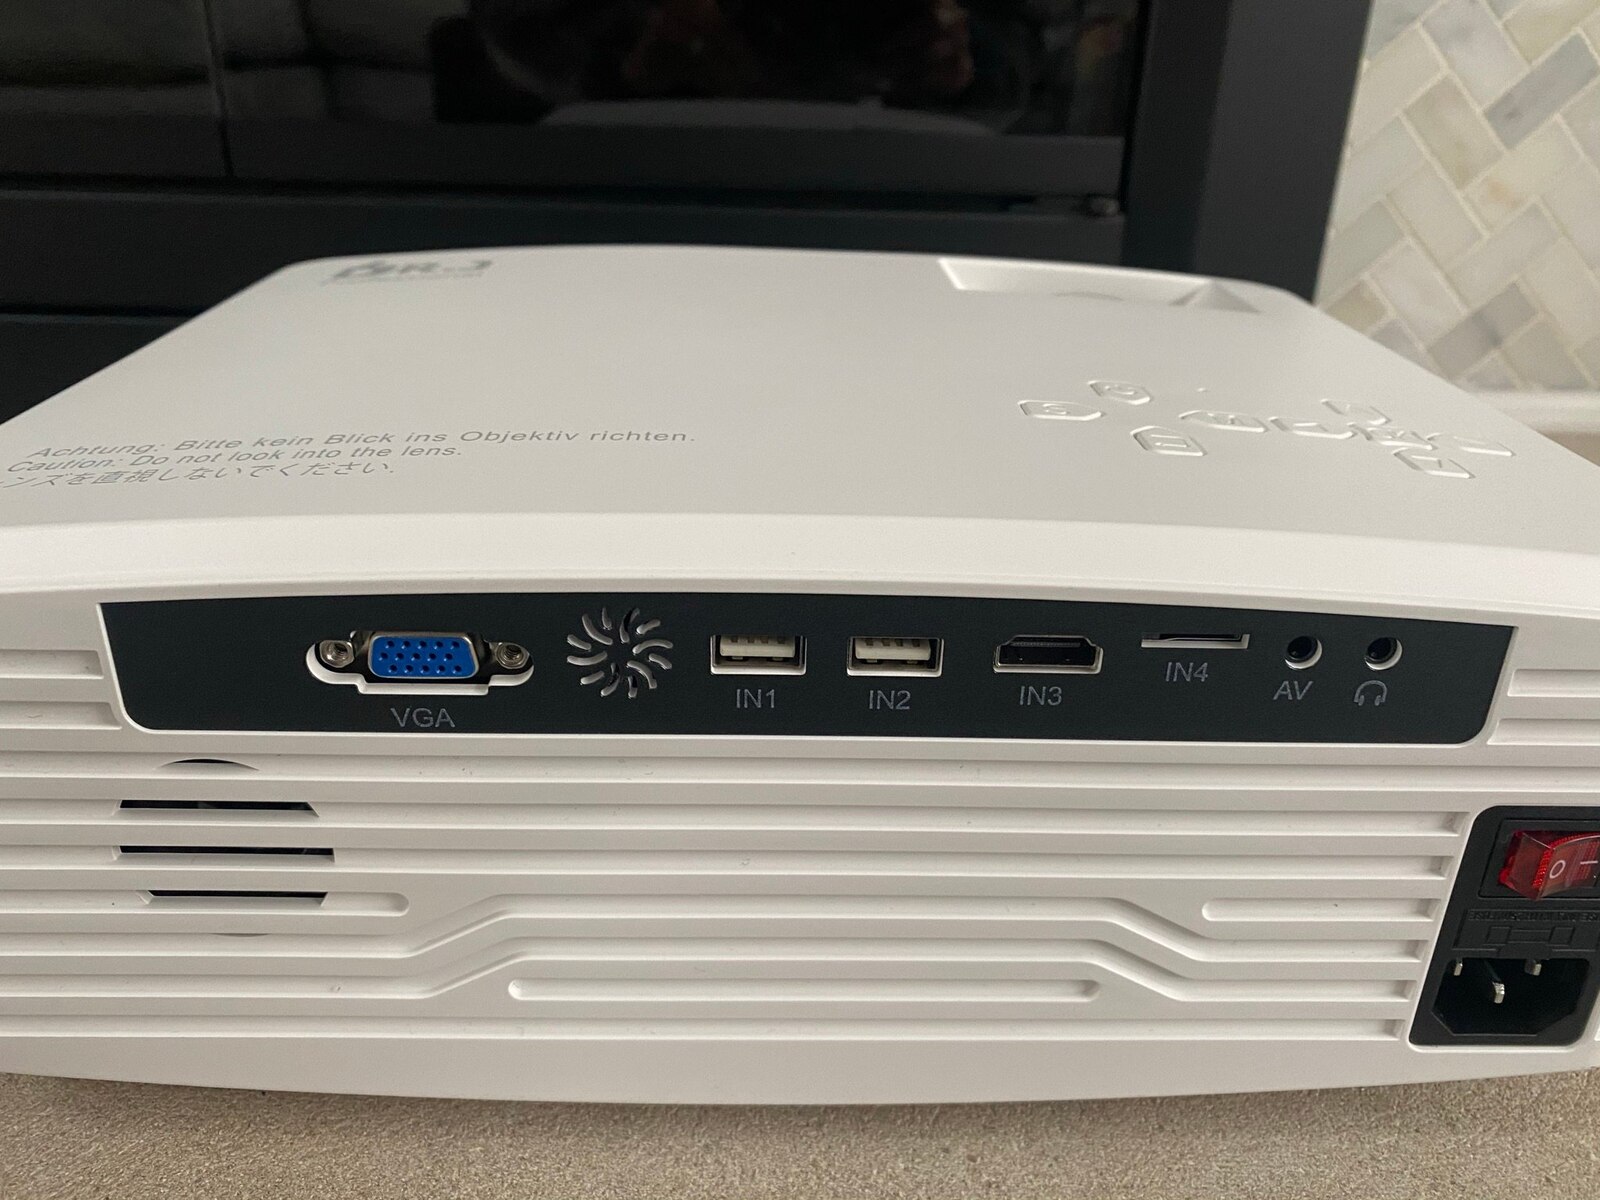
Once you’ve verified compatibility, the next step is to gather the necessary equipment. To connect your iPhone to the Dr J Projector, you’ll need a Lightning to HDMI adapter. This adapter allows you to connect your iPhone’s Lightning port to the HDMI input on the projector, enabling the transmission of audio and video signals.
Now that you have the required equipment, it’s time to proceed with the connection process. In the following steps, we’ll guide you through the process of connecting your iPhone to the Dr J Projector and adjusting the settings for optimal viewing experience. We’ll also cover any additional steps you might need to take, such as connecting audio output from your iPhone to the projector.
By the end of this guide, you’ll be able to effortlessly connect your iPhone to the Dr J Projector and enjoy your favorite content on a larger, more immersive screen. So, without further ado, let’s jump in and explore the step-by-step process of connecting your iPhone to a Dr J Projector!
Step 1: Check Compatibility between Dr J Projector and iPhone
Before you begin the process of connecting your iPhone to the Dr J Projector, it’s crucial to ensure compatibility between the two devices. While most Dr J Projectors support iPhone connectivity, it’s always a good idea to double-check to avoid any potential compatibility issues.
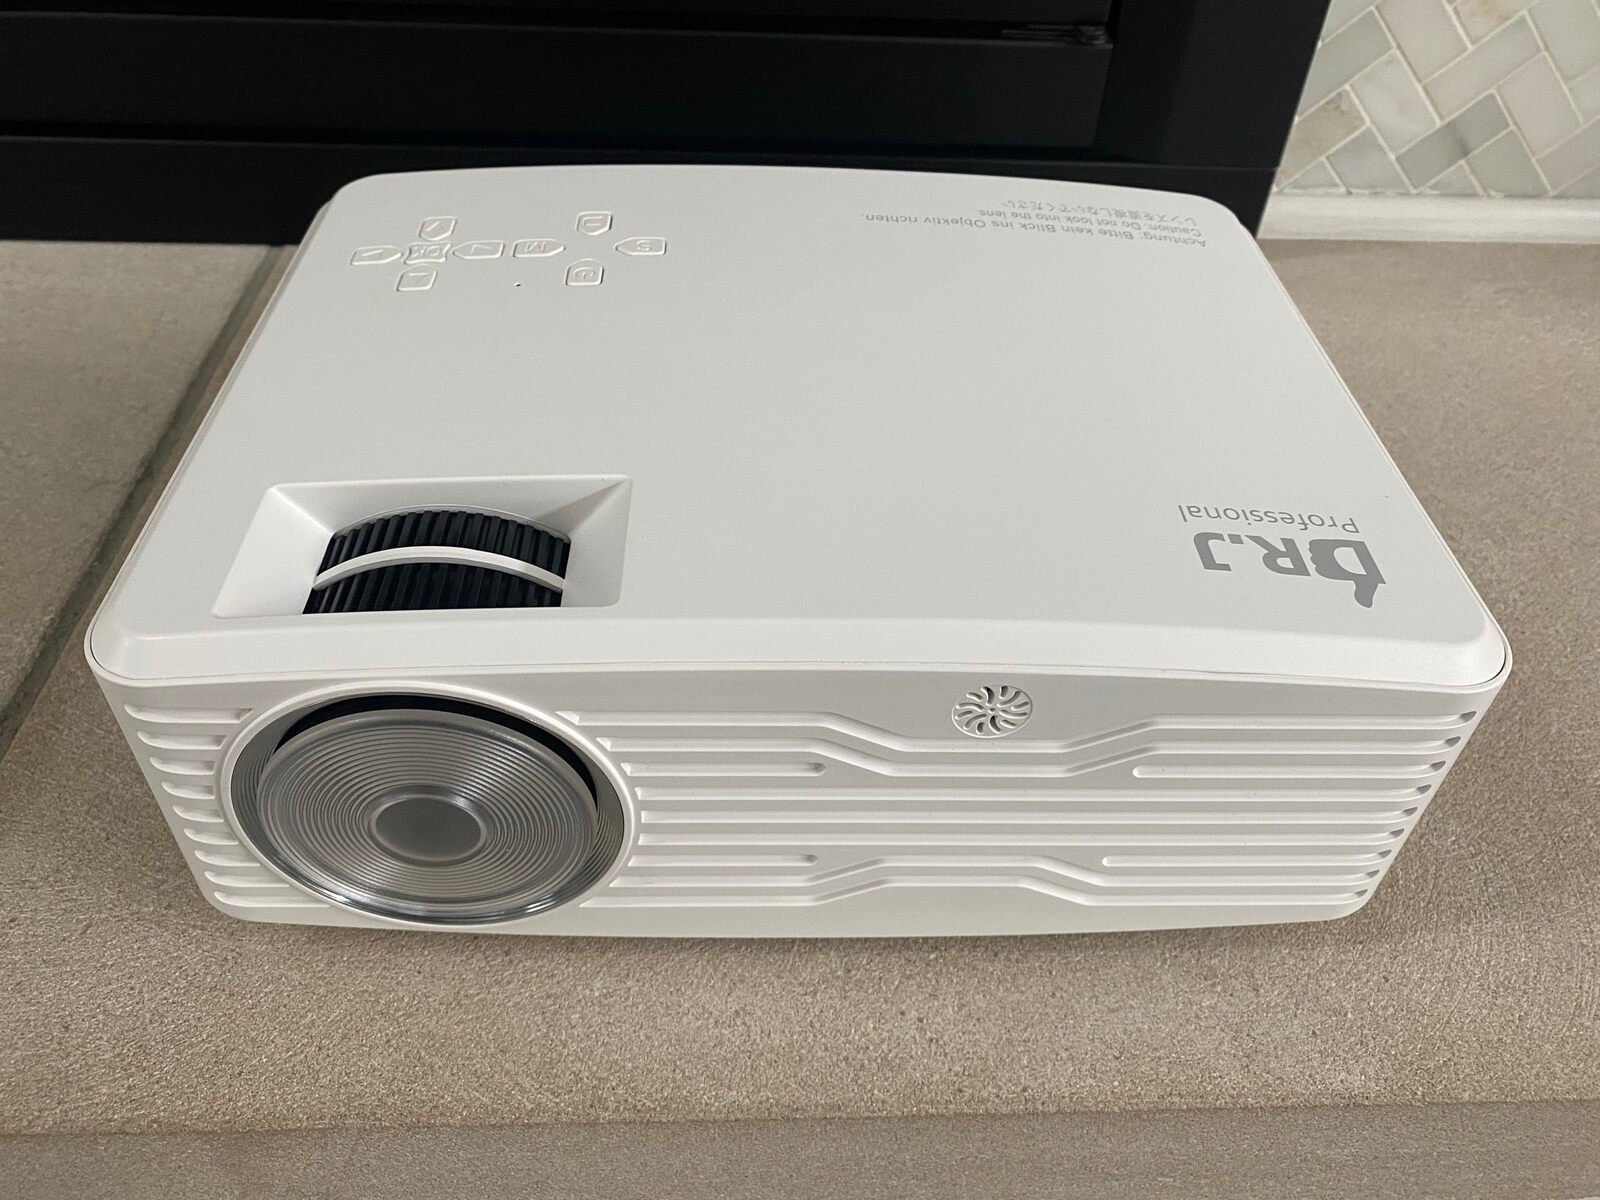
The first thing you’ll need to do is identify the model of your Dr J Projector. You can usually find this information on the device itself or in the user manual. Once you have the model number, head over to the Dr J Projector’s official website or consult the user manual for compatibility details.
Next, determine the model of your iPhone. This information can be found in the device’s Settings menu, under “General” and then “About”. Look for the “Model” or “Model Number” section.
Now that you have both the Dr J Projector and iPhone models in hand, cross-reference them to ensure compatibility. Check if the specific model of the Dr J Projector you own supports the type of iPhone you have. Typically, Dr J Projectors are compatible with various iPhone models, including the latest ones, but it’s always best to be sure.
If there are any doubts or questions regarding compatibility, don’t hesitate to reach out to the Dr J Projector’s customer support for assistance. They will be able to provide you with the most accurate information and guide you through the compatibility process.
Once you have confirmed compatibility between your Dr J Projector and iPhone, you’re ready to move on to the next step: gathering the necessary equipment. Having the right equipment is essential to establish a successful connection between your iPhone and the Dr J Projector, so let’s explore what you need in the next step.
Step 2: Gather the Necessary Equipment
Before you can connect your iPhone to the Dr J Projector, you’ll need to gather the necessary equipment. The key component you’ll need is a Lightning to HDMI adapter. This adapter allows you to connect your iPhone’s Lightning port to the HDMI input on the projector, enabling seamless transmission of both audio and video signals.
To ensure a reliable and high-quality connection, it’s essential to invest in a genuine Lightning to HDMI adapter from a reputable brand. While there are many options available on the market, it’s best to choose one that is officially certified by Apple or manufactured by a trusted third-party brand.
You can purchase a Lightning to HDMI adapter at electronic stores, Apple retail stores, or online marketplaces. It’s important to consider factors such as customer reviews, product ratings, and compatibility information before making a purchase.
In addition to the Lightning to HDMI adapter, it’s always handy to have a reliable HDMI cable on hand. This cable will be used to connect the adapter to the HDMI input on the Dr J Projector. Make sure to choose a cable of sufficient length to ensure flexibility in positioning your devices.
It’s worth noting that some Lightning to HDMI adapters come with an integrated HDMI cable. If you opt for one of these adapters, you won’t need to purchase a separate HDMI cable.
Before connecting the adapter and the HDMI cable, it’s a good idea to gather any additional accessories you may need. For example, if you plan on connecting external speakers to enhance the audio experience, ensure you have the necessary audio cables or Bluetooth connectivity options available.
Once you have gathered all the required equipment, you’ll be fully prepared to connect your iPhone to the Dr J Projector. In the next step, we’ll guide you through the process of connecting the devices and adjusting the settings for optimal viewing experience.
Step 3: Connect the Dr J Projector to the iPhone using a Lightning to HDMI Adapter
Now that you have gathered the necessary equipment, it’s time to connect the Dr J Projector to your iPhone using a Lightning to HDMI adapter. Follow these step-by-step instructions to establish a seamless connection:
- Start by powering off both the Dr J Projector and your iPhone to ensure a safe and secure connection.
- Locate the Lightning port on your iPhone. It’s typically located at the bottom of the device.
- Insert one end of the Lightning to HDMI adapter into the Lightning port on your iPhone.
- Connect the other end of the adapter to the HDMI cable you previously gathered.
- Take the HDMI cable and connect it to the HDMI input on the Dr J Projector.
- Power on both the Dr J Projector and your iPhone.
- Once both devices are powered on, set your Dr J Projector to the proper input source. Consult the user manual if you’re unsure how to do this.
- On your iPhone, navigate to the Control Center by swiping down from the top right corner of the screen (for iPhone X or later) or swiping up from the bottom of the screen (for earlier iPhone models).
- In the Control Center, tap on the “Screen Mirroring” or “AirPlay” option.
- A list of available devices will appear. Look for the name of your Dr J Projector and tap on it to start the screen mirroring process.
After following these steps, you’ll see your iPhone’s screen mirrored on the Dr J Projector’s display. You can now view your iPhone content, such as videos, photos, presentations, and apps, on the larger screen provided by the Dr J Projector.
It’s important to note that the screen mirroring feature may vary slightly depending on your iPhone model and iOS version. If you encounter any difficulties during the connection process, refer to the user manual of your Dr J Projector or iPhone for assistance.
In the next step, we’ll explore how to adjust the settings on both the Dr J Projector and your iPhone to optimize the viewing experience.
Step 4: Adjust the Settings on the Dr J Projector and iPhone
Now that you have successfully connected your Dr J Projector to your iPhone, it’s time to adjust the settings on both devices to ensure optimal viewing experience. Follow these steps to make the necessary adjustments:
- On the Dr J Projector, navigate to the settings menu. The exact steps may vary depending on the model of your projector, so refer to the user manual if needed.
- Adjust the display settings on the Dr J Projector to match your preferences and the environment in which you’re using it. This may include options such as brightness, contrast, color temperature, and aspect ratio.
- While adjusting the settings, consider factors like ambient lighting conditions and the distance between the projector and the screen to optimize the image quality.
- On your iPhone, open the “Settings” app and navigate to the “Display & Brightness” section.
- Depending on your iPhone model and iOS version, you may have additional options for adjusting the screen mirroring settings, such as resolution or scaling. Explore these options to find the most suitable configuration for your needs.
- Additionally, ensure that your iPhone’s volume is set to an appropriate level. You can adjust the volume using the physical buttons on your iPhone or the volume slider in the Control Center.
- Consider connecting external speakers or audio devices to your Dr J Projector if you want to enhance the audio experience. Ensure that the audio output from your iPhone is routed to the projector by selecting the proper audio output options on your iPhone.
- Take some time to test the visuals and audio playback to ensure everything is working correctly. Play a video or launch a presentation to verify the quality of the image and sound.
By adjusting the settings on both the Dr J Projector and your iPhone, you can customize your viewing experience to your liking. Experiment with these settings to achieve the best visuals and sound quality based on your personal preferences and the specific content you’re watching.
Now that you have configured the settings, you’re all set to enjoy your iPhone content on the big screen provided by the Dr J Projector. In the next step, we’ll discuss how to connect the audio output from your iPhone to the projector if necessary.
Step 5: Connect the Audio Output from the iPhone to the Projector (if necessary)
While the Dr J Projector can display video content from your iPhone, it may not automatically route the audio to its built-in speakers or external speakers. In this step, we’ll explore how to connect the audio output from your iPhone to the projector if necessary.
If your Dr J Projector has built-in speakers or an audio output port, you can directly connect your iPhone to the projector to transmit both video and audio signals. Follow these steps to establish an audio connection:
- Locate the audio output port on your iPhone. For most iPhone models, this is the same port you use for charging and connecting headphones – the Lightning port.
- Plug one end of a 3.5mm audio cable into the headphone jack or Lightning port on your iPhone.
- Connect the other end of the audio cable to the corresponding audio input port on the Dr J Projector.
- On your iPhone, navigate to the Settings app and select the “Sounds & Haptics” or “Sounds” menu.
- Adjust the volume level and enable any desired audio enhancements, such as equalizer presets or spatial audio settings.
If your Dr J Projector does not have built-in speakers or an audio output port, you will need to connect external speakers or audio devices directly to your iPhone to ensure audio playback. In this case, follow these steps:
- Connect external speakers or audio devices to your iPhone using Bluetooth or by plugging them into the headphone jack or Lightning port using the appropriate audio cables.
- Ensure that the audio output settings on your iPhone are properly configured to route the audio to the connected external speakers or audio devices.
By connecting the audio output from your iPhone to the Dr J Projector or external speakers, you can enjoy a complete audiovisual experience while watching videos, playing music, or delivering presentations.
With the audio properly connected, you can now enjoy your iPhone content on the Dr J Projector with both visual and audio components seamlessly synchronized. In the next and final step, we’ll wrap up the process and highlight the benefits of connecting your iPhone to the Dr J Projector.
Step 6: Enjoy Your iPhone Content on the Dr J Projector
Congratulations! You have successfully connected your iPhone to the Dr J Projector, adjusted the settings, and ensured audio playback, if necessary. Now it’s time to sit back, relax, and enjoy your favorite iPhone content on the big screen provided by the Dr J Projector.
Whether you want to watch movies, view photos, play games, or give a presentation, the Dr J Projector offers an immersive and visually stunning experience. The large screen size and high-resolution capabilities of the projector allow you to appreciate every detail and enjoy a cinematic experience from the comfort of your own home or office.
With your iPhone connected to the Dr J Projector, you can easily navigate through your apps, use touch gestures, and interact with your content just as you would on your iPhone’s screen. The screen mirroring feature ensures that whatever you do on your iPhone is mirrored and displayed in real-time on the Dr J Projector.
Whether you’re hosting a movie night, showcasing a presentation, or simply enjoying a slideshow of your latest vacation photos, the Dr J Projector provides a versatile and portable solution. Its compact size and lightweight design make it easy to transport and set up in various environments.
Remember to make use of the remote control that comes with the Dr J Projector to easily navigate through menus, adjust settings, and control playback while seated comfortably.
As you enjoy your iPhone content on the Dr J Projector, don’t forget to make the most of the immersive audio experience, whether it’s through the projector’s built-in speakers or connected external speakers. Crank up the volume and immerse yourself in a world of captivating visuals and crystal-clear sound.
Whether you’re using the Dr J Projector for entertainment or professional purposes, its versatility and compatibility with the iPhone make it a fantastic choice. Take full advantage of this powerful combination to elevate your viewing and presentation experiences.
Now that you’ve successfully connected and enjoyed your iPhone content on the Dr J Projector, you can continue exploring the endless possibilities it offers. Share this knowledge with others who may benefit from connecting their iPhones to a projector and create unforgettable experiences together.
By following the step-by-step process outlined in this guide, you can effortlessly connect your iPhone to the Dr J Projector and unlock a whole new world of entertainment, presentation, and sharing possibilities. Enjoy the immersive experience and create lasting memories!
Conclusion
Connecting your iPhone to a Dr J Projector opens up a world of possibilities, allowing you to enjoy your favorite videos, photos, presentations, and more on a larger screen. By following the step-by-step process outlined in this guide, you can easily establish a seamless connection and enjoy an immersive audiovisual experience.
Starting with checking compatibility between your Dr J Projector and iPhone, gathering the necessary equipment, and connecting the devices using a Lightning to HDMI adapter, you can establish a solid connection. Adjusting the settings on both the Dr J Projector and iPhone further enhances the viewing experience, ensuring optimal visuals and audio playback.
If necessary, connecting the audio output from your iPhone to the projector or external speakers enhances the audio experience, creating a well-rounded multimedia experience. Once everything is set up and configured, you can sit back, relax, and enjoy your iPhone content on the big screen provided by the Dr J Projector.
Whether you’re hosting a movie night, giving a presentation, showcasing your photography skills, or simply enjoying your favorite apps and games, the Dr J Projector offers versatility and portability. Its compact design and high-resolution capabilities provide an immersive and cinematic experience in any setting.
By following the steps outlined in this guide, you can confidently connect your iPhone to the Dr J Projector and explore the endless possibilities it offers. Share this knowledge with others to help them enhance their viewing and presentation experiences as well.
As technology continues to evolve, it’s important to stay informed and adapt to new ways of consuming and sharing content. Connecting your iPhone to a projector opens up a whole new world of entertainment, making it easier than ever to enjoy your digital media in a larger-than-life format.
So, don’t wait any longer – grab your Dr J Projector, gather the necessary equipment, and start connecting your iPhone to experience the joy of big-screen entertainment today!