Introduction
Welcome to our guide on how to connect a DVD player to a projector. If you’re a movie enthusiast or someone who enjoys watching videos on a bigger screen, connecting your DVD player to a projector can enhance your viewing experience significantly. With the right equipment and setup, you can enjoy your favorite movies, TV shows, and more on a large projection screen right in the comfort of your own home.
Connecting a DVD player to a projector may seem daunting at first, especially if you’re not well-versed in audiovisual setups. However, the process is relatively straightforward and doesn’t require extensive technical knowledge. In this guide, we will walk you through the steps to help you successfully connect your DVD player to a projector.
Before we begin, it’s important to note that the specific steps may vary depending on the make and model of your devices. Therefore, it’s always a good idea to consult the user manuals for your DVD player and projector for any device-specific instructions. Additionally, make sure you have the necessary cables and connectors on hand before starting the connection process.
In the following sections, we will cover everything from gathering the necessary equipment to testing the connection. We’ll also discuss the different types of connections available, allowing you to choose the method that best suits your needs and available ports on your devices.
So, whether you’re setting up a home theater system or simply want to enjoy your DVD collection on a larger screen, this guide will provide you with the knowledge and instructions you need to successfully connect your DVD player to a projector. Let’s dive in and get started with Step 1: Gathering the necessary equipment.
Step 1: Gather the necessary equipment
Before you can connect your DVD player to a projector, you’ll need to gather the necessary equipment. Here’s what you’ll need:
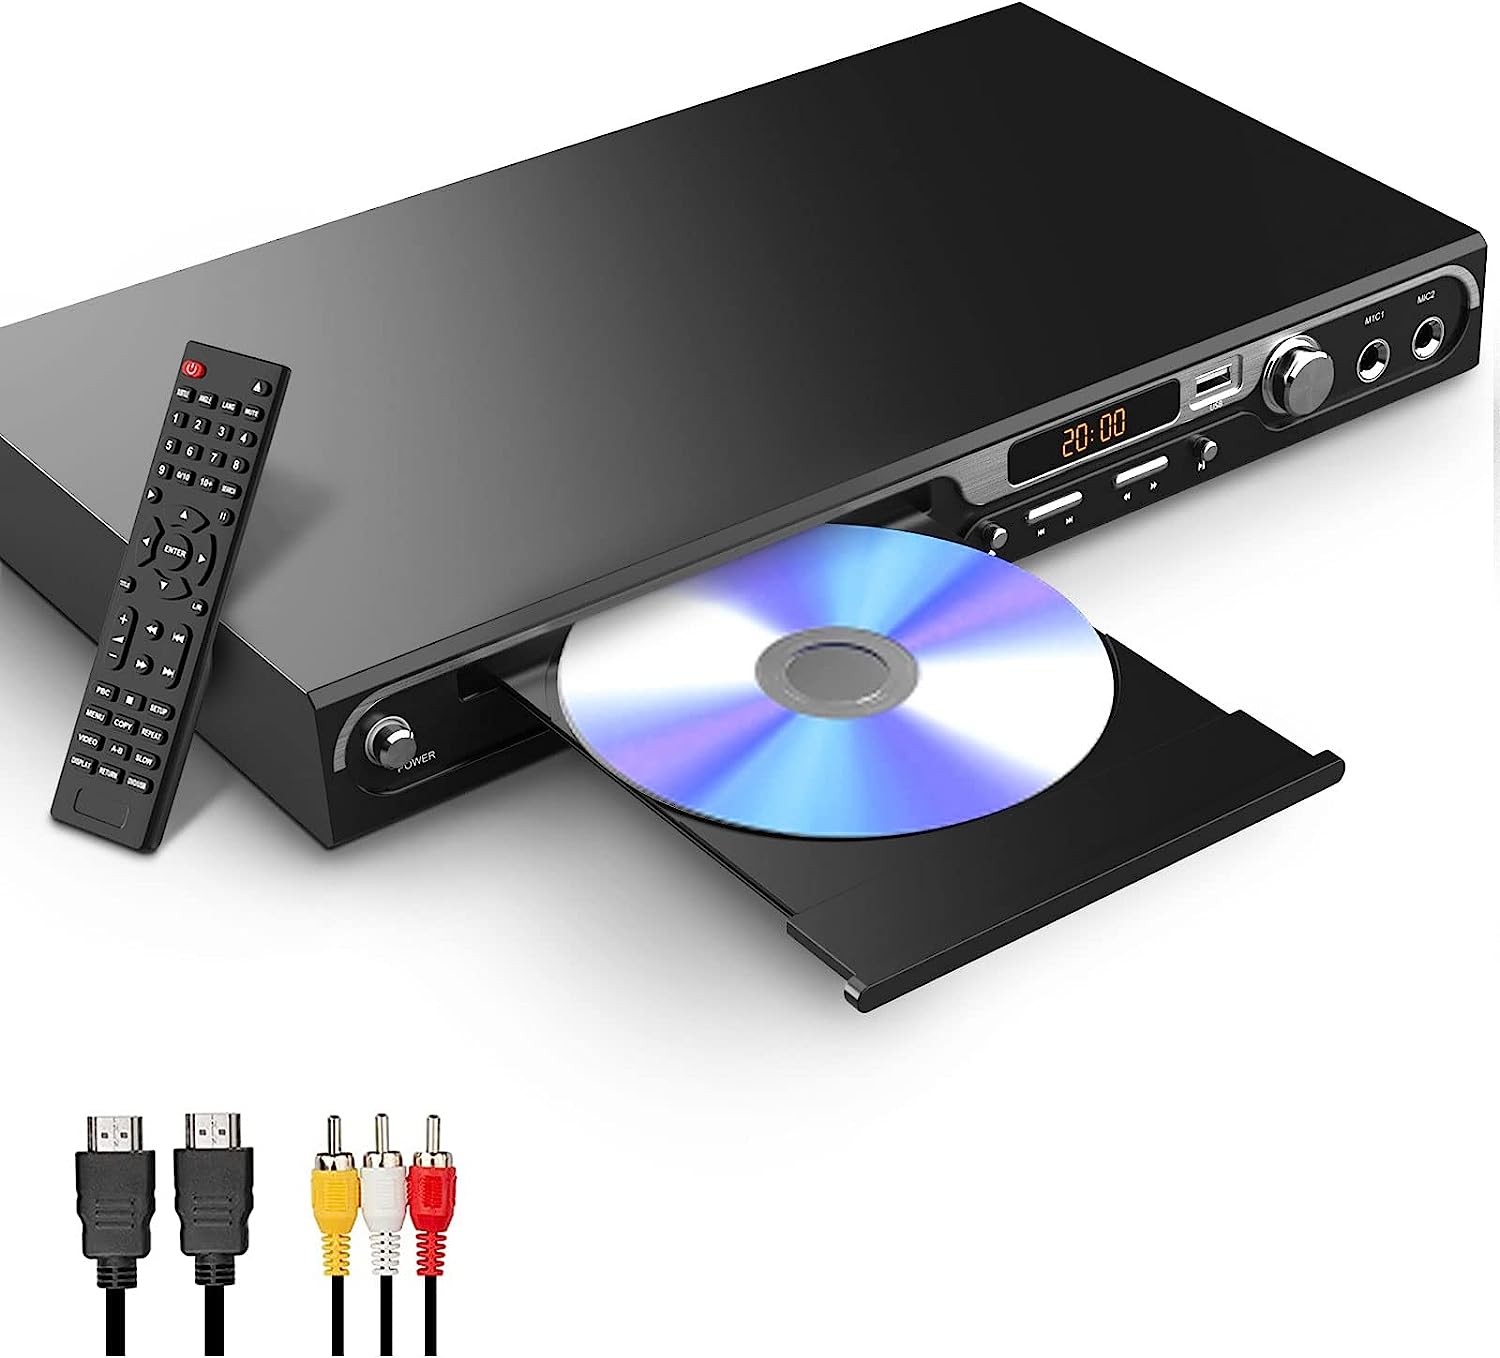
- A DVD player: This is the device that plays your DVDs and contains the audio and video outputs.
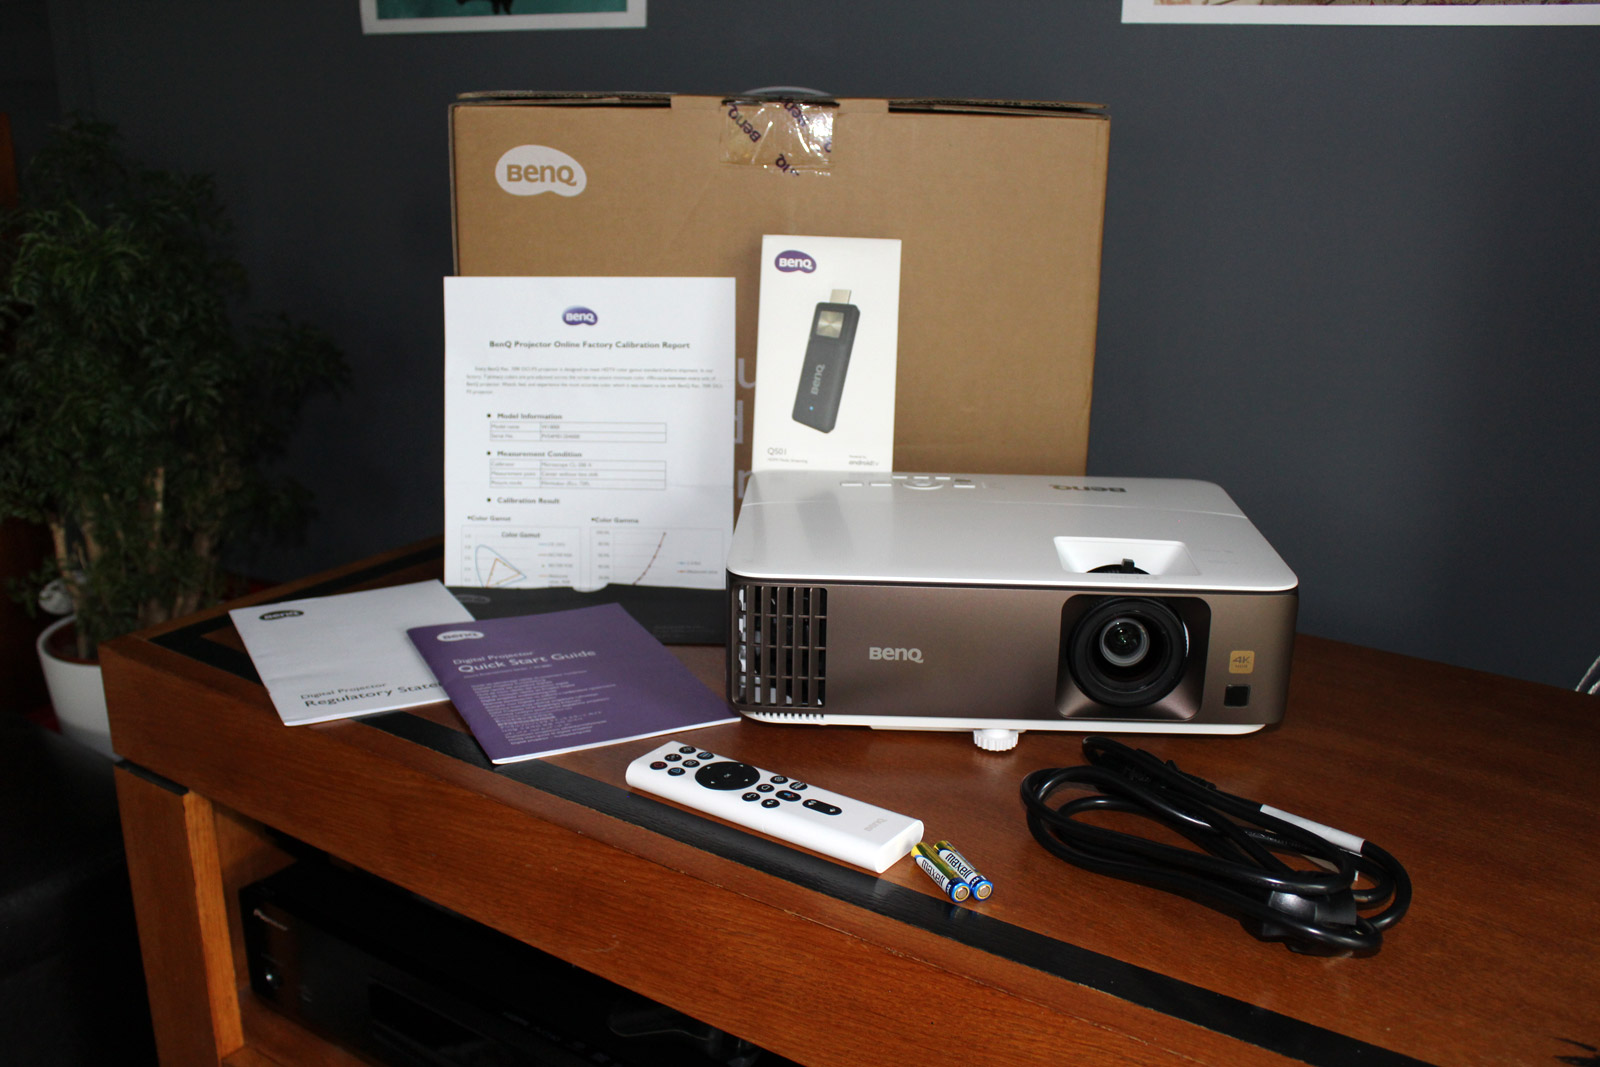
- A projector: Make sure you have a projector that supports the necessary connections for connecting to a DVD player. Check the specifications or user manual of your projector to determine the compatible inputs.
- Audio cables: Depending on your DVD player and projector, you may need an audio cable to connect the two devices. Common audio cables include RCA cables and HDMI cables.
- Video cables: You’ll need a video cable to transmit the video signal from your DVD player to the projector. The type of video connection will depend on the available ports on your DVD player and projector. Common video cables include HDMI, VGA, and component cables.
- Power cables: Make sure you have the necessary power cables to connect your DVD player and projector to a power source.
- Remote controls: Keep the remote controls for both the DVD player and the projector handy. You may need them for adjusting settings during the setup process.
It’s important to ensure that all the cables and connectors you choose are compatible with both your DVD player and projector. For example, if your DVD player and projector have HDMI ports, it’s best to use an HDMI cable for the connection, as it provides high-quality audio and video signals.
If any of the required cables or equipment are missing, now is the time to purchase or borrow them. Double-check that everything is in working condition before moving on to the next step.
With all the necessary equipment ready, you’re now one step closer to connecting your DVD player to the projector. In the next step, we’ll discuss the different types of connections you can use and help you determine the best option for your setup.
Step 2: Determine the type of connection
Before you can connect your DVD player to a projector, it’s important to determine the type of connection you’ll be using. The type of connection will depend on the available ports on both your DVD player and projector. Here are some common types of connections:
- HDMI connection: HDMI (High-Definition Multimedia Interface) is a popular and widely used connection that supports both high-definition video and audio signals. If your DVD player and projector both have HDMI ports, this is the easiest and most convenient option.
- VGA connection: VGA (Video Graphics Array) is an older video connection that does not carry audio signals. If your DVD player or projector has a VGA port, you can use a VGA cable to transmit video signals.
- Component connection: Component cables use three separate cables to transmit video signals in high definition. They are typically color-coded with red, green, and blue connectors for video, and red and white connectors for audio.
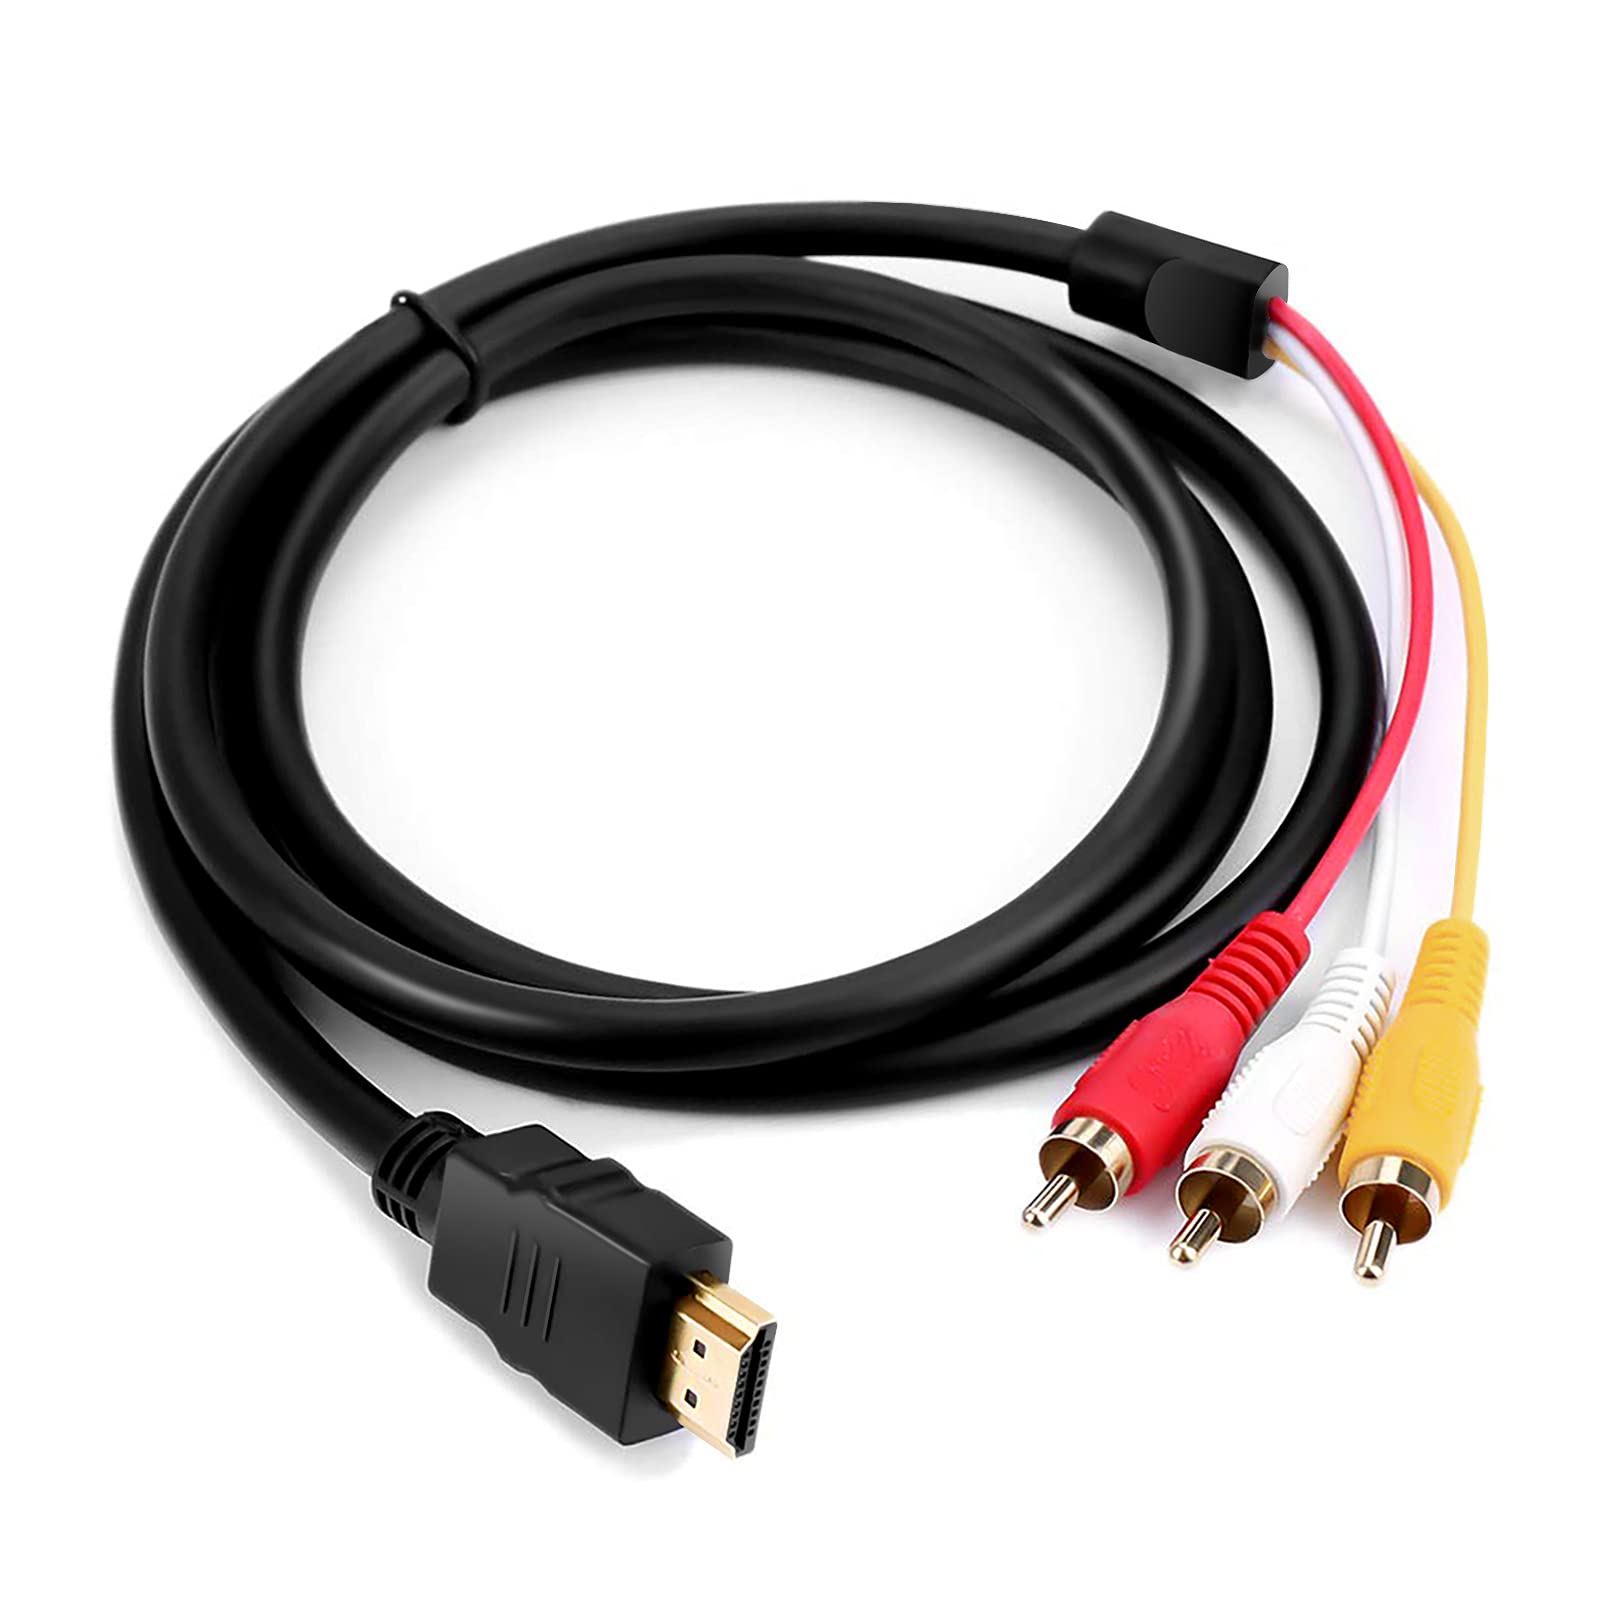
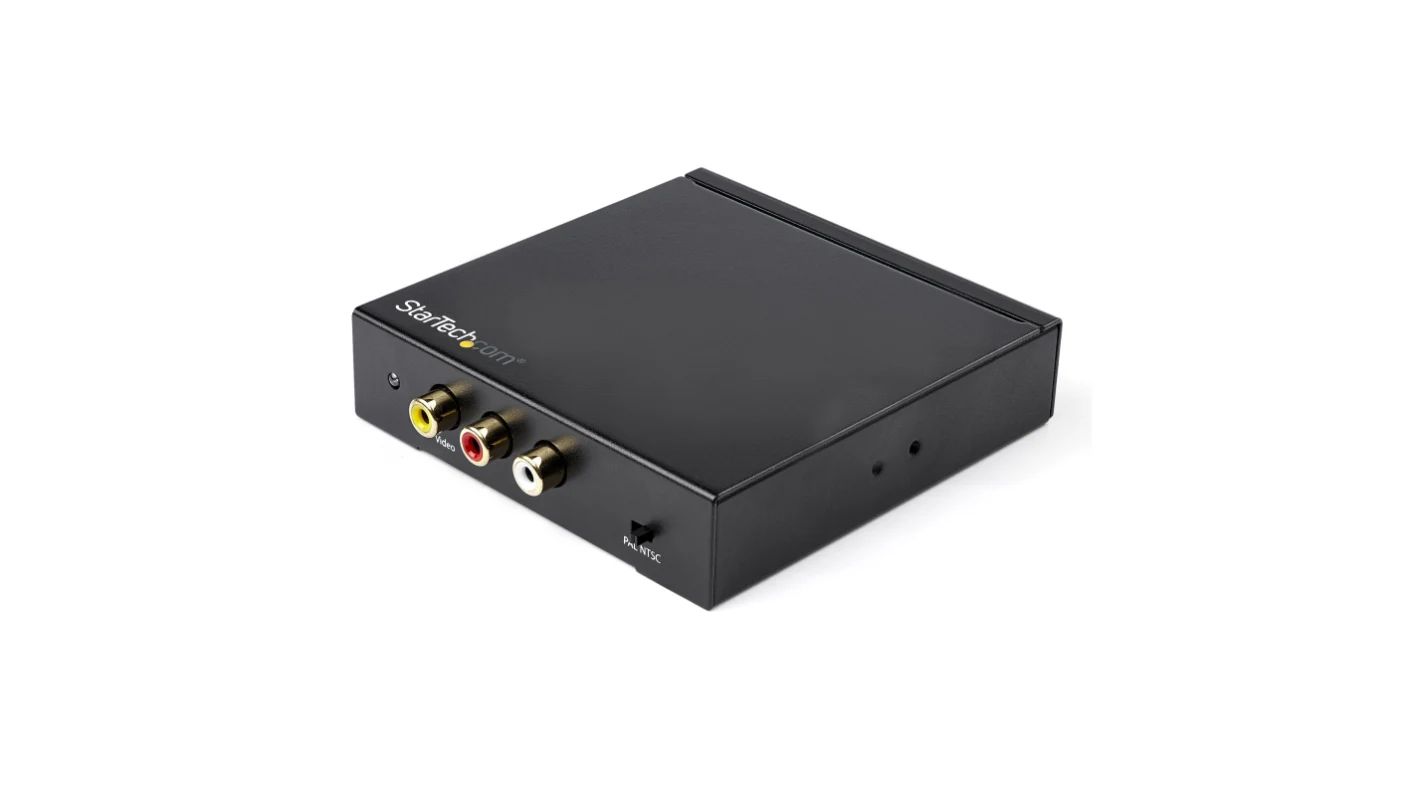
- Composite connection: Composite cables, also known as RCA cables, are the standard red, white, and yellow cables commonly used for video and audio connections. While they don’t offer high-definition video, they can still be used to connect your DVD player to a projector if no other options are available.
Once you’ve identified the types of connections your DVD player and projector support, you can choose the most suitable option. If both devices have HDMI ports, that’s the recommended choice as it provides the best audio and video quality. However, if your devices only have VGA or component ports, you’ll need to make sure you have the necessary cables and adapters to achieve the connection.
It’s worth noting that some projectors may have multiple input options, allowing you to connect multiple devices simultaneously. In such cases, choose the input that corresponds to the connection type you’ve selected for your DVD player.
Now that you’ve determined the type of connection you’ll be using, it’s time to move on to the next step: connecting the DVD player to the projector.
Step 3: Connect the DVD player to the projector
Now that you have gathered the necessary equipment and determined the type of connection, it’s time to connect your DVD player to the projector. Follow these steps to ensure a successful connection:
- Locate the appropriate ports: On both the DVD player and the projector, find the ports that match the type of connection you will be using. For example, if you’re using an HDMI connection, locate the HDMI port on each device.
- Insert the cables: Take the appropriate cables for your chosen connection type and insert one end into the corresponding port on the DVD player. Then, connect the other end of the cable into the matching port on the projector. Ensure a secure connection by firmly inserting the cable plugs.
- Connect the audio cables (if necessary): If your chosen connection type does not carry audio signals, such as VGA or component cables, you will need to connect separate audio cables. Insert one end of the audio cable into the audio output port on the DVD player, and the other end into the audio input port on the projector. Make sure to match the colors of the connectors to the corresponding ports.
- Power on the devices: Plug in the power cables for both the DVD player and the projector. Turn on each device and wait for them to boot up.
- Select the correct input: Using the projector’s remote control or on-screen menu, select the input source that corresponds to the connection type you just established. For example, if you connected the DVD player through HDMI, select the HDMI input source on the projector.
- Adjust settings (if necessary): Depending on your specific DVD player and projector models, you may need to adjust additional settings for optimal performance. This may include aspects like screen resolution, aspect ratio, or audio output settings. Consult the user manuals for both devices for instructions on adjusting these settings.
Once you have completed these steps, your DVD player should now be connected to the projector. You should see the video from the DVD player projected onto the screen. If you’re not getting a picture or if there are any issues, double-check all connections and settings to ensure everything is properly configured.
Now that you have successfully connected your DVD player to the projector, you’re ready to move on to the next step: adjusting the projector settings to optimize the viewing experience.
Step 4: Adjust the projector settings
Once you have connected your DVD player to the projector, it’s important to adjust the projector settings to optimize your viewing experience. Here are some key settings to consider:
- Brightness and contrast: Adjust the brightness and contrast settings on the projector to achieve the desired picture quality. These settings can help enhance the clarity and detail of the projected image.
- Aspect ratio: Set the aspect ratio of the projector to match the source material. Most DVDs have a 4:3 aspect ratio, while widescreen DVDs have a 16:9 aspect ratio. Adjusting the aspect ratio ensures that the picture is displayed correctly without any distortion.
- Screen resolution: If your projector offers different screen resolutions, choose the one that matches the resolution of the source material. For DVDs, the standard resolution is 480p. Adjusting the screen resolution can help improve the sharpness and clarity of the video.
- Keystone correction: If the projector is not positioned perfectly perpendicular to the screen, you may notice some distortion in the shape of the projected image. Use the keystone correction feature on the projector to adjust and align the image, ensuring that it appears rectangular and not distorted.
- Audio settings: If you connected the audio cables between the DVD player and the projector, make sure to adjust the audio settings on your projector to output sound through its speakers. You may need to select the appropriate audio input source and adjust the volume levels.
- Other advanced settings: Depending on your projector model, there may be additional settings that you can explore to further customize your viewing experience. These settings can include color temperature, gamma correction, and noise reduction. Experiment with these settings to find the combination that suits your preferences.
Take your time to adjust these settings and make the necessary tweaks until you are satisfied with the picture and sound quality. It’s a good idea to refer to the projector’s user manual for specific instructions on accessing and adjusting these settings.
Once you have fine-tuned the projector settings, you’re ready to enjoy your DVD collection on the big screen. Give it a test run with your favorite movie or TV show to ensure that everything is working as expected.
Now that you have adjusted the projector settings, it’s time for the final step: testing the connection to ensure a seamless experience.
Step 5: Test the connection
After connecting your DVD player to the projector and adjusting the settings, it’s crucial to test the connection to ensure that everything is working properly. Follow these steps to perform a test run:
- Turn on the DVD player and insert a DVD into the disc tray.
- Power on the projector and select the correct input source that corresponds to the connection you established in Step 3.
- Check the projected image: Look at the screen or projection area and make sure that the DVD menu or content is displayed correctly. Ensure that the picture is clear, with vibrant colors, and that there are no distortions or artifacts.
- Test the audio: Listen for sound from the projector’s built-in speakers or connected audio system. Adjust the volume as needed to achieve a comfortable listening level.
- Play the DVD: Use the DVD player’s remote control to navigate the DVD menu and play a movie or any desired content. Check if the video and audio playback is smooth without any interruptions or sync issues.
- Ensure remote control functionality: Verify that both the DVD player’s remote control and the projector’s remote control are working correctly. Test basic functions like play, pause, stop, and volume control to ensure a seamless user experience.
- Inspect for any issues: While the DVD is playing, monitor the projection for any anomalies like flickering, color inaccuracies, or unusual noises. These issues could indicate a problem with the connection or settings that need further adjustment.
If everything is working as expected during the test, congratulations – you have successfully connected your DVD player to the projector! You can now enjoy a cinematic experience in the comfort of your own home.
However, if you encounter any issues during the testing phase, double-check all the connections and settings to ensure they are correct. Refer to the user manuals for both the DVD player and the projector for troubleshooting tips and additional guidance.
By thoroughly testing the connection, you can address any issues promptly and make any necessary adjustments to ensure a seamless viewing experience.
Now that you’ve completed the final step of testing the connection, you’re ready to sit back, relax, and enjoy your favorite movies and videos on the big screen!
Conclusion
Connecting a DVD player to a projector can transform your movie-watching experience, allowing you to enjoy your favorite films on a larger screen. In this guide, we walked you through the steps to connect a DVD player to a projector, from gathering the necessary equipment to testing the connection. Let’s recap the key points:
First, gather the necessary equipment, including a DVD player, a compatible projector, audio and video cables, power cables, and remote controls. Ensure that all cables and connectors are compatible with your devices.
Next, determine the type of connection you will be using based on the available ports on your DVD player and projector. Common connection types include HDMI, VGA, component, and composite.
Afterwards, connect the DVD player to the projector by inserting the appropriate cables into the corresponding ports. If necessary, connect audio cables as well.
Then, adjust the projector settings to optimize the picture and sound quality. Adjust brightness, contrast, aspect ratio, screen resolution, keystone correction, and other advanced settings according to your preferences.
Finally, test the connection by powering on the devices, selecting the correct input source, playing a DVD, and checking the projected image and audio. Ensure that everything is functioning correctly and make necessary adjustments if any issues arise.
By following these steps, you can successfully connect your DVD player to a projector and create your own home theater experience.
Remember, the specific steps and requirements may vary depending on your DVD player and projector models. Always consult the user manuals and follow any device-specific instructions for the best results.
Now that you have the knowledge and instructions to connect your DVD player to a projector, you can enjoy an immersive cinematic experience in the comfort of your own home. Grab some popcorn, sit back, and enjoy your favorite movies on the big screen!