Introduction
Technology has advanced rapidly over the years, making it possible to carry a wide range of devices in the palm of our hands. One such versatile device is our smartphones. With their powerful processors and high-quality displays, smartphones have become more than just communication tools. They can now be used for various purposes, including serving as a convenient projector.
Using your phone as a projector can be incredibly beneficial, whether you’re giving a presentation at work, enjoying a movie night with friends, or hosting a backyard movie marathon. The flexibility and portability of your phone allow you to set up a projection wherever you go without the need for a bulky and expensive traditional projector.
In this article, we will explore the various methods to connect your phone to a projector and transform it into a portable viewing device. Whether you have an Android or iOS device, we will cover the different options available to suit your needs. Additionally, we will provide tips and troubleshooting advice to ensure a seamless experience when using your phone as a projector.
Why Use Your Phone As a Projector?
Using your phone as a projector offers several advantages that make it a popular choice for many people. Here are some compelling reasons why you should consider using your phone as a projector:
- Portability: One of the key advantages of using your phone as a projector is its portability. Your phone is a device you carry with you everywhere, making it incredibly convenient to transform it into a projector on the go. Whether you’re traveling, attending meetings, or want to enjoy entertainment outdoors, your phone can serve as a compact and lightweight projection solution.
- Cost-effectiveness: Traditional projectors can be expensive. By utilizing your phone as a projector, you can save money on purchasing a dedicated projector. Additionally, you don’t have to worry about maintenance or bulb replacements, which can add to the cost of owning a traditional projector.
- Accessibility: Almost everyone nowadays owns a smartphone, making it easy to leverage its capabilities as a projector. It eliminates the need for specialized equipment, making presentations or movie nights more accessible to a wider audience.
- Flexibility: Your phone offers a wide range of content options, whether it’s movies, presentations, or even streaming services. Using your phone as a projector allows you to instantly access and project a variety of multimedia content without the need for additional devices.
- Ease of use: Connecting your phone to a projector is relatively straightforward, and most modern smartphones have built-in features or compatible accessories that make it even easier. You don’t need to be tech-savvy to set up your phone as a projector and enjoy a big-screen experience.
Using your phone as a projector opens up a world of possibilities and adds convenience to your daily life. Whether it’s for work or leisure, this versatile solution allows you to enjoy a larger display without compromising on quality or portability.
How to Connect Your Phone to a Projector
Connecting your phone to a projector is a straightforward process that requires the right cables or adapters, depending on your phone’s compatibility. In this section, we will explore three different options to connect your phone to a projector:
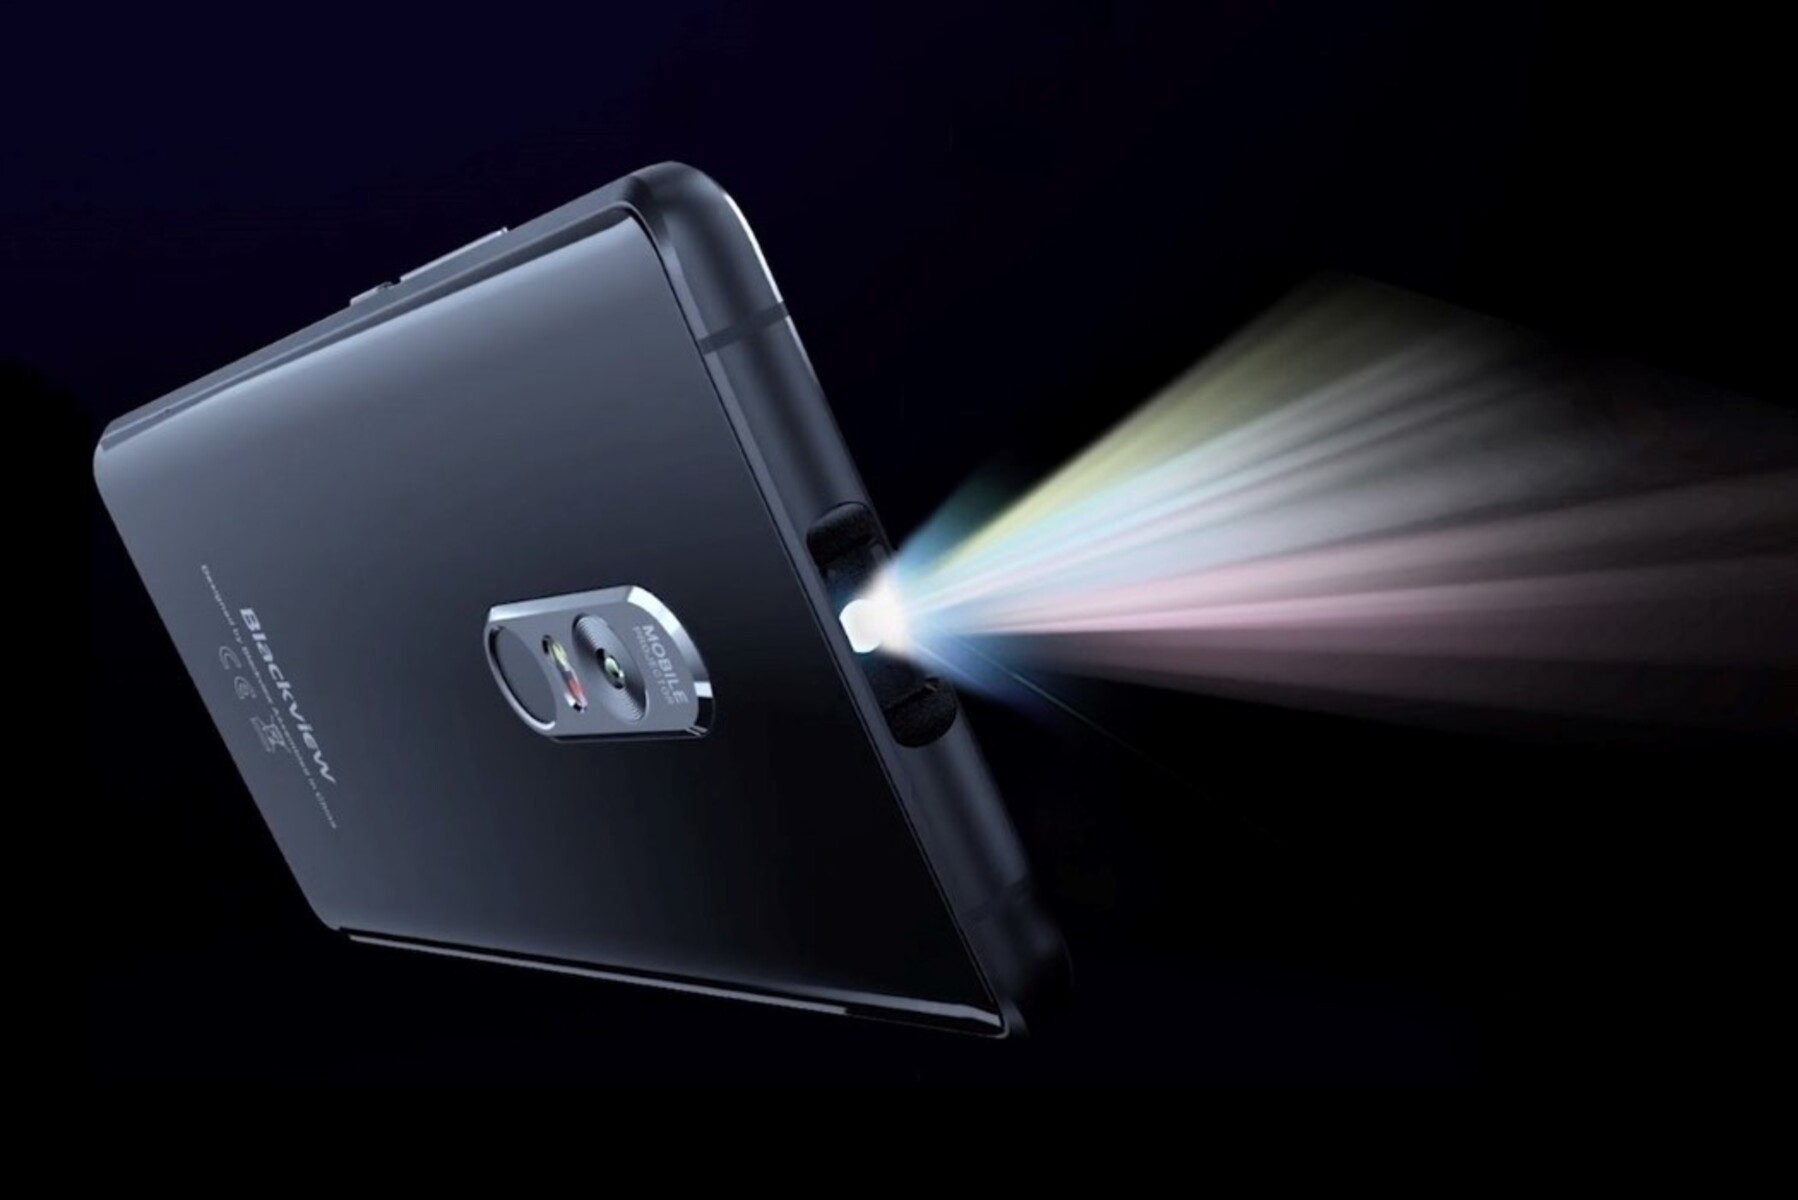
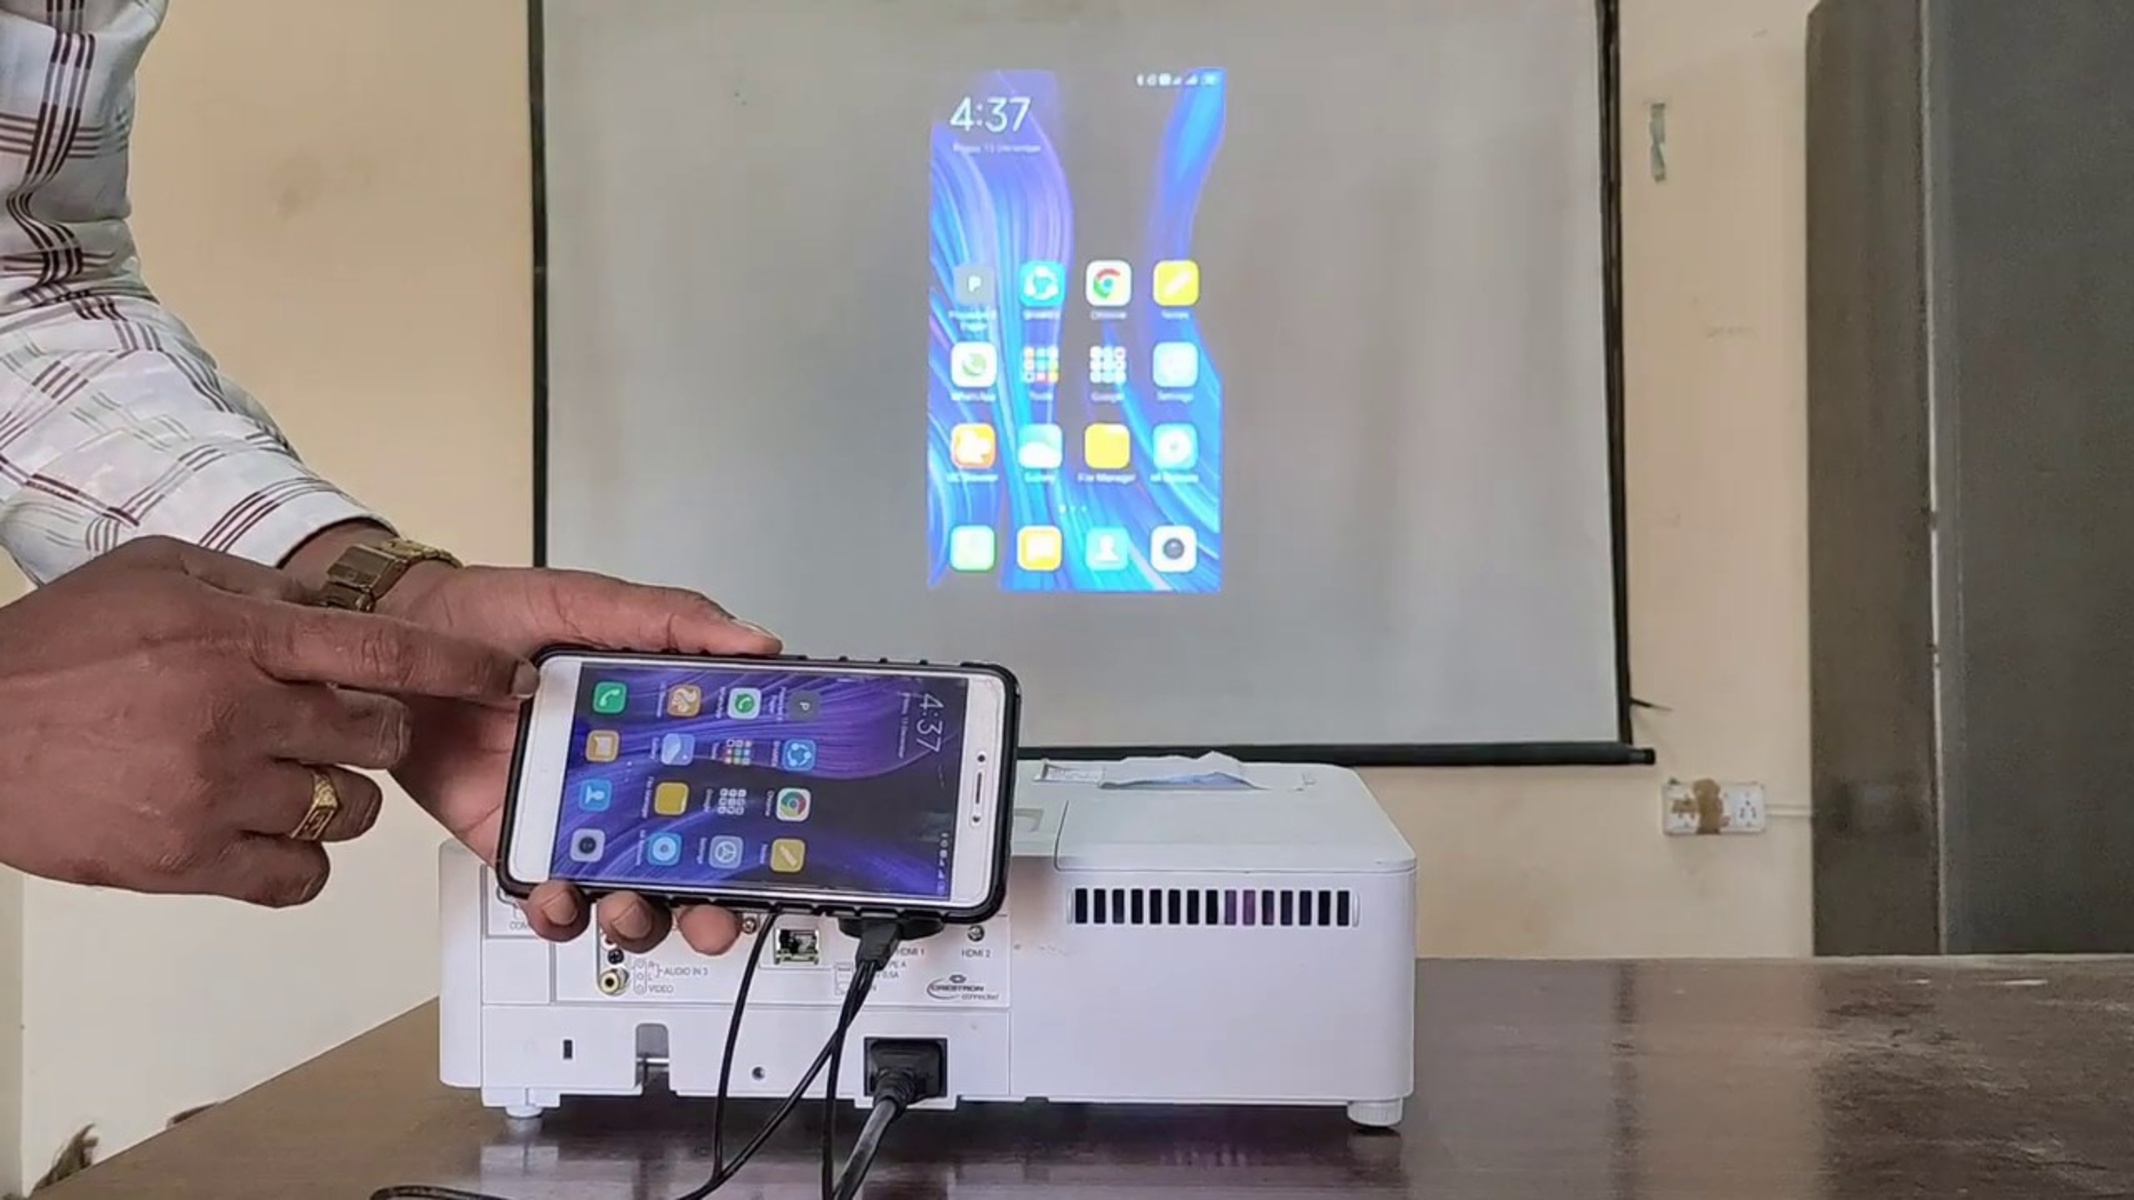
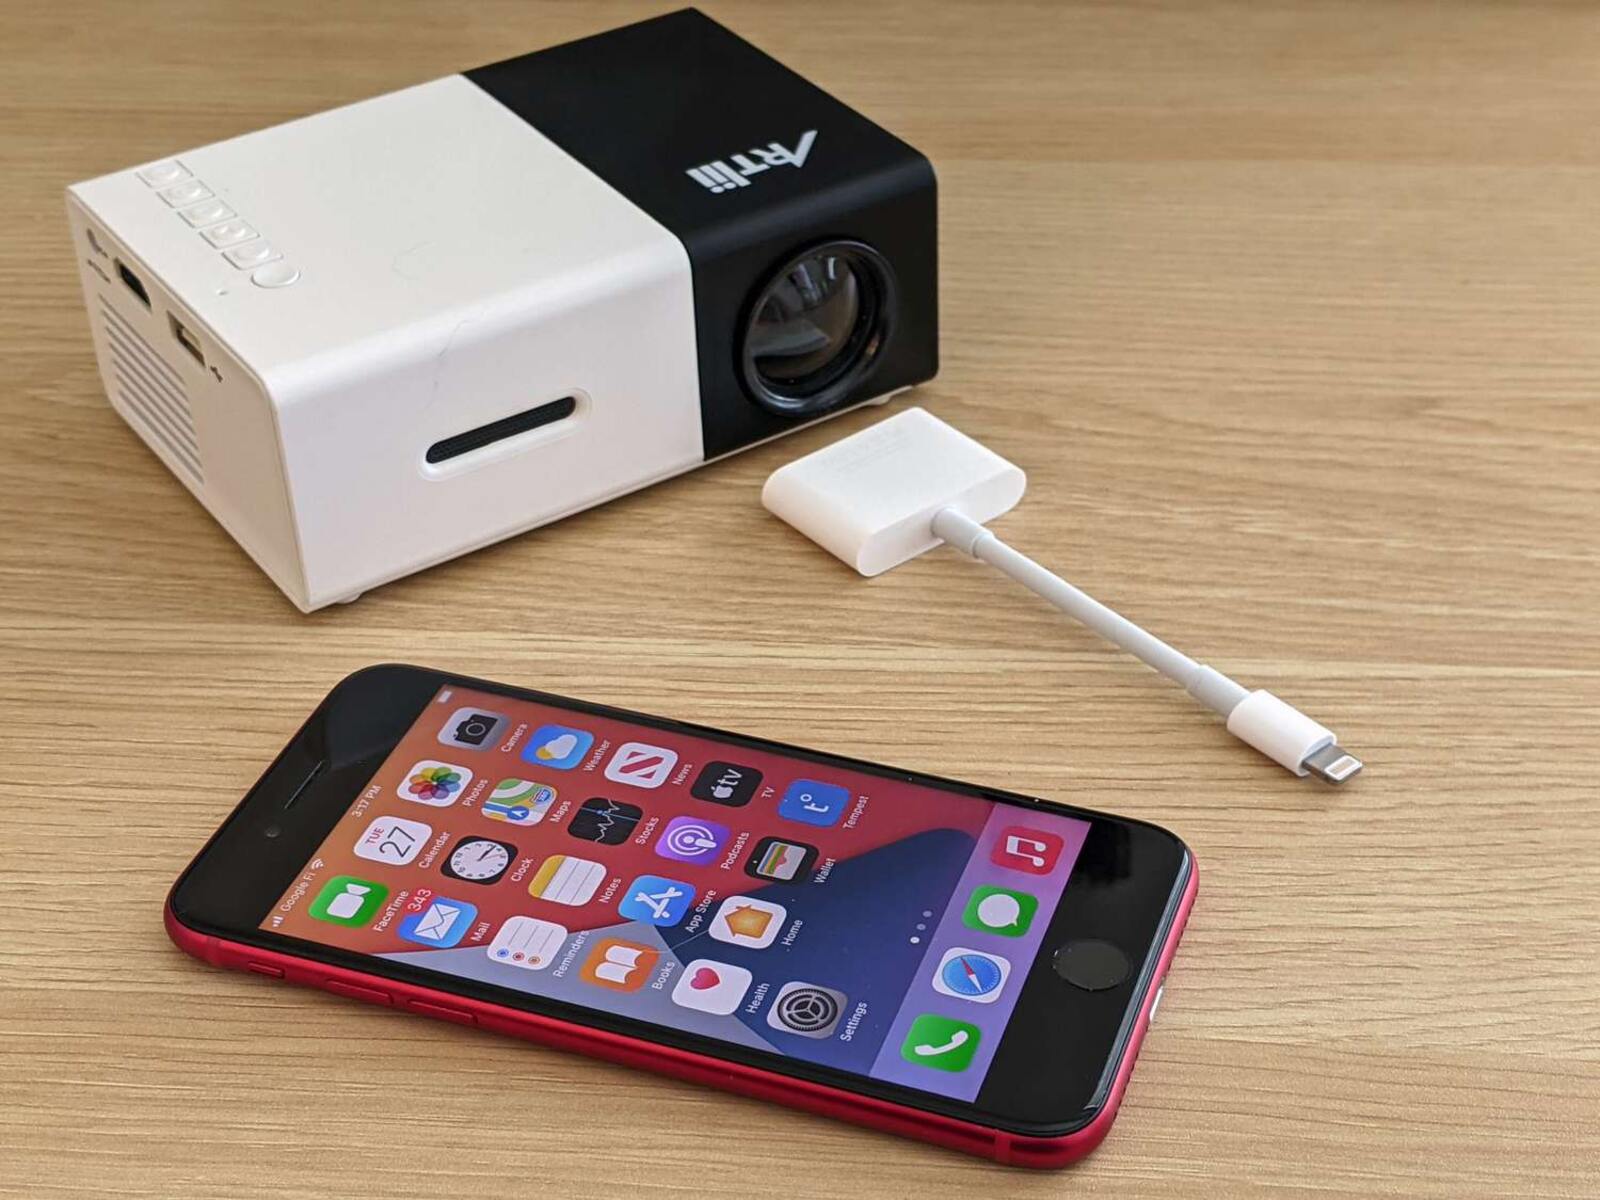
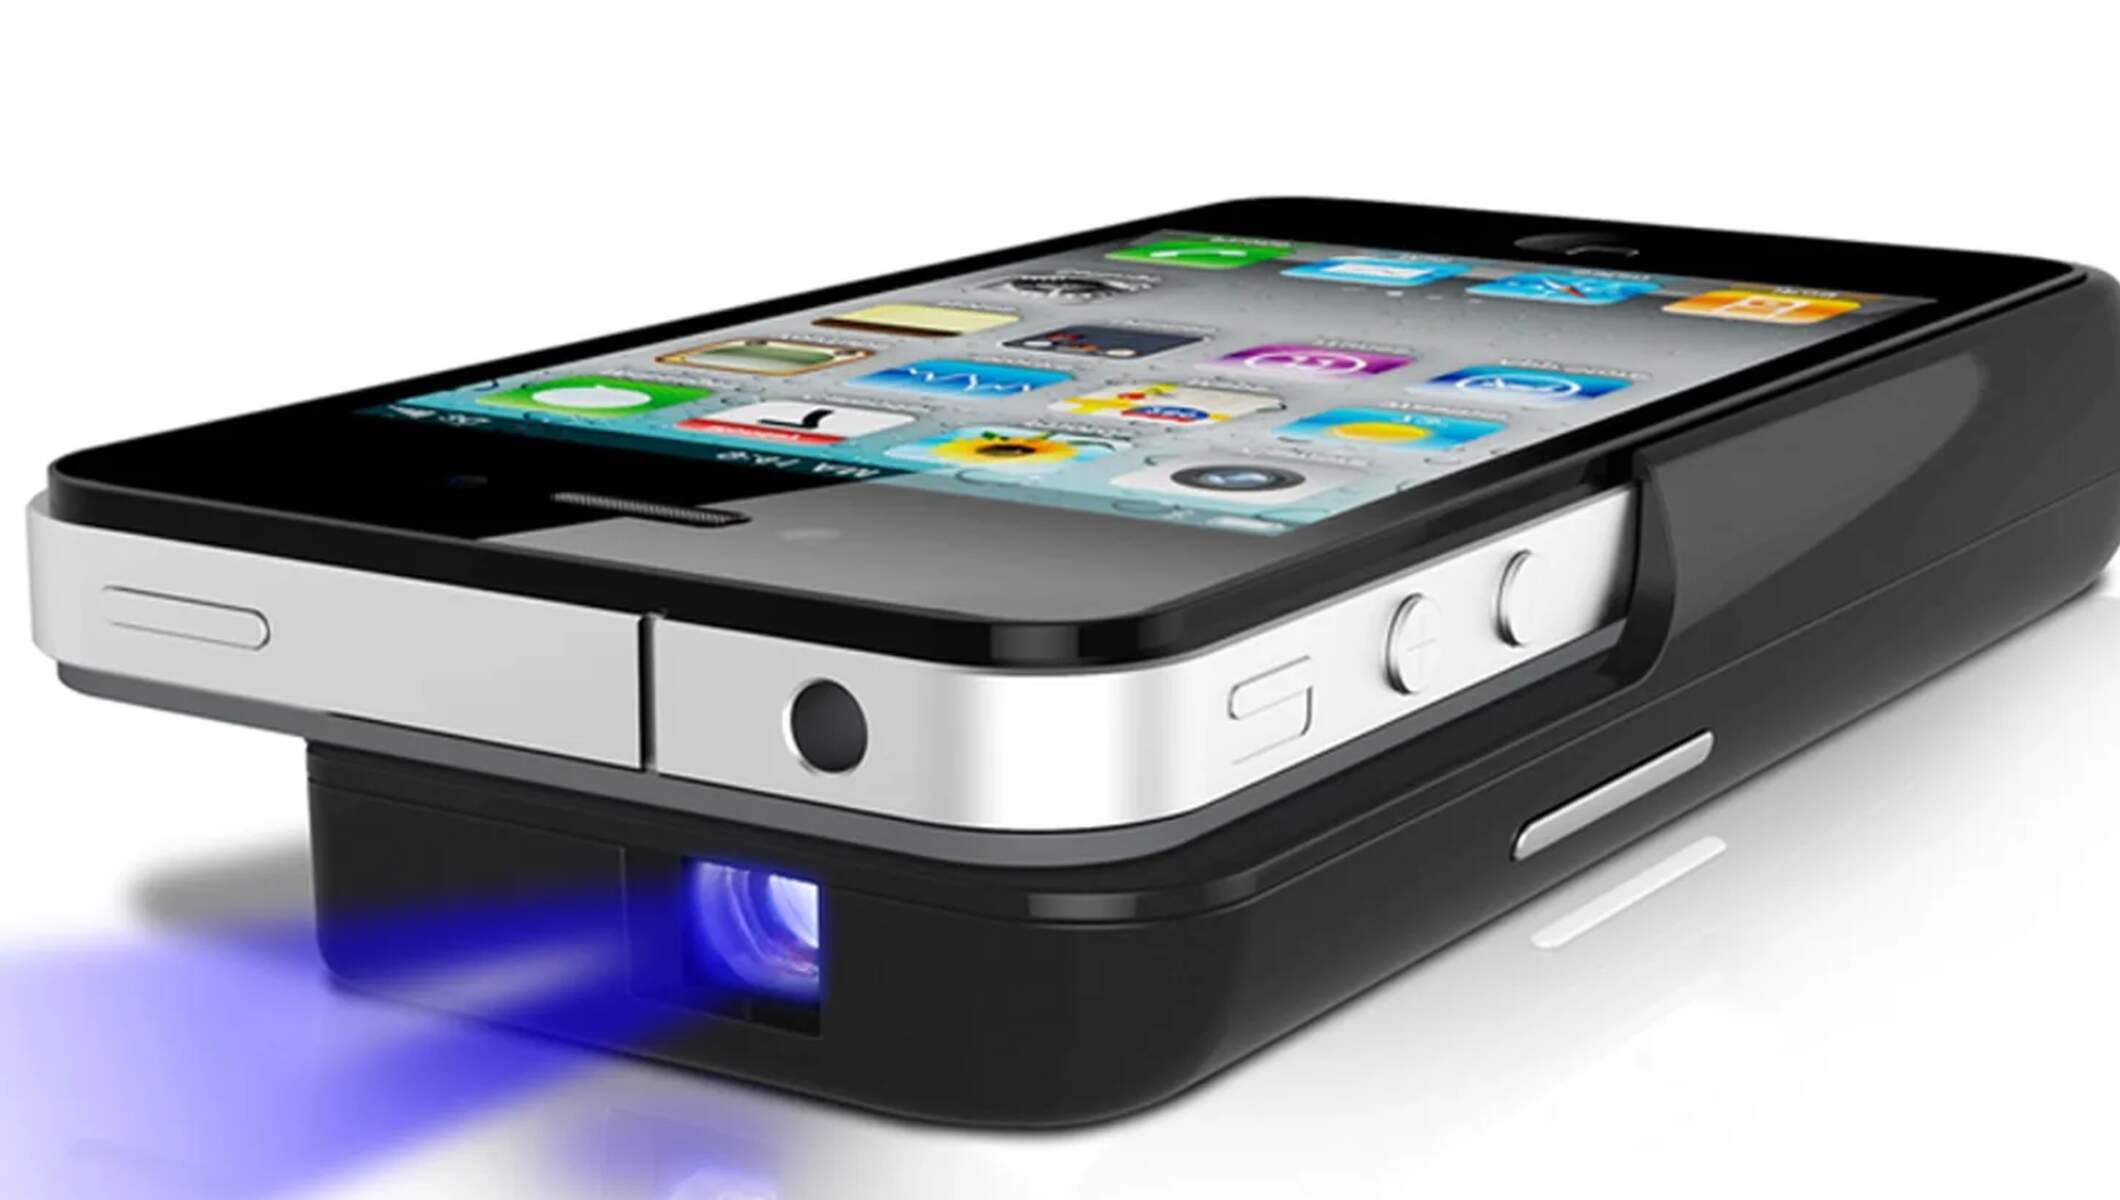
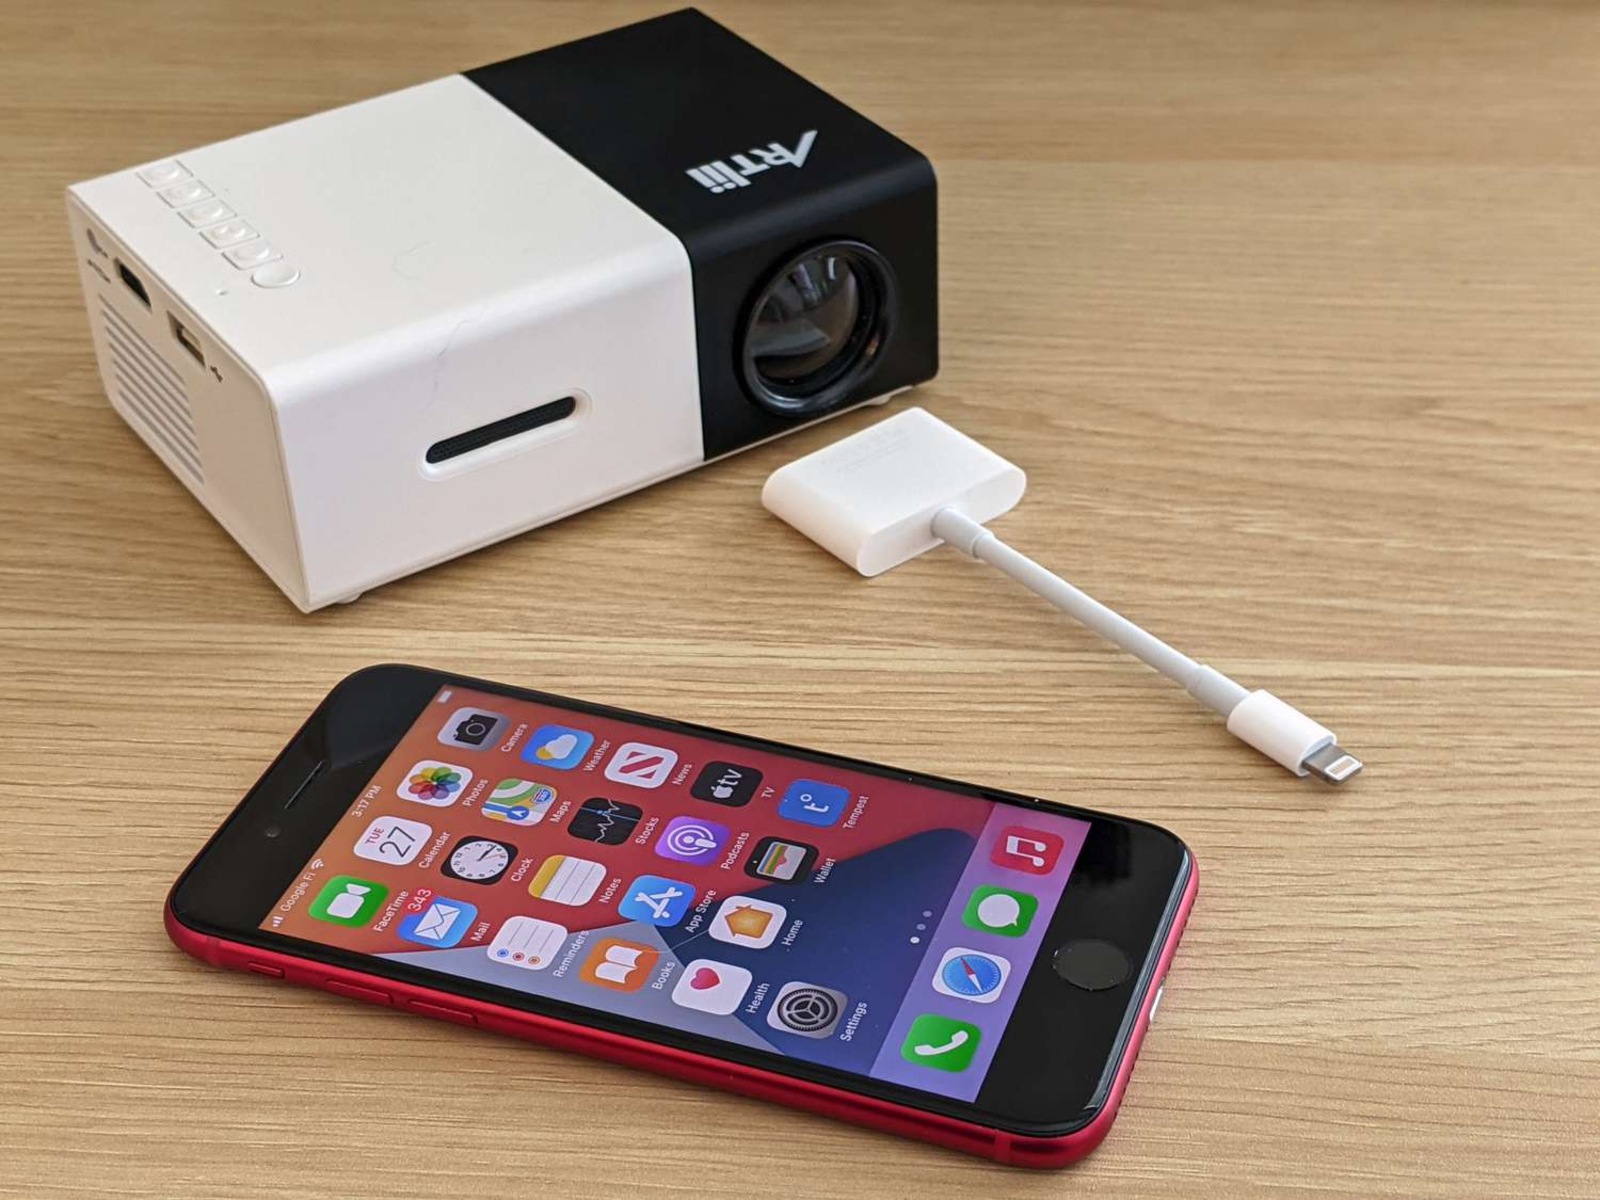
- Option 1: Using an MHL Cable: MHL (Mobile High-Definition Link) allows you to connect your phone to a projector through an MHL cable. First, check if your phone supports MHL by referring to the manufacturer’s specifications. Connect one end of the cable to your phone’s micro USB or USB-C port and the other end to the projector’s HDMI input. Once connected, your phone’s display will be mirrored on the projector, allowing you to project your content. Some devices may require additional power through a separate USB connection.
- Option 2: Using a Wireless HDMI Adapter: If your phone does not support MHL or you prefer a wireless option, you can use a wireless HDMI adapter. These adapters connect to your phone wirelessly using technologies like Miracast or AirPlay. Simply plug the adapter into the projector’s HDMI port and follow the manufacturer’s instructions to connect your phone. This option offers more flexibility and eliminates the need for cables, allowing you to move around freely while projecting your content.
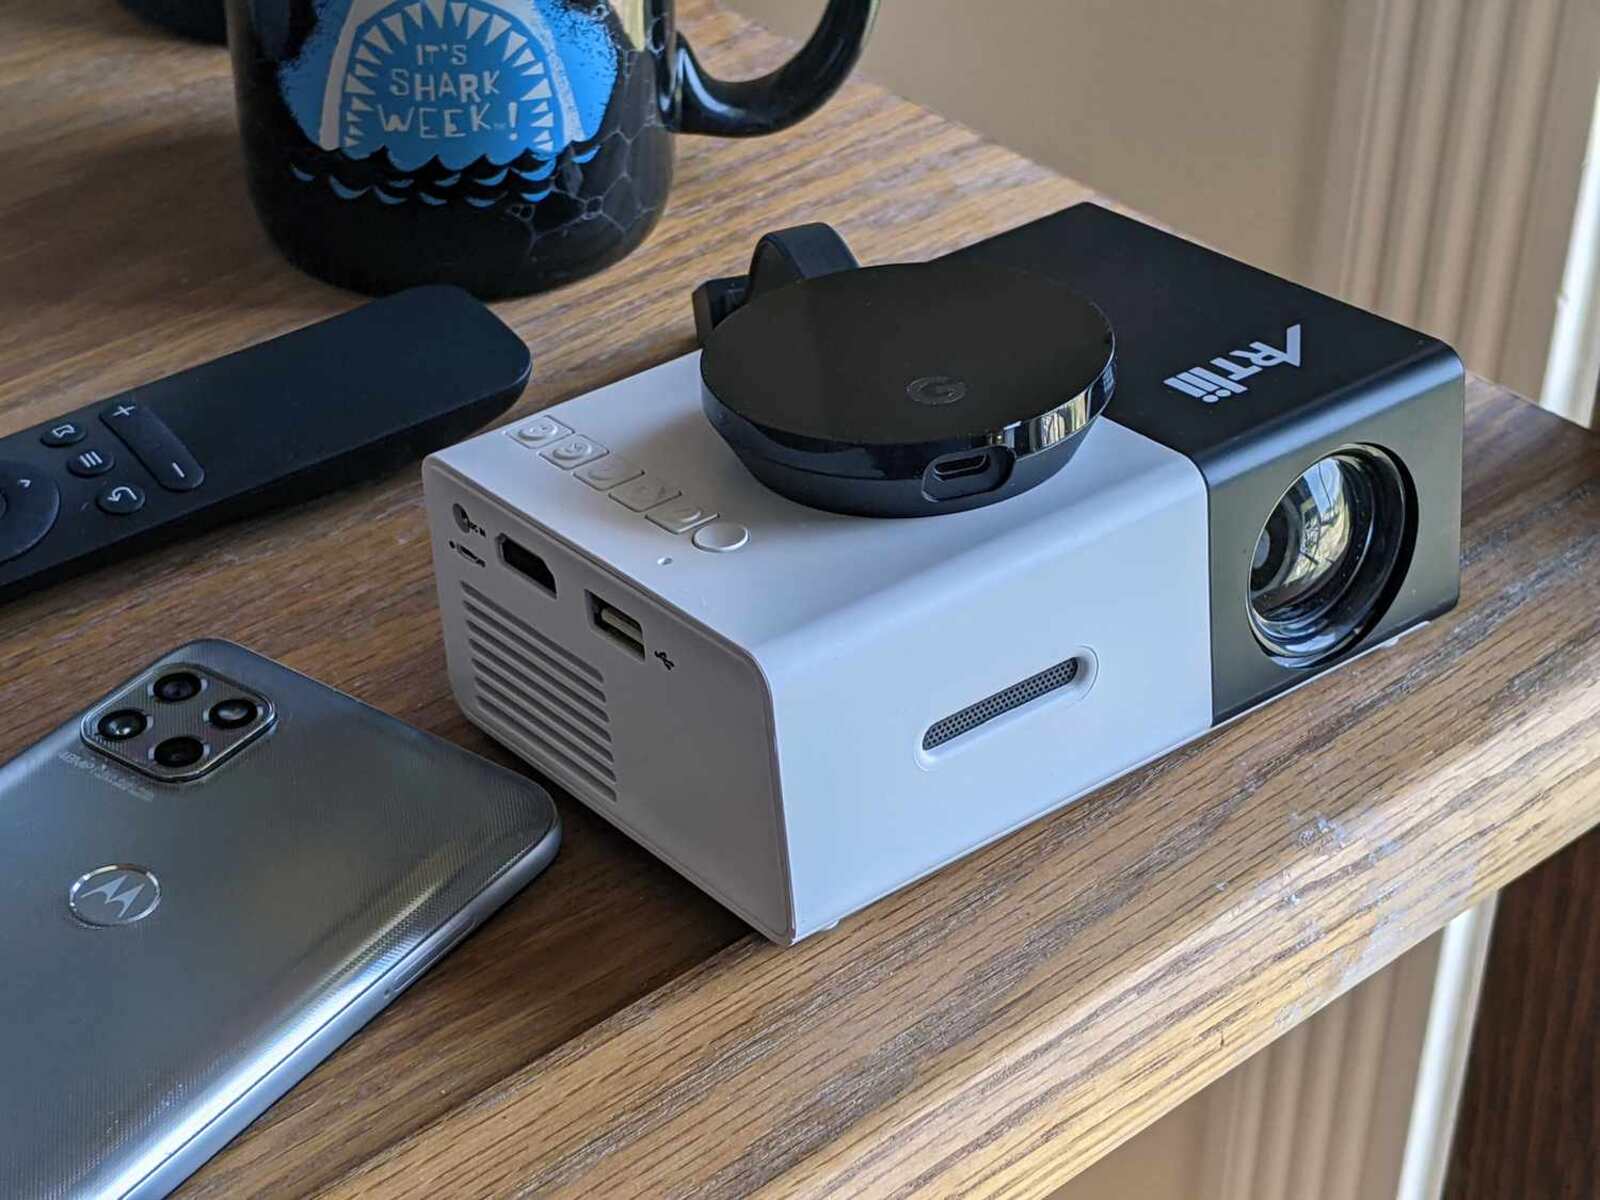
- Option 3: Using an Android TV Stick: If you have an Android phone and a projector that supports HDMI input, you can use an Android TV stick as an alternative method. Connect the TV stick to the projector’s HDMI input, and use the built-in screen mirroring or casting feature on your Android phone to project your content. This option allows you to turn any HDMI projector into a smart projector, giving you access to various streaming apps and content.
Once connected, you may need to select the appropriate input source on the projector and adjust the display settings on your phone to optimize the projection. Refer to your phone’s settings to adjust the screen timeout, brightness, and aspect ratio to suit your preferences.
It’s important to note that the connectivity options may vary depending on your phone’s make and model. Refer to the manufacturer’s guidelines or consult the user manual for specific instructions.
Now that you know how to connect your phone to a projector, you can enjoy a larger display and share your content with ease. Whether you’re presenting at work or enjoying a movie night, these methods provide a convenient way to utilize your phone as a projector.
Option 1: Using an MHL Cable
One of the most common and convenient methods to connect your phone to a projector is by using an MHL (Mobile High-Definition Link) cable. This option is widely supported by many Android phones and allows for a direct and reliable connection. Follow these steps to connect your phone to a projector using an MHL cable:
- Check your phone’s compatibility: Firstly, ensure that your phone supports MHL connectivity. You can usually find this information in the user manual or by visiting the manufacturer’s website. Not all phones support MHL, so it’s important to verify this beforehand.
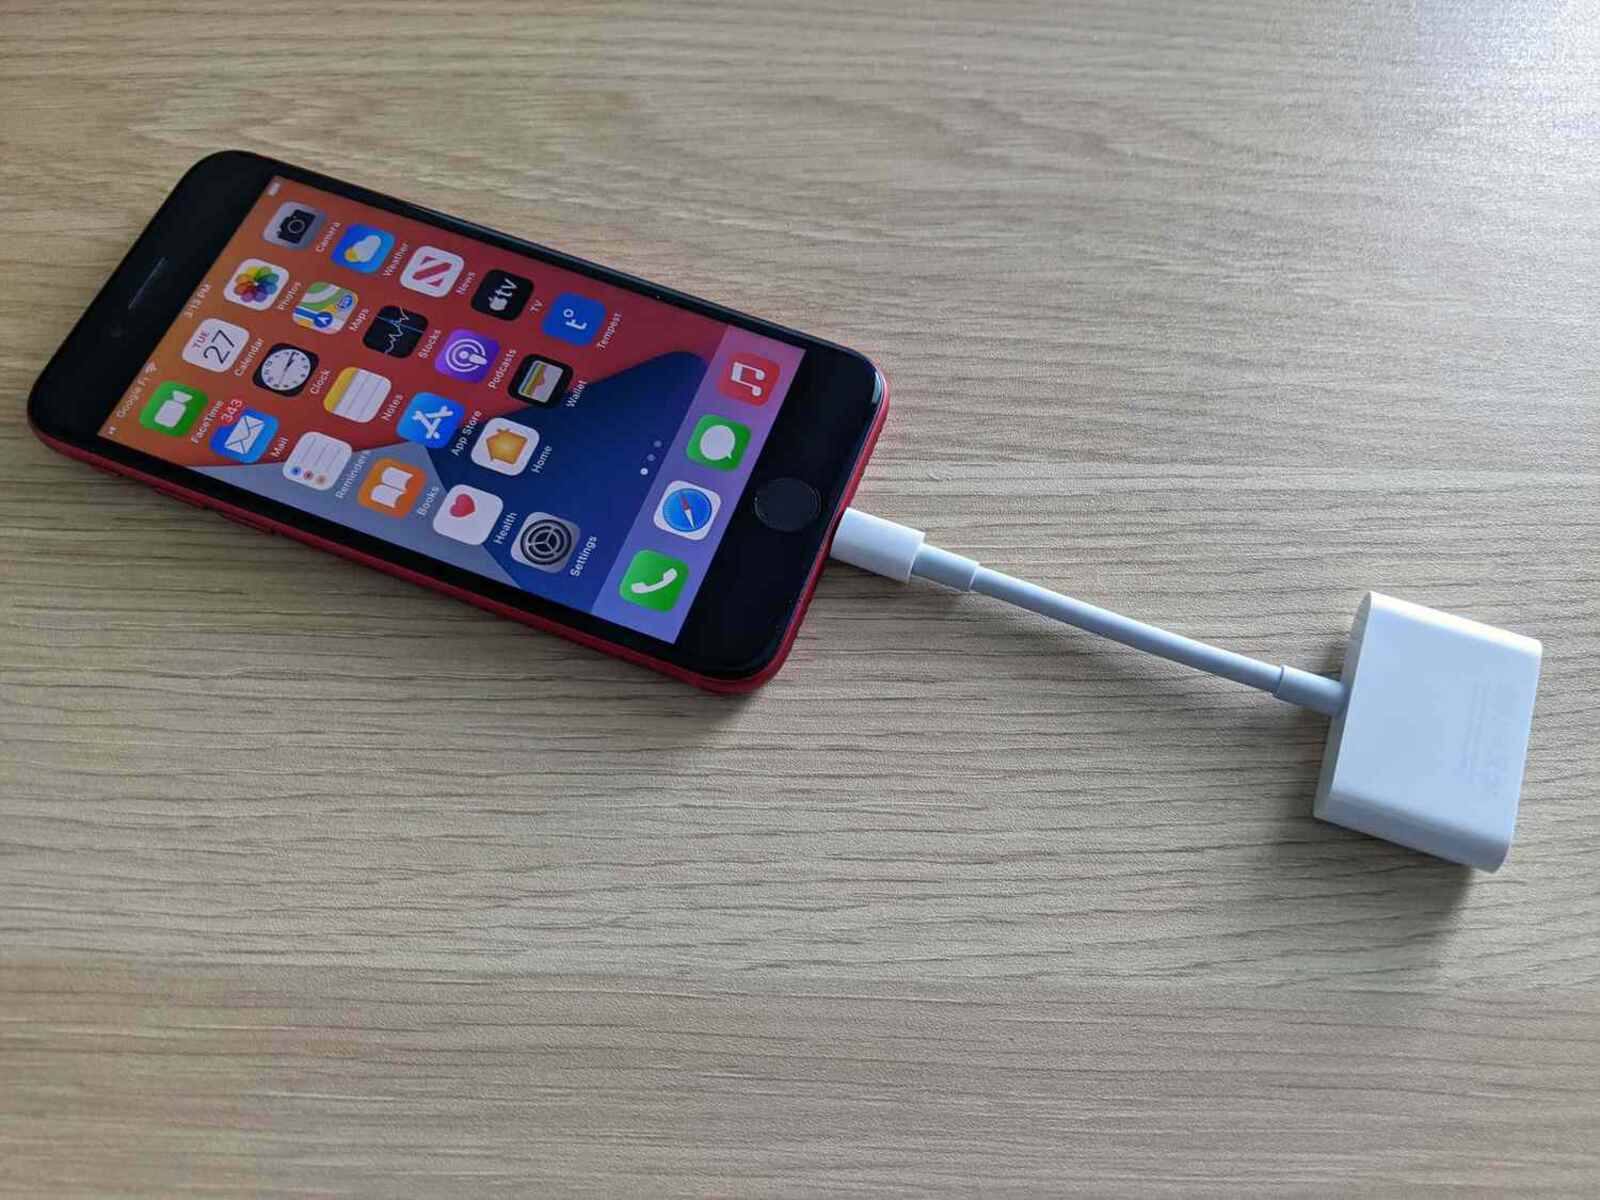
- Purchase an MHL cable: Next, acquire an MHL cable that matches the appropriate connector for your phone. Most Android devices use micro USB or USB-C connectors, so choose the corresponding MHL cable. You can purchase an MHL cable at electronic stores or online retailers.
- Connect the MHL cable: Plug one end of the MHL cable into your phone’s micro USB or USB-C port. Then, connect the other end of the cable to the HDMI input port on the projector.
- Power the MHL cable: Some MHL cables require additional power to function properly. In this case, you will need to connect a power source, such as a USB cable, to the MHL cable’s power port and a power outlet. Make sure to follow the instructions provided with the MHL cable for proper power supply.
- Configure your phone’s display settings: Once the connection is established, your phone’s display should automatically be mirrored on the projector. However, you may need to adjust the display settings on your phone to ensure optimal projection. Go to your phone’s settings and select the display options. Here, you can adjust the screen timeout, brightness, and aspect ratio to fit your preferences.
Using an MHL cable provides a reliable and straightforward connection between your phone and the projector. It delivers high-quality audio and video signals, allowing you to enjoy your content on a larger screen without any noticeable lag or latency.
Keep in mind that MHL connectivity may have limitations depending on your phone model and manufacturer. It’s always advisable to refer to the manufacturer’s guidelines or consult the user manual for specific instructions regarding MHL compatibility and usage.
Now that you know how to use an MHL cable to connect your phone to a projector, you can easily share presentations, videos, and other multimedia content with a larger audience. This method offers a seamless and convenient way to utilize your phone as a projector for a truly immersive viewing experience.
Option 2: Using a Wireless HDMI Adapter
If you prefer a wireless solution to connect your phone to a projector, using a wireless HDMI adapter is a great option. This method offers flexibility, allowing you to project your phone’s screen without the need for physical cables. Here’s how you can connect your phone to a projector wirelessly using a wireless HDMI adapter:
- Choose a compatible wireless HDMI adapter: Start by selecting a wireless HDMI adapter that is compatible with your phone and the projector. Look for adapters that support popular wireless streaming technologies such as Miracast, AirPlay, or Chromecast. Ensure that the adapter has an HDMI output to connect to the projector’s HDMI input port.
- Connect the wireless HDMI adapter: Plug the wireless HDMI adapter into the projector’s HDMI input port. Some adapters may also require a separate power source, so make sure to connect the power cable to a power outlet as well.
- Set up the wireless connection: Depending on the specific wireless HDMI adapter you’re using, follow the manufacturer’s instructions to set up the wireless connection between your phone and the adapter. This might involve downloading and installing an app or enabling the screen mirroring feature on your phone.
- Connect your phone to the wireless HDMI adapter: On your phone, navigate to the wireless display settings or screen mirroring settings, and select the wireless HDMI adapter from the available devices. Once connected, your phone’s screen will be wirelessly mirrored on the projector.
- Optimize display settings: Adjust your phone’s display settings, such as screen timeout, brightness, and aspect ratio, to enhance the projection quality and optimize the viewing experience for your audience.
Using a wireless HDMI adapter provides a convenient and cable-free solution to project your phone’s screen onto a larger display. It allows you to move around freely while retaining control over your content.
However, it’s important to note that the effectiveness and compatibility of wireless HDMI adapters may vary based on different phone models and operating systems. Ensure that your phone and the wireless HDMI adapter are compatible and follow the manufacturer’s instructions for optimal functionality.
With a wireless HDMI adapter, you can enjoy the flexibility and convenience of projecting your phone’s screen wirelessly, making it ideal for presentations, movie nights, or sharing content with a larger audience.
Option 3: Using an Android TV Stick
If you have an Android phone and a projector with an HDMI input, using an Android TV stick can be a convenient and versatile method to connect your phone to the projector. An Android TV stick essentially turns your projector into a smart projector, allowing you to access a range of streaming apps and content. Here’s how you can use an Android TV stick to connect your phone to a projector:
- Purchase an Android TV stick: Look for an Android TV stick that supports HDMI output. There are several options available in the market, such as Amazon Fire TV Stick, Google Chromecast with Google TV, or other Android TV boxes.
- Connect the Android TV stick to the projector: Plug the Android TV stick into the HDMI input port on your projector. Make sure to connect the power cable to the Android TV stick as well, either through a USB port on the projector or a power adapter and power outlet.
- Set up the Android TV stick: Follow the manufacturer’s instructions to set up the Android TV stick. This typically involves connecting it to your Wi-Fi network and signing in with your Google account.
- Enable screen mirroring on your Android phone: On your Android phone, go to the settings and look for the screen mirroring or casting feature. Enable it and search for available devices. Select the Android TV stick from the list of devices to establish a connection.
- Enjoy your phone’s content on the big screen: Once connected, your phone’s screen will be mirrored on the projector through the Android TV stick. You can now enjoy streaming apps, videos, or other content from your phone on the larger projection.
Using an Android TV stick provides the advantage of transforming your projector into a smart device, giving you access to various streaming services and apps. It adds versatility to your projection setup, whether you want to stream movies, play games, or browse the web.
Keep in mind that the specific features and functionality of Android TV sticks may vary based on the brand and model you choose. It’s advisable to refer to the manufacturer’s instructions for a seamless and optimal experience.
With an Android TV stick, you can take advantage of the power and convenience of your Android phone while enjoying the immersive experience of projecting your content on a larger screen.
How to Adjust the Display Settings on Your Phone
Once you have successfully connected your phone to a projector, it’s important to adjust the display settings on your phone to ensure the best possible viewing experience. Here are some key display settings you can adjust:
- Screen Timeout: By default, your phone may have a screen timeout setting that automatically turns off the display after a certain period of inactivity. To prevent interruptions during presentations or movie sessions, navigate to the display settings on your phone and adjust the screen timeout to a longer duration or set it to “never.” This ensures that the screen remains active for the entire time you are using the projector.
- Brightness: Adjusting the brightness level is crucial to achieving optimal visibility on the projected screen. Depending on the lighting conditions in the room, you may need to increase or decrease the brightness. You can typically find the brightness settings within the display or display & brightness settings on your phone. Experiment with different brightness levels until you find a balance that works well for your specific environment.
- Aspect Ratio: The aspect ratio of your phone’s display may not always match the aspect ratio of the projector. This can result in distorted or cropped images. To avoid this issue, check the display settings on your phone and select the appropriate aspect ratio that matches the projector’s aspect ratio. Common aspect ratios include 16:9, 4:3, and 1:1. Adjusting the aspect ratio ensures that the projected content appears correctly without any stretching or distortion.
- Orientation Lock: If you want to present or watch a video in landscape mode, it’s important to lock the screen orientation on your phone. This prevents the screen from rotating when you move the phone. On most phones, you can find the orientation lock or screen rotation settings in the quick settings panel or the display settings. Enable the orientation lock to ensure a consistent display orientation while projecting.
It’s worth noting that the specific steps to adjust display settings may vary slightly depending on your phone’s manufacturer and operating system. Refer to your phone’s user manual or online support resources for detailed instructions specific to your device.
By adjusting the display settings on your phone, you can enhance the quality of the projected content and ensure a seamless viewing experience. Take the time to optimize these settings based on your preferences and the requirements of the projection environment.
Tips for Using Your Phone as a Projector
Using your phone as a projector can enhance your visual experience and provide you with greater flexibility. To make the most out of this functionality, here are some helpful tips to keep in mind:
- Ensure Sufficient Battery Life: Before using your phone as a projector, make sure it has enough battery life to last for the duration of your presentation or movie session. Consider charging your phone beforehand or having a power source nearby in case you need to recharge.
- Optimize Lighting Conditions: The quality of the projected image can be greatly affected by lighting conditions. For optimal viewing, dim the lights in the room and position the projector away from direct light sources. This will help improve the clarity and visibility of the projection.
- Use a Projection Surface: Projecting your phone’s screen onto a smooth and white projection surface can significantly enhance the image quality. Consider using a white wall, projector screen, or a sheet specifically designed for projections to achieve the best results.
- Manage Device Heat: Extended use of your phone as a projector can generate heat, which may affect its performance. To avoid overheating issues, try to keep your phone in a cool and well-ventilated area. You can also reduce the risk of overheating by limiting resource-intensive apps or processes during projection.
- Practice Proper Projection Distance: To achieve the best image size and focus, ensure that your phone’s projection distance from the surface is within the recommended range specified in the projector’s user manual. Adjust the distance accordingly for optimal clarity and sharpness.
- Consider External Audio: While your phone’s built-in speakers may suffice for personal use, for larger audiences or better sound quality, consider connecting external speakers or a sound system to your phone or the projector. This will enhance the audio experience and deliver better sound projection.
By following these tips, you can optimize your phone’s projection capability and enjoy a seamless experience whether you’re giving a presentation, hosting a movie night, or sharing multimedia content with others.
Remember to refer to your phone’s user manual and the projector’s instructions for specific guidance on using your phone as a projector. Each phone model and projector may have unique features and compatibility requirements.
With proper preparation and attention to detail, your phone can become a powerful and portable projector that transforms your visual experience.
Troubleshooting Common Issues
While using your phone as a projector can be a convenient and enjoyable experience, you may encounter some occasional issues. Here are some troubleshooting tips for common problems you may encounter:
- No Signal or Display: If you’re not receiving a signal or the projected image appears blank, ensure that all connections are secure and properly plugged in. Double-check the HDMI cable or adapters for any damage. Restarting both your phone and the projector can also help resolve connectivity issues.
- Poor Image Quality: If the projected image is blurry or distorted, check the resolution settings on both your phone and the projector. Ensure that the resolution settings match and are appropriate for the content being projected. Adjust the focus on the projector to optimize image sharpness.
- Audio Issues: If you’re experiencing audio problems, first check the volume settings on both your phone and the projector. Ensure that the volume levels are not muted or set too low. If you’re using external speakers, verify that they are properly connected and powered on. Restarting your phone and the projector can also help resolve audio-related issues.
- Compatibility Problems: Sometimes, certain phones or projectors may not be fully compatible with each other, causing issues with connectivity or projection. Make sure to check the compatibility requirements and ensure that your phone and the projector support the same standards and technologies (such as MHL, Miracast, or AirPlay).
- App or Content Compatibility: Some apps or content may not be optimized for projection. If you encounter issues with specific apps or content, try accessing different apps or files to determine if the problem is isolated. Additionally, updating your apps and operating system to the latest versions can resolve compatibility issues.
- Overheating or Battery Drain: Long periods of continuous projection can cause your phone to heat up or drain its battery quickly. Make sure to give your phone regular breaks to cool down and conserve battery life. If overheating becomes a persistent issue, consider using a cooling pad or reducing the brightness and performance settings on your phone.
If the troubleshooting tips mentioned above do not resolve the issue, consult the user manuals of your phone and the projector for further assistance. Additionally, contacting the customer support of your phone or projector manufacturer can help you find specific solutions to any persistent issues.
By troubleshooting common problems effectively, you can ensure a seamless and enjoyable experience while utilizing your phone as a projector.
Conclusion
Using your phone as a projector can be a game-changer, providing you with a portable, versatile, and cost-effective way to enjoy a larger display for presentations, movies, and more. Whether you choose to connect your phone to a projector using an MHL cable, a wireless HDMI adapter, or an Android TV stick, the possibilities expand as you unlock the potential of your device.
Throughout this article, we explored the various methods to connect your phone to a projector and learned how to adjust display settings for optimal viewing. We also provided troubleshooting tips to address common issues that may arise during the projection process.
Remember to consider factors like portability, cost-effectiveness, and accessibility when choosing to use your phone as a projector. Each method offers its own advantages and it’s important to select the option that best suits your needs and the equipment you have at hand.
With proper setup, optimized display settings, and troubleshooting knowledge, you can fully utilize your phone’s projection capabilities to share presentations, enjoy movies, or engage in immersive gaming experiences.
So, why limit yourself to the small screen of your phone when you can unleash its potential as a projector? Embrace the convenience and versatility that using your phone as a projector offers, and enjoy the benefits of a bigger, more immersive display wherever you go.