Introduction
Welcome to the ultimate guide on how to connect your phone to a projector using an HDMI cable. Whether you want to display photos, videos, presentations, or even games on a larger screen, connecting your phone to a projector can be a game-changer.
Gone are the days of crowding around a small phone screen, struggling to share content with a group of people. With the help of a simple HDMI cable and some basic steps, you can easily connect your phone to a projector and enjoy a larger, more immersive viewing experience.
In this guide, we will walk you through the process step by step, ensuring that you have a successful connection and can start sharing your phone’s screen in no time. We will cover everything from checking the compatibility of your phone and projector, to purchasing the necessary adapters or cables, and configuring the settings on both devices.
Whether you have an Android or an iPhone, this guide is designed to help you connect your phone to any type of projector that supports HDMI input. So, without further ado, let’s dive into the world of phone-projection and get ready for a whole new level of entertainment, communication, and productivity.
Make sure you follow each step carefully and refer back to this guide if you encounter any issues along the way. By the end, you’ll be ready to connect your phone to a projector effortlessly and unleash the full potential of your device on the big screen.
Step 1: Check the phone and projector compatibility
Before you begin the process of connecting your phone to a projector, it’s crucial to ensure that your phone and the projector are compatible with each other. Compatibility depends on the type of phone you have and the input options available on the projector.
Firstly, check the HDMI capability of your phone. Most modern smartphones, both Android and iPhone, support HDMI output. However, it’s important to verify whether your specific phone model has this feature. You can refer to the user manual or do a quick online search to determine if your phone has HDMI connectivity.
Next, examine the input options on the projector. The most common input option for projectors is HDMI, but some older models might have other input ports like VGA or DVI. Ensure that the projector you have or plan to use has an HDMI input port.
It’s worth mentioning that some projectors may also require additional adapters or cables to connect to a phone. For example, if your phone has a USB-C port and the projector only has an HDMI input, you will need a USB-C to HDMI adapter. Make sure to check if any extra accessories are needed and have them ready before proceeding.
If your phone and projector are both equipped with HDMI compatibility, you’re good to go. However, if not, you may need to explore other options such as wireless screen mirroring or using alternative connection methods like VGA or USB connections.
By confirming the compatibility of your phone and projector, you’ll be able to move on to the next step with confidence and avoid any unnecessary frustrations during the setup process.
Step 2: Purchase the necessary adapter or cable
Once you’ve confirmed that your phone and projector are compatible, the next step is to purchase the necessary adapter or cable to connect them. The type of adapter or cable you need will depend on the ports available on your phone and the input options on the projector.
If your phone has a standard HDMI port, you have two options:
- Purchase a standard HDMI cable: These cables have an HDMI connector on both ends and allow for a direct connection between your phone and the projector. Make sure to check the length of the cable, as you may need a longer cable if the projector is far from where you plan to position your phone. HDMI cables are widely available in electronics stores or online marketplaces.
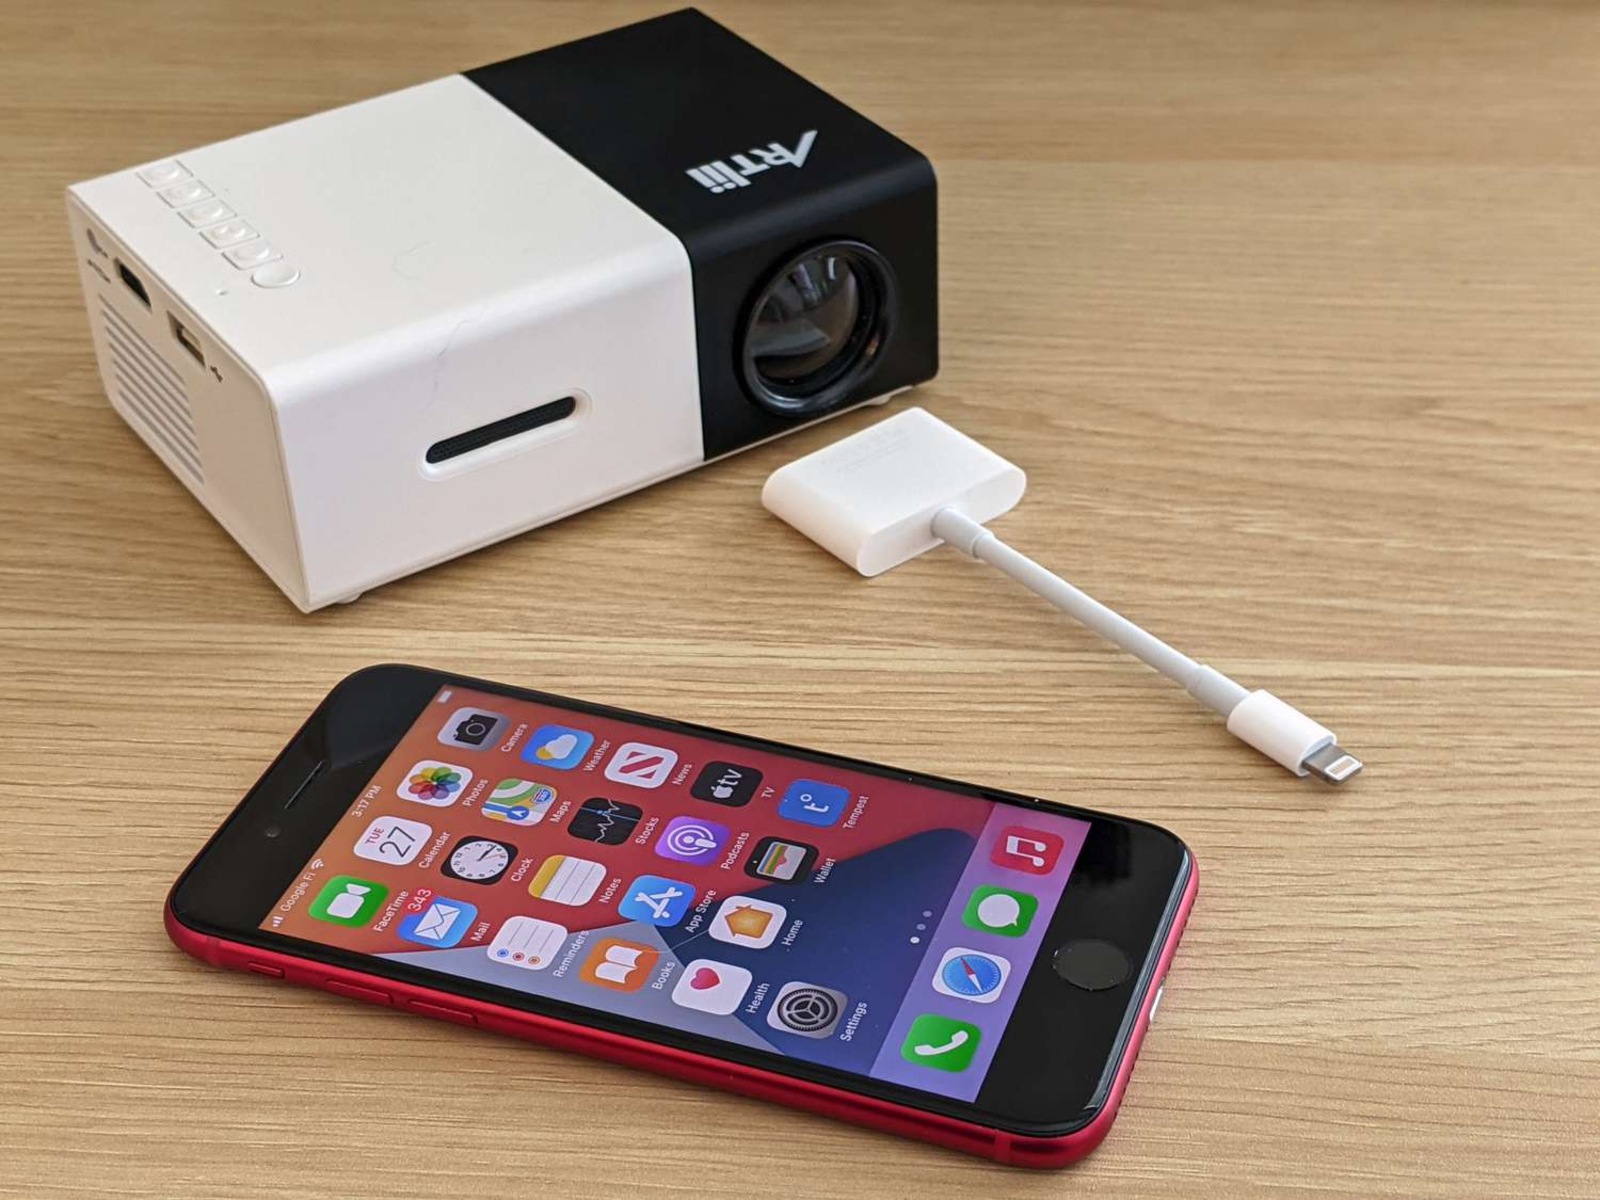
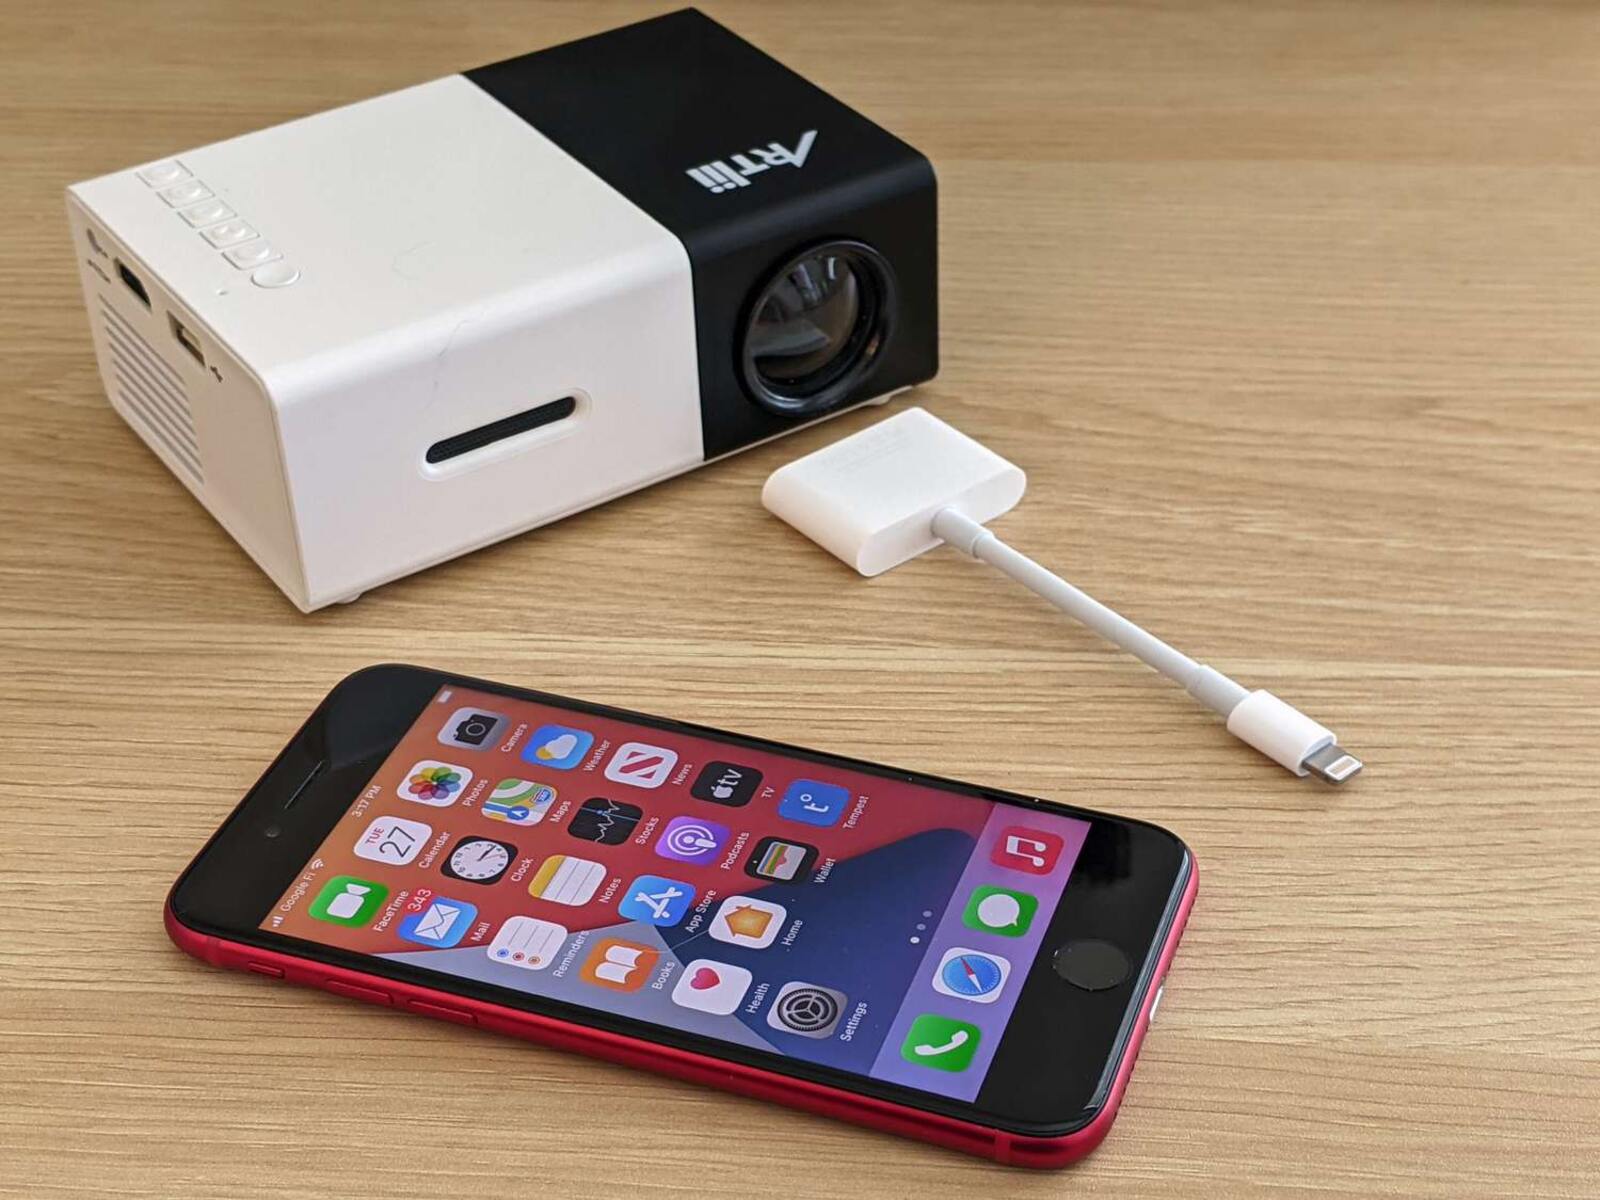
- Use an HDMI-to-[phone port] adapter: Some phones, especially newer models, may not have a standard HDMI port. In such cases, you will need an adapter that converts your phone’s specific port (such as USB-C, Micro-USB, or Lightning) to an HDMI connection. These adapters are usually sold by phone manufacturers or third-party retailers.
If you opt for an adapter, ensure that it supports both audio and video transmission to deliver a seamless experience. Some adapters may require additional power, so check if there’s a need to connect them to an external power source.
It’s essential to purchase a trusted and reliable adapter or cable to ensure high-quality audio and video transmission. Look for products that have positive customer reviews and are known for their durability and performance.
Before making your purchase, double-check the specifications of both your phone and the projector to ensure that the adapter or cable you choose is compatible with both devices. Take note of any specific connector types or additional features required to make an informed decision.
By purchasing the right adapter or cable, you’ll have the necessary equipment to establish a physical connection between your phone and the projector, setting the stage for the next steps in the process.
Step 3: Connect the HDMI cable to your phone
Now that you have the necessary adapter or cable, it’s time to connect the HDMI cable to your phone. The process may vary slightly depending on the type of connector your phone has.
If your phone has a standard HDMI port:
- Locate the HDMI port on your phone.
- Take one end of the HDMI cable and insert it into the HDMI port on your phone.
- Ensure that the cable is securely plugged into the port, making sure there are no loose connections.
If your phone requires an adapter:
- Connect the HDMI end of the adapter to the HDMI cable you purchased.
- Take the other end of the adapter that matches your phone’s port (e.g., USB-C, Micro-USB, or Lightning) and insert it into the corresponding port on your phone.
- Ensure that the adapter is securely connected to both the HDMI cable and your phone. Check for any wiggling or loose connections.
Once the HDMI cable and adapter (if necessary) are connected to your phone, you’ve completed the first part of the setup process. The next step is to connect the other end of the HDMI cable to the projector, which we’ll cover in the following section.
Note: Some phones may require additional steps to enable HDMI output. Check your phone’s settings and make sure the HDMI output is enabled. You may need to navigate to the display settings or consult your phone’s user manual for instructions specific to your device.
By connecting the HDMI cable to your phone, you’re now ready to establish a physical connection between your phone and the projector, bringing you one step closer to enjoying your phone’s content on a larger screen.
Step 4: Connect the other end of the HDMI cable to the projector
With the HDMI cable connected to your phone, it’s time to establish the connection to the projector. Here’s how:
- Locate the HDMI input port on the projector.
- Take the other end of the HDMI cable, which is still connected to your phone or adapter, and insert it into the HDMI input port on the projector.
- Ensure that the cable is securely plugged into the port, making sure there are no loose connections.
Depending on the projector model, the HDMI input port may be located on the back, side, or front panel. Refer to the projector’s user manual if you need assistance in locating the HDMI input.
Once the HDMI cable is connected to the projector, you have established the physical link between your phone and the projector. The next steps involve configuring the settings on both your phone and the projector to ensure proper communication and display.
In some cases, you might need to switch the projector’s input source to HDMI. Most projectors have an input select button or menu option that allows you to choose the HDMI input as the source. Refer to the projector’s user manual for specific instructions on selecting the input source.
At this point, the connection between your phone and the projector is almost complete. The final steps involve adjusting the settings on your phone and the projector to optimize the display and ensure a seamless experience, which we’ll explore in the following sections.
By connecting the other end of the HDMI cable to the projector, you’ve established the crucial link that will allow you to project the content from your phone onto the larger screen, opening up a whole new world of possibilities.
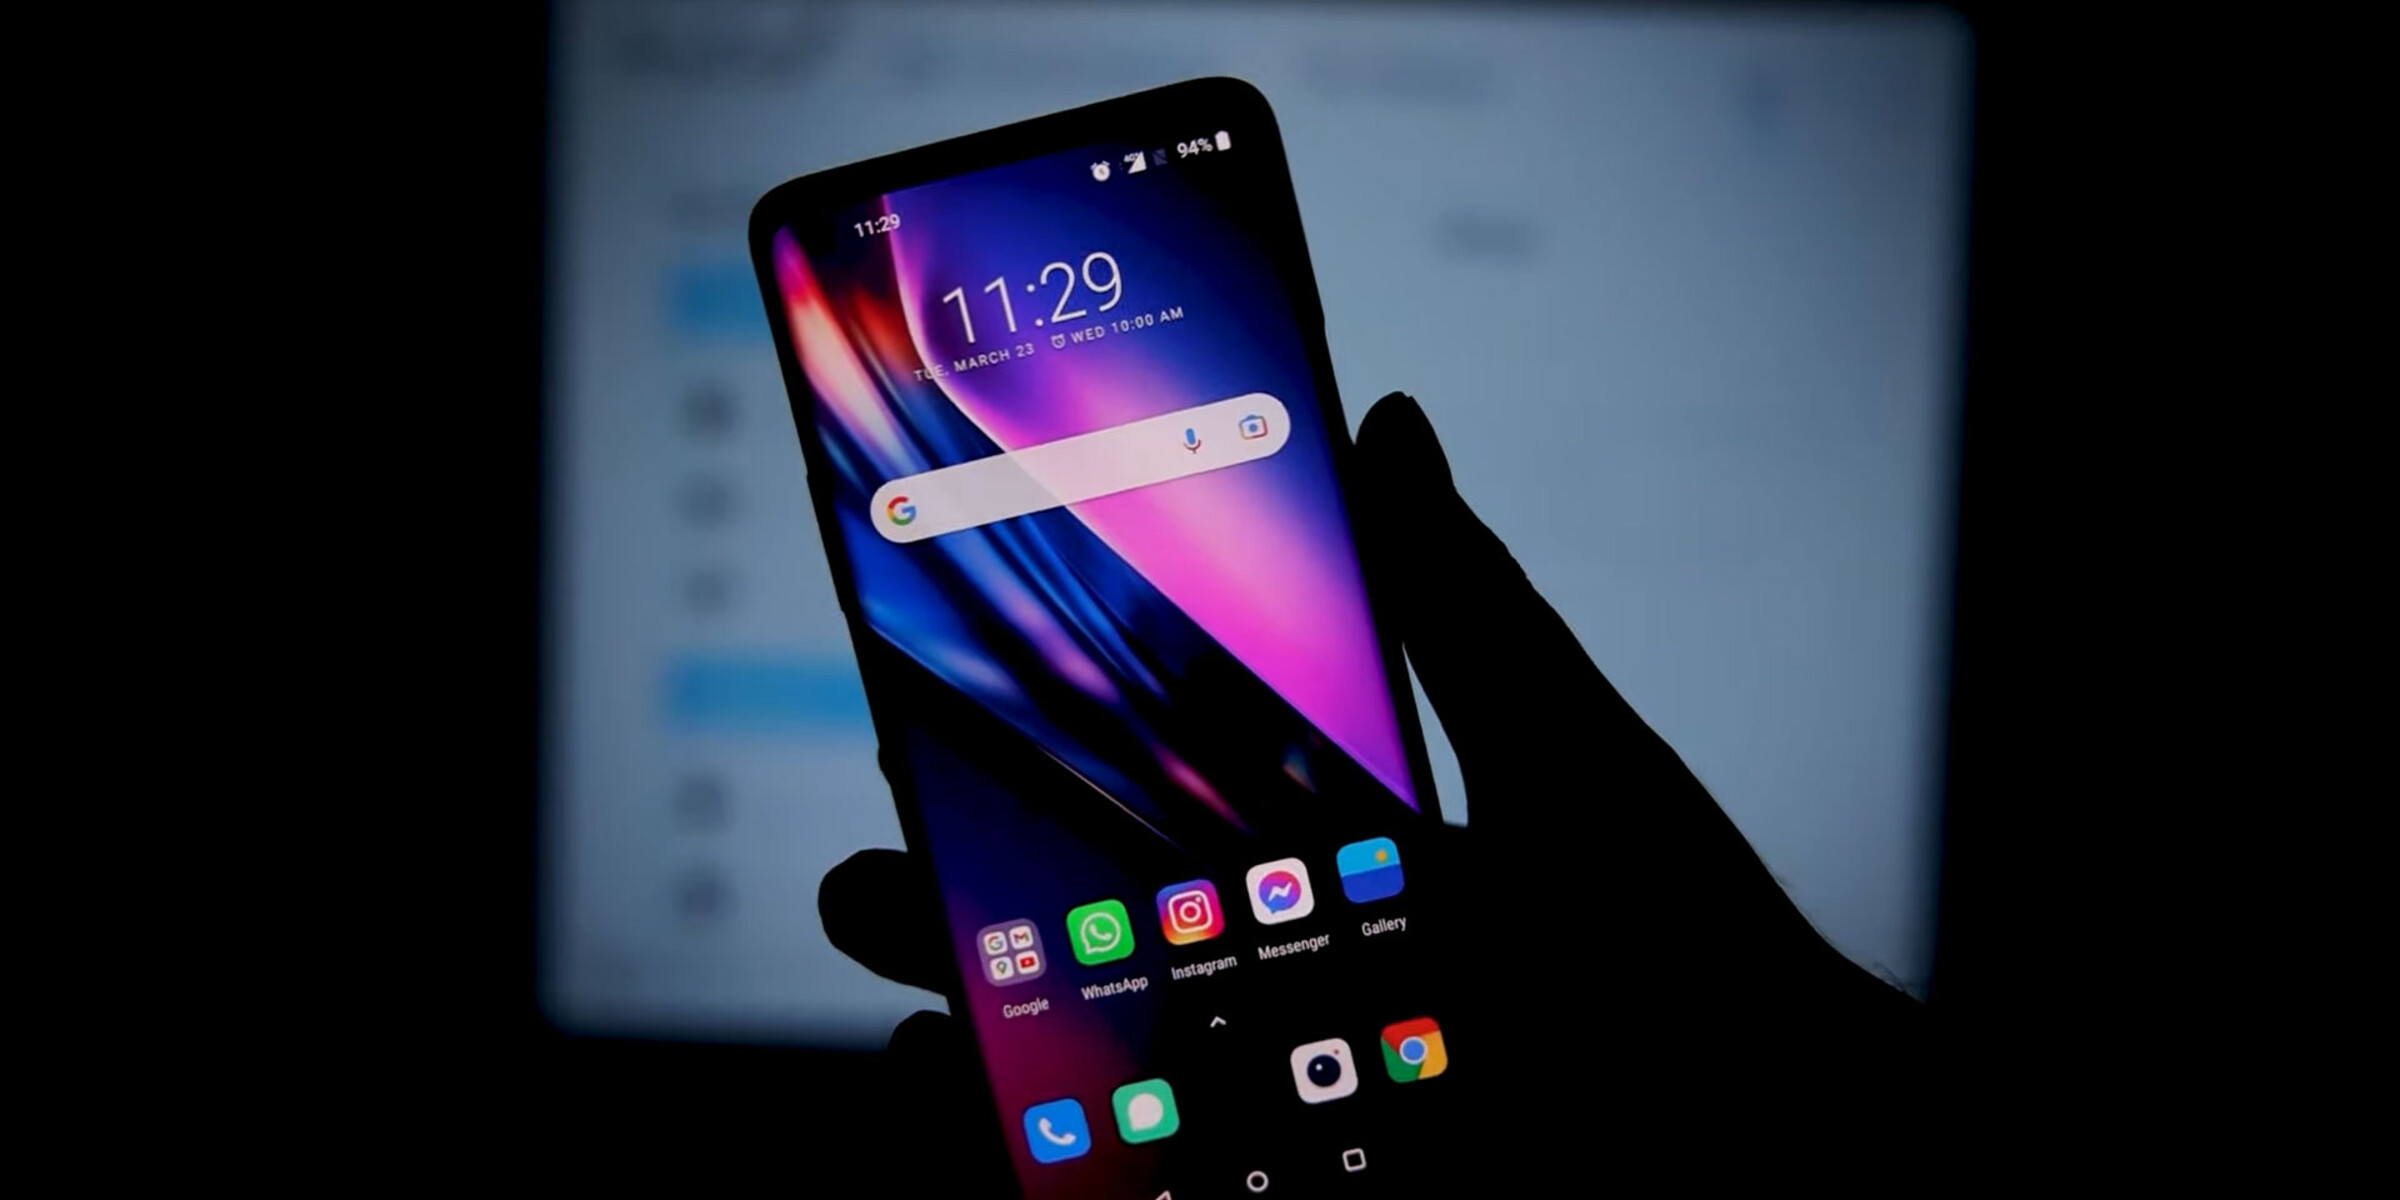
Step 5: Configure your phone settings
After connecting the HDMI cable between your phone and the projector, it’s time to configure the settings on your phone to ensure a smooth and optimal display on the projected screen. Here’s what you need to do:
- Unlock your phone and navigate to the settings menu.
- Look for the display or screen mirroring settings. The exact location of these settings may vary depending on your phone’s make and model.
- Select the display or screen mirroring option. You may see options like “HDMI output,” “Mirror screen,” “Screen sharing,” or a similar term.
- Ensure that the screen mirroring option is enabled. In some cases, you may also need to select the “HDMI” or “Projector” option specifically.
- Adjust any additional display settings as desired, such as screen orientation, resolution, or aspect ratio.
It’s worth noting that the available settings and options may differ between Android and iPhone devices. Android devices generally offer more customization options, including the ability to extend the display or select different display modes. On the other hand, iPhones may have simplified settings related to screen mirroring.
If you encounter any issues or difficulties in finding the screen mirroring or HDMI output settings on your phone, consult your phone’s user manual or do a quick online search for specific instructions related to your device.
Once you have configured the necessary settings on your phone, you’re ready to move on to the next step of adjusting the settings on the projector to ensure proper projection and an optimal viewing experience.
By configuring your phone settings, you have taken an essential step in establishing a seamless connection between your phone and the projector, enabling you to display your phone’s content on a larger screen with ease.
Step 6: Adjust the projector settings
Once you have configured the settings on your phone, it’s time to adjust the settings on the projector to ensure optimal projection and a clear display of your phone’s content. Here’s what you need to do:
- Turn on the projector and wait for it to boot up completely.
- Navigate through the projector’s menu or use the remote control to access the settings.
- Look for the “Input” or “Source” option in the projector’s settings menu.
- Select the HDMI input as the source or input option. This will ensure that the projector recognizes the connection from your phone.
- Adjust any display settings as needed, such as aspect ratio, brightness, contrast, or color settings, to optimize the image quality.
- Explore additional settings specific to your projector model, such as display mode, keystone correction, or image magnification, to fine-tune the projection according to your preferences.
It’s important to note that the available settings and options may vary depending on the projector model. Refer to the projector’s user manual for detailed instructions on accessing and adjusting the settings specific to your device.
During this step, you may also want to consider the display size and projection distance. Adjust the projector’s position or zoom settings to achieve the desired screen size and ensure that the projection is not distorted or out of focus.
Take a moment to test the projection and make any necessary adjustments until you are satisfied with the image quality and clarity. You may need to toggle back and forth between your phone and the projector settings to achieve the desired outcome.
By adjusting the settings on the projector, you are ensuring that the projected image accurately represents your phone’s content and provides an enjoyable viewing experience for both you and your audience.
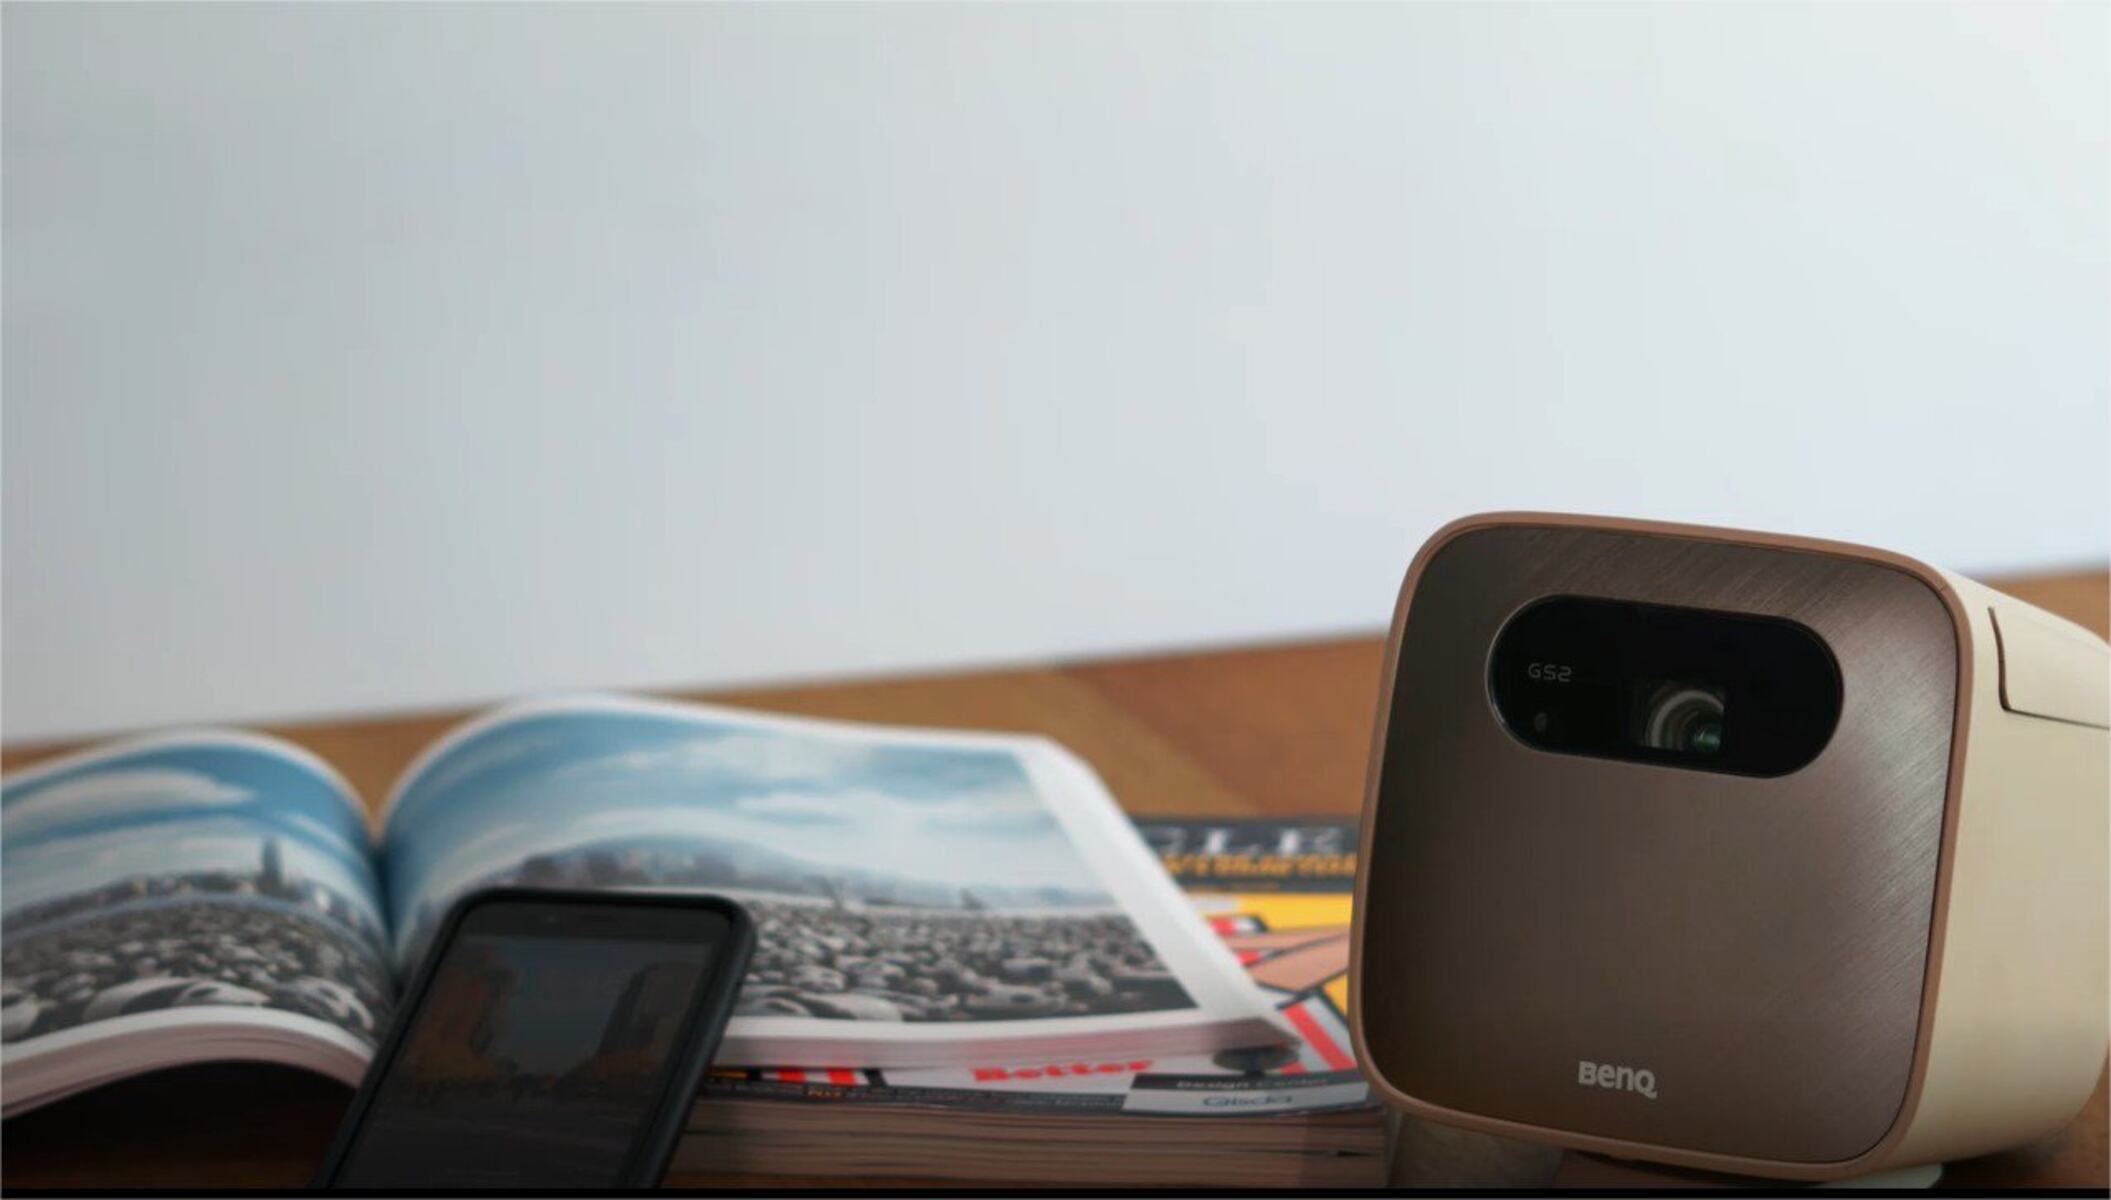
Step 7: Start projecting your phone screen to the projector
After all the necessary preparations and adjustments, it’s time to start projecting your phone screen onto the connected projector. Follow these steps to get your content up and running:
- Ensure that both your phone and the projector are powered on and in close proximity to each other.
- Make sure that you have selected the correct HDMI input on the projector, as discussed in earlier steps.
- On your phone, navigate to the app or content that you wish to display on the projector screen. It could be a video, a photo slideshow, a presentation, or any other content.
- Once you have the content ready, tap on the screen mirroring or cast icon on your phone. This icon may vary depending on your phone model and operating system.
- A list of available devices should appear on your phone’s screen. Select the name of the projector or the HDMI input you connected your phone to.
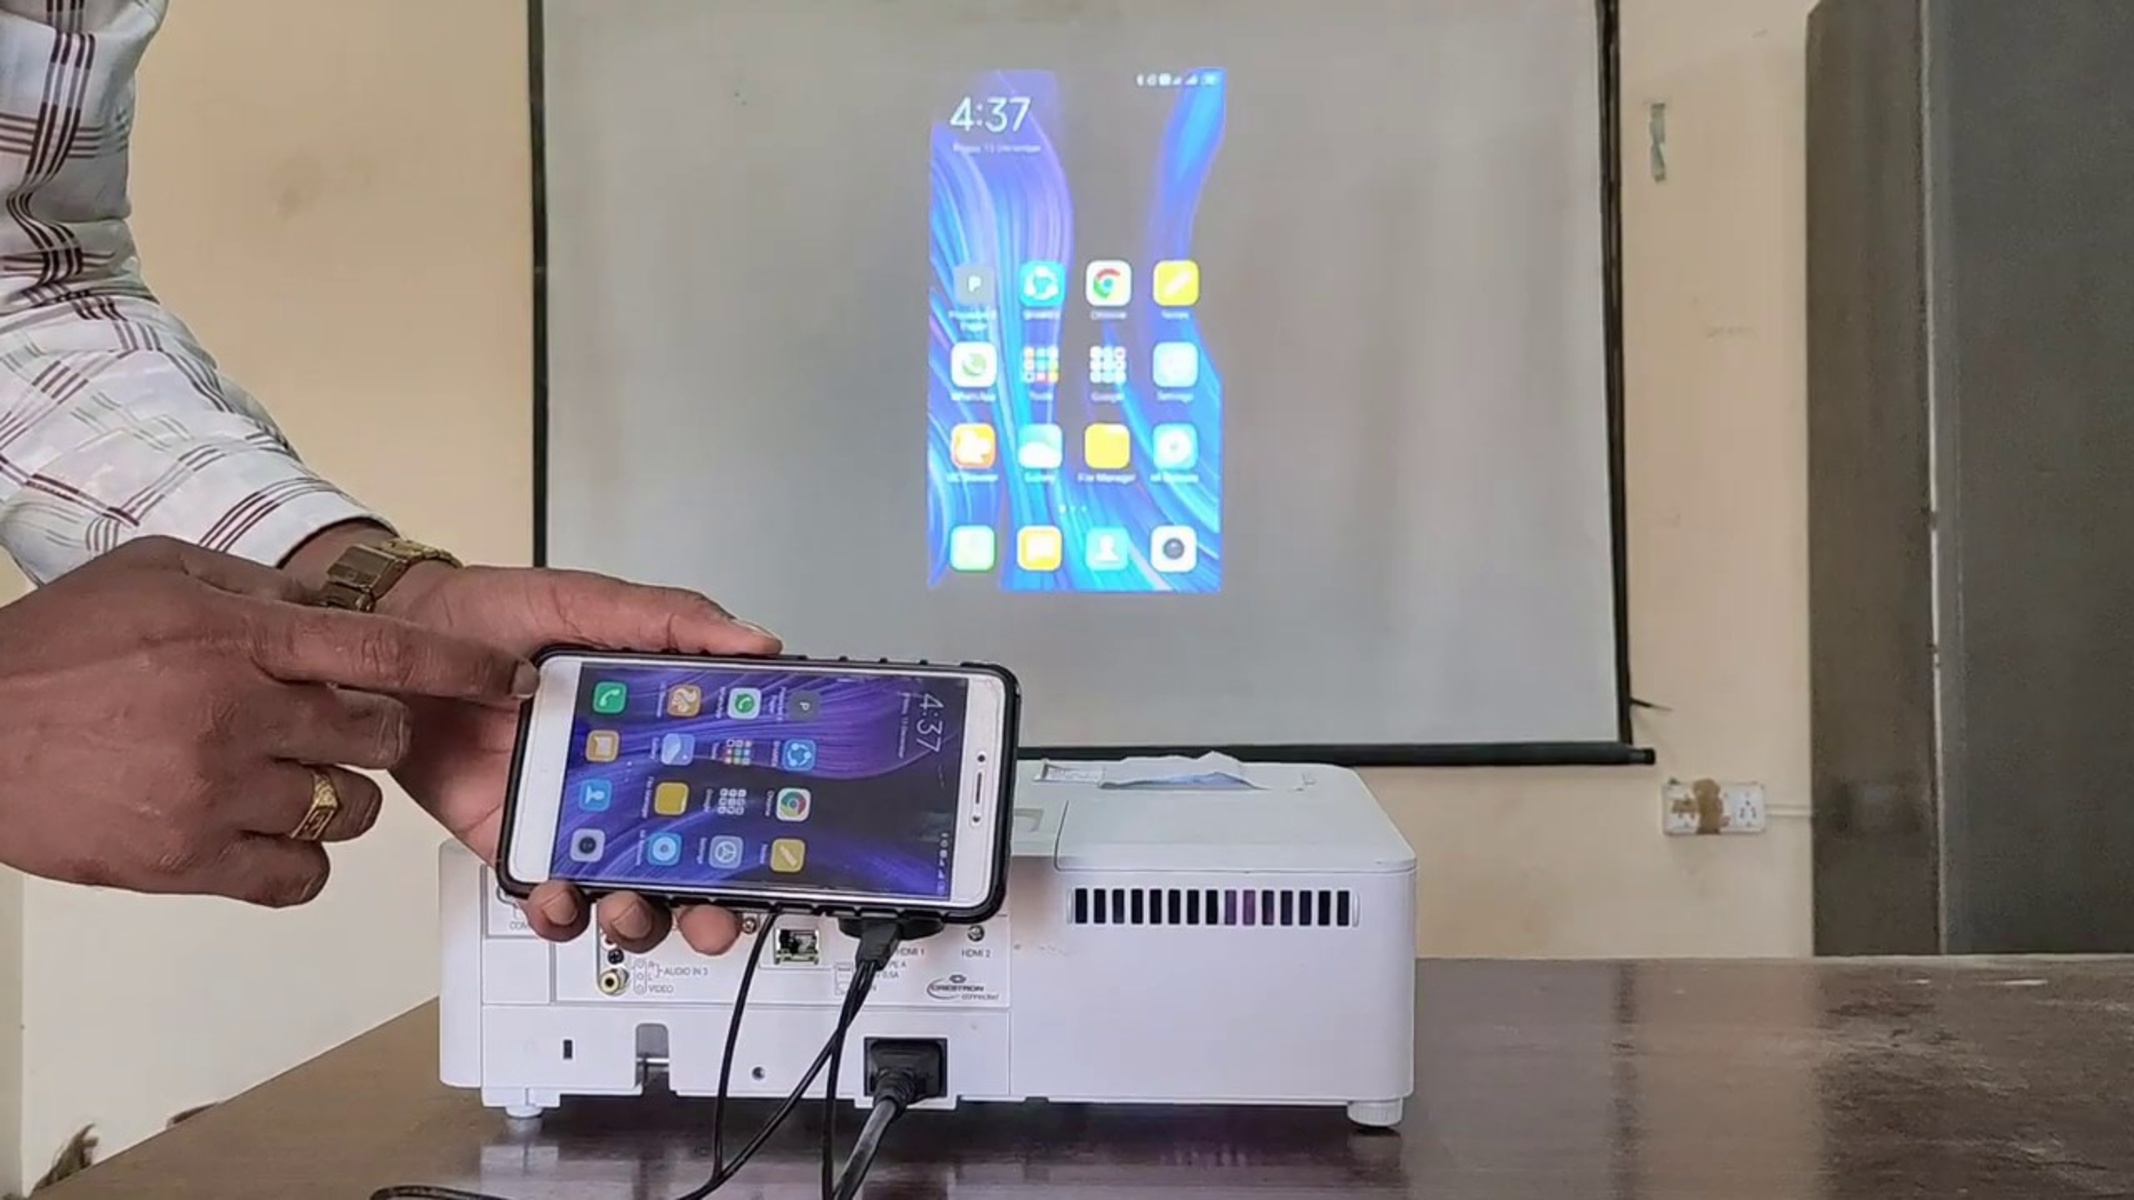
- Wait for a few moments as the connection is established. Your phone’s screen should now be projected onto the larger projector screen.
- Begin playing or interacting with the content on your phone, and it should be mirrored on the projector screen in real time.
Remember to control the content playback, volume, and other interaction directly from your phone as you normally would. The projector acts as an extension of your phone’s display, allowing you to enjoy a larger and more immersive viewing experience.
Throughout the projection, you may find it useful to adjust the volume, screen brightness, or other settings as needed to ensure the best viewing experience. Use the respective controls on your phone or the projector to make these adjustments.
When you are done with the projection, simply disconnect your phone from the projector by turning off the screen mirroring feature or unplugging the HDMI cable. This will revert the display back to your phone’s screen.
By following these steps, you can seamlessly project your phone screen onto a larger display, allowing you to share and enjoy content with a larger audience or enhance your own viewing experience.
Conclusion
Connecting your phone to a projector using an HDMI cable opens up a world of possibilities for sharing and enjoying content on a larger screen. By following the steps outlined in this guide, you can easily establish a physical and digital connection between your phone and the projector, allowing you to project your phone’s screen and enjoy a more immersive experience.
Remember to check the compatibility of your phone and the projector, ensuring that both devices support HDMI connectivity. Purchase the necessary adapters or cables if needed to establish a secure connection.
Connect the HDMI cable to your phone and the other end to the projector, making sure that the connections are secure. Configure the settings on your phone to enable screen mirroring or HDMI output, and adjust the settings on the projector to optimize the display and image quality.
Finally, start projecting your phone’s screen onto the larger projector display by selecting the appropriate HDMI input and initiating the screen mirroring on your phone. Enjoy the enhanced viewing experience and interact with the content directly from your phone.
When you’re finished, disconnect your phone from the projector and resume using it as usual.
With these easy steps, you can connect your phone to a projector using an HDMI cable and elevate your entertainment, presentations, and productivity to a whole new level.
Remember to familiarize yourself with the specific features and settings of your phone and projector, as they may vary slightly depending on the make and model. Consult the user manuals or online resources for detailed instructions if needed.
Now, gather your content, grab your HDMI cable, and get ready to transform your phone into a remarkable projection device for a truly captivating experience.