Introduction
Welcome to the world of digital connectivity, where we can now easily connect our smartphones to projectors for a larger-than-life audiovisual experience. Whether you’re giving a presentation at work, watching a movie with friends, or showcasing your latest photos during a family gathering, connecting your Samsung phone to a projector opens up a whole new realm of possibilities.
In this guide, we will walk you through the step-by-step process of connecting your Samsung phone to a projector. We’ll discuss the necessary equipment, settings adjustments, and even troubleshooting tips to ensure a smooth and successful connection.
Before we dive into the details, it’s essential to note that the compatibility between your Samsung phone and the projector is crucial. Different phones have varying connection options, so it’s important to verify if your specific Samsung model supports the necessary connectivity features. Once you’ve confirmed compatibility, you can proceed with gathering the equipment and following the steps outlined in this guide.
So, without further ado, let’s get started on this exciting journey of connecting your Samsung phone to a projector and unlocking a whole new level of multimedia possibilities.
Step 1: Check Compatibility
Before attempting to connect your Samsung phone to a projector, it’s important to ensure that your device is compatible with the necessary connectivity options. Different Samsung phone models may offer different connection methods, so it’s essential to check if your specific model supports the required features. Here are a few common connectivity options you may encounter:
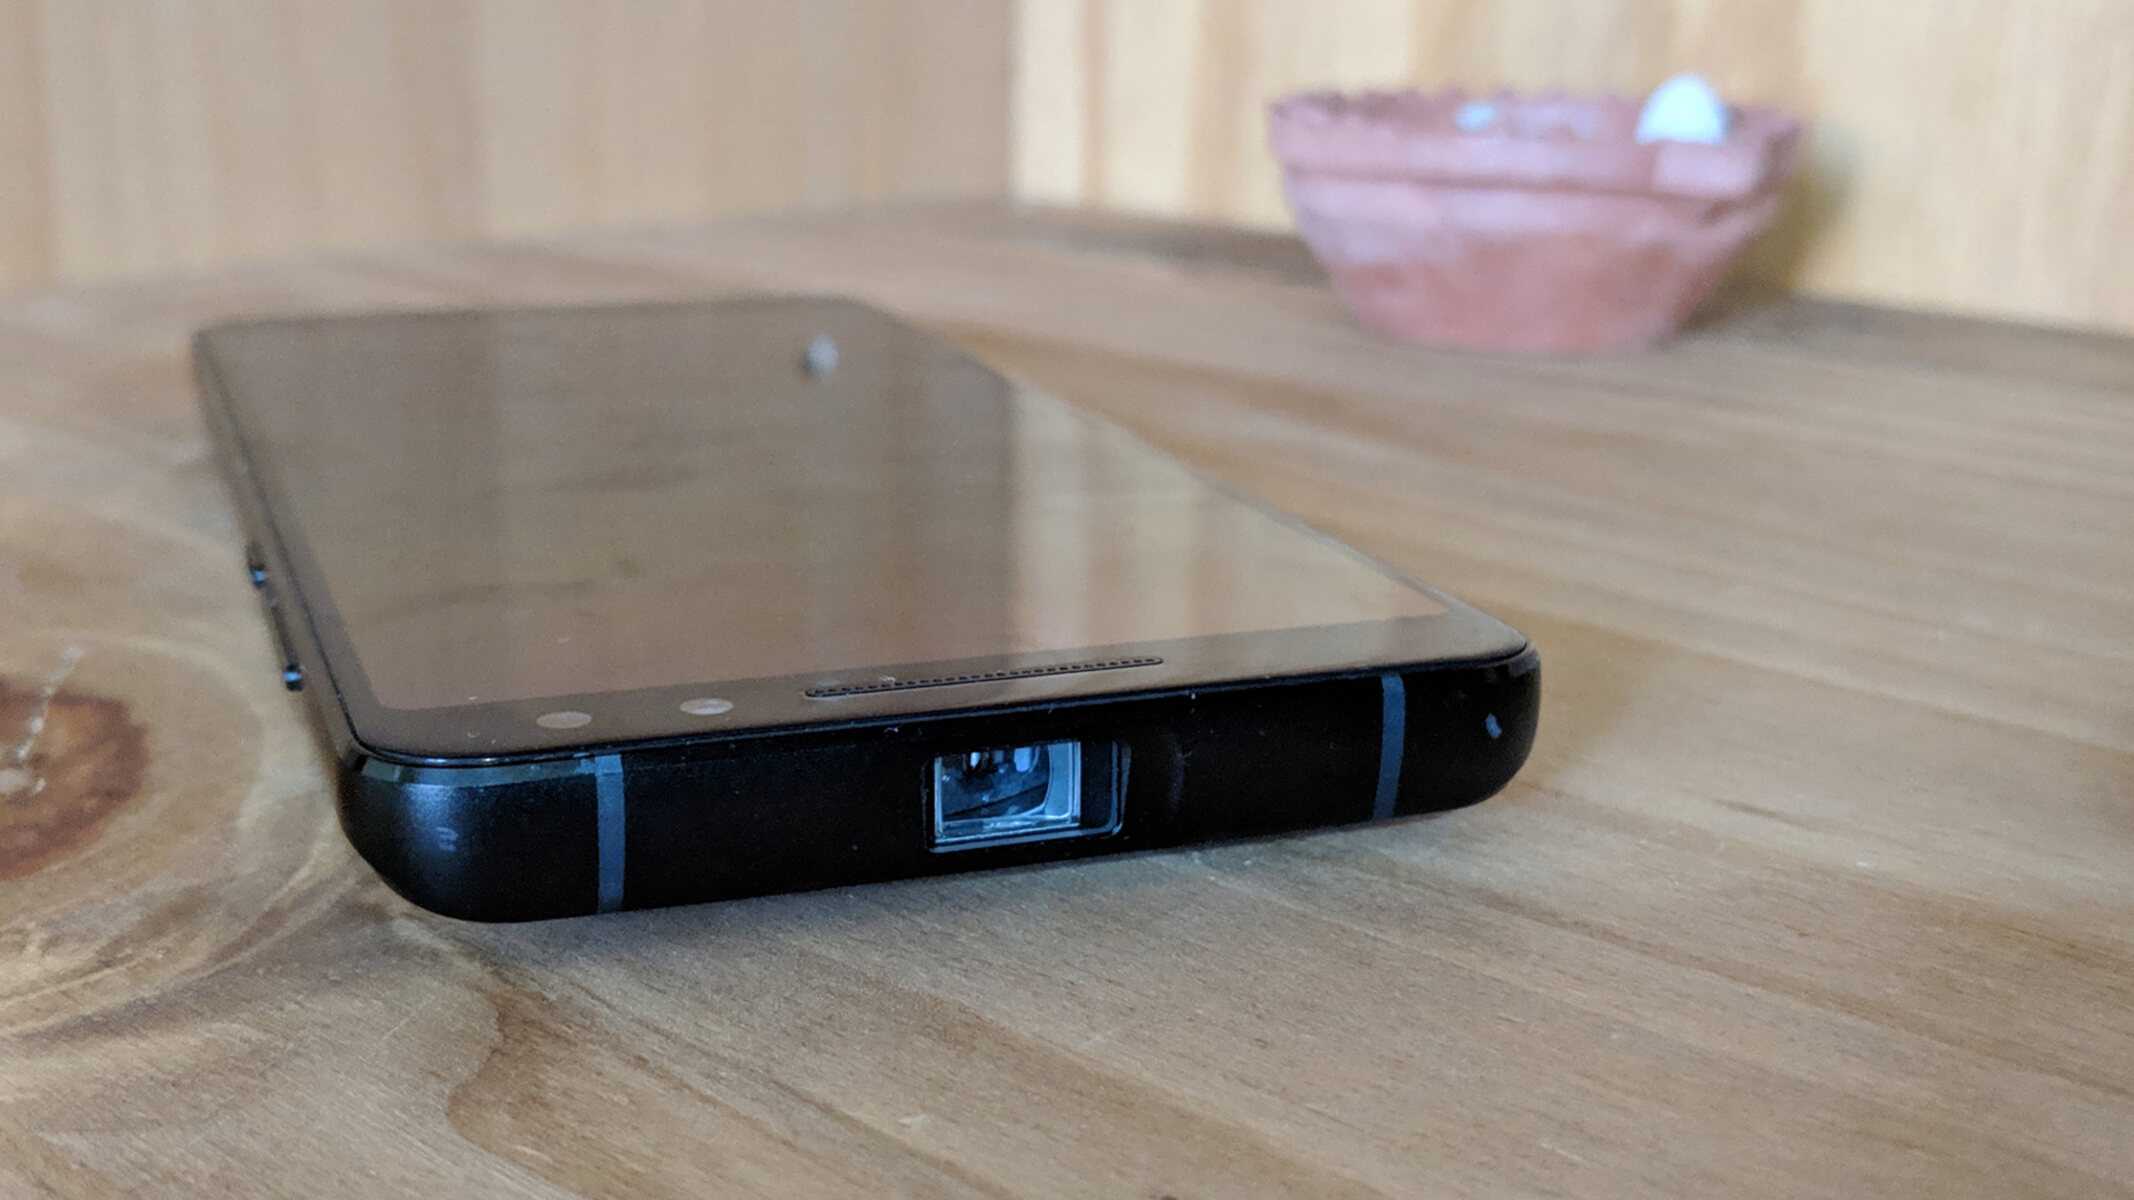
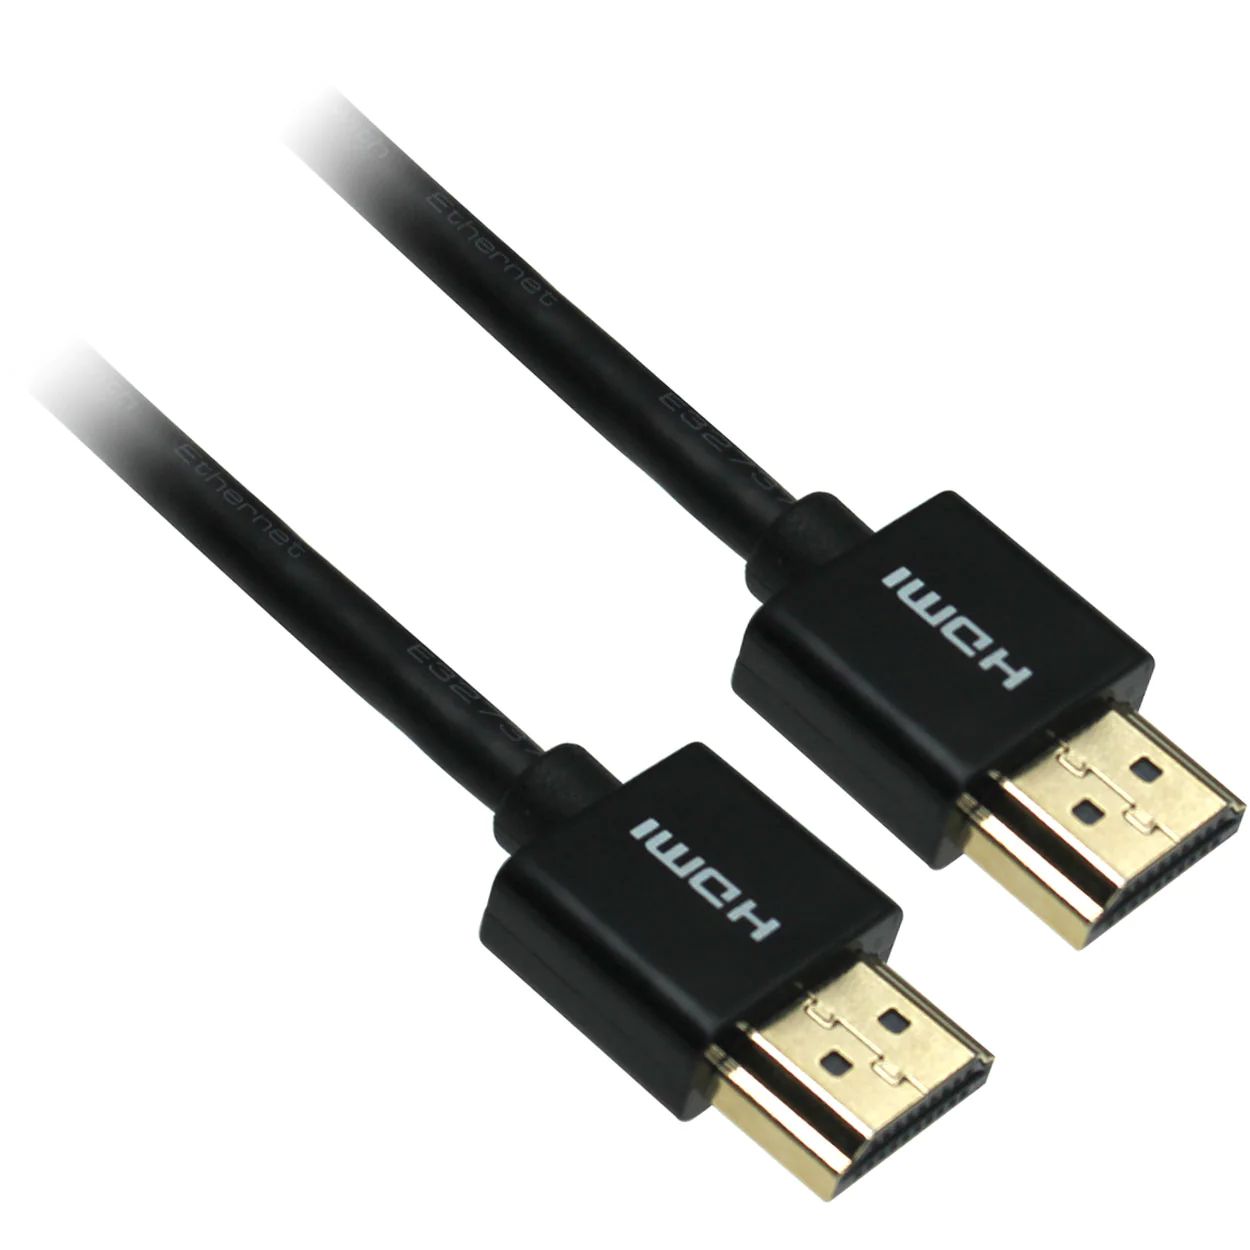
- HDMI: Some Samsung phones have HDMI ports, allowing you to connect directly to the projector using an HDMI cable. Check if your phone has an HDMI port by referring to the user manual or checking the specifications on the manufacturer’s website.
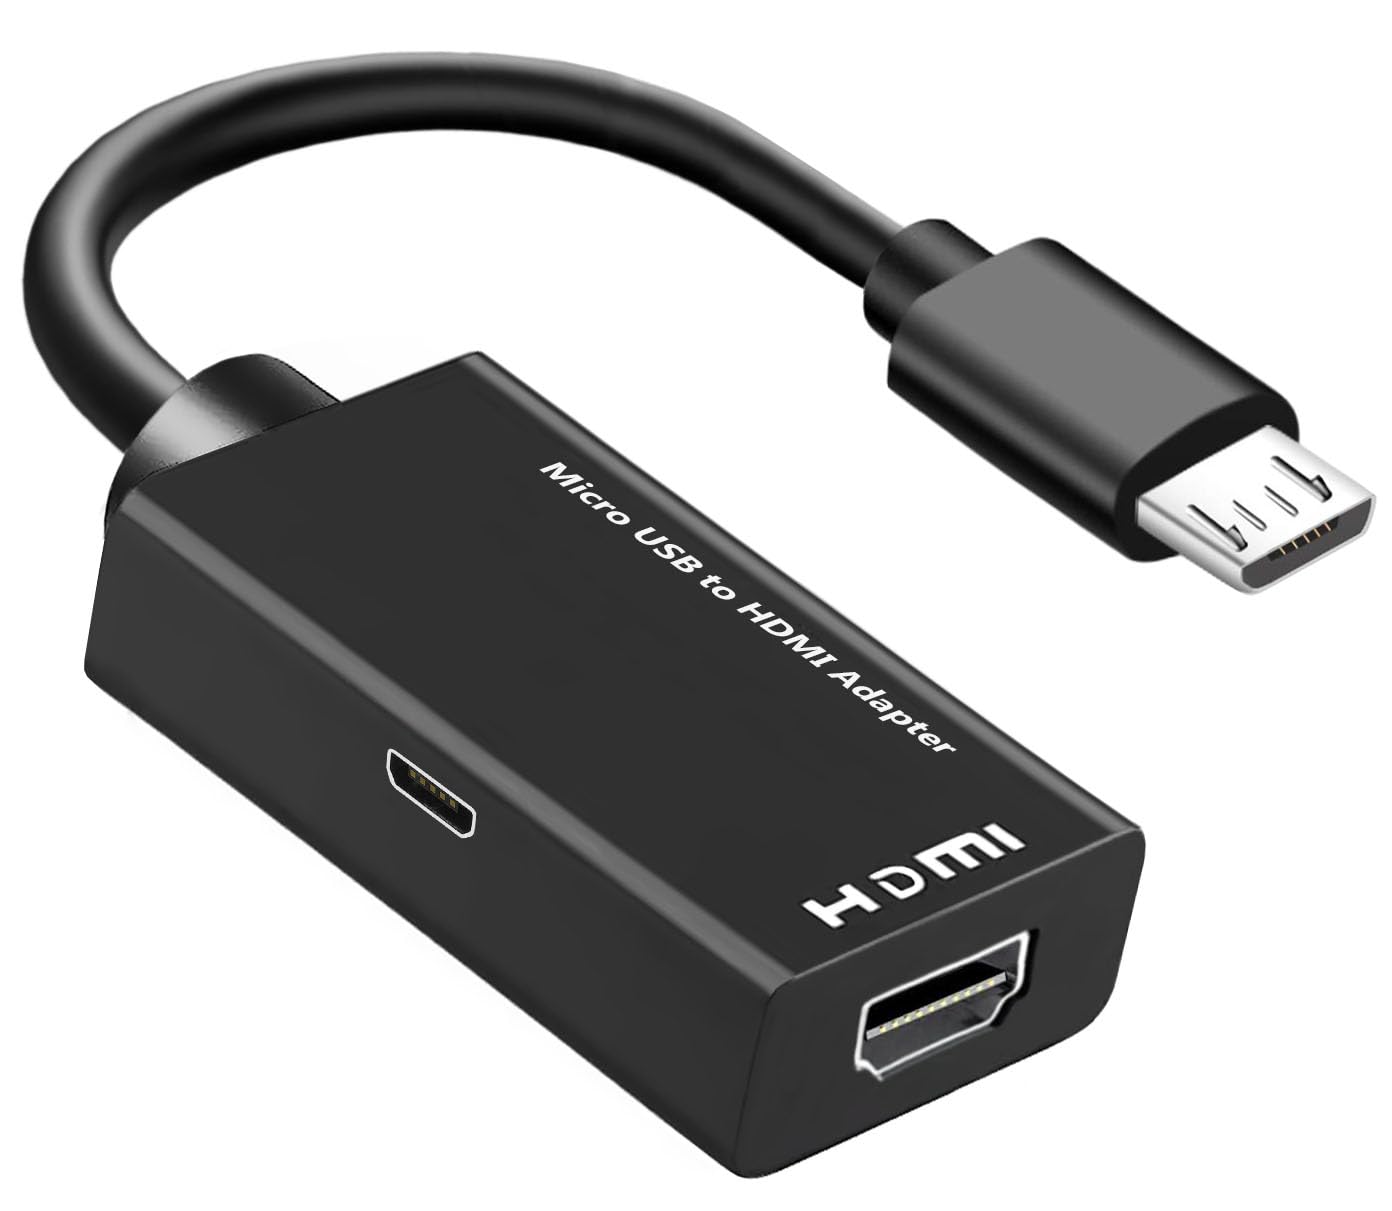
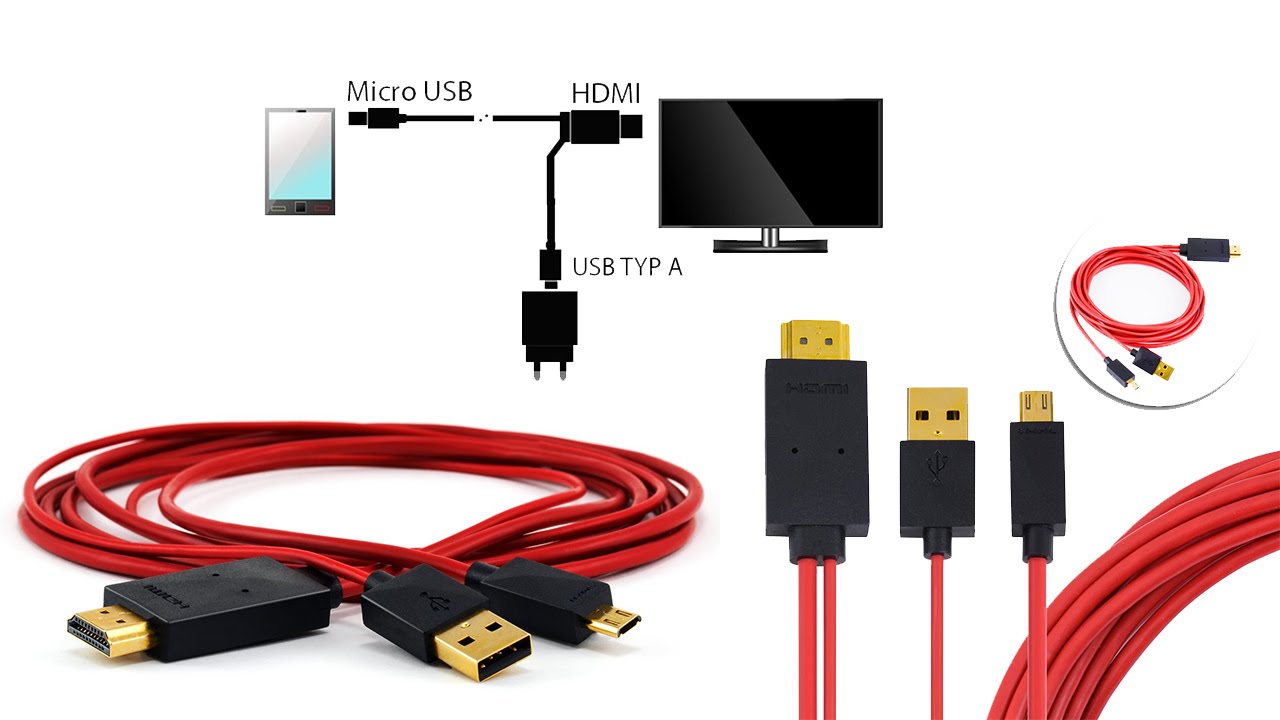
- MHL (Mobile High-Definition Link): MHL is a technology that enables you to connect your Samsung phone to a projector through the USB port. Again, not all Samsung phones support MHL, so verify if your device has this feature.
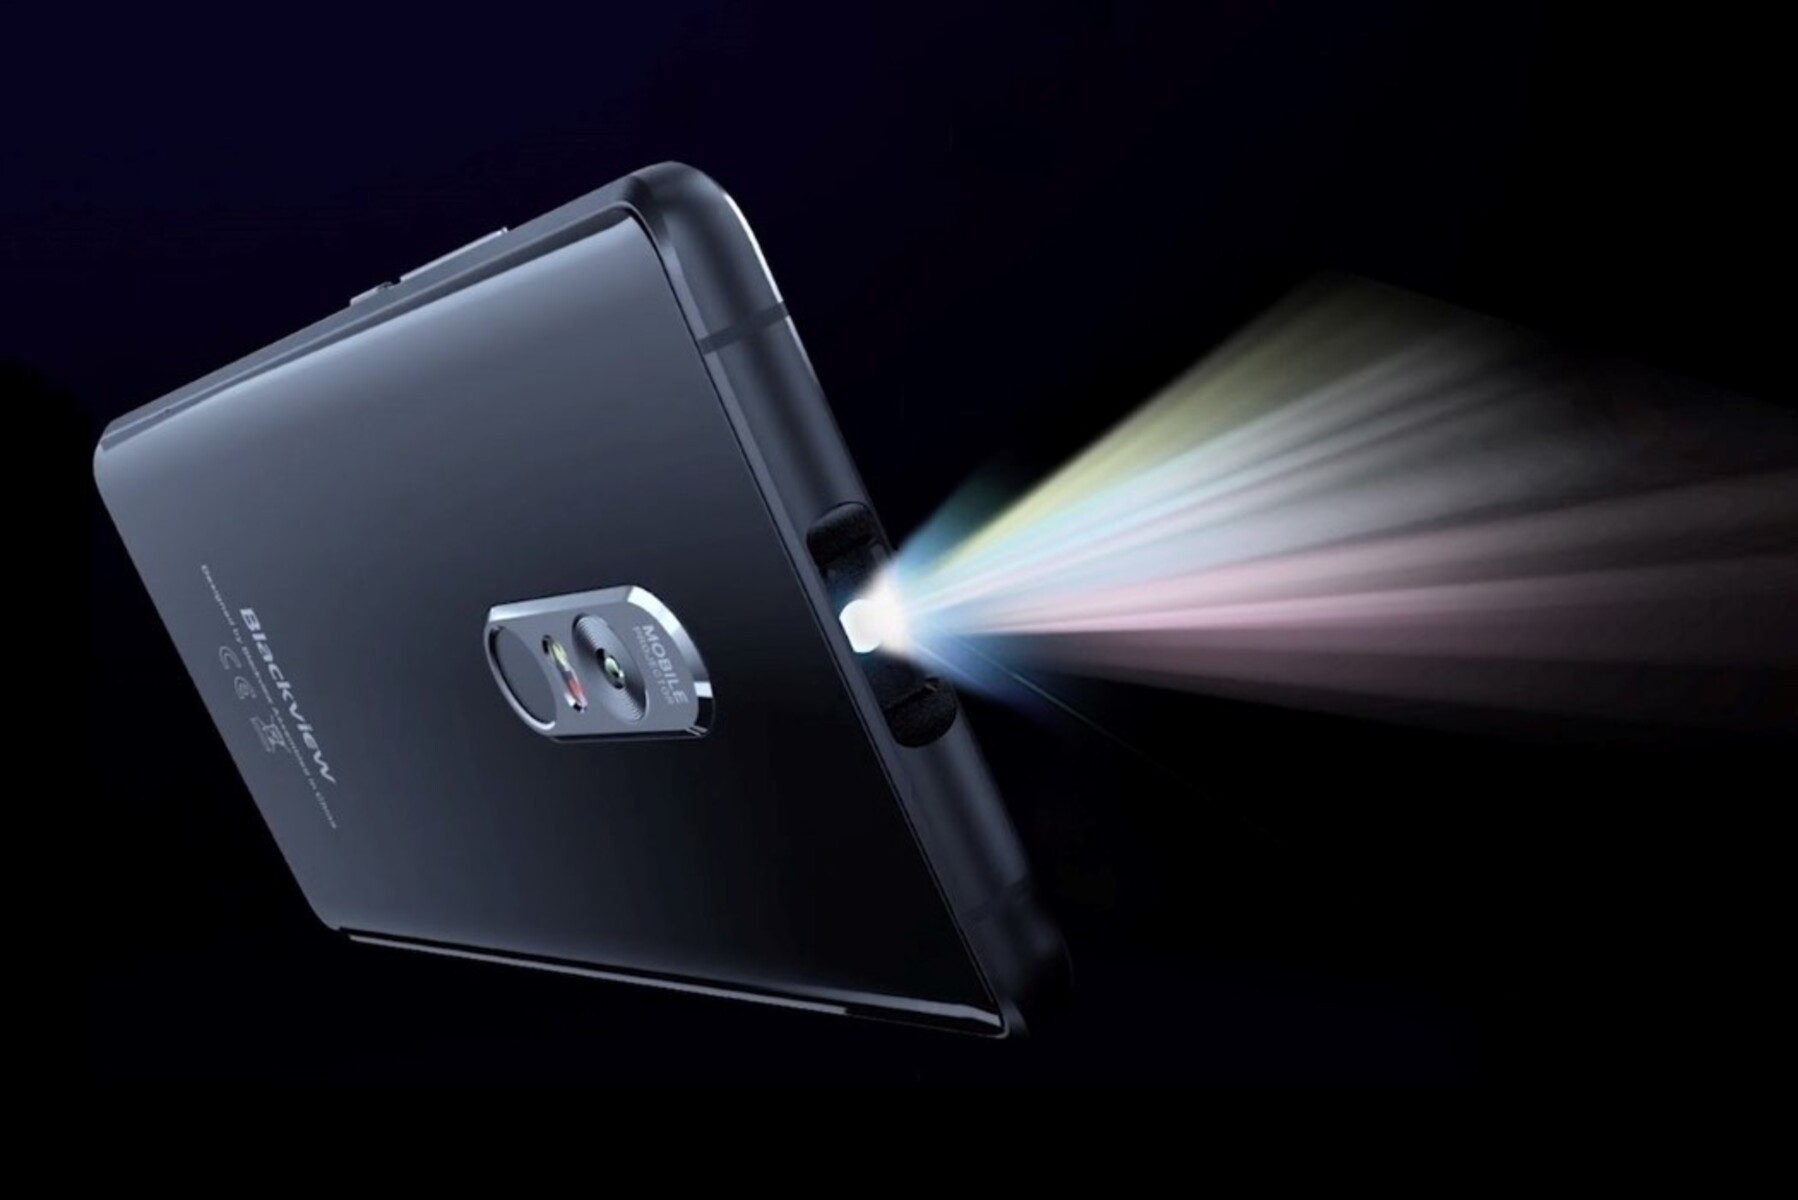
- Wireless Connectivity: Certain Samsung phone models offer wireless connectivity options such as Wi-Fi Direct or Miracast. These technologies allow you to connect your phone to a compatible wireless projector without the need for any additional cables.
Once you’ve determined the compatibility of your Samsung phone with the projector, you can move on to the next step. If your phone doesn’t have the necessary connectivity options, don’t worry. There are alternative methods available, such as using a third-party adapter or screen mirroring apps, which we will explore in later steps.
Now that you’ve verified the compatibility of your Samsung phone with the projector, you’re ready to proceed to the next step: gathering the necessary equipment.
Step 2: Gather Necessary Equipment
Before you can connect your Samsung phone to a projector, it’s important to ensure that you have all the necessary equipment ready. The specific equipment you’ll need may vary depending on the connectivity options available for your Samsung phone model. Here are some common equipment options to consider:
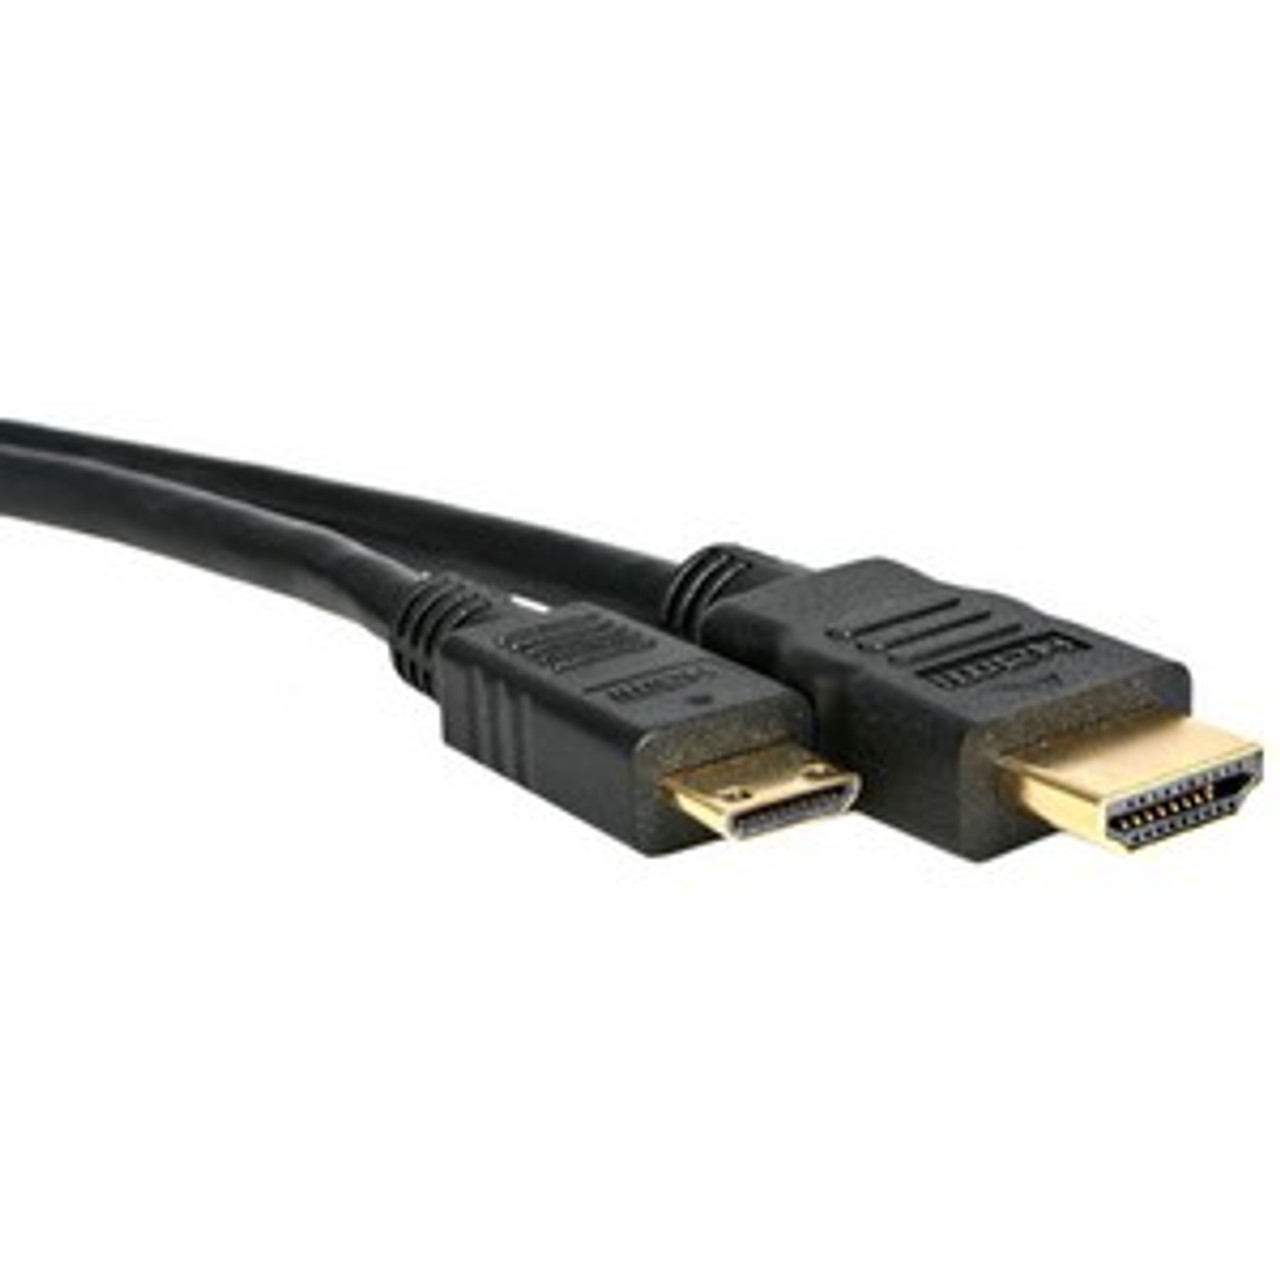
- HDMI Cable: If your Samsung phone has an HDMI port, you’ll need an HDMI cable to establish the connection between your phone and the projector. Make sure you have a compatible HDMI cable that is long enough to reach from your phone to the projector.
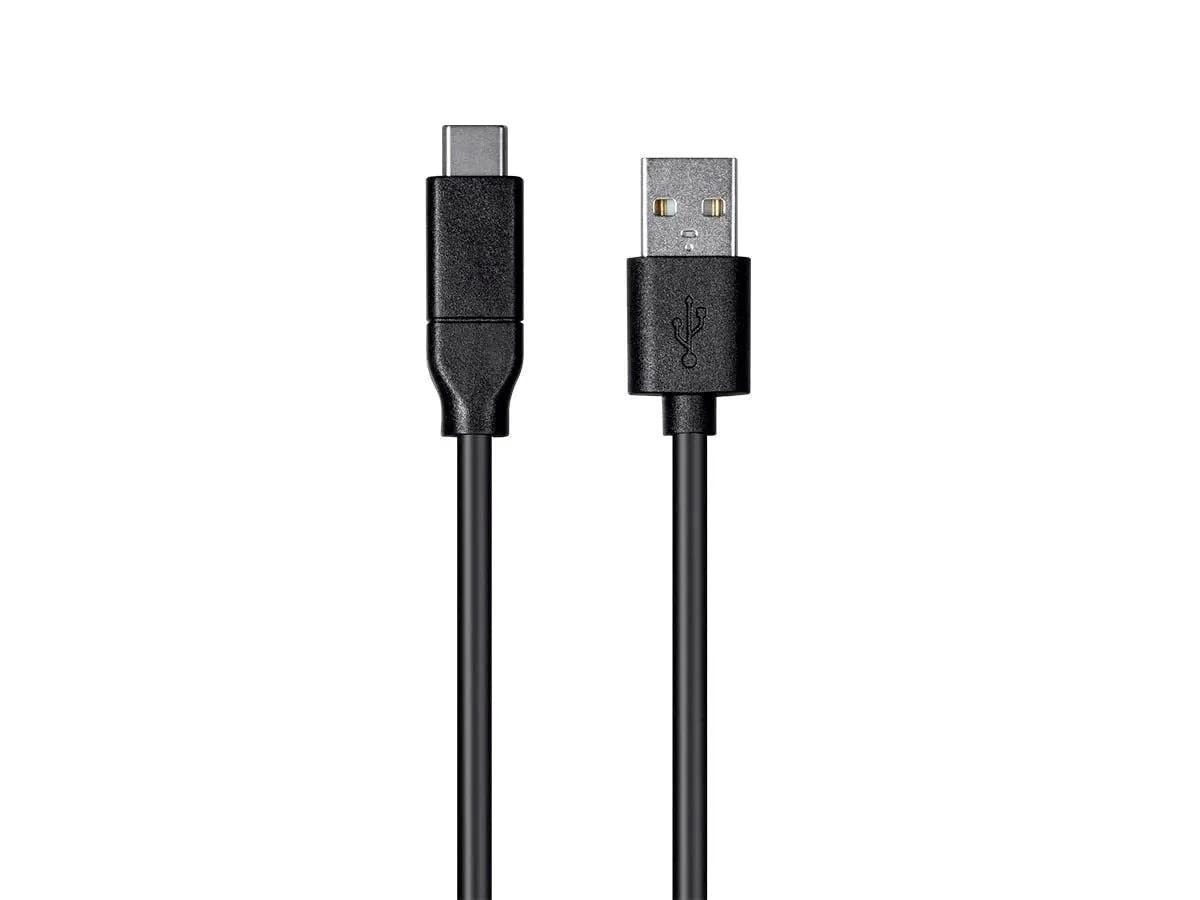
- MHL Adapter: For Samsung phones that support MHL technology, an MHL adapter is required. This adapter allows you to connect your phone to the projector through the USB port. Ensure that you purchase an MHL adapter that is compatible with your specific phone model.
- Wireless Display Adapter: If your Samsung phone supports wireless connectivity options like Wi-Fi Direct or Miracast, you won’t need any physical cables. Instead, you’ll require a wireless display adapter that can connect to the projector. These adapters typically plug into the HDMI port of the projector and allow you to wirelessly mirror your phone’s screen.
- Power Adapter: Depending on the connectivity method you choose, you may need a power adapter or charger to keep your Samsung phone powered during the connection. Some connectivity options, like MHL, may require your device to be charged while connected to the projector.
Ensure that you have all the necessary equipment ready before proceeding to connect your Samsung phone to the projector. It’s always a good idea to double-check the compatibility of the equipment with your phone and the projector to avoid any compatibility issues or connectivity limitations.
With the equipment gathered, you’re now ready to move on to the next step: connecting your Samsung phone to the projector.
Step 3: Connect Your Samsung Phone to the Projector
Now that you have the necessary equipment ready, it’s time to connect your Samsung phone to the projector. The method will depend on the specific connectivity options supported by your phone. Here are a few common methods:
- HDMI Connection: If your Samsung phone has an HDMI port, connect one end of the HDMI cable to your phone and the other end to the HDMI input port on the projector. Make sure both ends are securely connected.
- MHL Connection: For phones that support MHL, connect the MHL adapter to your phone’s USB port. Then, connect the HDMI cable to the MHL adapter and the HDMI input port on the projector.
- Wireless Connection: If your Samsung phone supports wireless connectivity options like Wi-Fi Direct or Miracast, follow the instructions provided with your wireless display adapter to connect it to the projector. Once connected, enable wireless display on your phone and select the projector from the available devices list.
After making the physical connections or establishing the wireless connection, you may need to switch the input source on the projector to the corresponding HDMI or wireless source. Refer to the projector’s user manual for instructions on how to select the input source.
Once the connection is established and the input source is set, your Samsung phone’s screen should be projected onto the larger screen of the projector. You can now enjoy videos, photos, presentations, and more, directly from your phone to the big screen.
It’s worth noting that while connected to the projector, your Samsung phone’s screen may act as a touchpad. You can control the on-screen content using the phone as if you were interacting with it directly.
With your Samsung phone successfully connected to the projector, it’s time to move on to the next step: adjusting settings on your phone and projector to optimize the display.
Step 4: Adjust Settings on Your Phone and Projector
After connecting your Samsung phone to the projector, it’s important to adjust the settings on both devices to optimize the display and ensure a smooth viewing experience. Here are some key settings you may need to adjust:
- Display Settings on Phone: Access the display settings on your Samsung phone and adjust the screen resolution and orientation to match that of the projector. This will ensure that the content appears correctly and in the desired format on the projector screen.
- Aspect Ratio on Projector: Most projectors provide various aspect ratio options, such as 4:3 or 16:9. Check the aspect ratio settings on the projector and select the appropriate one that matches the aspect ratio of the content you’ll be displaying from your phone.
- Brightness and Contrast: Depending on the lighting conditions and the quality of the projector, you may need to adjust the brightness and contrast settings on both your phone and the projector to enhance the visibility of the projected content.
- Audio Output: If you want to amplify the audio from your phone to external speakers, consider connecting your phone to a separate audio system or speakers using a compatible audio cable or wireless connection.
- Screen Mirroring Settings: For wireless connections, you may need to enable screen mirroring or casting on your phone. The steps to enable this feature may vary depending on your phone model, so refer to your phone’s user manual or settings menu for instructions.
Take some time to experiment with the settings to achieve the desired visual and audio quality. It’s recommended to do a test run to ensure that the settings are configured correctly before you begin your presentation, movie, or any other content playback.
If you encounter any issues with the display or audio quality, double-check the connections, adjust the settings accordingly, and consult the user manuals of your phone and the projector for troubleshooting tips.
With the settings adjusted to your preference and everything in place, you’re ready to move on to the final step: testing the connection and troubleshooting if necessary.
Step 5: Test the Connection and Troubleshoot if Necessary
Once you have completed the previous steps, it’s essential to test the connection between your Samsung phone and the projector to ensure everything is working correctly. Here are a few steps to follow:
- Play a Sample Video: Start by playing a sample video or slideshow on your phone and check if the content is displayed correctly on the projector screen. Verify that the audio is also routed to the desired output, whether it’s the projector’s speakers or an external audio system.
- Check for Lag or Latency: During the test, pay attention to any lag or latency issues between your phone and the projector. If there’s a noticeable delay between the actions on your phone and their appearance on the projector screen, it may indicate a performance issue. In such cases, consider reducing the resolution or closing any background apps on your phone to improve performance.
- Verify Remote Control Functionality: If your projector comes with a remote control, make sure it works properly. Check if you can navigate the on-screen menus, adjust volume, or perform any other necessary functions using the remote control.
- Troubleshoot Connectivity Issues: If you encounter any connectivity issues, ensure that all cables are securely connected and that you’ve selected the correct input source on the projector. Additionally, double-check that you’ve enabled the necessary settings on your phone for screen mirroring or HDMI output.
If you experience persistent issues, consult the user manuals for both your Samsung phone and the projector for troubleshooting guidance. You can also reach out to technical support or search online forums for any known compatibility issues or specific settings adjustments that may resolve the problem.
By thoroughly testing the connection and troubleshooting any issues in advance, you can ensure a smooth and successful presentation, movie, or multimedia experience with your Samsung phone and the projector.
With the connection tested and everything working as expected, you’re now ready to immerse yourself in the incredible audiovisual experience offered by your Samsung phone and the projector.
Conclusion
Connecting your Samsung phone to a projector opens up a whole new world of possibilities, allowing you to share presentations, watch movies, or display photos to a larger audience on a big screen. By following the step-by-step process outlined in this guide, you can easily connect your Samsung phone to a projector and enjoy an immersive audiovisual experience.
From checking compatibility and gathering the necessary equipment to connecting your phone to the projector and adjusting settings, each step plays a vital role in ensuring a successful connection. By carefully following these steps, you can avoid compatibility issues, optimize display settings, and troubleshoot any potential problems.
Remember to check if your Samsung phone supports HDMI, MHL, or wireless connectivity options like Wi-Fi Direct or Miracast. Gather the appropriate equipment, such as HDMI cables, MHL adapters, or wireless display adapters, based on the connectivity method available to your device.
Once connected, adjust the display settings on your phone and the projector to match the desired resolution, aspect ratio, and brightness. Make sure the audio output is correctly routed to the desired source, whether it’s the projector’s speakers or an external audio system.
After performing these steps, don’t forget to test the connection by playing a sample video or slideshow to ensure the content appears correctly on the projector screen without any noticeable lag or latency. Troubleshoot any connectivity issues or performance problems that may arise during the test.
By following these steps and taking the time to ensure a seamless connection, you’re ready to impress your colleagues with professional presentations, enjoy movie nights with friends and family, or showcase your captured memories on the big screen during special events.
So, go ahead and connect your Samsung phone to a projector, and let the power of technology elevate your multimedia experience!