Introduction
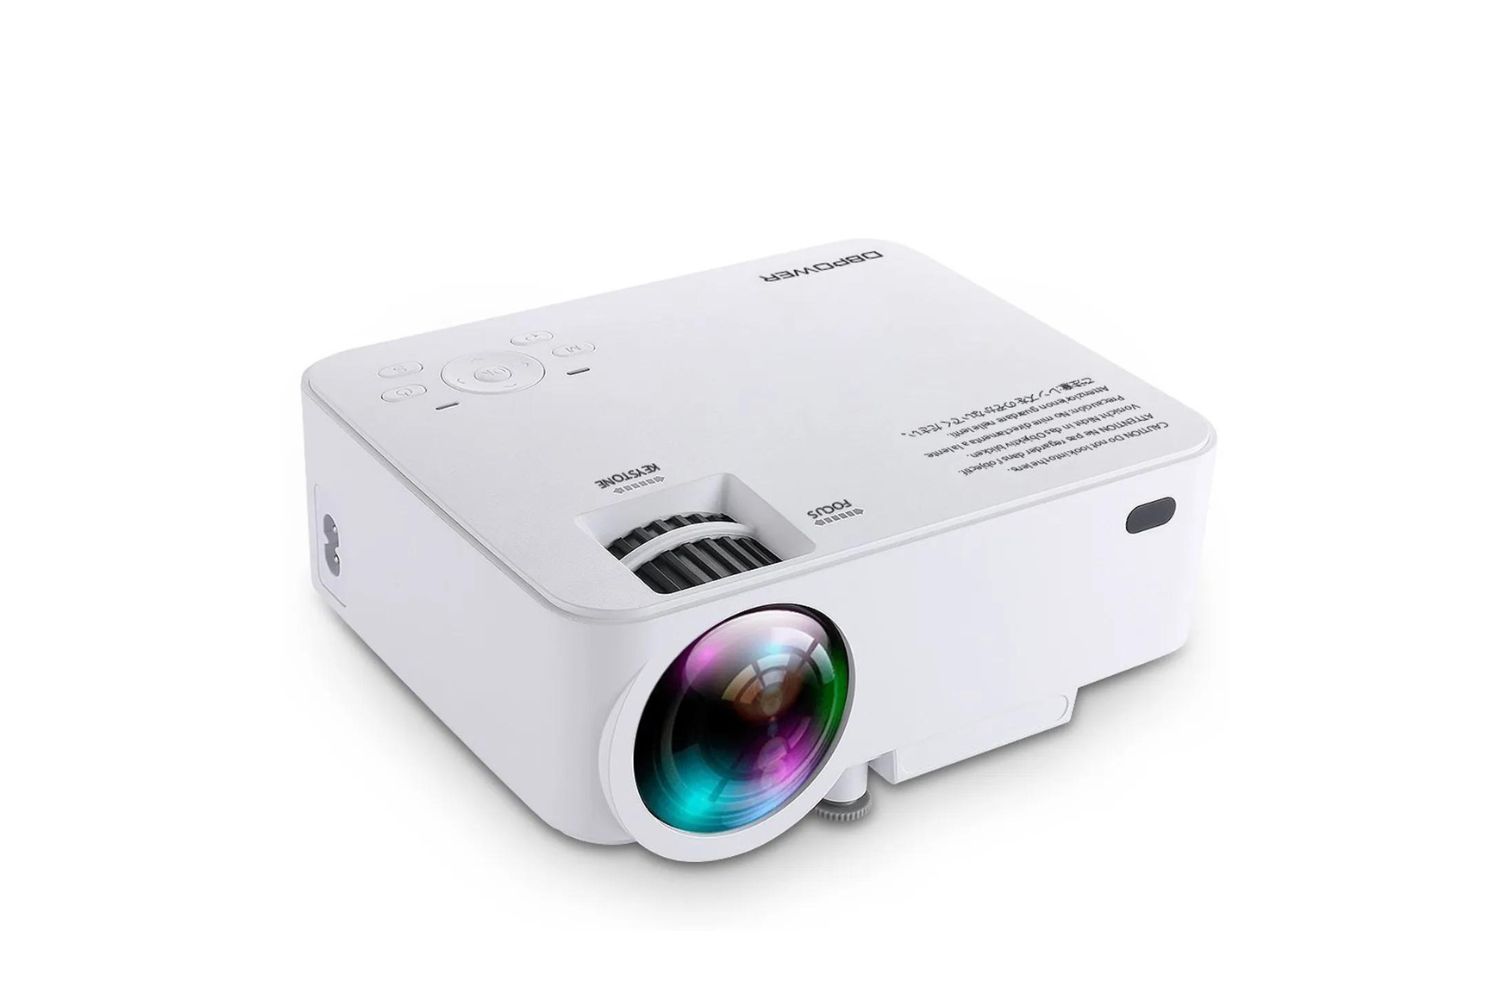
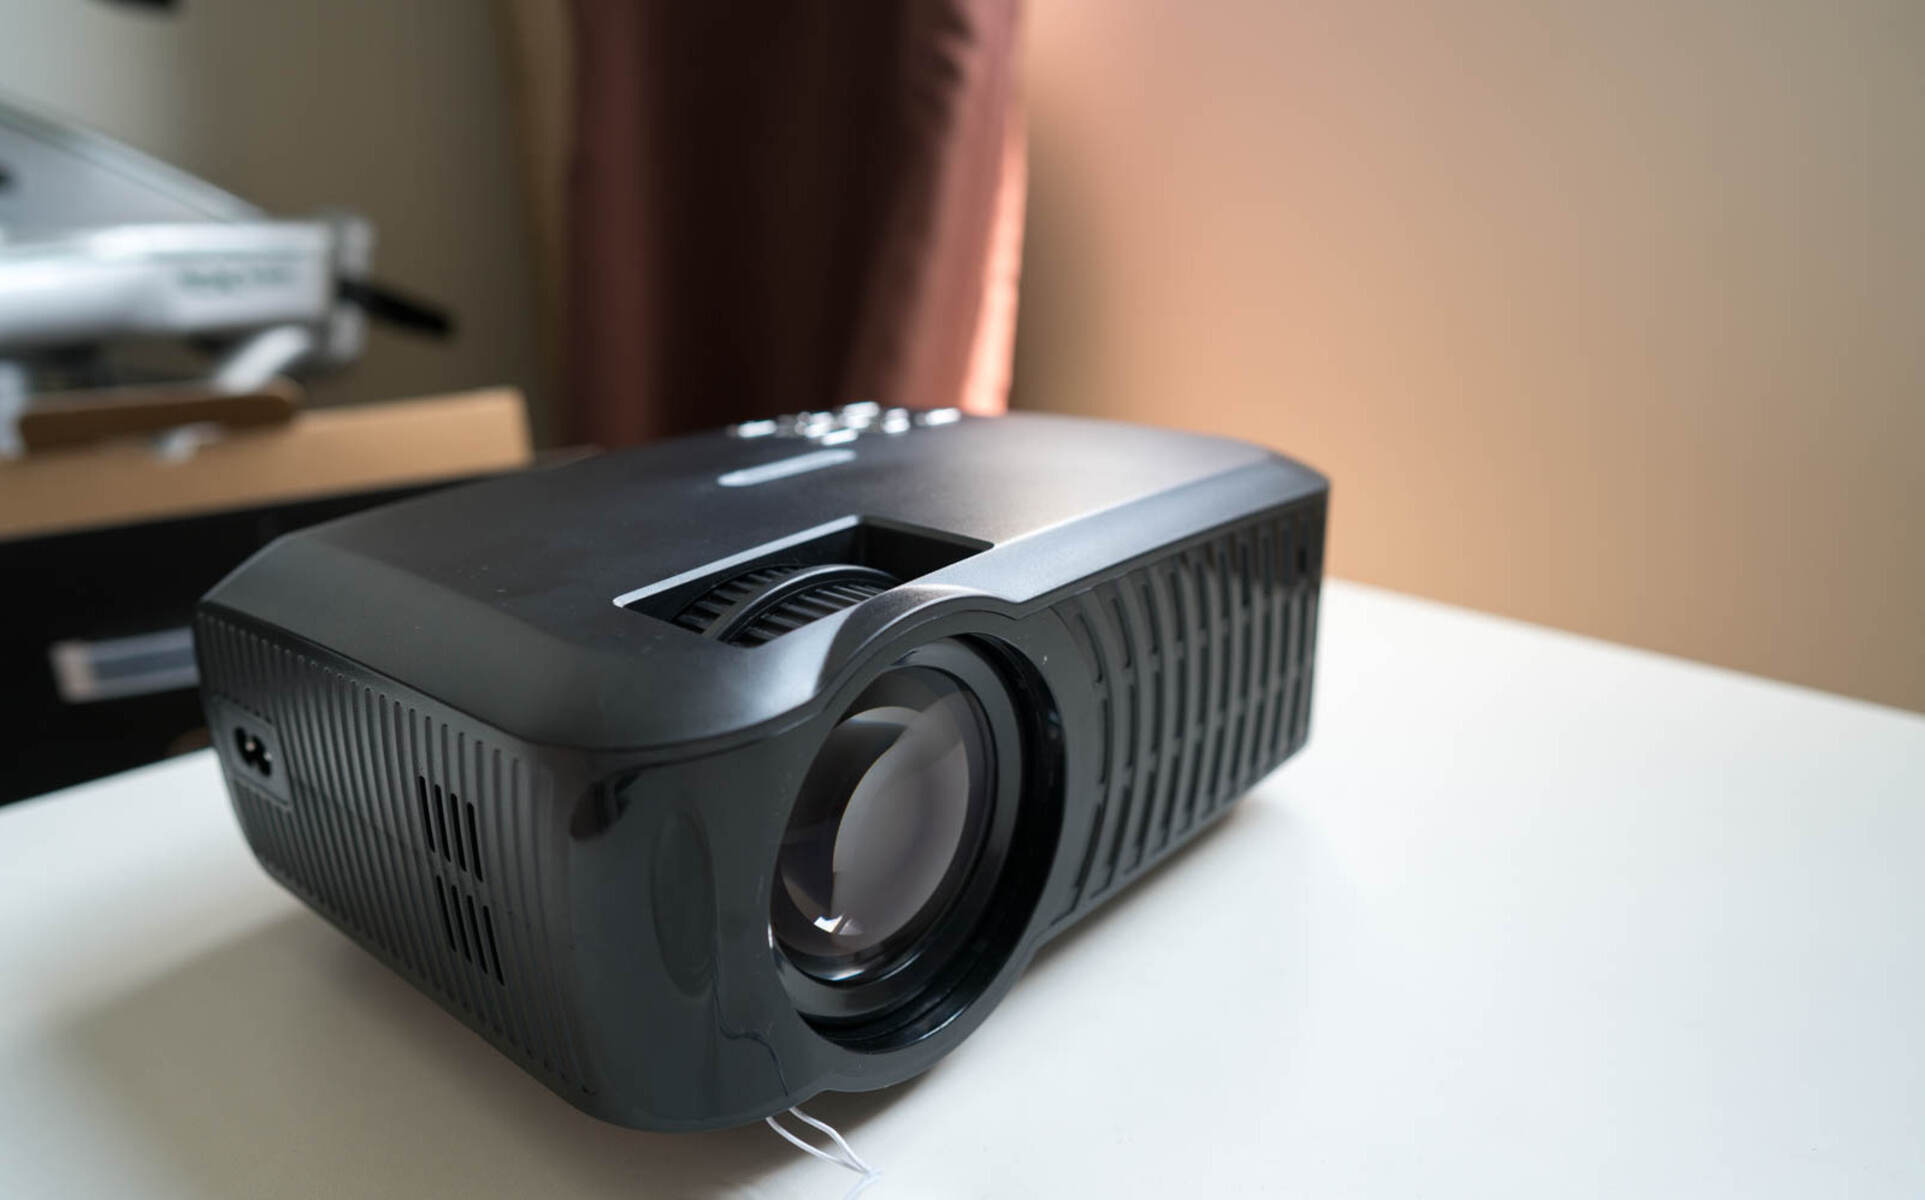
Welcome to this guide on how to connect your phone to a DBPOWER projector. DBPOWER projectors are highly popular for their excellent image quality and versatility, allowing you to enjoy your favorite movies, TV shows, presentations, and more on a big screen. By connecting your phone to a DBPOWER projector, you can easily stream content from your mobile device and share it with others.
Connecting your phone to a DBPOWER projector is a simple process that can be done using different methods depending on the available options and your preferences. In this guide, we will walk you through the various ways to connect your phone to the projector, including HDMI cable, Wi-Fi, and USB cable.
Before we dive into the specific steps, it’s important to ensure that your phone and DBPOWER projector are compatible. Most modern smartphones and DBPOWER projectors support standard connectivity options, but it’s a good idea to check the specifications of both devices to ensure seamless compatibility.
Now, let’s explore the different methods of connecting your phone to a DBPOWER projector. Whether you’re hosting a movie night with friends, giving a business presentation, or simply want to enjoy your favorite content on a larger screen, connecting your phone to a DBPOWER projector will enhance your viewing experience.
Step 1: Check the Compatibility
Before connecting your phone to the DBPOWER projector, it’s crucial to ensure compatibility between the two devices. This step will prevent any potential issues during the connection process.
The majority of modern smartphones, including both Android and iOS devices, are compatible with DBPOWER projectors. However, it’s essential to check the specifications of your phone to confirm its compatibility with the projector. Look for the presence of HDMI, Wi-Fi, or USB connectivity options, as these are the common methods for connecting your phone to a projector.
In addition, check the specific model of your DBPOWER projector to verify its compatibility with your phone. Visit the manufacturer’s website or check the user manual for the projector to find the supported devices and connectivity options.
If your phone does not have the necessary ports or wireless capabilities, you may need to use additional adapters or accessories to establish a connection. These can include HDMI adapters, USB OTG (On-The-Go) cables, or Wi-Fi display dongles.
Remember to consider any potential limitations or requirements for the connection. Some projectors may only support specific resolutions or file formats, so it’s important to understand the capabilities and limitations of both your phone and the DBPOWER projector.
By ensuring compatibility between your phone and the DBPOWER projector, you can proceed with confidence to the next steps of connecting your devices.
Step 2: Connect via HDMI Cable
Connecting your phone to a DBPOWER projector via an HDMI cable is one of the most common and straightforward methods. Follow the steps below to establish the connection:
- Check if your phone has an HDMI output: Some smartphones have built-in HDMI ports, while others require the use of an HDMI adapter. Check your phone’s specifications or consult the user manual to determine if it supports HDMI output.
- Obtain an HDMI cable: Purchase an HDMI cable that matches the appropriate connector for your phone. This could be a micro HDMI or USB-C to HDMI cable, depending on your phone’s port.
- Connect the HDMI cable: Plug one end of the HDMI cable into the HDMI port of the DBPOWER projector. Then, connect the other end to your phone’s HDMI output or adapter.
- Select the HDMI input on the projector: Use the remote or buttons on the projector to navigate to the HDMI input. Once selected, the projector will display the content from your phone.
- Adjust display settings: On your phone, go to the Display settings and ensure that the output is set to mirror or extend the display to the projector. This will enable you to see the content on both your phone and the projector.
- Enjoy the projected content: Play videos, view photos, or share presentations on your phone, and they will be displayed on the larger screen of the DBPOWER projector.
Connecting via HDMI cable provides a reliable and high-quality connection, ensuring that your content is displayed with sharpness and clarity. It is ideal for streaming videos, playing games, or presenting documents or slideshows.
Note: HDMI connections only transmit audio and video signals. Therefore, for audio playback, you may need to connect external speakers or use the projector’s built-in speakers.
Step 3: Connect via Wi-Fi
If your DBPOWER projector supports wireless connectivity, you can connect your phone to the projector using Wi-Fi. This method allows for convenient and cable-free streaming of content. Follow the steps below to connect via Wi-Fi:
- Ensure that both your phone and the DBPOWER projector are connected to the same Wi-Fi network. Check the Wi-Fi settings on your phone and ensure it is connected to the desired network.
- On the DBPOWER projector, access the menu or settings using the remote control or the buttons on the projector itself. Look for the Wi-Fi options or settings.
- Enable the Wi-Fi feature on the projector if it is not already enabled.
- On your phone, go to the Wi-Fi settings and search for available Wi-Fi networks. Select the Wi-Fi network that corresponds to the DBPOWER projector. It may have a specific name or identifier.
- Enter the password if prompted. Some projectors might require a password or a PIN code to establish the connection for security reasons. Consult the manual or check the projector’s settings for the correct password.
- Once connected, the phone and DBPOWER projector should be paired and ready for streaming. Open your preferred media or content streaming app on your phone.
- Select the content you want to display on the projector. It will be wirelessly transmitted and shown on the larger screen.
Connecting via Wi-Fi allows for easy and quick access to your phone’s content without the need for cables. It is especially useful for streaming online videos, photos, or even screen mirroring your phone’s display for presentations or demonstrations.
Remember that the range and stability of the Wi-Fi connection may vary depending on the distance between your phone, the projector, and the Wi-Fi router. Ensure that you are within a reasonable range and avoid obstructions or interference for the best connection.
Step 4: Connect via USB Cable
Connecting your phone to a DBPOWER projector using a USB cable is another convenient method, especially if your phone does not have HDMI or Wi-Fi capability. Follow these steps to connect via USB:
- Check if your phone supports USB OTG (On-The-Go) functionality: USB OTG allows your phone to act as a host and connect to external devices such as projectors. Check your phone’s specifications or consult the user manual to determine if it supports USB OTG.
- Obtain a USB OTG cable: Purchase a USB OTG cable that matches the connector type of your phone. This could be a micro USB or USB-C cable, depending on your phone’s port.
- Connect the USB OTG cable: Plug one end of the USB cable into the USB input port of the DBPOWER projector. Then, connect the other end to your phone’s USB port using the USB OTG adapter.
- Make sure your phone is set to “File Transfer” or “MTP” mode: When you connect your phone to the DBPOWER projector via USB, you need to ensure that it is set to “File Transfer” or “MTP” mode. This mode allows the projector to recognize and display the content from your phone.
- Once connected, the phone and DBPOWER projector should establish a connection. The projector will display the content stored on your phone.
- Navigate through your phone’s files and select the desired content that you want to project. Videos, photos, and documents can be accessed and displayed on the projector’s screen.
Connecting through a USB cable provides a stable and reliable connection, allowing you to easily access and project your phone’s content without relying on Wi-Fi or HDMI. It is suitable for playing media files, presenting documents, or sharing photos and videos.
Note: Some projectors may require additional software or apps to be installed on your phone for USB connectivity. Check the DBPOWER projector’s manual or website for any specific requirements or recommended apps.
Step 5: Adjust Display Settings
Once you have successfully connected your phone to the DBPOWER projector, it’s important to adjust the display settings to ensure optimal viewing experience. Follow these steps to adjust the display settings:
- On the DBPOWER projector, navigate to the display settings. You can use either the remote control or the buttons on the projector itself to access these settings.
- Adjust the brightness and contrast: Depending on the lighting conditions in your viewing environment, you may need to adjust the brightness and contrast settings on the projector. This will ensure that the projected image is clear and visible.
- Set the aspect ratio: The aspect ratio of your content may vary, and it’s crucial to match it with the aspect ratio supported by the projector. Common aspect ratios include 4:3 (standard) and 16:9 (widescreen). Select the appropriate aspect ratio in the projector’s settings to avoid any distortions or black bars on the screen.
- Configure the display mode: Many projectors offer various display modes, such as “Standard,” “Cinema,” “Game,” or “Vivid.” Experiment with different display modes to find the one that suits your content and preferences best.
- Adjust keystone correction: Keystone correction is essential to eliminate any trapezoidal distortion caused by an uneven projection surface. Most DBPOWER projectors have built-in keystone correction features that allow you to adjust the projected image vertically and horizontally.
- Explore other display settings: Depending on the model of the DBPOWER projector, there may be additional display settings available, such as color temperature, sharpness, or saturation. Tweak these settings as desired to achieve the desired picture quality.
By adjusting the display settings of the DBPOWER projector, you can enhance the visual quality and ensure that your content is projected accurately and with optimal settings. Take the time to fine-tune the settings to suit your viewing preferences and the requirements of your content.
Step 6: Troubleshooting Tips
While connecting your phone to a DBPOWER projector is generally a straightforward process, you might encounter some issues along the way. Here are some troubleshooting tips to help you overcome common problems:
- Check the cable connections: Ensure that all cable connections between your phone and the DBPOWER projector are secure and correctly plugged in. Loose connections can lead to a loss of signal or no connection at all.
- Restart your devices: Sometimes, a simple restart can resolve connectivity issues. Restart both your phone and the DBPOWER projector to refresh their settings and establish a new connection.
- Update firmware and software: Check for any available firmware updates for your DBPOWER projector and software updates for your phone. Updating to the latest versions can fix bugs and improve compatibility.
- Try a different HDMI or USB cable: Faulty cables can cause connectivity problems. If you’re using an HDMI or USB cable, try using a different cable to determine if the issue lies with the cable itself.
- Reset network settings: If you’re connecting via Wi-Fi and experiencing connection issues, try resetting the network settings on both your phone and the DBPOWER projector. This will clear any network configuration issues that might be affecting the connection.
- Check for app compatibility: Some apps, especially streaming or screen mirroring apps, may require specific compatibility with the DBPOWER projector. Ensure that the app you’re using is compatible with the projector model.
- Refer to the user manual: If you’re experiencing persistent issues or need further assistance, consult the user manual of your DBPOWER projector. It may contain specific troubleshooting steps or contact information for customer support.
By following these troubleshooting tips, you can overcome common connectivity issues and ensure a smooth and uninterrupted connection between your phone and the DBPOWER projector.
Conclusion
Congratulations! You have now learned how to connect your phone to a DBPOWER projector using various methods. Whether you choose to connect via HDMI cable, Wi-Fi, or USB cable, these steps will help you enjoy your favorite content on a larger screen.
Remember to check the compatibility between your phone and the DBPOWER projector before attempting to connect. This will ensure a seamless and hassle-free experience.
Connecting your phone to a DBPOWER projector opens up a world of possibilities, from streaming movies and TV shows to delivering impactful presentations. The flexibility and convenience of these projectors allow you to bring your content to life in a larger-than-life format.
Don’t hesitate to adjust the display settings of the DBPOWER projector to optimize the viewing experience. By fine-tuning aspects like brightness, contrast, aspect ratio, and keystone correction, you can ensure that the projected image suits your preferences and provides a visually stunning display.
If you encounter any issues during the connection process, refer to the troubleshooting tips outlined in this guide. They will help you overcome common problems and ensure a seamless connection between your phone and the DBPOWER projector.
Now that you have mastered the art of connecting your phone to a DBPOWER projector, it’s time to sit back, relax, and enjoy an immersive viewing experience on the big screen!