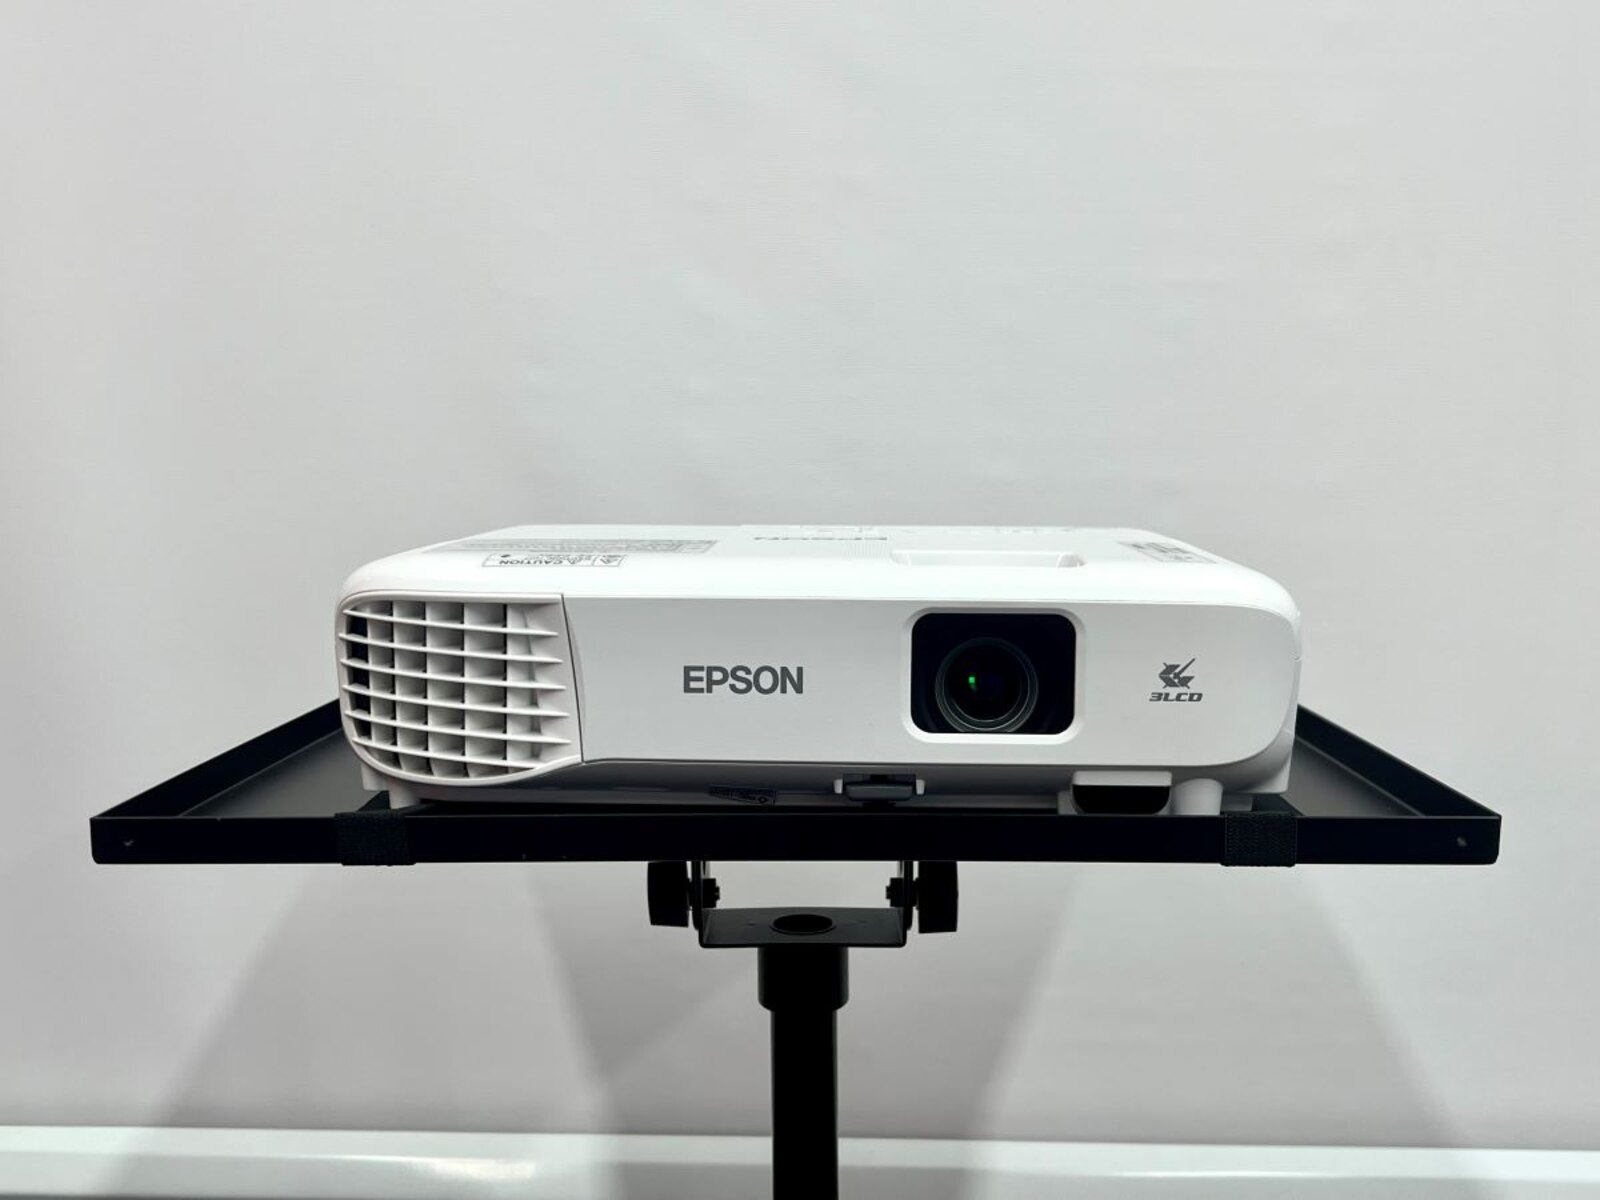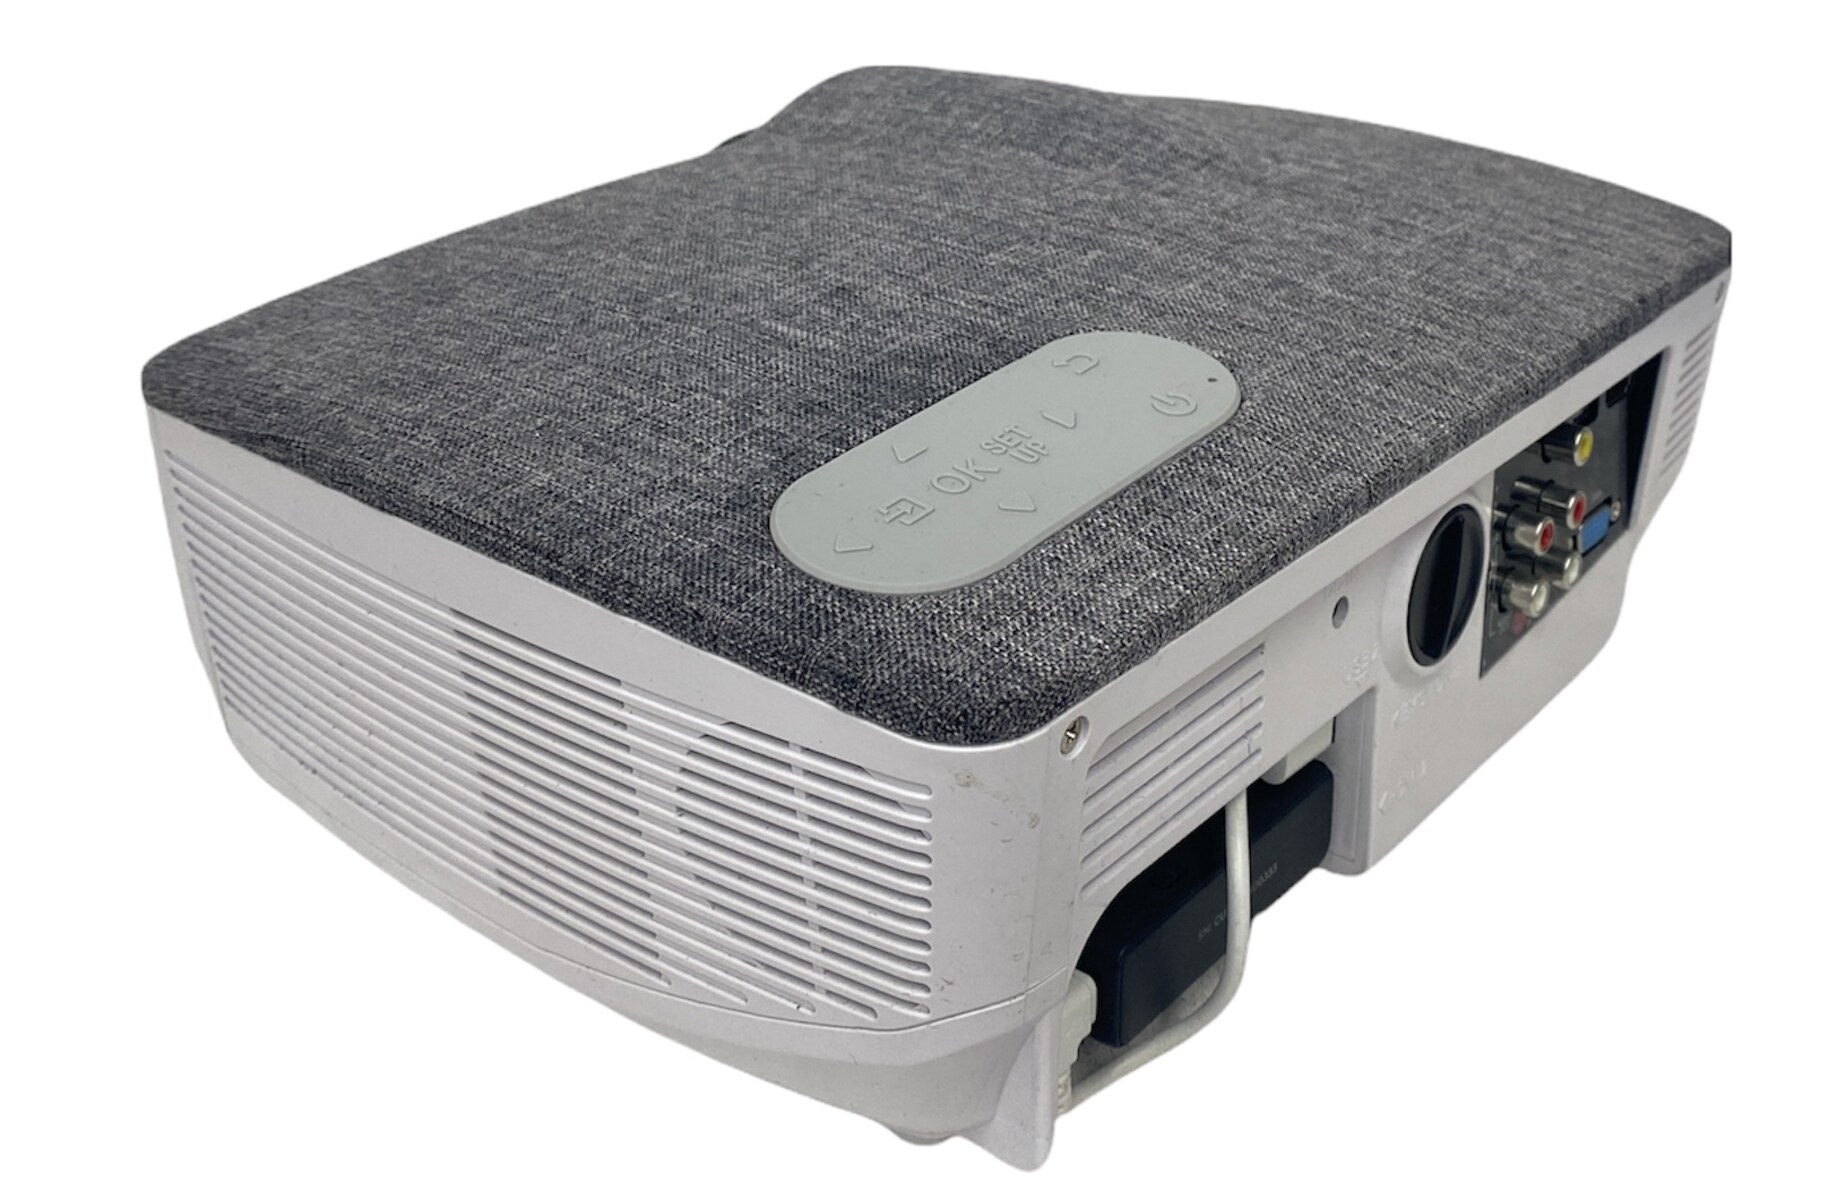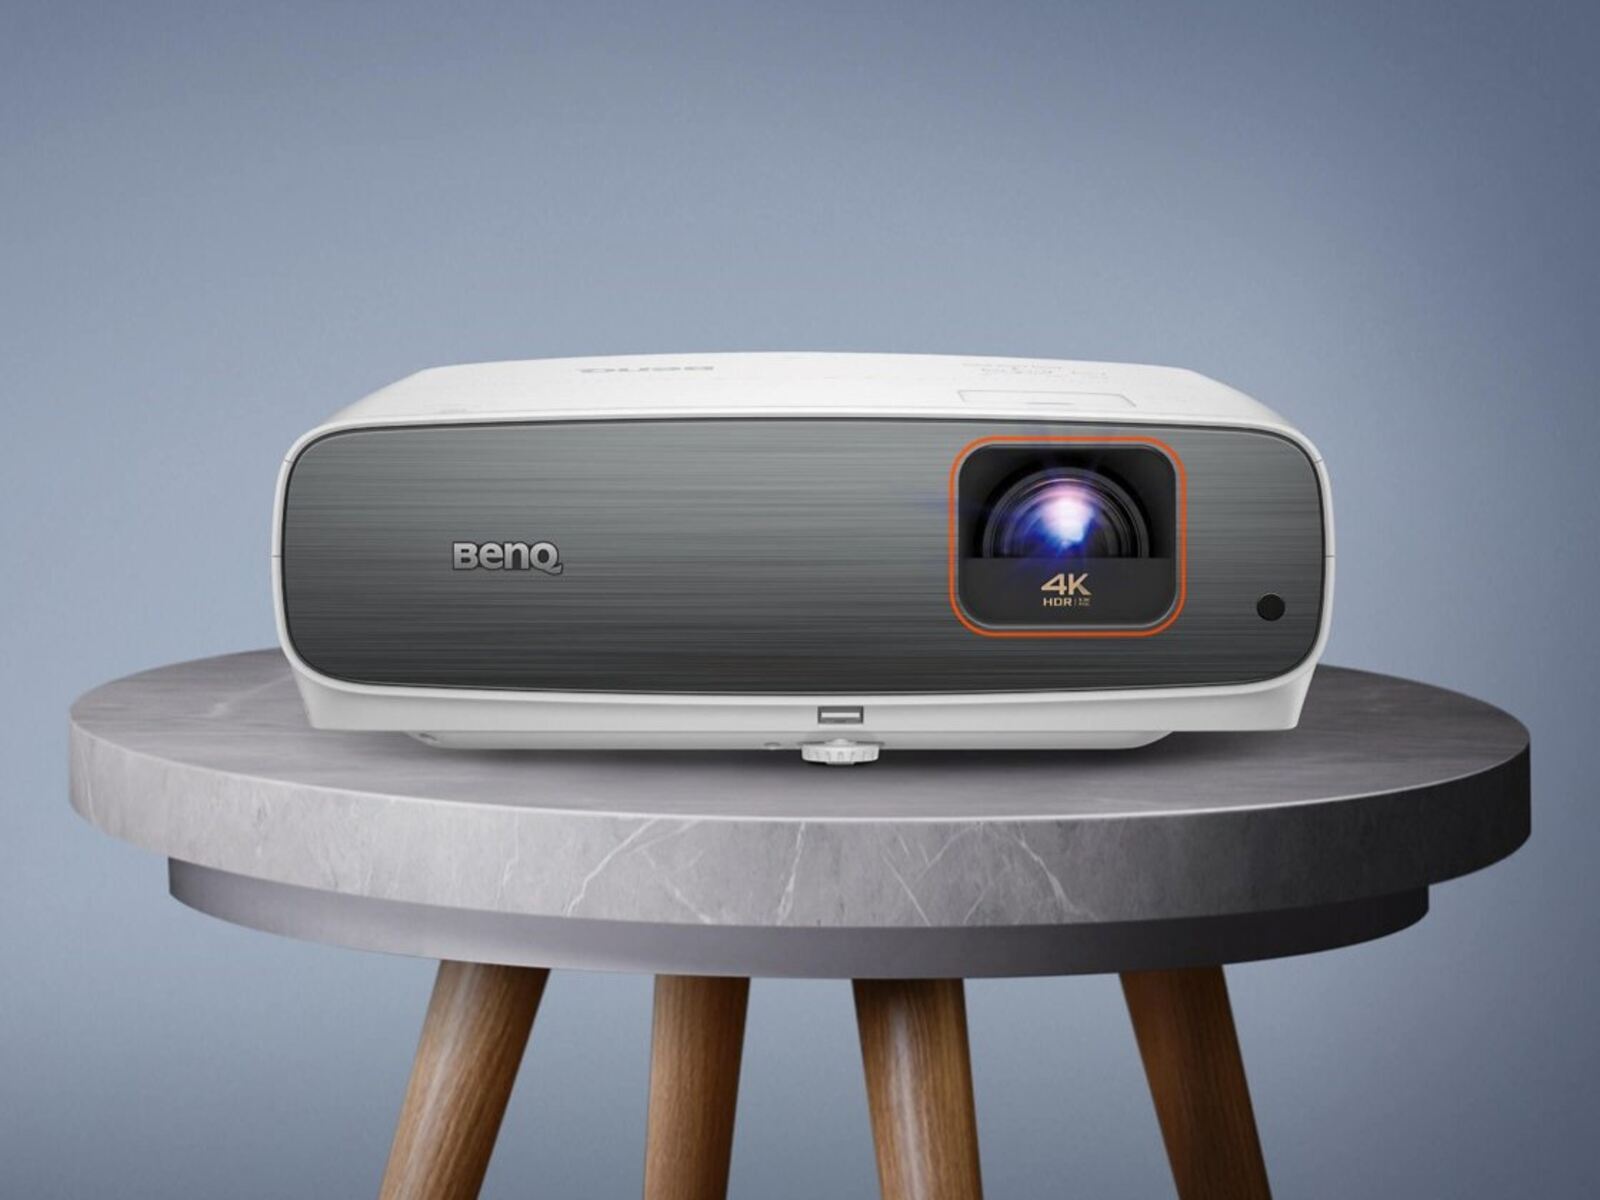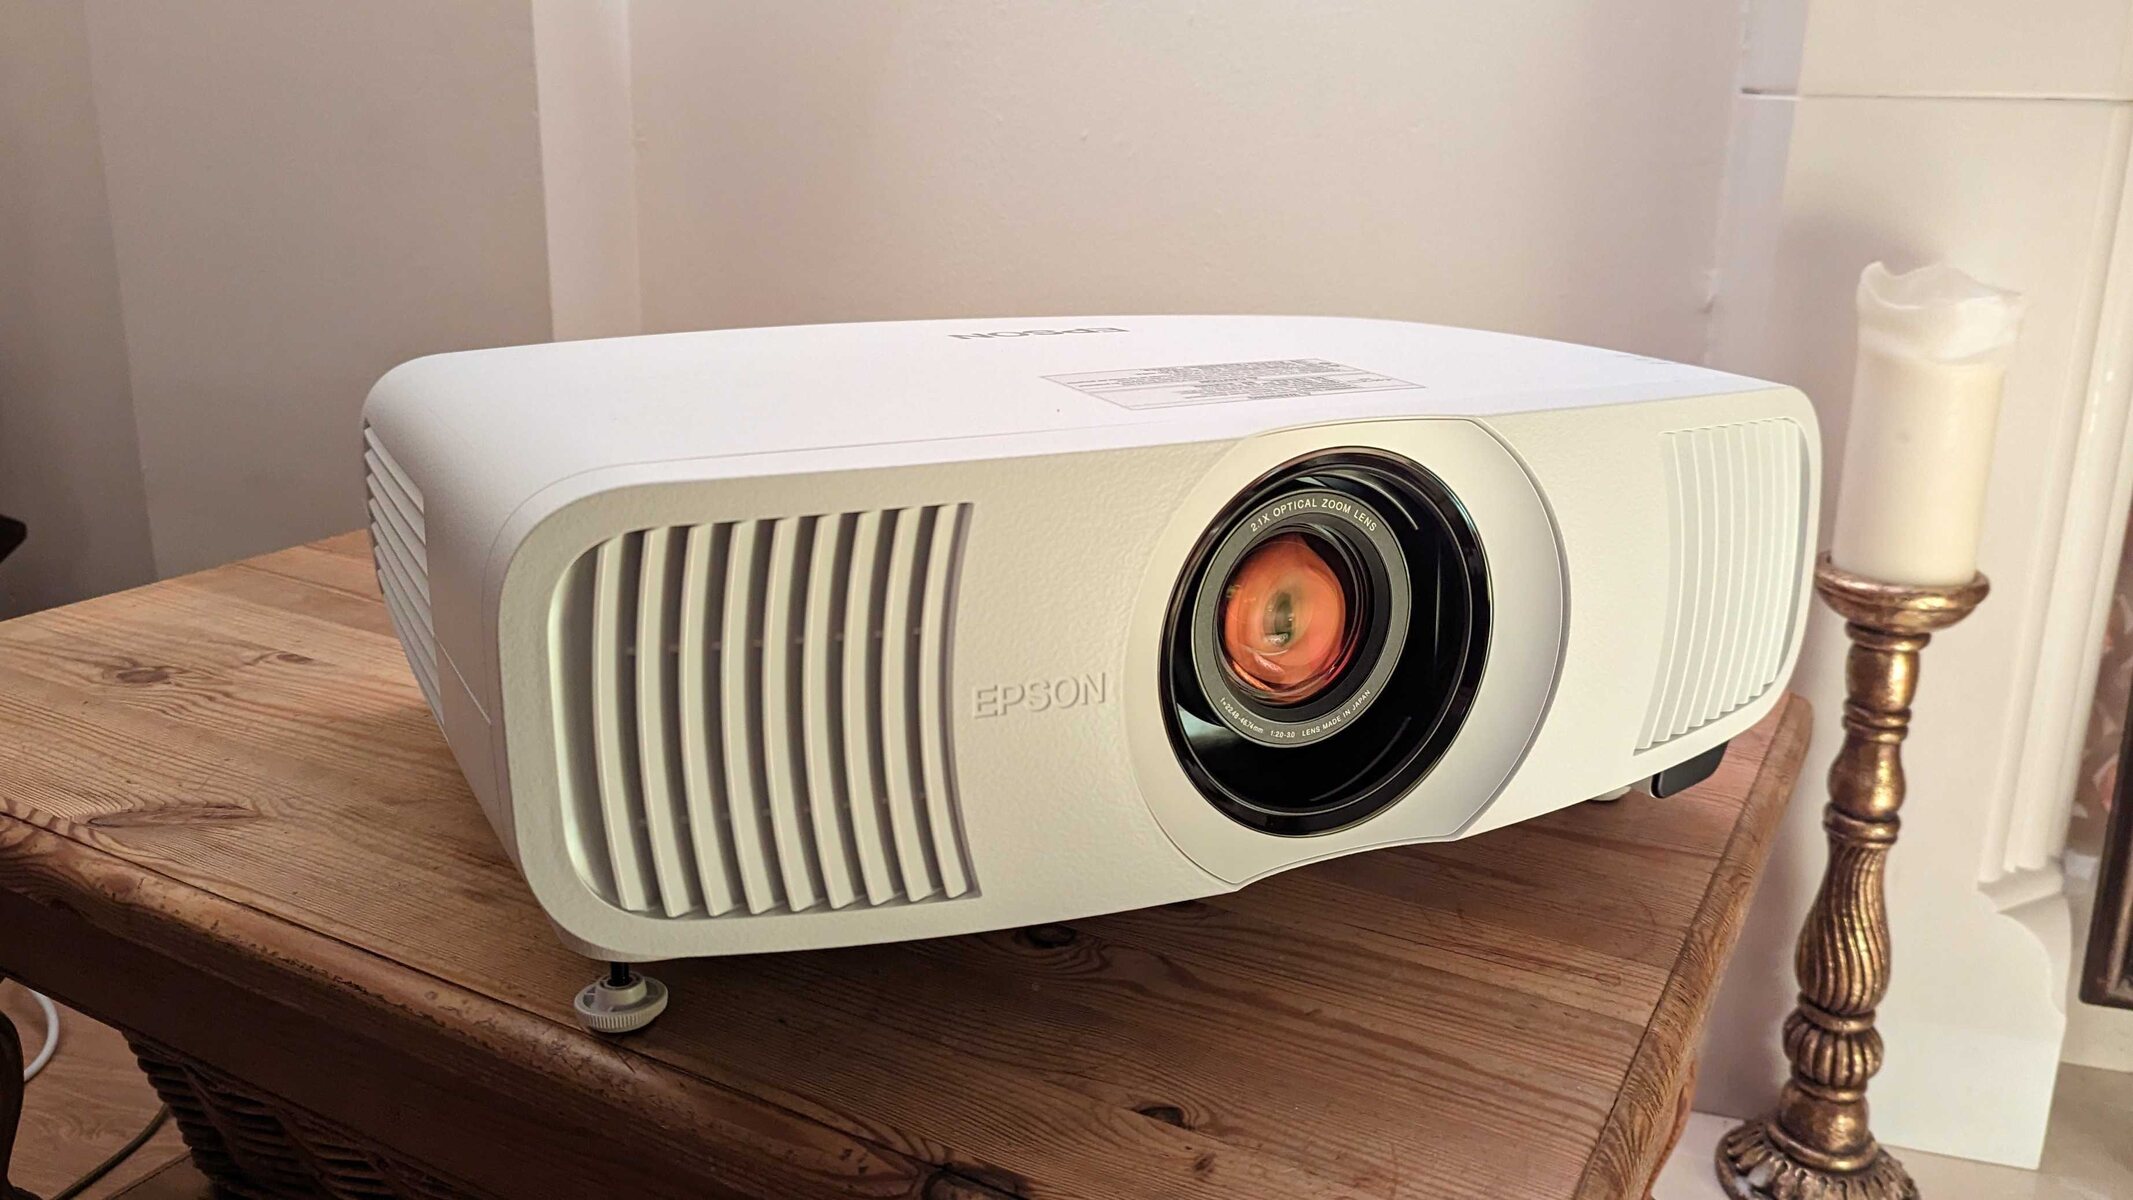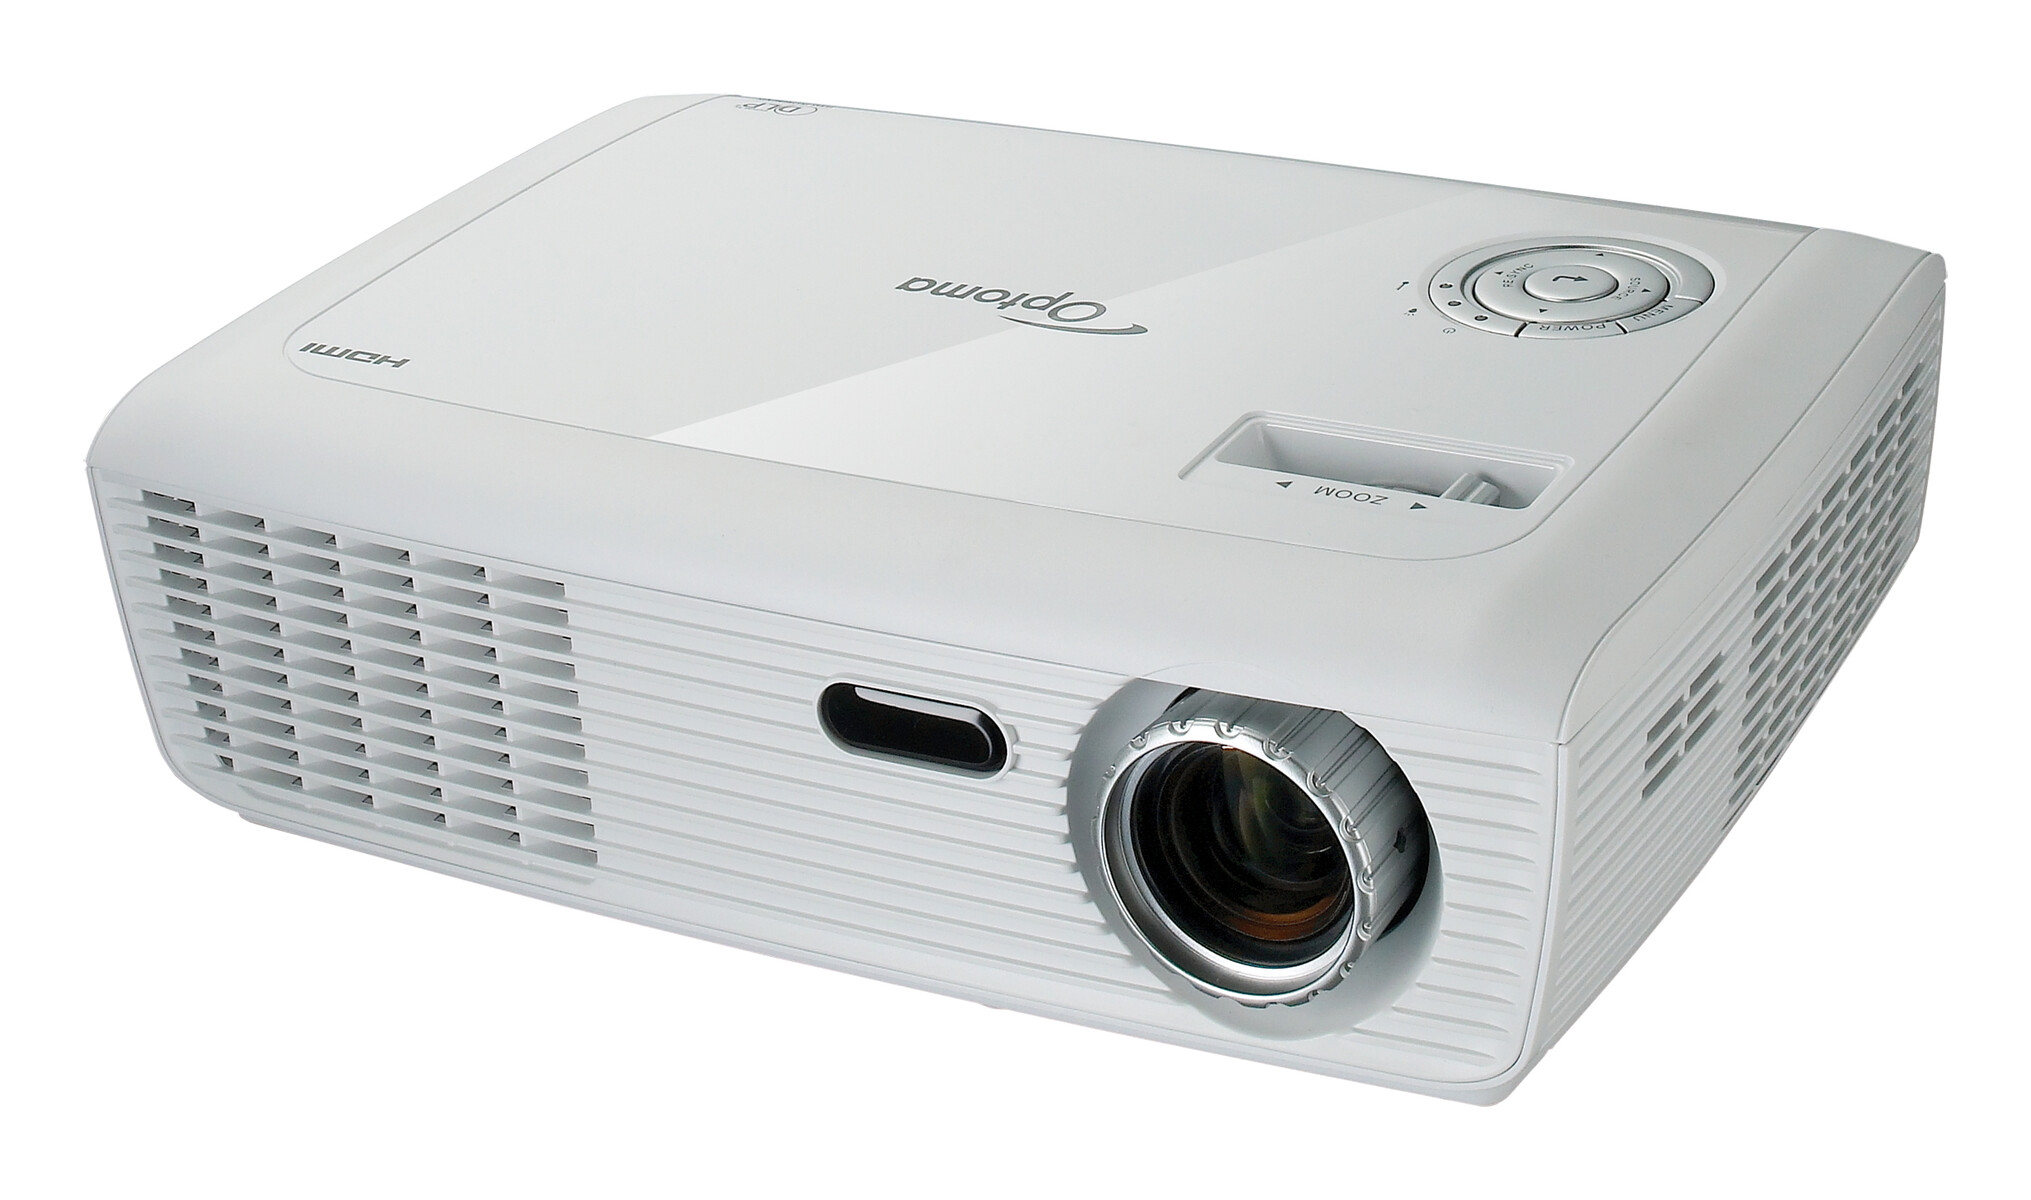
To “hack” a projector legitimately means to unlock its advanced network control features, like web-based management, wireless mirroring, and remote commands, using the official tools and interfaces the manufacturer already built in. This isn’t about breaking security or exploiting vulnerabilities; it’s about discovering how to access and control your own projector’s full capabilities, whether you’ve forgotten the login, need to integrate it into a smart home, or simply want to manage it from your phone. The focus keyword here is how to hack a projector, and the real answer is a practical, legal guide to taking command of your device’s hidden potential.
What 'how to hack a projector' really means
When someone searches “how to hack a projector,” they’re almost never looking for illegal activity. Instead, they’re usually a projector owner who wants to access advanced settings, control the device over their network, or reset a forgotten password. The term “hack” has been co-opted by pop culture to mean any clever or non-obvious way to use a device. In this context, it means unlocking the remote management and network features that are already present in most modern projectors, features like web control panels, official mobile apps, and industry-standard protocols like PJLink. This is about convenience, not crime. You’re not bypassing security; you’re learning how to use the tools the manufacturer provided, often because the manual is confusing or the default credentials were never changed.
Before you start: network setup essentials
To access any network-based control, your projector must be properly connected to your local network. Start by navigating to the projector’s network settings menu (usually found under “Network” or “LAN” in the setup screen). Enable DHCP if you want the router to assign an IP address automatically, or set a static IP to ensure the address never changes, this is especially useful if you plan to use the web control panel regularly. Next, you’ll need to turn on the specific features that allow remote access. Look for “Web Control,” “Network Management,” or “Network Control” in the menu and set it to “On.” Additionally, to control the projector even when it’s in standby mode, you must change the “Standby Mode” setting to “Communication On” (for wired LAN) or set “A/V Output” to “Always On” (for wireless LAN). These settings are the foundation for every method that follows, and without them, your projector will remain invisible to your network.
Method 1: the web browser control panel
The most direct way to “hack” your projector is through its built-in web server. Once your network settings are configured, you’ll need to find the projector’s IP address. You can usually locate this in the network status screen on the projector itself, or by checking your router’s DHCP client list. Write down the IP address, then open a web browser on a device connected to the same network and type that IP into the address bar. This will load the projector’s web control panel, a simple interface that lets you remotely power the unit on or off, switch inputs, and adjust detailed picture settings like brightness, contrast, and keystone correction. Most manufacturers secure this panel with a username and password. Common defaults include EPSONWEB with password admin for Epson projectors, or root with Projector for Sony models on first access. If those don’t work, check the sticker on the projector or the manual, many units have unique credentials printed there. Once logged in, you’ll have full control over the projector’s network functions, all from your browser.
Method 2: official apps for wireless mastery
If you prefer using your smartphone or tablet, official mobile apps offer a more user-friendly way to control your projector wirelessly. Applications like Epson iProjection, BenQ SmartRemote, Optoma Smart Control, and Panasonic Smart Projector Control are designed to do exactly what you need. These apps allow you to mirror your screen, share photos and documents, and control the projector’s basic functions, all without needing a computer. To get started, download the appropriate app for your projector’s brand, ensure your mobile device and projector are on the same Wi-Fi network, and then launch the app. It should automatically detect your projector and connect. From there, you can adjust volume, switch inputs, and even manage multiple projectors in a conference room. This method is perfect for anyone who wants quick, on-the-fly control without diving into the web interface. The apps are free, regularly updated, and provide a stable wireless connection for presentations or movie nights.
Method 3: advanced control for power users
For those who want to integrate their projector into a custom smart home or professional AV system, industry-standard protocols are the way to go. Projectors from major manufacturers support protocols like PJLink, Crestron, and AMX, which allow you to send commands over the network programmatically. PJLink is a universal standard, so you can control any compatible projector with simple HTTP requests, perfect for turning it on or off, switching inputs, or querying lamp status. Crestron and AMX are more common in high-end commercial installations, but they work similarly. Additionally, some manufacturers offer Web APIs (Application Programming Interfaces) for developers, such as Epson’s ESC/VP21 command set. These APIs let you write custom scripts or integrate with home automation platforms like Home Assistant or Control4. To use these, you’ll need to know the projector’s IP address and the command syntax, which is usually documented in the manufacturer’s developer resources. This is the most powerful method for “hacking” your projector, as it gives you complete, automated control over every function.
What to do when you're locked out
If you’ve forgotten the password for the web control panel, don’t panic, there’s a legitimate way to reset it. Most projectors display a Request Code on the login screen when you enter the wrong password multiple times. This code is a unique string of numbers and letters that you’ll need to provide to the manufacturer’s technical support team. Before contacting them, make sure you have proof of ownership, such as a receipt, serial number, or the original purchase invoice. The support representative will verify your identity and then provide you with an unlock code that you can enter to regain access. This process is designed to prevent unauthorized access while still allowing the rightful owner to recover their device. Never attempt to bypass the password by resetting the firmware or using third-party tools, as this can permanently damage the projector and void your warranty. Stick to the official channel, it’s fast, free, and guaranteed to work.
Updating firmware the safe way
Once you’ve gained control, one of the most important maintenance tasks is updating the projector’s firmware. Firmware updates often fix bugs, improve performance, and patch security vulnerabilities, so keeping it current is essential. To update, visit the manufacturer’s official website and navigate to the support or downloads section. Search for your specific projector model and download the latest firmware file to your computer. The file will typically be a compressed archive (like a ZIP file) that you’ll need to extract. Format a USB flash drive as FAT32, then copy the extracted firmware file (usually a .bin or .img file) onto the drive’s root directory. Insert the USB drive into the projector’s USB port, then navigate to the “Firmware Update” option in the projector’s menu. Follow the on-screen instructions to begin the update process. Do not disconnect power or remove the USB device during a firmware update, as this can corrupt the projector’s software and leave it permanently bricked. The update may take several minutes, and the projector may restart multiple times. Once complete, the projector will reboot and you can verify the new firmware version in the settings menu. Always download firmware only from the manufacturer’s official site, never from third-party sources, as these can contain malware or be incompatible with your device.
\nRelated reading: How To Turn Up Volume On Projector, How To Turn Volume Down On Vankyo Projector, and How To Set Up Skytrak With Projector.