What is a Viewsonic Projector?
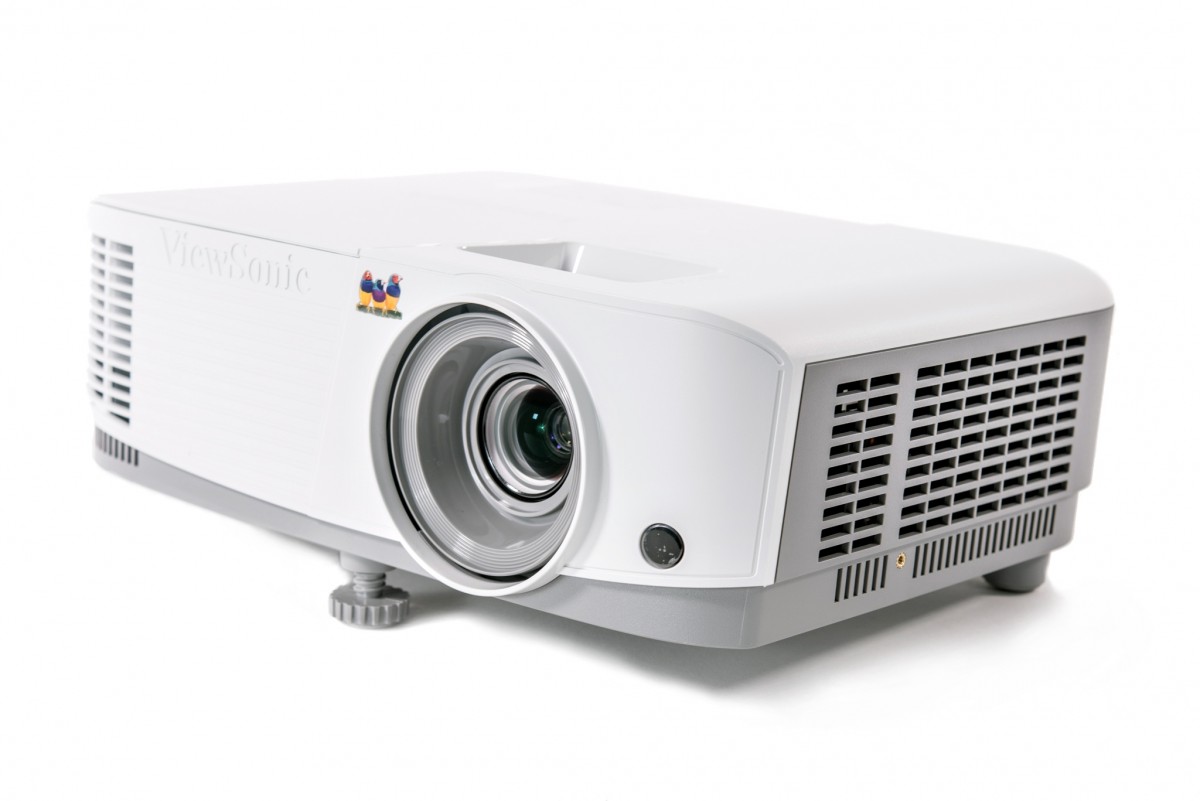
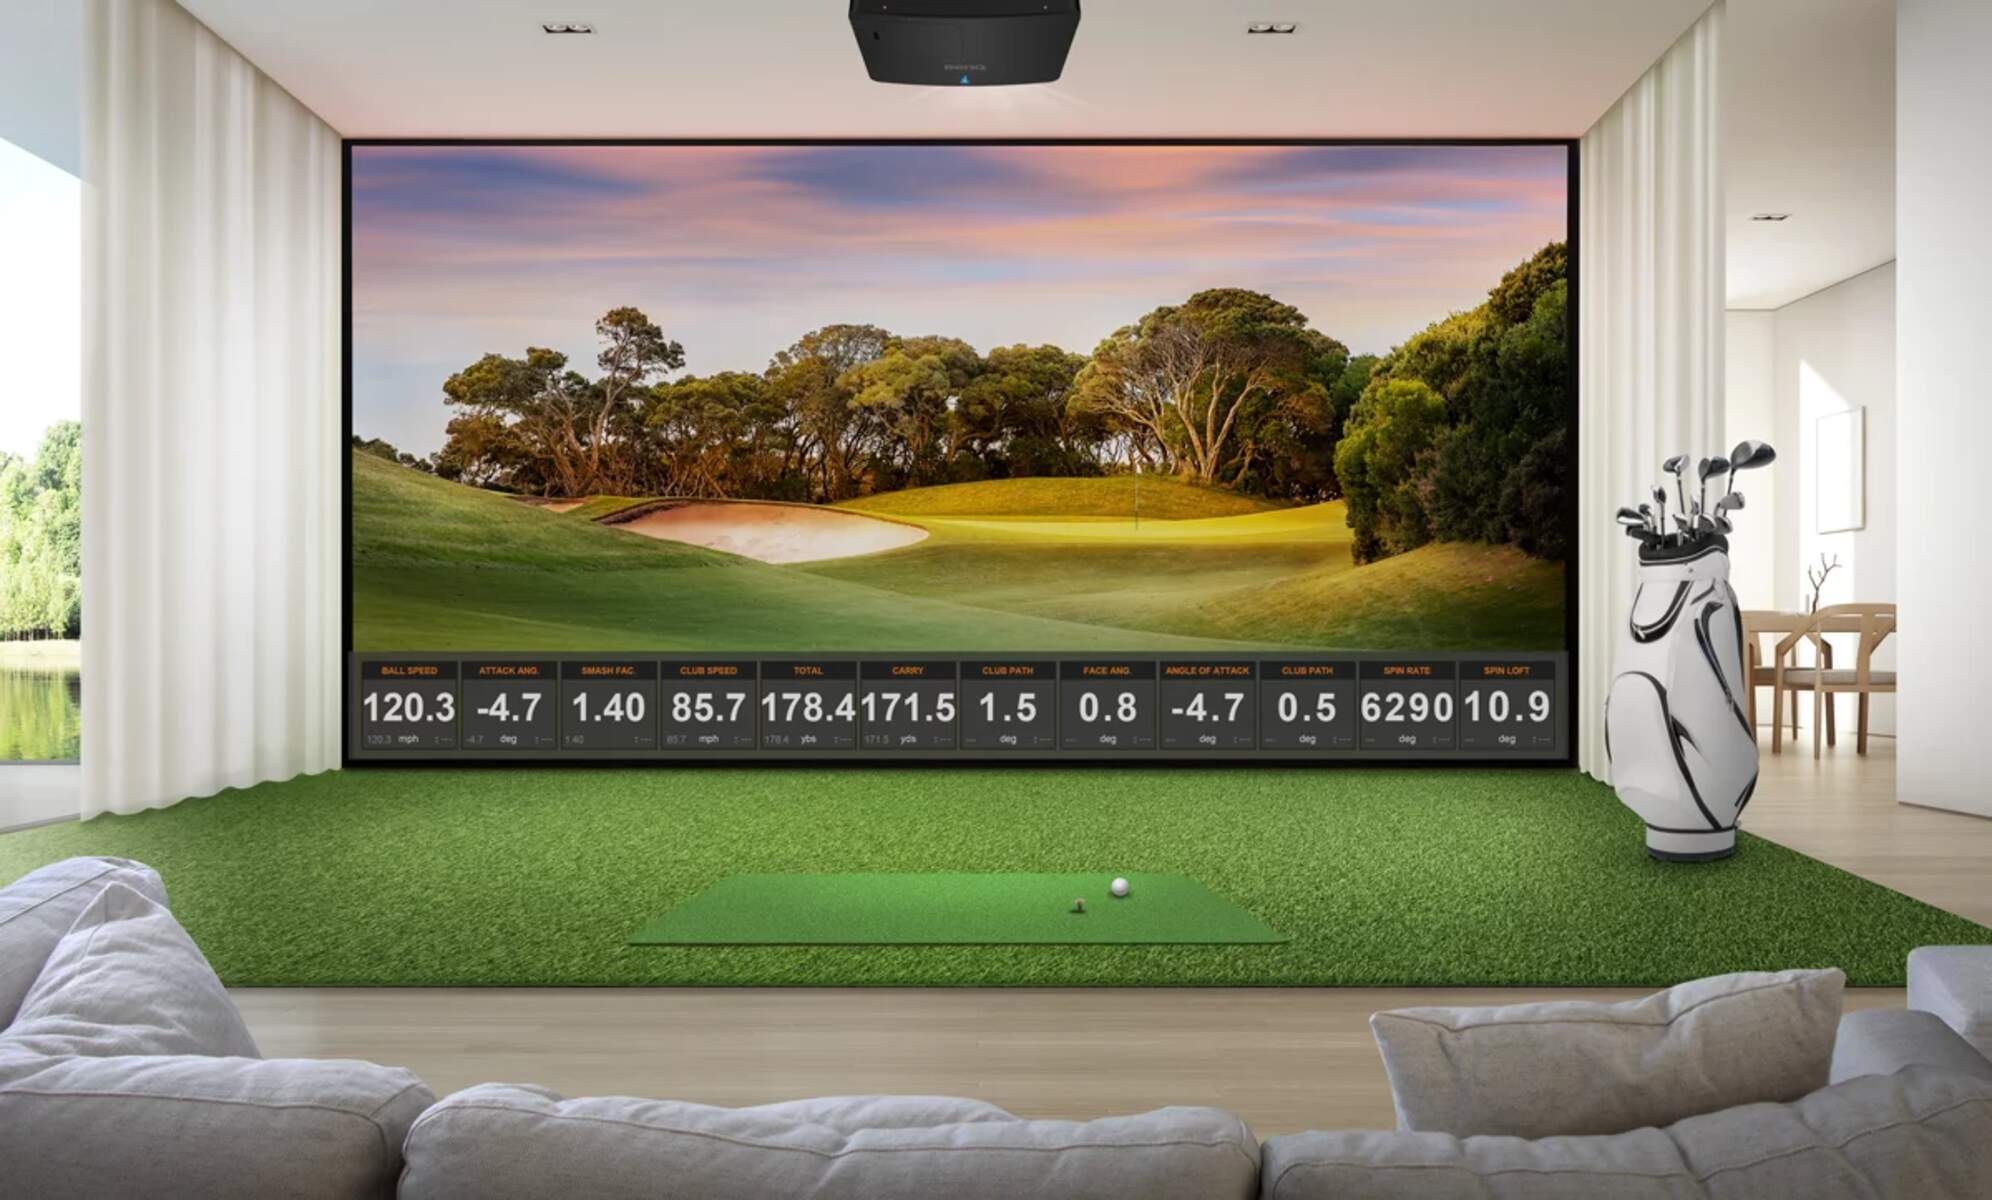
A Viewsonic projector is a versatile device that allows you to display images, videos, presentations, and other visual content on a larger screen. It utilizes advanced technology to project a high-quality and vibrant image onto a surface, such as a wall or a projector screen.
Viewsonic projectors are widely used in various settings, including classrooms, meeting rooms, home theaters, and even outdoor venues. They offer a range of features and options to cater to different needs and preferences.
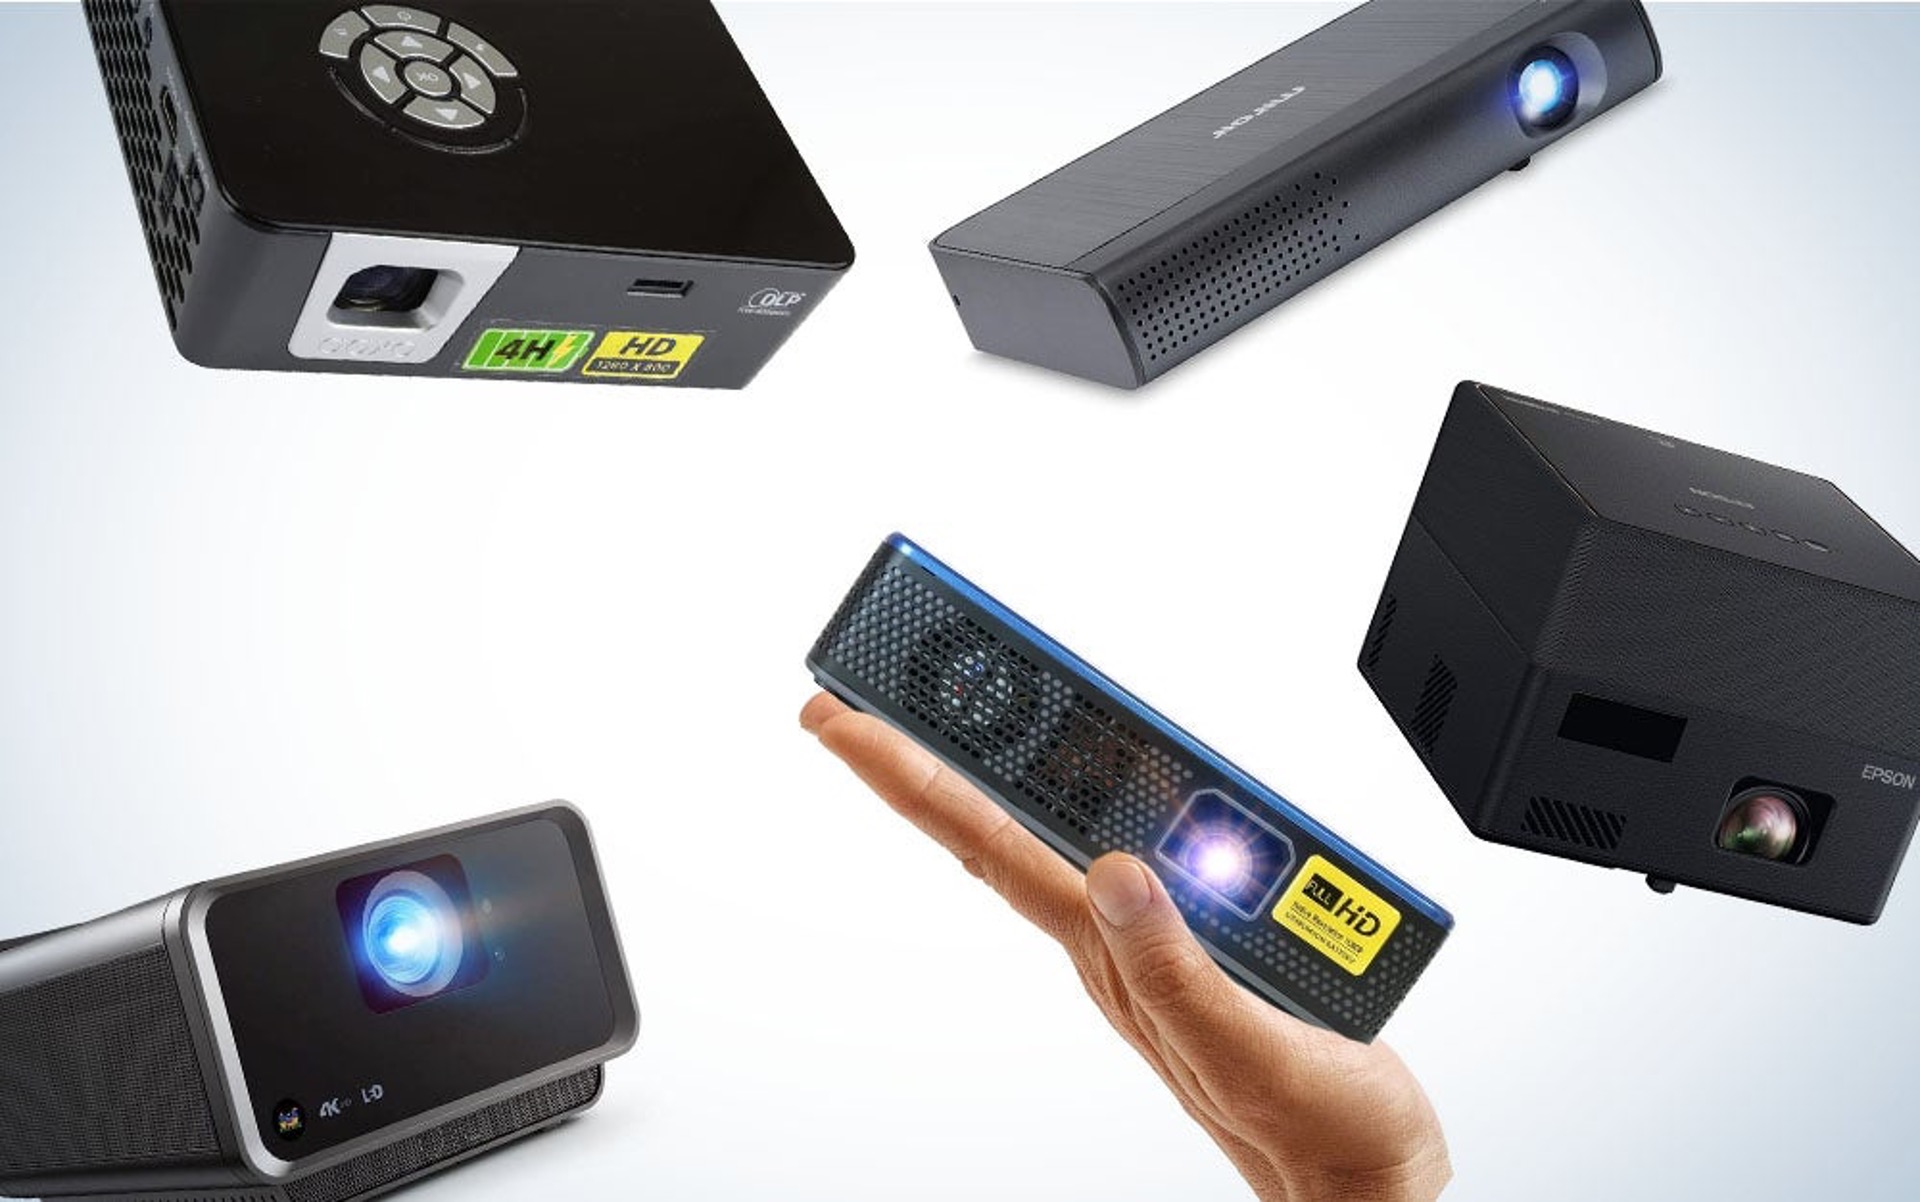
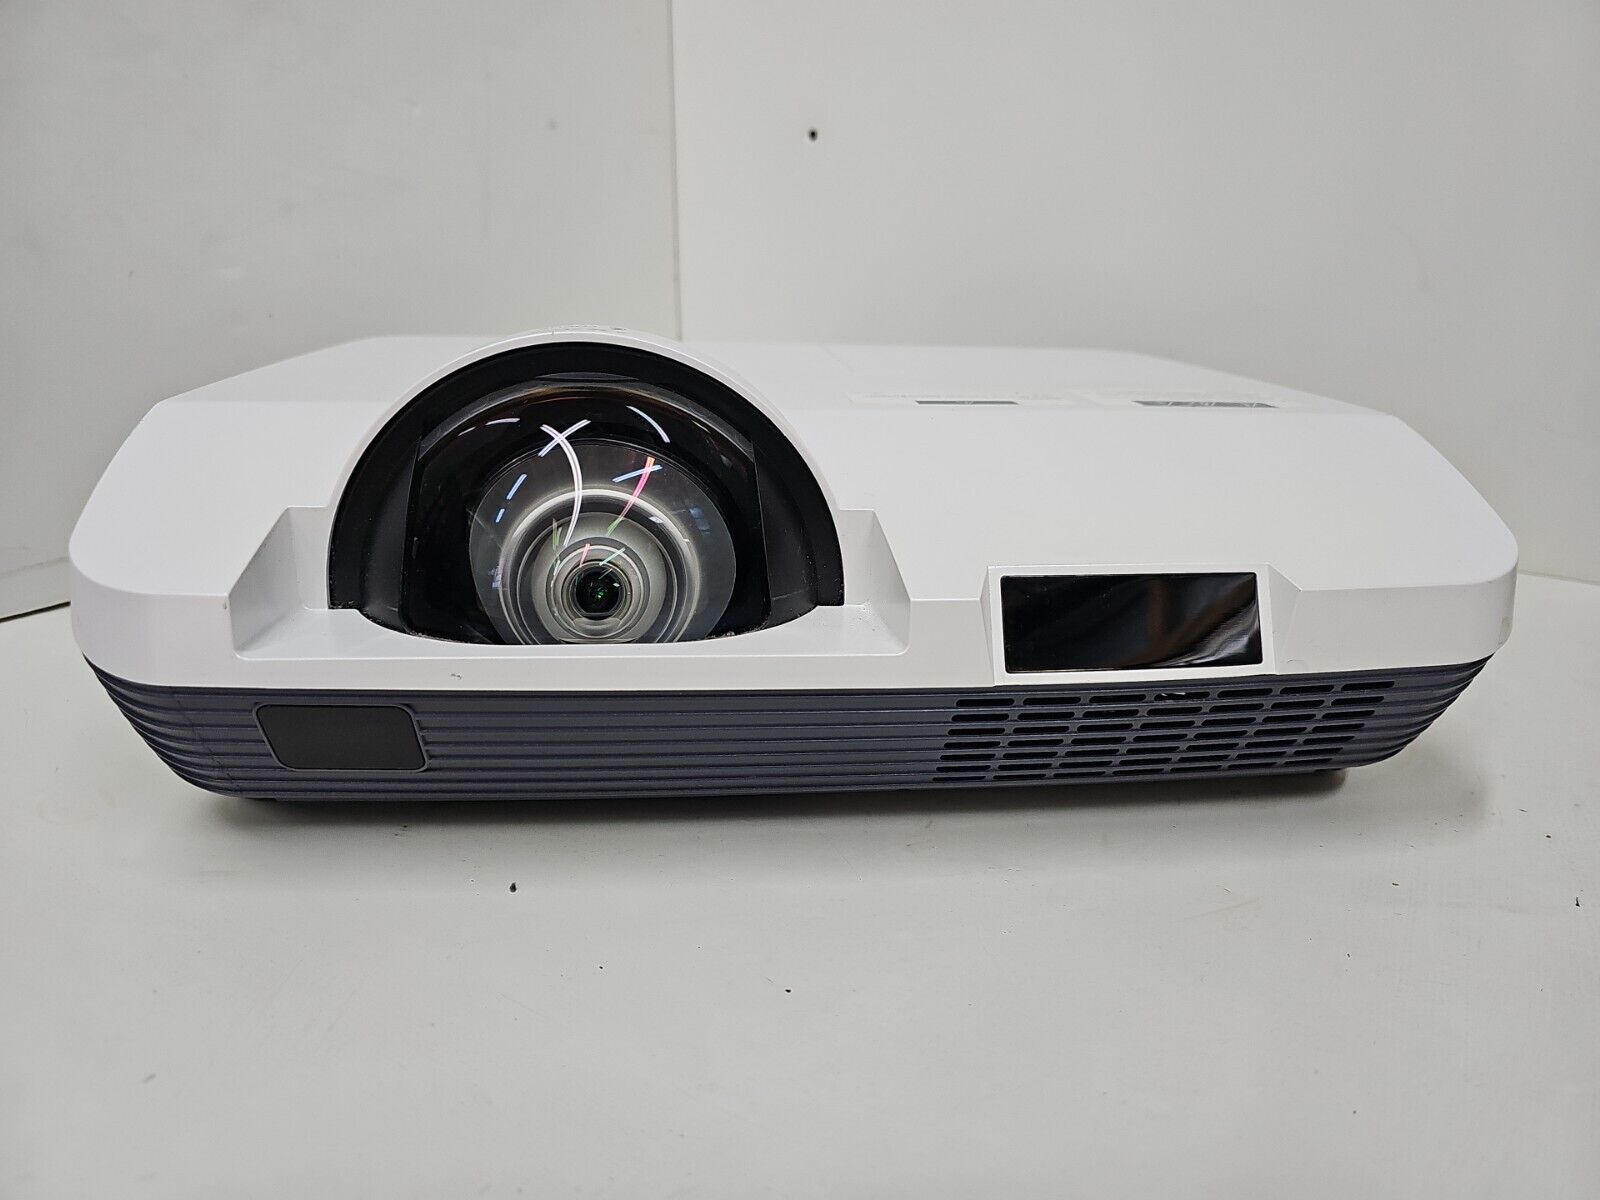
One of the key advantages of a Viewsonic projector is its portability. With a lightweight and compact design, it can be easily transported from one location to another, making it convenient for professionals on the go or for those who frequently travel.
Viewsonic projectors also come with different resolution options, including standard definition (SD), high-definition (HD), and even 4K Ultra HD resolution, ensuring sharp and detailed images for various requirements. The brightness levels of Viewsonic projectors are also impressive, enabling clear and vibrant visuals even in well-lit environments.
Furthermore, Viewsonic projectors offer a wide range of connectivity options. They typically come equipped with HDMI ports, which allow you to connect various devices like laptops, gaming consoles, streaming devices, and DVD players. Some models also offer wireless connectivity options, enabling you to stream content from your smartphone or tablet without the need for any cables.
Viewsonic projectors are designed with user-friendly interfaces, making them easy to operate. They often come with remote controls that allow you to adjust settings, switch between input sources, and navigate through menus without having to be in close proximity to the projector.
With the versatility, portability, and advanced features of Viewsonic projectors, they have become an essential tool for presentations, entertainment, and educational purposes. Whether you are a professional needing a portable presentation solution or a movie enthusiast wanting a cinema-like experience at home, a Viewsonic projector can meet your visual needs.
Setting Up the Viewsonic Projector
Setting up a Viewsonic projector is a relatively straightforward process that can be done in a few simple steps. Whether you are using the projector for a business presentation or a movie night at home, here’s a guide to help you get started:
- Choose the ideal location: Find a suitable location for your projector where it can be easily seen by the audience. Consider factors such as the distance to the screen or wall, the available space, and any obstructions that may affect the projection.
- Prepare the projection surface: Ensure that the screen or wall where you intend to project the image is clean and suitable for projection. If using a projector screen, set it up securely and adjust it to the desired height and position.
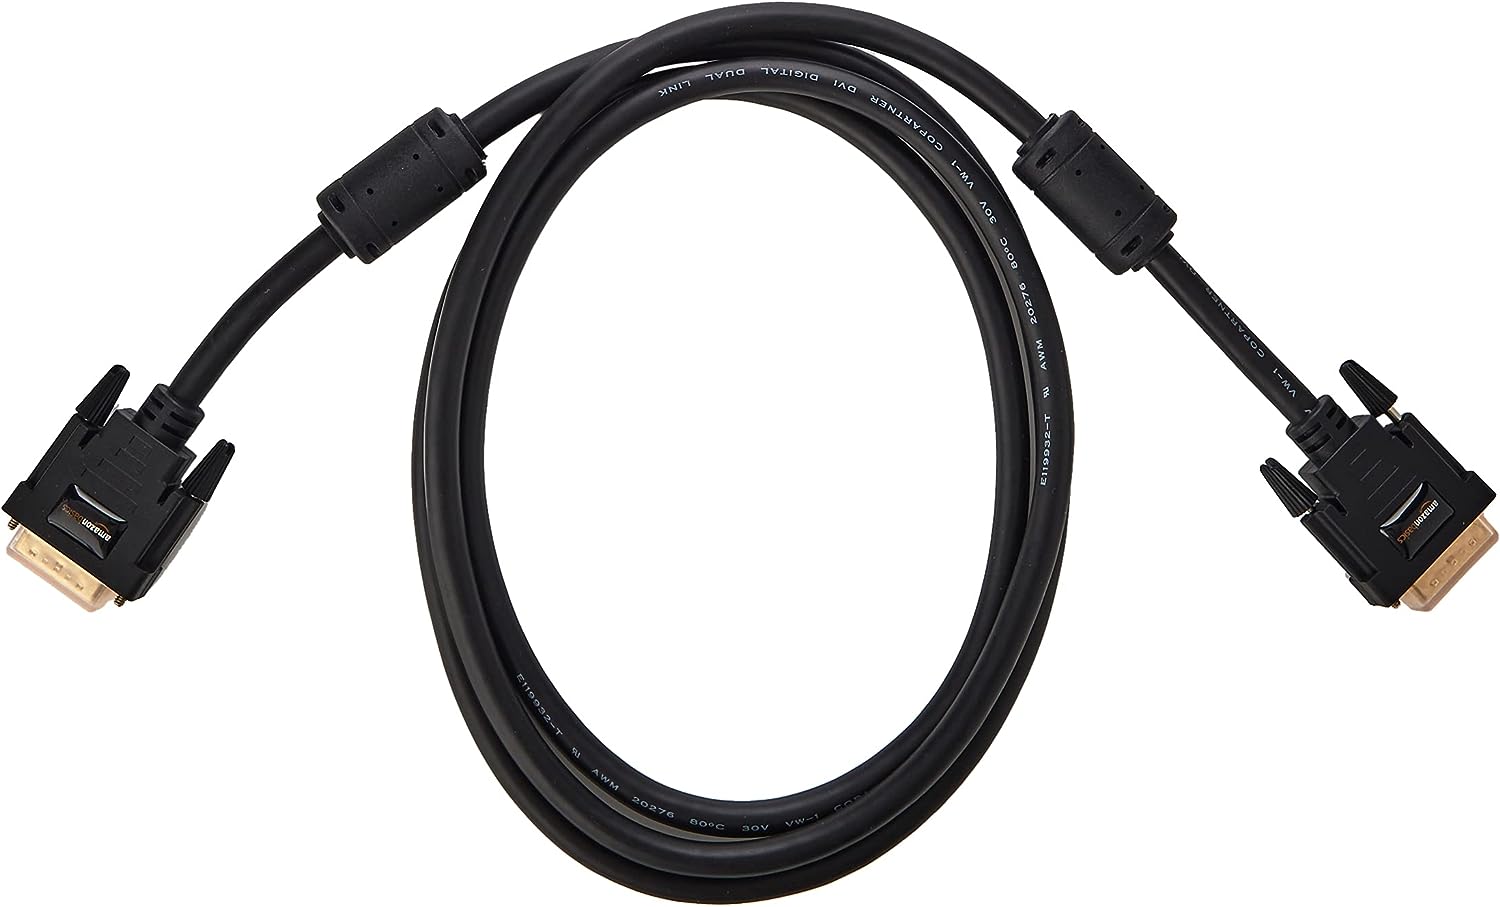
- Connect the necessary cables: Depending on your setup, connect the appropriate cables to the projector. The most common connection is an HDMI cable, which provides high-quality audio and video transmission. If your device does not have an HDMI port, you may need to use other available connectivity options, such as VGA or USB.
- Power on the projector: Plug the power cord into an electrical outlet and press the power button on the projector or its remote control to turn it on. Wait for the projector to warm up, which may take a few moments.
- Adjust the projection settings: Use the focus and zoom features on the projector to adjust the image size and clarity. The controls for these settings are typically located on the lens or the top panel of the projector. Fine-tune the image until it meets your desired specifications.
- Configure the audio settings: If you intend to use the projector’s built-in speakers or connect external speakers, adjust the audio settings accordingly. Most projectors have an audio output port that allows you to connect speakers or audio devices for better sound quality.
- Test the projection: Display a test image or a sample video to ensure that the projection is clear, sharp, and properly aligned. Make any necessary adjustments to the projector’s position or settings to optimize the image quality.
By following these steps, you can quickly and easily set up your Viewsonic projector, ensuring a seamless and enjoyable visual experience for your audience. Remember to refer to the user manual for detailed instructions specific to your projector model, as the setup process may vary slightly.
Connecting Devices to the Viewsonic Projector
One of the key features of a Viewsonic projector is its ability to connect to various devices, allowing you to display content from laptops, gaming consoles, streaming devices, and more. Here’s a step-by-step guide on how to connect devices to your Viewsonic projector:
- Identify the input ports: Take a look at the back or side panel of your Viewsonic projector to locate the available input ports. Common input options include HDMI, VGA, USB, and audio ports.
- Choose the appropriate cable: Depending on the device you want to connect, select the corresponding cable. For most modern devices, such as laptops or gaming consoles, an HDMI cable is the most common choice. If you’re connecting older devices or those without HDMI ports, you may need a VGA cable or an adapter.
- Connect the cable: Plug one end of the cable into the appropriate port on the projector and the other end into the corresponding port on your device. Ensure a secure connection by firmly inserting the cable plugs into the ports.
- Adjust the input source: Use the projector’s remote control or menu interface to select the correct input source. The available input sources will depend on the connections made in the previous step. For example, if you connected your device via an HDMI cable, select the HDMI input on the projector.
- Configure display settings (if necessary): Depending on the device and the projector, you may need to adjust the display settings on your device to ensure compatibility with the projector. This may involve changing the resolution, aspect ratio, or display mirroring options.
- Test the connection: Once everything is connected and the input source is selected, turn on your device and check if the content is being properly displayed by the projector. Adjust any settings as needed to achieve the desired image quality.
It’s important to note that some Viewsonic projectors offer additional wireless connectivity options, allowing you to connect devices without the need for cables. These models usually support screen mirroring features, enabling you to display content directly from your smartphone, tablet, or computer wirelessly. Refer to your projector’s user manual for specific instructions on how to set up and use these wireless features.
By following these steps, you can easily connect your devices to a Viewsonic projector and enjoy high-quality visuals on a larger screen. Whether for presentations, gaming, or multimedia entertainment, the flexibility of connecting devices to a Viewsonic projector provides a versatile solution for a wide range of applications.
Adjusting the Projector Image
Once you have set up your Viewsonic projector, it’s important to make some adjustments to ensure the best possible image quality. Here are some key steps to follow when adjusting the projector image:
- Positioning the projector: Start by positioning the projector at the desired distance from the projection surface. Use the projector’s lens shift, keystone correction, or zoom features to align the image properly. Adjusting the projector’s height and angle can also help optimize the image projection.
- Focusing the image: Use the focus ring on the projector to sharpen the image. Rotate the focus ring until the projected image becomes clear and in focus. This step ensures that the text and details in your content are sharp and easy to read.
- Correcting keystone distortion: If the projector is not aligned perfectly with the projection surface, it can result in a distorted image, known as keystone distortion. Most Viewsonic projectors offer keystone correction features that allow you to adjust the trapezoidal distortion and make the image rectangular. Use the keystone correction controls, either manual or digital, to straighten the image and eliminate any distortion.
- Adjusting image size: Depending on the available space and your preferences, you may need to adjust the image size. Viewsonic projectors typically offer zoom control, allowing you to increase or decrease the size of the projected image. Use the zoom feature to fit the image properly within the desired projection area.
- Setting the aspect ratio: If your content has a specific aspect ratio, such as 16:9 for widescreen presentations or 4:3 for standard presentations, make sure to set the projector’s aspect ratio accordingly. This ensures that the image is displayed in the correct proportions, without any stretching or distortion.
- Adjusting brightness and contrast: To achieve the optimal image quality, adjust the brightness and contrast settings on the projector. Use the projector’s menu interface to navigate to the image settings and fine-tune the brightness and contrast levels according to the lighting conditions of the room.
- Color calibration: Viewsonic projectors often come with color calibration features that allow you to adjust the color temperature, saturation, and hue of the projected image. Use these settings to achieve accurate and vibrant colors that enhance the overall visual experience.
- Test and fine-tune: After making adjustments, it’s important to test the image quality with different types of content, such as presentations, videos, or images. Make any necessary tweaks to the projector settings to achieve the best possible image quality for your specific needs.
By following these steps and taking the time to adjust the projector image, you can ensure a visually appealing and immersive experience for your audience. Remember to refer to the user manual of your specific Viewsonic projector model for detailed instructions on how to make these adjustments.
Using the Projector Remote Control
The projector remote control is a convenient tool that allows you to easily navigate through the projector’s menus, adjust settings, and control various functions. Familiarizing yourself with the remote control can greatly enhance your experience with the Viewsonic projector. Here are some key features and functions of the projector remote control:
- Power control: The remote control typically includes a power button that allows you to turn the projector on or off with a simple press. This eliminates the need to manually operate the projector every time.
- Input source selection: By using the input source button on the remote control, you can easily switch between different input sources, such as HDMI, VGA, or USB. This allows you to quickly connect and project content from different devices without hassle.
- Menu navigation: The remote control includes navigation buttons, such as directional arrows or a joystick, that allow you to browse through the projector’s menu system. Use these buttons to access various settings and adjust them according to your preferences.
- Image adjustments: Many Viewsonic projectors offer dedicated buttons on the remote control for making quick image adjustments. Common functions include adjusting the brightness, contrast, keystone correction, and aspect ratio directly from the remote control, without having to dig through the menus.
- Volume control: If your Viewsonic projector has built-in speakers or if you have connected external speakers, the remote control often includes volume control buttons. These buttons enable you to easily increase or decrease the audio volume to suit your requirements.
- Freeze and blank screen: Some remote controls provide additional functions like freeze and blank screen. The freeze function allows you to freeze the current image being projected, while the blank screen function temporarily turns off the projected image, useful during breaks or to divert attention from the screen.
- Remote control range: It’s important to note the range of the remote control. Make sure you are within the specified range mentioned in the user manual for the remote control to function properly.
- Battery replacement: The remote control operates on batteries. If the remote control ceases to function, check the battery compartment for any signs of battery depletion. Replace the batteries with new ones to restore functionality.
Understanding and utilizing the features of the projector remote control can significantly enhance your overall experience with the Viewsonic projector. It provides convenience and quick access to essential functions, allowing you to make adjustments and control the projector from a distance.
Keep the remote control within reach during your presentation or leisure time to easily navigate through the projector’s settings and optimize the image quality and functionality according to your preferences.
Accessing the Projector Menu
The projector menu is a vital feature of a Viewsonic projector that allows you to access and adjust various settings, enabling you to customize your viewing experience. Here are the steps to access the projector menu:
- Ensure that the projector is turned on and displaying an image on the projection surface.
- Locate the menu button on the projector or the remote control. It is usually represented by an icon resembling a set of gears or a menu.
- Press the menu button on either the projector or the remote control. This will bring up the projector’s menu on the projection surface.
- Use the navigation buttons on the remote control or the projector to move through the menu options, typically represented as icons or text.
- Once you have highlighted a specific menu option, press the select or enter button on the remote control or the projector to access that particular menu.
- Within each menu, you will find various settings and options that you can adjust. These settings might include image adjustments, input source selection, display settings, color calibration, volume control, and more.
- Use the navigation buttons to select the desired settings or options within each menu. Depending on the projector model, you may have to press the select or enter button to confirm and save your changes.
- Continue navigating through the menu to make adjustments to other settings, if needed.
- Once you have finished adjusting the settings, you can exit the menu by pressing the menu button again or selecting an exit or close option within the menu.
It’s important to consult the user manual specific to your Viewsonic projector model for detailed instructions on accessing and navigating the menu. The layout and functionality of the menu system may vary slightly depending on the model.
The projector menu provides you with the ability to fine-tune and customize the projector’s settings to suit your preferences and requirements. Explore the different options available in the menu to optimize the image quality, adjust audio settings, and customize the projector’s functionality for an enhanced viewing experience.
Troubleshooting Common Issues with the Viewsonic Projector
While Viewsonic projectors are known for their reliability, occasional issues may arise that can affect your viewing experience. Here are some common issues you may encounter with a Viewsonic projector and troubleshooting steps to resolve them:
- No power or projector not turning on:
- Check if the power cable is properly plugged into an electrical outlet and the projector.
- Ensure that the power switch, both on the projector and the remote control, is turned on.
- If using the remote control, try replacing the batteries with new ones.
- Inspect the power LED indicator on the projector. If it is not lit, there may be an issue with the power supply or the projector’s internal components. Contact customer support for further assistance.
- No image or distorted image:
- Check all the cables to ensure they are securely connected to the correct input ports on the projector and the source device.
- Verify that the input source on the projector is correctly selected.
- Adjust the focus ring on the projector lens to ensure a clear and sharp image.
- Use the keystone correction feature on the projector or the remote control to rectify any distortion caused by improper projection angle.
- If using an HDMI cable, ensure that it is compatible with both the projector and the source device. Try using a different cable to troubleshoot the issue.
- No audio or low volume:
- Check if the audio cables are properly connected to the projector and the audio source.
- Ensure that the volume on the projector and the audio source are turned up to an audible level.
- If using external speakers, ensure that they are connected properly and powered on.
- Access the projector menu and verify that the audio settings are configured correctly. Adjust the audio output settings as necessary.
- If the above steps do not resolve the issue, there may be a problem with the projector’s internal speakers or audio components. Consider using external speakers or contact customer support for further assistance.
- Overheating or excessive fan noise:
- Ensure that the projector has proper ventilation and is not placed in an enclosed space or near heat-emitting objects.
- Clean the projector’s air vents and filters to remove any dust or debris that may be obstructing airflow.
- Reduce the brightness or lamp power mode of the projector to reduce heat output.
- If the projector continues to overheat or exhibits abnormal fan noise, there may be a fault with the internal cooling system. Contact customer support for further assistance.
If you encounter any other issues with your Viewsonic projector that are not addressed above, refer to the user manual for troubleshooting guidance specific to the model. You can also contact Viewsonic customer support for further assistance in resolving the issue.
Remember to perform regular maintenance, such as cleaning the projector and replacing the lamp when necessary, to ensure optimal performance and longevity of your Viewsonic projector.
Tips for Maximizing the Performance of the Viewsonic Projector
To get the best out of your Viewsonic projector and enhance your viewing experience, here are some helpful tips to maximize its performance:
- Properly position the projector: Find the optimal placement for your projector to ensure the best image projection. Position it at the correct distance from the projection surface and use the projector’s adjustable feet or mounting options to achieve the desired height and angle.
- Use a suitable projection surface: Invest in a high-quality projector screen or use a smooth, flat white wall as the projection surface. A dedicated screen or a properly prepared wall will enhance the image quality and provide a better viewing experience.
- Optimize the lighting conditions: Control the lighting in the room where the projector is used. Reduce ambient light as much as possible to improve image clarity and contrast. Use curtains, blinds, or other light-blocking methods to minimize external light sources affecting the projected image.
- Regularly clean the projector: Dust and debris can accumulate on the projector’s lens and vents, affecting the image quality and causing overheating. Clean the lens with a soft, lint-free cloth and use compressed air or a soft brush to remove dust from the vents and internal components. Always refer to the user manual for proper cleaning instructions.
- Maintain proper ventilation: Ensure that the projector has adequate airflow to prevent overheating. Keep the air vents unobstructed and make sure the projector is not placed in an enclosed space or near heating sources that may affect its performance.
- Follow recommended lamp usage guidelines: Be mindful of the recommended lamp usage duration specified by the manufacturer. Excessive use beyond the recommended lifespan may result in diminished image quality and eventually the need for a lamp replacement. Consult the user manual for lamp replacement instructions specific to your projector model.
- Adjust the brightness and contrast settings: Optimize the image quality by adjusting the brightness and contrast settings according to the lighting conditions in the room. Experiment with these settings to find the balance that suits your preferences and provides the best image quality.
- Keep the projector firmware up to date: Check for and install any available firmware updates for your Viewsonic projector. Firmware updates often include performance improvements, bug fixes, and additional features that enhance your projector’s functionality.
- Use high-quality content sources: Connect your projector to high-definition devices and sources that can take advantage of its capabilities. Use Blu-ray players, gaming consoles, or streaming devices that output high-quality content to ensure the projected image is sharp and vibrant.
- Consider ambient audio options: If the built-in speakers of the projector are not sufficient, connect external speakers or invest in a separate audio system to enhance the audio experience. This is particularly important for immersive movie nights or presentations with audio-heavy content.
By following these tips, you can optimize the performance of your Viewsonic projector and enjoy a superior viewing experience. Remember to refer to the user manual specific to your projector model for detailed instructions and additional tips provided by the manufacturer.
Conclusion
A Viewsonic projector is a versatile and powerful device that allows you to display high-quality images, videos, and presentations on a larger screen. Whether you’re using it for professional presentations, educational purposes, or entertainment in your home theater, understanding how to set up, connect devices, adjust the image, use the remote control, access the menu, troubleshoot common issues, and maximize performance can greatly enhance your projector experience.
By following the steps outlined in this guide, you can confidently set up your Viewsonic projector, connect it to various devices, adjust the image to ensure optimal quality, and utilize the remote control and menu to customize settings. Additionally, troubleshooting common issues will help you quickly diagnose and resolve any problems you may encounter during usage.
Remember to maintain the projector by cleaning it regularly, following recommended lamp usage guidelines, and keeping the firmware up to date. By applying these tips, you can extend the lifespan of your projector and ensure consistent performance over time.
Whether you’re using a Viewsonic projector for work or leisure, mastering its features and functionality will allow you to unlock its full potential and enjoy a captivating visual experience.