Introduction
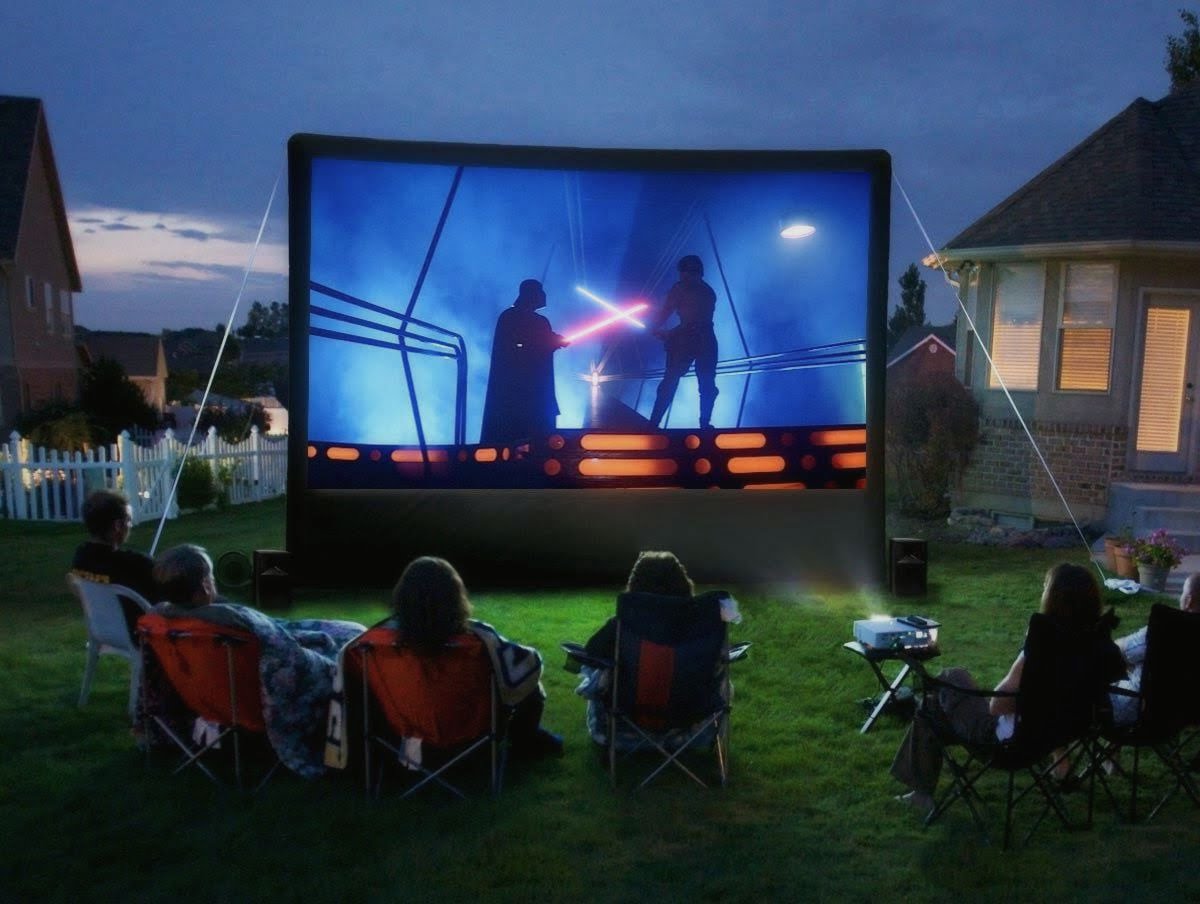
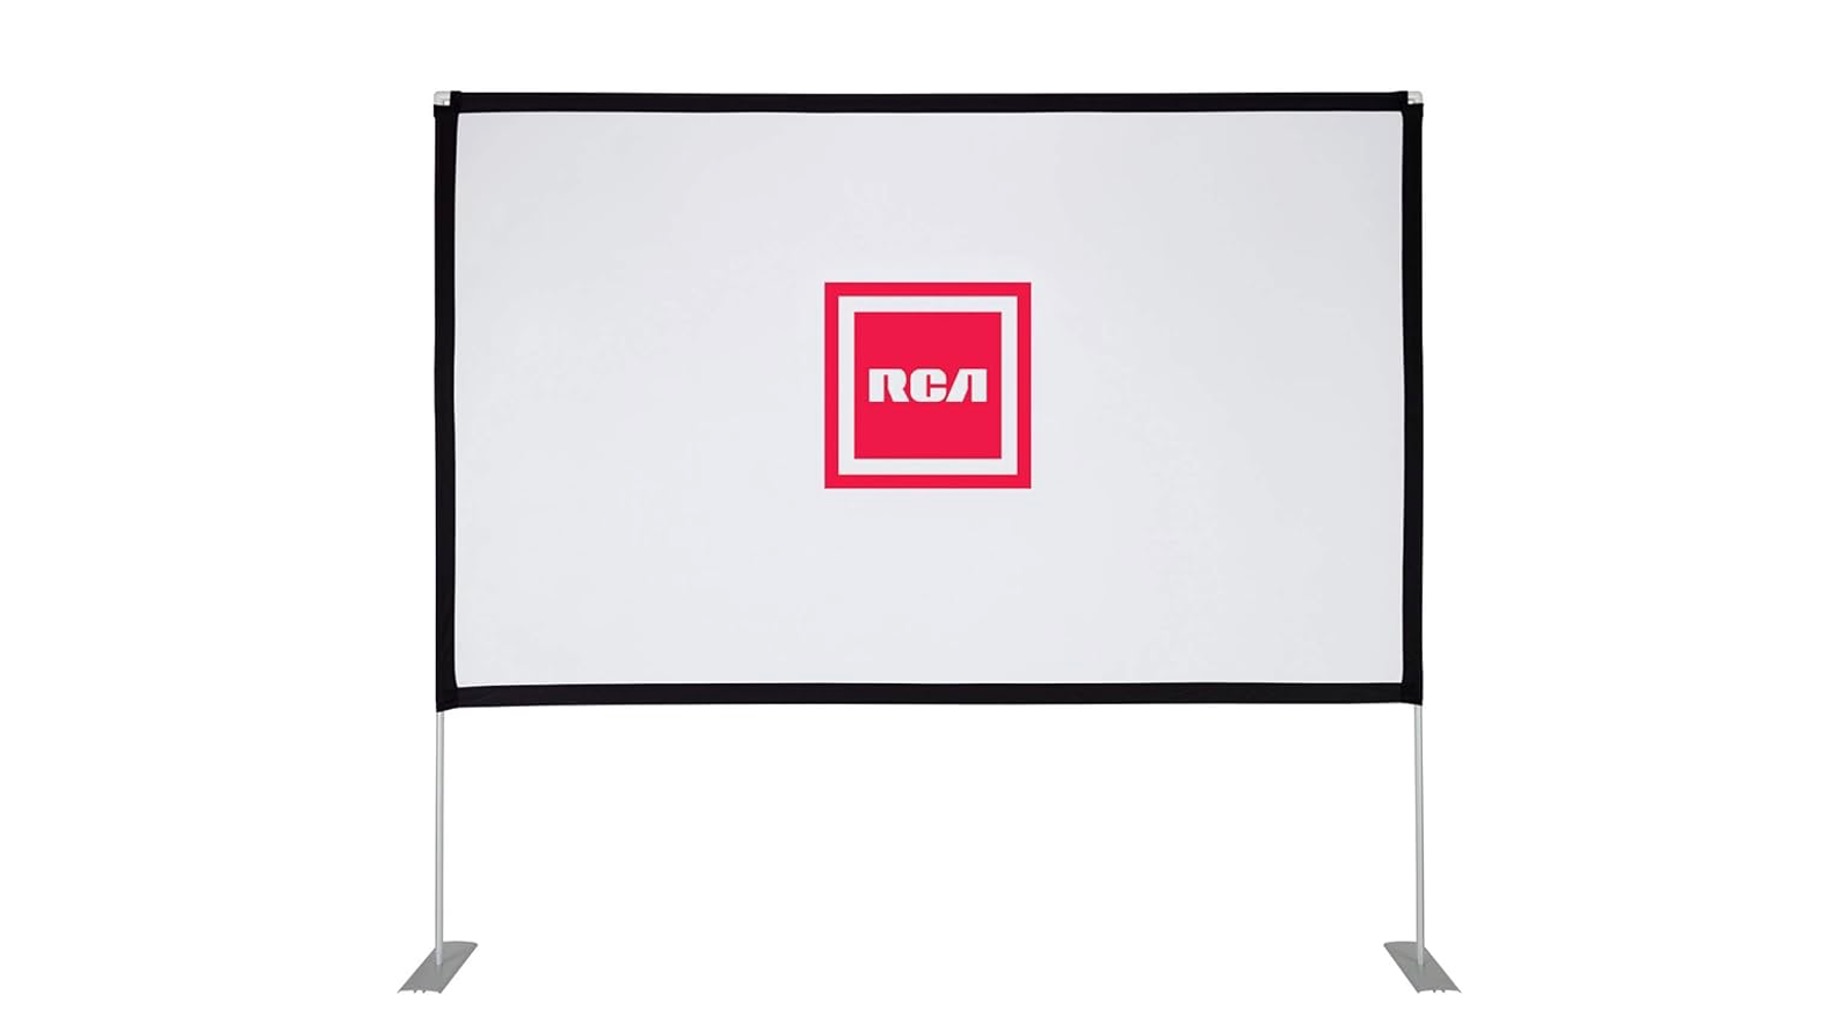
Are you ready to elevate your cinematic experience with the RCA Portable Projector Screen? This versatile and convenient accessory allows you to transform any space into a captivating entertainment hub, perfect for movie nights, gaming sessions, or immersive presentations. However, if you've noticed unsightly creases marring the pristine surface of your projector screen, fret not! In this guide, we'll delve into the art of banishing creases and restoring your screen to its flawless state.
Creases on a projector screen can be a frustrating obstacle, disrupting the seamless display of your favorite media and detracting from the overall viewing experience. Whether these creases are the result of storage, transportation, or handling, they can be effectively remedied with the right approach. By understanding the causes of creases and implementing targeted techniques, you can bid farewell to these imperfections and revel in a smooth, pristine surface for your projected content.
In this comprehensive guide, we'll explore the underlying reasons for creases on projector screens, equip you with essential preparatory steps, and walk you through the process of using heat and weight to eliminate creases. By the end of this journey, you'll be equipped with the knowledge and skills to restore your RCA Portable Projector Screen to its original, crease-free glory, ensuring that every viewing experience is nothing short of exceptional.
So, let's embark on this crease-eradicating adventure and unleash the full potential of your projector screen, allowing you to immerse yourself in captivating visuals without the distraction of unsightly creases. Get ready to bid adieu to creases and embrace a seamless, high-quality viewing experience with your RCA Portable Projector Screen!
Understanding the Cause of Creases
Before delving into the methods of removing creases from your RCA Portable Projector Screen, it’s essential to grasp the underlying causes of these pesky imperfections. By understanding the factors that contribute to creases, you can take proactive measures to prevent their occurrence in the future.
One common culprit behind creases on projector screens is improper storage. When the screen is folded or rolled up and stored in a cramped or irregular manner, it is susceptible to developing creases. Additionally, if the screen is subjected to pressure or weight while in storage, it can lead to the formation of stubborn creases that mar the surface.
Transportation can also play a significant role in the development of creases. Whether you’re carrying the projector screen to different locations for events or simply moving it from one room to another, the handling and positioning of the screen during transit can result in creases. Bumps, jostling, or uneven pressure on the screen can all contribute to the formation of creases.
Furthermore, the material composition of the projector screen can influence its susceptibility to creasing. Some screens may be more prone to developing creases based on the type of fabric or material used. Understanding the properties of the screen material can provide insights into how it responds to folding, rolling, and external pressure, allowing you to handle it with greater care.
By recognizing these potential causes of creases, you can take proactive measures to minimize their occurrence. Properly storing the projector screen in a flat, unencumbered position, using protective cases or covers during transportation, and selecting materials known for their resistance to creasing can all contribute to maintaining a smooth, flawless surface on your RCA Portable Projector Screen.
Now that we’ve unraveled the mystery behind creases, let’s move on to the essential preparatory steps for tackling these imperfections and restoring your projector screen to its pristine condition.
Preparing the Projector Screen
Before embarking on the journey to eliminate creases from your RCA Portable Projector Screen, it’s crucial to prepare the screen adequately to ensure optimal results. This preparatory phase sets the stage for the subsequent crease-removal techniques, allowing you to approach the task with precision and effectiveness.
The first step in preparing the projector screen involves identifying the extent and location of the creases. Carefully unfold or unroll the screen in a spacious, well-lit area, and inspect the surface for any visible creases. Take note of their size, depth, and distribution across the screen, as this information will guide your approach to addressing each crease.
Next, gently smooth out any minor creases or wrinkles by using your hands to apply even pressure across the affected areas. This initial smoothing process helps to loosen the creased fabric and prepares the screen for the subsequent crease-removal methods. By gently manipulating the screen with your hands, you can begin the process of coaxing the fabric back to its original, crease-free state.
It’s also advisable to allow the projector screen to acclimate to room temperature if it has been stored in a cooler environment. Sudden temperature changes can affect the flexibility and resilience of the screen material, potentially making it more challenging to address creases. Allowing the screen to reach room temperature ensures that it is pliable and responsive to the crease-removal techniques you’ll employ.
Furthermore, ensure that the work area is free from any obstructions or potential hazards that could interfere with the crease-removal process. A clean, spacious surface provides the ideal setting for working with the projector screen, allowing you to maneuver it effectively and apply the necessary techniques without impediments.
By meticulously preparing the projector screen and creating an optimal working environment, you set the stage for a successful crease-removal endeavor. With the screen primed and ready, you’re now equipped to explore the targeted methods of using heat and weight to banish creases and restore the flawless allure of your RCA Portable Projector Screen.
Using Heat to Remove Creases
When confronted with stubborn creases on your RCA Portable Projector Screen, harnessing the power of heat can be a highly effective strategy for banishing these imperfections. By applying controlled heat to the creased areas, you can encourage the fabric to relax and release the unsightly creases, restoring the smooth, pristine surface of the screen.
To initiate the process of using heat to remove creases, begin by setting up a clothing steamer or iron with a low-heat setting. It’s crucial to exercise caution and avoid using high heat, as excessive temperatures can damage the screen material. Once the steamer or iron is ready, gently hover it over the creased areas of the projector screen, maintaining a slight distance to prevent direct contact with the fabric.
As the gentle steam or heat permeates the creased fabric, you’ll notice the creases gradually softening and relaxing. Use smooth, sweeping motions to guide the steamer or iron across the affected areas, allowing the heat to coax the fabric back to its original, unblemished state. Exercise patience and avoid applying excessive pressure, as the goal is to encourage the fabric to release the creases naturally.
For particularly stubborn creases, you may need to focus the heat application on specific areas for slightly longer durations. However, it’s essential to monitor the screen closely and refrain from prolonged exposure to heat, as this can compromise the integrity of the material. Additionally, periodically check the progress by gently smoothing out the creased areas with your hands to assess the efficacy of the heat application.
Throughout the heat treatment process, maintain a gentle and methodical approach, allowing the fabric to respond gradually to the warmth. Once you observe significant improvement in the creased areas, carefully remove the heat source and allow the screen to cool and set in its rejuvenated state. The application of heat serves as a potent ally in your quest to eliminate creases, restoring the flawless allure of your RCA Portable Projector Screen.
With the power of heat at your disposal, you’re well-equipped to tackle even the most resilient creases, ensuring that your viewing experience remains undisturbed by unsightly imperfections. Now, let’s explore another effective approach for banishing creases: utilizing weight to flatten the screen and achieve impeccable results.
Using Weight to Flatten the Screen
When confronting persistent creases on your RCA Portable Projector Screen, employing the technique of using weight to flatten the fabric can yield remarkable results. This method capitalizes on the application of gentle, consistent pressure to encourage the creased areas to gradually relinquish their unsightly folds, restoring the smooth, unblemished surface of the screen.
To initiate the process of using weight to flatten the screen, you’ll need a clean, flat surface large enough to accommodate the entire projector screen. Lay the screen on the surface, ensuring that it is positioned in a taut, even manner without any additional folds or wrinkles. This preparatory step sets the stage for the subsequent application of weight to address the creases effectively.
Next, acquire a clean, smooth fabric or parchment paper to place over the creased areas of the projector screen. This protective layer serves as a barrier between the weight and the screen, preventing direct contact that could potentially cause damage or transfer unwanted marks to the fabric. Ensure that the protective fabric or parchment paper is positioned securely over the creased areas.
With the protective layer in place, gently position weights or heavy, flat objects strategically over the creased areas of the screen. These weights should be distributed evenly to apply uniform pressure across the entire surface, effectively coaxing the fabric to release the creases. Avoid using excessively heavy objects that could damage the screen, opting for moderate weights that provide steady, consistent pressure.
Allow the weights to remain in place for an extended period, typically ranging from several hours to overnight, depending on the severity of the creases. This prolonged application of gentle pressure allows the fabric to gradually yield to the weight, smoothing out the creased areas and restoring the flawless allure of the projector screen. Periodically check the progress to gauge the effectiveness of the weight application.
After the designated duration has elapsed, carefully remove the weights and the protective fabric or parchment paper from the screen. Gently smooth out the previously creased areas with your hands, reveling in the remarkable transformation as the fabric emerges revitalized and free from unsightly imperfections. The diligent application of weight has successfully banished the creases, ensuring that your viewing experience remains unmarred by distractions.
With the creases vanquished and the screen restored to its pristine state, you’re now poised to immerse yourself in captivating visuals and seamless projections with your RCA Portable Projector Screen. By harnessing the power of weight and patience, you’ve achieved remarkable results, ensuring that every viewing experience is nothing short of exceptional.
Conclusion
Embarking on the journey to eliminate creases from your RCA Portable Projector Screen has equipped you with valuable insights and effective techniques for restoring the flawless allure of this essential accessory. By understanding the causes of creases and implementing targeted methods, you’ve successfully banished these imperfections, ensuring that your viewing experiences are undisturbed by unsightly distractions.
Through meticulous preparation, including the identification of creased areas and the acclimatization of the screen to room temperature, you’ve set the stage for a successful crease-removal endeavor. This preparatory phase has allowed you to approach the subsequent techniques with precision and effectiveness, ensuring optimal results.
By harnessing the power of heat, you’ve delicately coaxed the fabric of the projector screen to release its creases, employing controlled warmth to restore the smooth, unblemished surface. The strategic application of heat has proven to be a potent ally in your quest to eliminate creases, revitalizing the screen and enhancing your viewing experience.
Likewise, the technique of using weight has yielded remarkable results, as gentle, consistent pressure encouraged the creased areas to relinquish their unsightly folds. By applying this method, you’ve witnessed the transformative power of patience and perseverance, ensuring that the projector screen emerges revitalized and free from imperfections.
As you revel in the remarkable transformation of your RCA Portable Projector Screen, it’s evident that your dedication to restoring its flawless allure has been richly rewarded. With creases banished and the screen revitalized, you’re now poised to immerse yourself in captivating visuals and seamless projections, ensuring that every viewing experience is nothing short of exceptional.
Armed with the knowledge and skills acquired on this crease-eradicating adventure, you’re well-prepared to maintain the pristine condition of your projector screen and preserve its impeccable quality for countless viewing experiences to come. By taking proactive measures to prevent creases and promptly addressing any imperfections that arise, you can ensure that your RCA Portable Projector Screen continues to enhance your cinematic endeavors with its flawless performance.
So, as you embark on future cinematic journeys and revel in immersive projections, may the seamless, unblemished surface of your projector screen serve as a testament to your dedication to an unparalleled viewing experience. With creases vanquished and the allure of your RCA Portable Projector Screen restored, you’re ready to embark on countless captivating adventures, each unfolding on a flawlessly pristine canvas.