Introduction
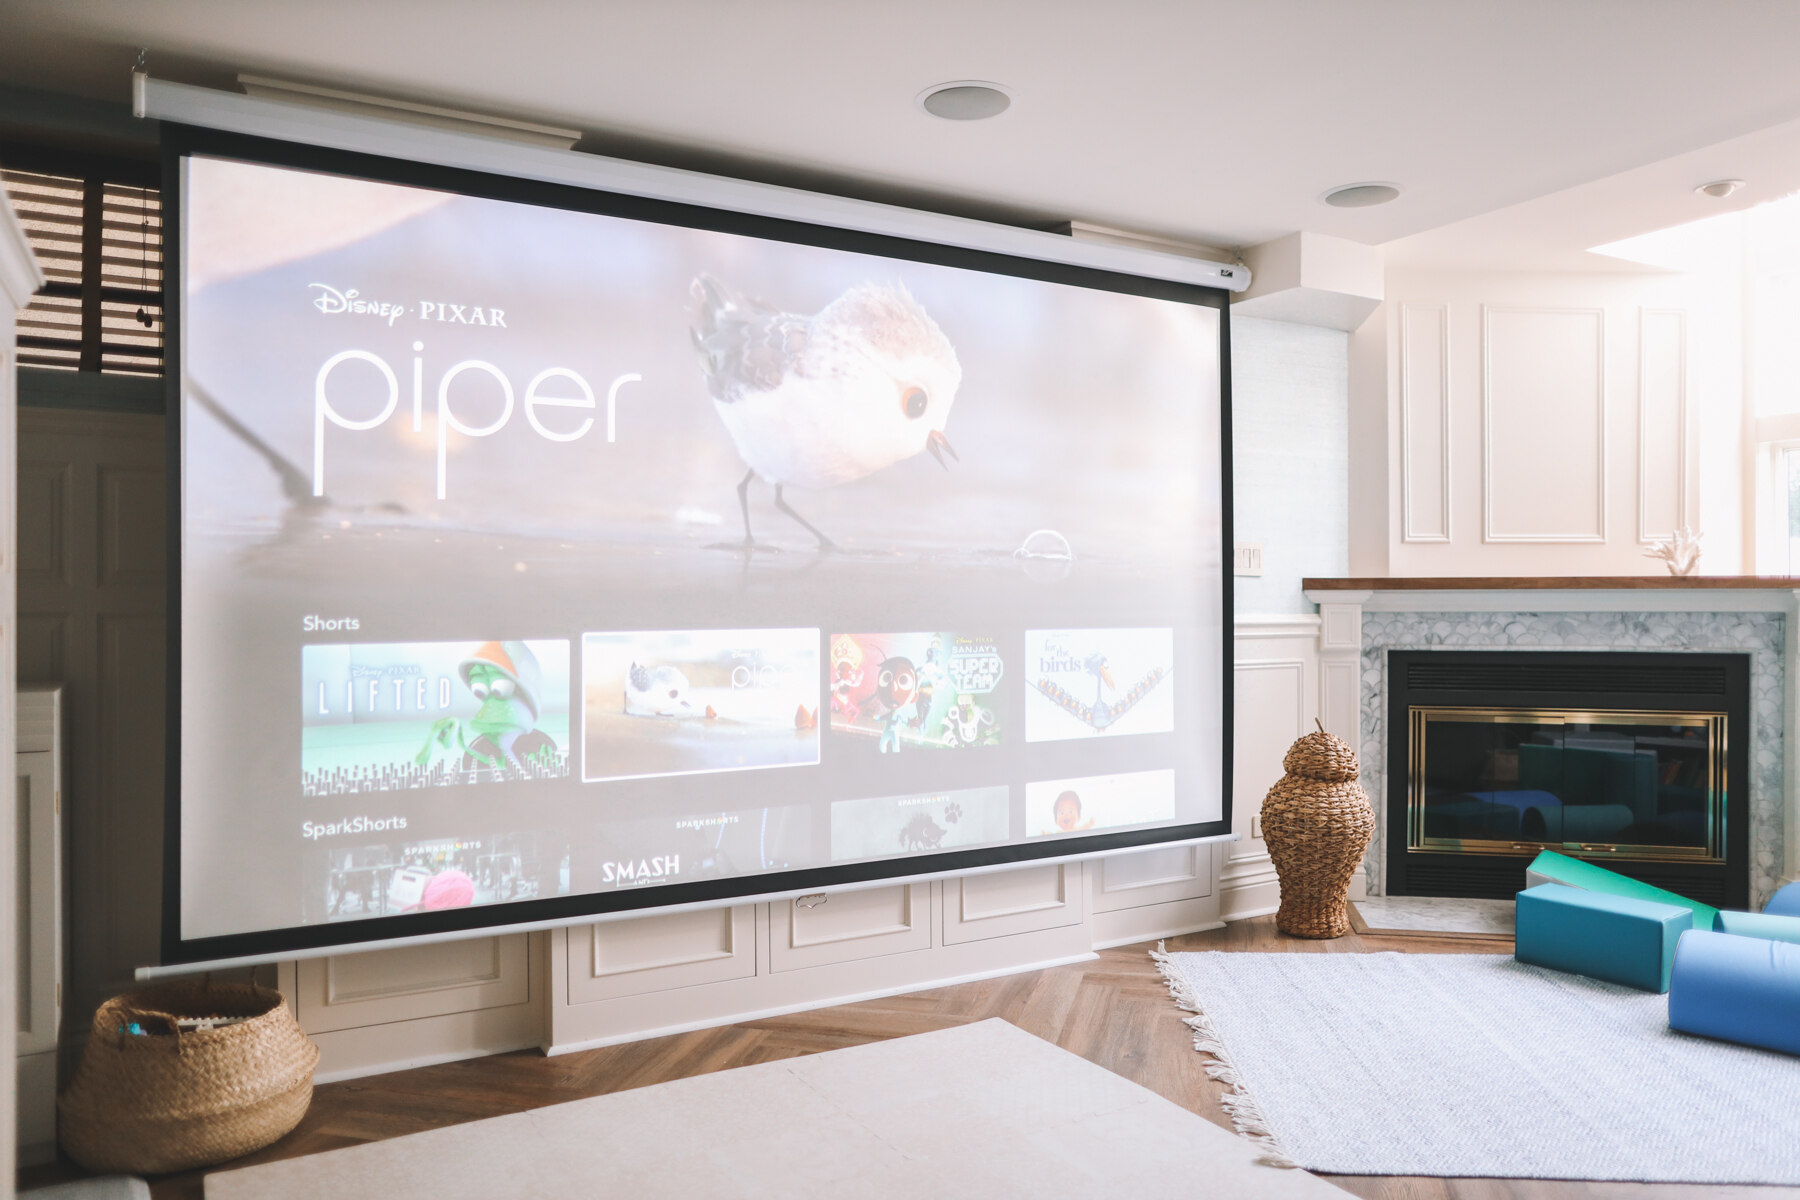
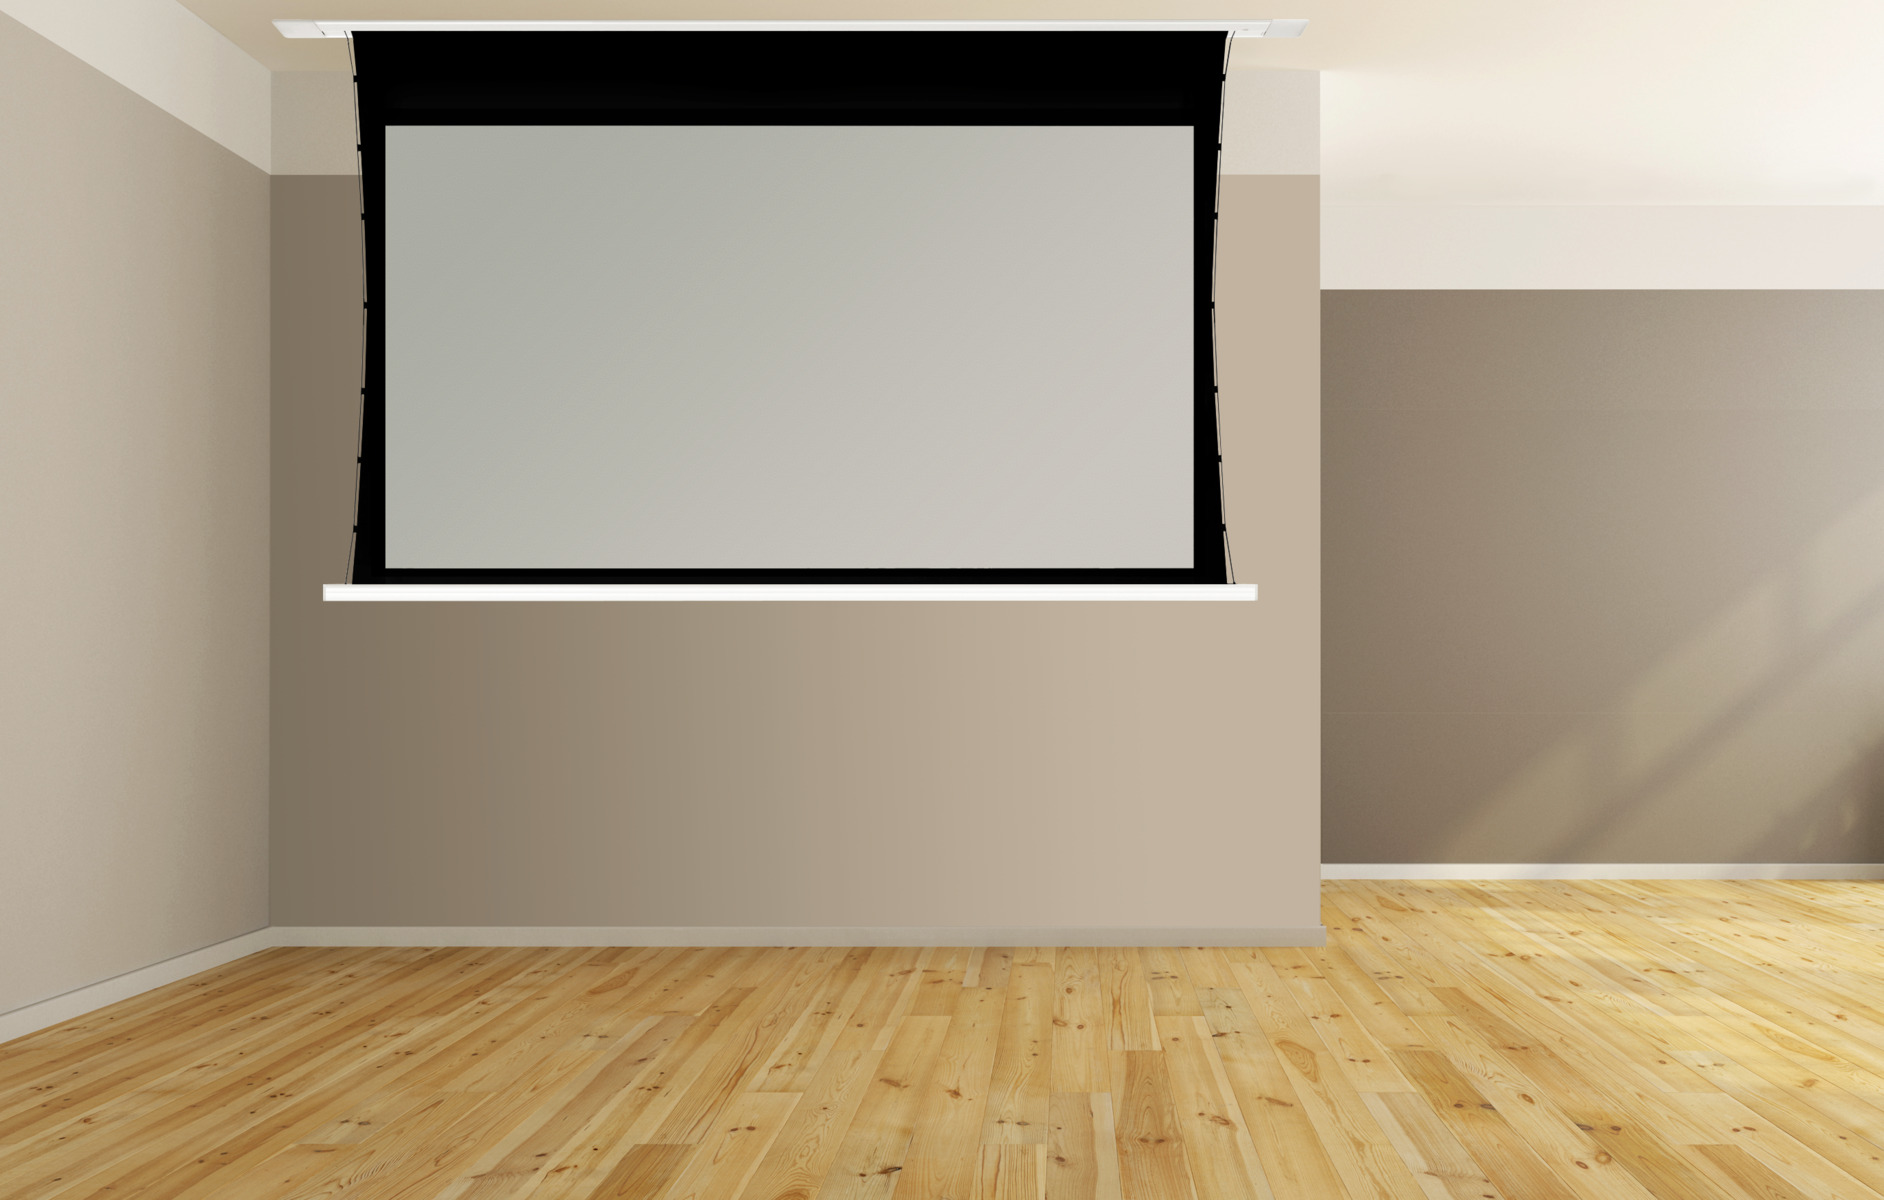
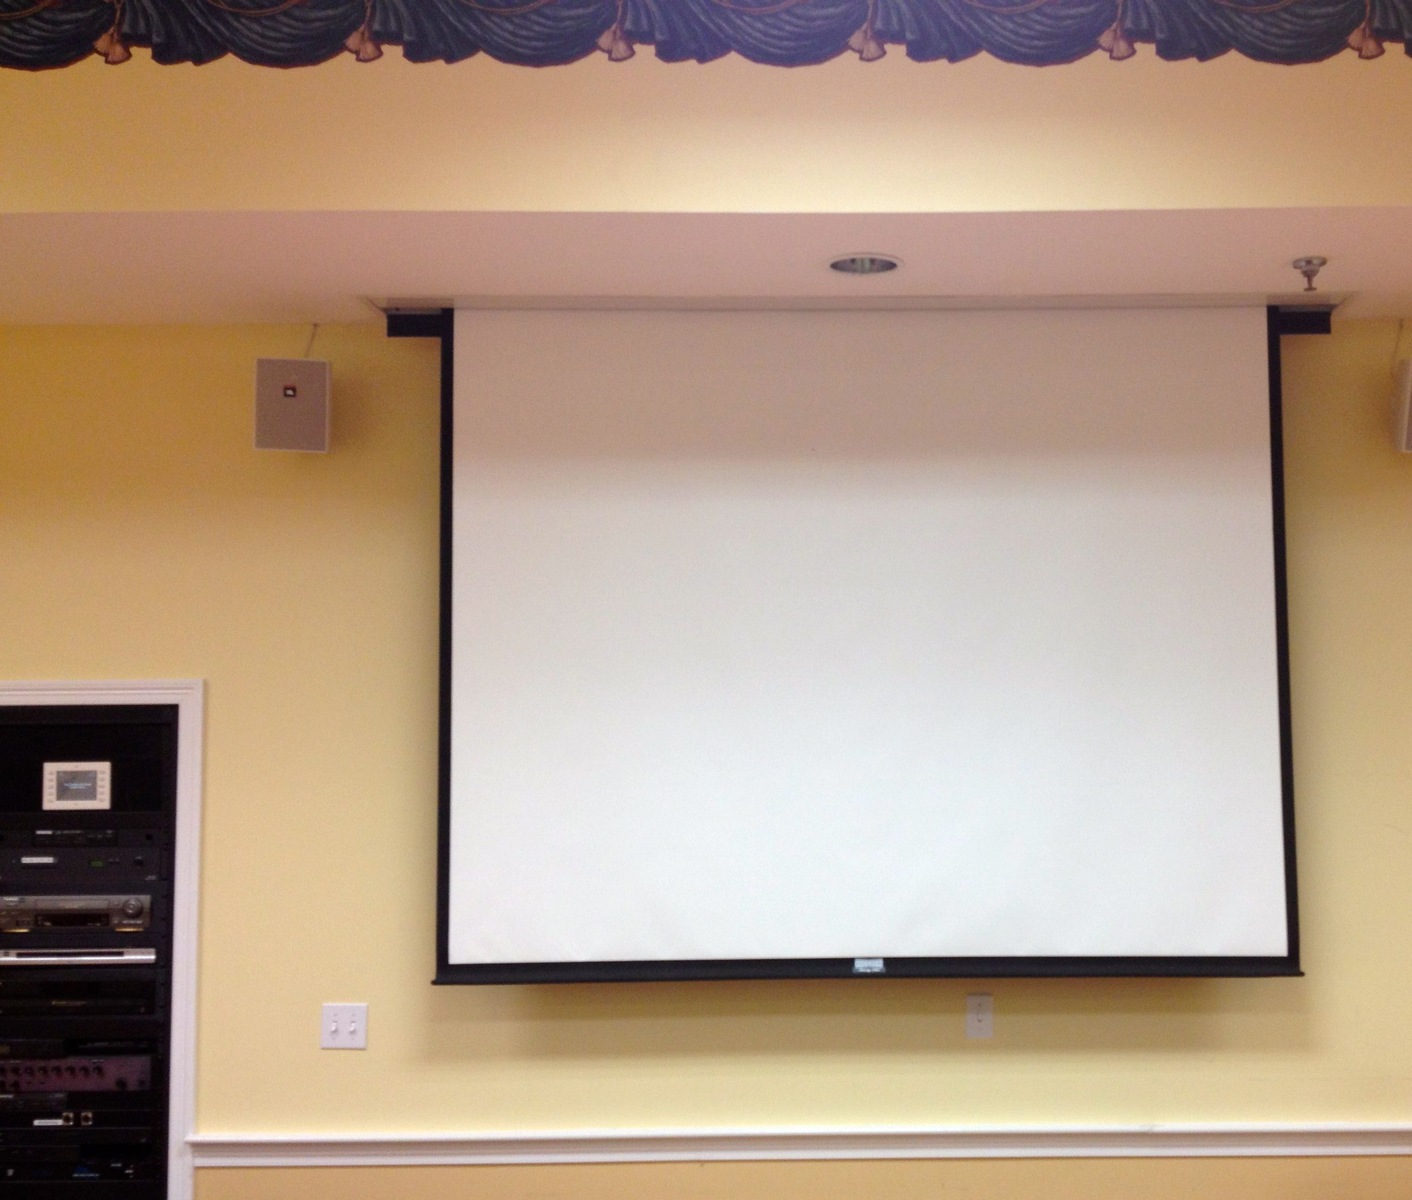
Welcome to this guide on how to retract a projector screen. Whether you are setting up a home theater or giving a presentation in a conference room, retracting the projector screen properly is an important step in ensuring its longevity and optimal performance. Whether it’s a motorized screen or a manual pull-down screen, the process for retracting it remains quite simple.
In the following sections, we will discuss the step-by-step instructions for safely and effectively retracting a projector screen. But before we dive into the specifics, it’s crucial to familiarize yourself with some important safety precautions. These precautions will not only protect the equipment, but also ensure your own safety during the retraction process. So without further ado, let’s get started!
Safety Precautions
Before attempting to retract the projector screen, make sure to take the necessary precautions to avoid any potential accidents or damage. Here are a few safety measures to keep in mind:
- Ensure that the projector is turned off and disconnected from any power source.
- Remove any objects or obstacles that may hinder the retraction process.
- Be cautious of your surroundings and make sure there is enough space for the screen to retract without obstruction.
- Follow the manufacturer’s instructions and recommendations for your specific projector screen model to prevent any unintended damage.
By adhering to these safety precautions, you can confidently proceed with retracting your projector screen without any concerns for your safety or the equipment’s well-being. Now that we have covered the necessary safety measures, let’s move on to the step-by-step process of retracting a projector screen.
Safety Precautions
Before attempting to retract the projector screen, it is important to take certain safety precautions to ensure a smooth and accident-free process. By following these measures, you can protect both yourself and the projector screen from any potential harm. Here are the essential safety precautions to keep in mind:
- 1. Turn off and disconnect the projector: Before retracting the projector screen, ensure that the projector is turned off and unplugged from any power source. This will prevent any accidental activation of the projector and reduce the risk of electrical hazards.
- 2. Remove obstacles: Check the surrounding area and remove any objects or obstacles that may impede the retraction process. This includes chairs, tables, or any other items that could potentially obstruct the screen as it retracts.
- 3. Clear the path: Ensure there is enough space for the screen to retract fully. Move any furniture or equipment out of the way to prevent the screen from getting stuck or damaged during the retraction process.
- 4. Read the manufacturer’s instructions: Familiarize yourself with the specific guidelines provided by the manufacturer for your projector screen model. These instructions will provide valuable information on the correct retraction procedure and any specific precautions to follow.
- 5. Handle with care: While retracting the screen, it’s essential to handle it with care to avoid any unnecessary strain or damage. Avoid pulling or tugging too forcefully on the screen, as this could lead to tears or misalignment.
By adhering to these safety precautions, you can ensure a smooth and hassle-free retracting process for your projector screen. Taking the time to implement these measures will not only protect you from potential accidents but also extend the lifespan of your projector screen. Now that you are aware of the necessary safety measures, let’s proceed to the step-by-step instructions for retracting the projector screen.
Step 1: Turn off the Projector
The first step in retracting a projector screen is to ensure that the projector itself is turned off. This is a crucial safety measure that will prevent any potential damage to the screen or the projector itself. Follow these steps to safely turn off the projector:
- Locate the power button: Look for the power button on the projector unit or its remote control. It is typically marked with a power symbol.
- Press the power button: Press and hold down the power button for a few seconds until the projector powers off. Make sure that all lights and indicators on the projector are turned off.
- Disconnect from power source: Once the projector is turned off, unplug it from the power source or remove the power cord from the electrical outlet. This will completely cut off the power supply to the projector.
Turning off and disconnecting the projector is essential to prevent any accidental activation during the screen retraction process. It ensures the safety of both the equipment and the person handling it. Once the projector is powered off and unplugged, you can proceed to the next step of retracting the projector screen.
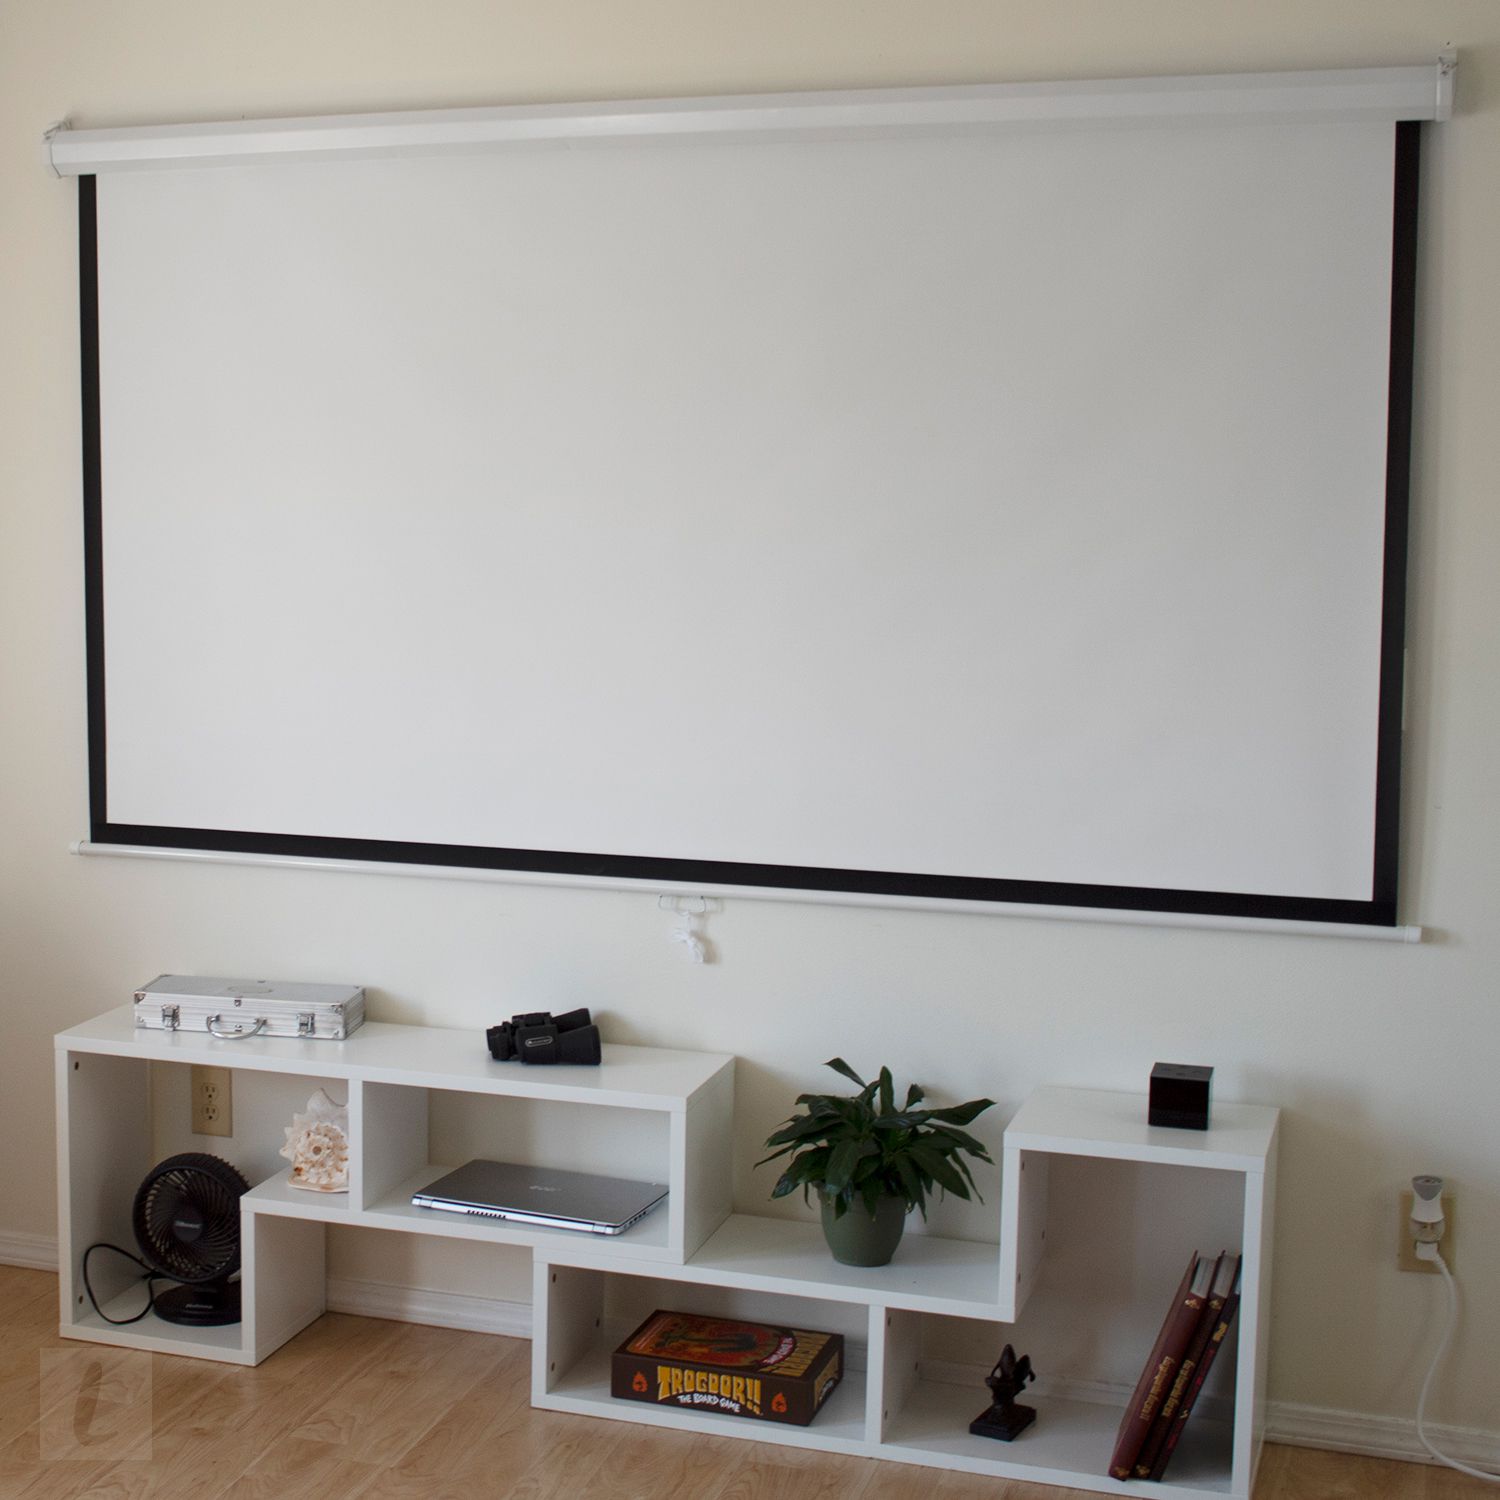
Step 2: Locate the Retraction Button
Once the projector is turned off, the next step is to locate the retraction button on your projector screen. The retraction button may be located on the screen casing or on a remote control specifically designed for the screen. Follow these guidelines to find the retraction button:
- Inspect the screen casing: Look for a button or switch on the screen casing itself. It is often located near the top or bottom of the screen.
- Check the remote control: If the projector screen came with a remote control, check for a dedicated button labeled “Retract” or “Up.” This button is typically represented by an arrow pointing upwards.
- Refer to the user manual: If you’re having trouble locating the retraction button, consult the user manual or manufacturer’s documentation for your specific projector screen model. It will provide detailed instructions and illustrations to help you locate the button accurately.
It’s important to find the retraction button before proceeding to the next step. In some instances, the button might be marked differently or located in a non-standard position depending on the make and model of your projector screen. Take your time to familiarize yourself with the button’s location and its appearance.
Once you have located the retraction button, you are ready to move on to the next step and begin the process of retracting the projector screen.
Step 3: Press and Hold the Retraction Button
With the retraction button located, it’s time to start retracting the projector screen. Follow these steps to press and hold the retraction button:
- Position yourself near the retraction button: Stand near the projector screen and ensure you have a clear view of the screen.
- Press and hold the retraction button: Use your finger to press and hold down the retraction button. If you are using a remote control, aim it at the screen and press the dedicated retraction button.
- Continue holding the button: Keep the button pressed down firmly and do not release it until the screen has fully retracted.
The length of time it takes for the screen to retract will vary depending on the size and motor speed of your projector screen. Some screens retract quickly, while others take a bit more time. Be patient and maintain contact with the retraction button until the screen is completely rolled up.
During this step, it’s important to exercise caution and not leave the screen unattended while it is retracting. This will ensure that the screen retracts smoothly and prevents any potential obstructions or damage.
Once the screen has fully retracted, you can move on to the next step to secure it in the retracted position.
Step 4: Allow the Screen to Retract Fully
After pressing and holding the retraction button, you need to give the projector screen enough time to fully retract. This step ensures that the screen is securely rolled up and ready for storage. Follow these instructions to allow the screen to retract fully:
- Monitor the screen’s movement: As you hold down the retraction button, observe the screen as it rolls up. Make sure there are no obstructions or tangles during the retraction process.
- Verify the screen is fully retracted: Once the screen reaches the top of its casing, check that it is fully rolled up and aligned properly. There should be no loose or sagging areas.
- Ensure smooth retraction: If you notice any issues or unusual resistance while the screen is retracting, release the retraction button immediately. Investigate and resolve any potential problems before attempting to retract the screen again.
It is essential to allow the screen to retract completely before moving on to the next step. This ensures that the screen is properly stored and protected. A fully retracted screen also allows for easy setup and prevents any potential damage to the screen’s material or mechanism.
Once you have confirmed that the screen is fully retracted, you can proceed to the next step to secure it in the retracted position.
Step 5: Secure the Screen in the Retracted Position
Now that the screen is fully retracted, it’s important to secure it in the retracted position for storage or when the projector is not in use. Here are the steps to effectively secure the screen:
- Check for screen locking mechanisms: Look for any locking mechanisms or hooks on the screen casing that are specifically designed to hold the screen in the retracted position. These mechanisms may vary depending on the make and model of your projector screen.
- Engage the locking mechanism: If your screen has a locking mechanism, carefully engage it to secure the screen in place. Follow the manufacturer’s instructions to properly engage the mechanism without causing any damage to the screen or the casing. This will keep the screen securely rolled up until it needs to be used again.
- Use additional securing methods (if applicable): Some projector screens may also have additional securing methods, such as Velcro straps or clips, to further ensure the screen remains in the retracted position. If your screen has these features, utilize them as directed.
By securing the screen in the retracted position, you can prevent any accidental unrolling or damage to the screen during storage or transportation. It also helps maintain the overall longevity and functionality of the projector screen.
Once you have secured the screen in the retracted position, you can proceed to the final step of turning off the power to the screen.
Step 6: Turn off the Power to the Screen
After securing the projector screen in the retracted position, it’s important to turn off the power to the screen itself. This step ensures that the screen is completely powered down and conserves energy. Follow these instructions to turn off the power:
- Locate the power switch or button: Look for the power switch or button on the projector screen unit. It is usually located near the control panel or on the side of the casing.
- Turn off the power: Flip the power switch to the “Off” position or press the power button to switch off the projector screen. Ensure that any indicator lights or power-related signs are no longer illuminated.
- Disconnect from the power source (if applicable): If your projector screen is plugged into a power outlet, unplug it from the electrical source to completely cut off the power supply. This step eliminates any standby power consumption.
Turning off the power to the screen is important to conserve energy and prolong the lifespan of the equipment. It also prevents any potential electrical issues or accidents that may occur if the screen remains powered on unnecessarily.
Once you have completed this step, you have successfully retracted the projector screen and turned off the power. You can now safely store or transport the projector screen until it needs to be used again.
Conclusion
Retracting a projector screen may seem like a straightforward process, but it is important to follow the proper steps to ensure the safety of the equipment and achieve optimal performance. By adhering to the safety precautions and carefully executing each step outlined in this guide, you can confidently and effectively retract your projector screen.
Remember to always turn off the projector and disconnect it from the power source before starting the retraction process. Locate the retraction button on your projector screen or remote control, and press and hold it until the screen fully retracts. Allow the screen to retract completely and secure it in the retracted position using any available locking mechanisms or securing methods. Finally, don’t forget to turn off the power to the screen itself.
By following these steps, you can ensure the longevity of your projector screen while also maintaining a safe environment during the retraction process. Keeping the equipment in optimal condition will enhance your viewing experience and prolong the life of the projector screen.
Now that you are familiar with the step-by-step process for retracting a projector screen, you can confidently enjoy your home theater or deliver impactful presentations in a professional setting. Remember to consult the manufacturer’s instructions for your specific projector screen model for any additional guidelines or precautions.
Thank you for reading this guide, and we hope it has been helpful in your endeavor to retract a projector screen!