Introduction
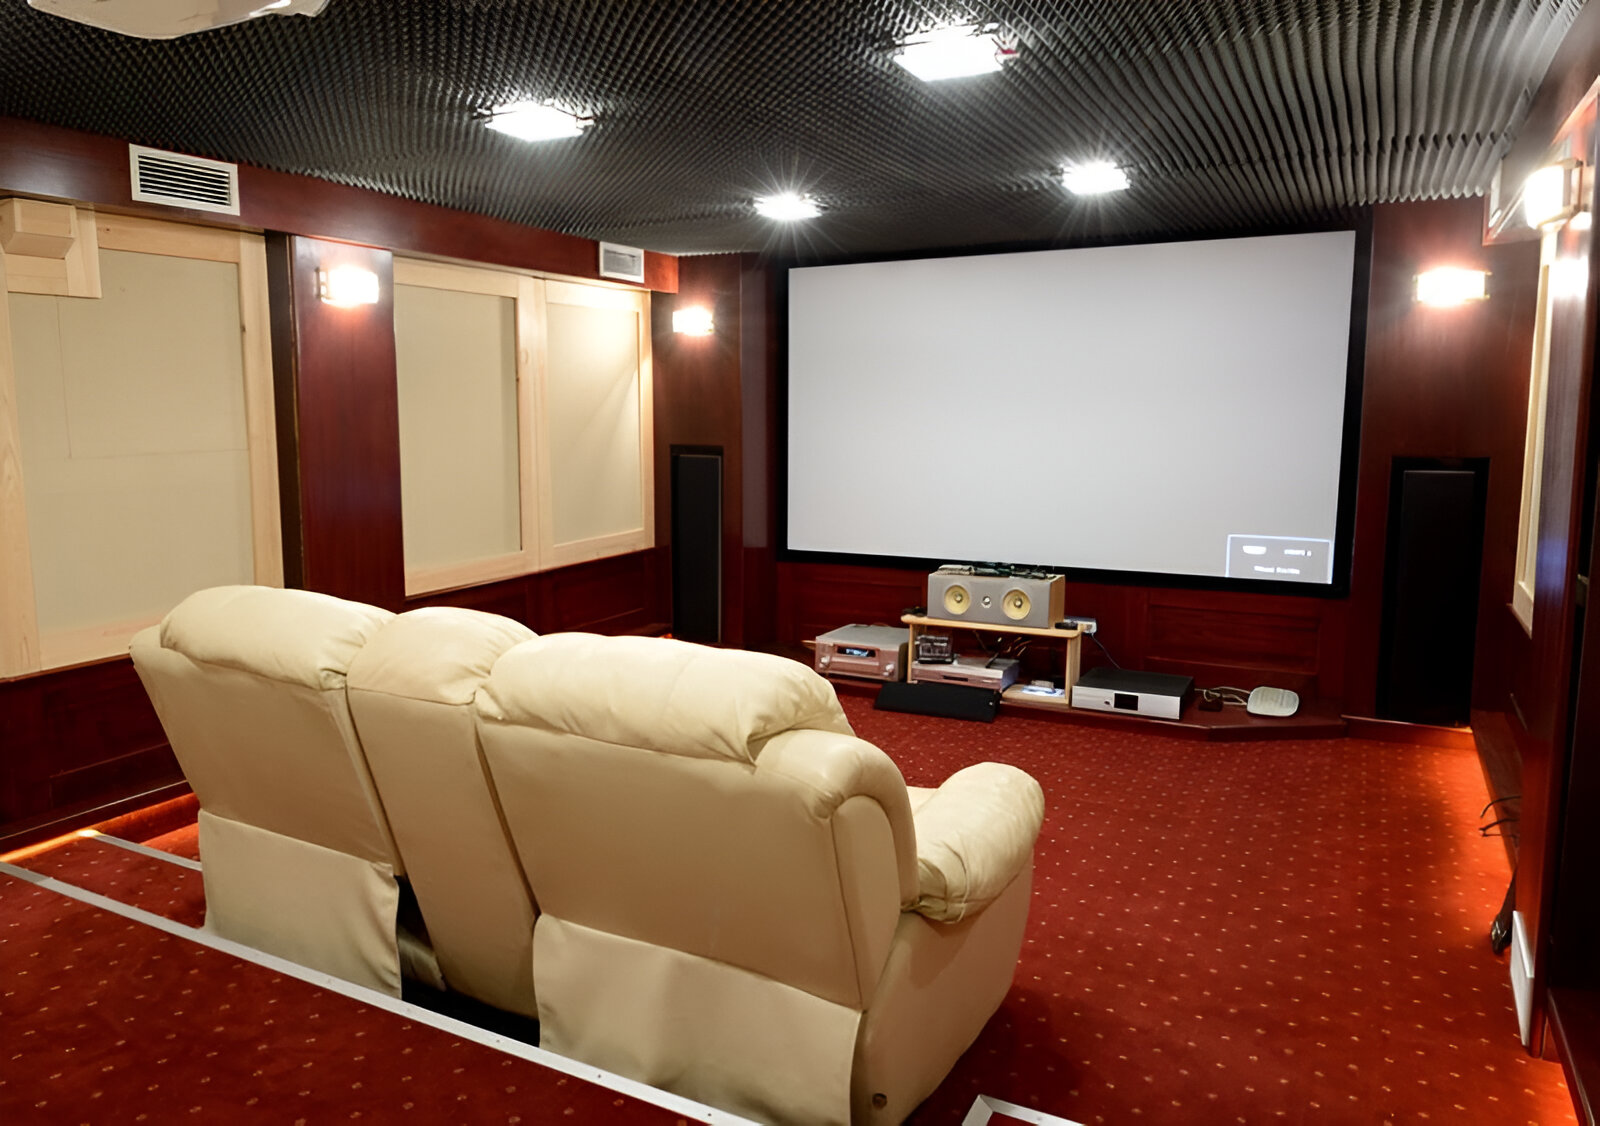
Are you ready to take your home entertainment to the next level? Installing a motorized home theater projector screen is a fantastic way to create a cinematic experience right in the comfort of your own home. With the ability to retract and extend at the touch of a button, these screens offer convenience and elegance, making them a popular choice for home theaters and media rooms.
In this comprehensive guide, we'll walk you through the step-by-step process of installing a motorized home theater projector screen. Whether you're a seasoned DIY enthusiast or a newcomer to home improvement projects, this guide will provide you with the essential knowledge and confidence to complete the installation successfully.
By following these instructions, you'll be able to enjoy the immersive experience of watching movies, sports, and your favorite TV shows on a high-quality projection screen in no time. Before you know it, you'll be hosting movie nights and enjoying the ultimate viewing experience with family and friends.
Let's dive into the exciting world of home theater installations and transform your living space into a captivating entertainment hub. Get ready to bring the magic of the big screen into your home with a professionally installed motorized projector screen.
Step 1: Gather the Necessary Tools and Materials
Before embarking on the installation process, it’s essential to gather all the tools and materials required for a successful setup. Here’s a comprehensive list of items you’ll need:
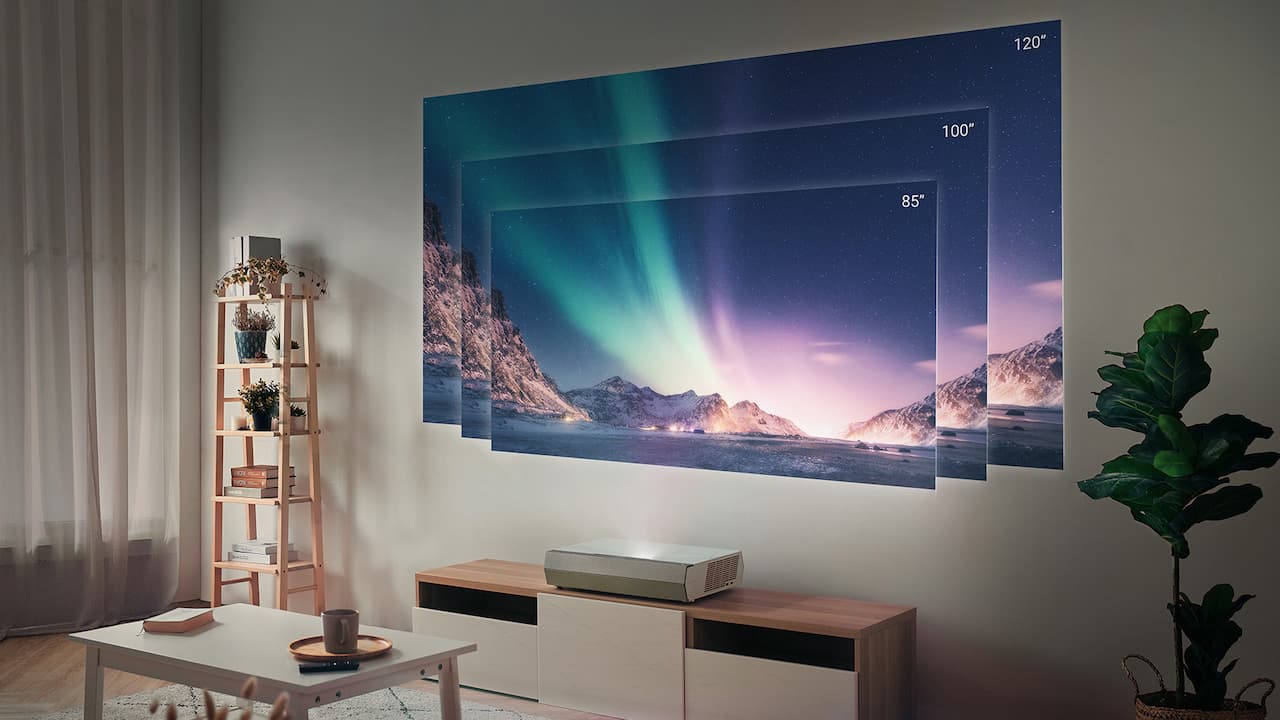
- Motorized projector screen: Ensure that you have the correct size and type of screen for your home theater setup. Measure the space carefully to determine the appropriate screen dimensions.
- Mounting brackets: These brackets will securely hold the projector screen in place. Depending on the type of ceiling or wall you have, you may need specific brackets for the installation.
- Power drill and screws: A power drill is essential for mounting the brackets onto the ceiling or wall. Make sure to have the appropriate screws for the mounting surface.
- Stud finder: This tool will help you locate the wooden studs in the wall or ceiling, ensuring a secure attachment for the mounting brackets.
- Level: To ensure that the screen is mounted perfectly straight, a level is crucial for achieving a professional-looking installation.
- Power source: Identify the nearest power outlet for connecting the motorized screen. If the outlet is not conveniently located, an extension cord may be necessary.
- Remote control and receiver: Most motorized projector screens come with a remote control and receiver for convenient operation. Ensure that these components are included and functioning properly.
- Assistant: Having an extra set of hands to assist with the installation process can be incredibly helpful, especially when mounting the screen and ensuring everything is level and secure.
By gathering these tools and materials beforehand, you’ll streamline the installation process and minimize any potential delays or interruptions. With everything in place, you’ll be well-prepared to move on to the next steps of the installation process.
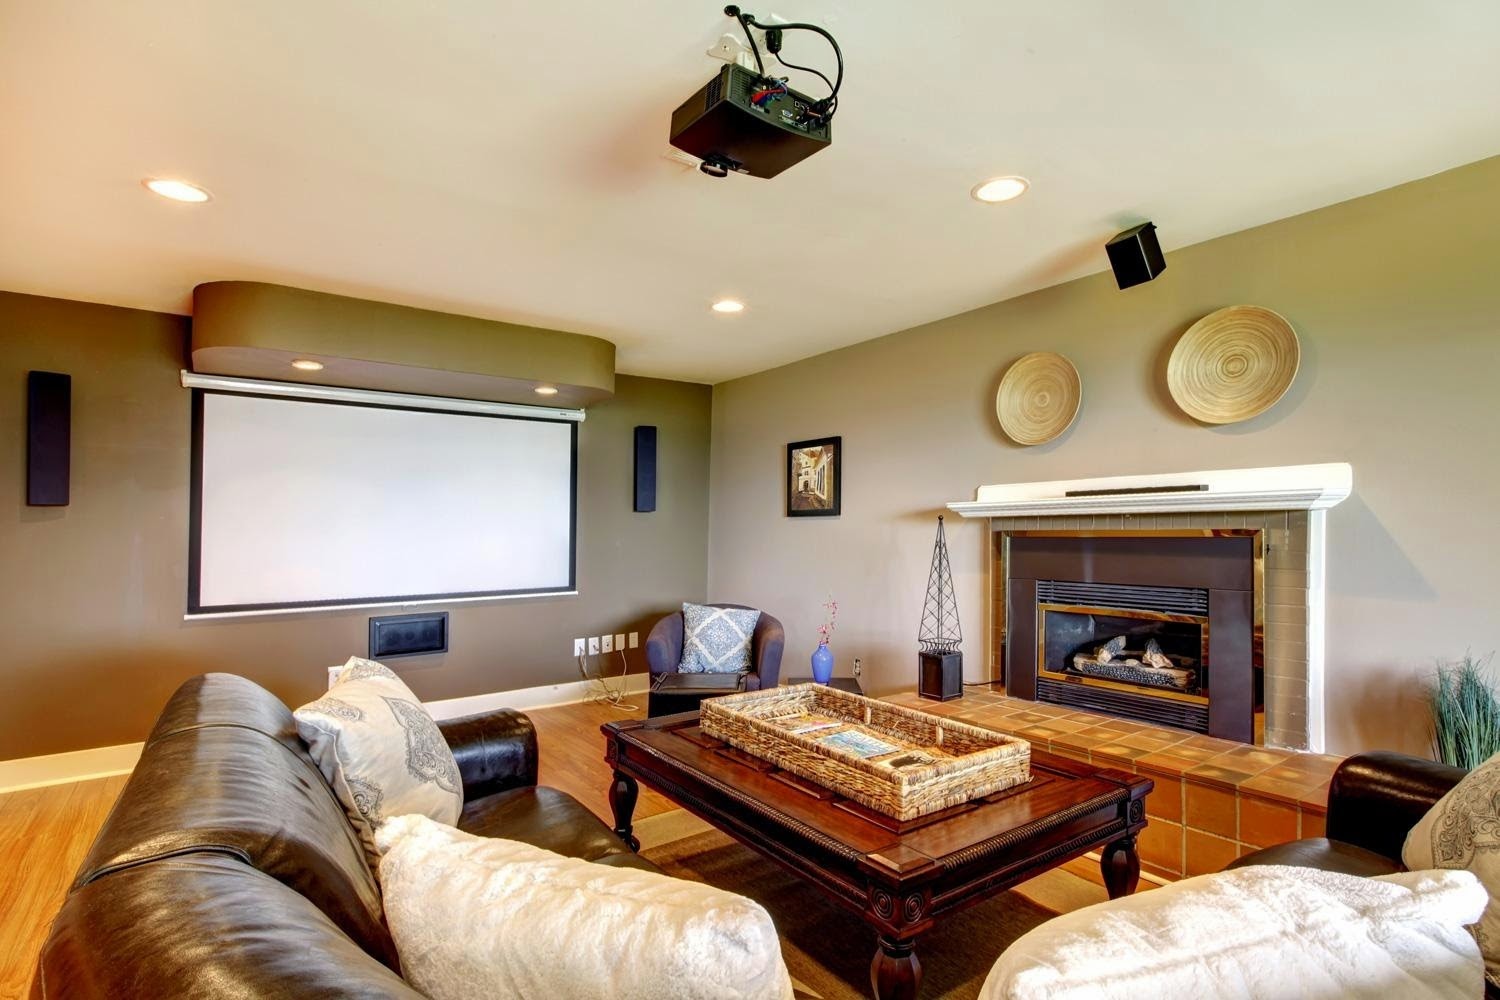
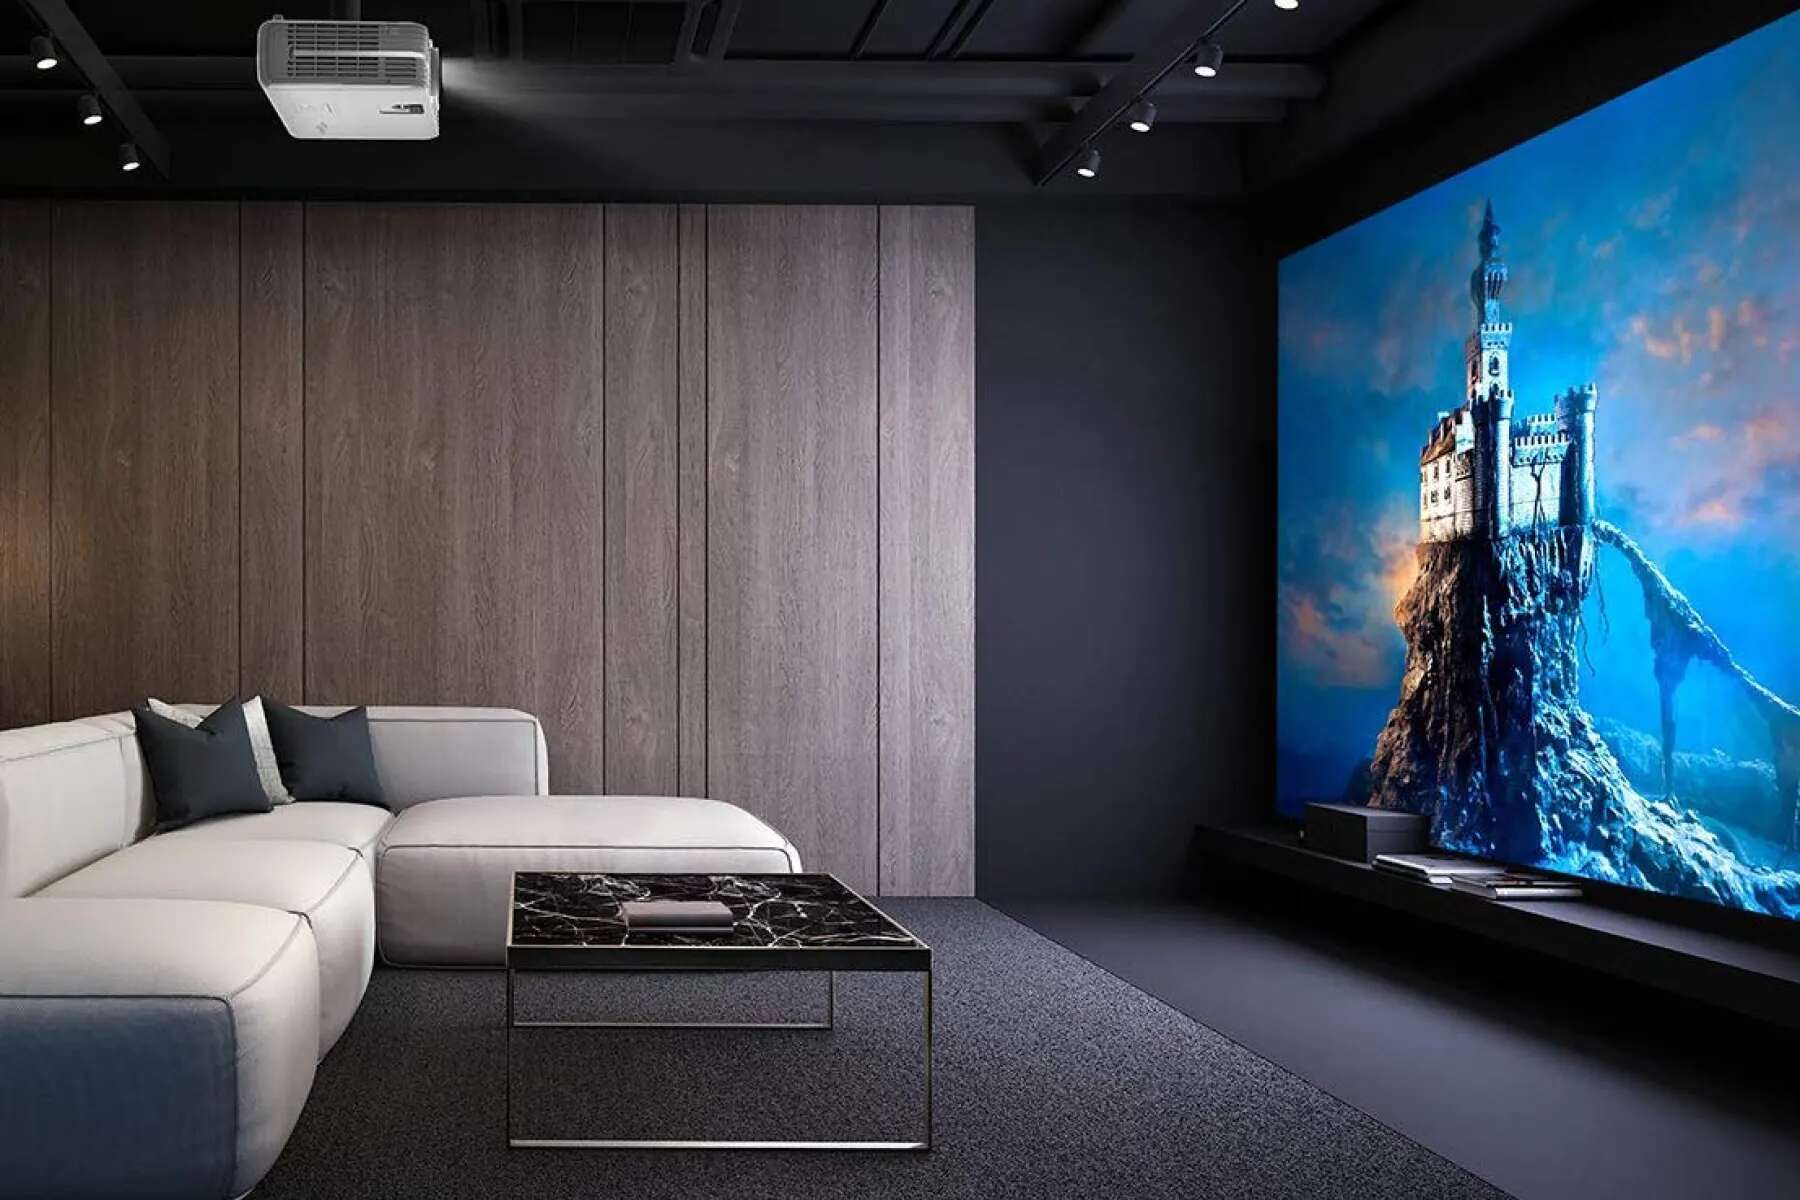
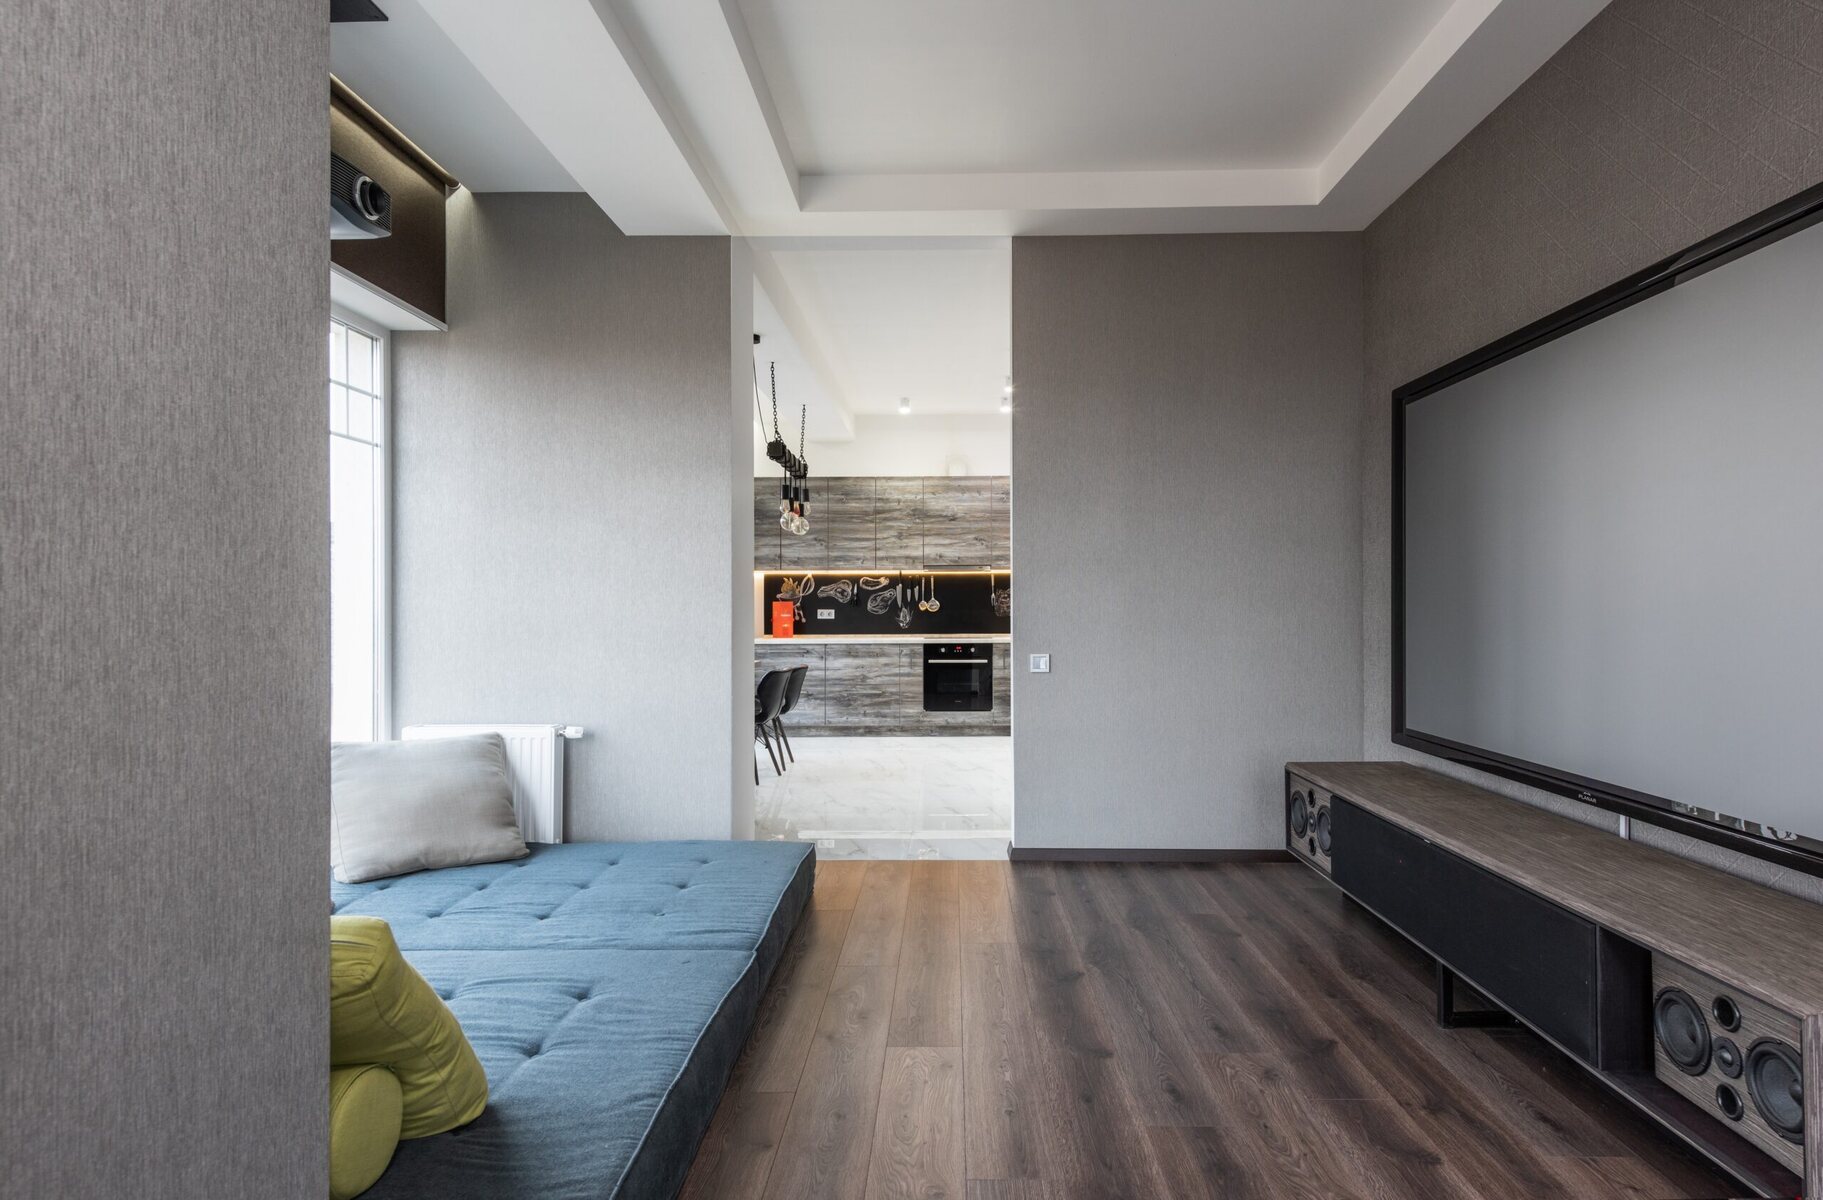
Step 2: Determine the Mounting Location
Choosing the ideal mounting location for your motorized home theater projector screen is a crucial step in the installation process. Consider the following factors to ensure a strategic and visually appealing placement:
- Optimal viewing position: Determine the best location for the screen to ensure an unobstructed view from your seating area. Consider the viewing angles and the distance from the projector to the screen for optimal image quality.
- Ceiling or wall mounting: Decide whether you prefer to mount the screen on the ceiling or a wall. The choice may depend on the layout of your room, the height of the ceiling, and the overall aesthetics you wish to achieve.
- Clearance and space: Ensure that there is sufficient clearance around the mounting location to accommodate the fully extended screen. Check for any potential obstructions, such as light fixtures or ceiling fans, that may interfere with the operation of the screen.
- Power source accessibility: Consider the proximity of a power outlet to the chosen mounting location. It’s important to have easy access to power for the motorized screen without the need for lengthy or unsightly power cords.
- Room aesthetics: Take into account the overall design and decor of the room. The mounting location should complement the existing aesthetic while providing a seamless integration of the projector screen into the space.
By carefully assessing these factors, you’ll be able to pinpoint the optimal mounting location that enhances the viewing experience and adds to the overall ambiance of your home theater. Once you’ve determined the perfect spot for the screen, you can proceed to the next steps with confidence, knowing that your installation is off to a great start.
Step 3: Install the Mounting Brackets
Installing the mounting brackets is a critical step in ensuring the secure and stable attachment of your motorized home theater projector screen. Follow these steps to complete this phase of the installation:
- Locate the wooden studs: Use a stud finder to identify the wooden studs in the wall or ceiling where the mounting brackets will be installed. Securely attaching the brackets to the studs is essential for the stability of the screen.
- Position the brackets: With the studs identified, position the mounting brackets at the determined location, ensuring that they are level and aligned correctly. Mark the screw hole locations with a pencil for precise drilling.
- Drill pilot holes: Use a power drill to create pilot holes at the marked locations. Be sure to use the appropriate drill bit size for the screws that will be used to secure the brackets.
- Secure the brackets: Align the brackets with the pilot holes and attach them securely to the wall or ceiling using the provided screws. Double-check the alignment and stability of the brackets to ensure a solid foundation for the projector screen.
- Verify the level: Use a level to confirm that the installed brackets are perfectly level. Adjust as necessary to achieve a balanced and professional installation.
By meticulously following these steps, you’ll establish a secure mounting foundation for your motorized projector screen, setting the stage for the next phase of the installation process. With the brackets securely in place, you’re one step closer to enjoying the immersive experience of your home theater setup.
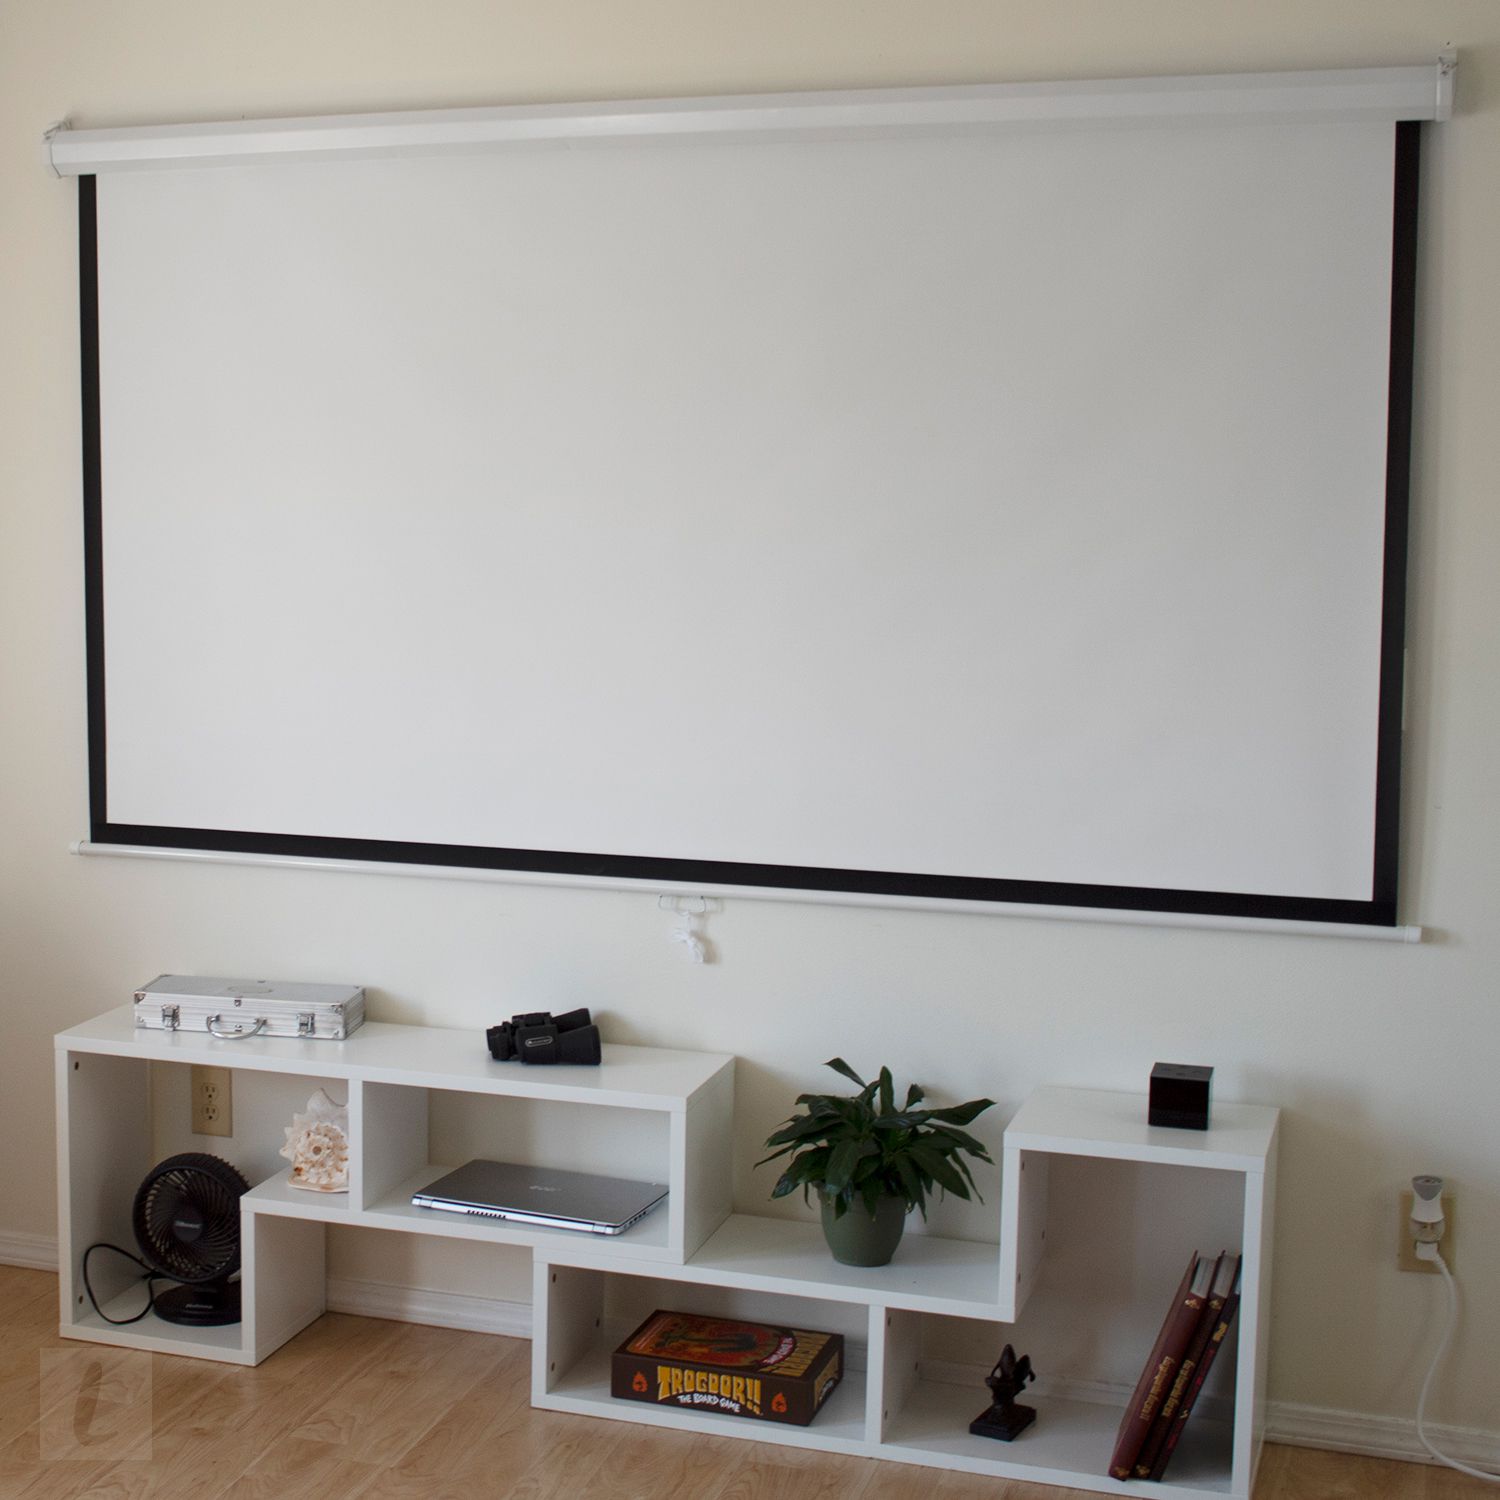
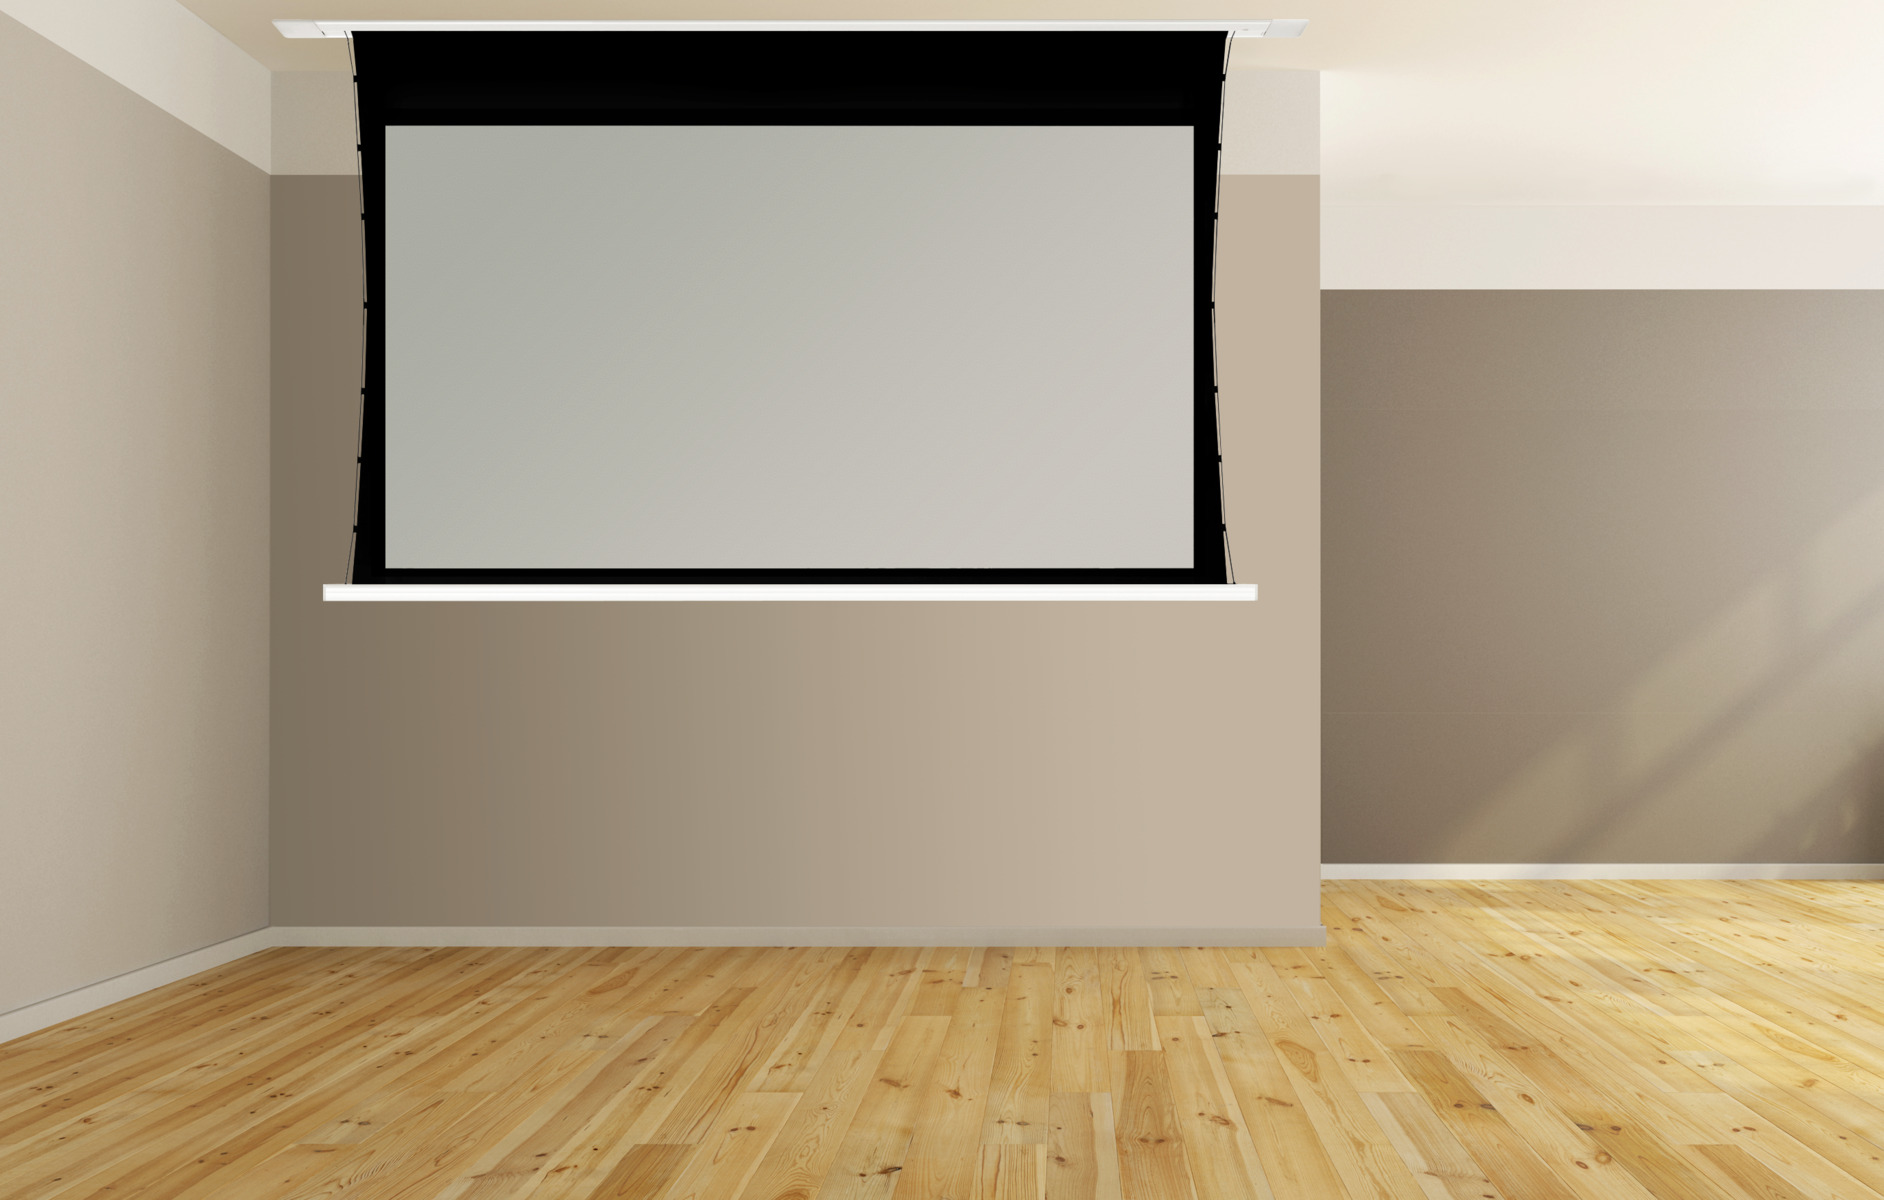
Step 4: Mount the Screen
With the mounting brackets securely installed, it’s time to mount the motorized home theater projector screen. Follow these steps to ensure a smooth and successful mounting process:
- Prepare the screen: Unpack the projector screen and ensure that all components are in good condition. Handle the screen with care to avoid any damage during the mounting process.
- Attach the screen to the brackets: With the assistance of another person, carefully lift the screen and align it with the installed mounting brackets. Securely attach the screen to the brackets according to the manufacturer’s instructions, ensuring a snug and stable fit.
- Test the retraction and extension: Use the remote control to test the motorized functionality of the screen. Verify that the screen retracts and extends smoothly and without any obstructions. This step ensures that the motorized mechanism is functioning correctly before finalizing the installation.
- Adjust the screen position: Fine-tune the position of the screen to ensure that it is perfectly centered and level within the designated viewing area. Take the time to make any necessary adjustments to achieve an optimal viewing experience.
- Secure any additional components: If the projector screen includes additional features, such as a valance or trim, ensure that these components are securely attached and aligned for a polished and professional appearance.
By carefully following these steps, you’ll complete the mounting process with precision and attention to detail. Once the screen is securely in place and functioning flawlessly, you’re ready to move on to the next phase of the installation, bringing you closer to enjoying the full benefits of your home theater projector screen.
Step 5: Connect the Power Source
Connecting the power source is a crucial step in the installation of your motorized home theater projector screen. Follow these steps to ensure a safe and efficient power connection:
- Locate the nearest power outlet: Identify the closest power outlet to the mounting location of the projector screen. Ensure that the outlet is easily accessible and capable of supplying power to the screen without the need for long or obtrusive extension cords.
- Use a surge protector: For added protection, consider connecting the projector screen to a surge protector to safeguard against power surges and fluctuations. This extra layer of defense can help prolong the life of the motorized components.
- Conceal power cords: If possible, conceal the power cords using cable management solutions to maintain a clean and organized appearance. This step contributes to a visually appealing installation while minimizing trip hazards and potential cable damage.
- Test the power connection: Once the power cord is connected to the outlet, test the functionality of the motorized screen by using the remote control to retract and extend the screen. Verify that the power connection is secure and that the screen operates smoothly without any issues.
- Ensure compliance with safety standards: Adhere to all safety guidelines and electrical codes when connecting the power source. If you’re uncertain about electrical work, consider consulting a qualified electrician to ensure a safe and compliant installation.
By carefully following these steps, you’ll establish a reliable and safe power connection for your motorized projector screen, setting the stage for seamless operation and long-term enjoyment. With the power source connected, you’re one step closer to experiencing the full benefits of your home theater setup.
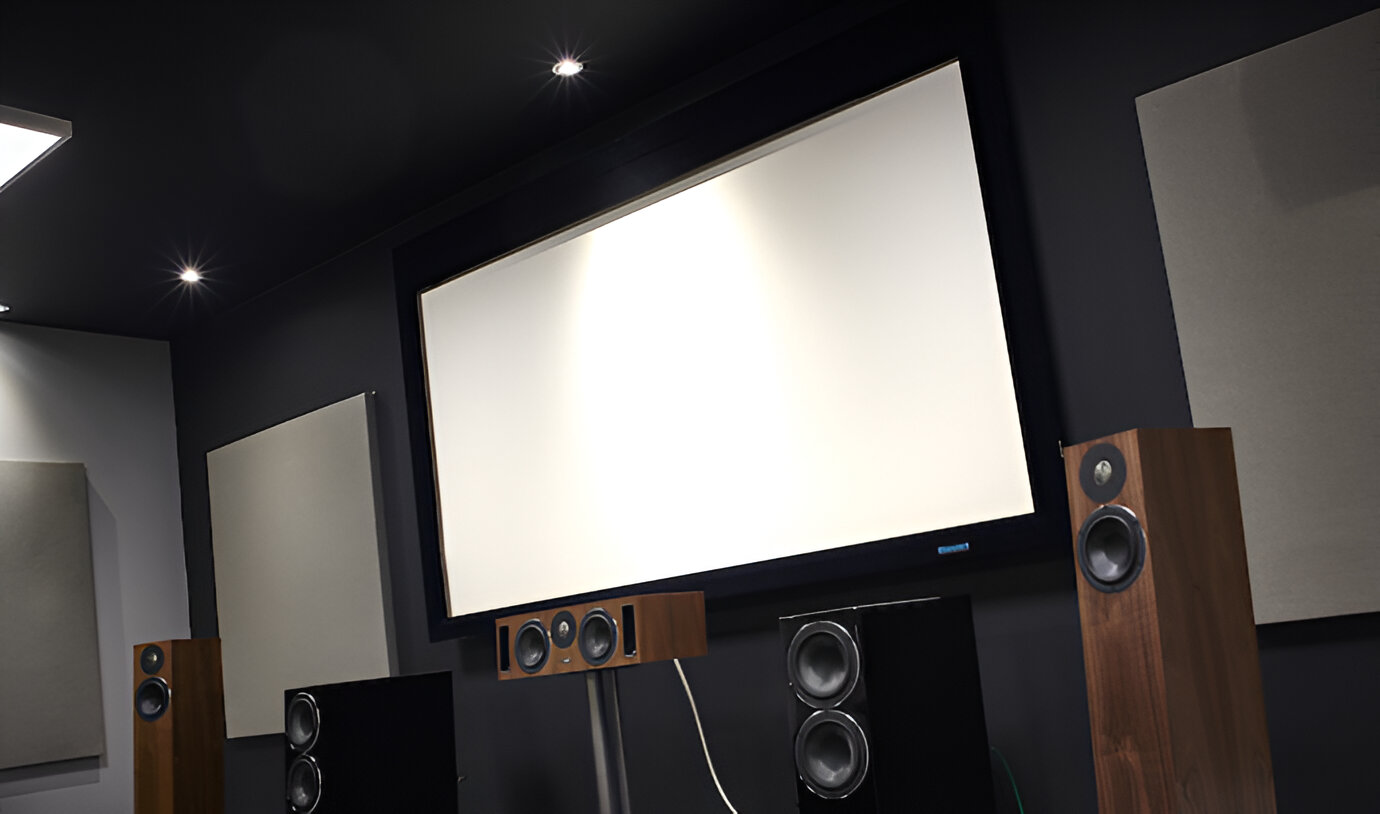
Step 6: Test the Screen
Before finalizing the installation of your motorized home theater projector screen, it’s essential to thoroughly test its functionality to ensure optimal performance. Follow these steps to conduct a comprehensive test of the screen:
- Operate the motorized mechanism: Use the remote control to retract and extend the screen multiple times, observing the smoothness and consistency of the motorized mechanism. Pay attention to any unusual sounds or movements that may indicate potential issues.
- Check for alignment and levelness: Verify that the screen retracts and extends in a straight and level manner, without any tilting or misalignment. This step ensures that the screen operates as intended and maintains a professional appearance.
- Inspect the screen surface: Examine the projection surface for any wrinkles, creases, or imperfections that may affect the viewing quality. Smooth out any irregularities to ensure a pristine and distortion-free display.
- Test remote control range: Verify that the remote control operates the screen from various locations within the room, ensuring that the signal range is sufficient for convenient and reliable use.
- Verify integration with home automation systems: If applicable, test the integration of the motorized screen with any home automation or smart control systems to ensure seamless operation and compatibility.
By meticulously conducting these tests, you’ll gain confidence in the functionality and performance of your motorized projector screen. Address any issues or discrepancies that arise during the testing process to ensure a flawless viewing experience. Once the screen has passed these tests with flying colors, you can proceed with the final adjustments and preparations for enjoying your home theater setup to the fullest.
Conclusion
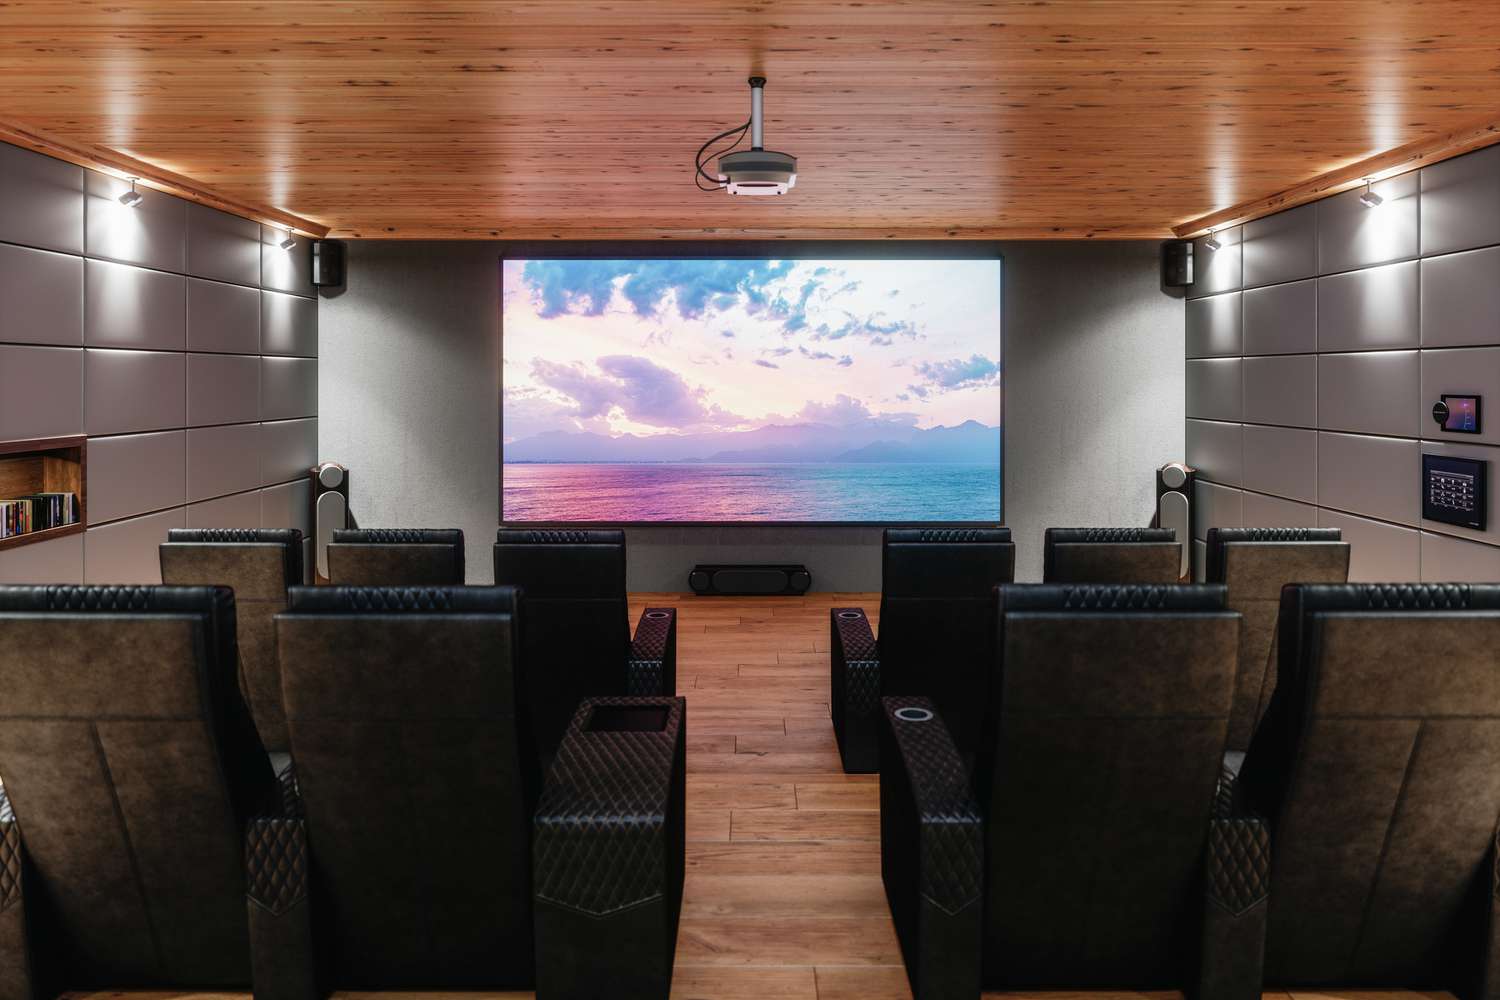
Congratulations on successfully completing the installation of your motorized home theater projector screen! By following the comprehensive steps outlined in this guide, you’ve transformed your living space into a captivating entertainment hub, ready to deliver an immersive cinematic experience right in the comfort of your own home.
With the screen securely mounted, the power source connected, and thorough testing completed, you’re now poised to enjoy the full benefits of your home theater setup. Whether you’re hosting movie nights, watching sports events, or indulging in your favorite TV shows, the motorized projector screen will elevate your viewing experience to new heights.
As you bask in the captivating visuals and immersive audio of your home theater, take pride in the meticulous installation process that has brought this cinematic dream to life. The careful attention to detail and precision in each step have culminated in a seamless and professional setup that will be the envy of any movie enthusiast.
Now, gather your family and friends, dim the lights, and immerse yourselves in the magic of the big screen experience, all within the comforts of your home. Your motorized projector screen stands as a testament to your dedication to creating an exceptional entertainment space, where unforgettable moments and cherished memories are waiting to unfold.
Embrace the excitement of cinematic adventures and captivating storytelling, all made possible by your expertly installed motorized home theater projector screen. Sit back, relax, and let the magic of the movies unfold in your own personal theater, where every viewing becomes an unforgettable event.