Introduction
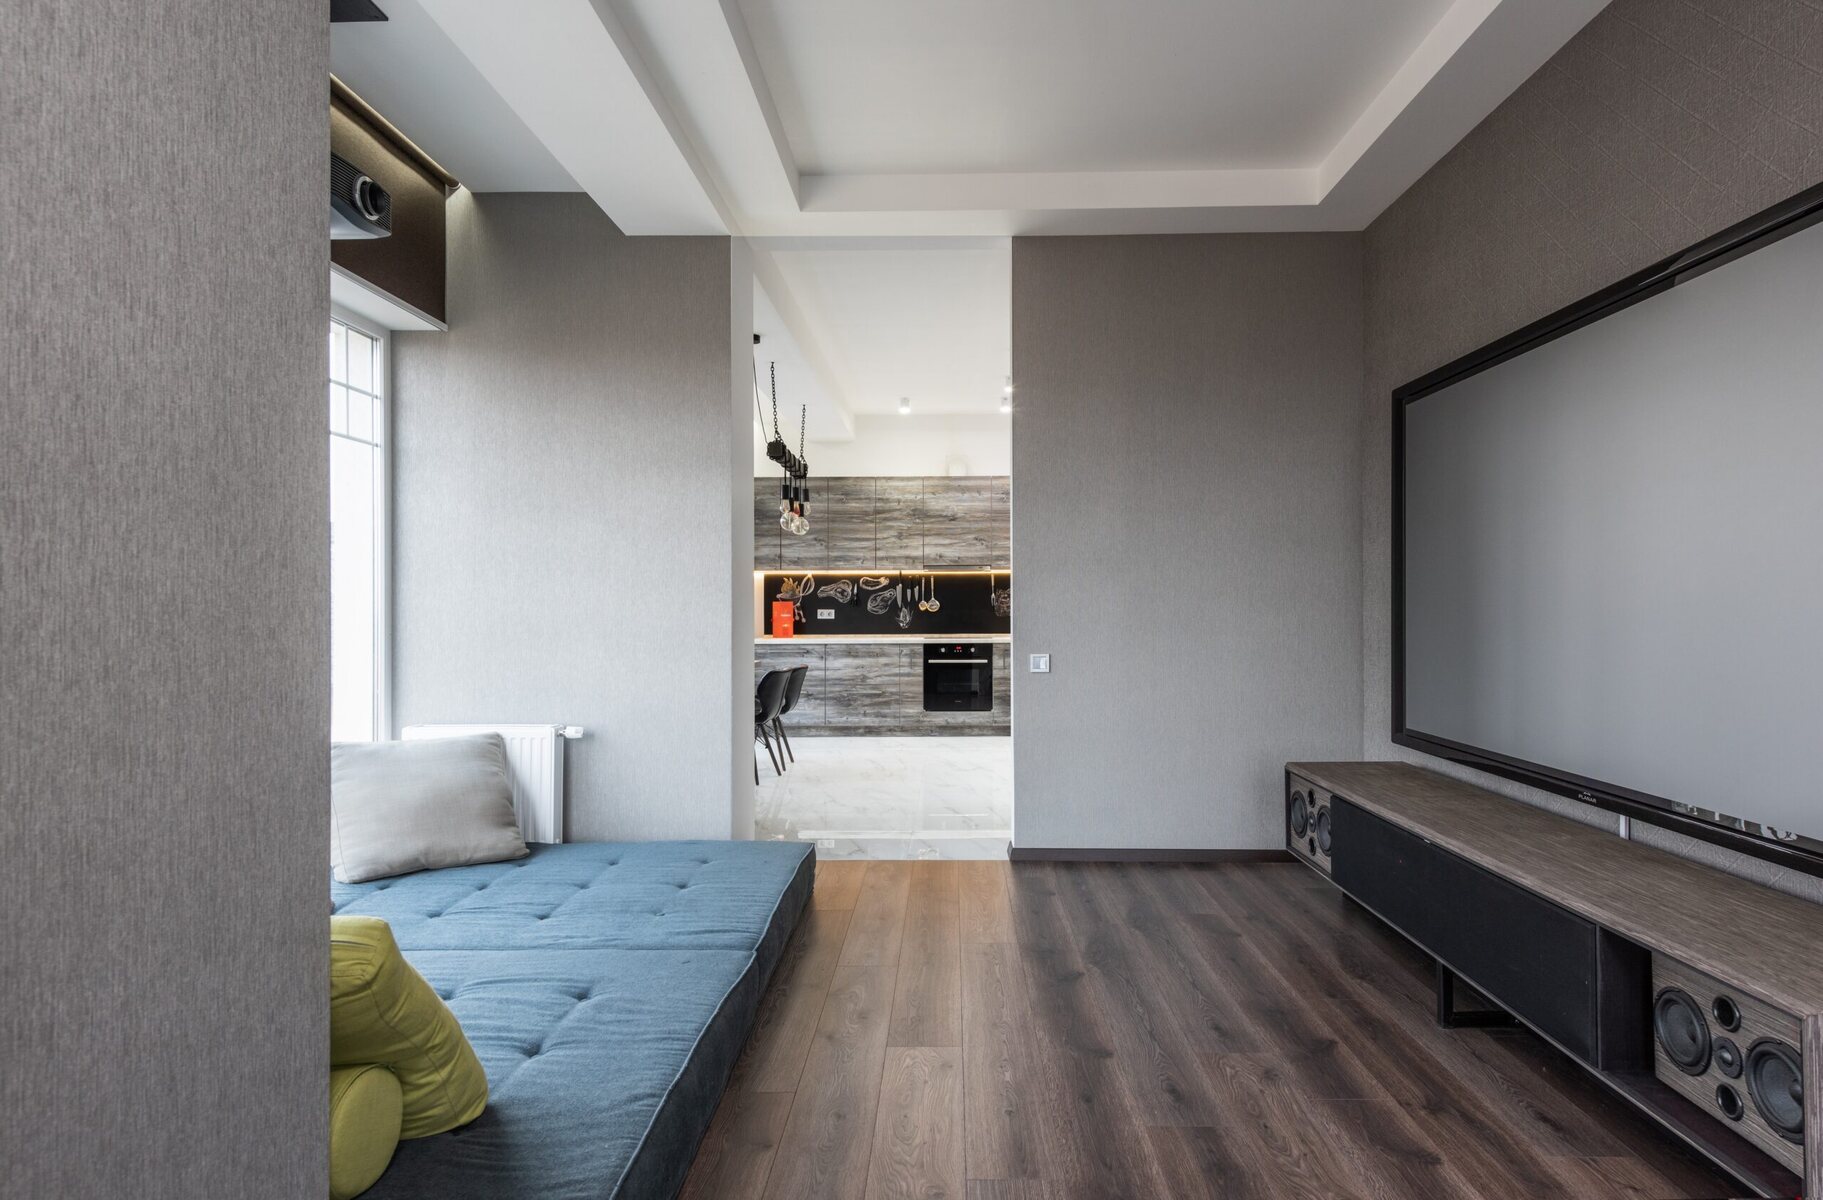
Welcome to the world of home theater systems, where you can transform your living space into a personal cinema. With the right equipment, you can enjoy the immersive experience of watching movies, sports, or playing video games on a large screen. However, one challenge that often arises when setting up a projector is how to hide it effectively. While projectors provide superior image quality, they can be bulky and visually distracting when not in use.
In this article, we will explore various creative and practical ways to hide a projector in your home. Whether you have limited space, aesthetic concerns, or a desire for seamless integration, these solutions will help you achieve a clutter-free and visually stunning home entertainment setup.
Before we delve into the different options, it is important to note that each solution may have its own set of considerations and limitations. Factors such as the size and weight of your projector, your budget, and the existing layout of your space will play a role in determining the most suitable solution for you. Let’s explore the possibilities!
Choosing the Right Location
When it comes to hiding a projector, the first step is to choose the right location for its installation. This will determine the type of hiding solution you can implement. Here are a few factors to consider:
1. Distance from the Screen: Choose a location that allows the projector to be positioned at the optimal distance from the projection screen. This will ensure that you achieve the desired image size and clarity.
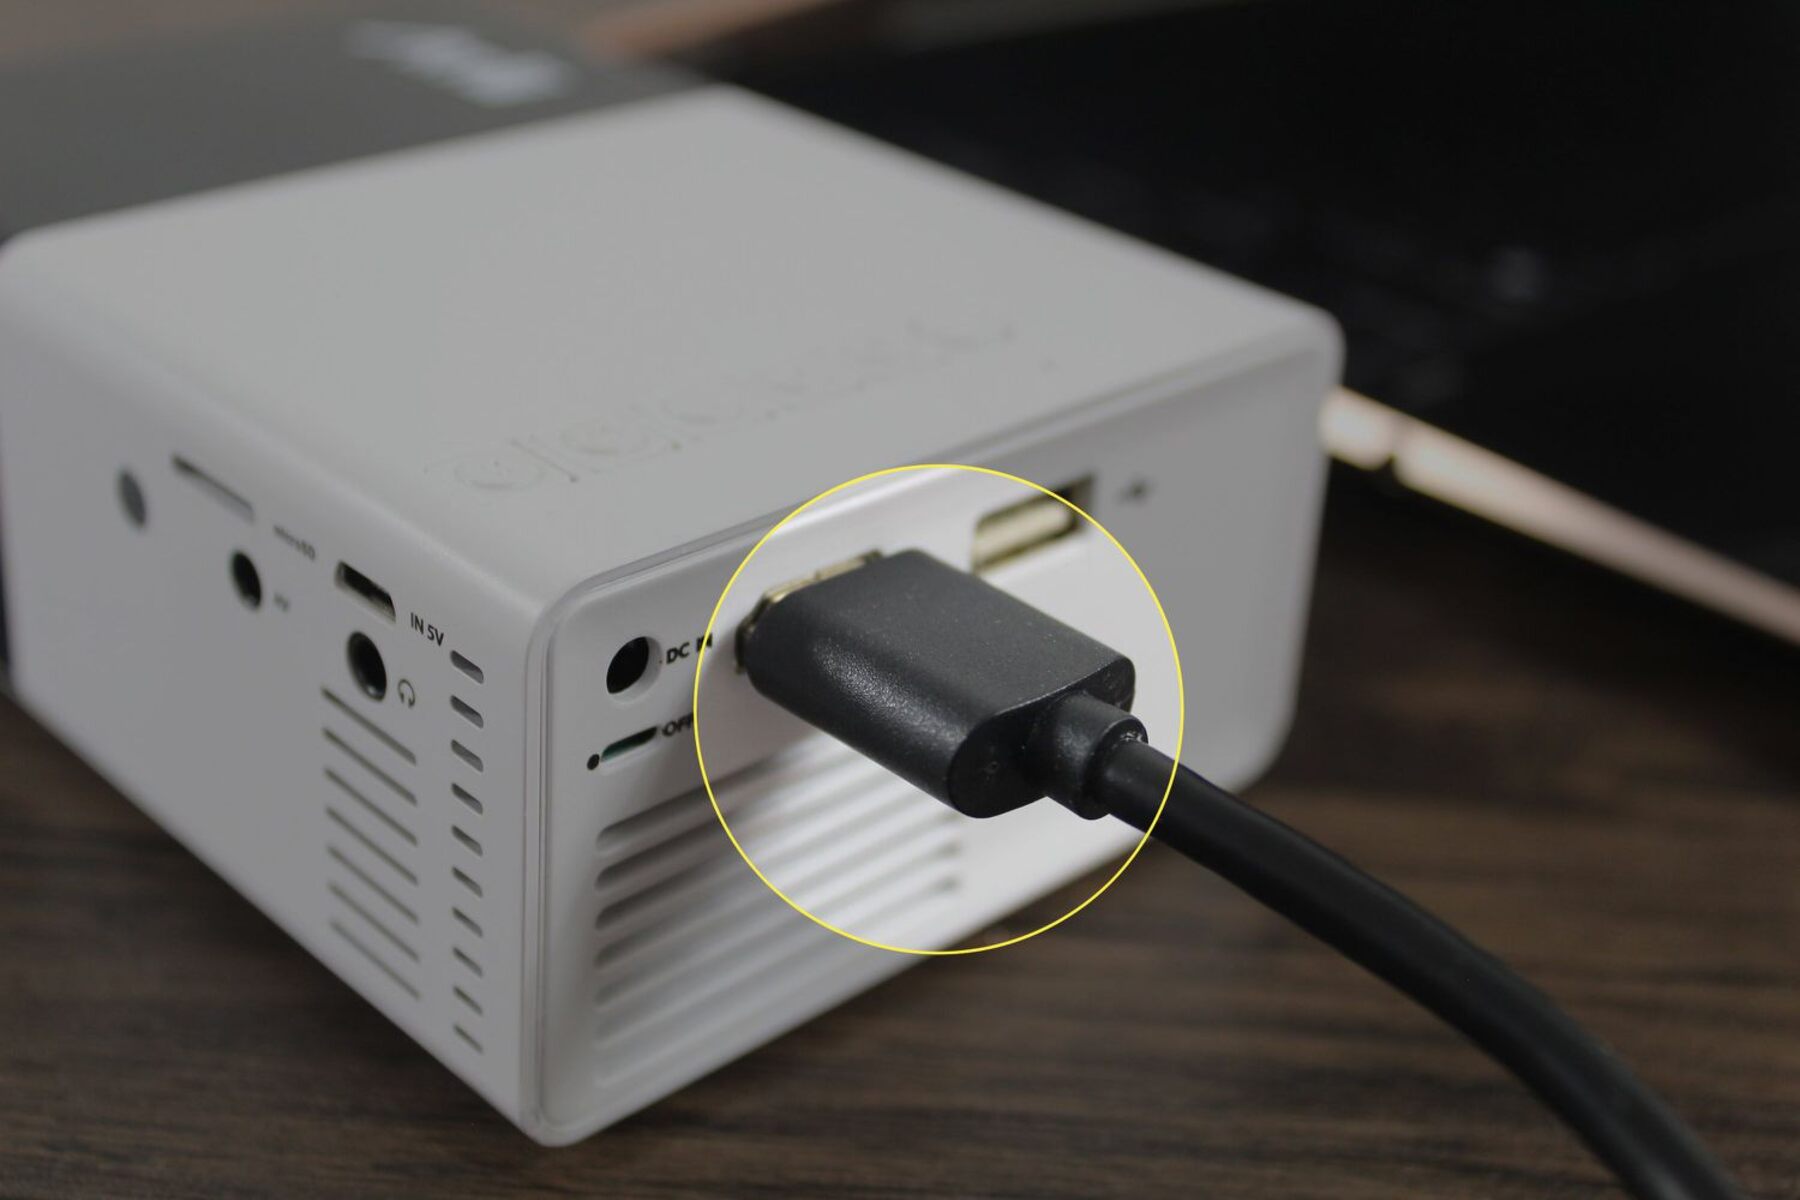
2. Accessible Power Source: Ensure that the chosen location has easy access to a power outlet. Running power cables through walls or ceilings can be complex and may require professional assistance.
3. Ventilation: Projectors generate heat, so it is crucial to select a location that allows for proper ventilation. Adequate airflow will prevent overheating and ensure the longevity of your projector.
4. Ambient Light Control: Consider the amount of ambient light present in the chosen location. Excessive light can reduce the clarity and contrast of the projected image. If your space has large windows or skylights, you may need to consider light-blocking solutions.
5. Structural Integrity: Ensure that the installation location has a sturdy, level surface to securely mount the projector. Avoid areas that are prone to vibrations or movement, as this can affect your viewing experience.
Once you have identified the ideal location, you can proceed to explore the various hiding solutions that will seamlessly integrate your projector into your space. Let’s explore some creative options!
Concealing with Furniture
If you want a simple and cost-effective way to hide your projector, consider incorporating it into your existing furniture. Here are a few ideas:
1. Entertainment Center: If you have an entertainment center or TV stand with shelves, you can place the projector on one of the shelves. Ensure that the shelf is at the appropriate height and has enough space to accommodate the projector comfortably.
2. Storage Cabinets: Utilize storage cabinets or credenzas with doors to hide the projector when it’s not in use. You can create a designated section within the cabinet by adding a shelf that is large enough to hold the projector. When you want to use it, simply open the cabinet doors and position the projector for viewing.
3. Coffee Table with Lift Mechanism: For a sleek and innovative solution, consider a coffee table with a built-in lift mechanism. With a simple push of a button, the projector can be hidden within the coffee table when not in use. When you’re ready to watch, the lift mechanism raises the projector to the desired height.
4. Sideboard or Buffet: If you have a sideboard or buffet in your dining room or living area, you can repurpose it to hide the projector. Create a customized compartment within the piece of furniture where the projector can be concealed. This option works particularly well if you already have a projector screen set up.
Remember to ensure proper ventilation and consider cable management when integrating the projector into furniture. Additionally, make sure the projector is easily accessible and adjustable for alignment and focus. With these furniture concealment ideas, you can effortlessly blend your projector into your existing decor while maintaining a clean and organized look in your living space.
Creating a Hidden Cabinet
If you’re looking for a more customized and seamless hiding solution for your projector, creating a hidden cabinet can be a great option. Here’s how you can go about it:
1. Determine the Cabinet Placement: Identify a suitable location on a wall or within a built-in unit where you can create a hidden cabinet for your projector. Ensure that it aligns with the desired viewing angle and is easily accessible.
2. Build or Modify a Cabinet: If you’re skilled at woodworking, you can build a custom cabinet to perfectly fit your projector. Alternatively, you can repurpose an existing cabinet and modify it to accommodate the projector. Make sure to add ventilation holes to prevent overheating.
3. Install Sliding or Fold-out Doors: To conceal the projector when not in use, install sliding or fold-out doors on the cabinet. This makes it easy to hide and reveal the projector with a simple movement. Choose a mechanism that is sturdy, smooth, and operates quietly.
4. Consider Cable Management: Plan for cable management within the cabinet to ensure a clean and organized setup. Use cable clips, Velcro ties, or cable raceways to keep the projector cables neatly organized and hidden from view.
5. Add a Projector Shelf: Install a shelf within the hidden cabinet at the appropriate height and angle to hold the projector securely. Ensure that the shelf is adjustable to allow for fine-tuning of the projector’s alignment and focus.
6. Integrate Remote Control System: To simplify the operation of the hidden cabinet, consider integrating a remote control system. This allows you to easily control the opening and closing of the cabinet doors and adjust the projector settings without physical access.
A hidden cabinet not only conceals the projector when it’s not in use but also provides a sleek and sophisticated look to your home theater setup. It allows you to keep the focus on the immersive viewing experience without any visual distractions.
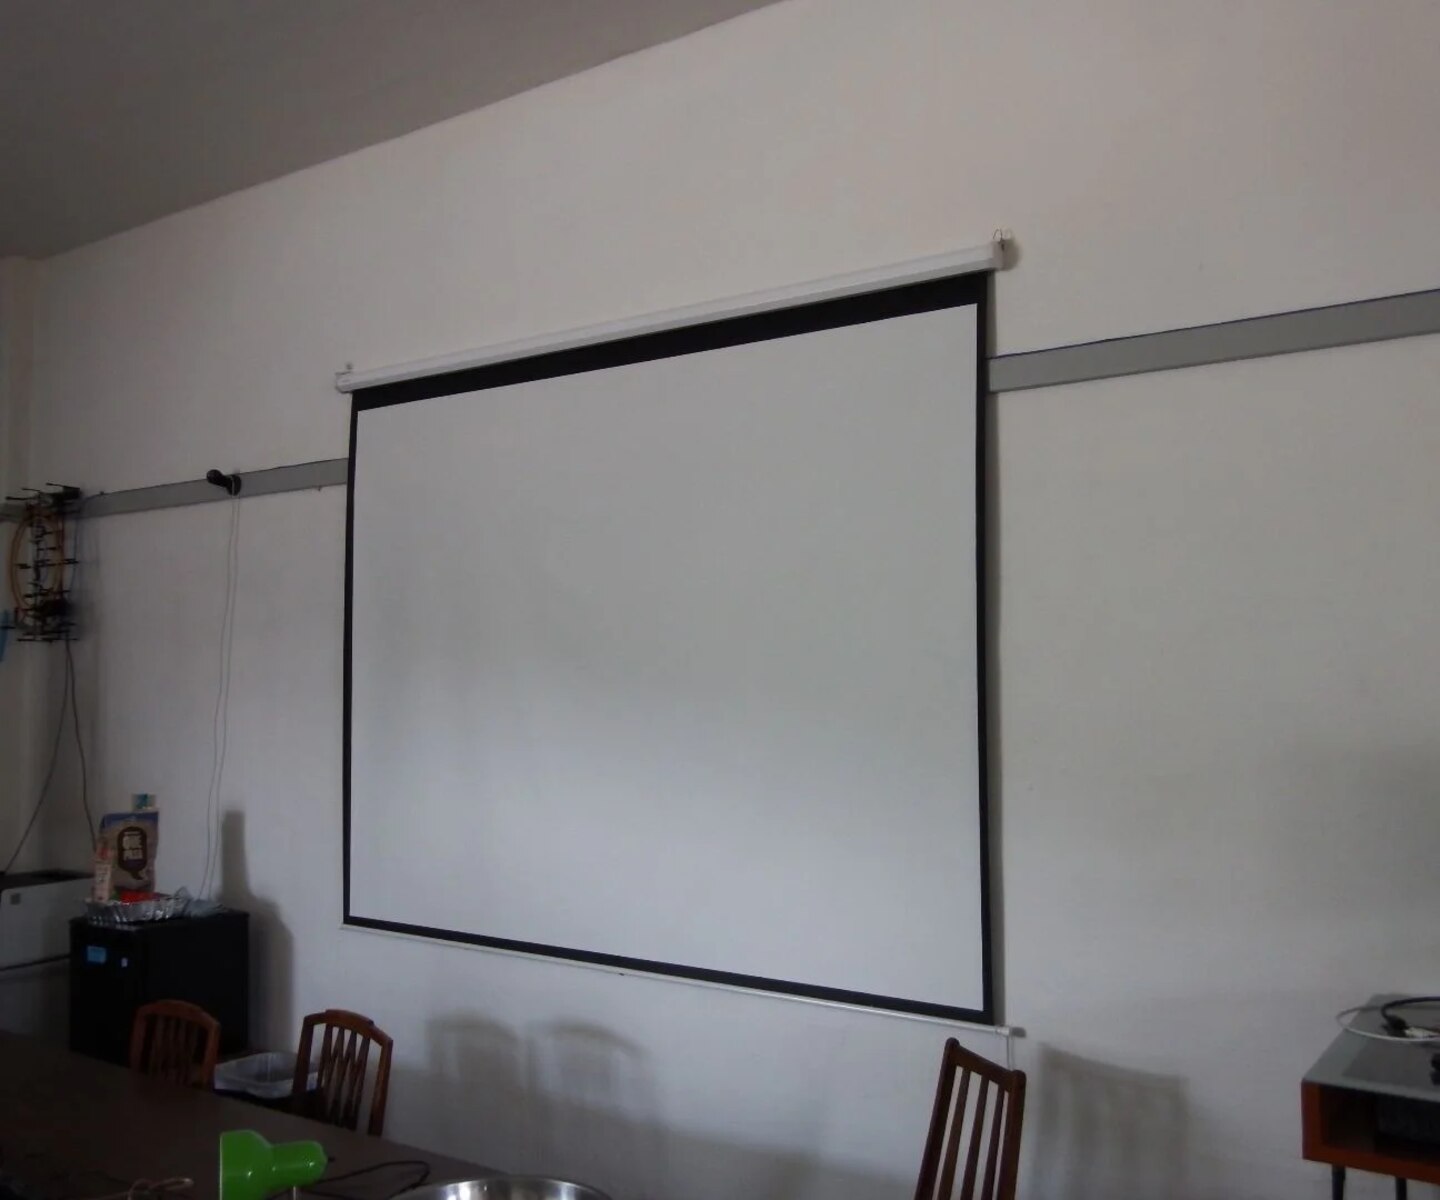
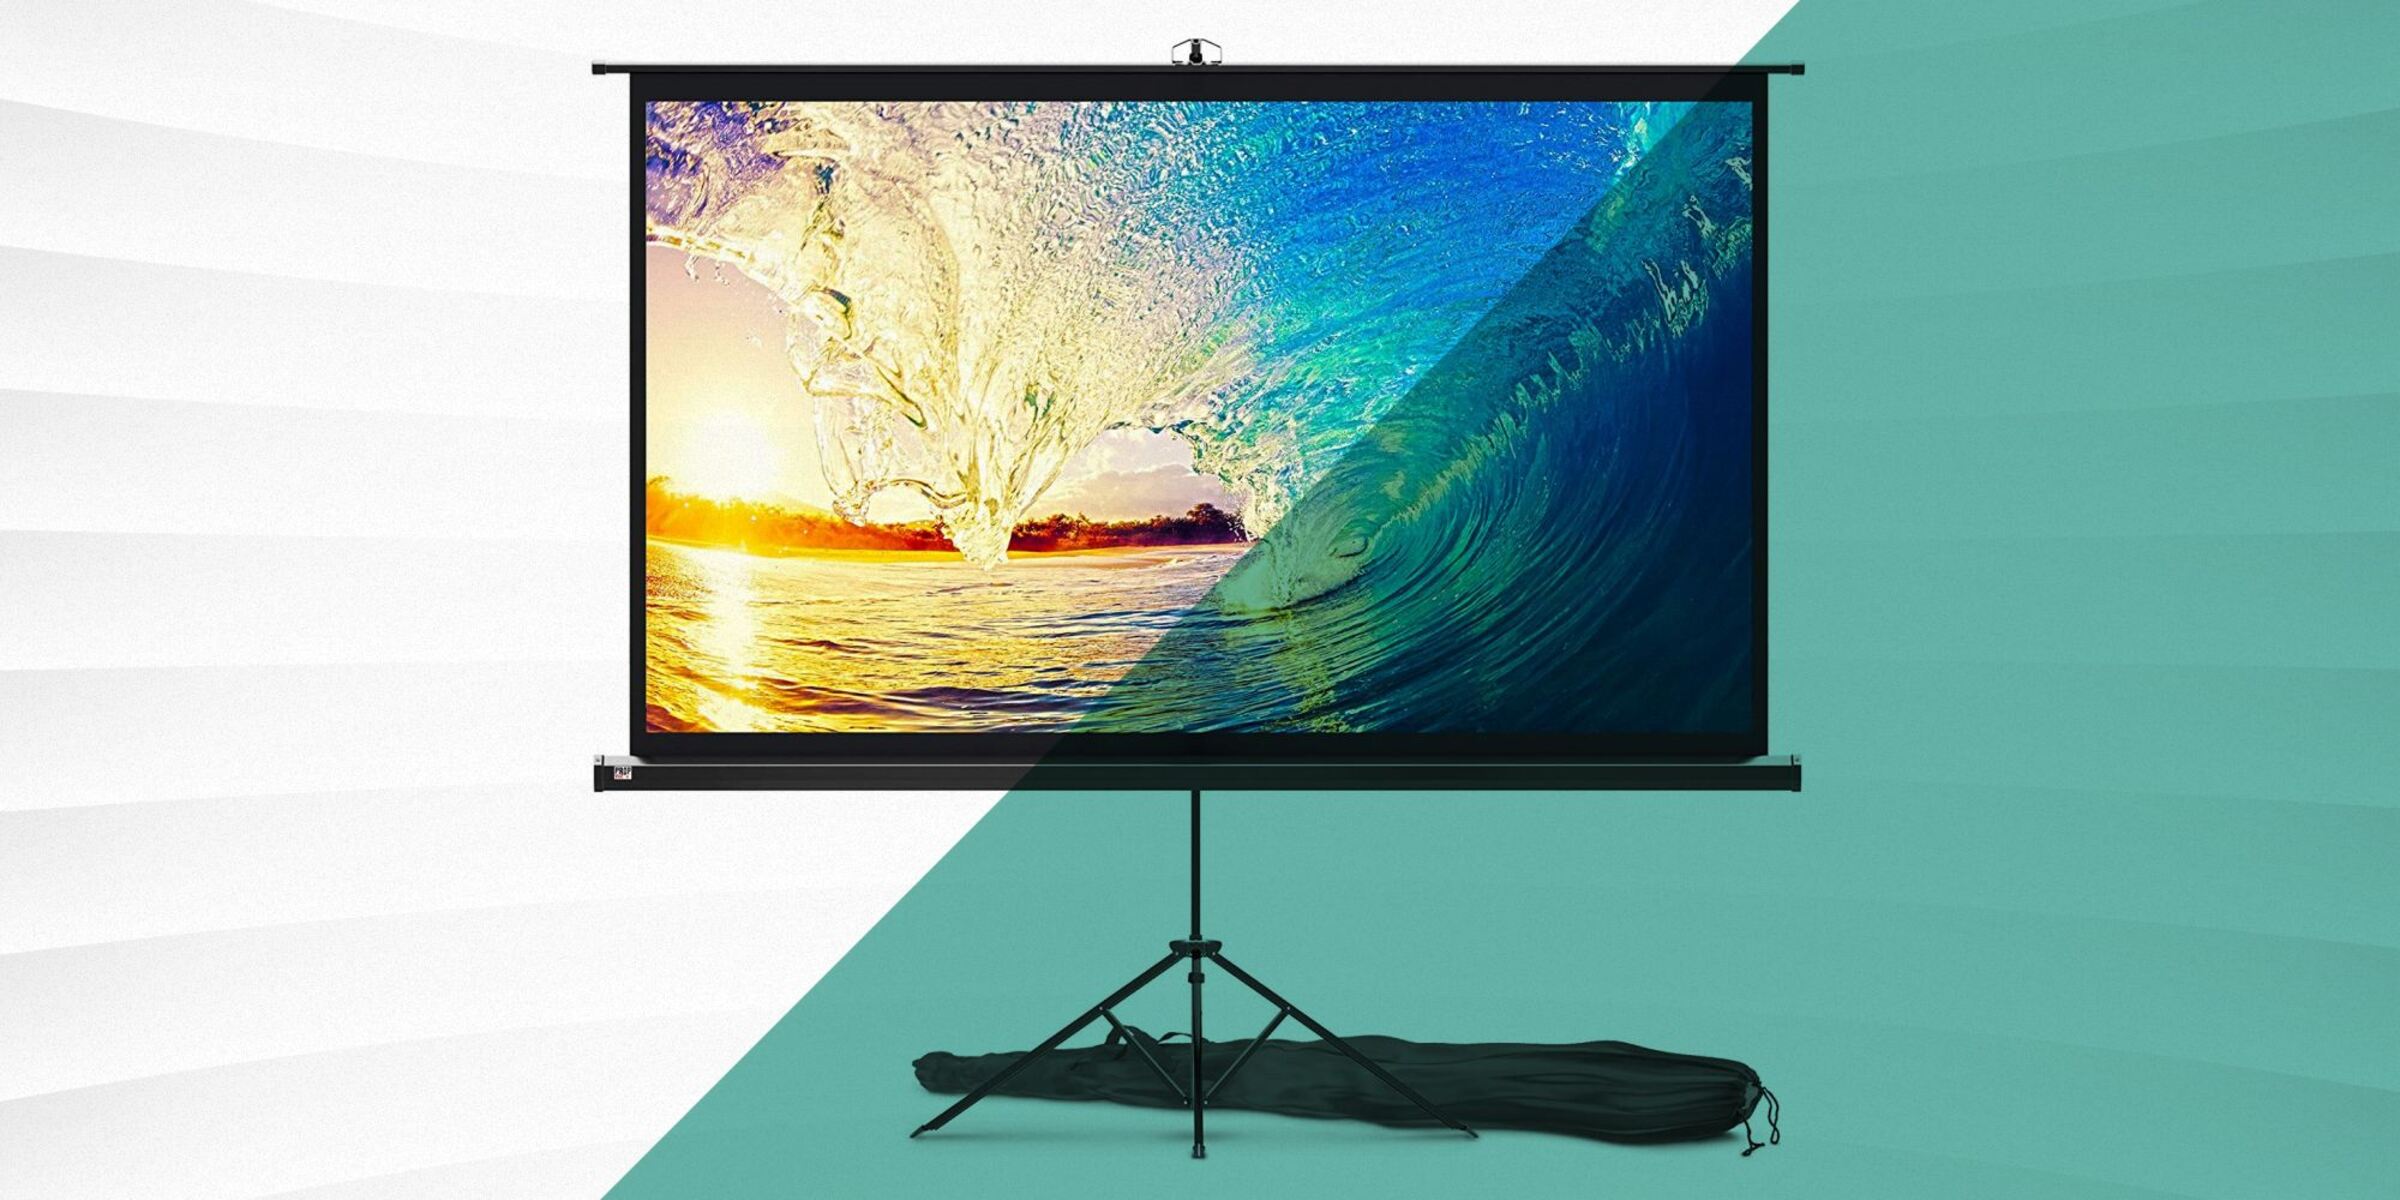
Custom-built Projection Screen
If you want a truly seamless and integrated way to hide your projector, consider a custom-built projection screen. By incorporating the screen directly into your living space, you can create a hidden projection surface that blends perfectly with your decor. Here’s how:
1. Choose the Location: Determine the optimal location for your projection screen. This could be a wall, ceiling, or even a large piece of furniture like a retractable panel or room divider.
2. Select the Projection Material: Choose a high-quality projection material that suits your needs. There are various options available, such as tensioned screens, motorized screens, or ambient light-rejecting screens. Consider factors like gain, viewing angle, and ambient light conditions to make the right choice.
3. Construct the Screen Housing: Build or customize a housing unit to enclose the projection screen. This can be as simple as a dedicated wall where the screen rolls up into or a compartment built into a piece of furniture. Ensure that the housing unit is sturdy and perfectly sized to fit the screen.
4. Install Motorized or Manual Controls: Depending on your preferences and budget, choose between motorized or manual controls for retracting and deploying the screen. Motorized screens offer convenience, allowing you to control the screen with a remote or wall-mounted switch. Manual screens are more cost-effective but require direct physical manipulation.
5. Consider Concealed Installation: If you want an ultra-hidden setup, consider concealed installation options like recessing the screen into the wall or ceiling. This creates a flush and seamless look when the screen is not in use.
6. Manage Wiring and Connectivity: Plan for wiring and connectivity options to ensure a clean and organized setup. Conceal the projector cables within the wall or ceiling, or use cable management solutions to keep them hidden from view.
By customizing a projection screen to suit your space, you can create a hidden solution that seamlessly integrates with your home decor. This allows you to enjoy a large-screen viewing experience without the projector being a prominent visual element in your living space.
Incorporating a False Ceiling
If you’re looking for a discreet and elegant way to hide your projector, incorporating a false ceiling can be an excellent option. This method allows you to create a dedicated space for your projector, completely concealed from view. Here’s how you can achieve it:
1. Design and Plan: Work with a professional contractor or interior designer to design a false ceiling that accommodates your projector and aligns with your overall room design. Consider factors such as the size and weight of your projector, ventilation requirements, and the desired viewing angle.
2. Construct the False Ceiling Frame: Create a framework using metal tracks or wooden joists to support the false ceiling. Ensure that the frame is strong enough to bear the weight of the projector and any additional components, such as a motorized lift or ventilation system.
3. Incorporate Access Panels: Install access panels within the false ceiling to provide easy maintenance and access to the projector. These panels allow you to make adjustments, change bulbs, and perform necessary maintenance without disassembling the entire ceiling.
4. Install Soundproofing and Insulation: To enhance your viewing experience and minimize noise transfer, consider adding soundproofing materials and insulation within the false ceiling. This will help to create a quiet and immersive environment for your home theater.
5. Integrate Lighting and Acoustic Treatments: Incorporate recessed lights and acoustic treatments, such as sound-absorbing panels or acoustic tiles, into the false ceiling. This not only enhances the aesthetics of the room but also improves the overall audio-visual experience.
6. Conceal the Projector: Install a motorized lift mechanism within the false ceiling to hide the projector when not in use. With a push of a button, the projector can be discreetly lowered into position for viewing and then retracted back into the false ceiling when you’re finished.
By incorporating a false ceiling, you can create a dedicated space for your projector that seamlessly blends into your room’s design. This option not only hides the projector but also enhances the overall aesthetics and acoustic performance of your home theater setup.
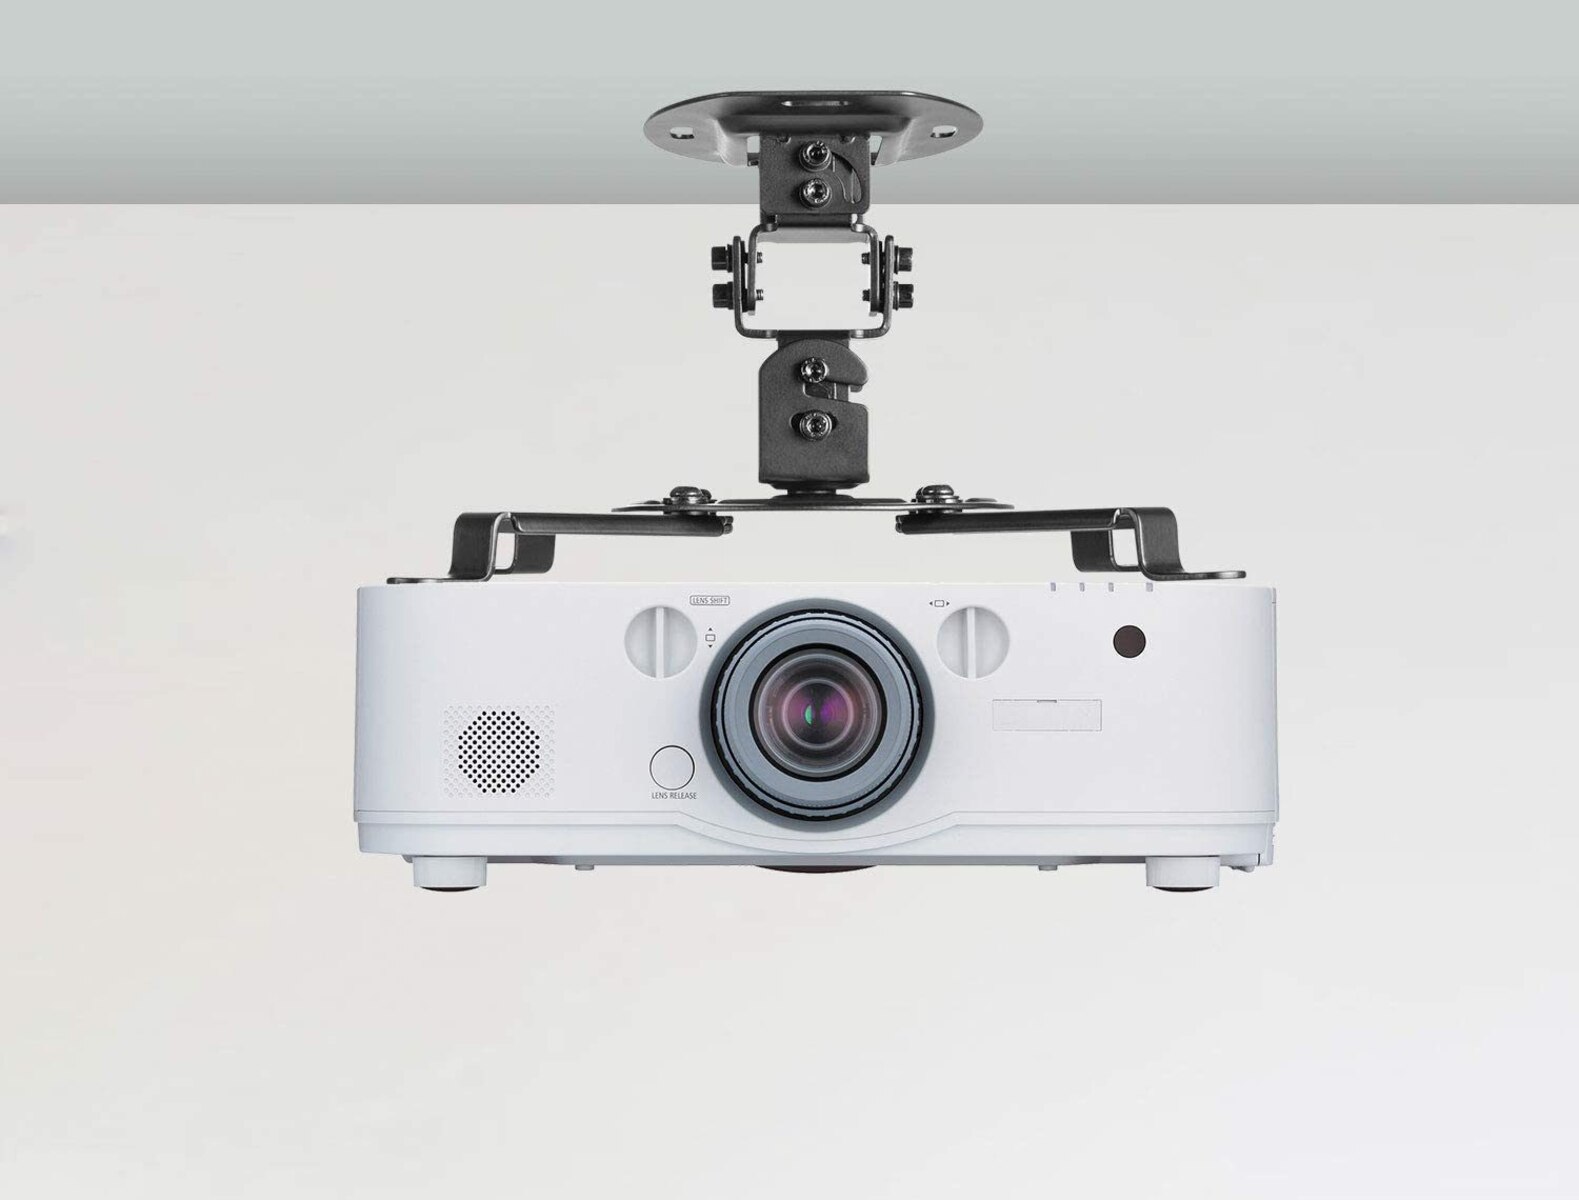
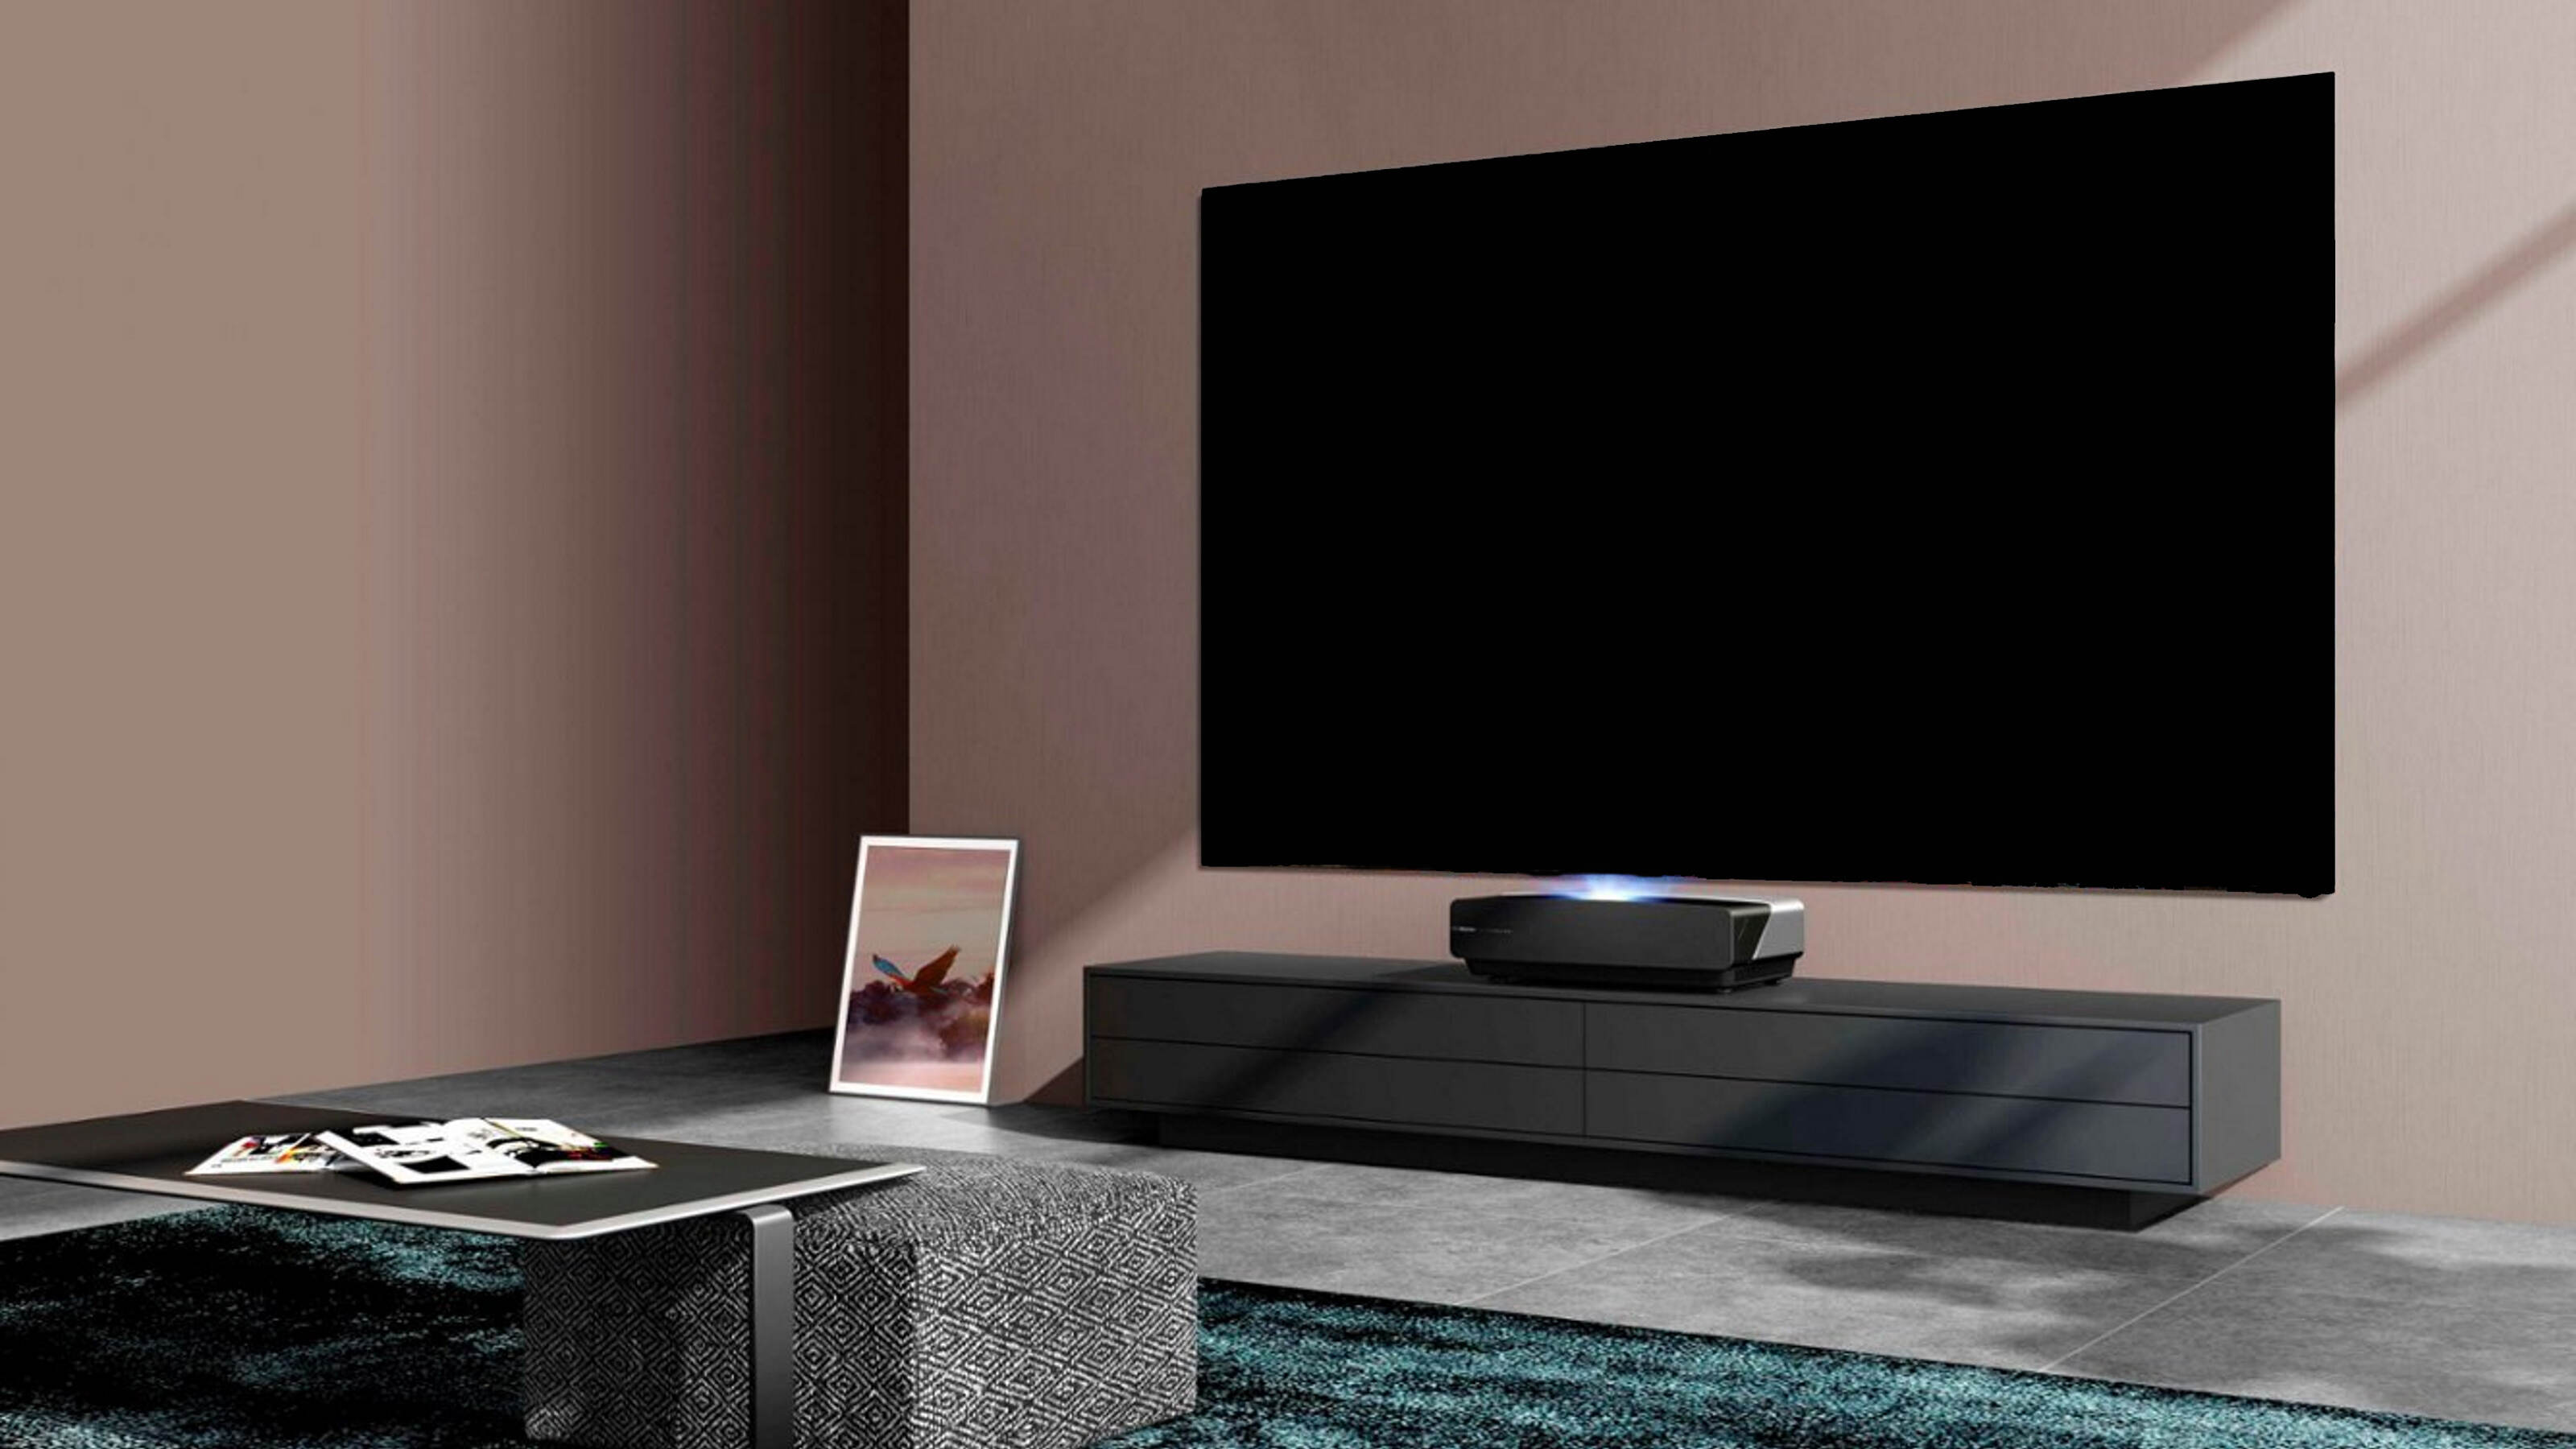
Using Recessed Mounts
Recessed mounts offer a sleek and unobtrusive way to hide your projector while maintaining easy access when needed. By integrating the projector into the ceiling or wall, you can achieve a clean and seamless look in your home theater. Here’s how you can utilize recessed mounts:
1. Determine the Installation Location: Identify the ideal location for your projector. This could be on the ceiling, above the screen, or on a wall facing the screen. Ensure that the chosen location provides a clear line of sight and is easily accessible for maintenance and adjustments.
2. Choose the Recessed Mount: Select a recessed mount that suits the size and weight of your projector. There are various options available, including ceiling recessed mounts and wall recessed mounts. Consider factors such as extension and rotation capabilities to ensure optimal positioning.
3. Prepare the Installation Area: Before installing the recessed mount, make sure the installation area is clear and free from obstructions. Ensure that the ceiling or wall is structurally sound and can support the weight of the mount and projector.
4. Cut the Opening: Follow the manufacturer’s instructions to accurately cut the opening in the ceiling or wall for the recessed mount. Take precise measurements to ensure a snug fit and a clean appearance. Consider using a template or hiring a professional for more complex installations.
5. Mount the Recessed Mount: Install the recessed mount into the opening, following the manufacturer’s instructions. Ensure that it is securely fastened and aligned properly. Double-check for any wobbling or instability as this can affect the quality of the projected image.
6. Connect the Projector: Once the recessed mount is installed, connect the projector to the mount using the appropriate cables. Ensure that all connections are secure and that the projector is properly positioned for optimal viewing.
By utilizing recessed mounts, you can create a clean and uncluttered look in your home theater while still enjoying the benefits of easy access to your projector. This solution is especially useful if you have limited space or want to maintain a minimalist aesthetic.
Installing a Motorized Lift
If you prefer a sophisticated and automated solution to hide your projector, installing a motorized lift can be an excellent choice. A motorized lift allows you to effortlessly hide and reveal your projector with the push of a button. Here’s how you can go about installing a motorized lift:
1. Choose the Type of Lift: There are various types of motorized lifts available, such as ceiling-mounted lifts, floor-mounted lifts, or lifts built into furniture. Consider the layout of your space, the weight and size of your projector, and your specific needs to select the most suitable lift option.
2. Measure and Plan: Measure the dimensions and weight of your projector to ensure compatibility with the motorized lift. Take accurate measurements of the space where the lift will be installed to ensure a proper fit. Consider factors like clearance requirements and access to power sources.
3. Prepare the Installation Area: Clear the installation area of any obstructions and ensure that it is structurally sound to support the weight of the motorized lift and the projector. Follow the manufacturer’s instructions for any specific preparation required.
4. Install the Motorized Lift System: Carefully follow the manufacturer’s instructions to install the motorized lift system. This may involve mounting brackets, attaching cables or chains, and securing the lift mechanism. Use the appropriate tools and hardware to ensure a secure and stable installation.
5. Connect the Lift to Power: Connect the motorized lift system to a power source, following the manufacturer’s guidelines. This may involve wiring the lift to an electrical outlet or integrating it into a home automation system for remote control access.
6. Test the Lift: Once the motorized lift is installed, test its functionality to ensure smooth operation. Use the remote control or control panel to raise and lower the lift, verifying that it moves smoothly and quietly. Make any necessary adjustments for optimal performance.
Installing a motorized lift for your projector provides a convenient and elegant solution for hiding and revealing your device. With the touch of a button, you can seamlessly integrate your projector into your living space, creating a minimalist and visually appealing home theater setup.
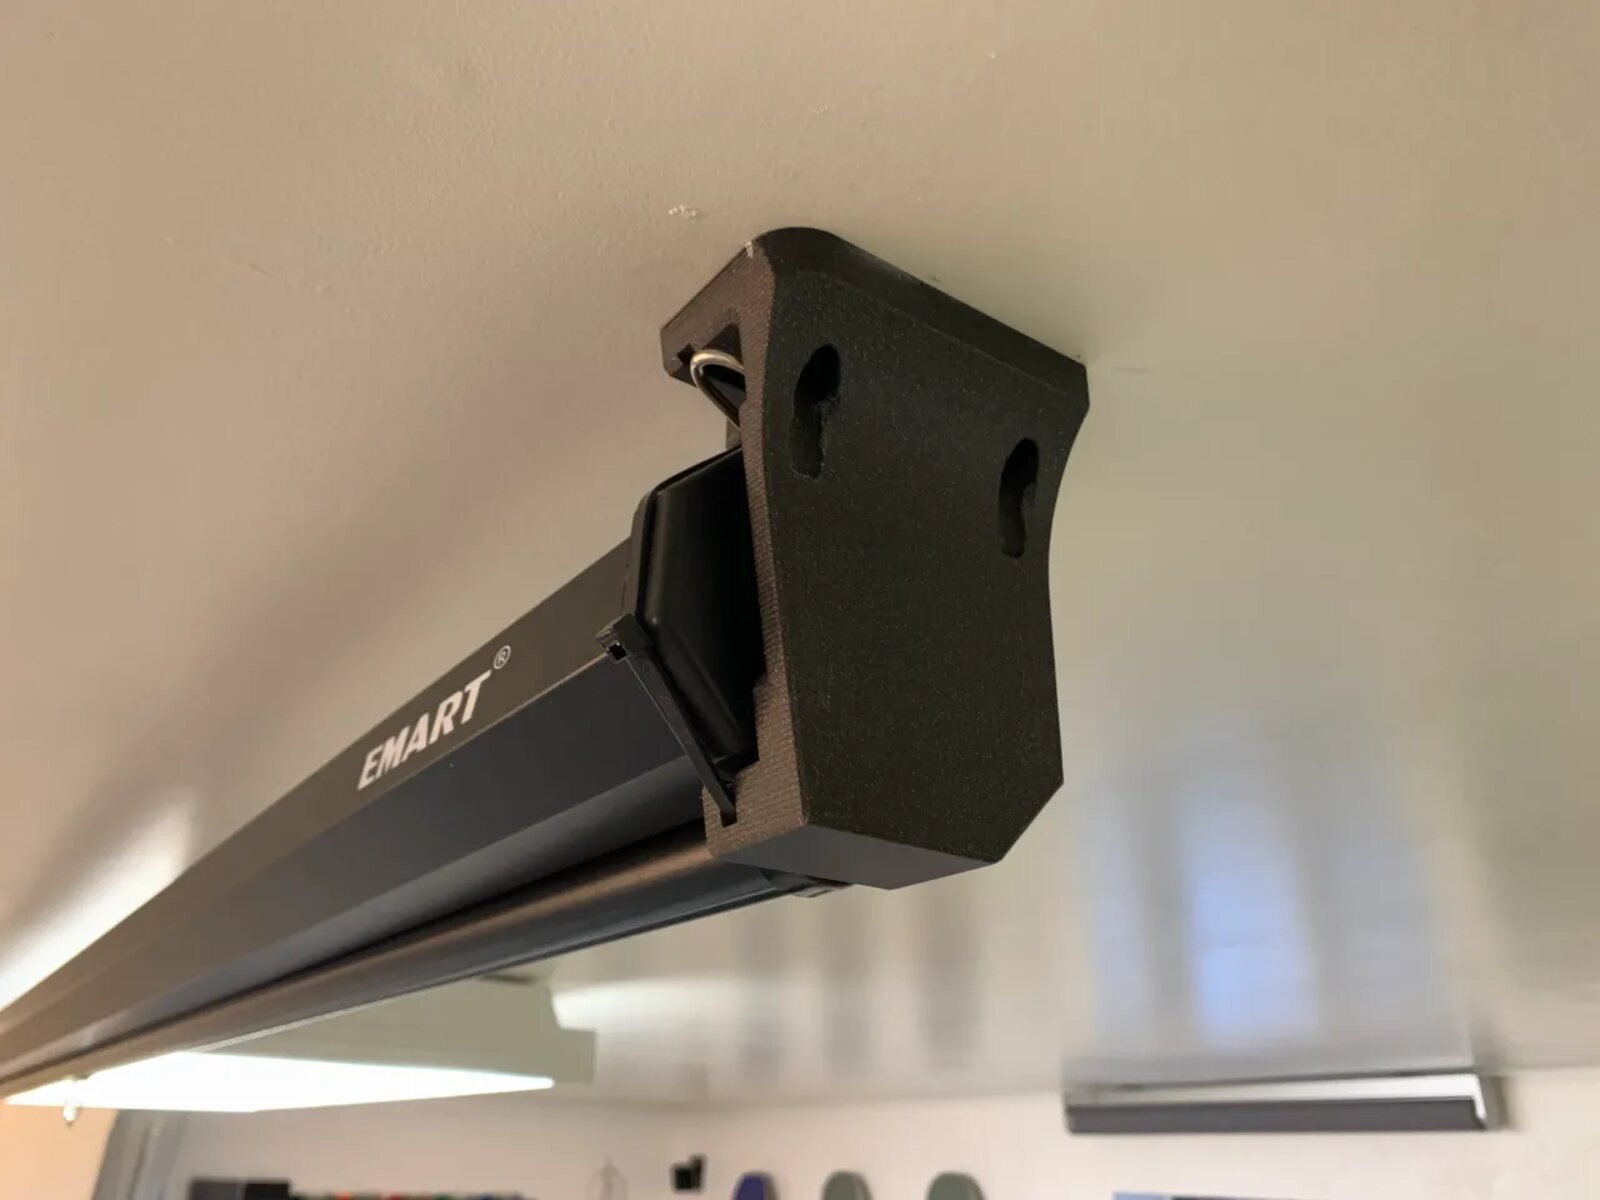
Hiding the Projector with Curtains or Drapes
If you’re looking for a versatile and easily adjustable solution to hide your projector, using curtains or drapes can be an excellent choice. This option allows you to conceal the projector when it’s not in use and reveal it for a seamless viewing experience. Here’s how you can do it:
1. Identify the Concealing Location: Select a wall or designated area where you want to hide your projector. Ensure it aligns with the desired viewing angle and maintains easy access for adjustments and maintenance.
2. Install Curtain Rods or Tracks: Install curtain rods or tracks on the ceiling or above the projector hiding location. Alternatively, you can use existing structures, such as window frames or doorways, that can support the curtains or drapes.
3. Choose the Right Curtains or Drapes: Select curtains or drapes that match your room decor and provide sufficient coverage to hide the projector when closed. Consider blackout or thick fabric options if you want to minimize light leakage from the projector when it’s concealed.
4. Mount the Curtains or Drapes: Hang the curtains or drapes on the installed rods or tracks. Ensure they are properly fitted and cover the projector hiding location completely when closed.
5. Utilize Manual or Motorized Operation: Decide whether you want to operate the curtains or drapes manually or opt for a motorized system for added convenience. Manual operation allows you to manually open and close the curtains, while a motorized system enables remote control operation.
6. Coordinate Curtain Control with Projector Activation: Integrate the control of the curtains or drapes with the projector activation. For example, when you turn on the projector, the curtains or drapes can automatically open, and when you turn it off, they can close, hiding the projector from view.
Using curtains or drapes to conceal your projector allows for easy customization and adaptability. You can adjust the curtains or drapes to your preferred position, easily hiding or revealing the projector based on your viewing needs.
Conclusion
Hiding a projector in your home doesn’t have to be a challenge. With the right techniques and solutions, you can seamlessly integrate your projector into your living space and create a clutter-free and visually appealing home theater setup.
In this article, we explored various methods to hide a projector, from concealing it with furniture to creating custom-built projection screens. We also discussed options such as incorporating a false ceiling, using recessed mounts, installing a motorized lift, and hiding the projector with curtains or drapes.
Each of these solutions offers its own unique advantages and considerations. You can choose the most suitable option based on your available space, budget, aesthetic preferences, and desired level of convenience.
Remember to carefully plan and consider factors like distance from the screen, accessibility, ventilation, ambient light control, and structural integrity when choosing the right location for your projector. By doing so, you can ensure optimal performance and a seamless integration into your home.
Whether you prefer a hidden cabinet, a custom-built screen, or a motorized lift system, carefully assess your needs and consult professionals when necessary to ensure proper installation and functionality of your chosen solution.
With the techniques and solutions covered in this article, you can enjoy the immersive experience of watching movies, sports events, or playing video games on a large screen without sacrificing the aesthetics and functionality of your living space.
So go ahead and explore these ideas to hide your projector, transforming your home into the ultimate entertainment hub.