Introduction:
Retrofitting projector headlights is a popular trend among car enthusiasts who are looking to improve the overall appearance and performance of their vehicles. Projector headlights are known for their superior light output and more focused beam pattern, which enhances visibility and safety on the road.
While many vehicles come with factory-installed projectors, others may only have standard reflector headlights. Retrofitting allows you to upgrade your headlights to projectors, giving your vehicle a modern, sleek look while significantly improving nighttime visibility.
Not only does retrofitting projector headlights offer aesthetic benefits, but it also provides several practical advantages. The focused beam pattern helps prevent glare for oncoming drivers, reducing the risk of accidents. Additionally, the increased light output illuminates the road ahead more efficiently, making it easier to spot pedestrians, road signs, and hazards.
However, retrofitting projector headlights is not a simple plug-and-play process. It requires careful disassembly and reassembly of the headlight housing, as well as the installation of the projector lens and compatible HID or LED bulbs. It’s important to have a good understanding of the steps involved and the necessary tools and materials required to successfully complete the retrofit.
In this article, we will guide you through the process of retrofitting projector headlights, providing detailed instructions and tips to help you achieve a professional-quality result. Before we delve into the specific steps, let’s first consider some important factors to keep in mind before undertaking this project.
Benefits of Retrofitting Projector Headlights:
Retrofitting projector headlights offers numerous advantages to vehicle owners who are seeking improved lighting performance and a contemporary look. Let’s explore some of the key benefits:
1. Enhanced Visibility: One of the primary benefits of retrofitting projector headlights is the improved visibility they provide. The projector lens design helps to create a focused beam pattern that illuminates the road ahead more efficiently. This enables you to see obstacles, pedestrians, and road signs more clearly, enhancing safety during nighttime driving.
2. Reduced Glare: Projector headlights are known for their ability to minimize glare for oncoming drivers. The cutoff shield within the projector lens helps to direct the light downward, preventing it from shining directly into the eyes of other drivers. This ensures a safer driving experience for everyone on the road.
3. Stylish Appearance: Retrofitting projector headlights can dramatically enhance the overall look of your vehicle. The sleek and modern design of projector headlights adds a touch of sophistication to any car, making it stand out from the crowd. Whether you have a classic or a contemporary vehicle, projector headlights can give it a fresh and stylish appearance.
4. Compatibility with HID and LED Bulbs: Projector headlights are designed to work seamlessly with HID (High-Intensity Discharge) and LED (Light-Emitting Diode) bulbs. These lighting technologies offer superior brightness and longevity compared to traditional halogen bulbs. Retrofitting projectors allows you to take full advantage of the benefits that HID or LED lighting provides, such as better visibility and longer lifespan.
5. Customization Options: Retrofitting projector headlights opens up a world of customization possibilities. You can choose from a variety of projector lens styles and sizes to achieve the desired beam pattern and light distribution. Additionally, you can add unique touches like angel eye rings or color-changing LED accents to personalize the look of your headlights.
6. Potential Increase in Resale Value: Upgrading your vehicle with projector headlights can potentially increase its resale value. Aesthetically pleasing and functional headlights can make your vehicle more appealing to potential buyers, especially those who prioritize safety and style. The investment you make in retrofitting projectors may yield a higher return when it comes time to sell or trade in your car.
By retrofitting projector headlights, you can enjoy improved visibility, reduced glare, a stylish appearance, compatibility with advanced lighting technologies, customization options, and potentially increased resale value. Now that we’ve explored the benefits of retrofitting projectors, let’s dive into the key considerations you should keep in mind before undertaking this project.
Things to Consider Before Retrofitting:
Retrofitting projector headlights requires careful planning and consideration to ensure a successful and satisfying outcome. Before you embark on this project, here are some important factors to keep in mind:
1. Knowledge and Experience: Retrofitting projector headlights involves disassembling and reassembling the headlight housing, as well as working with electrical connections. It is essential to have a good understanding of your vehicle’s headlight system and basic automotive knowledge. If you are not confident in your abilities, it may be best to seek professional assistance or guidance.
2. Compatibility: Not all vehicles are suitable for projector headlight retrofitting. Research and confirm whether your vehicle’s headlight housing can accommodate projectors and if there are retrofit kits available specifically for your make and model. It’s important to ensure compatibility for a proper fit and optimal performance.
3. Budget: Retrofitting projector headlights can vary in cost depending on the quality of the components you choose. Consider your budget and allocate funds for the projector lenses, HID or LED bulbs, wiring harnesses, and any additional accessories or tools you may require. It is advisable to invest in high-quality components to achieve the best results.
4. Legal Considerations: Before making any modifications to your vehicle, it’s crucial to familiarize yourself with local laws and regulations regarding headlight modifications. Certain jurisdictions have specific guidelines regarding the color and intensity of headlights, so ensure that your retrofitting choices comply with these regulations to avoid legal issues.
5. Warranty and Insurance: Retrofitting your vehicle’s headlights may impact your warranty or insurance coverage. It is recommended to review your vehicle’s warranty documentation and consult with your insurance provider to understand any potential implications before proceeding with the retrofit.
6. Time and Patience: Retrofitting projector headlights is not a quick process. It requires careful disassembly, installation, and adjustment of various components. Allocate sufficient time for the project and be patient with the intricate steps involved. Rushing the process can lead to mistakes and unsatisfactory results.
By considering these factors before retrofitting projector headlights, you can ensure that you are well-prepared and make informed decisions throughout the process. Now that we have covered the pre-requisites, let’s move on to the tools and materials you will need to successfully retrofit your headlights.
Tools and Materials Needed:
Before you begin retrofitting projector headlights, gather the following tools and materials to ensure a smooth and successful installation:
Tools:
- Socket set and wrench
- Screwdrivers (flathead and Phillips)
- Pliers
- Trim removal tool
- Heat gun or hairdryer
- Electrical tape
- Wire cutters/strippers
- Heat shrink tubing
- Multimeter (for electrical testing)
- Masking tape
- Torque wrench (if required)
Materials:
- Projector lens kit (compatible with your vehicle)
- HID or LED bulbs (compatible with the projector lens)
- Wiring harnesses or adapters (if necessary)
- Butyl or silicone sealant
- Alcohol wipes or cleaning solution
- Microfiber cloth
- Replacement gaskets (if required)
- Electrical connectors and terminals (if needed)
It’s essential to ensure that the projector lens kit, bulbs, and any other components you purchase are compatible with your specific vehicle make and model. Refer to the manufacturer’s guidelines or consult with an automotive specialist if you have any doubts.
Having these tools and materials readily available will streamline the retrofitting process and allow you to efficiently disassemble, install, and reassemble the projector headlights. Now that you have everything you need, let’s move on to the step-by-step instructions for retrofitting your headlights.
Step 1: Remove the Existing Headlights
The first step in retrofitting projector headlights is to remove the existing headlights from your vehicle. Follow these steps:
- Open the hood of your car and locate the headlight housing. Depending on your vehicle, you may need to remove any covers or panels that are hiding the headlights.
- Locate the mounting bolts or screws that secure the headlight housing to the vehicle’s frame. Use the appropriate tools (such as a socket set or wrench) to loosen and remove these fasteners. Keep them in a safe place for reinstallation later.
- Once the mounting bolts or screws are removed, gently pull the headlight housing forward. Be cautious of any electrical connectors or wiring that may be attached to the back of the headlight. If needed, disconnect the electrical connectors by pressing and releasing the locking tabs.
- With the headlight housing disconnected, carefully remove it from the vehicle. Set it on a clean and stable surface to prevent any damage.
- Repeat the process for the other headlight.
During this step, take note of how the original headlights were positioned, including any alignment marks or tabs. This will help you ensure proper alignment when installing the retrofit projector headlights.
It’s always a good idea to refer to your vehicle’s owner’s manual or consult online resources specific to your make and model for detailed instructions and illustrations related to headlight removal. This will help you navigate any vehicle-specific intricacies.
With the existing headlights removed, you’re ready to proceed to the next step: disassembling the headlight housing.
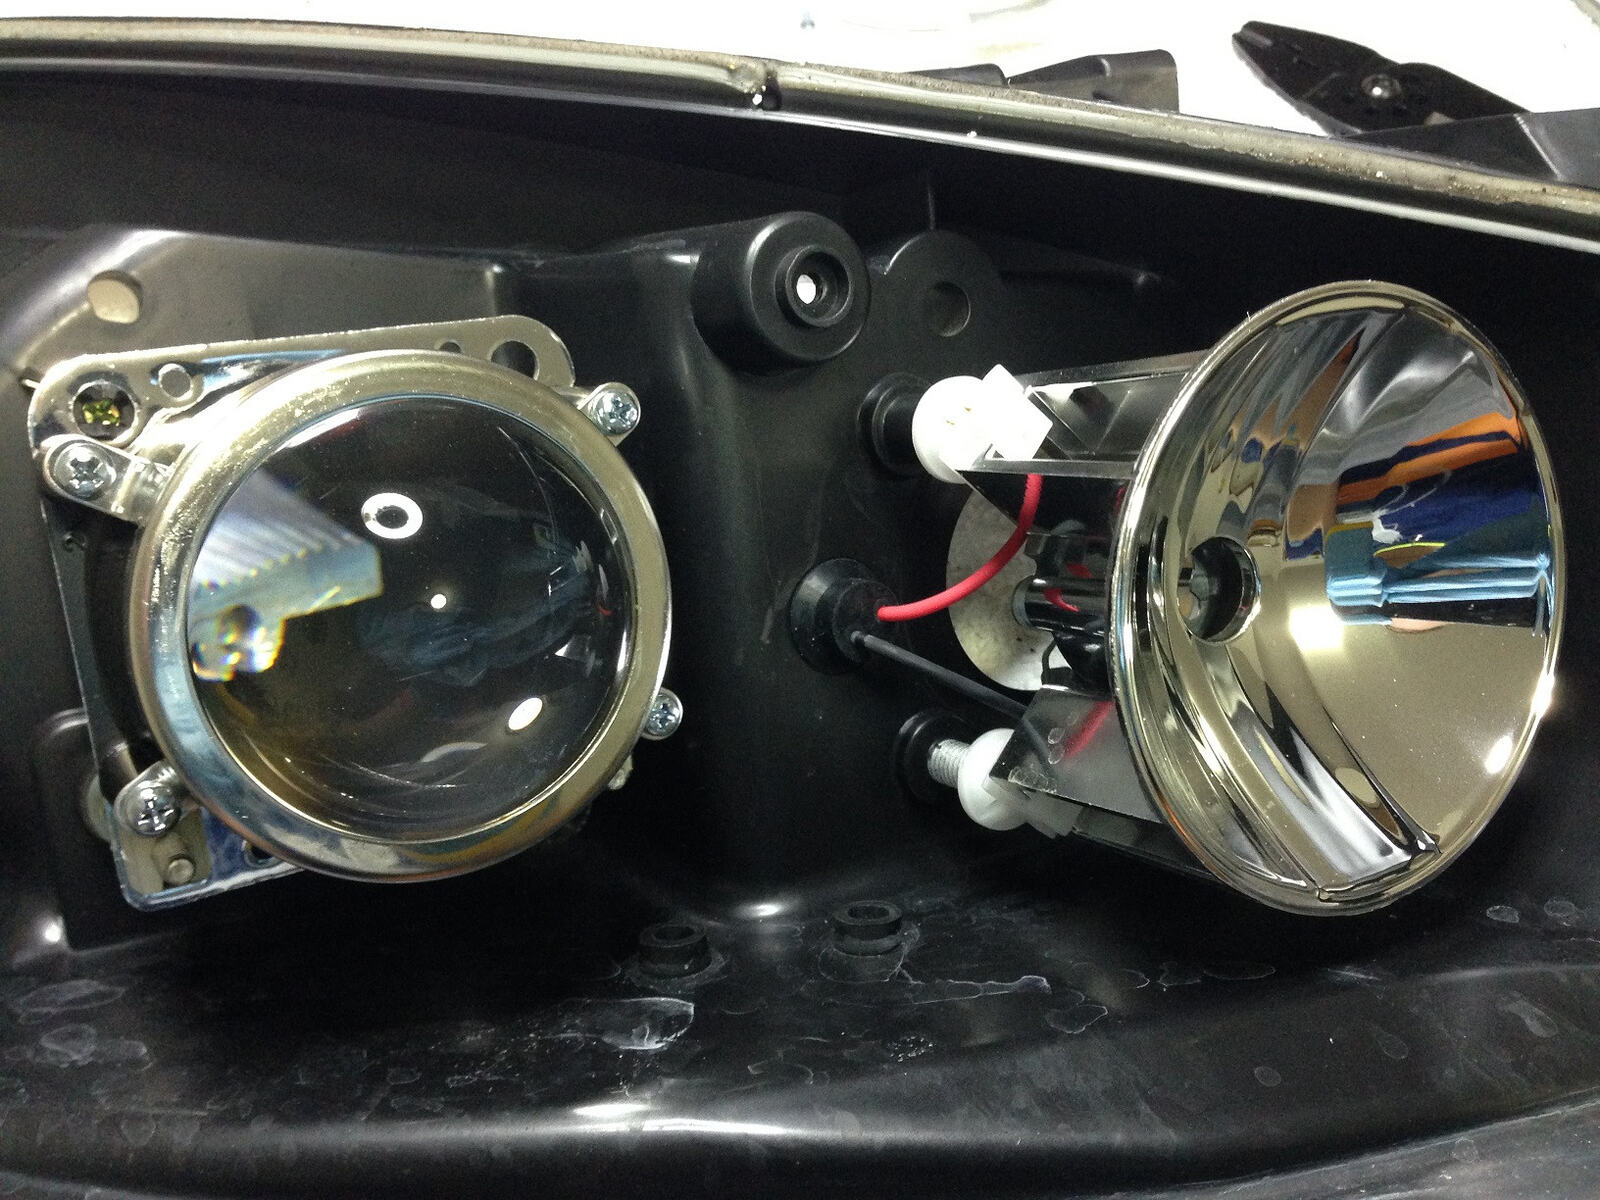
Step 2: Disassemble the Headlight Housing
Once you have removed the existing headlights, the next step in retrofitting projector headlights is to disassemble the headlight housing. Follow these steps:
- Inspect the headlight housing to identify any screws, clips, or retaining brackets that secure the front lens or cover.
- Use the appropriate tools (such as a screwdriver or trim removal tool) to carefully remove these fasteners. Take note of their positions and keep them in a safe place for reassembly.
- Gently pry the front lens or cover away from the housing. In some cases, the lens or cover may be sealed with adhesive or a gasket. Use a heat gun or hairdryer to soften the adhesive, if necessary.
- Once the front lens or cover is removed, inspect the inside of the housing. Look for any retaining clips or screws that secure the reflector or bulb holder.
- Remove these fasteners and release the clips, if present, to separate the reflector or bulb holder from the housing.
- Set aside the removed components in a safe location, ensuring they will not be damaged or misplaced during the process.
It’s important to handle the headlight housing and its components with care, as they can be fragile. Avoid applying excessive force or causing any damage to the parts. If you encounter any resistance during the disassembly process, double-check for any additional fasteners that may still be attached.
Keep track of the order in which you disassemble the components to facilitate easier reassembly later. It can be helpful to take photos or make notes to assist you during the reassembly process.
With the headlight housing disassembled, you are now ready to move on to the next step: installing the projector lens.
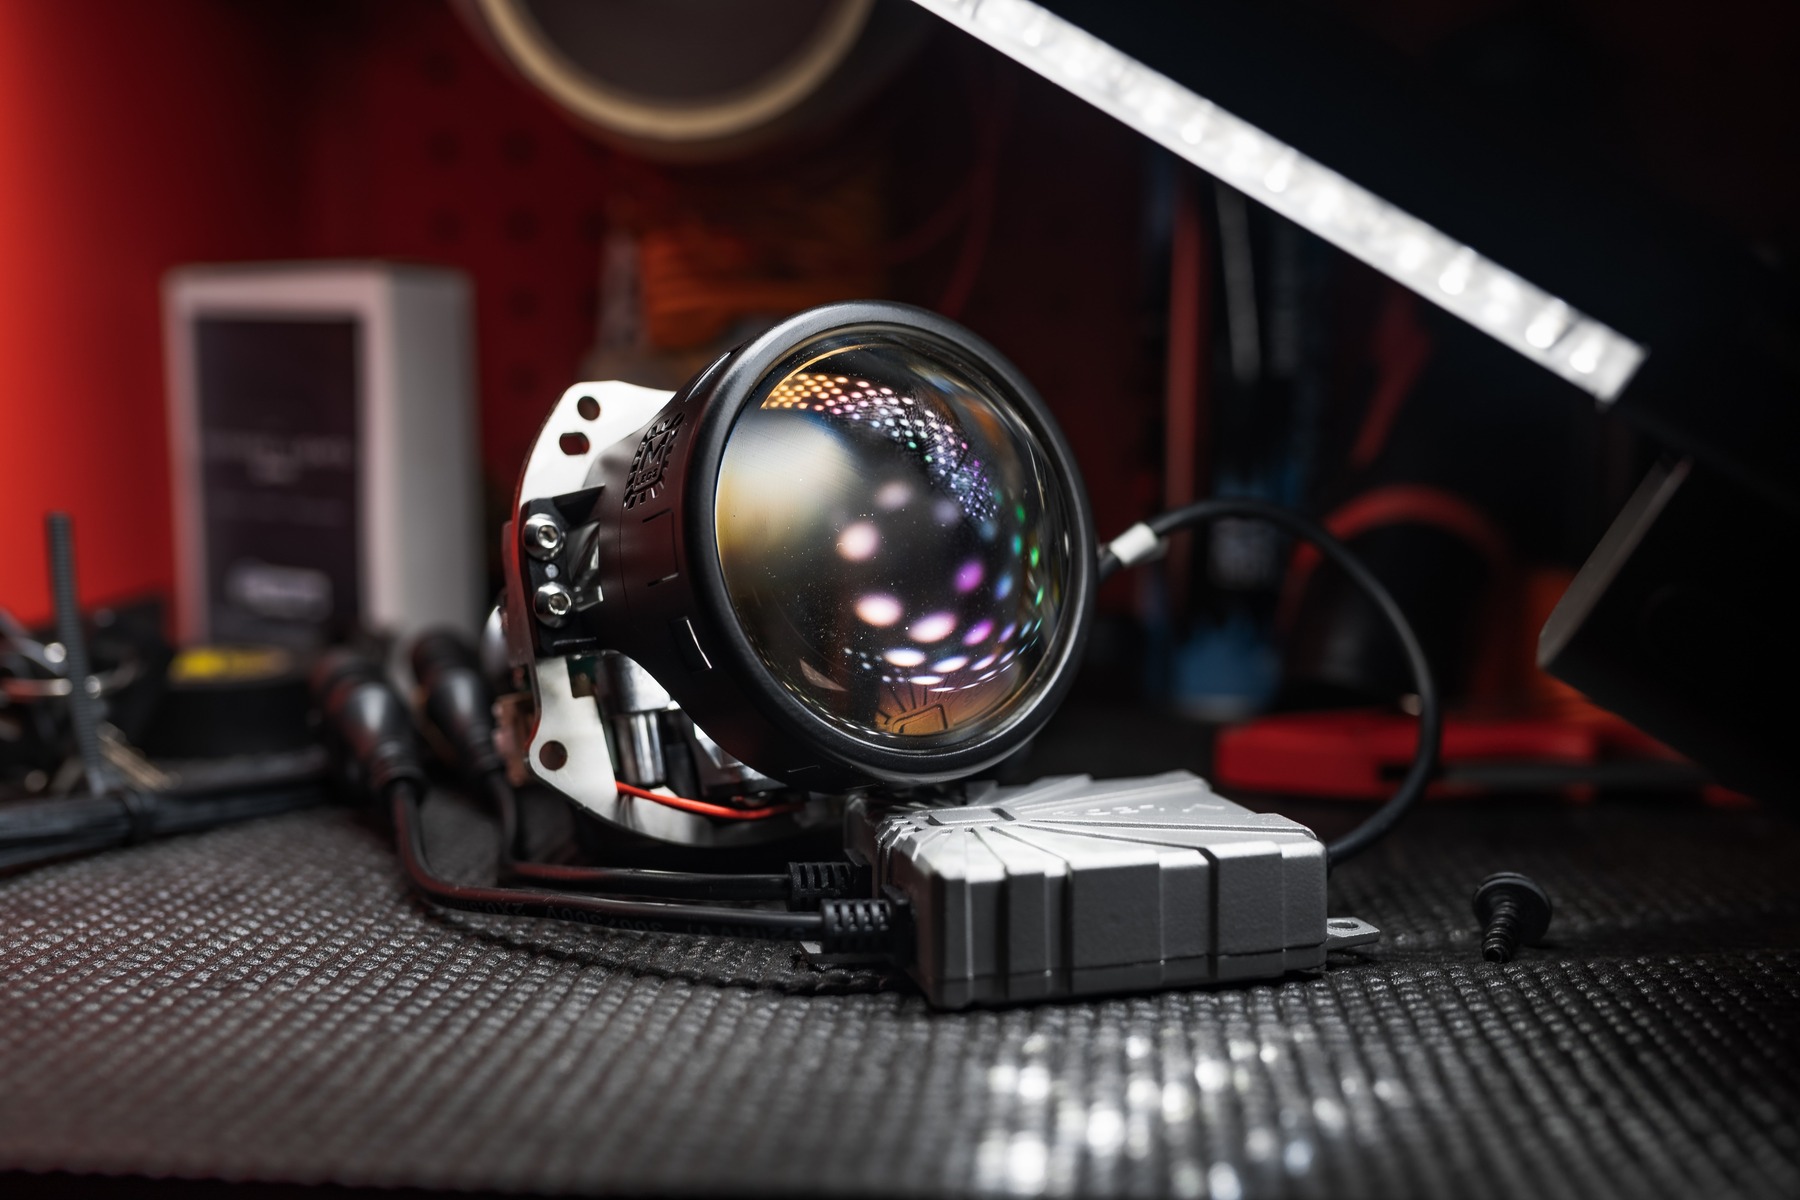
Step 3: Install the Projector Lens
With the headlight housing disassembled, it is time to install the projector lens as part of the retrofitting process. Follow these steps:
- Remove the factory reflector or lens holder from the headlight housing. This may involve unscrewing retaining screws or releasing clips, depending on your specific housing design.
- Take the retrofit projector lens and position it securely within the headlight housing. Ensure that it aligns correctly with the mounting holes or tabs.
- Insert the screws or reattach the clips to secure the projector lens in place. Tighten them properly, but be careful not to overtighten, as this may damage the lens or housing.
- Ensure that the projector lens sits flush and evenly within the housing. Check for any gaps or misalignment that may affect the performance or aesthetics of the retrofit.
- If provided with the retrofit kit, apply an adequate amount of butyl or silicone sealant around the edges of the projector lens to create a watertight seal. This will help protect the internal components from moisture and ensure longevity.
- Allow the sealant to cure as per the manufacturer’s instructions, typically for several hours or overnight.
It is essential to handle the projector lens with clean hands or wear gloves to prevent any oils or dirt from transferring onto the lens surface. This will help maintain optimal light output and clarity.
Ensure that the projector lens is installed securely and sits level within the headlight housing. Any misalignment can result in poor light distribution and compromised visibility. Take your time to position the lens correctly during this step.
Once the projector lens is securely fitted within the headlight housing and any required sealant has cured, you can proceed to the next step: installing the HID or LED bulb.
Step 4: Install the HID or LED Bulb
After you have installed the projector lens, the next step in retrofitting projector headlights is to install the HID or LED bulb. Follow these steps:
- Check the compatibility of the HID or LED bulb with your retrofit projector lens. Ensure that the bulb is the correct type and size for optimal performance.
- Inspect the headlight housing to locate the bulb socket or holder. Remove any retaining clips, screws, or wiring connectors that secure the existing bulb.
- Remove the old bulb from the socket by gently twisting or pulling it out. Exercise caution to avoid damaging the bulb, as you may need to reuse the socket or holder.
- Take the HID or LED bulb and insert it into the socket, ensuring a snug and secure fit. Pay attention to any alignment markers or tabs on the bulb and socket for proper positioning.
- If required, connect the wiring harness or adapter from the bulb to the appropriate connector in the headlight housing. Ensure a secure and proper connection. Some bulbs may require additional wiring modifications, such as splicing or using load resistors. Follow the manufacturer’s instructions for these specific requirements.
- Test the functionality of the bulb by turning on the headlights. Check if the bulb ignites and emits a steady and uniform beam of light through the projector lens.
- If the bulb is functioning correctly, secure it in place with any retaining clips or screws that were removed earlier. Ensure that it is firmly seated and properly aligned.
Remember to handle the HID or LED bulb with care, avoiding touching the glass surface directly. Any contaminants or oils from your fingers can affect the performance and lifespan of the bulb. If touch contact occurs, clean the bulb with alcohol wipes or a lint-free cloth.
If you are using HID bulbs, it is recommended to install an HID ballast to supply the required power. Mount the ballast in a secure location within the headlight housing, using adhesive tape or mounting brackets provided with the retrofit kit.
With the HID or LED bulb installed, you are now ready to move on to the next step: reassembling the headlight housing.
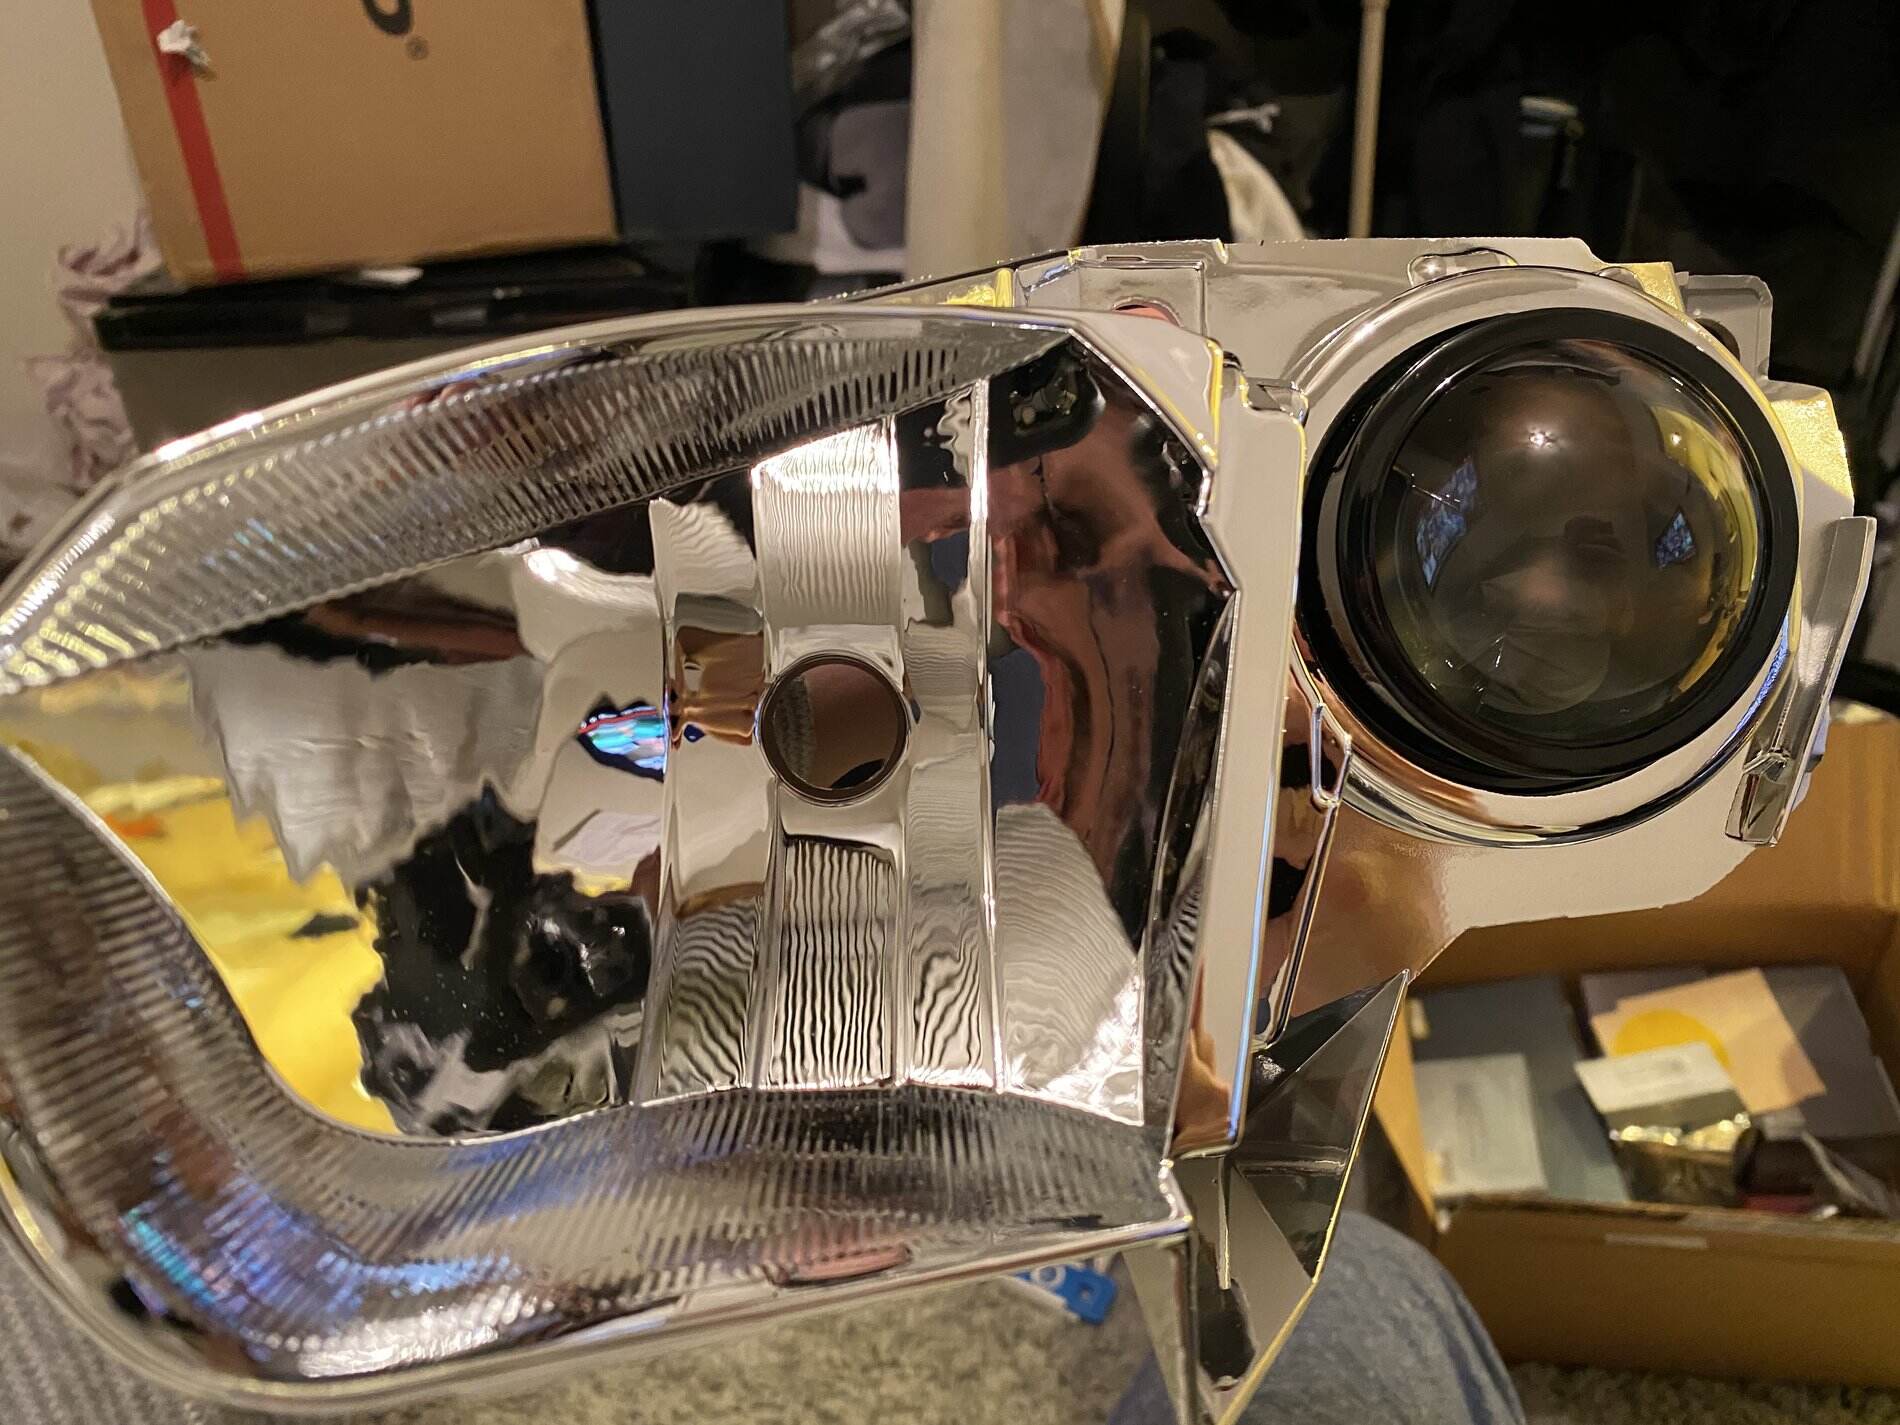
Step 5: Reassemble the Headlight Housing
After installing the HID or LED bulb, it’s time to reassemble the headlight housing. Follow these steps to ensure a proper and secure reassembly:
- Take the reflector or bulb holder that you removed earlier and carefully position it back into the headlight housing. Ensure that it aligns properly with any mounting tabs or slots.
- If there are any retaining clips or screws, attach them to secure the reflector or bulb holder in place. Make sure they are tightened appropriately, but avoid over-tightening to prevent damage.
- Retrieve the front lens or cover that you removed during the disassembly process. Align it with the headlight housing and gently press it into place. Ensure that it sits flush and evenly, free from any gaps or misalignment.
- If the lens or cover was sealed with adhesive or a gasket, ensure that it properly adheres to the housing. Apply gentle pressure or use a heat gun/hairdryer to assist in the sealing process, if necessary.
- If any additional screws, clips, or retaining brackets were removed during disassembly, reattach them to secure the lens or cover firmly.
- Double-check the entire reassembled headlight housing for any loose or unsecured components. Give it a gentle shake or tap to confirm that everything is properly fitted and secure.
During this step, take your time to carefully reassemble the headlight housing, paying attention to proper alignment and fitment. Rushing this process may result in misaligned or loose components, affecting the performance and aesthetics of the retrofit.
Refer to any notes or photos you took during the initial disassembly to guide you in the reassembly process. This will help ensure that you correctly position each component and secure them in the right manner.
With the headlight housing reassembled, you are now ready to proceed to the next step: adjusting the headlight beam.
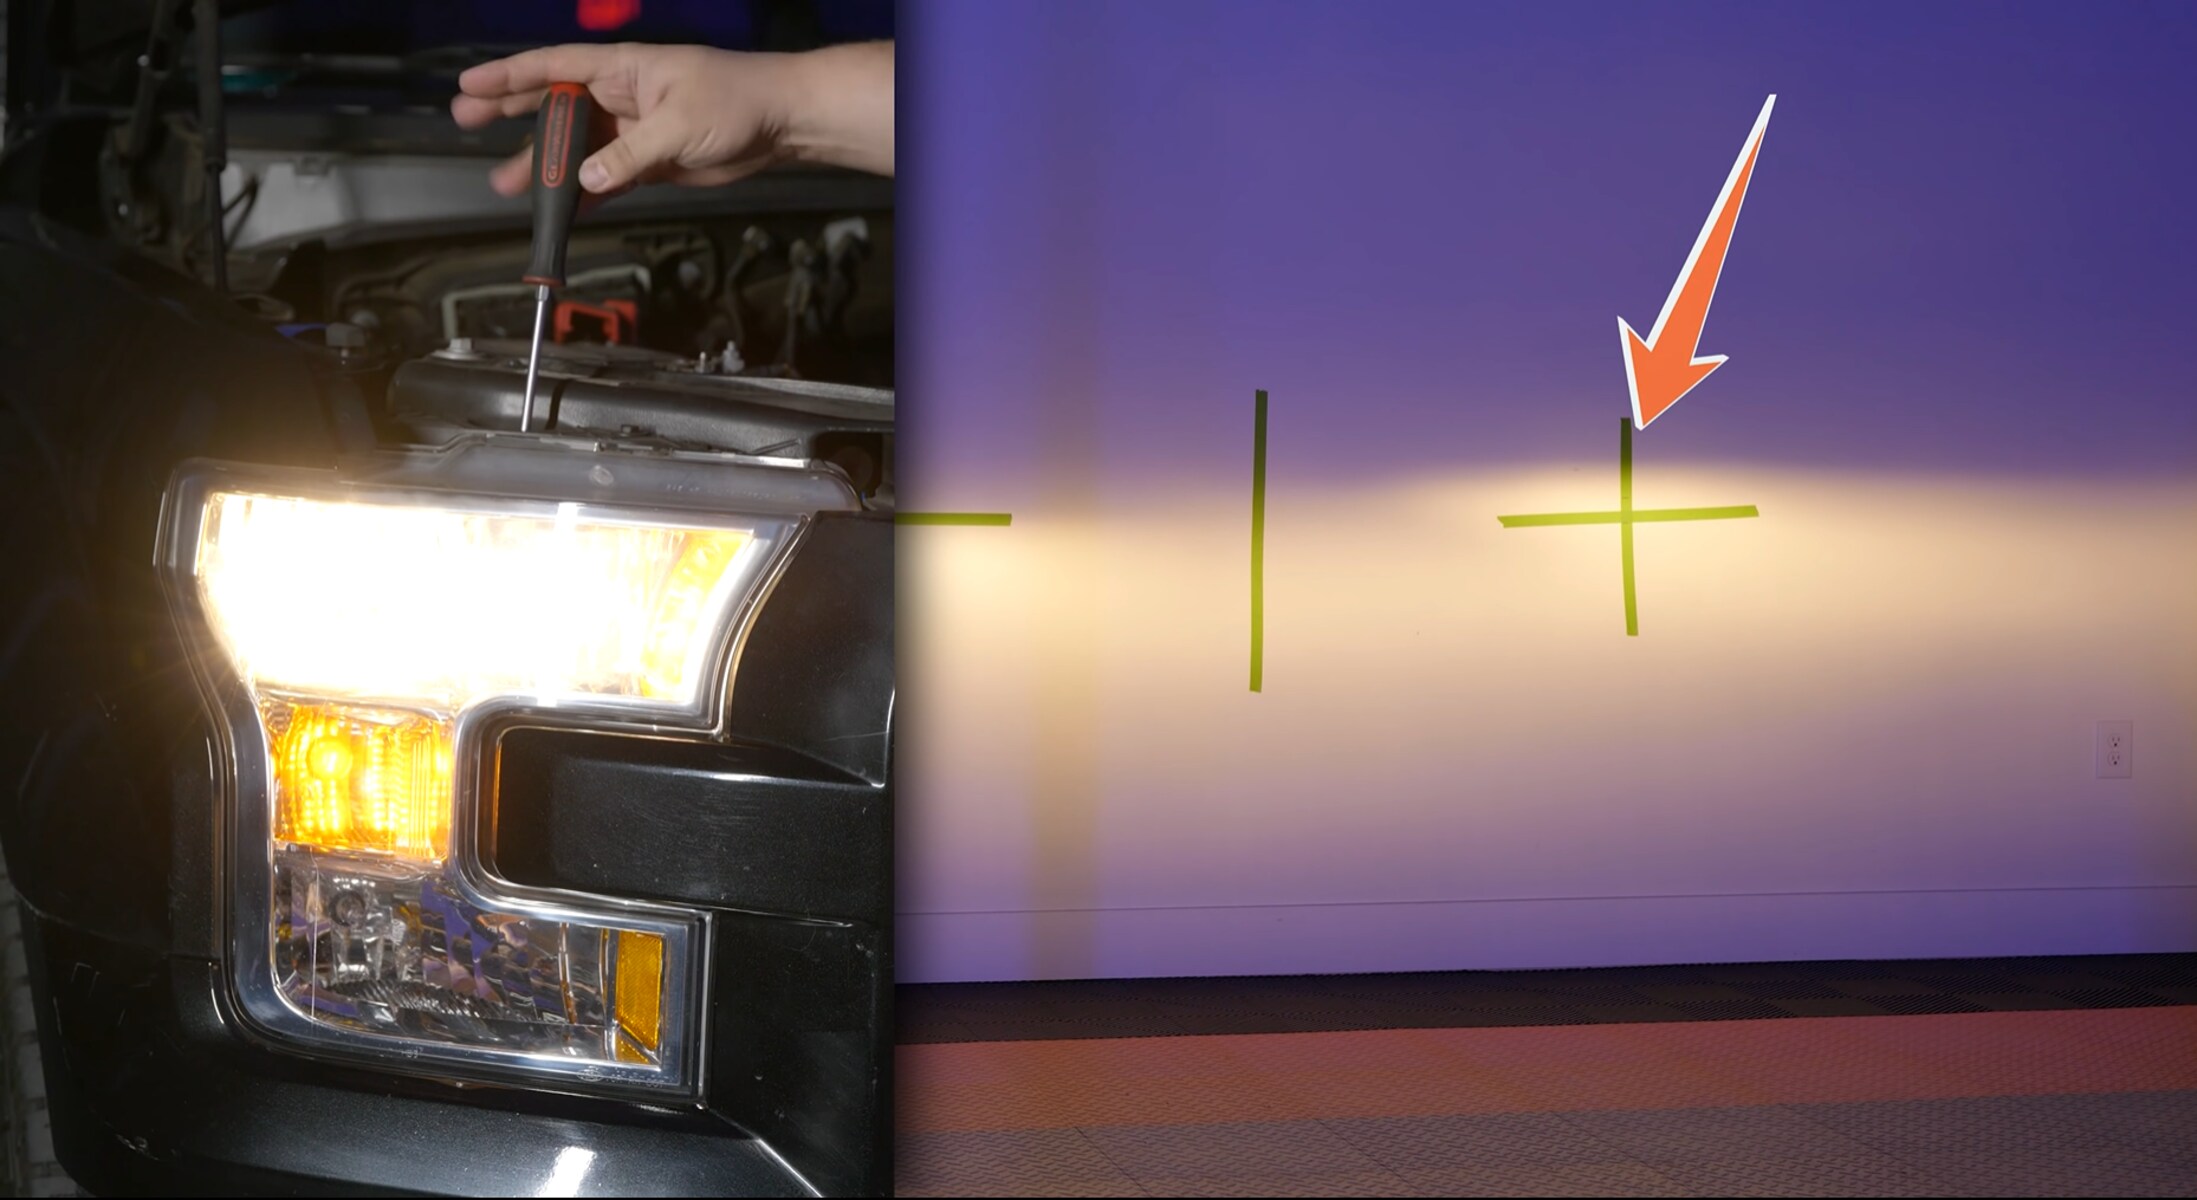
Step 6: Adjust the Headlight Beam
After reassembling the headlight housing, the next crucial step in retrofitting projector headlights is to properly adjust the headlight beam. Follow these steps to ensure optimal alignment and visibility:
- Park your vehicle on a level surface facing a flat wall or garage door.
- Measure the height from the ground to the center of your vehicle’s headlights. Mark this measurement on the wall or garage door with a piece of tape or chalk.
- Back up your vehicle approximately 25 feet away from the marked wall or garage door.
- Turn on the headlights to their low-beam setting.
- Observe the position of the headlight beams on the wall. They should project a straight and even line, with the top of the beam roughly aligning with your previous marking.
- If the headlight beams are too high or too low, locate the beam adjustment screws usually found on the back of the headlight housing.
- Using a screwdriver or the appropriate tool, turn the adjustment screws to move the beam up or down until it aligns with the desired position.
- Continue adjusting until both headlights produce a symmetric and properly aligned beam pattern.
- Take a test drive to ensure that the headlight beam provides adequate visibility and does not cause glare for other drivers on the road.
It’s important to follow local laws and regulations regarding headlight height and beam alignment to ensure compliance. Consult your vehicle’s owner’s manual or local regulations for specific guidelines.
Properly adjusting the headlight beam ensures that your retrofit projector headlights are aimed correctly for optimal visibility and safety. Take the time to carefully adjust the beams, as it can greatly enhance your overall driving experience at night.
With the headlight beam adjusted, you are now ready for the final step: testing and fine-tuning the headlight alignment.
Step 7: Test and Fine-tune the Headlight Alignment
After adjusting the headlight beam, the final step in retrofitting projector headlights is to test and fine-tune the headlight alignment. Follow these steps to ensure optimal performance and visibility:
- Choose a dark and open area with a clear view ahead, away from any buildings or traffic.
- Position your vehicle on a level surface facing a wall or garage door.
- Turn on your headlights to their low-beam setting.
- Observe the headlight beams projected on the wall.
- Assess the alignment and coverage of the beams. They should be symmetrical and evenly focused.
- If you notice any inconsistencies or areas of the beam that require adjustment, refer to your vehicle’s owner’s manual or retrofit kit instructions for specific guidelines on how to fine-tune the alignment.
- Make small adjustments to the beam alignment by turning the adjustment screws or knobs. Pay attention to the changes in the beam pattern as you make adjustments.
- Aim to achieve an even and focused beam pattern that provides ideal visibility without causing excessive glare or inconveniencing other drivers.
- Test the headlights by driving on a well-lit road and assessing the beam’s effectiveness at different distances and angles.
- If necessary, continue fine-tuning the alignment until you achieve optimal performance and visibility.
It’s crucial to strike a balance between having adequate light output and beam reach while avoiding blinding oncoming drivers. Pay attention to any local regulations or laws regarding headlight alignment and adjust accordingly for compliance.
Periodically check and re-adjust the headlight alignment after driving over rough terrain or if you notice any significant changes in the beam pattern. This will ensure that your retrofit projector headlights continue to provide optimal performance and safety.
With the headlight alignment tested and fine-tuned, you have successfully completed the process of retrofitting projector headlights. Enjoy the enhanced visibility and stylish appearance that the retrofit provides!
Conclusion:
Retrofitting projector headlights is a rewarding project that can significantly improve the performance, visibility, and aesthetic appeal of your vehicle. By following the step-by-step instructions outlined in this guide, you can successfully upgrade your headlights to projectors and enjoy the many benefits they offer.
We explored the advantages of retrofitting projector headlights, including enhanced visibility, reduced glare, a stylish appearance, compatibility with advanced lighting technologies, customization options, and potentially increased resale value. These benefits make retrofitting projectors a popular choice among car enthusiasts who prioritize both safety and style.
Before you begin the retrofitting process, it’s important to consider factors such as your knowledge and experience, compatibility with your vehicle, budget, legality, and potential impact on warranties and insurance. Being prepared and well-informed will help ensure a successful retrofitting experience.
Throughout the process, acquiring the necessary tools and materials, diligently following each step, and paying attention to detail are crucial for achieving professional-quality results. Take your time during the disassembly, installation, and reassembly stages to avoid any mistakes or damage to components.
Properly adjusting the headlight beam and fine-tuning the alignment are essential steps to ensure optimal performance and compliance with regulations. It’s important to aim for a symmetrical, focused beam pattern that provides enhanced visibility without causing excessive glare for other drivers.
By retrofitting projector headlights and taking care throughout the process, you can enjoy improved visibility, reduced glare, and a stylish appearance that enhances your overall driving experience.
Always consult your vehicle’s owner’s manual and any specific instructions provided with your retrofit kit for accurate guidance tailored to your vehicle. If you are unsure or uncomfortable performing the retrofit yourself, seeking professional assistance can ensure a safe and successful installation.
With your newly retrofitted projector headlights, enjoy the enhanced visibility, safety, and stylish look that they bring, making your driving experiences even more enjoyable.