Gaming: How to Adjust Projector Headlights with Halo
Welcome to our gaming blog series, where we not only delve into the world of video games but also explore various aspects related to gaming technology. In this article, we will focus on a crucial component that enhances the gaming experience – projector headlights with halo. We will take you through the process of adjusting these headlights, ensuring that you achieve the optimal visual experience while gaming.
Key Takeaways:
- Projector headlights with halo can significantly improve the gaming experience by providing enhanced visual clarity.
- Proper adjustment of projector headlights is necessary to ensure an optimal gaming experience.
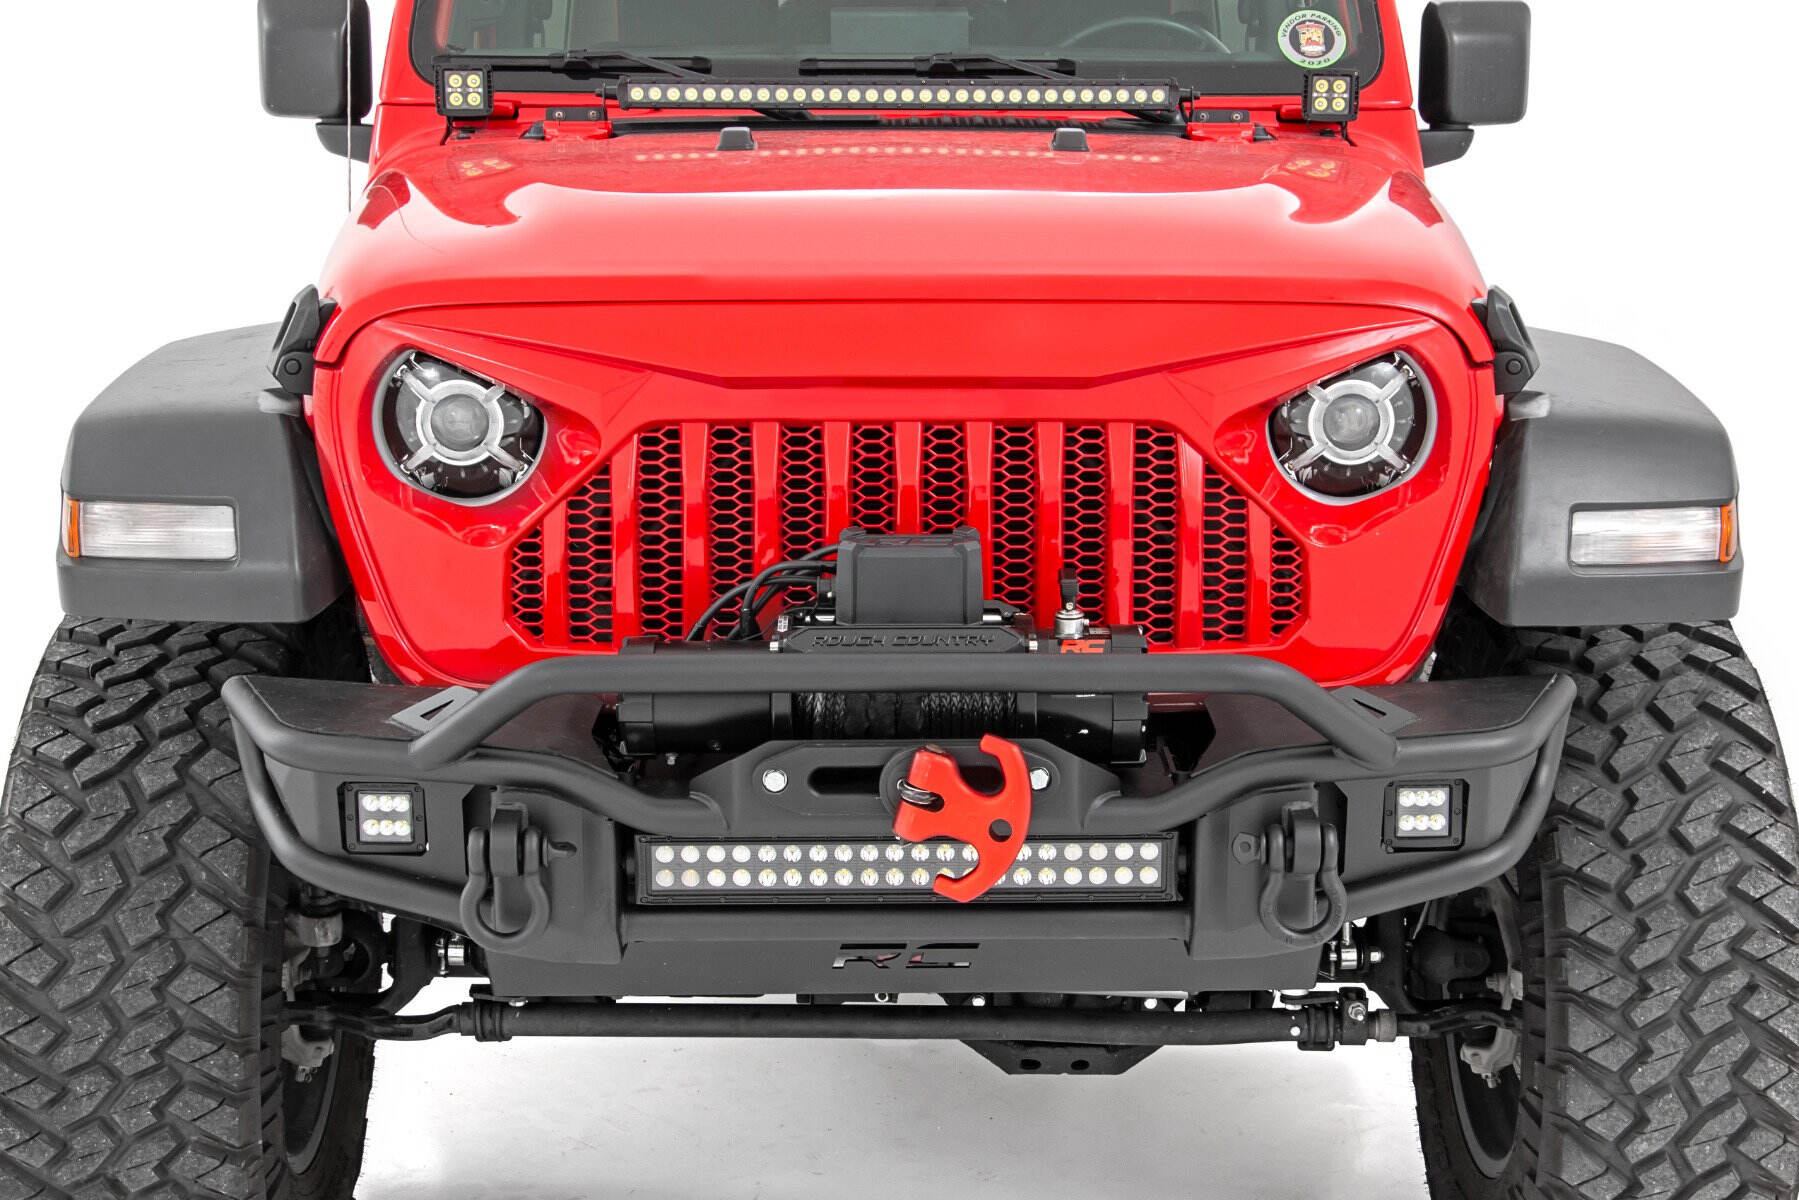
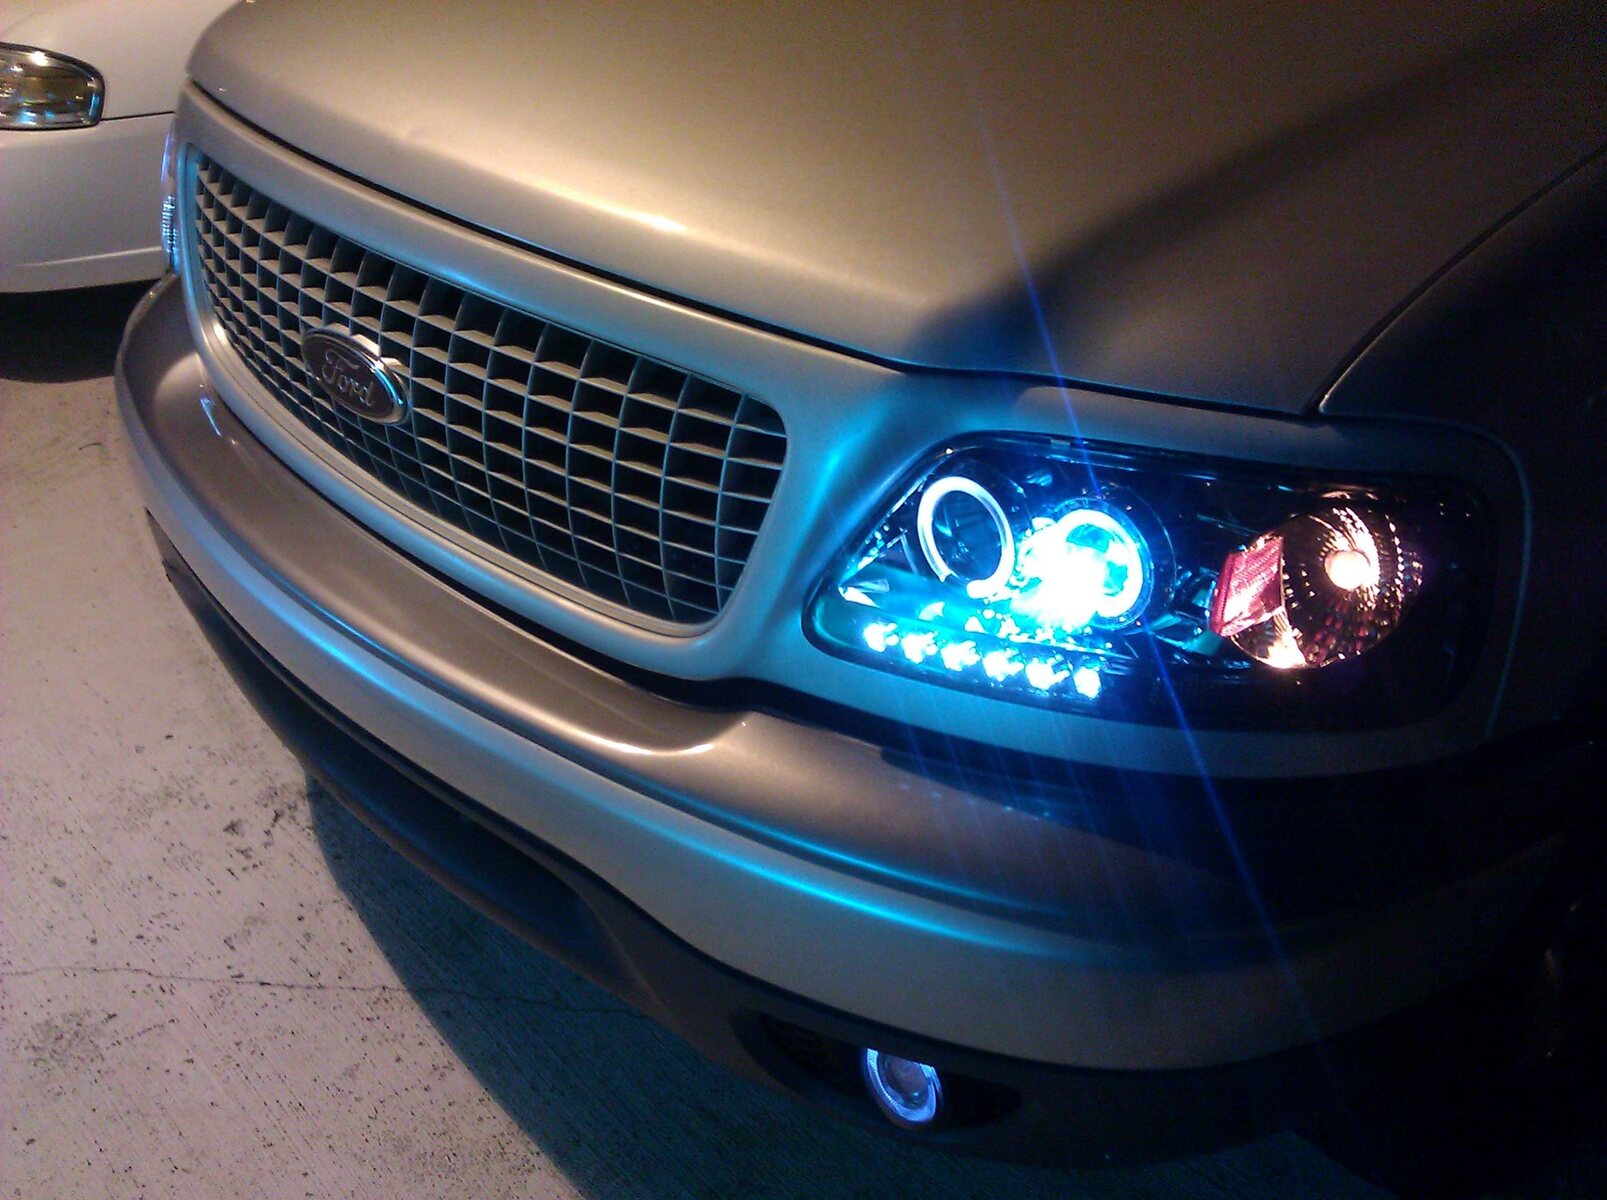
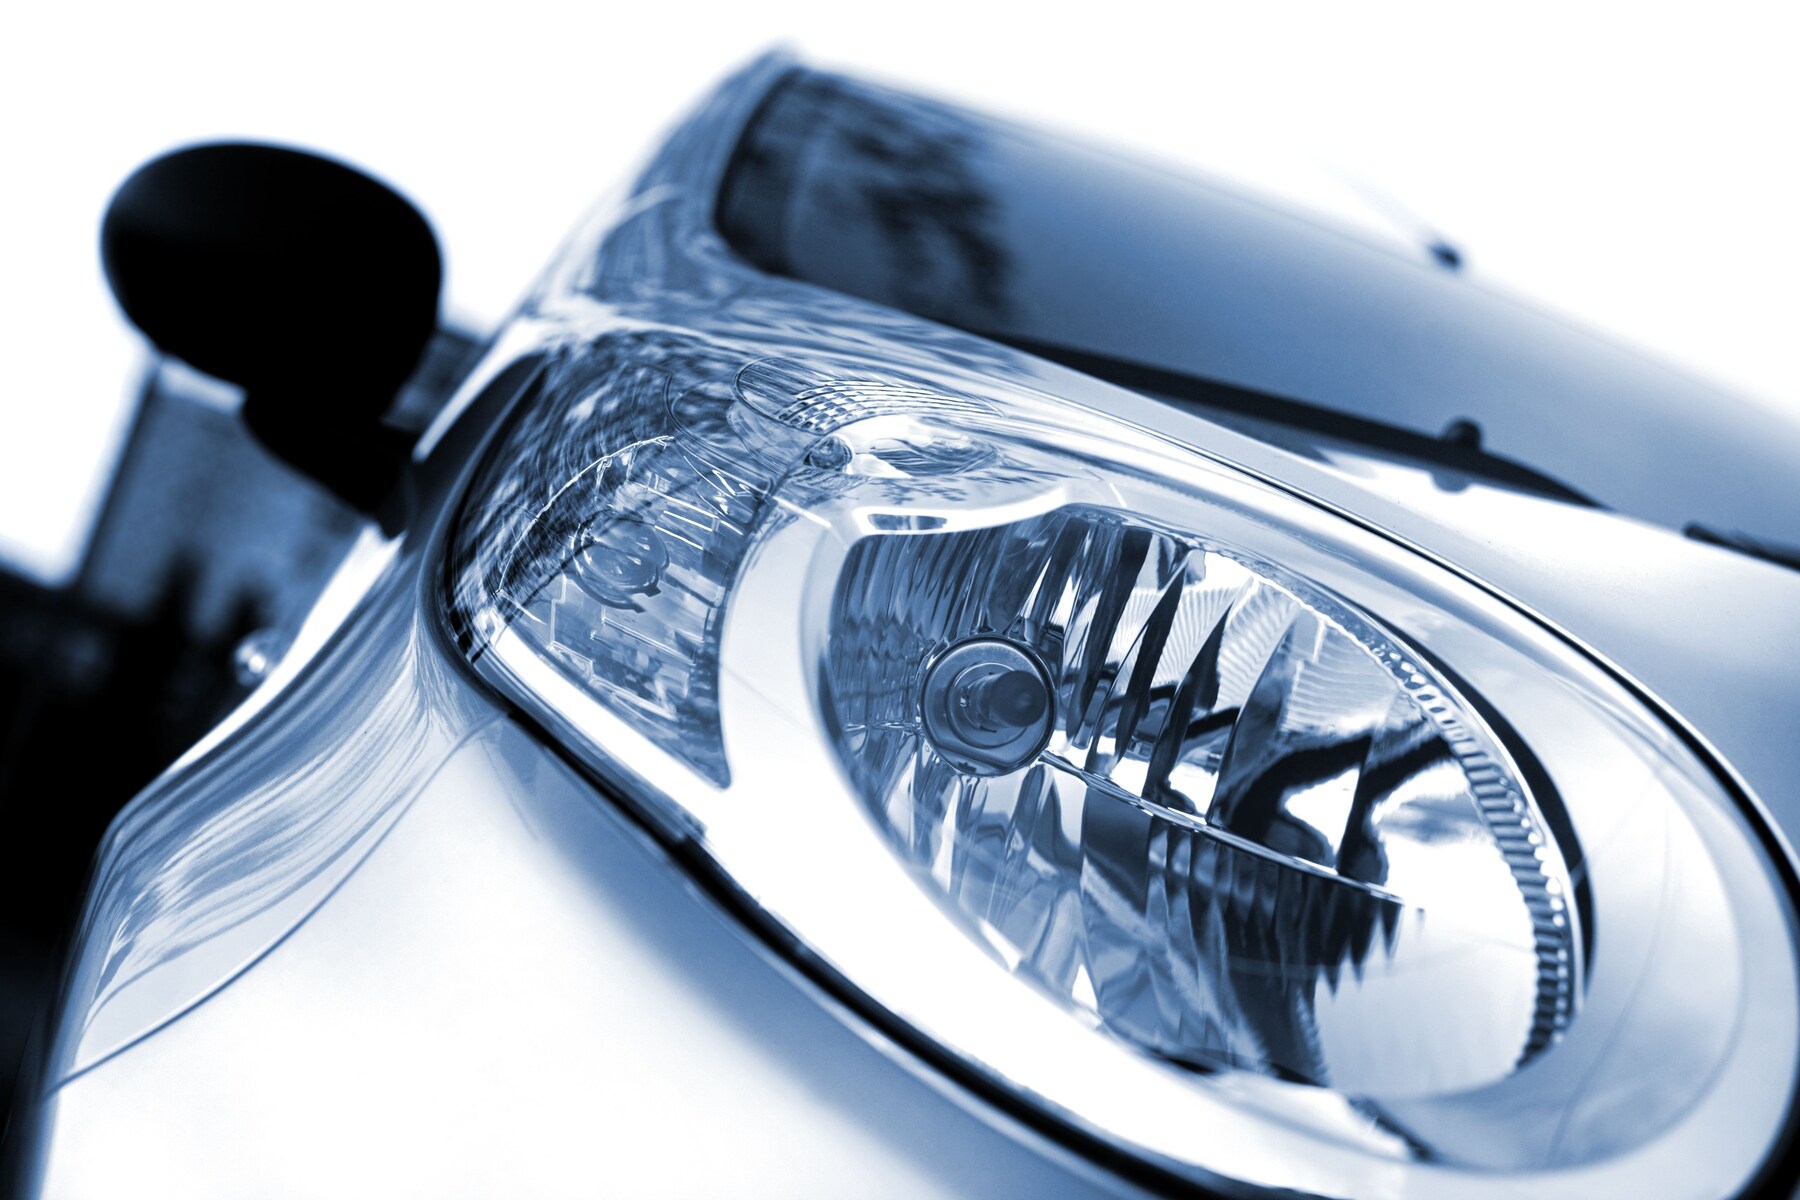
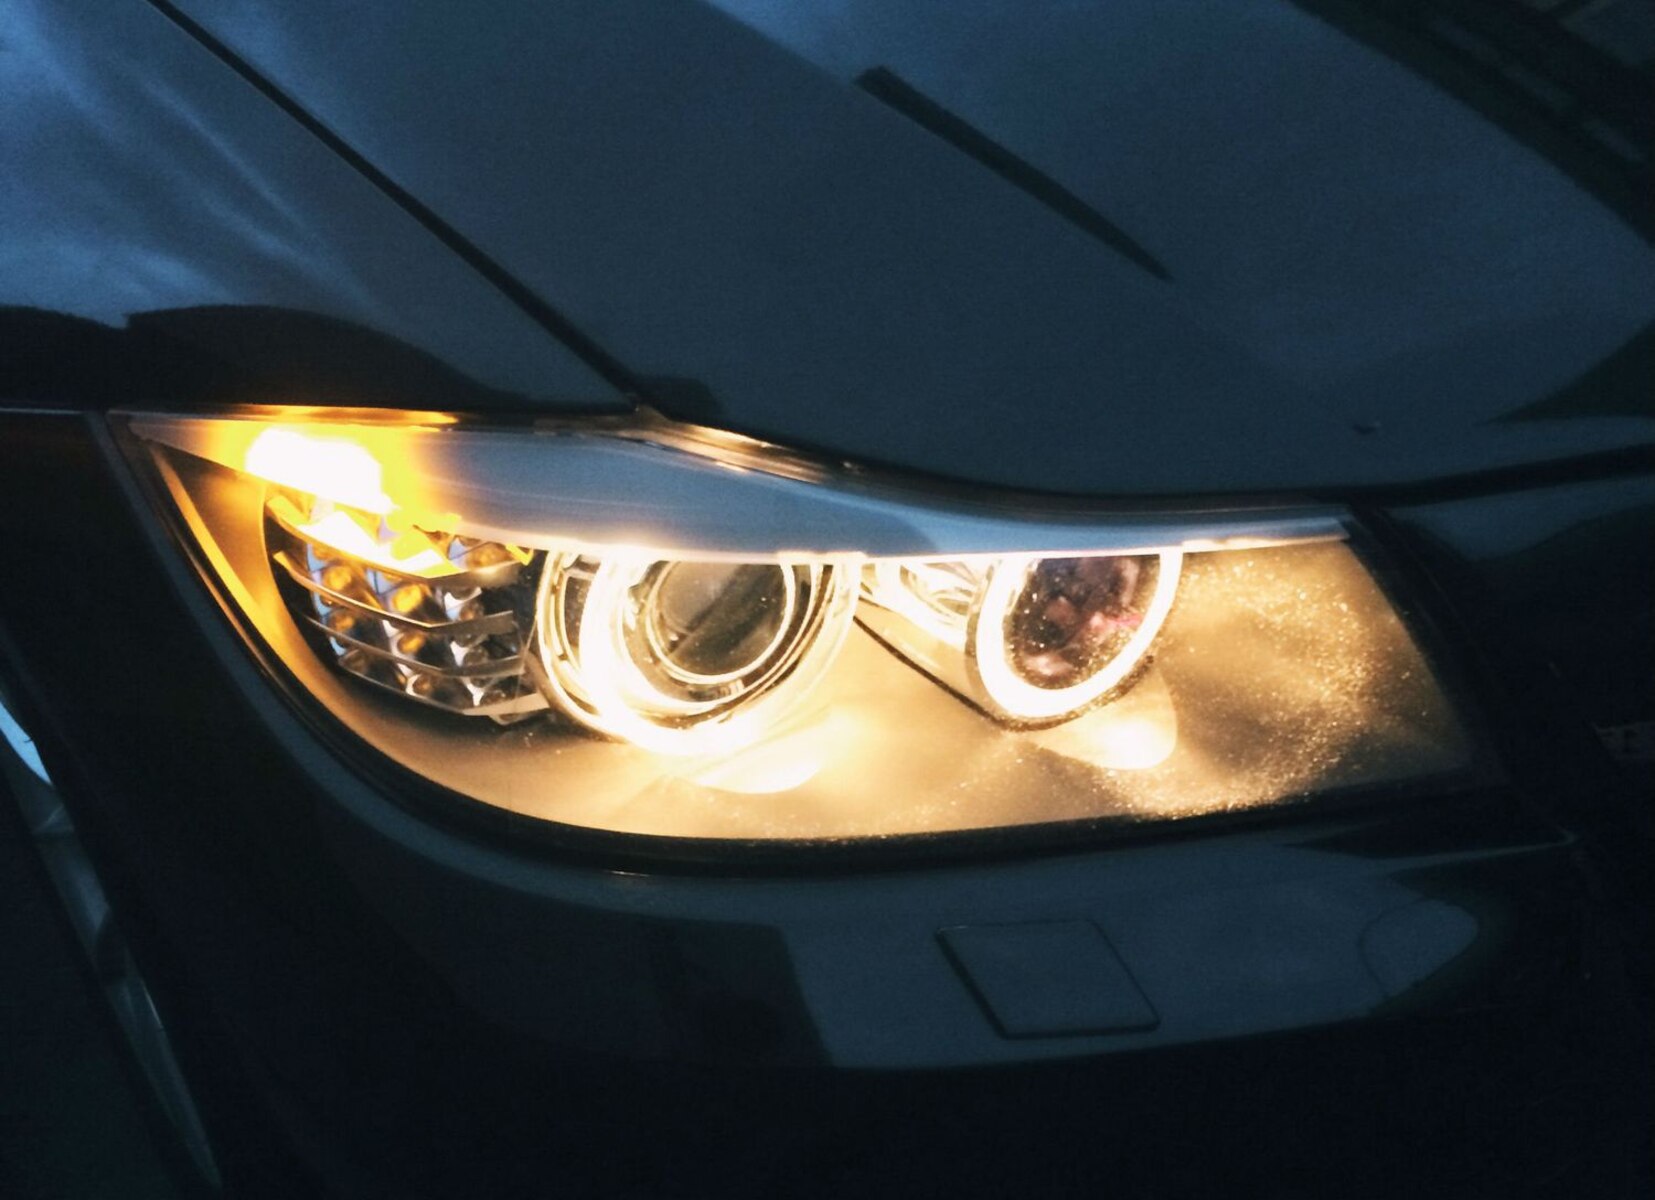
Before we dive into the steps of adjusting projector headlights with halo, let’s first understand what they are and why they are important for gamers. Projector headlights are a type of headlight that uses a lens-based system to project light onto the road or any other surface. The halo, often referred to as an angel eye, is a ring of light surrounding the projector light source. This combination provides improved focus and brightness, delivering detailed visuals with better contrast.
Now, let’s get into the steps for adjusting projector headlights with halo:
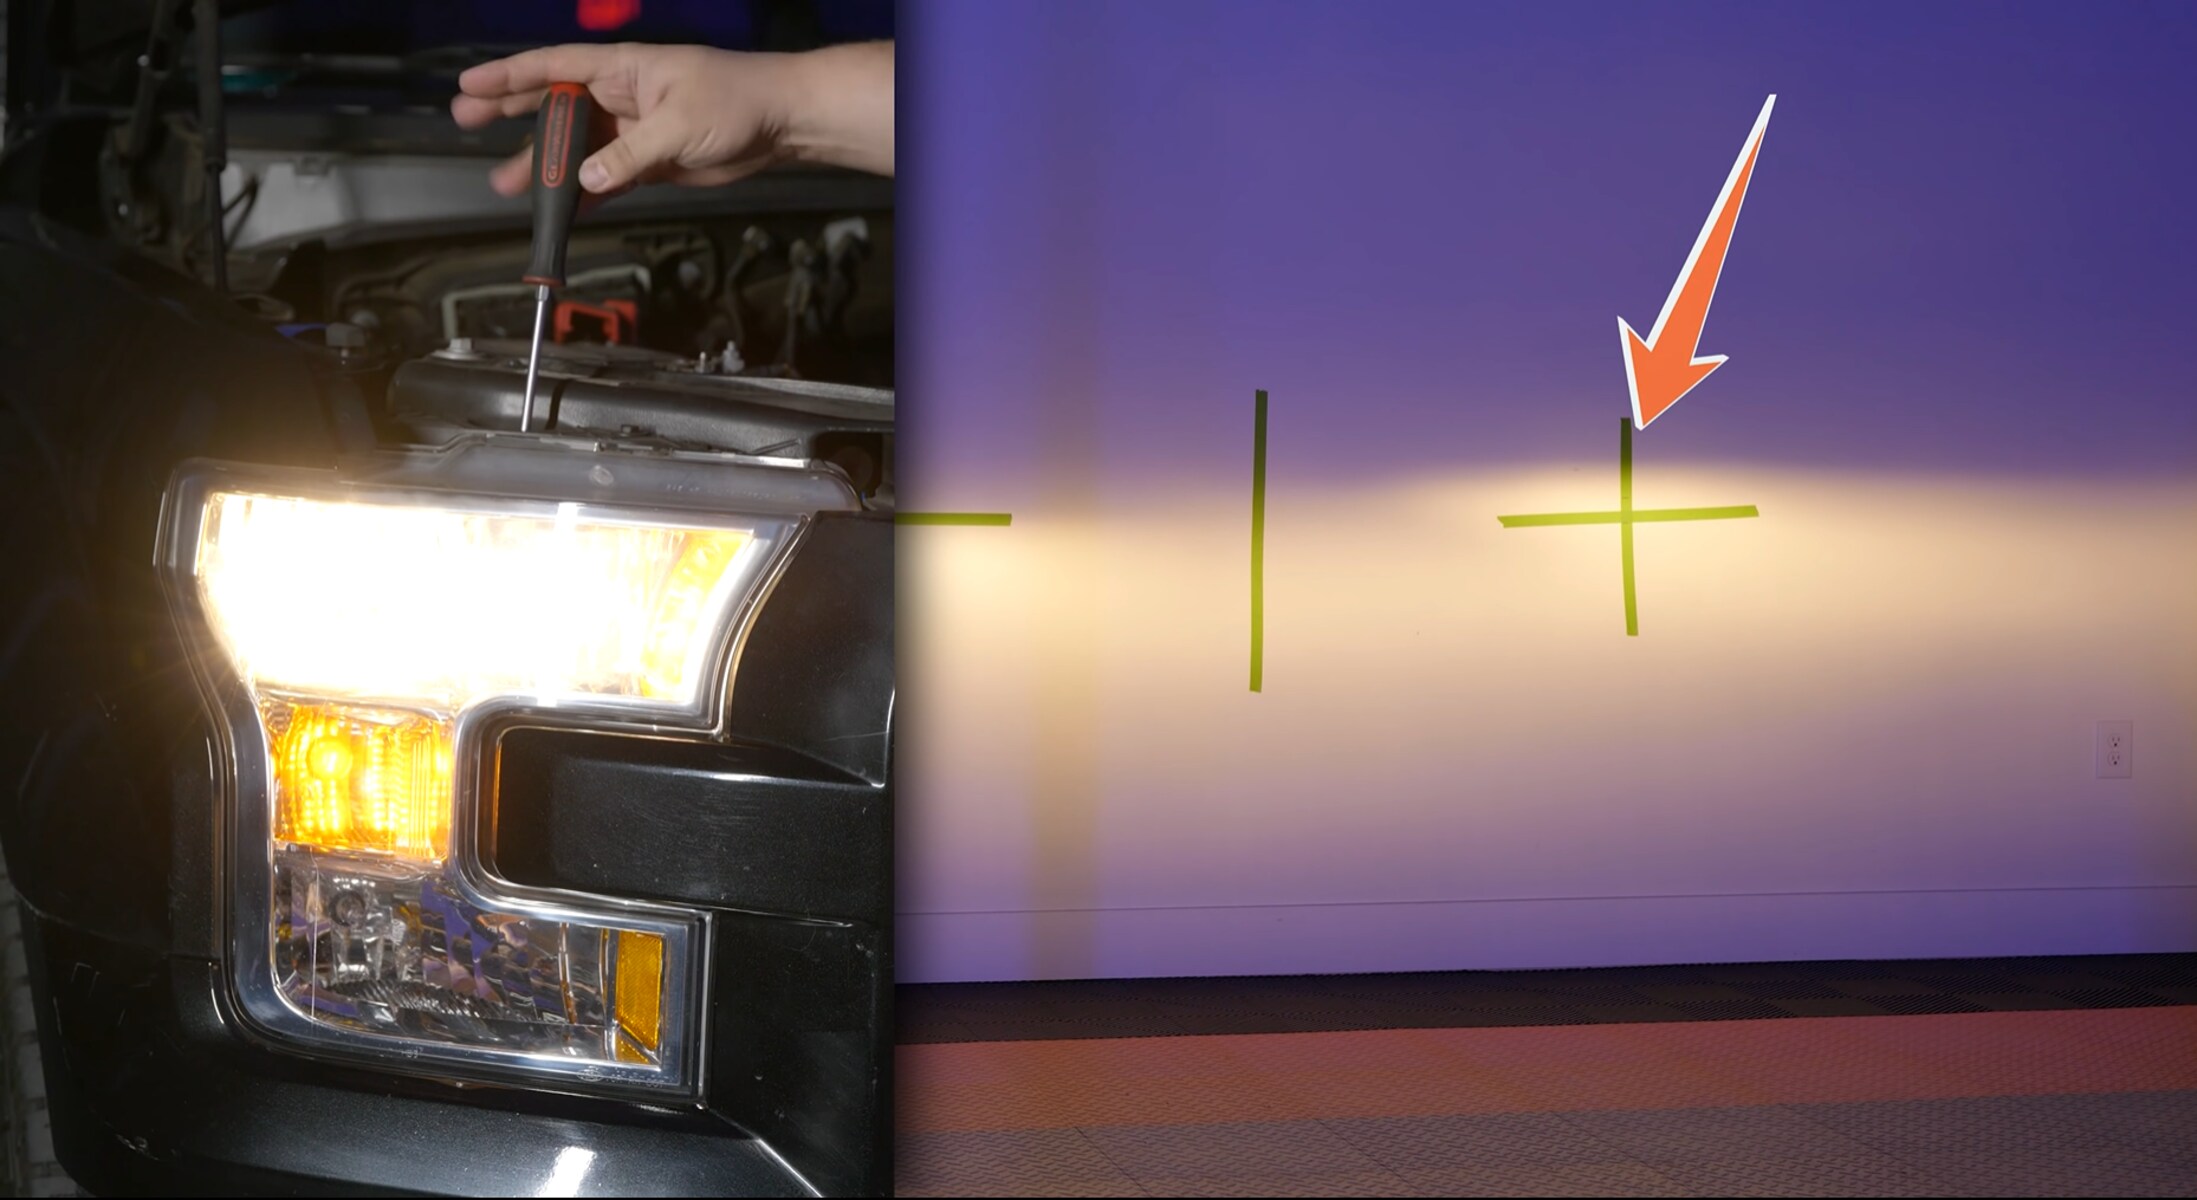
- Position your vehicle: Park your vehicle on a flat surface facing a flat wall or garage door. Make sure the headlights are approximately 25 feet away from the wall.
- Locate the adjustment screws: Open the hood of your vehicle and locate the vertical and horizontal adjustment screws on the back of the headlight housing. Refer to your vehicle’s manual if needed.
- Horizontal adjustment: Start by adjusting the horizontal aim. Turn the horizontal screw clockwise or counterclockwise to align the projector beam with the center of the wall. This ensures that the light is evenly distributed on the road or gaming screen.
- Vertical adjustment: Next, adjust the vertical aim. Turn the vertical screw clockwise or counterclockwise to align the projector beam at the desired height. Keep in mind that the light should not be too high to blind other drivers or obstruct your vision, nor too low to limit visibility.
- Testing and fine-tuning: Test the adjusted headlights by turning them on and observing the light pattern on the wall. Make any necessary adjustments until you achieve the desired illumination and focus.
- Stabilize the adjustment: Once you are satisfied with the headlight position, tighten the adjustment screws to keep the projector headlights in place. Ensure they are secure but avoid overtightening.
By following these steps, you can adjust your projector headlights with halo to deliver optimal illumination and visual clarity during your gaming sessions. Remember that the process may vary slightly depending on the make and model of your vehicle, so refer to the manufacturer’s instructions whenever necessary.
Investing time in adjusting your projector headlights with halo can significantly enhance your gaming experience, immersing you in a world of vibrant visuals and precise gaming details. So, take a few moments to ensure your headlights are perfectly aligned before you embark on your next gaming adventure.