The Ultimate Guide: How to Wire Halo Headlights for Your Gaming Setup
Gaming enthusiasts often strive to create the perfect gaming setup that not only incorporates powerful gaming rigs, ergonomic gaming chairs, and high-resolution monitors but also includes eye-catching lighting effects. One popular choice is to install halo headlights, which can transform your gaming space into a vibrant and immersive environment. In this blog post, we will guide you through the process of wiring halo headlights to elevate your gaming experience to the next level.
Key Takeaways:
- Wiring halo headlights can enhance the aesthetics of your gaming setup.
- Proper installation and wiring are essential for safe and effective operation.
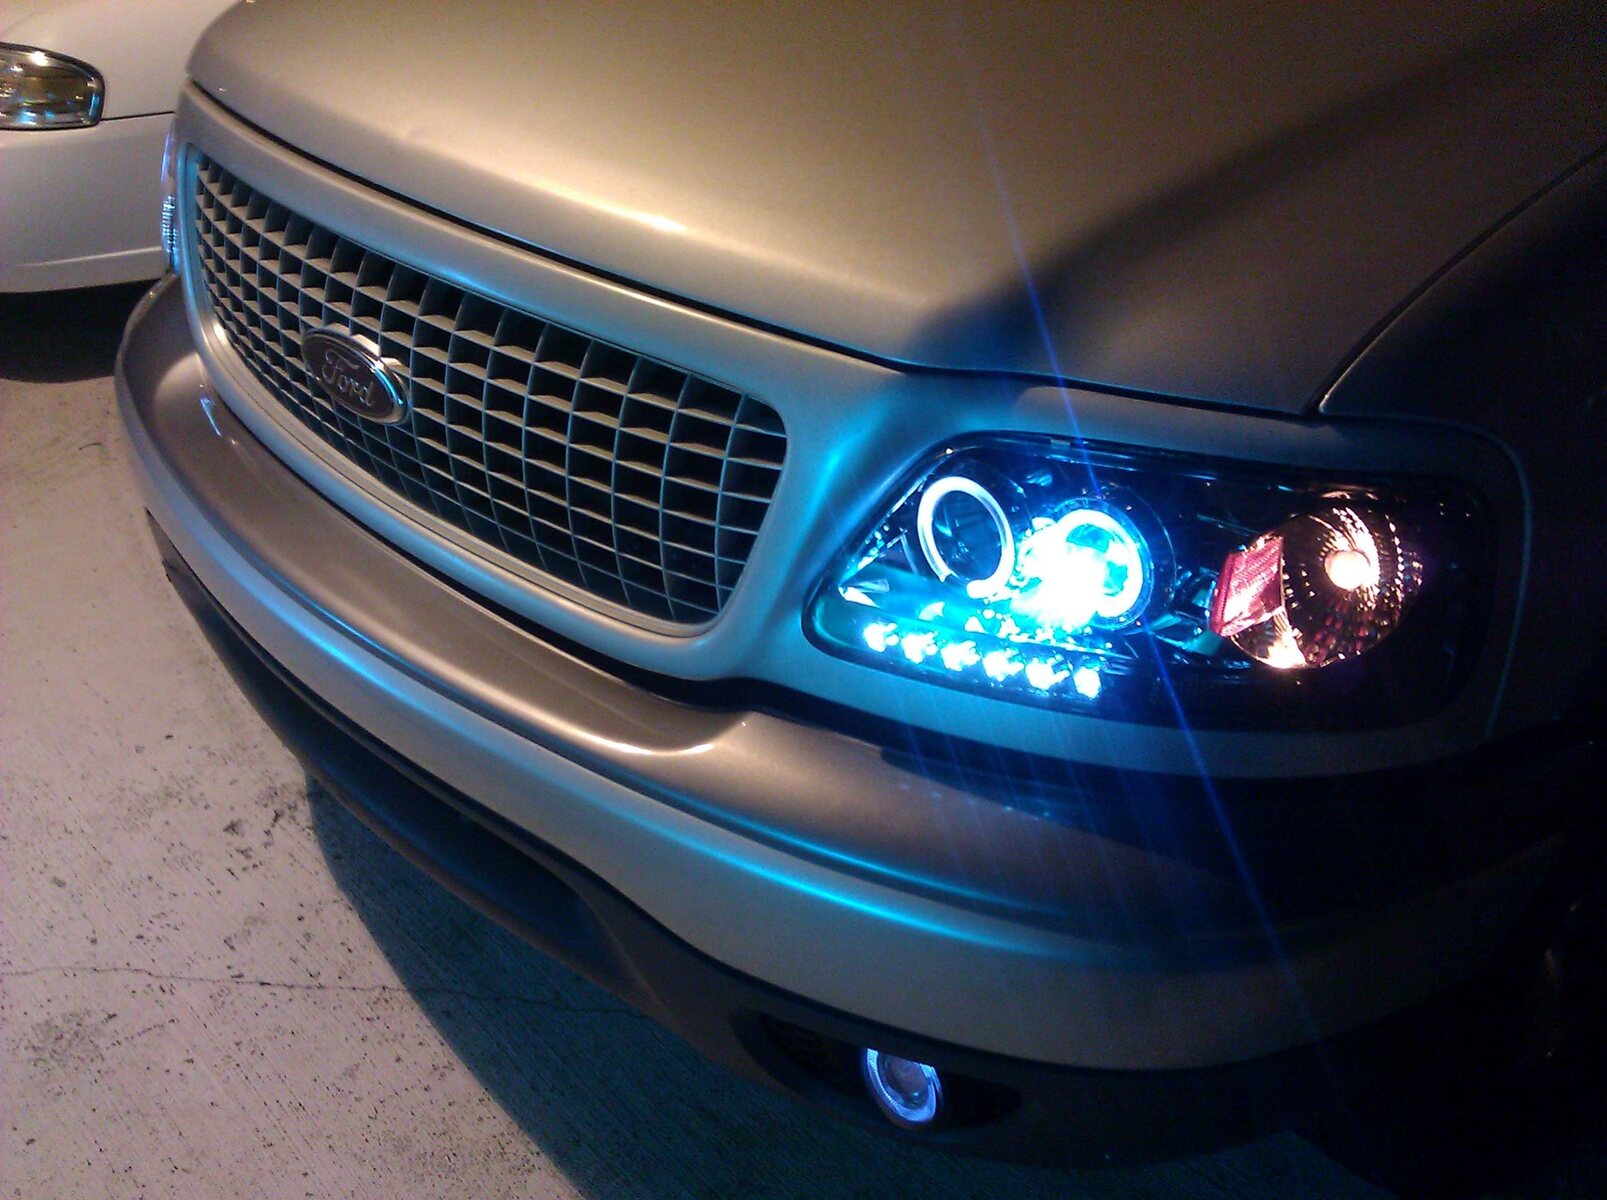
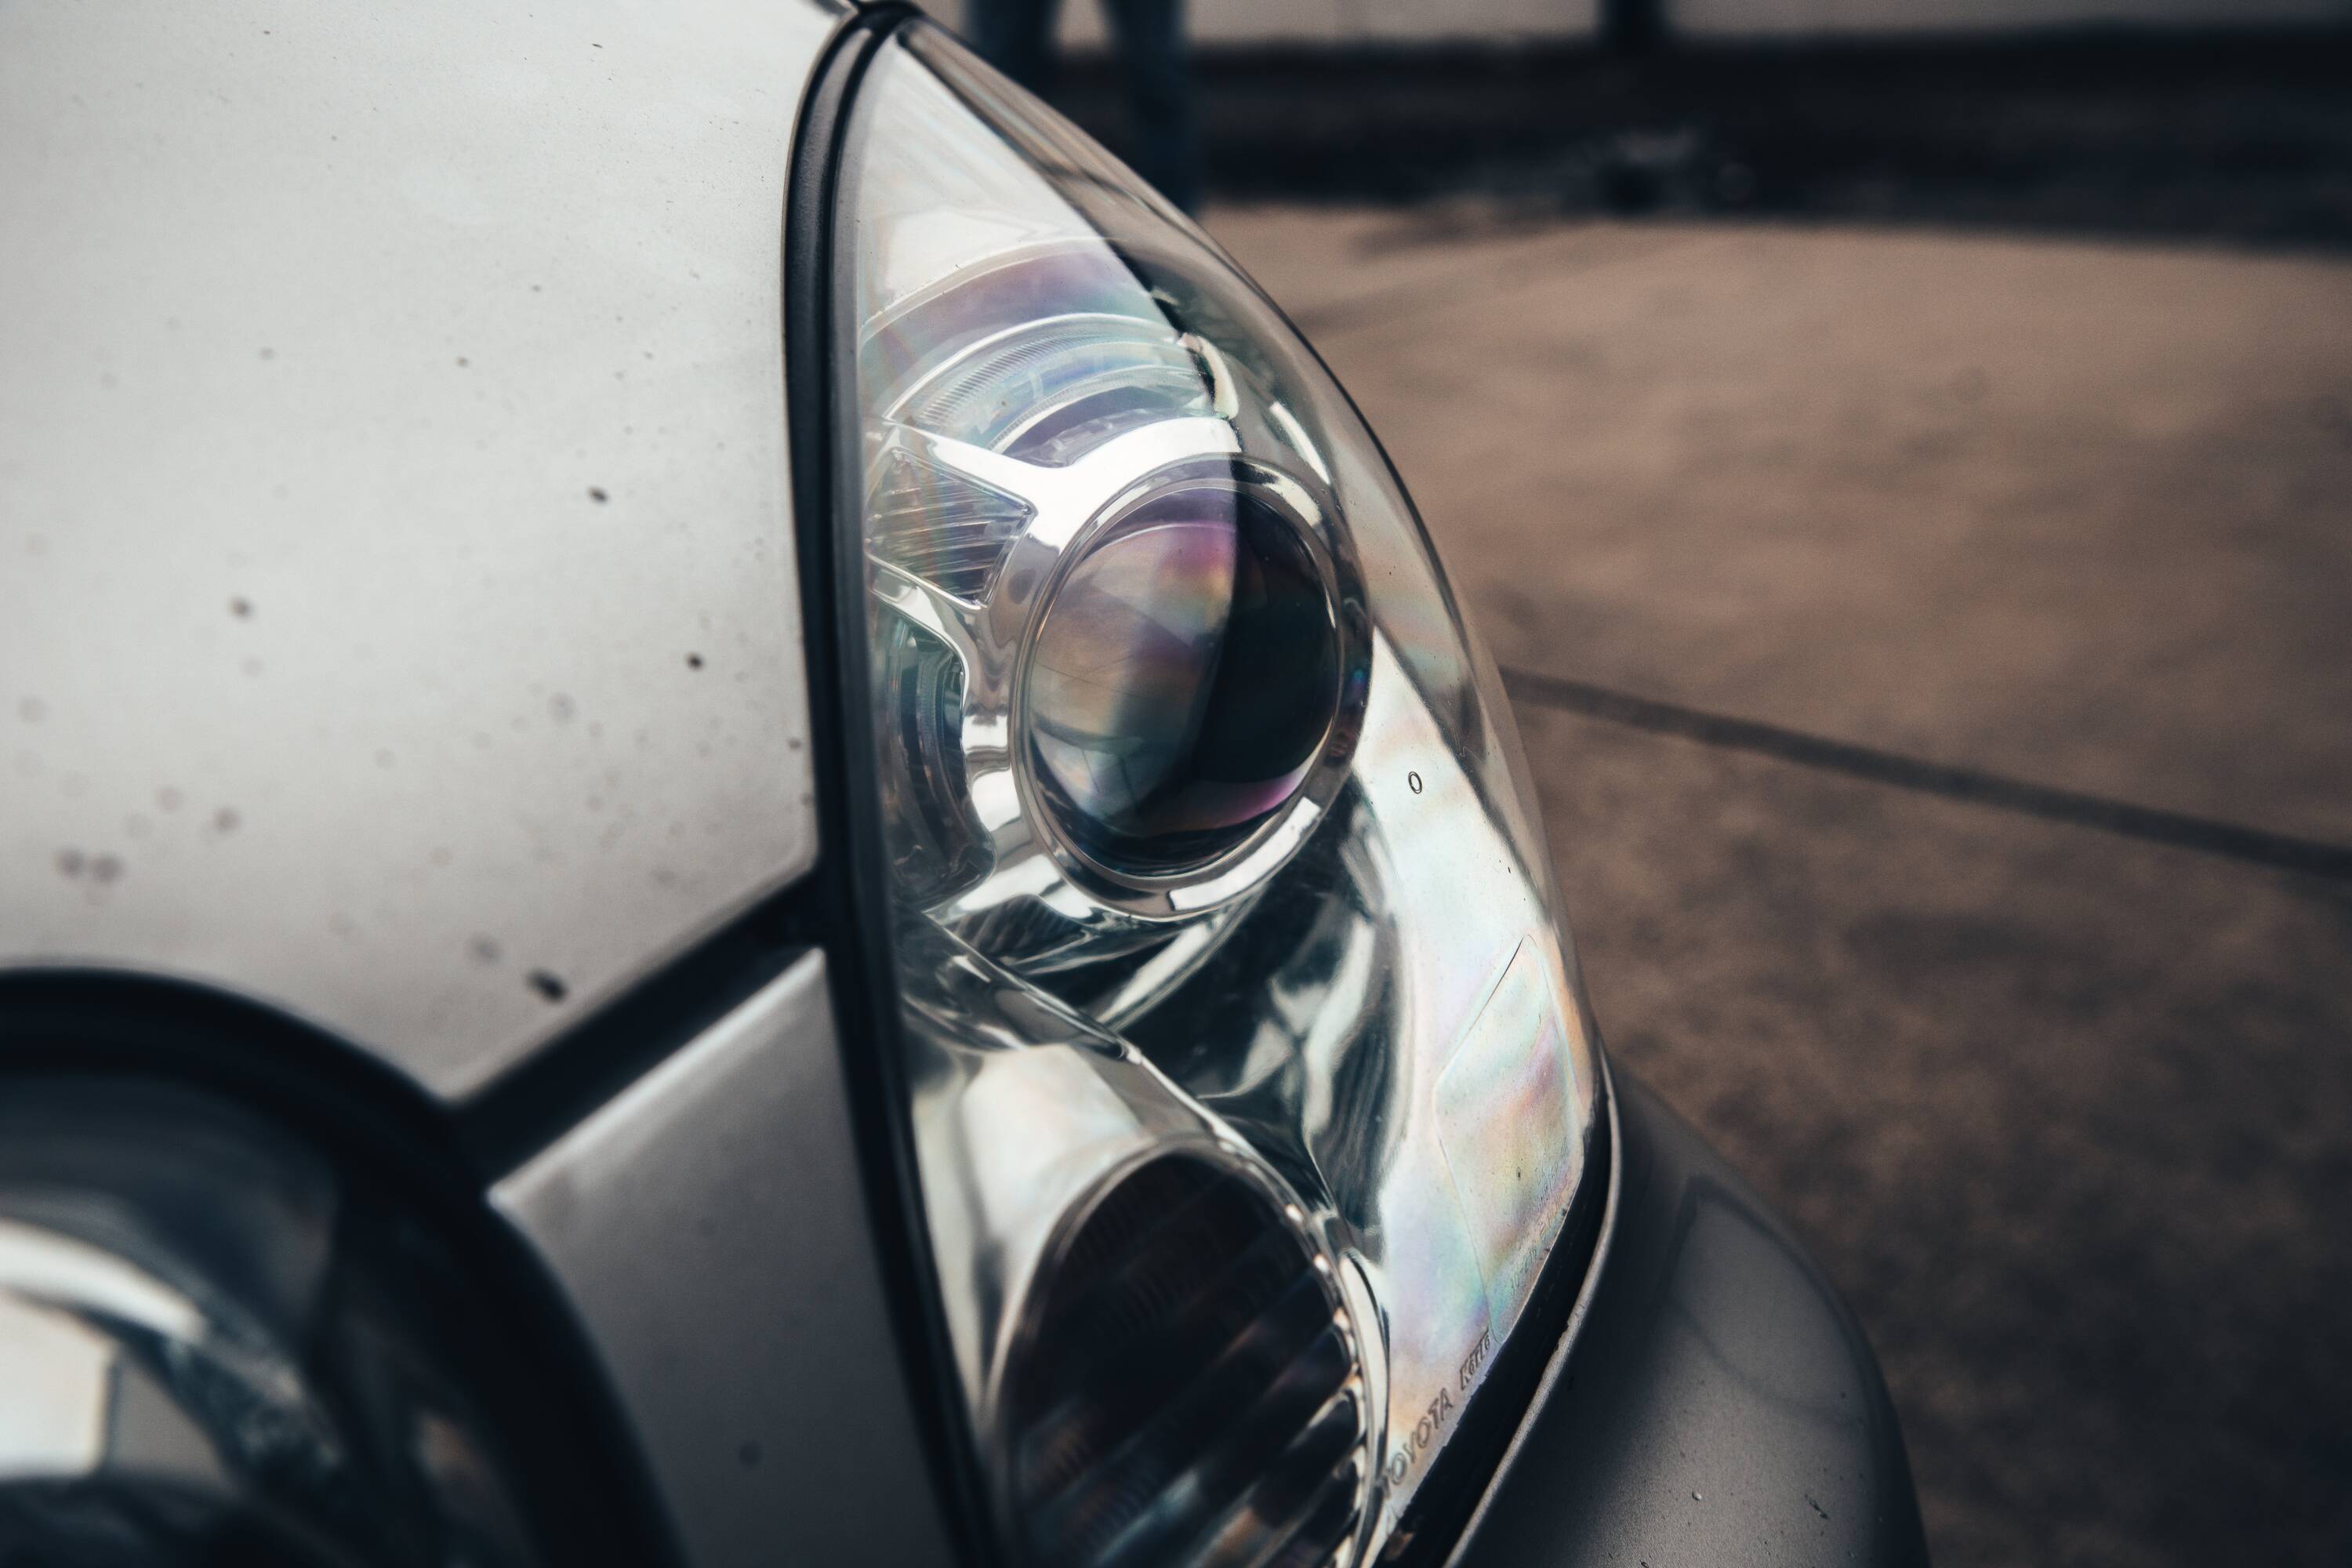
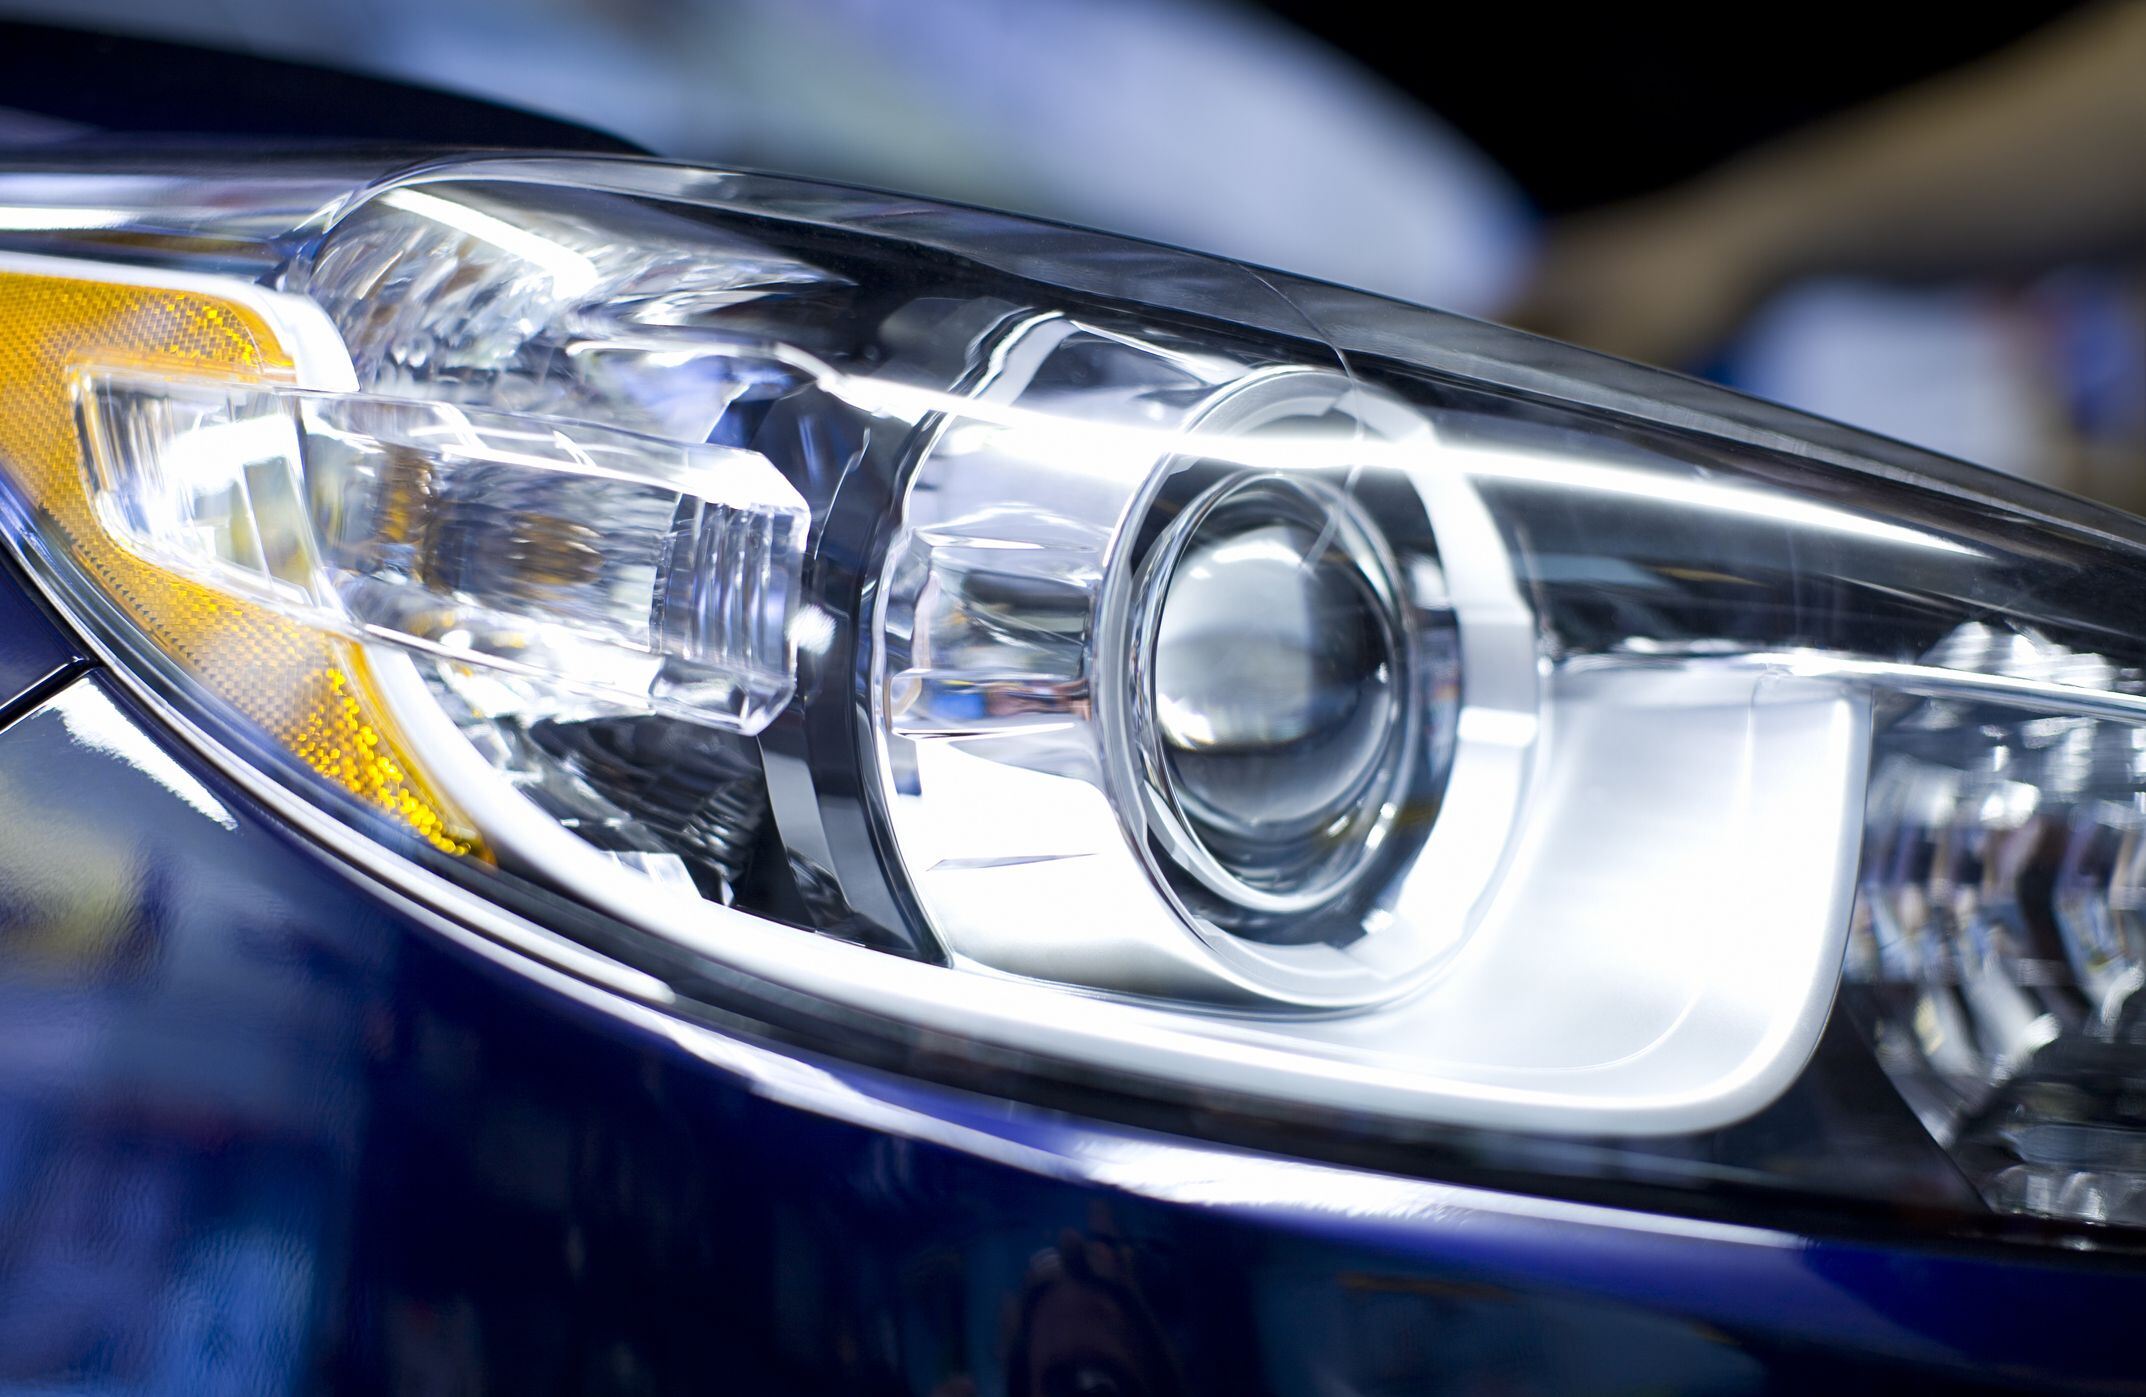
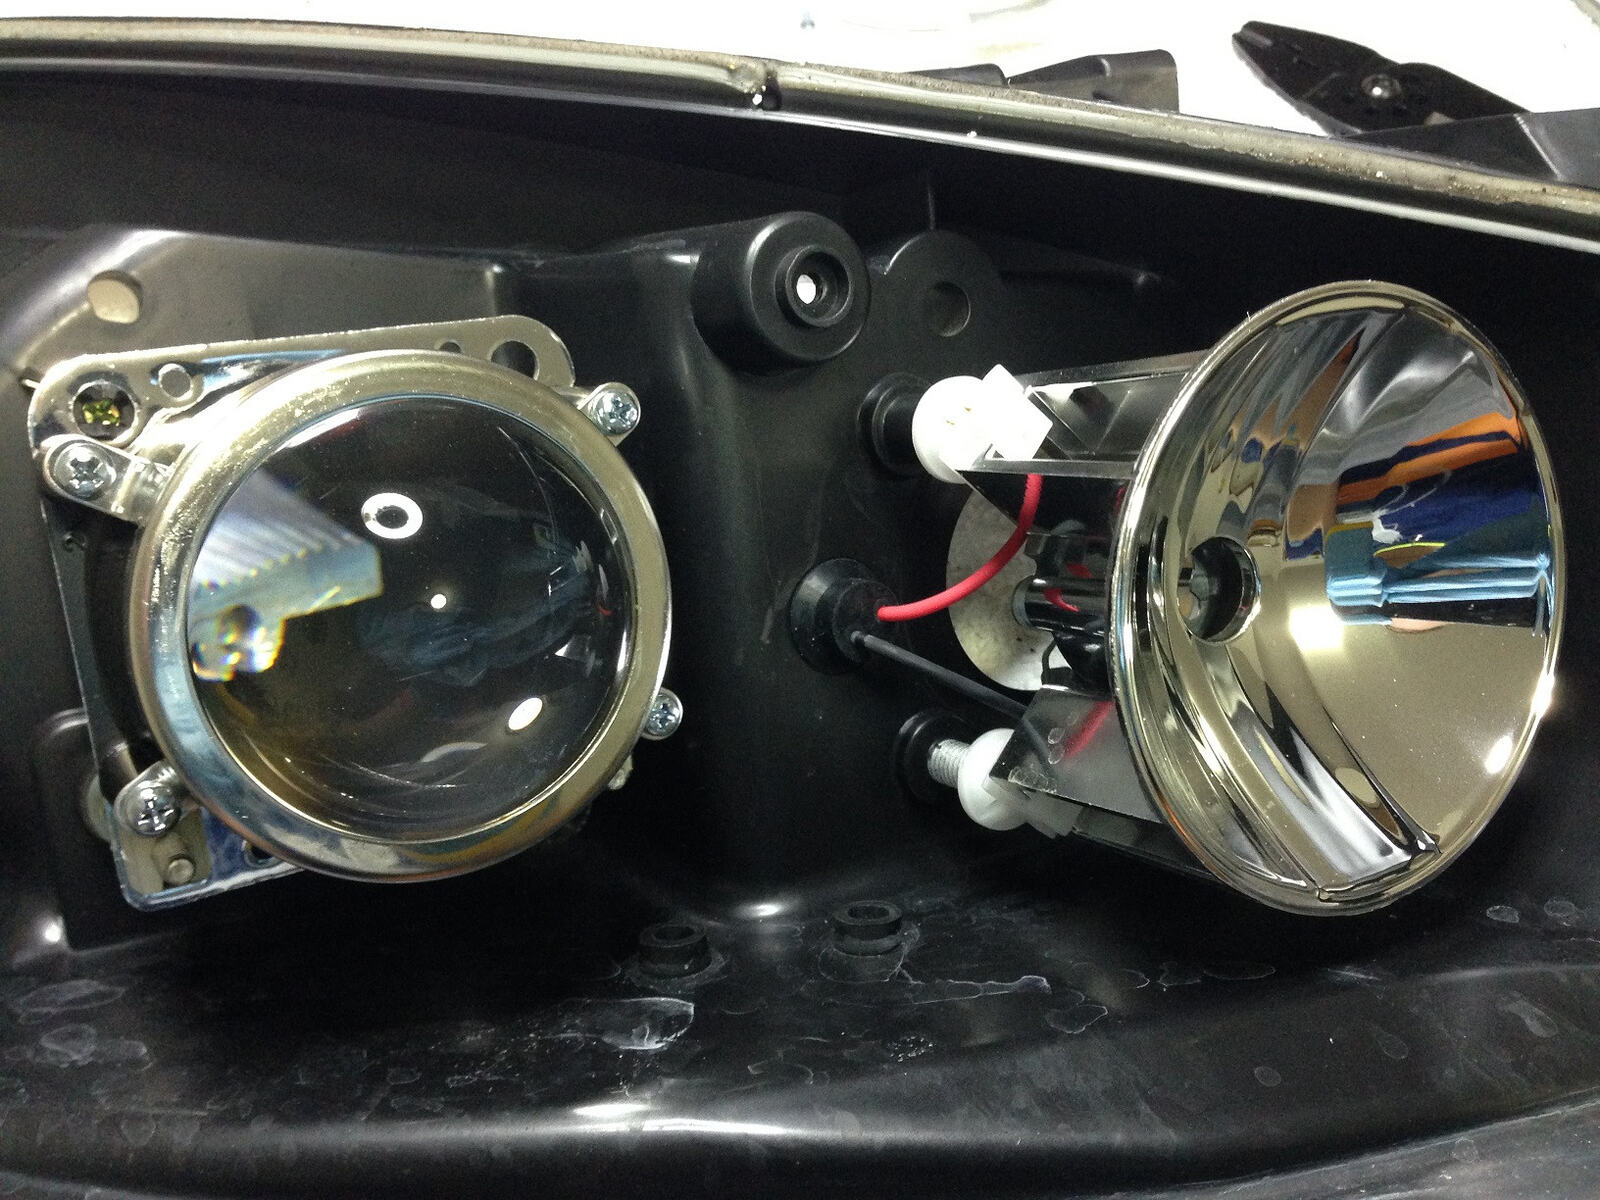
Before we dive into the step-by-step process, let’s take a moment to understand what halo headlights are. Halo headlights are a type of lighting accessory that feature a circular ring of LEDs (Light Emitting Diodes) surrounding the main bulb. These LED rings emit a unique and captivating glow that can be customized to match your gaming setup’s color scheme and personal preferences.
Now that we have a basic understanding, let’s discuss how to wire halo headlights for your gaming setup:
Step 1: Gather the necessary tools and materials
Before you begin the wiring process, make sure you have the following tools and materials ready:
- Wire cutters/strippers
- Electrical tape
- Soldering iron and solder (if required)
- Wire connectors
- Halo headlights kit (check the compatibility with your gaming setup)
Step 2: Disconnect the power source
Before proceeding with any electrical work, always ensure that your gaming setup is unplugged from the power source. This step is crucial for your safety and the prevention of any potential damage to the equipment.
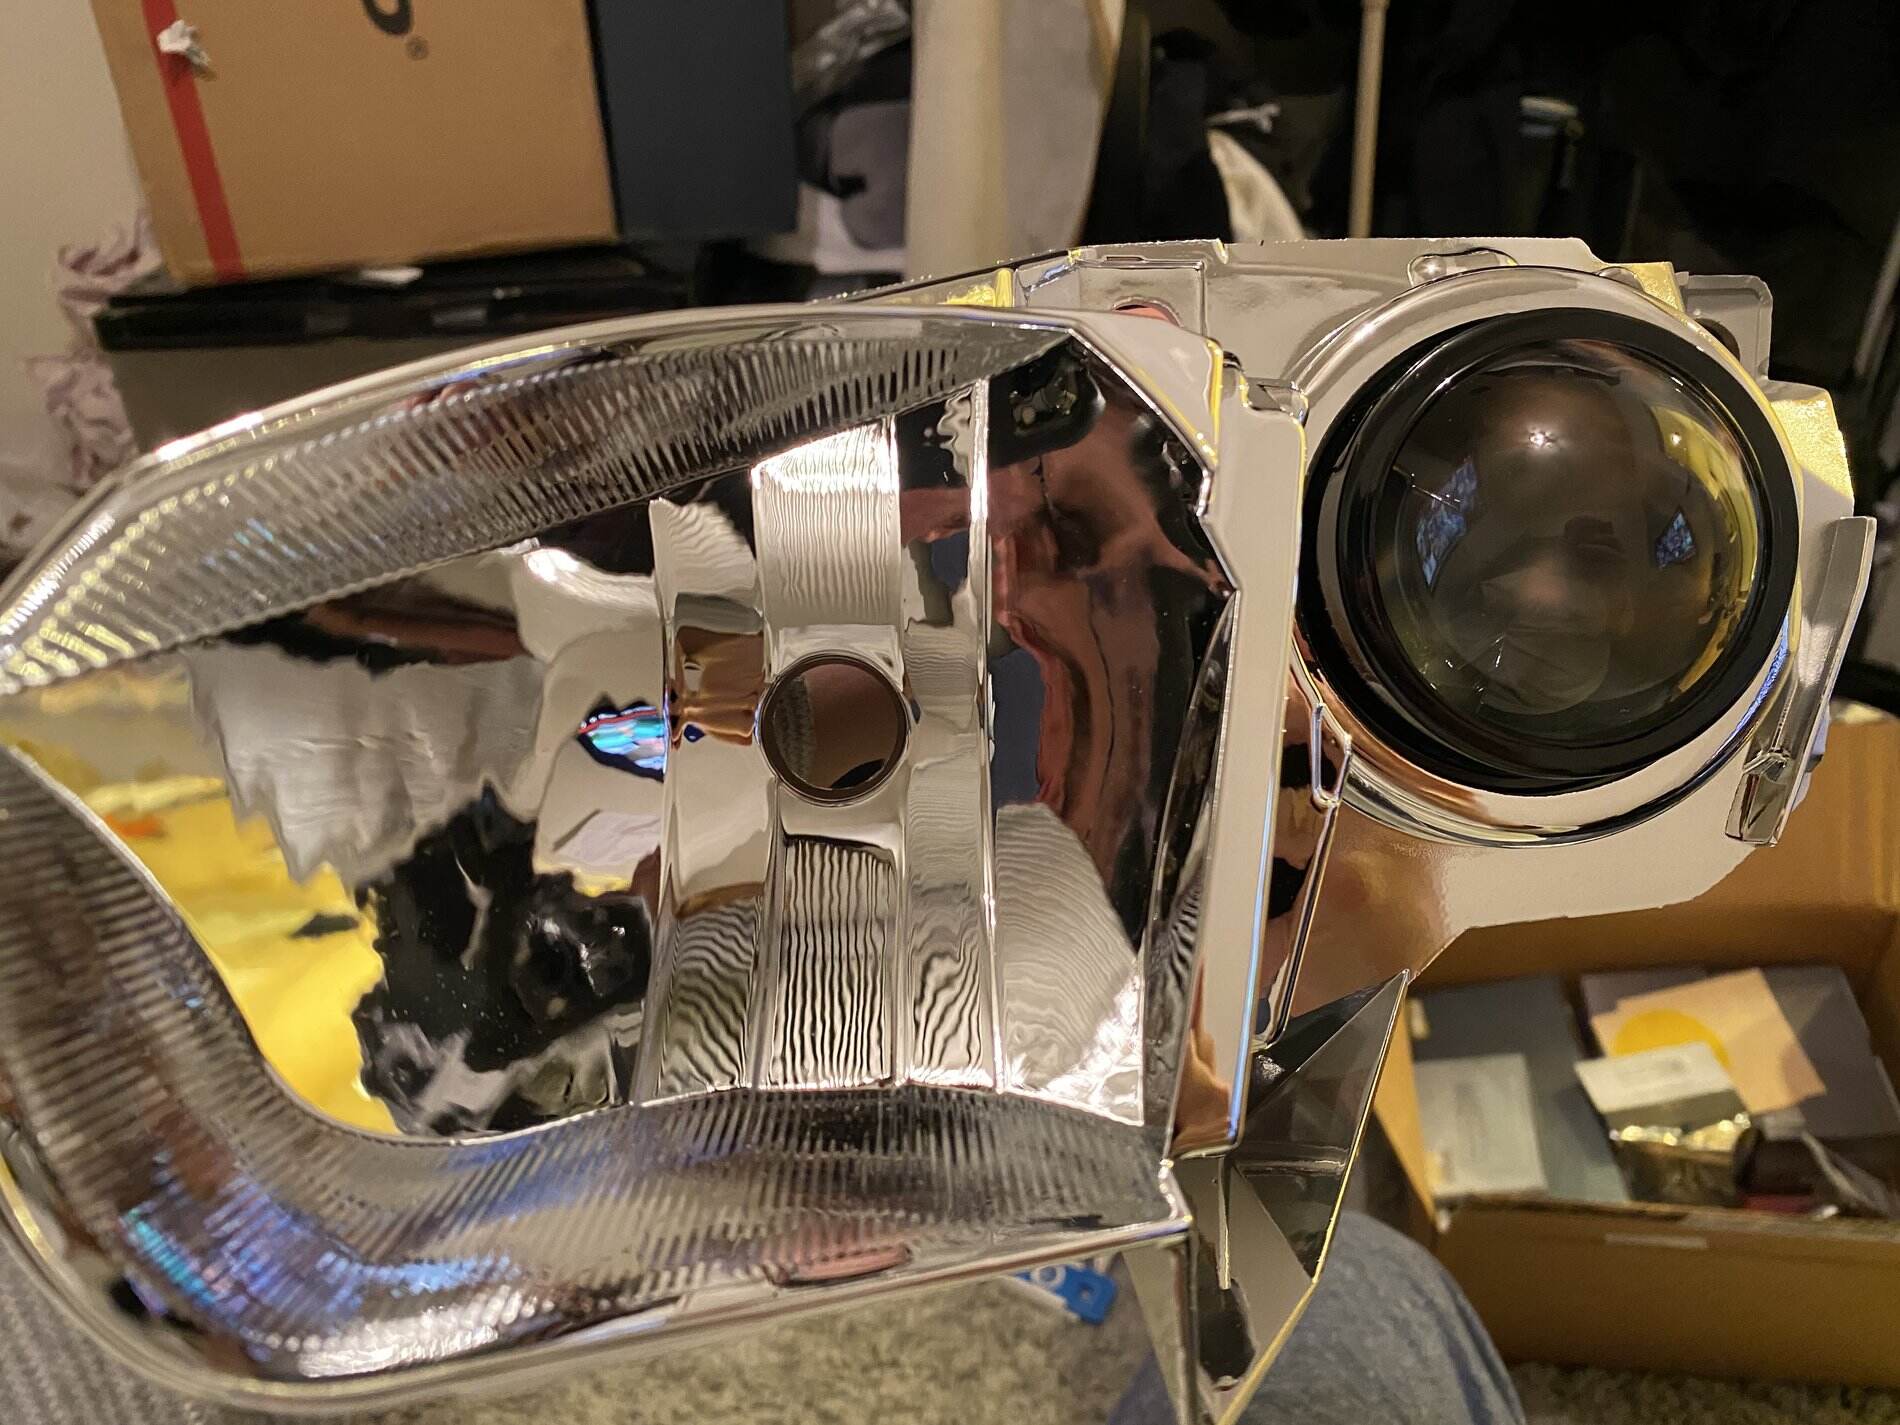
Step 3: Identify the wiring connections
Refer to the instruction manual provided with your halo headlights kit to identify the different wires. Generally, you will find wires for power, ground, and any additional features like color customization or dimming options.
Step 4: Connect the power wire
Locate the power wire from your halo headlights kit, which is typically red or marked as positive (+). Connect this wire to a power source within your gaming setup. It’s recommended to connect it to a switchable power source, ensuring that the halo headlights turn on and off synchronously with your gaming system.
Step 5: Ground the halo headlights
Locate the wire labeled as ground or negative (-). Connect this wire securely to a suitable grounding point within your gaming setup. Ensure a solid connection to the chassis ground or another reliable grounding location.
Step 6: Connect additional features (if applicable)
If your halo headlights kit includes additional features such as color customization or dimming options, follow the manufacturer’s instructions to connect these wires accordingly. This step may involve soldering or using wire connectors to establish a secure connection.
Step 7: Test the wiring
Once all the connections are made, it’s crucial to perform a thorough testing of the wiring before feeding power to your halo headlights. Verify that the lights turn on and off correctly, and the additional features, if any, function as intended.
Step 8: Secure and conceal the wiring
After confirming that everything is in working order, secure the wiring using zip ties or adhesive clips. Conceal the wires as much as possible to maintain a clean and clutter-free gaming setup. This step not only enhances the overall aesthetic but also reduces the risk of accidental damage or tangling.
Step 9: Enjoy your enhanced gaming experience!
With your halo headlights now wired and installed correctly, it’s time to sit back, relax, and enjoy an enhanced gaming experience with captivating lighting effects.
Remember, if you are uncertain about any step throughout the process, consult a professional or refer to the instruction manual. Safety should always be a top priority when working with electrical components.
So, why wait? Take your gaming setup to the next level by adding the mesmerizing glow of halo headlights. Once your gaming friends lay their eyes on the immersive lighting effects, they will be amazed at the unique ambiance you have created!