Introduction
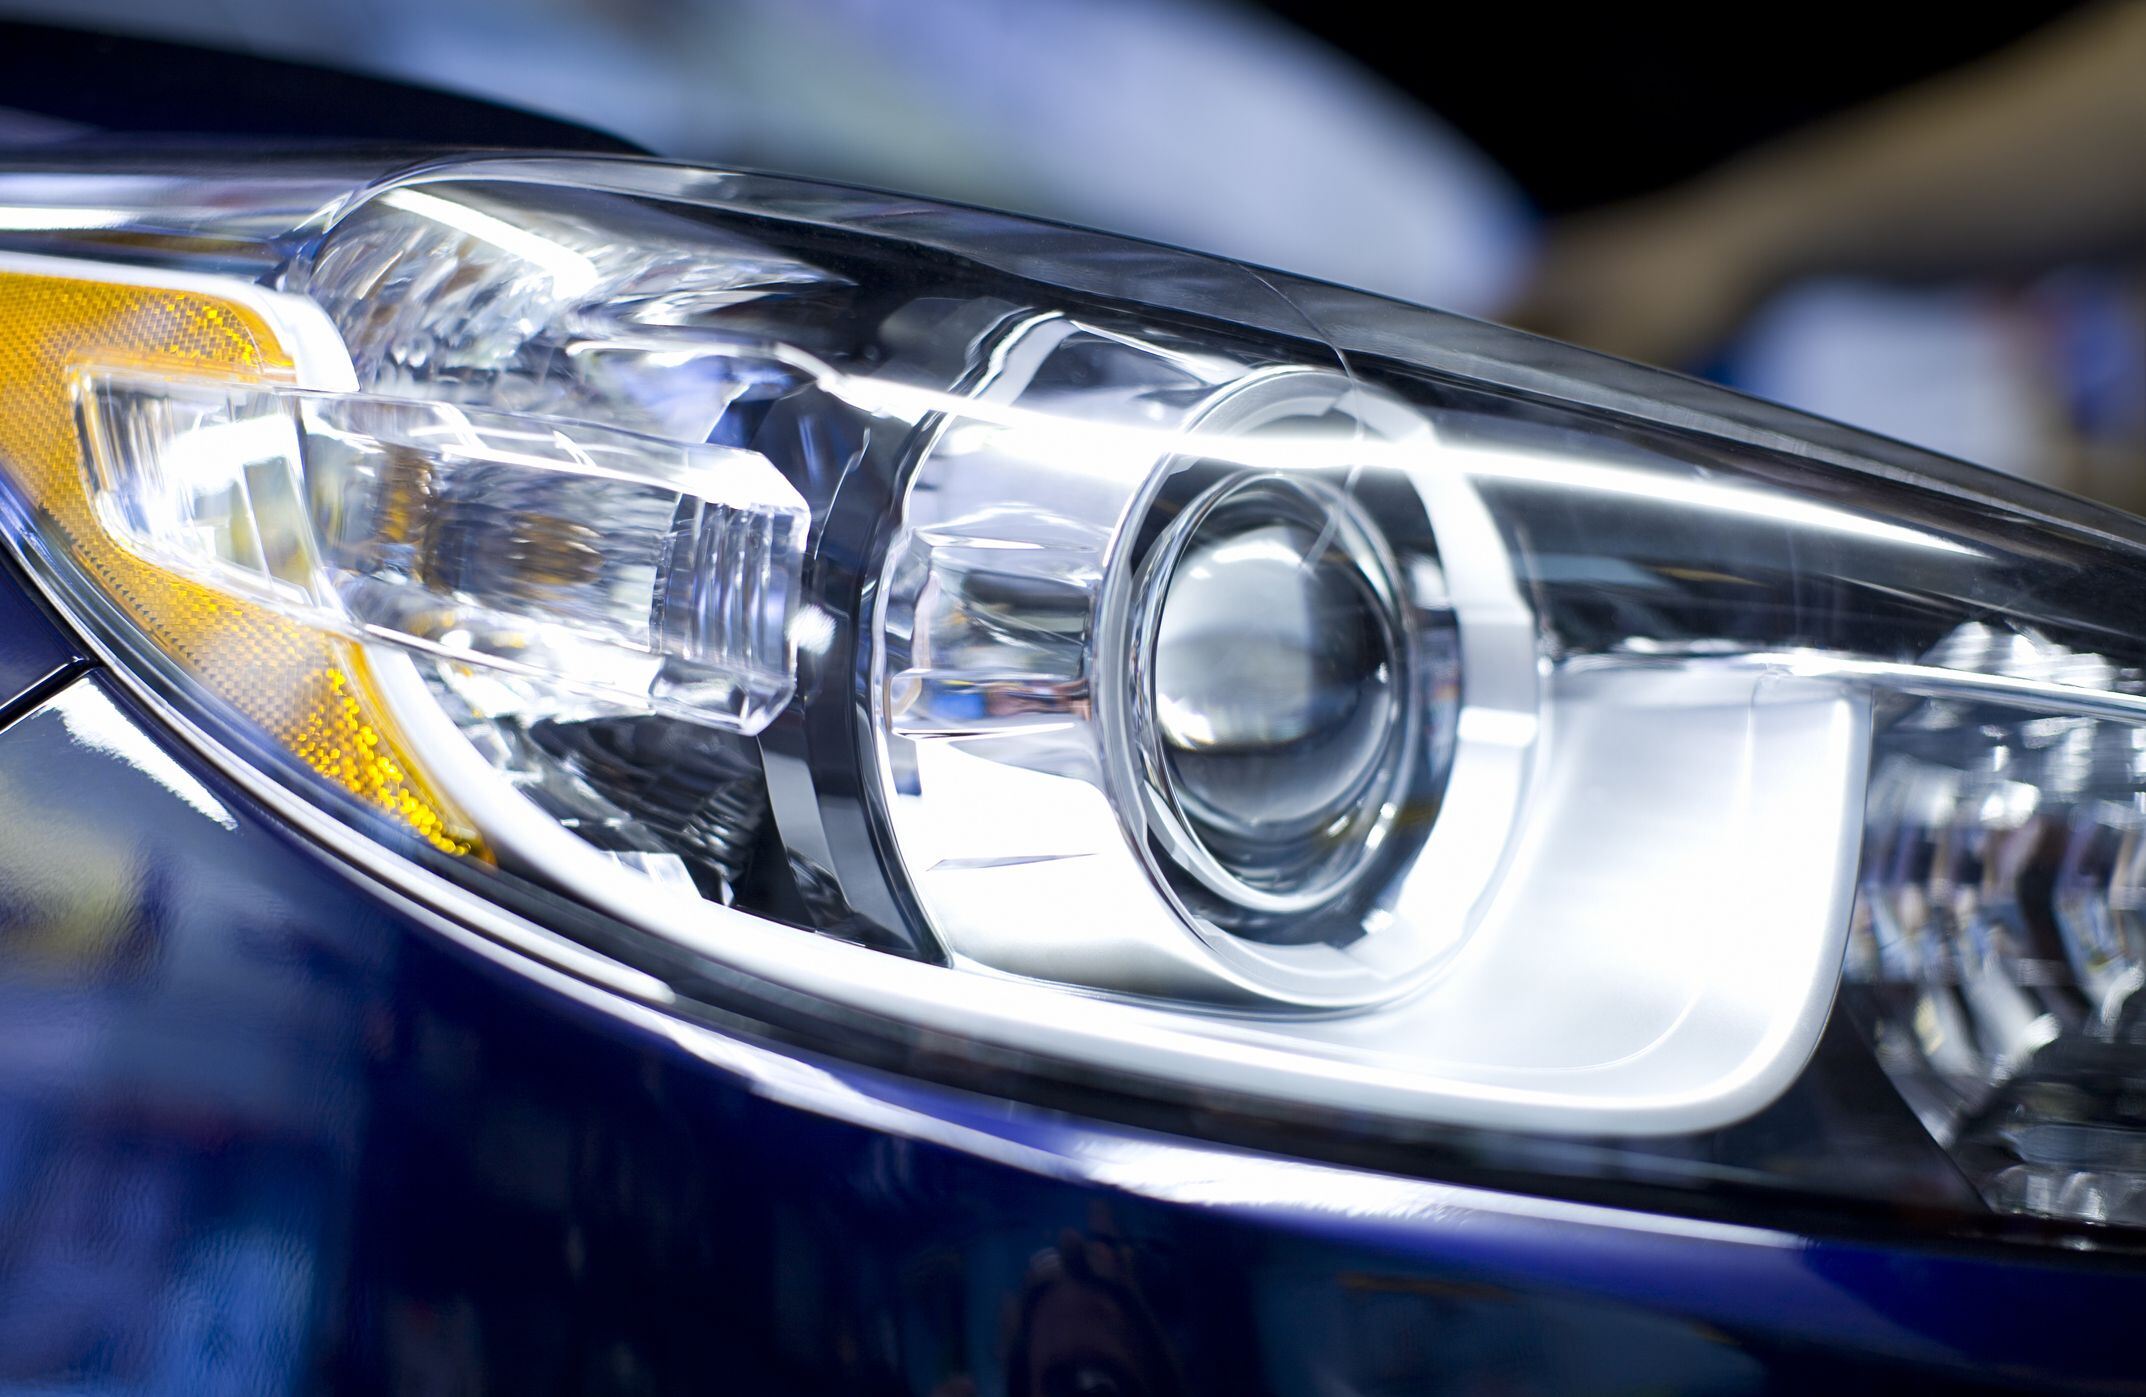
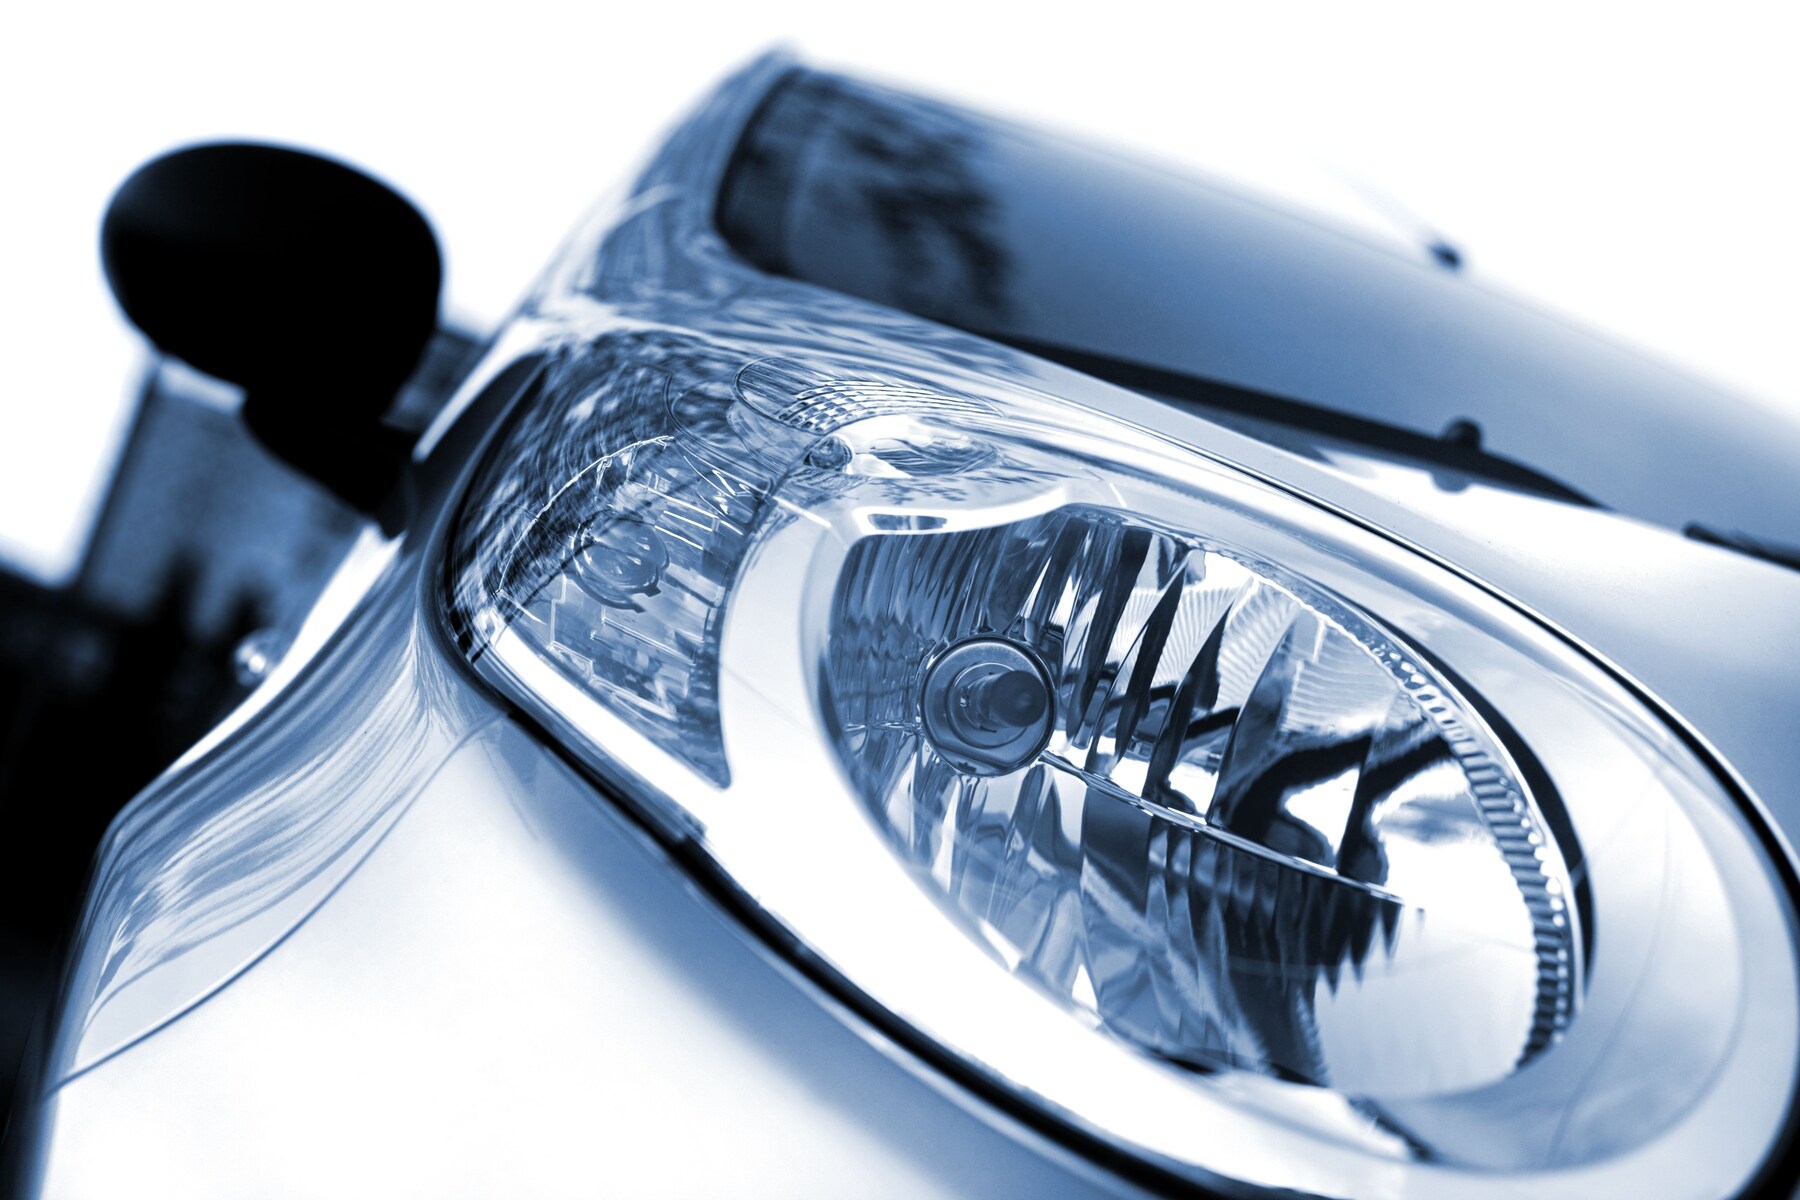
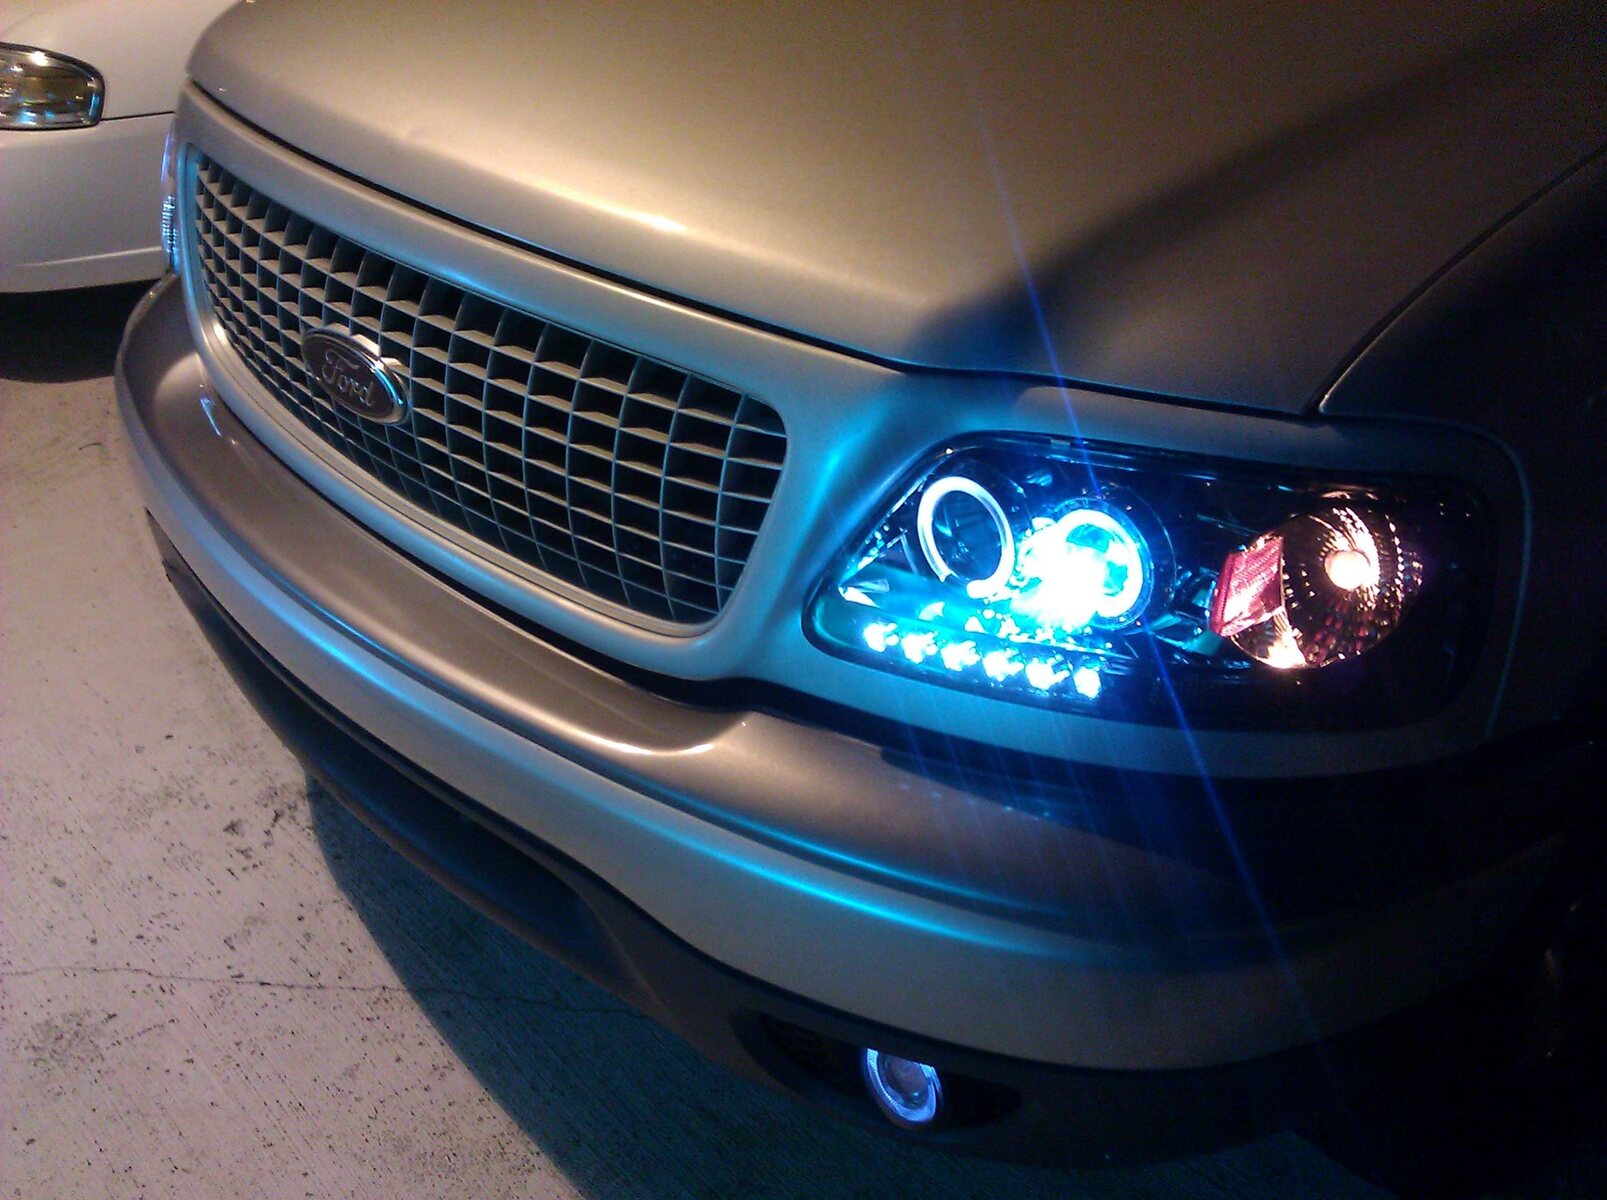
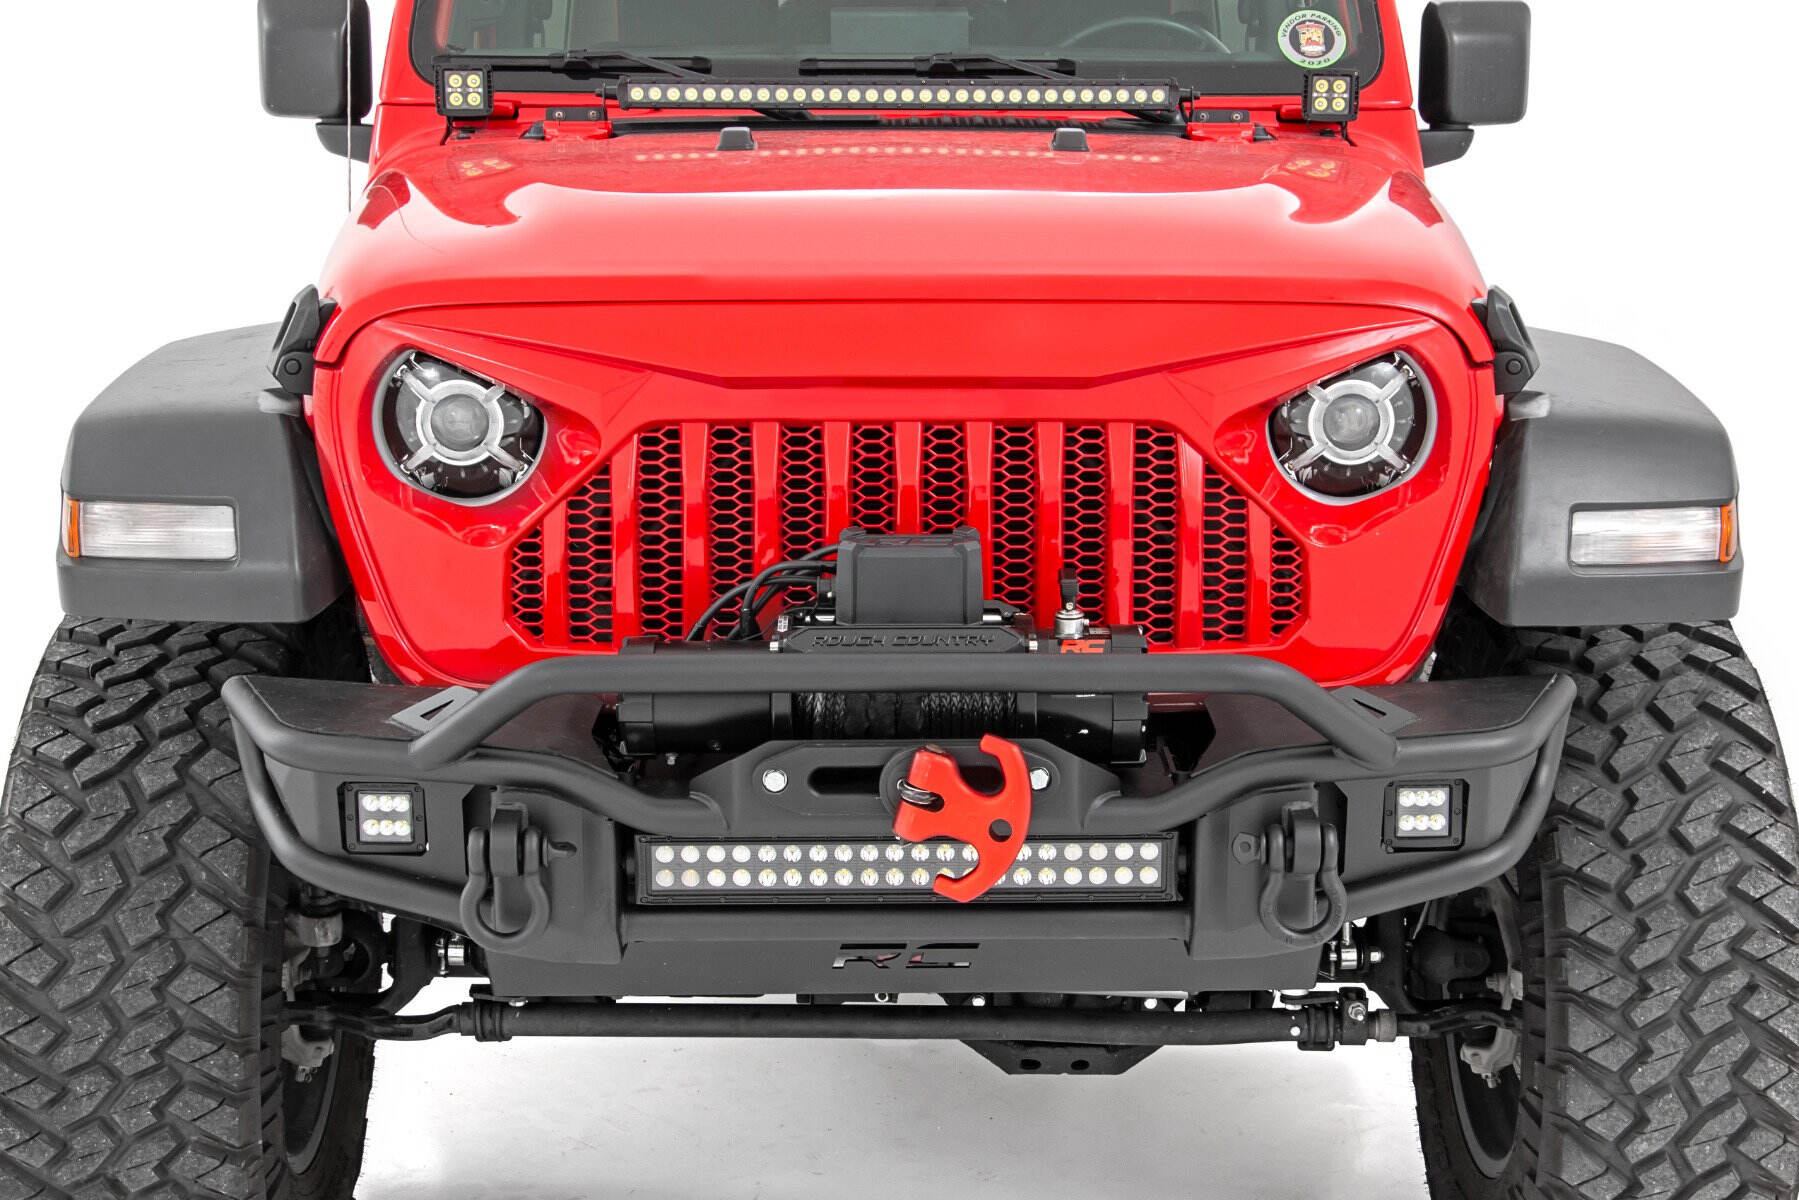
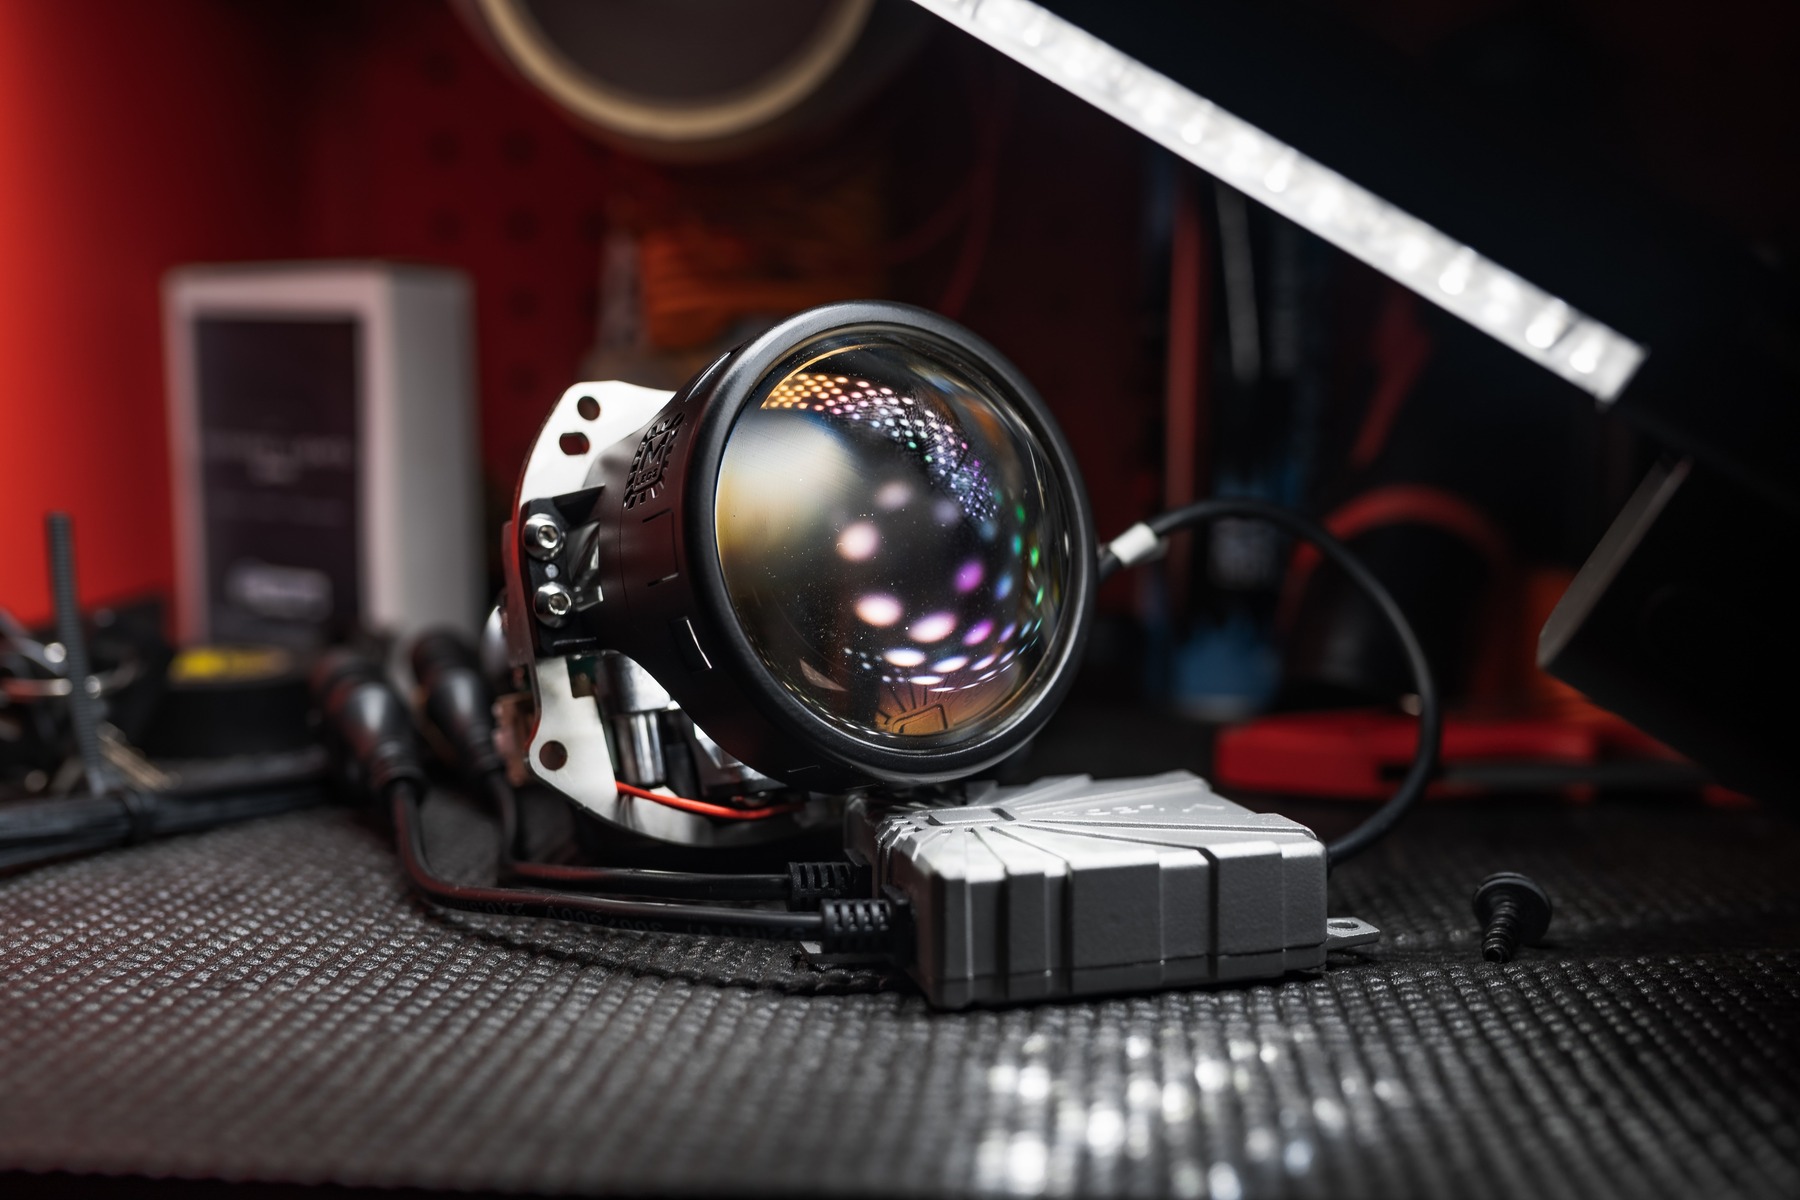
Properly adjusted projector headlights are essential for optimal visibility and safety while driving. Unlike traditional halogen headlights, projector headlights offer superior illumination and a more focused beam pattern, resulting in better visibility on the road.
Whether you’ve just installed new projector headlights or noticed that your existing ones are misaligned, it’s crucial to adjust them correctly to ensure they provide the best lighting performance. In this article, we will guide you through the process of properly adjusting projector headlights, step by step.
By following our instructions and using the right tools, you can achieve the perfect alignment for your projector headlights, eliminating any potential hazards caused by inadequate illumination. Enhancing your visibility on the road not only increases your safety but also ensures that other drivers can see you clearly, reducing the risk of accidents.
So, if you’re ready to take control of your projector headlights and optimize their performance, let’s dive into the essential steps and tools needed to adjust them correctly.
Why is it important to adjust projector headlights properly?
Properly adjusted projector headlights are not just a matter of aesthetics; they play a crucial role in ensuring your safety on the road. Here are several reasons why it is vital to adjust your projector headlights correctly:
- Improved visibility: Adjusted projector headlights provide enhanced visibility, especially in low-light conditions or on poorly lit roads. When aligned correctly, they illuminate the road ahead more effectively and reduce the risk of accidents caused by limited visibility.
- Oncoming traffic: Misaligned projector headlights can blind oncoming drivers, causing discomfort and reducing their ability to see clearly. By adjusting your headlights properly, you ensure that the beam pattern remains focused on the road and avoids impairing the vision of other motorists, enhancing overall road safety.
- Reduced glare: Proper alignment prevents excessive glare, which can be distracting and dangerous for other drivers. Bright, misaligned projectors can reflect off road signs, wet surfaces, or overhead structures, creating a glare that impairs the vision of nearby motorists. Correctly adjusted headlights minimize glare and prevent accidents caused by temporary blindness.
- Optimized coverage: When projector headlights are adjusted properly, they provide a uniform and balanced beam pattern, effectively illuminating both the sides of the road and distant objects. This ensures that you can perceive obstacles, pedestrians, and potential hazards in a timely manner, leading to quicker reaction times and minimizing the risk of accidents.
- Regulatory compliance: In many regions, there are strict regulations regarding the alignment of projector headlights. Proper adjustment ensures that your vehicle meets these regulatory standards, preventing any legal issues or fines related to non-compliance.
By adjusting your projector headlights correctly, you not only enhance your safety but also contribute to the overall well-being of everyone on the road. It is a simple yet important maintenance task that should not be overlooked.
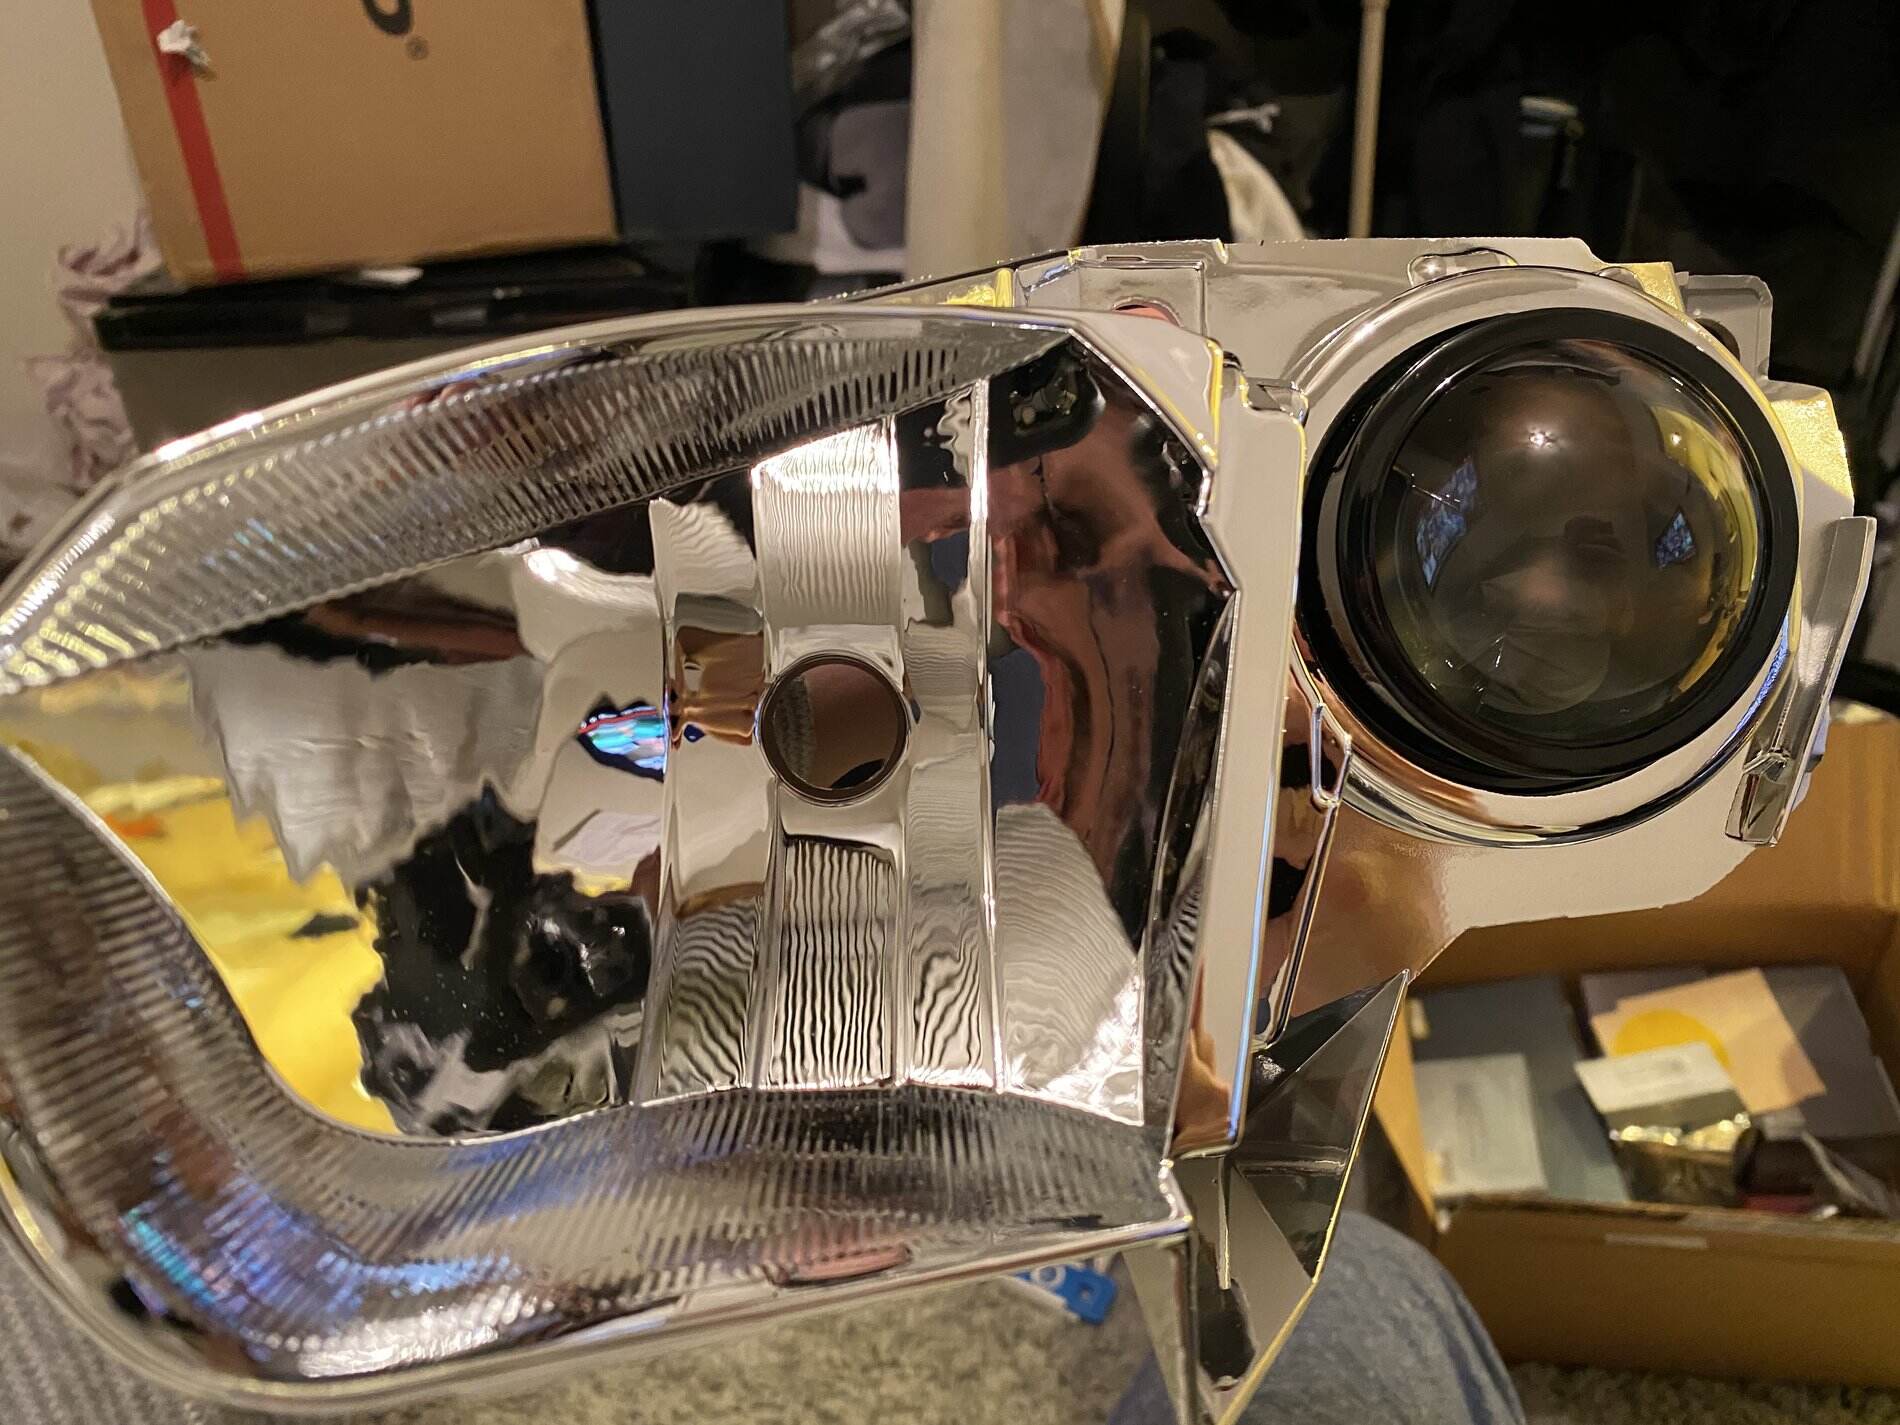
Tools needed for adjusting projector headlights
Before you begin adjusting your projector headlights, it’s important to gather the necessary tools to ensure a smooth and accurate adjustment process. Here are the essential tools you’ll need:
- Masking tape: This versatile tool is used to mark reference points on the wall or surface where you’ll be aligning your projector headlights. It helps create consistent measurements and provides visual guidance during the adjustment process.
- Tape measure: A tape measure is needed to measure the distance between your vehicle and the surface you’ll be using for alignment. This measurement ensures that your projector headlights are adjusted at the correct distance, as specified by the manufacturer.
- Screwdriver or socket set: Depending on your vehicle model, you may need a screwdriver or socket set to loosen or tighten the adjustment screws or bolts of your projector headlights. These tools allow you to make precise adjustments to the horizontal and vertical alignment of the headlights.
- Level: A small leveling tool, such as a bubble level, is useful for ensuring that your projector headlights are properly aligned horizontally. It helps you achieve a balanced beam pattern that is neither tilting to the left or right, resulting in a more even illumination of the road ahead.
- Marker or pen: You’ll need a marker or pen to mark the exact center of each projector headlight lens. This reference point will help you align your headlights accurately during the adjustment process.
These tools are readily available and can be found in most households or easily purchased at hardware stores. By having them on hand, you’ll be well-equipped to adjust your projector headlights with precision and accuracy.
Step-by-step guide to adjusting projector headlights
Adjusting your projector headlights may seem daunting, but with the right approach, it can be a straightforward process. Follow these steps to ensure a precise adjustment:
- Prepare: Park your vehicle on a flat surface, facing a wall or garage door that is approximately 25 feet away. Make sure there is enough room to walk around the vehicle and access the headlights easily.
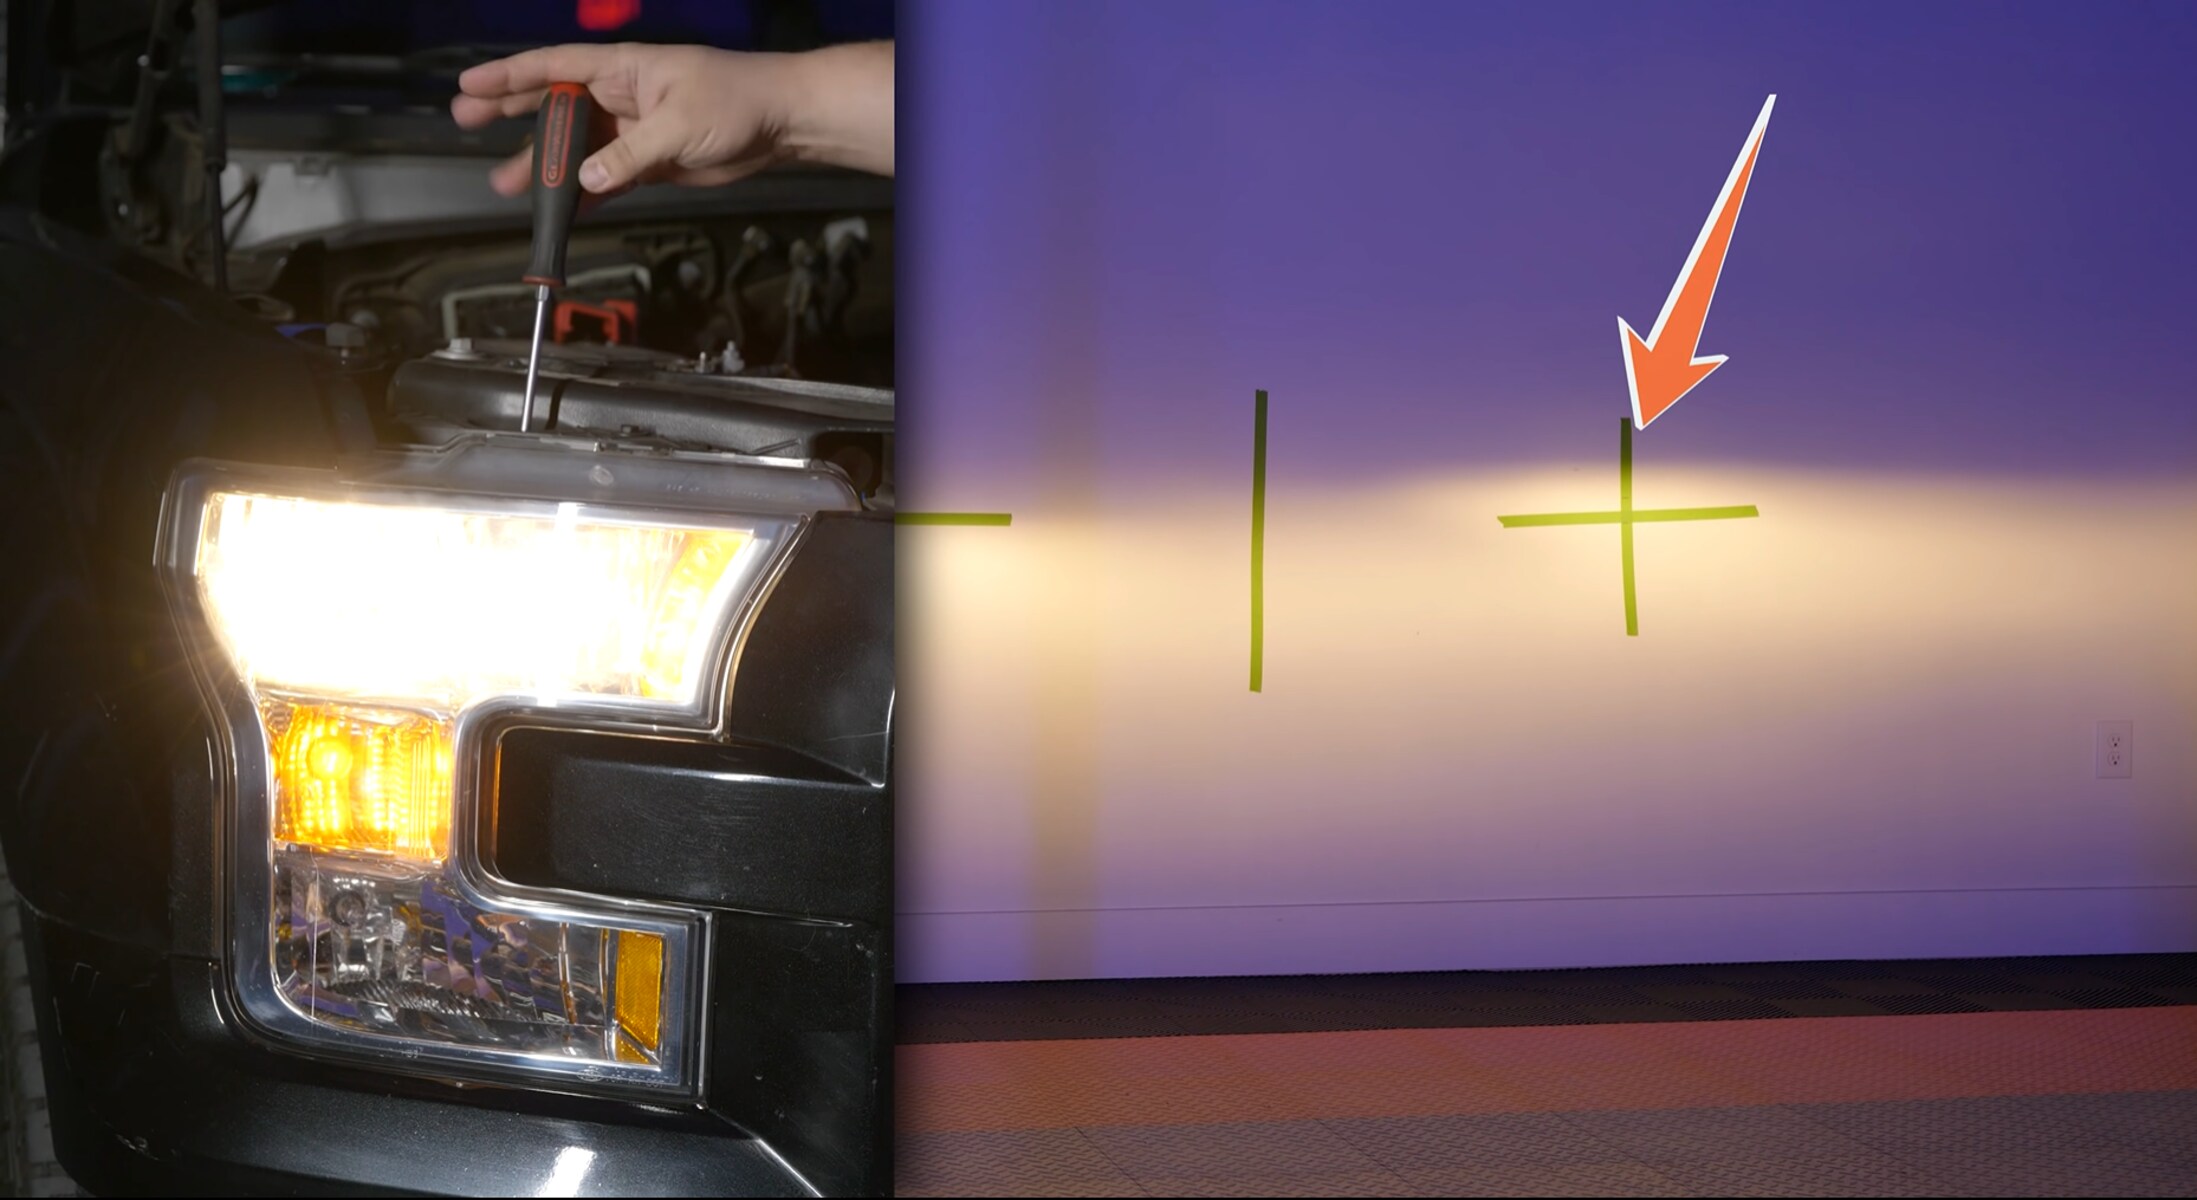
- Measure and mark: Use a tape measure to determine the ground-to-headlight height of your vehicle. Then, on the wall or surface in front of your vehicle, measure and mark the same height using masking tape. This will serve as your reference point for alignment.
- Align horizontally: Turn on your projector headlights and observe the position of the beam on the wall. Use the horizontal adjustment screw or bolt to align the beam pattern so that it is parallel to the ground and centered on the reference point. A bubble level can help you achieve a perfectly level beam.
- Align vertically: Determine the distance between the ground and the center of your projector headlights. Measure and mark this distance on the wall, vertically aligned with the reference point. Adjust the vertical alignment screw or bolt to position the beam pattern correctly, ensuring that it is slightly lower than the marked point to avoid blinding oncoming drivers.
- Test and fine-tune: Take a test drive or ask a friend to observe your headlights from different angles while you adjust them. Make any necessary small adjustments to achieve the desired beam pattern and ensure optimal visibility without blinding other drivers or casting excessive glare.
Remember to consult your vehicle’s owner manual or specific instructions provided by the manufacturer for any additional guidance or specific adjustments required for your projector headlights.
By following these step-by-step instructions and taking your time to make precise adjustments, you can ensure that your projector headlights are properly aligned and provide the best lighting performance while driving.
Tips for a more precise adjustment
While the step-by-step guide provides the foundation for adjusting your projector headlights, there are some additional tips you can follow to achieve an even more precise alignment:
- Use a headlight aim tool: Consider investing in a headlight aim tool, also known as a headlight adjustment tool or headlight alignment gauge. These tools are specifically designed to assist with aligning projector headlights accurately and can provide more precise measurements and adjustments than traditional methods.
- Adjust in small increments: When fine-tuning your projector headlights, make small adjustments at a time and test the beam pattern after each adjustment. This allows you to gauge the impact of each change and helps you avoid over-adjusting, which can result in misalignment or uneven beam patterns.
- Test in different conditions: It’s a good idea to test your projector headlights in various driving conditions, such as on well-lit roads, poorly lit areas, or during inclement weather. This allows you to assess their performance in different scenarios and make any necessary adjustments to optimize visibility.
- Consider elevation changes: If you frequently drive in areas with drastic elevation changes, such as hilly or mountainous terrain, it’s important to account for these variations when adjusting your projector headlights. Make adjustments that ensure optimal visibility both uphill and downhill.
- Double-check the adjustment: After making the necessary adjustments, step back and observe the beam pattern from different angles. Ensure that the light projection is even and not distorted or skewed in any particular direction. This final check ensures that your projector headlights are aligned correctly.
Following these tips will help you achieve a more precise adjustment and ensure that your projector headlights deliver optimal performance and visibility while driving.
Common mistakes to avoid when adjusting projector headlights
While adjusting projector headlights may seem straightforward, there are several common mistakes that people often make. By being aware of these mistakes, you can avoid them and ensure a successful and accurate adjustment process:
- Improper distance: One of the most common mistakes is failing to measure and align the projector headlights at the correct distance. Ensure that you are parked at the specified distance, typically around 25 feet, from the wall or surface you are using for alignment.
- Not using reference points: Neglecting to mark reference points on the wall or surface can lead to inconsistent and inaccurate adjustments. Use masking tape to create clear and visible reference points for horizontal and vertical alignment.
- Over-tightening adjustment screws: Tightening the adjustment screws or bolts excessively can limit the range of motion and make it difficult to fine-tune the alignment. Avoid over-tightening and allow for smooth adjustments.
- Ignoring leveling: Neglecting to level your projector headlights horizontally can result in an uneven beam pattern and compromised visibility. Use a level to ensure that the headlights are aligned parallel to the ground.
- Ignoring legal requirements: Different regions have specific regulations regarding the alignment of headlights. Failing to adhere to these requirements can result in fines or legal issues. Familiarize yourself with the local laws and adjust your projector headlights accordingly.
- Relying solely on visual assessment: While visually inspecting the beam pattern is essential, it can be subjective. Consider using a headlight aim tool or seeking assistance from a professional to ensure a more accurate adjustment.
By avoiding these common mistakes, you can ensure that your projector headlights are properly adjusted and provide optimal illumination, enhancing your safety and the safety of other drivers on the road.
Final thoughts
Adjusting your projector headlights properly is an essential task to ensure optimal visibility and safety while driving. By following the step-by-step guide, gathering the necessary tools, and applying the tips mentioned, you can achieve a precise alignment of your headlights.
Remember that maintaining proper alignment is crucial not only for your safety but also for the safety of other drivers on the road. Blinding oncoming traffic or creating excessive glare can lead to accidents and discomfort for fellow motorists. Taking the time to adjust your projector headlights correctly demonstrates your commitment to responsible driving.
When it comes to adjustments, keep in mind that small changes can make a big difference. Patience and attention to detail are key. Taking the time to measure, mark reference points, and perform gradual adjustments will ensure that your projector headlights provide the best illumination possible.
Additionally, it is crucial to stay informed about any local regulations or legal requirements regarding headlight alignment. Adhering to these regulations will help you avoid any potential legal issues and ensure that your vehicle meets the necessary safety standards.
Remember, if you’re ever unsure about the adjustment process or encounter difficulties, don’t hesitate to seek professional assistance. They have the experience and knowledge to ensure proper alignment and can provide valuable guidance.
By paying attention to the details, being mindful of the common mistakes to avoid, and taking the necessary steps to adjust your projector headlights properly, you can enjoy improved visibility, enhanced safety, and a more comfortable driving experience.