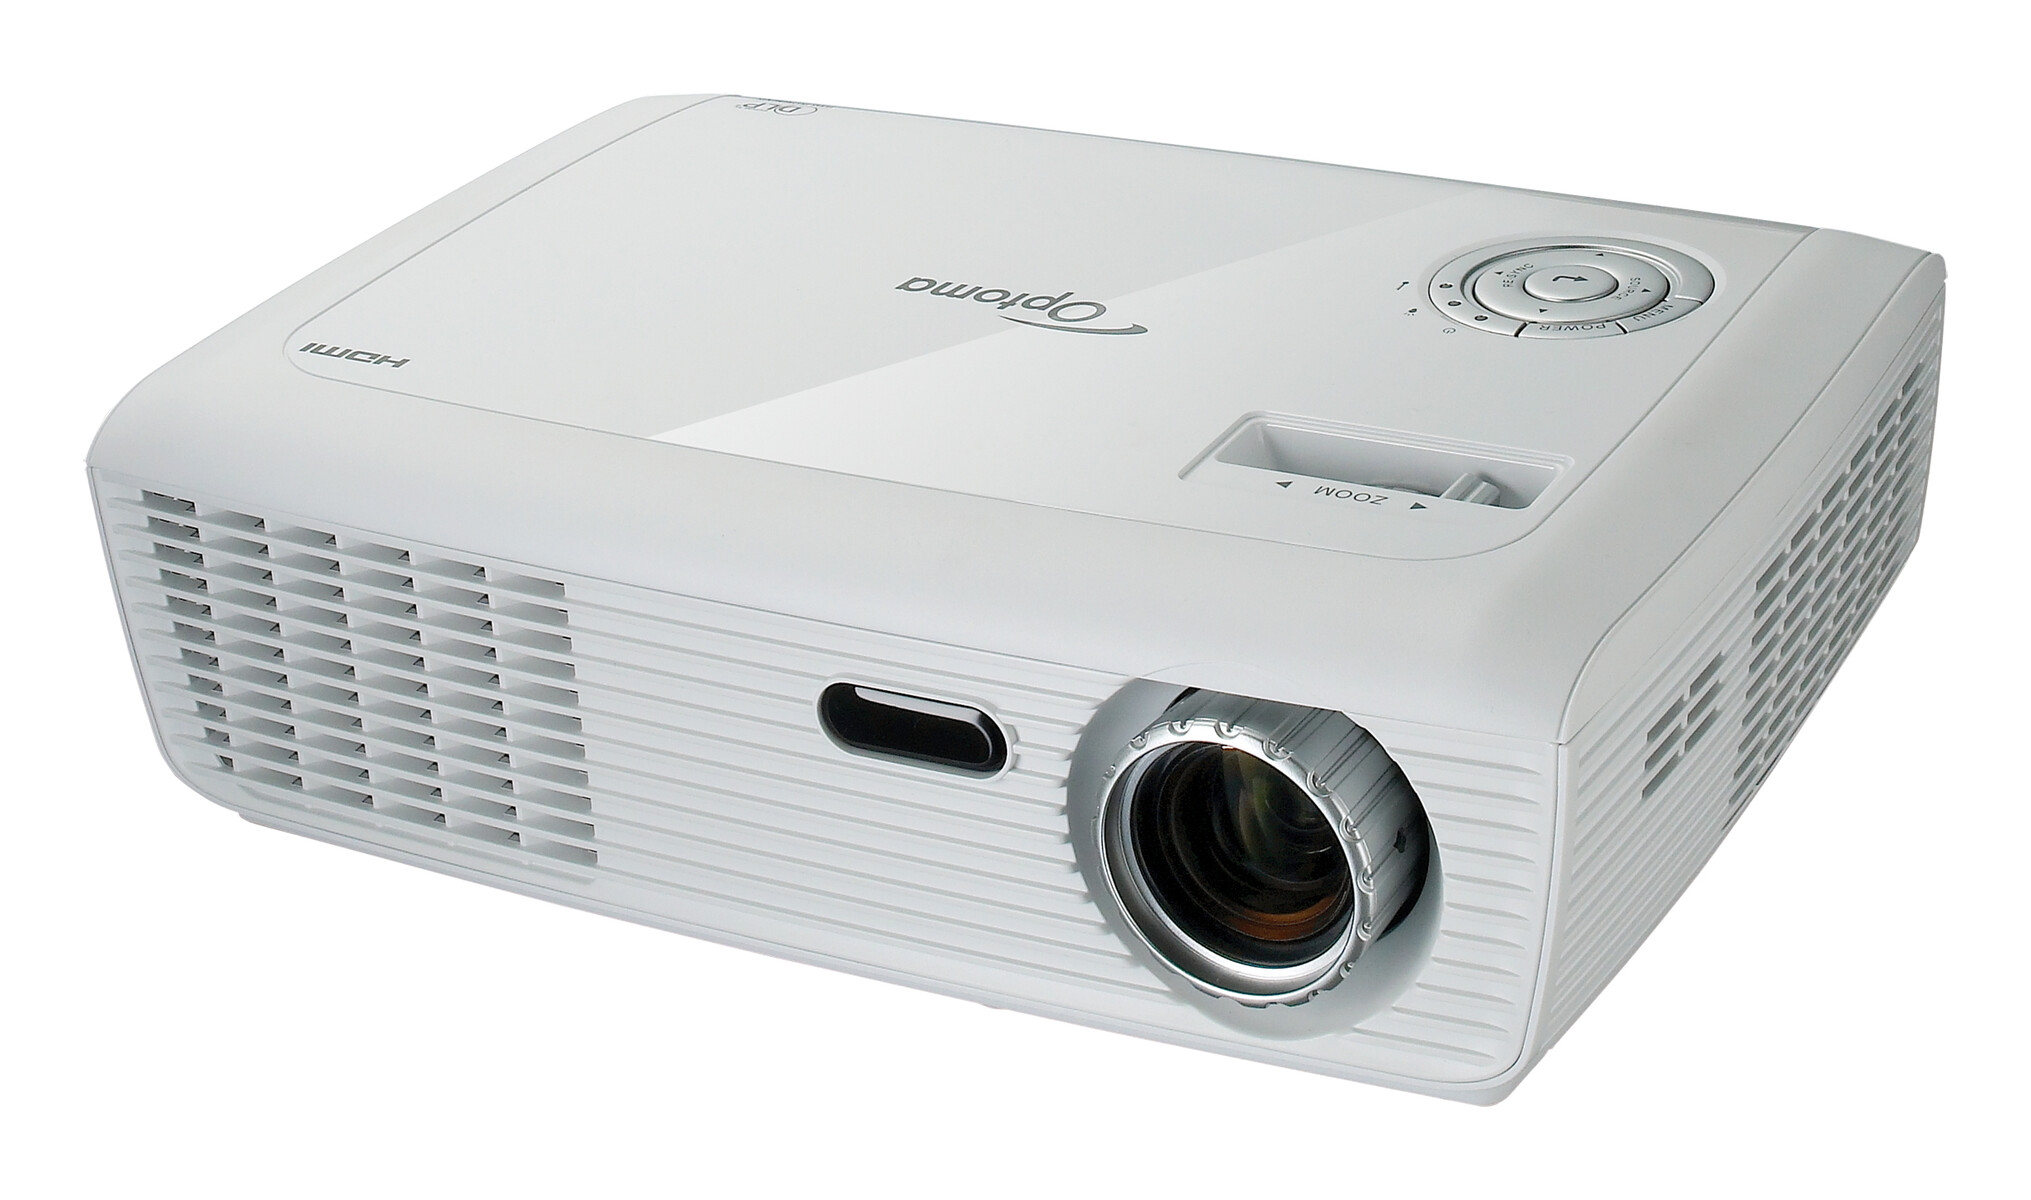
To change Optoma projector bulb safely, you must first power down the unit, unplug it, and wait for the lamp to cool completely before opening the lamp compartment. The entire process takes about ten minutes of active work plus a mandatory cool-down period, and it requires only a Phillips screwdriver and an authentic replacement lamp module.
Before you change your Optoma projector bulb: Signs you need a new lamp, the critical safety cool-down period, and the tools required
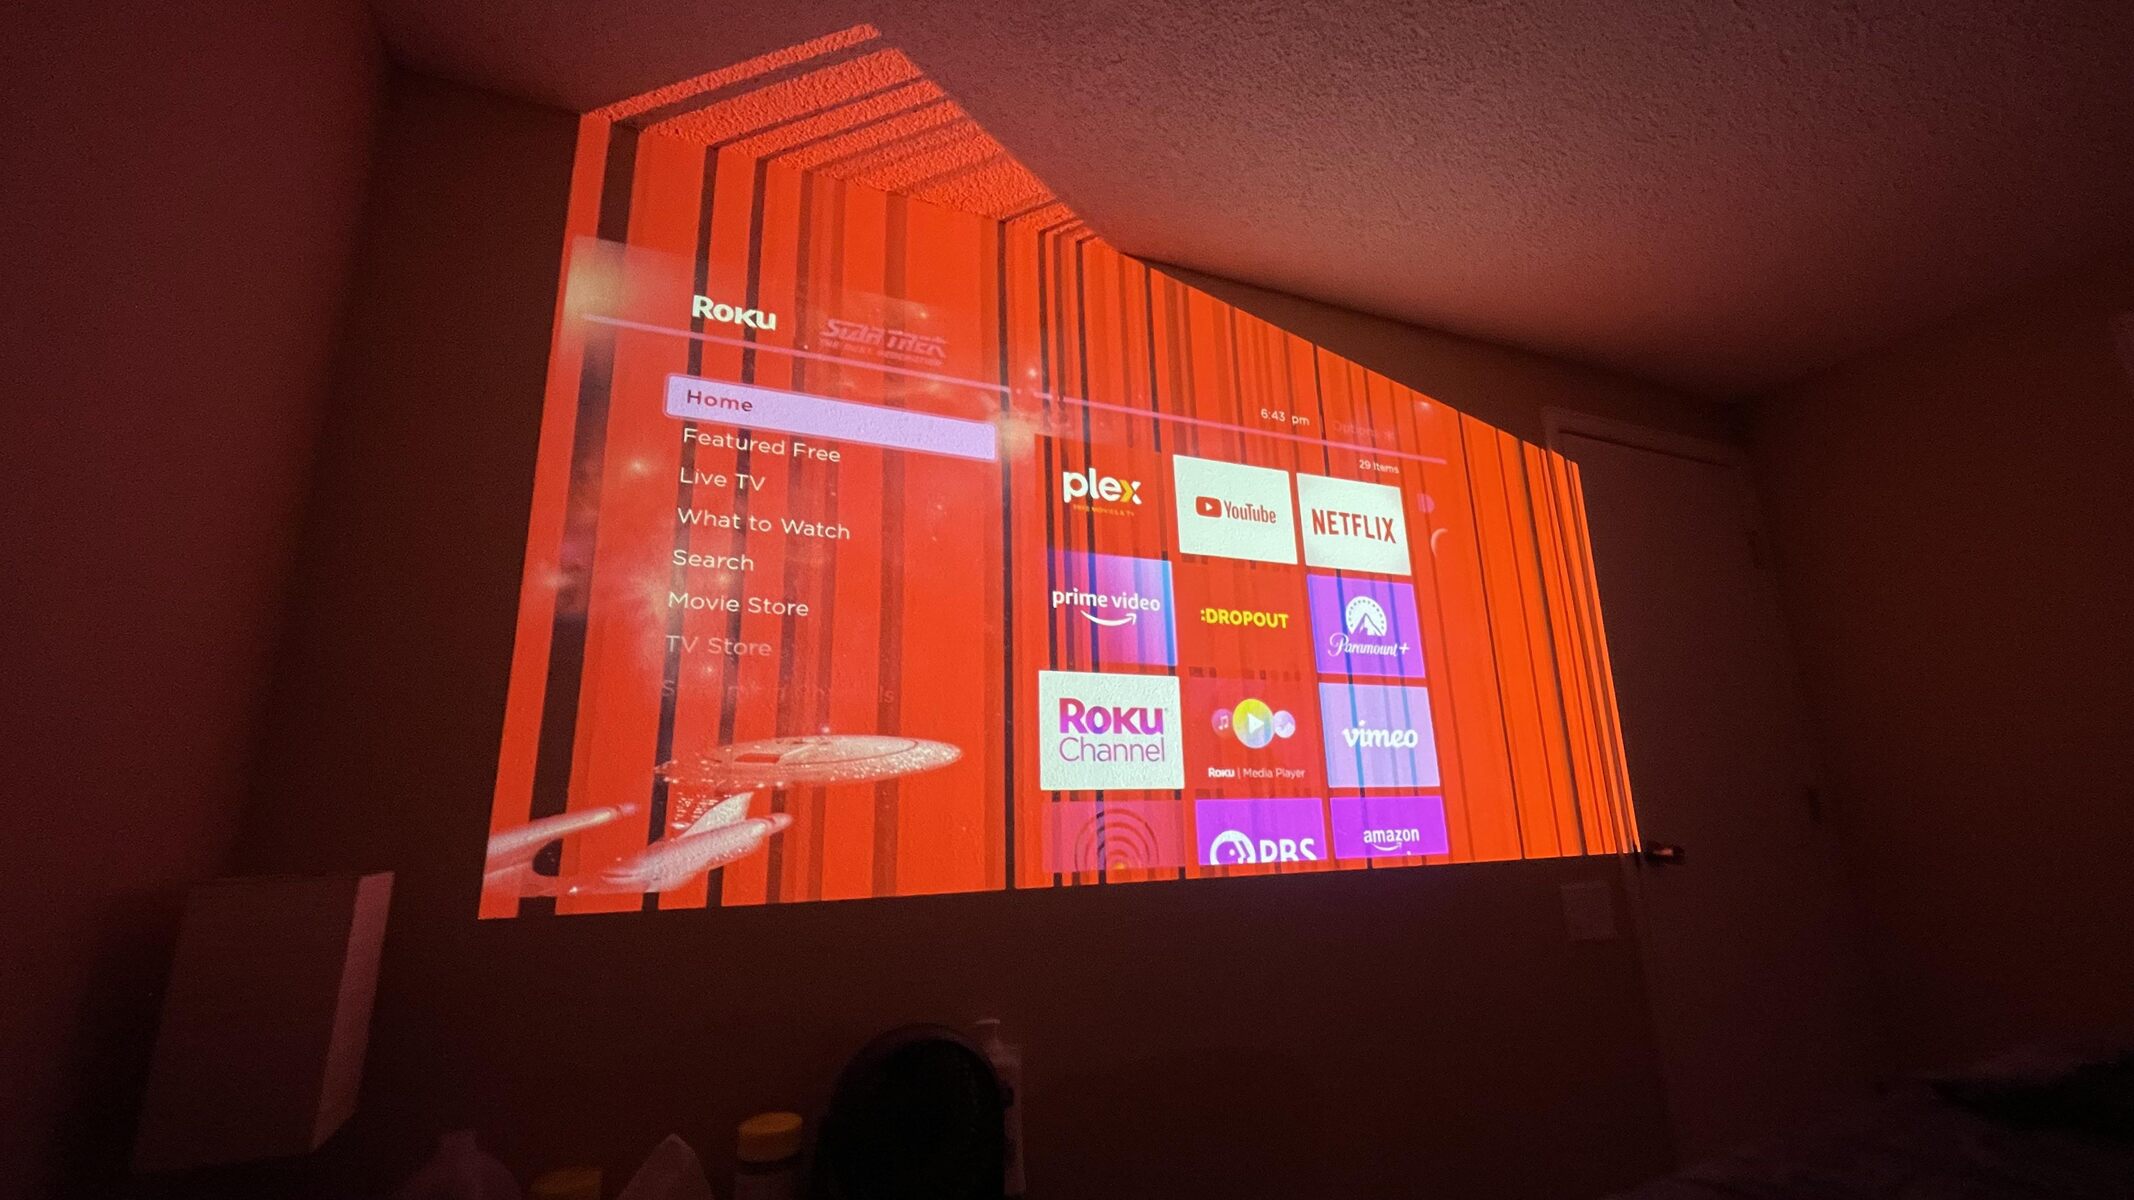
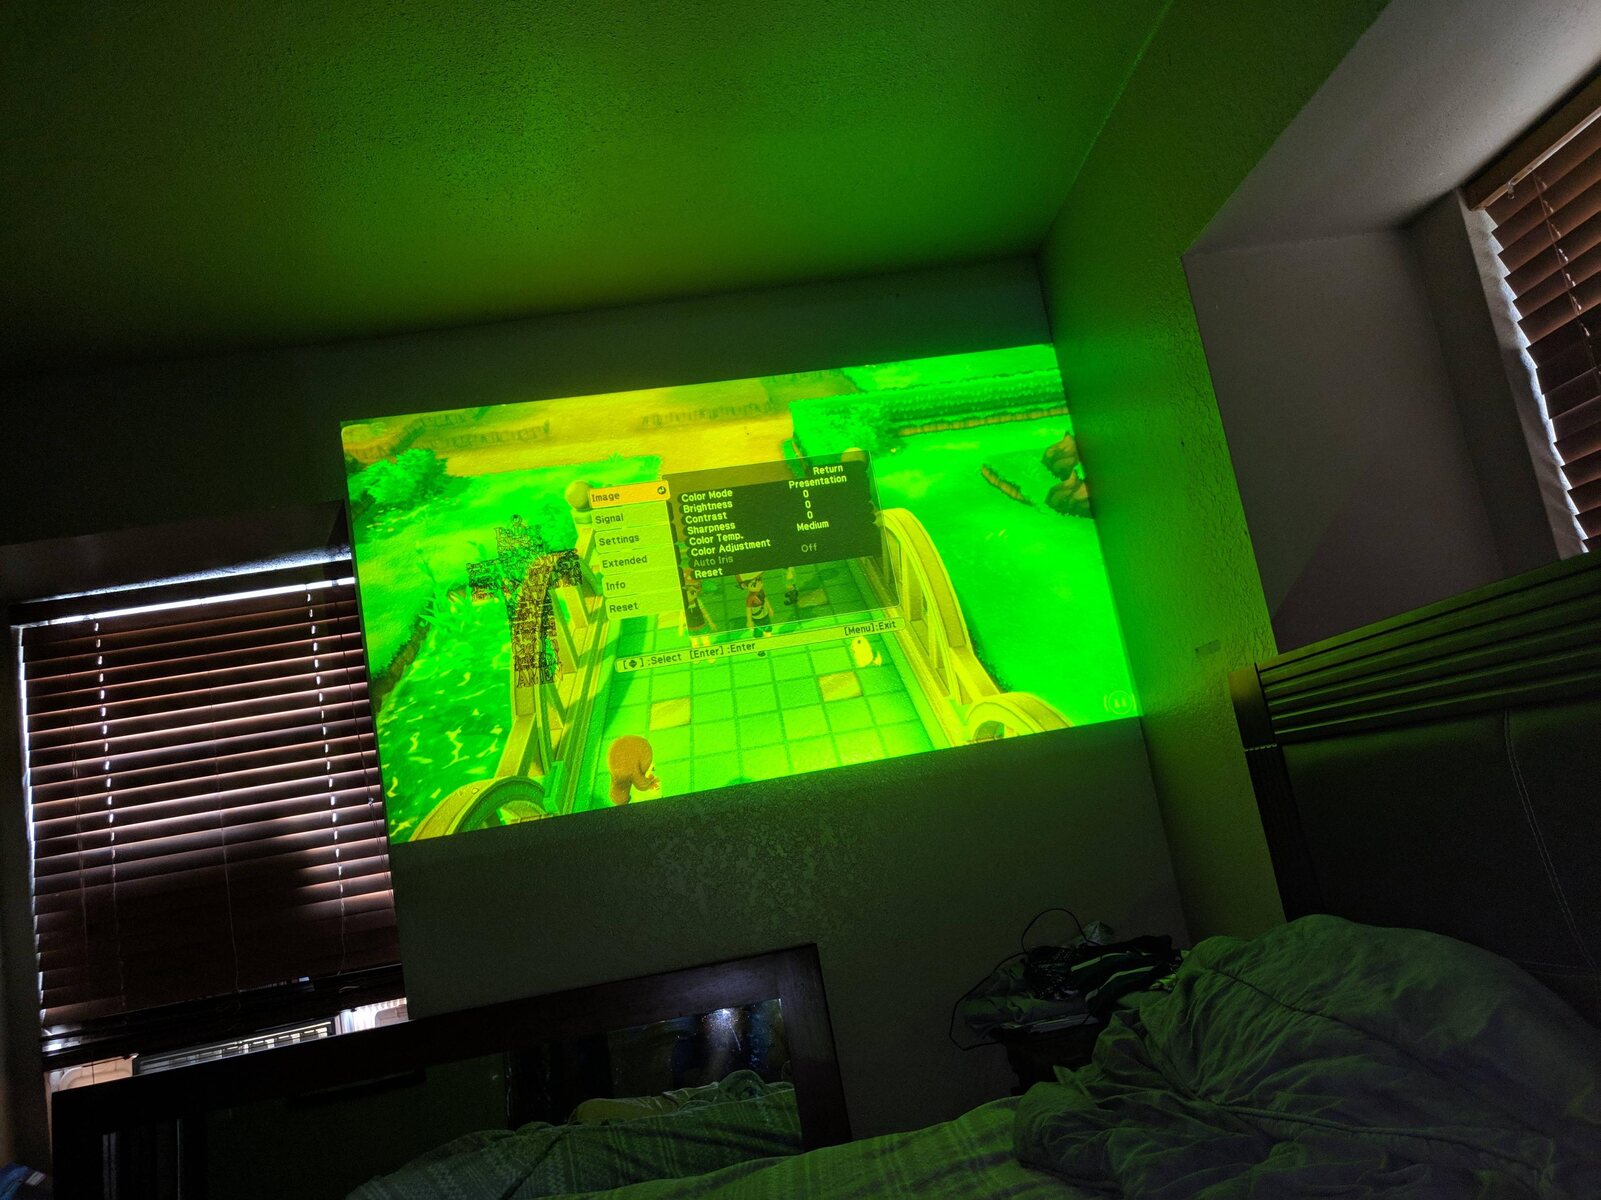
You need a new lamp when a warning message appears on the screen, the Lamp LED flashes amber, or you notice poor color quality or a deteriorated image. Using a lamp beyond its recommended hours can lead to it exploding inside the projector, so do not delay the replacement once these signs appear. The critical safety cool-down period is non-negotiable: the lamp operates at high temperatures and can cause severe burns if touched immediately after use. Gather your tools first, a Phillips screwdriver is typically the only tool required, but you should also have a clean, lint-free cloth and disposable gloves. Always purchase an authentic Optoma projector lamp, as counterfeit lamps can have a shorter lifespan, contain toxic chemicals, are prone to overheating, may not be properly calibrated, and can void your projector's warranty.
Step 1: Power down and let the projector cool
Press the power button on the projector or remote control to switch it off completely. Do not simply unplug it while it is still running, as this can damage the internal electronics. Once the power indicator goes dark, disconnect the power cord from the projector and the wall outlet. Now wait at least 30 minutes before proceeding. The lamp housing and surrounding components remain hot enough to burn skin for a significant time after shutdown, so set a timer and do not rush this step.
Step 2: Access the old lamp module
Place the projector on a stable, flat surface with the lamp compartment facing you. Using your Phillips screwdriver, loosen the screw(s) securing the lamp cover, typically one or two screws on the side or bottom of the unit. Set the cover aside in a safe place. Next, locate the lamp module itself; it is a rectangular housing with a visible handle. Loosen the screw(s) holding the lamp module in place. These screws are usually captive, meaning they will not fall out completely, but keep them accessible for reinstallation.
Step 3: Remove the old lamp
Carefully lift the lamp handle (if present) and slowly remove the old lamp module from the projector. Pull it straight out in line with the socket, do not twist or apply excessive force, as the module can break inside the compartment. Once removed, place the old lamp on a non-flammable surface. Dispose of the old bulb properly: check your local waste management guidelines or electronic recycling facilities, as projector lamps contain materials that should not go into regular household trash. Do not touch the glass of the old lamp with bare hands, as any residue can be transferred to the new unit.
Step 4: Install the new lamp module
Unpack the new lamp module and handle it carefully, avoiding touching the glass part of the bulb with bare hands, oils from your skin can cause black spots or premature failure. If you accidentally touch the glass, wipe it clean with a lint-free cloth. Align the new module with the socket, ensuring the guide rails or pins match the opening. Insert it firmly but gently, pushing straight in until it seats fully. Connect the lamp cord if it was disconnected separately, then push down the lamp handle (if present) and tighten the screw(s) on the lamp module. Replace the lamp cover and tighten its screw(s); the projector will not power on if the lamp cover is not properly installed due to a safety sensor.
Step 5: Reset the lamp timer and test
Plug the power cord back into the projector and the wall outlet. Press the power button to turn on the projector and wait for it to warm up. To reset the lamp timer, press the "Menu" button on the projector or remote, navigate to "Setup" or "Options," select "Lamp settings," choose "Lamp reset," and confirm with "Yes." This clears the old lamp hour count and ensures accurate future maintenance tracking. After the reset, project an image and check the brightness and color quality. Allow a few minutes of warm-up time, as some projectors take a moment to reach full brightness. If the image is still dim or discolored, verify that the lamp cover is fully closed and the module is seated correctly. The new lamp should restore sharp, bright images, and the warning message or amber LED should no longer appear.