Introduction
Setting up a home theater projector can transform your living space into a cinematic haven, allowing you to enjoy a truly immersive movie-watching experience. Whether you’re a movie enthusiast or simply want to elevate your entertainment options, a home theater projector can be a fantastic addition to your setup.
With advancements in technology, projectors have become more affordable and user-friendly than ever before. However, it’s essential to understand the proper setup and configuration to get the best out of your investment. In this guide, we’ll take you through the process of setting up a home theater projector in a step-by-step manner.
Before we delve into the technical aspects, it’s crucial to consider a few factors to ensure you make the right choice when purchasing a projector. Determining your budget, desired image quality, screen size, and available space are all fundamental considerations that will influence your decision. Once you have a clear understanding of your requirements, you can proceed with the setup process confidently.
In the following sections, we will guide you through the entire setup process, from choosing the right projector to calibrating the settings. We’ll cover everything from selecting the perfect location for your projector to connecting audio and video sources, adjusting the image, and installing necessary accessories. By following these steps, you’ll be well on your way to enjoying an outstanding home theater experience.
Remember, setting up a home theater projector may seem daunting at first, but with the right guidance, it can be a straightforward and enjoyable process. So, without further ado, let’s dive into the world of home theater projectors and turn your living room into a premium entertainment zone.
Choosing the Right Projector
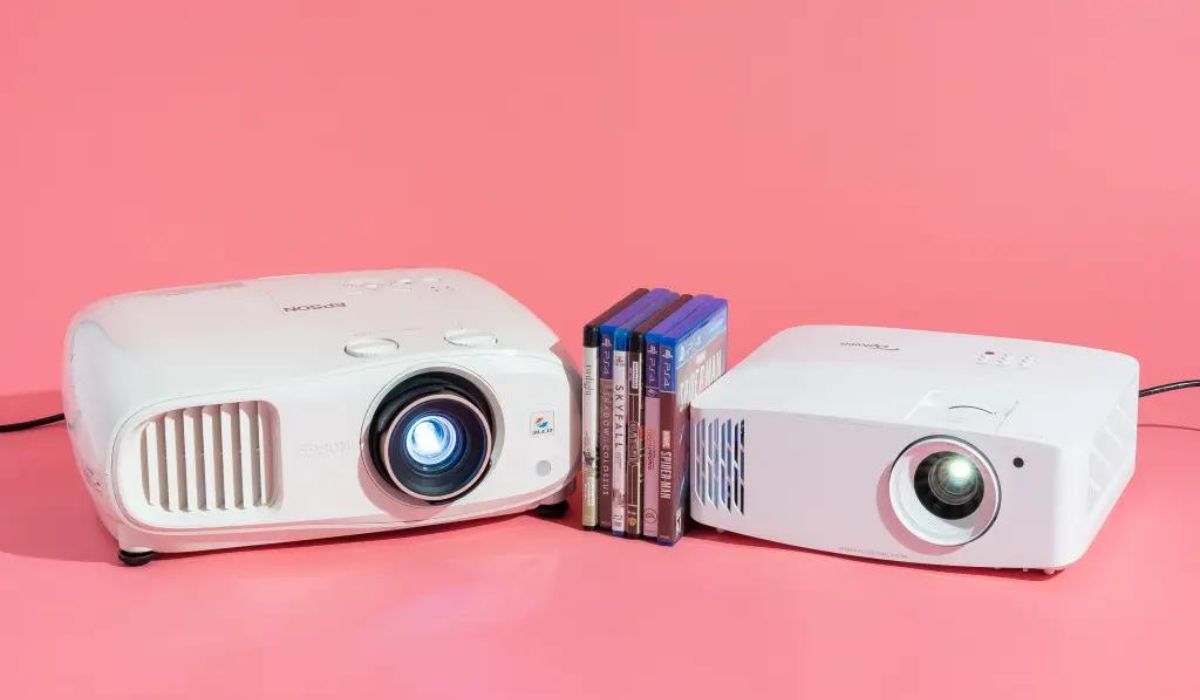
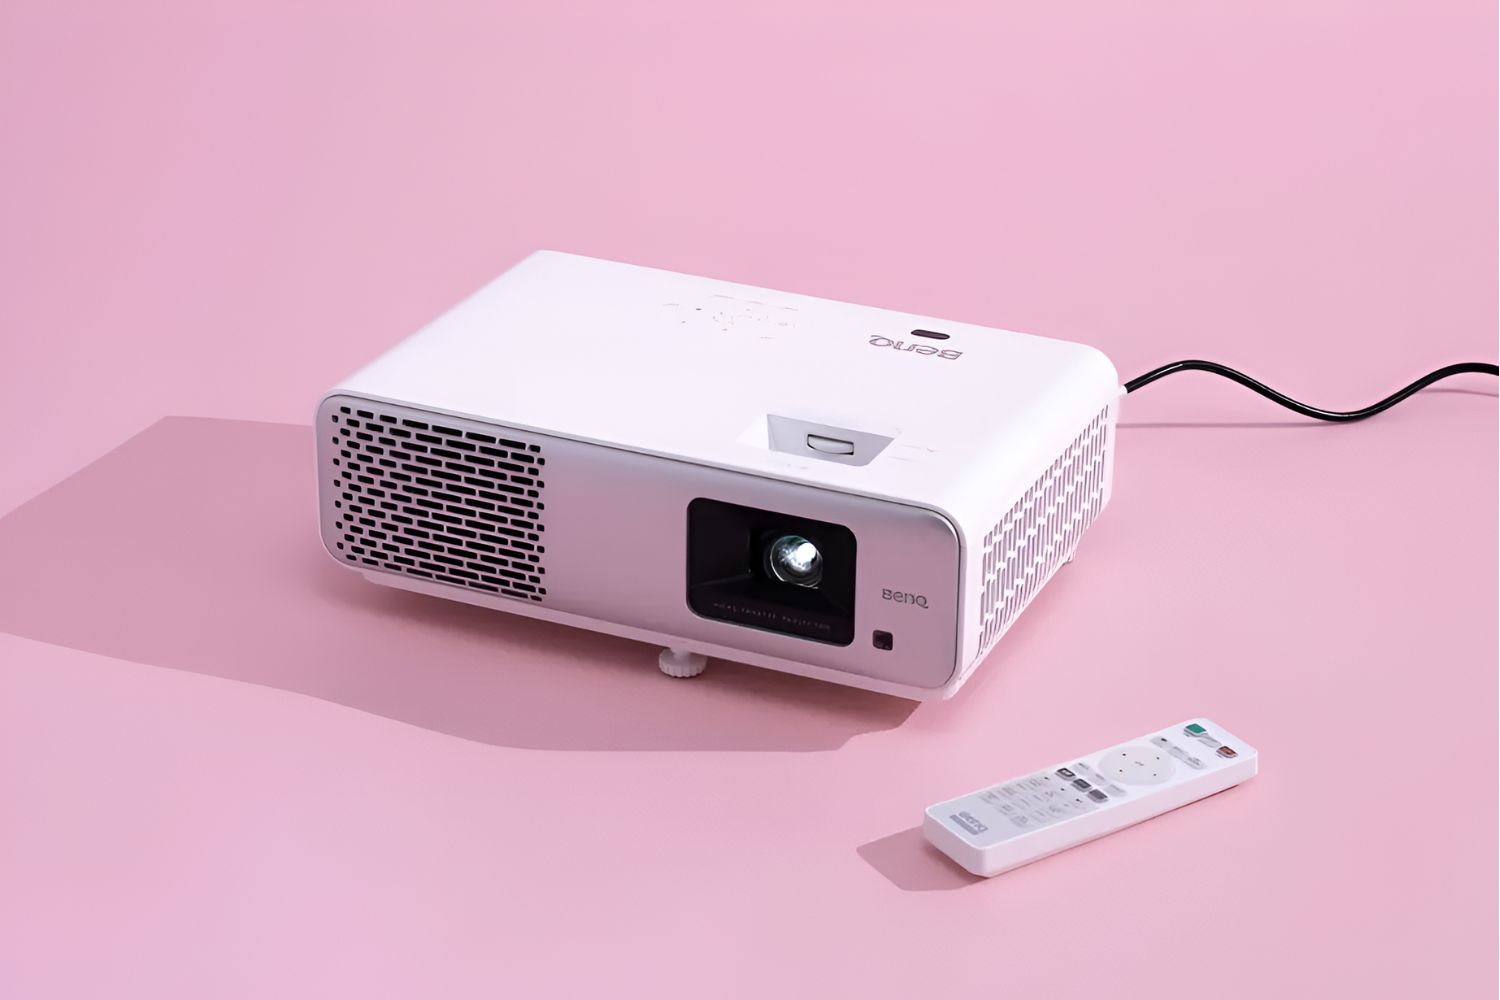
When it comes to creating the perfect home theater setup, choosing the right projector is crucial. With the market flooded with various options, it’s important to consider several factors before making your decision.
The first consideration is the projector’s resolution. Higher resolution projectors, such as those with Full HD (1080p) or even 4K resolution, will provide a sharper and more detailed image. However, it’s essential to balance your desired image quality with your budget.
Another important factor is brightness. The brightness of the projector is measured in lumens, and it determines how well the image will appear in different lighting conditions. If you plan to watch movies in a dedicated dark room, a projector with lower lumens will work fine. However, if you intend to use the projector in a living room with some ambient light, opt for a higher brightness level to ensure a clear and vibrant image.
Additionally, consider the throw distance and zoom capabilities of the projector. The throw distance determines how far the projector needs to be placed from the screen to achieve a specific screen size. Make sure to measure the available space in your room and choose a projector with a suitable throw distance. Zoom capabilities are important if you want to adjust the image size without moving the projector.
Connectivity options are another aspect to consider. Ensure that the projector has the necessary ports to connect to your audio and video sources, such as HDMI, USB, and audio outputs. It’s also beneficial to have wireless connectivity options for convenience and flexibility.
Finally, don’t forget to read reviews and compare different models from reputable brands. Look for features like contrast ratio, image processing technology, and durability. Reading user reviews can provide valuable insights into the performance and reliability of a particular projector model.
By carefully considering these factors, you can choose a projector that meets your specific needs and delivers an exceptional home theater experience. With the right projector in hand, you’re ready to move on to the next step: selecting the perfect location for your projector.
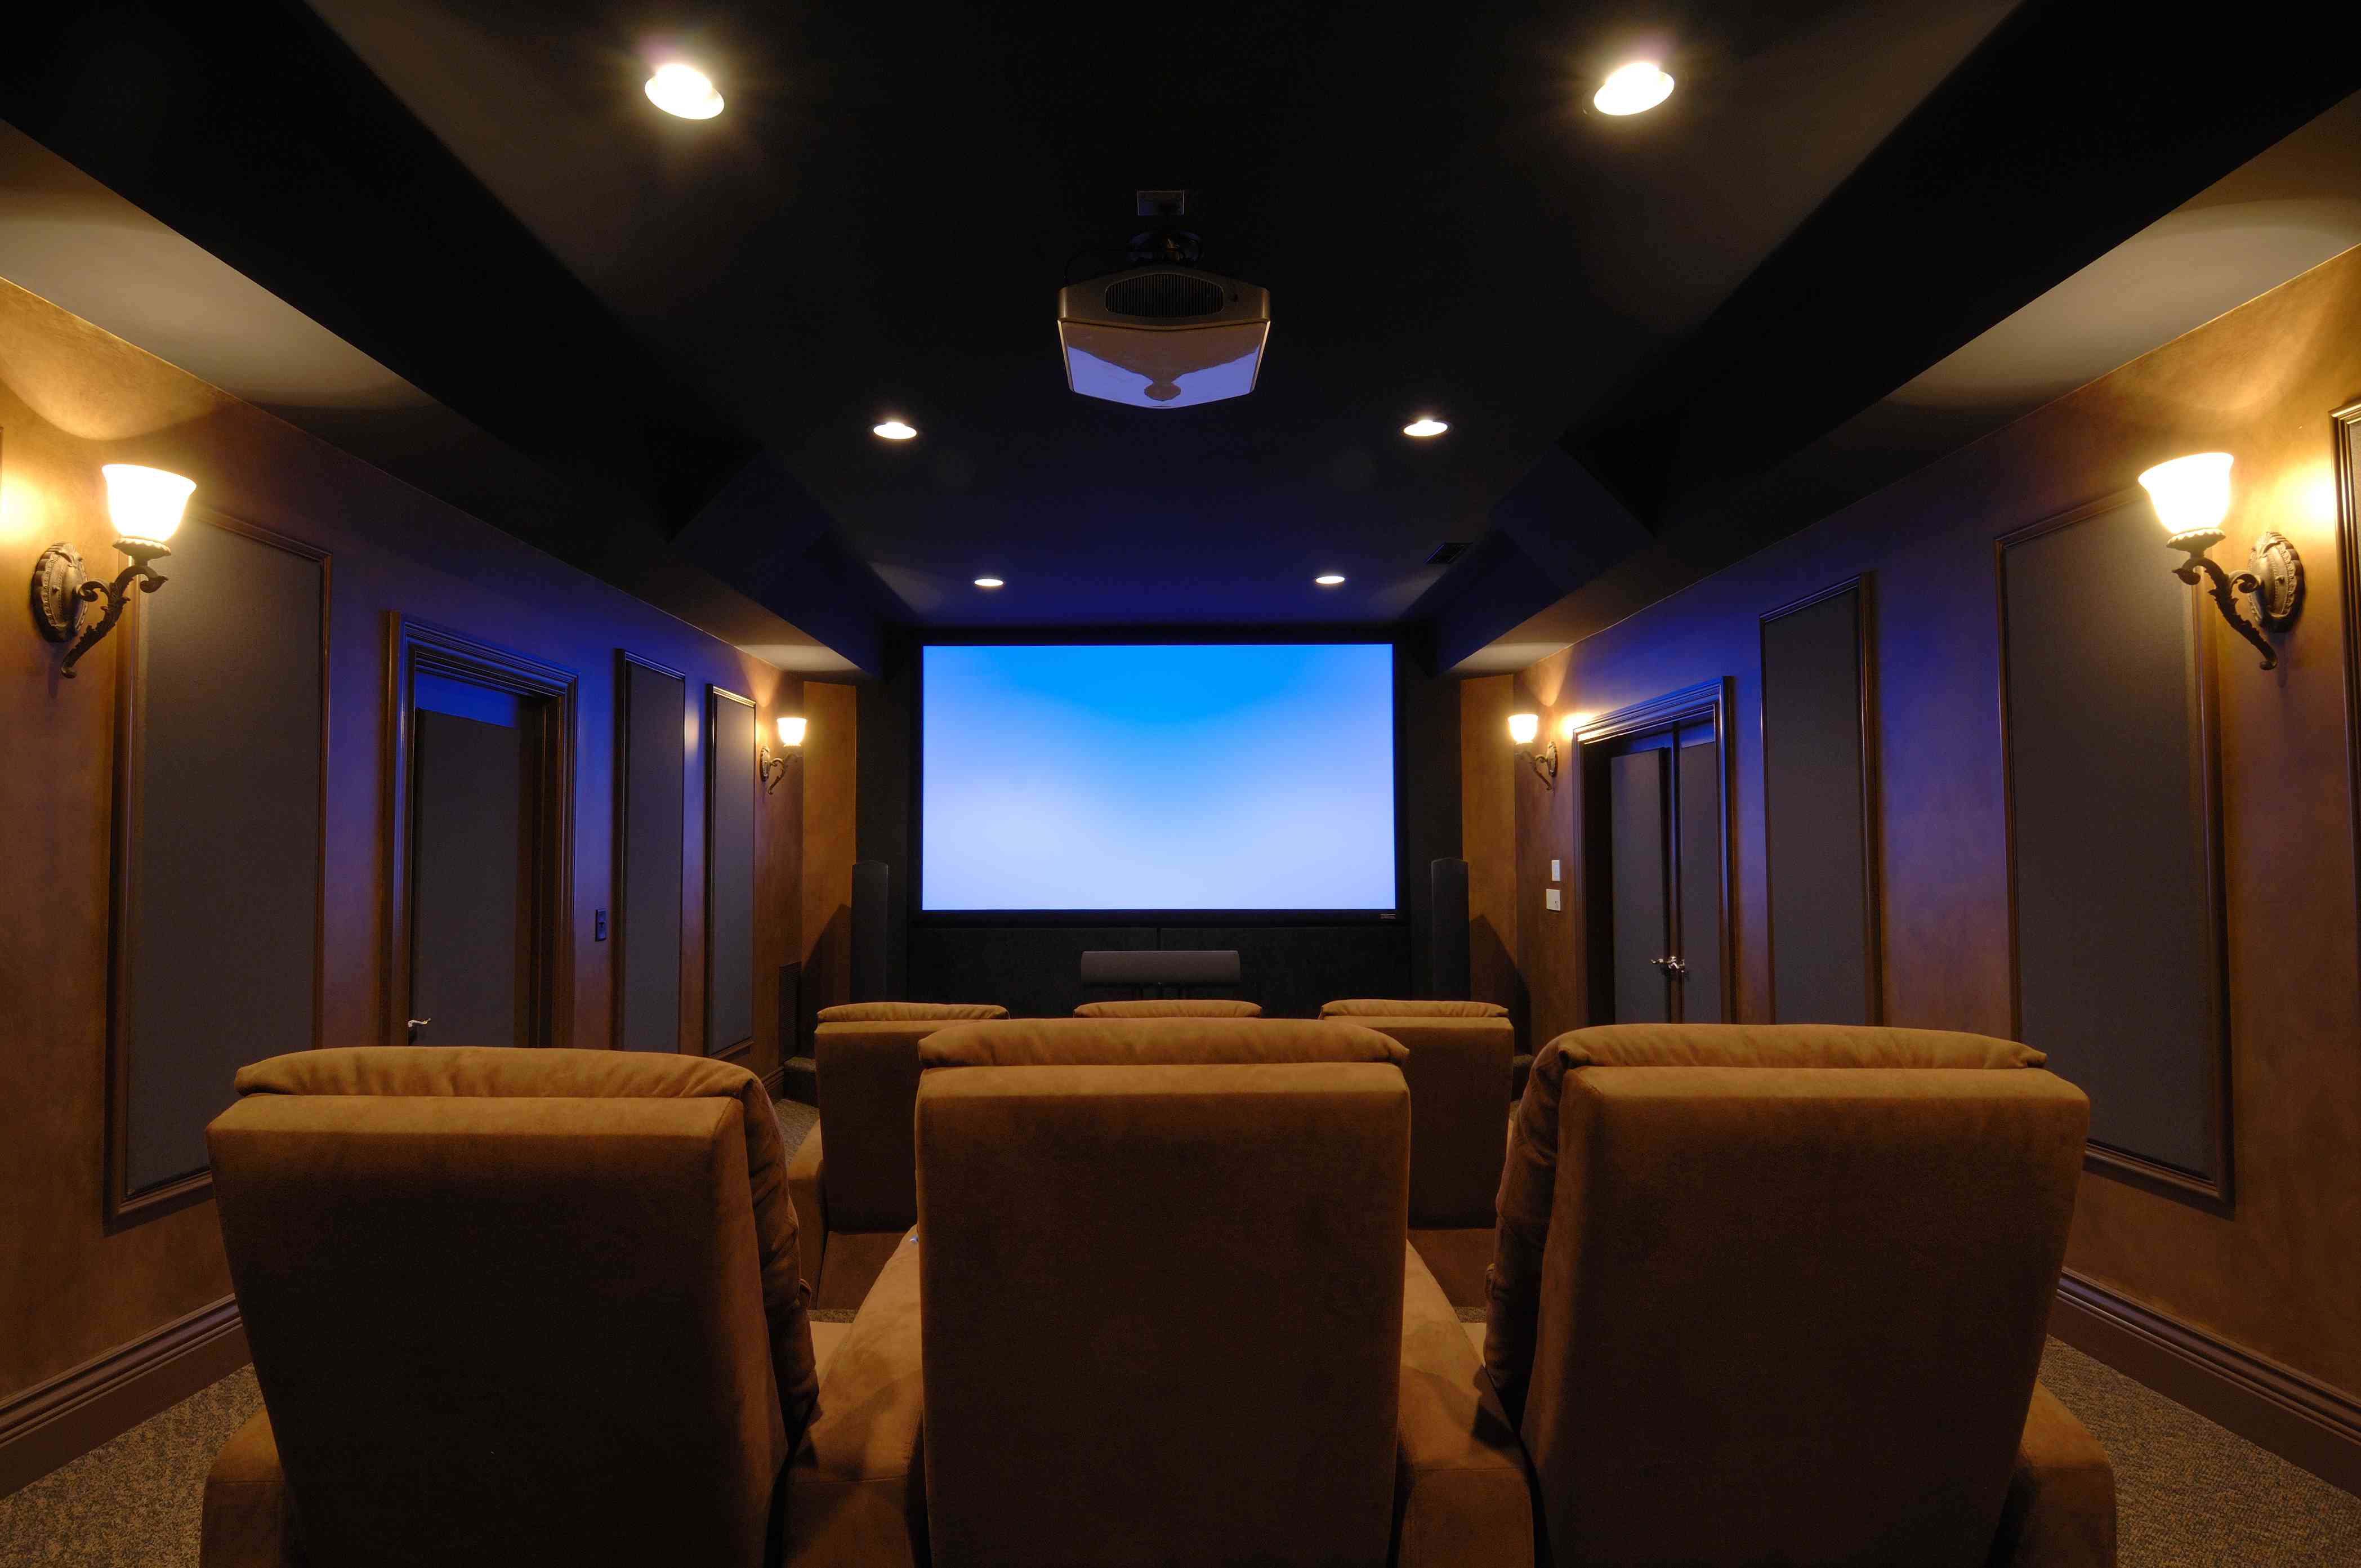
Selecting the Perfect Location
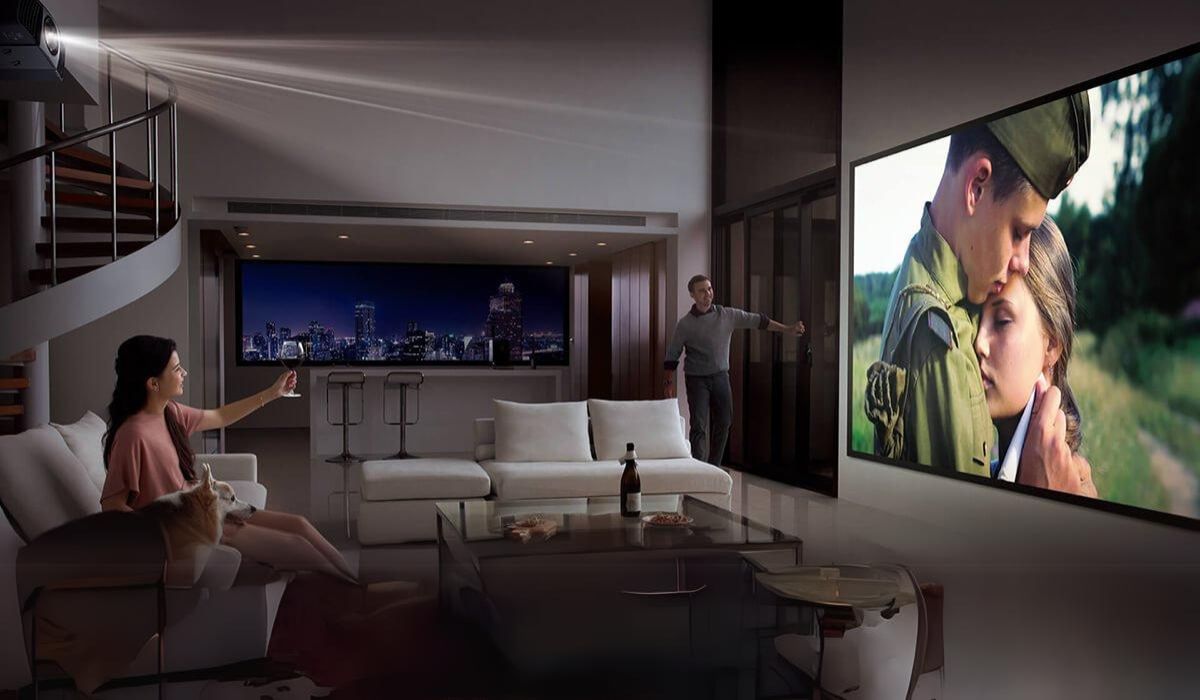
Once you have chosen the right projector, the next step in setting up your home theater is selecting the perfect location for it. The location you choose will affect the overall viewing experience, so it’s important to consider a few key factors.
The first consideration is the distance between the projector and the screen. This distance, known as the throw distance, determines the size of the image displayed on the screen. Measure the available space in your room and make sure to choose a projector with a throw distance range that fits your needs.
Additionally, consider the placement of other furniture and decor in the room. Ensure that there’s enough space to position the projector without obstructing the view or causing any inconvenience. It’s also a good idea to consider the position of power outlets and connectivity options to ensure easy access for connecting your audio and video sources.
Lighting conditions in the room are another crucial factor to take into account when selecting the location. Ideally, you want to set up the projector in a room with minimal ambient light. This will help preserve image quality and reduce any washed-out effect. If your room has windows or other light sources, consider using blackout curtains or blinds to block out any unwanted light.
Moreover, pay attention to the projection angle of the projector. Ensure that the angle can be adjusted easily, either by tilting the projector or by using adjustable mounts or stands. This will allow you to achieve a perfectly aligned and rectangular image on the screen without any distortion.
Lastly, consider the noise level of the projector. Some projectors can generate fan noise during operation, which can be distracting during quiet movie scenes. Look for projectors with quiet operation or consider positioning the projector farther away from the seating area to minimize any noise disturbances.
By taking these factors into consideration, you can select the perfect location for your projector, ensuring optimal viewing conditions and enhancing your overall home theater experience. Once you’ve determined the location, you’re ready to move on to the next step: setting up the screen.
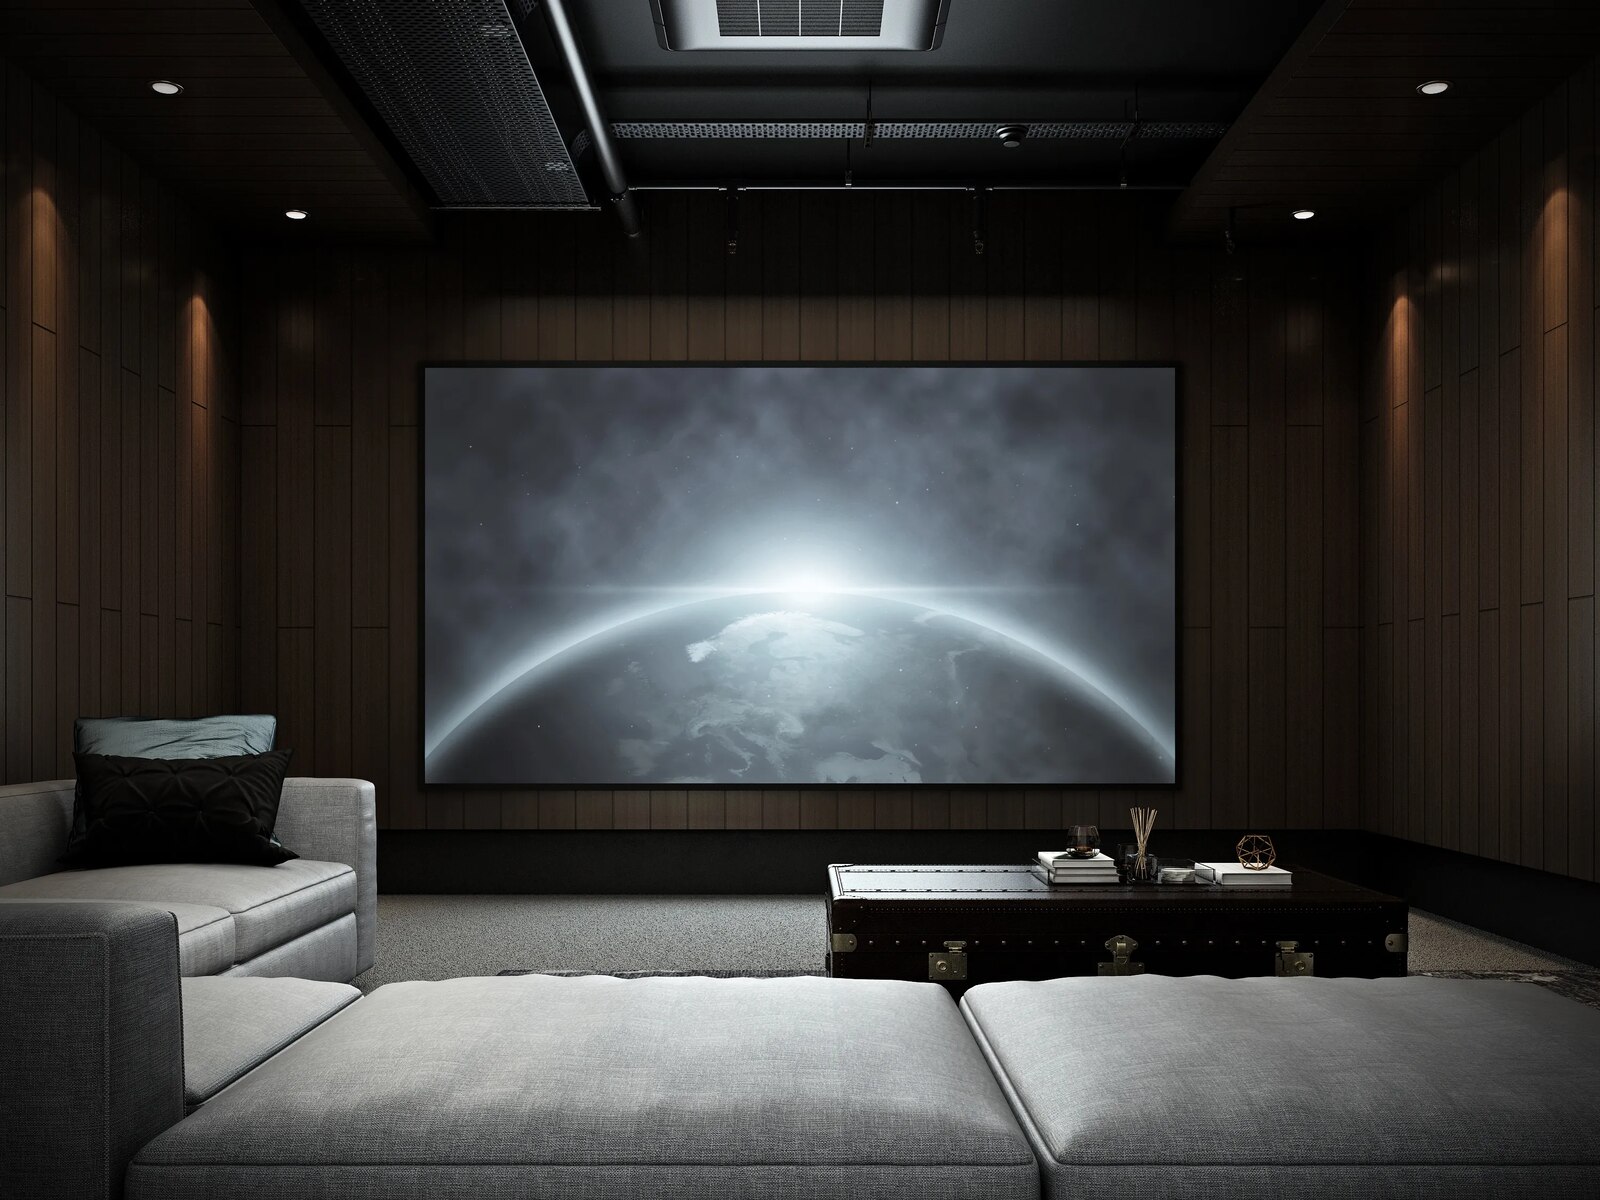
Setting up the Screen
After selecting the ideal location for your projector, the next step in setting up your home theater is to set up the screen. The screen is crucial for displaying the projected image in a clear and captivating manner. Here are the key steps to set up your screen:
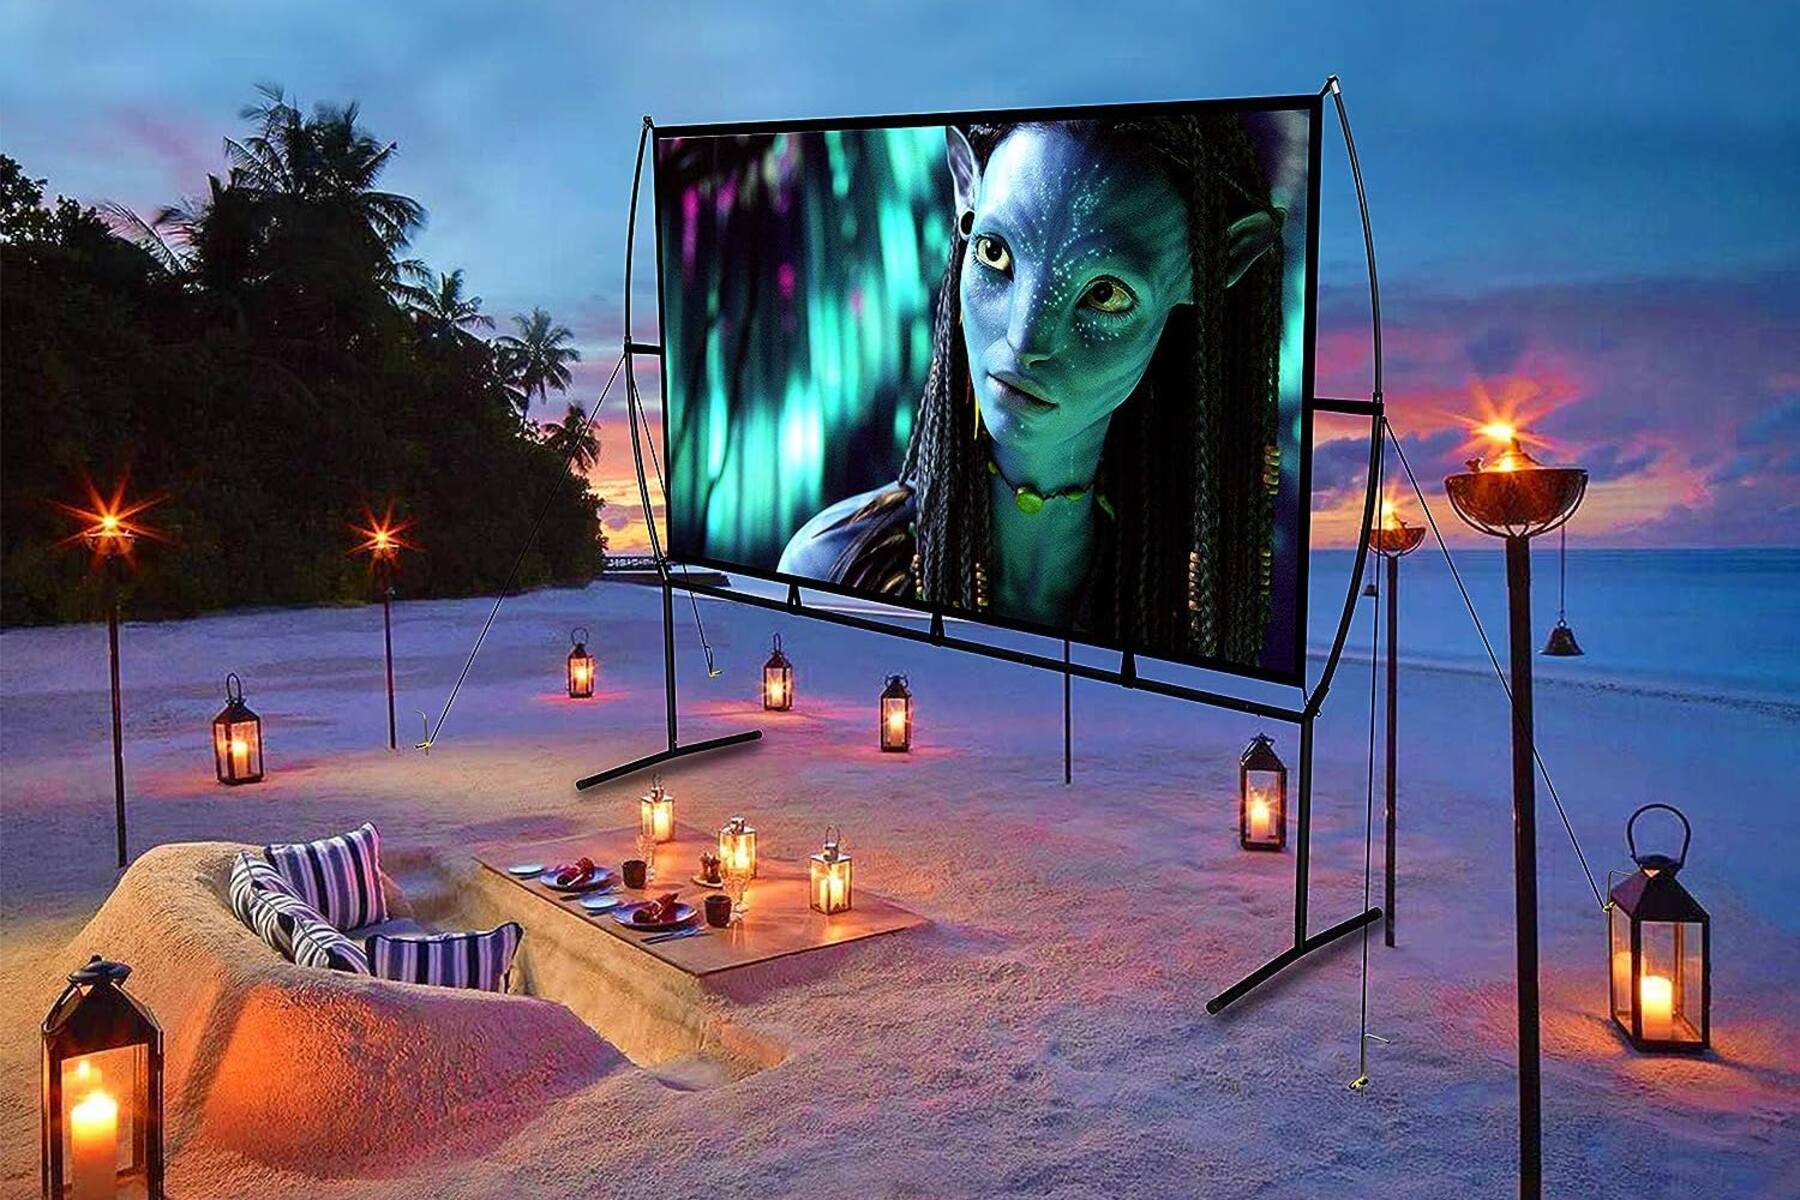
1. Determine the screen type: There are various types of screens available, including fixed-frame screens, motorized screens, and pull-down screens. Consider your space, budget, and personal preference when deciding on the screen type.
2. Measure the screen size: Measure the available space in your room and determine the desired screen size. Keep in mind the throw distance of your projector to ensure the screen fits well within the viewing area.
3. Install the screen: Follow the manufacturer’s instructions to install the screen securely. This may involve mounting brackets, hooks, or attaching the screen to a frame. Ensure that the screen is level and taut for optimal image quality.
4. Adjust the screen height: Position the screen at an appropriate height for comfortable viewing. The screen should be at eye level when seated in the viewing area. Consider using adjustable mounts or brackets to achieve the desired height.
5. Test the screen position: Project a test image onto the screen to ensure that it is positioned correctly. Make any necessary adjustments in screen placement or projector position to achieve a centered and rectangular image on the screen.
6. Consider screen material: Depending on your viewing preferences, you may choose a screen with different materials, such as matte white, grey, or high-gain. Each material has its own properties in terms of brightness, contrast, and viewing angle. Research and choose the one that suits your specific needs.
7. Adjust room lighting: Ensure that the room lighting is optimized for the best viewing experience. Dim or turn off any lights that may cause glare or wash out the image on the screen. Creating a darkened environment will enhance the contrast and clarity of the projected image.
By following these steps, you can set up the screen for your home theater projector, creating a dedicated space for immersive movie-watching. With the screen in place, you’re now ready to connect the audio system for a truly cinematic experience.
Connecting the Audio System
An essential component of any home theater setup is a high-quality audio system. Connecting the audio system to your projector will enhance the immersive experience and bring your movies to life. Here are the steps to connect your audio system:
1. Determine the audio setup: Consider the type of audio system you want to use. Options include soundbars, surround sound systems, or standalone speakers. Determine the number of speakers you need and their placement for optimal sound distribution.
2. Check the projector’s audio output: Ensure that your projector has an audio output, such as a headphone jack or an optical audio output. This will allow you to connect the audio system directly to the projector.
3. Connect the audio system to the projector: Use the appropriate cables to connect the audio output of the projector to the input of the audio system. This could be an HDMI cable, a 3.5mm audio cable, or an optical audio cable, depending on the available connections on your devices.
4. Test the audio setup: Play some audio or a movie with audio to test the sound output. Ensure that the audio is coming from the connected audio system and adjust the volume levels accordingly.
5. Adjust audio settings: Check the audio settings on both the projector and the audio system. Adjust the audio modes, equalizer settings, or any other audio enhancements based on your preferences for the best audio experience.
6. Consider wireless options: If you prefer a wire-free setup, consider using wireless audio systems or Bluetooth-enabled speakers. This allows you to connect and control the audio system without the need for physical cables.
7. Test surround sound: If you have a surround sound system, make sure that each speaker is functioning correctly and positioned correctly for optimal surround sound effect. Run a test to ensure all speakers are producing sound as expected.
By following these steps, you will successfully connect your audio system to your home theater projector, delivering an immersive and powerful sound experience. With the audio system set up, it’s time to connect your video sources and start enjoying your favorite movies and shows on the big screen.
Connecting Video Sources
To fully utilize your home theater projector, you’ll need to connect your video sources to enjoy movies, TV shows, and other multimedia content. Whether you’re using a Blu-ray player, gaming console, or streaming device, here’s how to connect your video sources to your projector:
1. Identify the video output of your source: Determine the video outputs available on your source device, such as HDMI, VGA, DVI, or component video. HDMI is the most common and recommended option for optimal image quality.
2. Check the projector’s video inputs: Identify the video inputs on your projector and ensure compatibility with the video outputs on your source device. The most common video input is HDMI, but projectors may also have VGA or composite inputs.
3. Choose the appropriate cable: Select the appropriate cable that matches the video outputs of your source device and the video inputs of your projector. For HDMI connections, use an HDMI cable for the best quality.
4. Connect the video source to the projector: Plug one end of the cable into the video output of your source device and the other end into the corresponding video input on your projector. Ensure a secure connection is made.
5. Power on the video source and projector: Turn on your video source device and the projector. Allow them to power up and establish a connection.
6. Select the video input on the projector: On the projector’s menu or using the remote control, select the appropriate video input that corresponds to the connected video source device.
7. Test the image and adjust settings: Play a video or display an image from your video source device and ensure the image is displayed correctly on the projector. Adjust the aspect ratio, resolution, and other settings on the projector, if needed, to optimize the image quality.
8. Repeat for additional video sources: If you have multiple video sources, repeat the steps for each device, connecting them to separate video inputs on the projector.
By following these steps, you can easily connect your video sources to your home theater projector, allowing you to enjoy a wide range of multimedia content on the big screen. Now that your video sources are connected, let’s move on to mounting the projector for the best viewing experience.
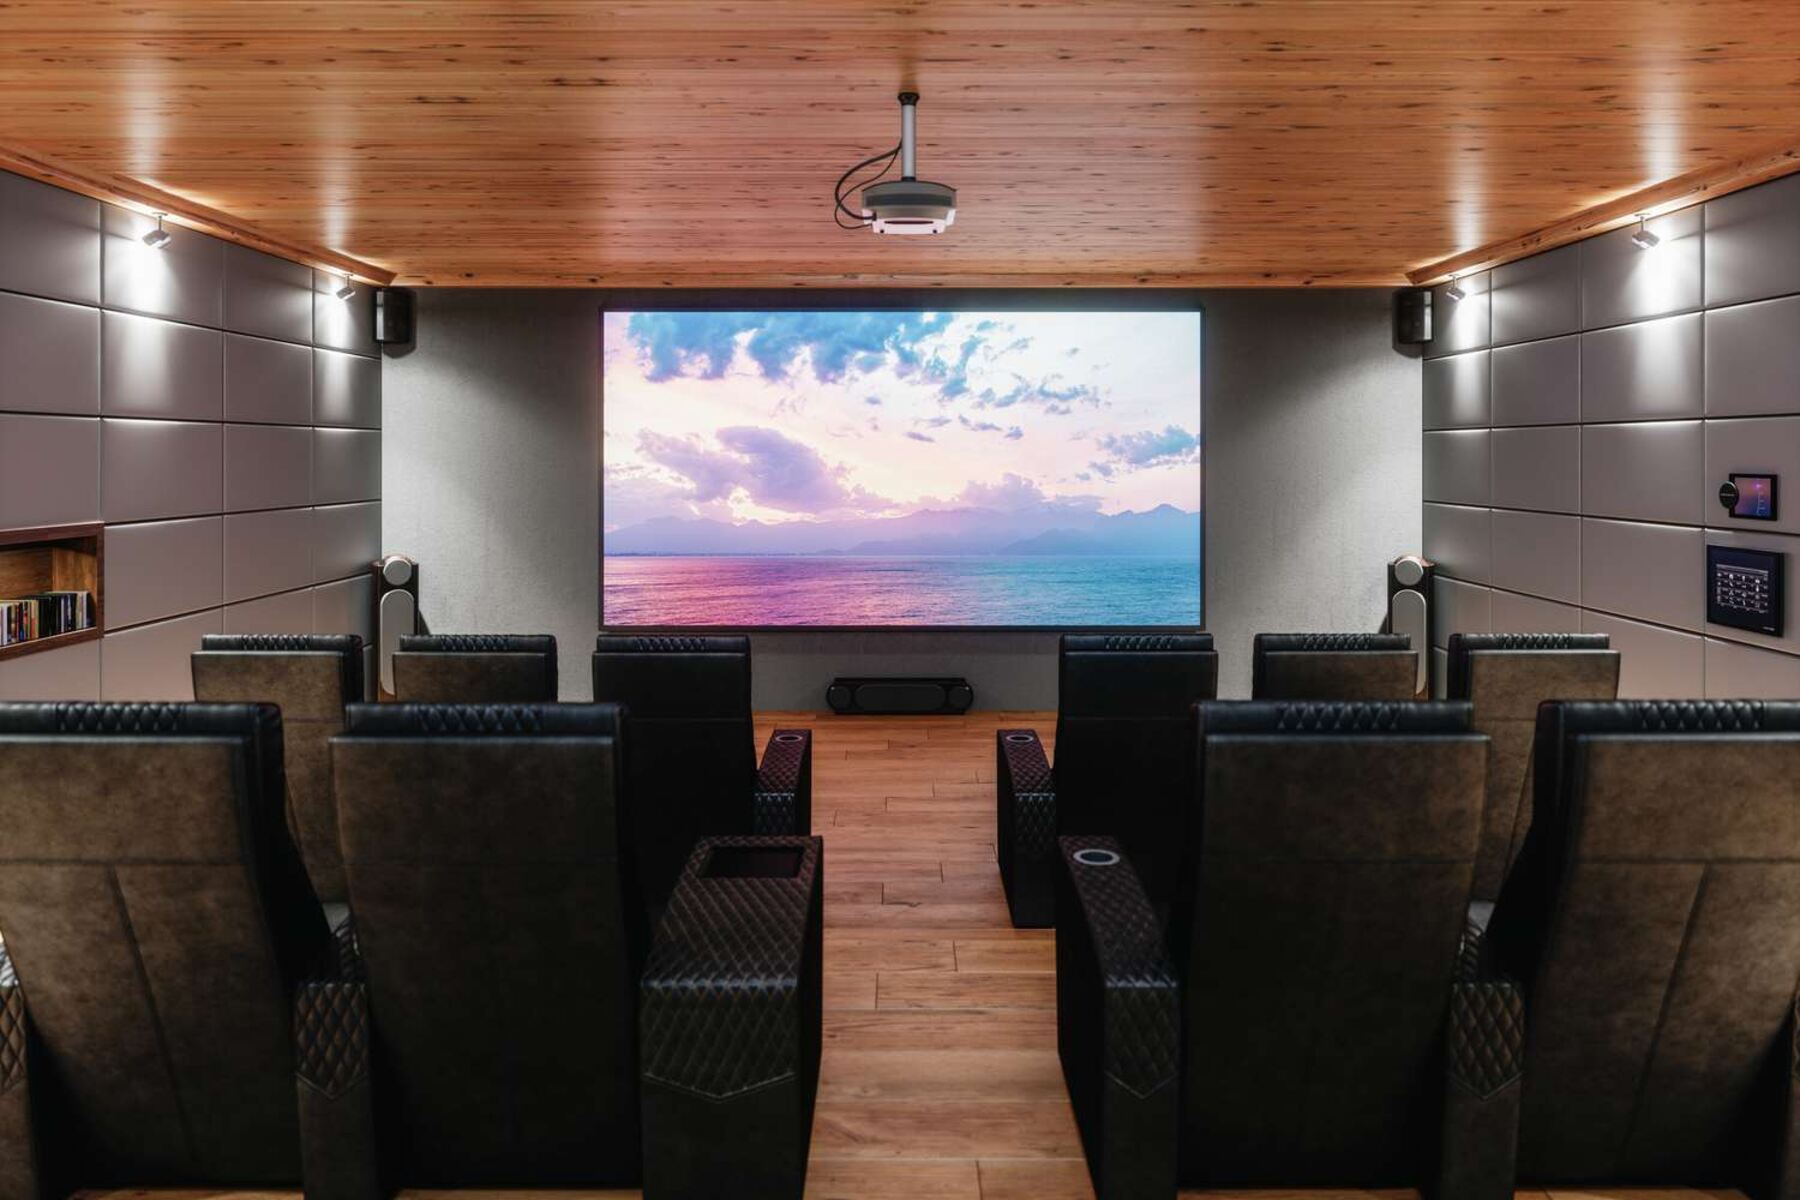
Mounting the Projector
To optimize the viewing experience and ensure a stable setup, mounting the projector is often the preferred option. Mounting the projector not only frees up valuable space but also allows for precise positioning and alignment. Follow these steps to successfully mount your projector:
1. Determine the mounting location: Choose a location that aligns with the previously selected optimal viewing position. It should provide a direct line-of-sight to the screen without any obstructions.
2. Verify the mounting compatibility: Check if your projector is compatible with a ceiling mount or wall mount. Refer to the manufacturer’s instructions or consult the user manual for specific mounting details.
3. Locate the mounting points: Identify the mounting points on the projector and the corresponding mounting bracket. These points usually consist of threaded holes, typically in a pattern called VESA mount, specified by the projector manufacturer.
4. Prepare the mounting surface: Ensure that the mounting surface, whether it’s the ceiling or wall, is sturdy enough to support the weight of the projector and the mount. Use a stud finder or other suitable tools to locate secure mounting points.
5. Install the mounting bracket: Follow the manufacturer’s instructions to install the mounting bracket securely on the ceiling or wall. Use appropriate screws and anchors that are designed for the type of surface you are mounting on.
6. Attach the projector to the mount: Safely attach the projector to the mounting bracket using the provided screws or any additional hardware specified by the manufacturer. Ensure that the projector is securely fastened to avoid any movement or vibrations.
7. Adjust the projector position and alignment: Use the adjustable arms or swivel mechanisms on the mount to position and align the projector to achieve a perfectly rectangular and centered image on the screen.
8. Secure the cables: Neatly route and secure the cables coming from the projector to avoid any tangling or interference. Consider using cable management solutions for a cleaner and organized setup.
9. Test the projection: Power on the projector and test the projection to ensure that it is displaying the image correctly on the screen. Make any necessary adjustments to the mount or projector position to achieve the desired image quality.
By following these steps, you can successfully mount your home theater projector, creating a professional and optimized setup. Mounting the projector not only enhances the visual experience but also keeps the projector safe, secure, and out of the way. Now that the projector is mounted, let’s move on to adjusting the image for the best viewing results.
Adjusting the Image
Once your projector is mounted and in position, it’s essential to adjust the image to achieve the best possible viewing experience. Properly adjusting the image will ensure optimal clarity, sharpness, and alignment. Follow these steps to adjust the image:
1. Adjust the projector distance: If the image appears distorted or skewed, adjust the projector’s distance from the screen. Move the projector closer or farther away as needed to achieve a properly proportioned image.
2. Keystone correction: Most projectors offer keystone correction, which allows you to correct any trapezoidal distortion caused by projecting at an angle. Use the projector’s keystone correction feature to adjust the image and make it rectangular and aligned with the screen.
3. Screen position and size: If necessary, adjust the screen position and size to match the projected image. You can move the screen up, down, or sideways until the image fits perfectly within the screen’s boundaries.
4. Image focus: Adjust the focus of the projected image to ensure sharpness and clarity. Use the projector’s focus ring until the image appears crisp and detailed.
5. Image alignment: If the edges of the image appear distorted or misaligned, use the projector’s horizontal and vertical lens shift or image shift controls to adjust the alignment. This will help achieve a perfectly aligned image on the screen.
6. Color and picture settings: Access the projector’s menu settings and navigate to the color and picture settings. Adjust the brightness, contrast, color temperature, and other picture settings to achieve the desired image quality and color reproduction.
7. Test different content: Play different types of content, such as movies, games, or photos, to ensure that the image settings are suitable for various sources. Make adjustments if necessary to optimize the image for different content types.
8. Fine-tuning: Make smaller adjustments as needed to perfect the image quality. Play around with the settings until you are satisfied with the overall image appearance.
By following these steps, you can effectively adjust the image of your home theater projector, ensuring a crisp, clear, and beautifully aligned display. Taking the time to fine-tune the image will significantly enhance your viewing experience. With the image properly adjusted, let’s move on to installing any necessary accessories to further enhance your home theater setup.
Installing the Necessary Accessories
In addition to the projector itself, there are a few accessories that can further enhance your home theater setup. These accessories can improve the audio quality, simplify connectivity, and provide additional convenience. Here are some essential accessories to consider:
1. Speaker system: Enhance the audio experience by adding a dedicated speaker system. This can include a soundbar, surround sound speakers, or a subwoofer to create a more immersive sound environment.
2. HDMI cables: Invest in high-quality HDMI cables to ensure a reliable and stable connection between the projector and your video sources. Look for cables that support the latest HDMI standards for optimal performance.
3. Streaming devices: Consider adding a streaming device, such as a Roku, Apple TV, or Amazon Fire Stick, to easily access a wide range of streaming services directly from your projector. This allows you to enjoy your favorite movies, TV shows, and more without the need for additional devices.
4. Universal remote: Simplify your home theater operation by using a universal remote control. This allows you to control multiple devices, including the projector, audio system, streaming device, and more, with a single remote.
5. Cable management solutions: Keep your cables organized and prevent tangling or tripping hazards by using cable management solutions. These can include cable ties, wire raceways, or even wall-mounted cable covers.
6. Power surge protector: Protect your equipment from power surges by using a power surge protector. This helps safeguard your projector, audio system, and other devices from potential damage caused by electrical fluctuations.
7. Media streaming services: Subscribe to popular media streaming services, like Netflix, Hulu, or Disney+, to access a vast library of movies, TV shows, and original content. Ensure your projector can connect to these services through a compatible streaming device.
By installing these necessary accessories, you can enhance the functionality, flexibility, and overall performance of your home theater setup. Each accessory serves a specific purpose in enriching your viewing experience. Take the time to select and install the accessories that best suit your needs and preferences.
Now that you’ve installed the necessary accessories, the final step is to calibrate the settings of your projector to ensure optimal performance, color accuracy, and overall picture quality.
Calibrating the Settings
To achieve the best possible picture quality and color accuracy on your home theater projector, it’s crucial to calibrate the settings according to your preferences and the characteristics of your viewing environment. Here are the steps to calibrate the settings:
1. Display mode: Select the appropriate display mode on the projector that suits your viewing environment. Common modes include Cinema, Game, Bright, and User. Each mode is optimized for specific content and lighting conditions.
2. Brightness and contrast: Adjust the brightness and contrast settings to achieve the desired level of brightness and dynamic range. Ensure that details in dark areas are visible without losing details in bright areas.
3. Color temperature: Set the color temperature to a level that matches your preference. Choose from preset options like Warm, Neutral, or Cool, or adjust the color temperature manually to achieve accurate color reproduction.
4. Color saturation and hue: Fine-tune the color saturation and hue settings to achieve vibrant and natural-looking colors. Adjust these settings incrementally to avoid oversaturation or unnatural color shifts.
5. Sharpness and clarity: Adjust the sharpness and clarity levels to achieve a crisp and detailed image. Be cautious not to over-sharpen, as it may introduce unwanted artifacts or noise.
6. Gamma correction: Adjust the gamma setting to control the brightness and contrast distribution in different shades of gray. This helps enhance shadow details and overall image depth.
7. Advanced settings: Explore additional advanced settings like noise reduction, motion smoothing, or frame interpolation. These settings can be adjusted based on personal preference and the content being displayed.
8. Test and fine-tune: Play various types of content, including movies, TV shows, and games, to evaluate the picture quality. Make incremental adjustments to the settings based on specific content requirements and your preferred visual experience.
9. Professional calibration: For precise and accurate calibration, you may consider professional calibration services. Professional calibrators use specialized equipment to adjust the settings to industry standards and optimize performance.
By calibrating the settings of your home theater projector, you can achieve the best possible picture quality, color accuracy, and overall viewing experience. Take the time to experiment with different settings and test various content to find the calibration that suits your preferences. With the settings calibrated, you’re now ready to sit back, relax, and enjoy your home theater experience to the fullest.
Final Tips and Recommendations
As you wrap up the setup of your home theater projector, here are some final tips and recommendations to enhance your overall experience and ensure smooth operation:
1. Regular maintenance: Keep your projector and its components clean and dust-free to maintain optimal performance. Regularly clean the lens, vents, and filters according to the manufacturer’s instructions.
2. Proper ventilation: Ensure adequate ventilation around the projector to prevent overheating. Avoid blocking ventilation ports or placing the projector in an enclosed space that restricts airflow.
3. Firmware updates: Check for firmware updates from the projector manufacturer periodically. Updating the firmware can help improve performance, add new features, and fix any bugs or issues.
4. Room lighting control: For the best viewing experience, create a dedicated viewing area with controlled lighting. Use curtains, blinds, or dimmer switches to minimize ambient light, creating a darker environment that enhances contrast and color accuracy.
5. Remote control accessibility: Keep the projector’s remote control easily accessible and ensure it has fresh batteries. Consider using a universal remote if you have multiple devices to simplify operation.
6. Cable management: Invest in cable management solutions to keep your setup tidy and prevent cable tangling. Use cable ties, adhesive clips, or cable conduits to organize and secure the cables neatly.
7. Regular calibration: Periodically recalibrate the settings of your projector to account for changes in the viewing environment or personal preferences. This ensures that you continue to enjoy an optimized viewing experience.
8. Screen cleaning: Clean your projection screen regularly to maintain picture quality. Use a soft, lint-free cloth or a screen cleaning solution specifically designed for projector screens.
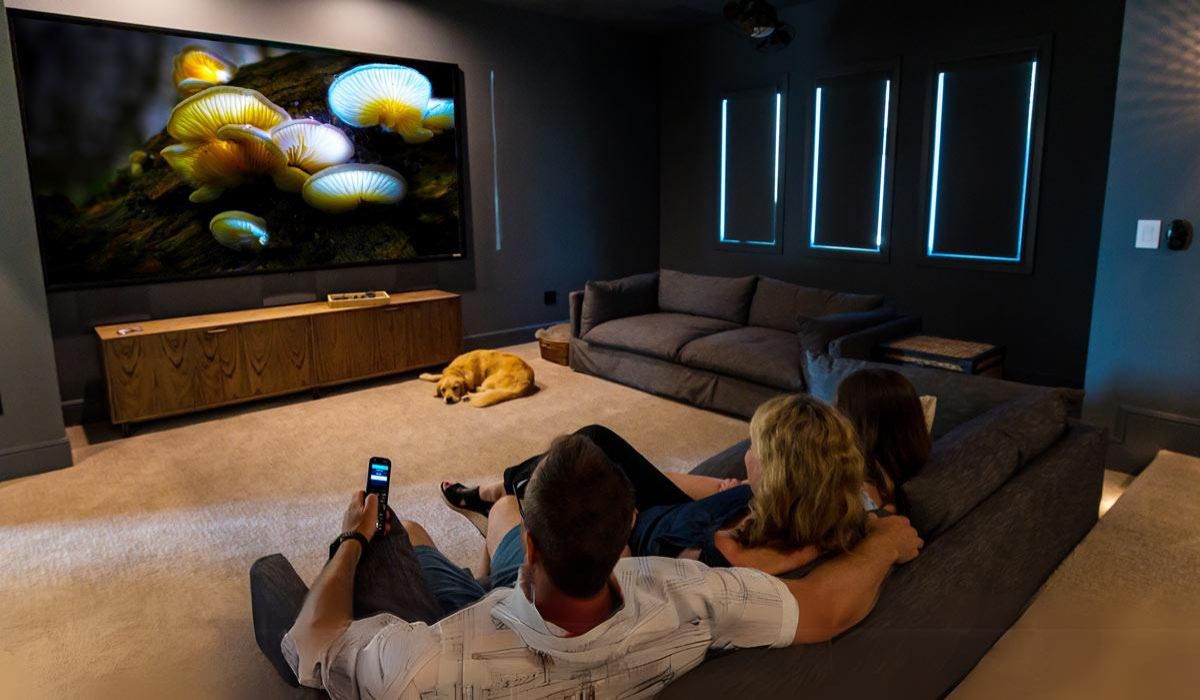
9. Powering off: Always power off the projector and any connected devices properly. Avoid abruptly cutting the power as it may cause damage or affect the lamp life of the projector.
10. Enjoy the experience: Lastly, sit back, relax, and truly immerse yourself in the cinematic experience your home theater projector provides. Enjoy your favorite movies, TV shows, and games with friends and family in the comfort of your own home.
By following these tips and recommendations, you can ensure a seamless and enjoyable home theater experience with your projector. Remember to take care of your equipment and make any necessary adjustments to further enhance your viewing pleasure. Now, it’s time to bring your home theater to life and enjoy countless hours of entertainment.
Conclusion
Setting up a home theater projector allows you to create a captivating and immersive cinematic experience in the comfort of your own home. By carefully selecting the right projector, choosing the perfect location, setting up the screen, connecting the audio system and video sources, mounting the projector, adjusting the image, installing necessary accessories, calibrating the settings, and following the final tips and recommendations, you can create a remarkable home theater setup.
Remember to consider factors like resolution, brightness, throw distance, and connectivity options when choosing a projector. Select a suitable location that provides an unobstructed view and optimal lighting conditions. Install the screen properly, ensuring it is level and taut for a seamless display. Connecting the audio system and video sources enhances the overall viewing experience and expands your entertainment options.
Mounting the projector frees up valuable space and allows for precise positioning and alignment to achieve the best possible image quality. Adjusting the image, calibrating the settings, and installing necessary accessories further enhance the visuals and audio immersion. Regular maintenance, firmware updates, and proper ventilation contribute to the longevity and performance of your home theater projector.
By following these steps and implementing these tips and recommendations, you can create a home theater experience that rivals the cinema. So, gather your friends and loved ones, grab some popcorn, and get ready for an unforgettable movie night in the comfort of your own home. Enjoy the magic of the big screen and immerse yourself in the world of entertainment with your home theater projector.