Introduction
Introduction
Welcome to the ultimate guide on how to hook up a home theater projector to your cable network. If you're ready to transform your living room into a cinematic experience, you've come to the right place. In this comprehensive tutorial, we'll walk you through the process of selecting the perfect projector, setting it up, connecting it to your cable network, adjusting the settings, and testing the setup to ensure everything works seamlessly.
Whether you're a movie buff, a sports enthusiast, or a gaming aficionado, having a home theater projector connected to your cable network can elevate your entertainment experience to new heights. Imagine enjoying your favorite movies, TV shows, or sports events on a large, high-definition screen from the comfort of your own home. With the right projector and a seamless connection to your cable network, you can bring the magic of the big screen directly to your living room.
Throughout this guide, we'll provide you with practical tips, step-by-step instructions, and expert advice to help you navigate the process with confidence. By the end of this tutorial, you'll be ready to sit back, relax, and immerse yourself in a captivating visual experience that rivals the excitement of a traditional movie theater.
So, grab your popcorn, dim the lights, and get ready to embark on a journey to enhance your home entertainment setup. Let's dive into the world of home theater projectors and cable network connections, and turn your living room into a captivating cinematic oasis.
Choosing the Right Projector
When it comes to creating an immersive home theater experience, selecting the right projector is paramount. With a myriad of options available in the market, it’s essential to consider several factors to ensure that you choose a projector that meets your specific needs and delivers exceptional performance.
First and foremost, consider the environment in which the projector will be used. Assess the lighting conditions of the room where you plan to set up your home theater. If the room has ample natural light or ambient lighting, opt for a projector with higher brightness levels to ensure clear and vibrant visuals even in well-lit environments. On the other hand, if you have the flexibility to control the ambient light, a projector with moderate brightness may suffice.
Resolution is another crucial aspect to deliberate. For a truly cinematic experience, consider a projector with at least 1080p resolution, which offers sharp and detailed imagery. If you’re a discerning enthusiast who craves the pinnacle of visual fidelity, a 4K projector can elevate your viewing experience with stunning clarity and lifelike detail.
Furthermore, assess the throw distance and screen size compatibility of the projector. Measure the distance from the projector placement to the screen and ensure that the projector’s throw ratio aligns with your desired screen size. This will help you determine the ideal placement for the projector to achieve the screen size you desire without compromising image quality.
Connectivity options are also a critical consideration. Ensure that the projector provides the necessary ports to connect to your cable network, streaming devices, gaming consoles, and other media sources. Additionally, built-in Wi-Fi or Bluetooth capabilities can offer convenient wireless connectivity, enhancing the versatility of the projector.
Lastly, take into account the projector’s lamp life and maintenance requirements. Opt for a projector with a long lamp life to minimize the frequency of bulb replacements, reducing long-term maintenance costs and ensuring prolonged enjoyment of your home theater setup.
By carefully evaluating these factors and aligning them with your preferences and viewing environment, you can make an informed decision when selecting the perfect projector for your home theater. With the right projector in place, you’re one step closer to creating an awe-inspiring cinematic experience within the comfort of your own home.
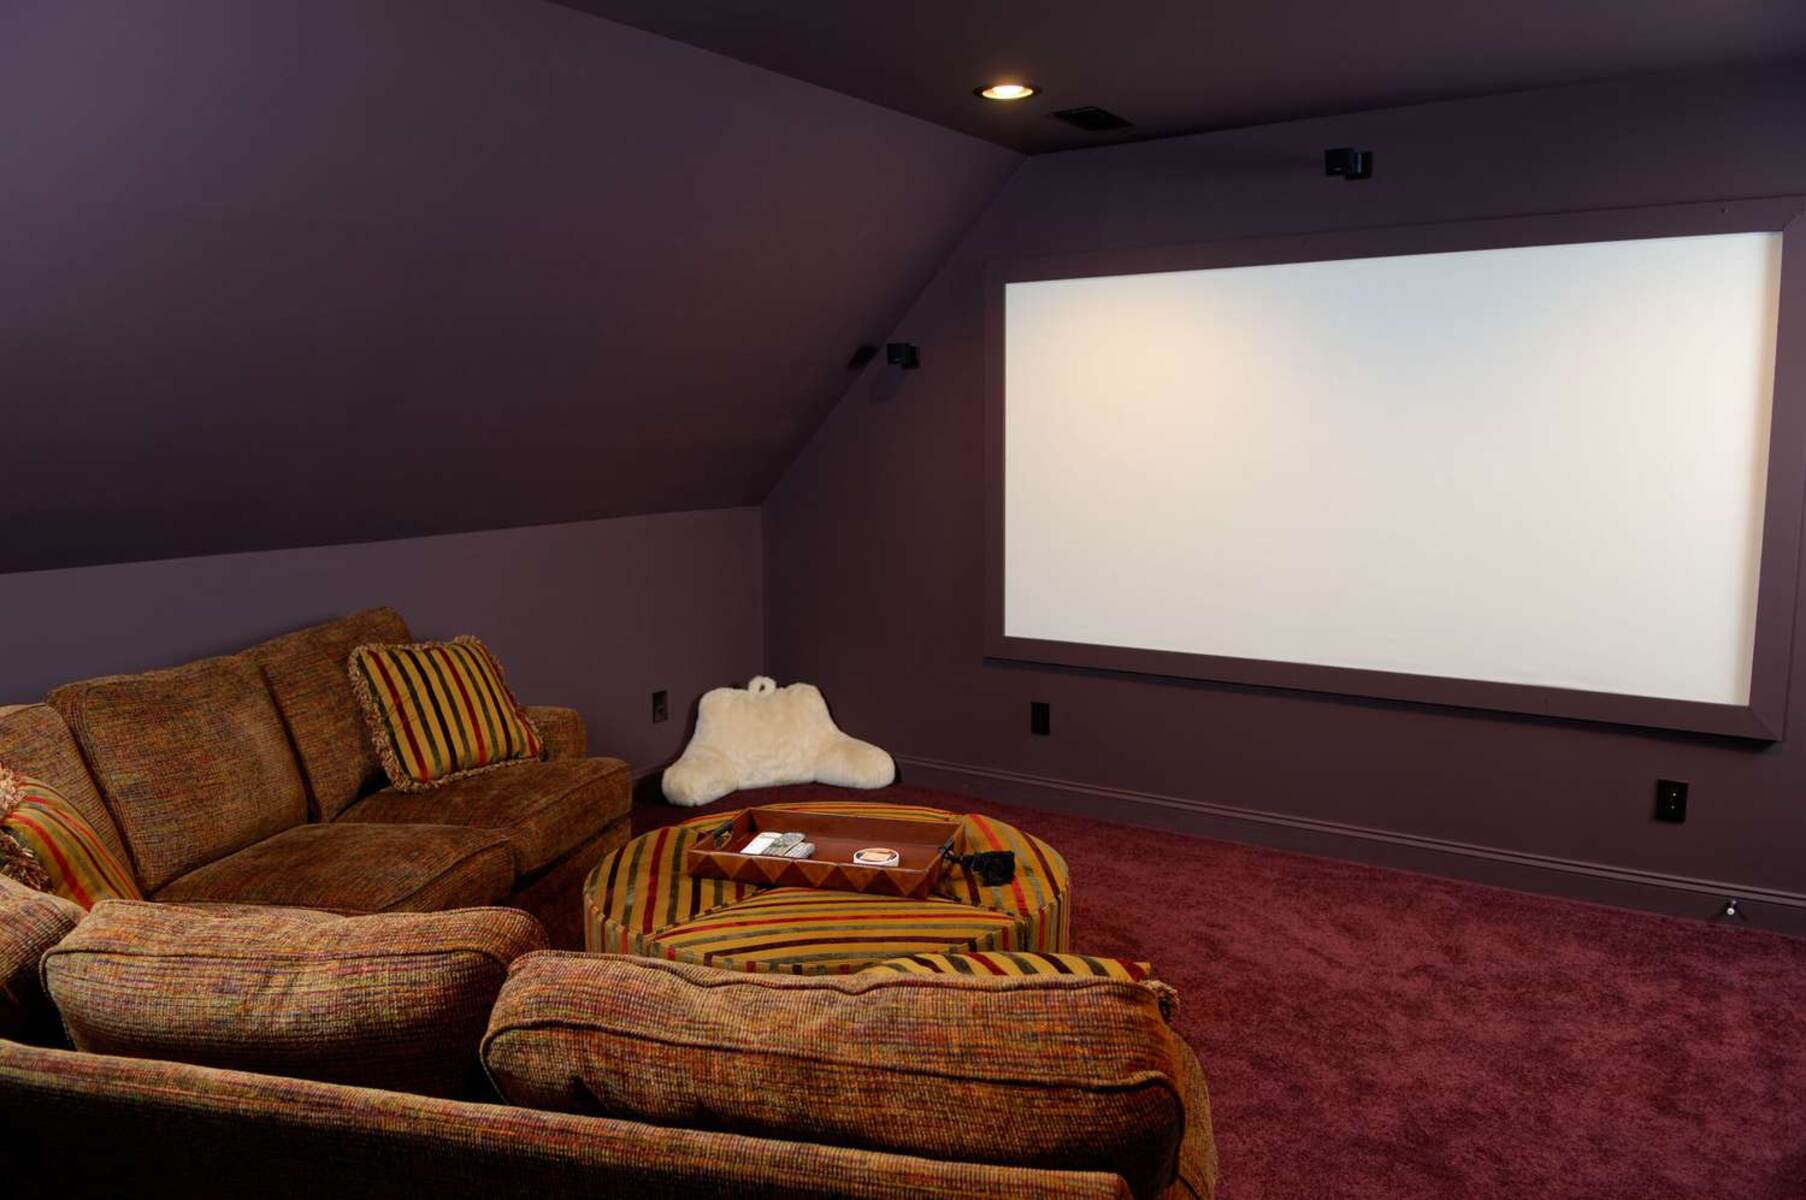
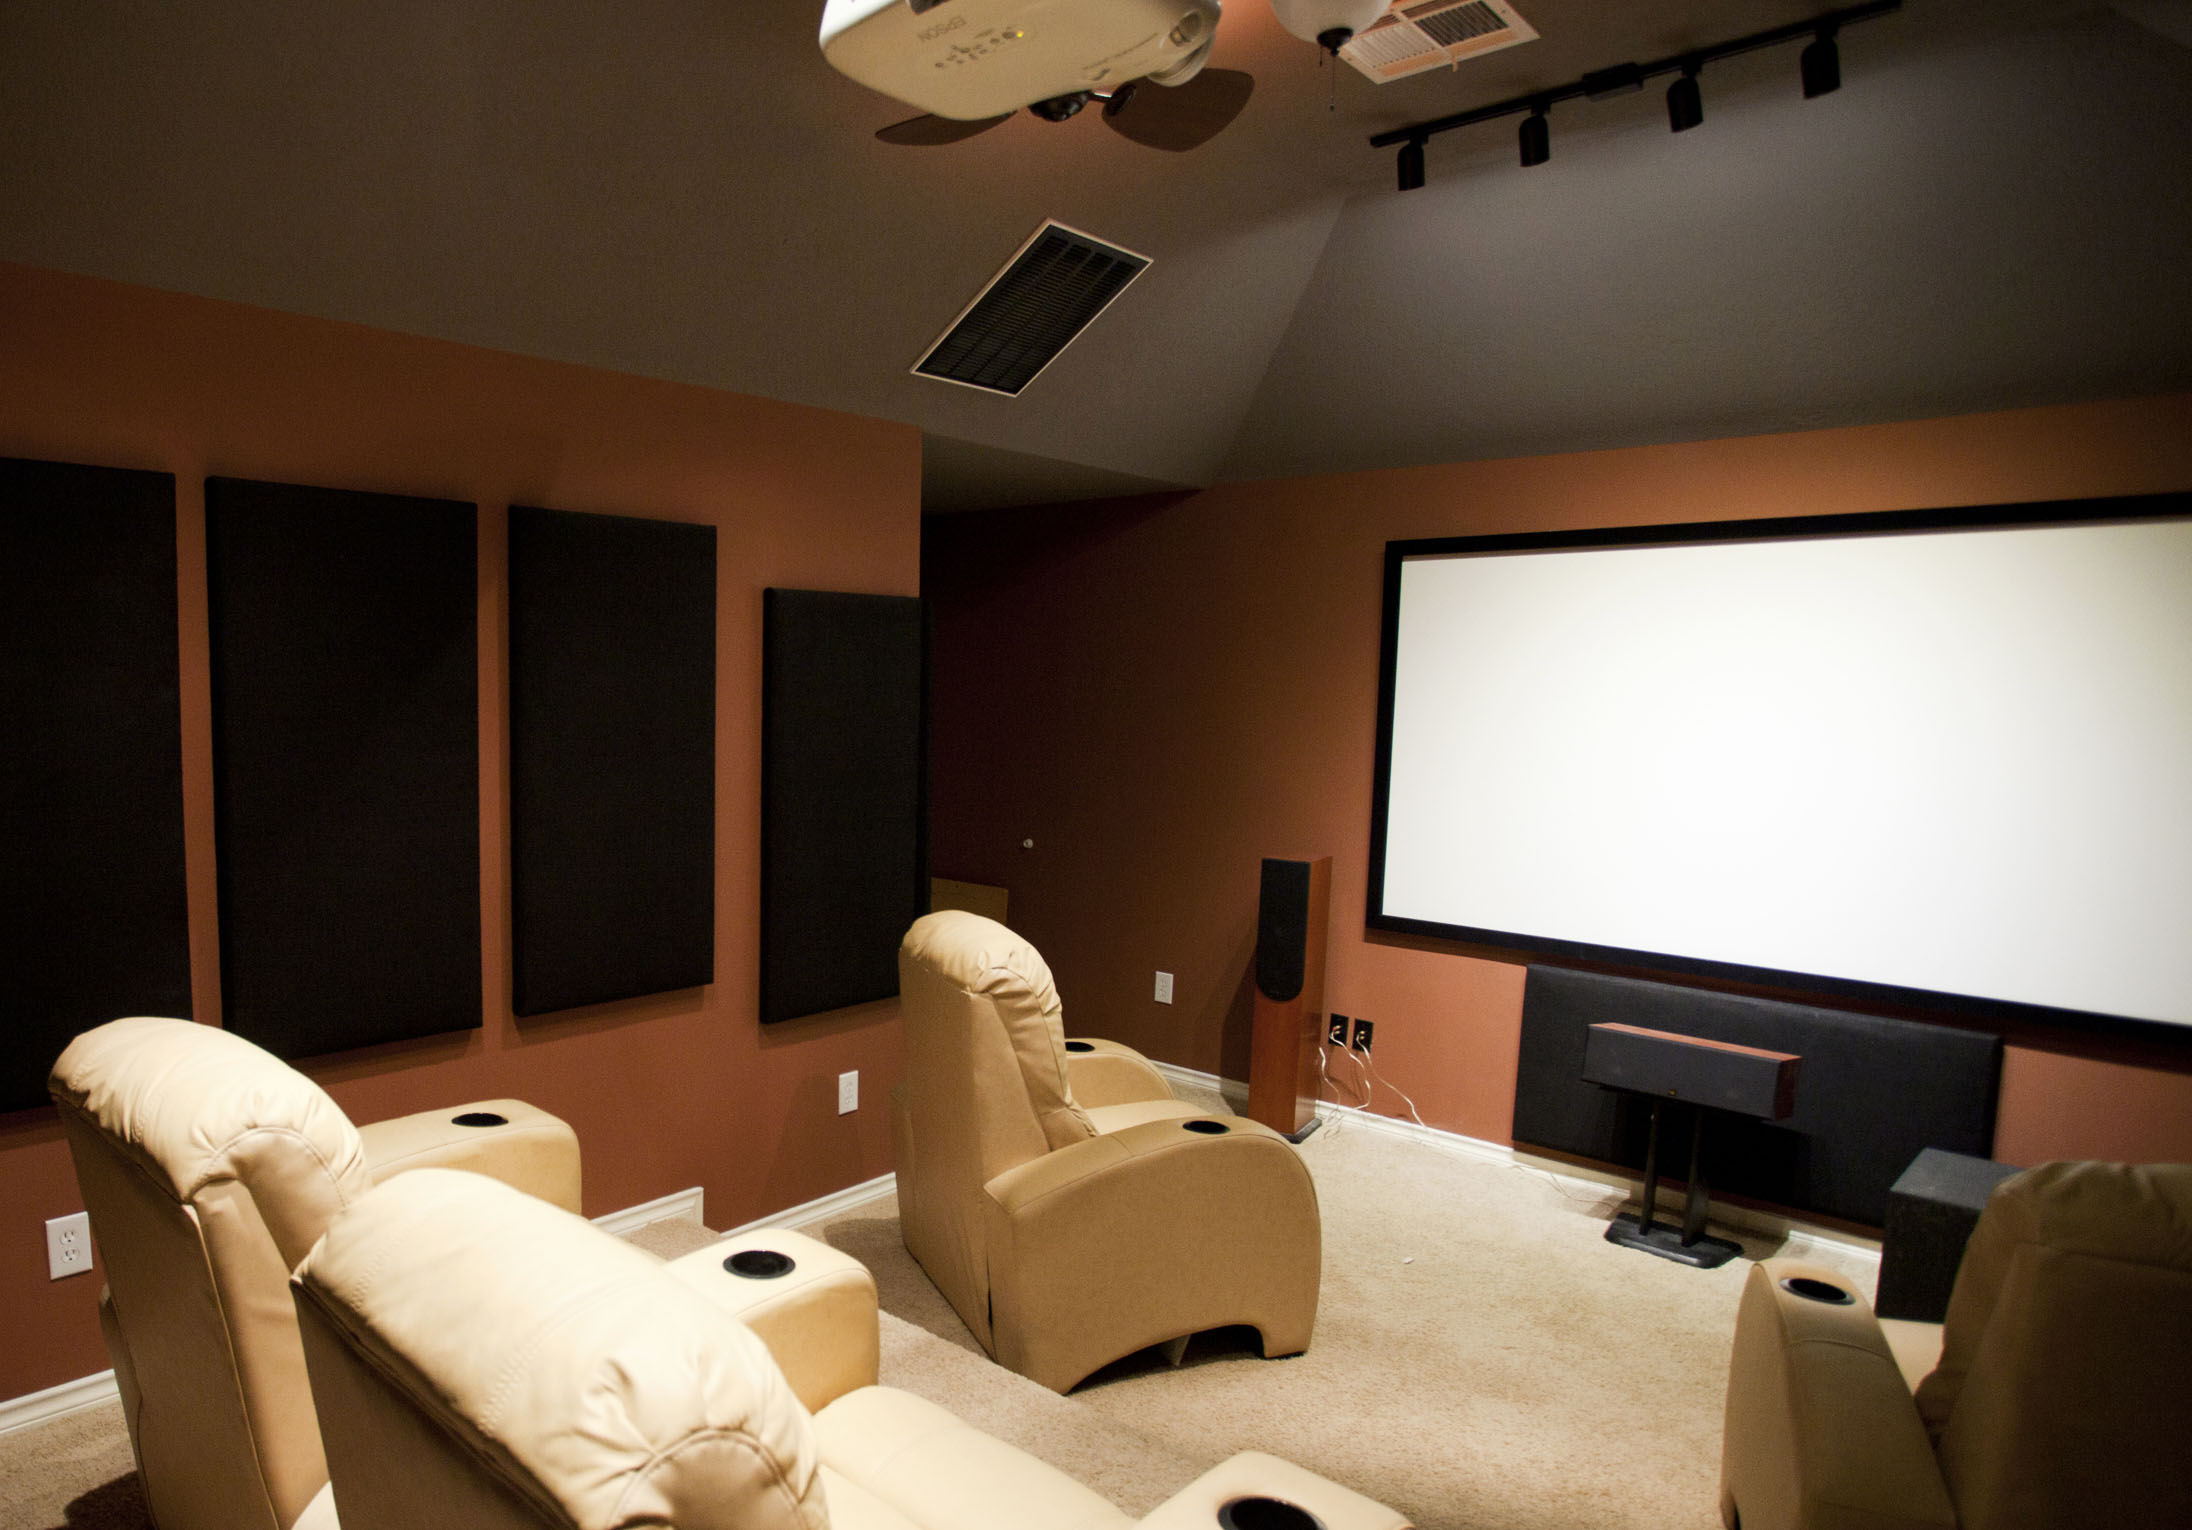
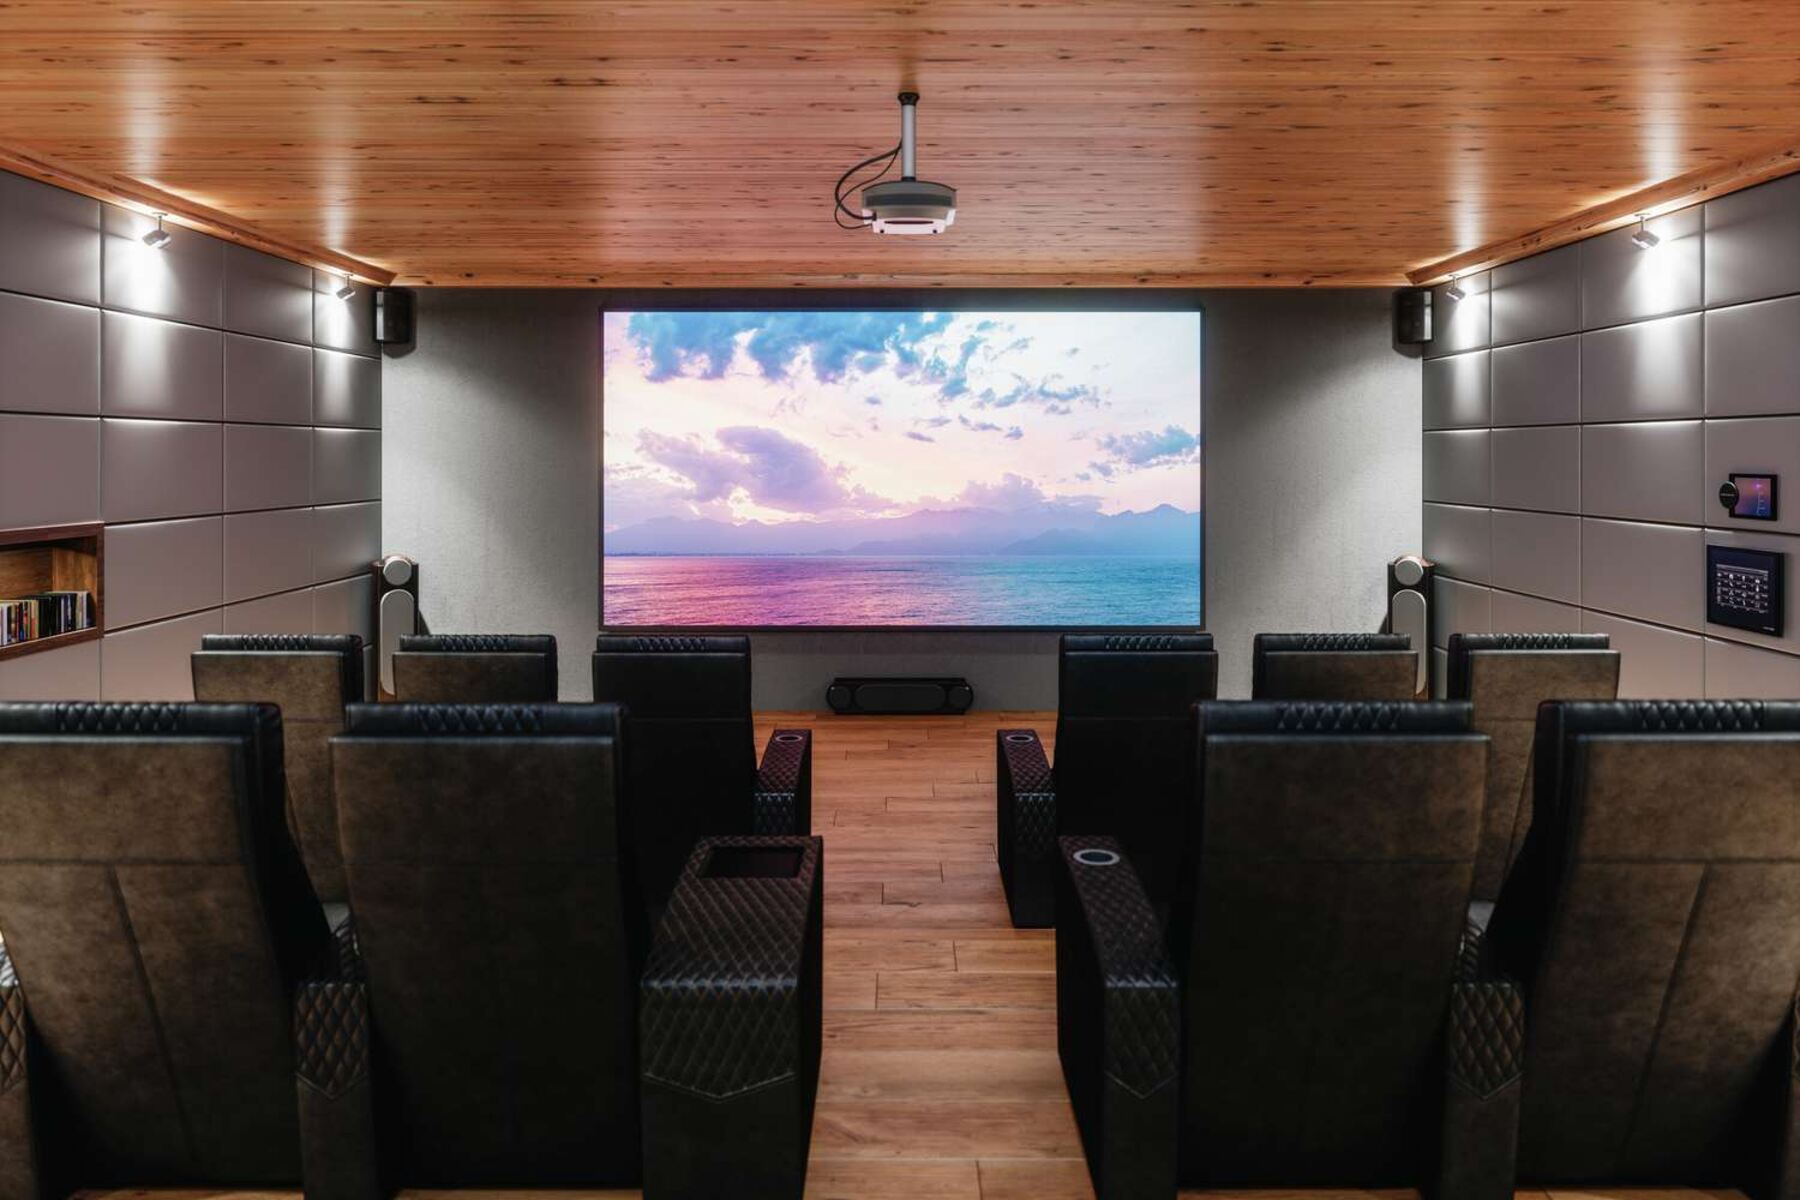
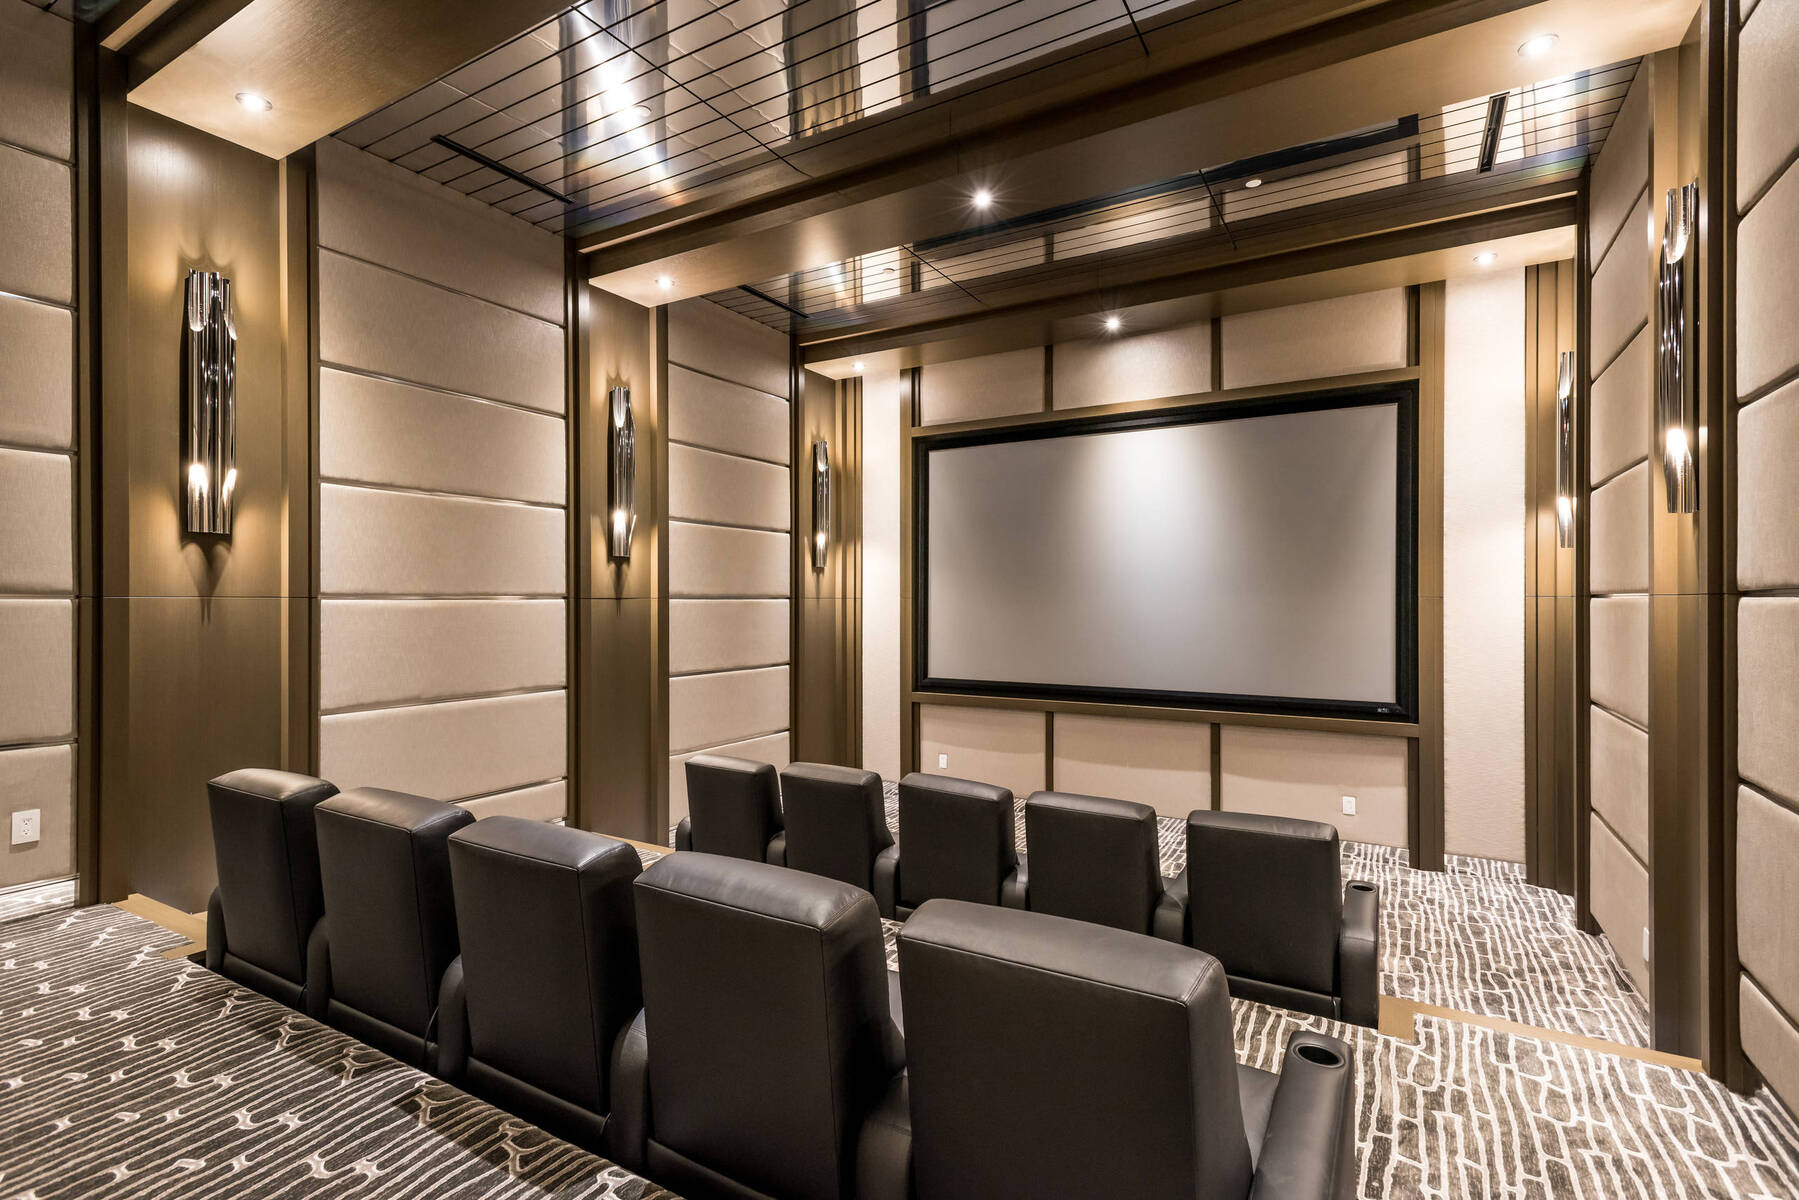
Setting Up the Projector
Now that you’ve chosen the ideal projector for your home theater, it’s time to embark on the exciting process of setting it up. Proper installation and placement of the projector are essential to ensure optimal performance and an immersive viewing experience. Follow these step-by-step guidelines to set up your projector with precision and finesse.
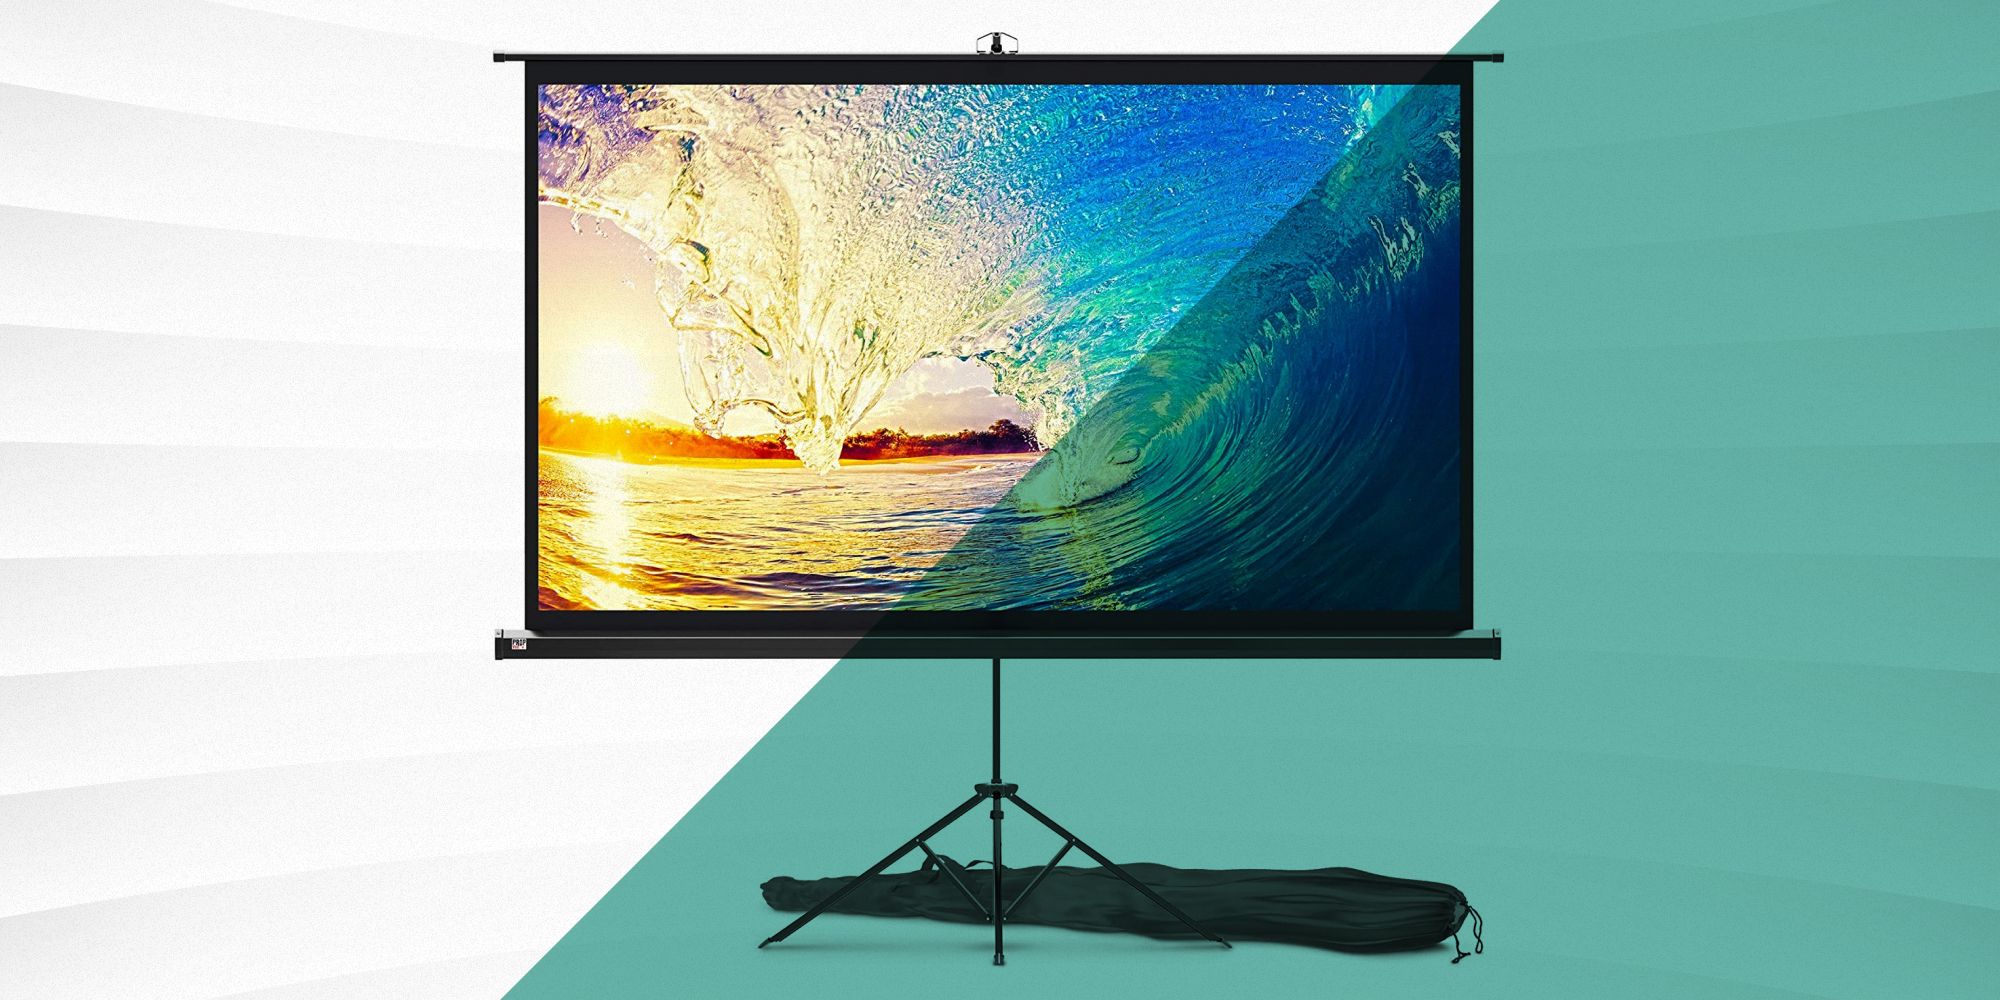
1. Selecting the Projection Surface: Determine the location for projecting the visuals. A smooth, flat surface such as a projector screen or a blank wall painted with specialized projector paint is ideal for displaying crisp and vibrant images.
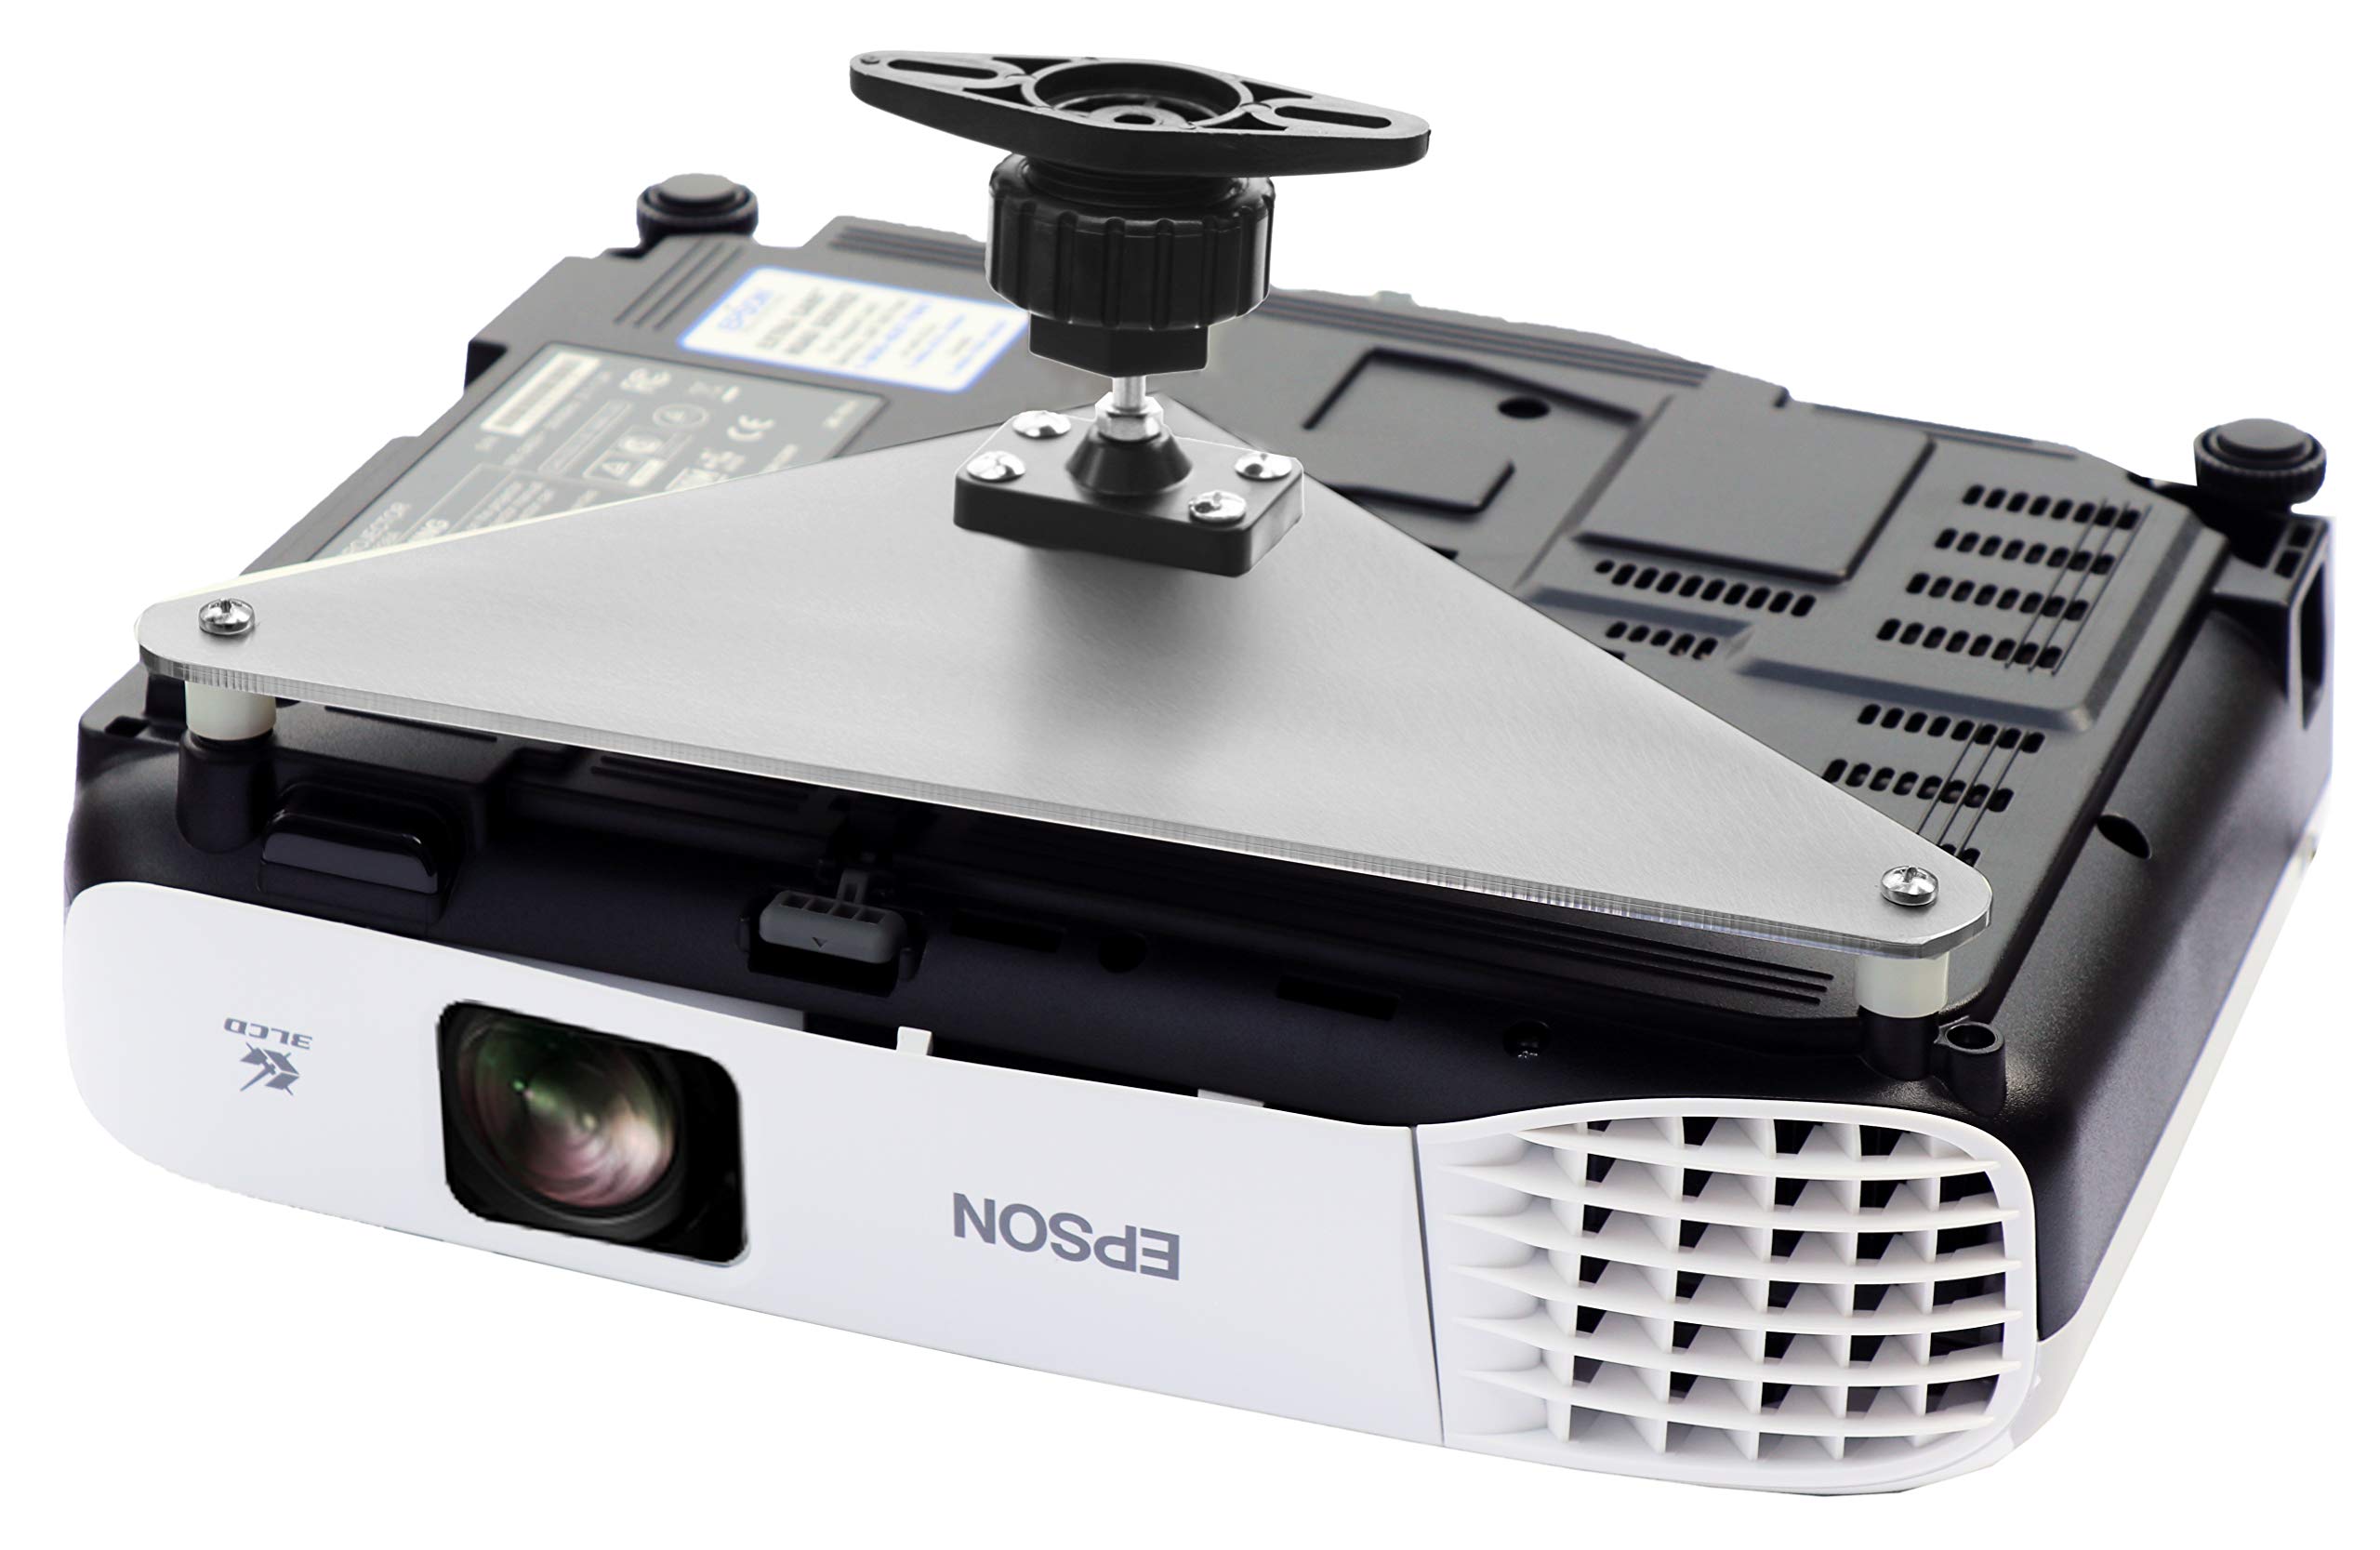
2. Mounting or Placement: Depending on your preference and the projector model, you can choose to mount the projector on the ceiling for a streamlined look or place it on a stable surface. Ensure that the projector is positioned at an appropriate height and distance from the projection surface to achieve the desired screen size and aspect ratio.
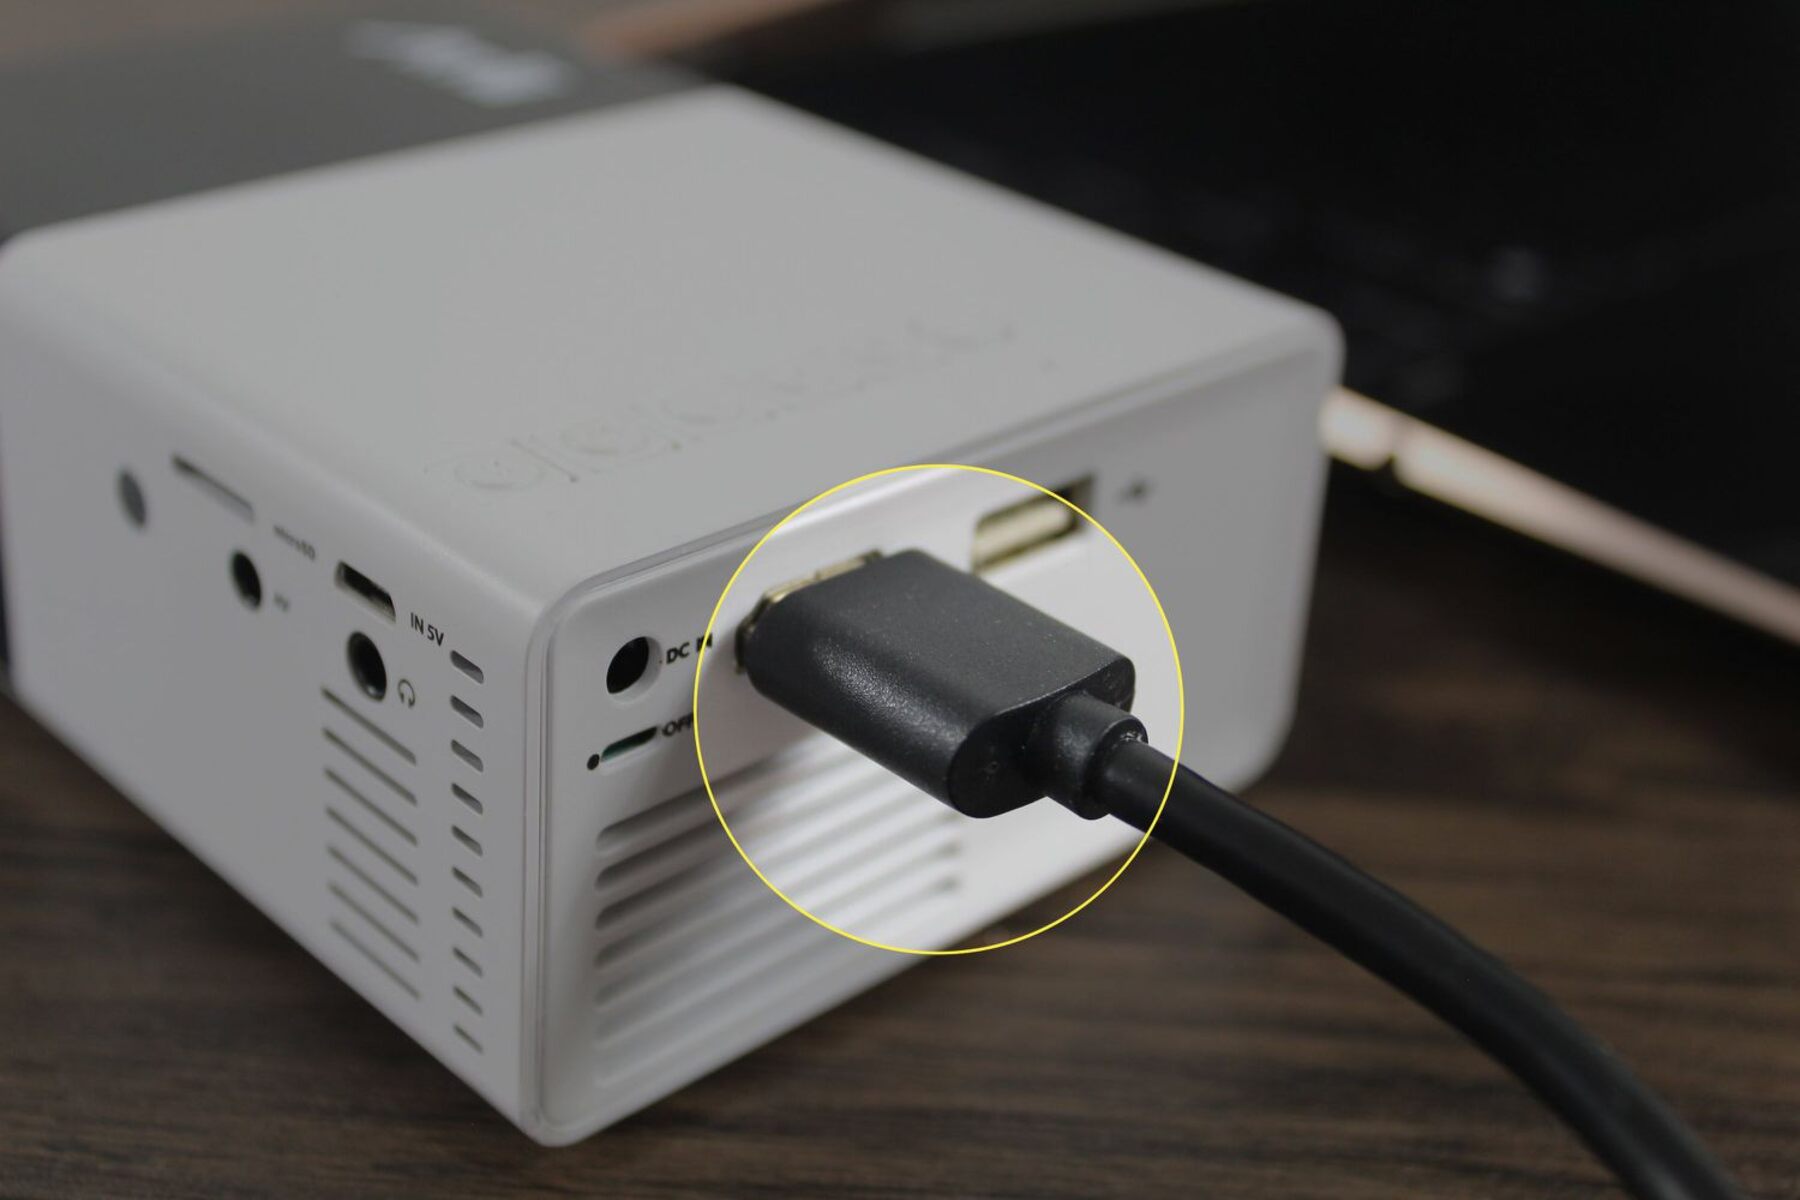
3. Connectivity: Connect the projector to a power source and ensure that all necessary cables, including HDMI, VGA, or other video inputs, are securely connected to the appropriate ports on the projector. If the projector supports wireless connectivity, follow the manufacturer’s instructions to establish a wireless connection.
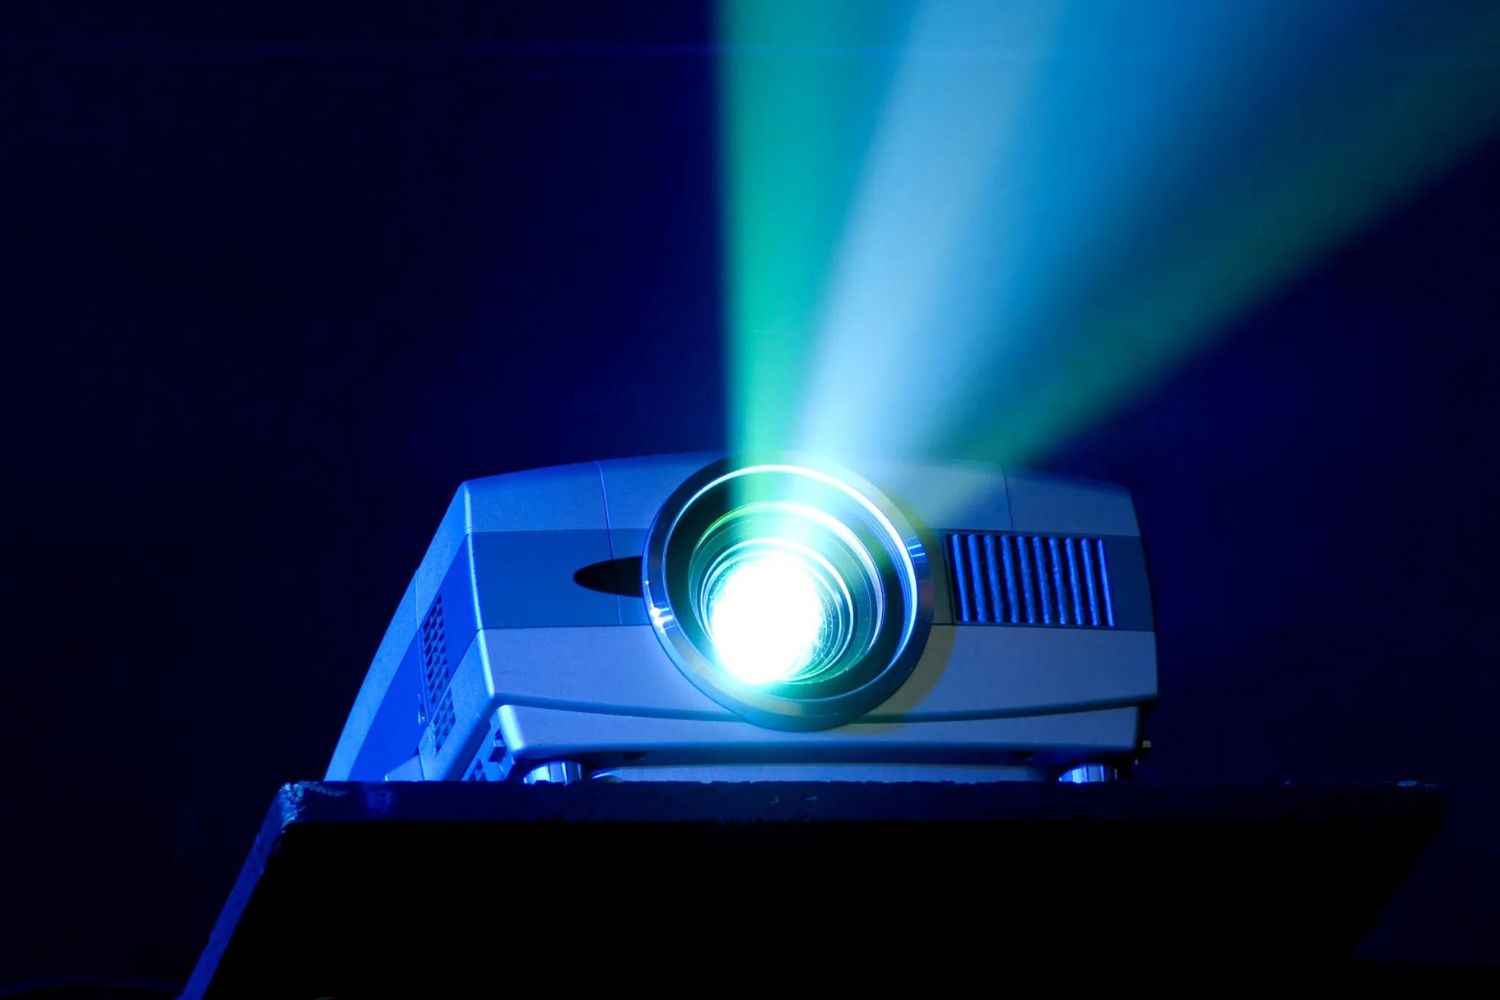
4. Powering On the Projector: Turn on the projector and wait for it to initialize. Most projectors have a startup sequence, during which the lamp warms up and the projector’s internal systems undergo self-checks. Pay attention to any error messages or indicator lights that may require troubleshooting.
5. Adjusting Keystone and Focus: Use the projector’s keystone adjustment feature to correct any distortion caused by the angle of the projector in relation to the projection surface. Additionally, fine-tune the focus to ensure sharp and clear imagery.
6. Configuring Display Settings: Access the projector’s menu system to configure display settings such as aspect ratio, color temperature, and image presets. Adjust these settings to achieve the desired visual characteristics based on your content and personal preferences.
By following these steps, you can set up your projector with precision and attention to detail, laying the groundwork for an exceptional home theater experience. With the projector seamlessly integrated into your entertainment space, you’re ready to move on to the next crucial step: connecting the projector to your cable network.
Connecting the Projector to the Cable Network
With the projector set up and ready to deliver stunning visuals, the next vital step is to establish a seamless connection to your cable network. This pivotal link allows you to access live TV broadcasts, on-demand content, and a plethora of entertainment options directly through your projector. Follow these steps to connect your projector to the cable network and unlock a world of captivating programming.
1. Identify the Cable Input: Locate the cable input port on the projector. Depending on the model, it may feature HDMI, coaxial, or other input options. Ensure that the cable input aligns with the output port of your cable box or directly from the wall outlet.
2. Connect the Cable: Using a high-quality cable, connect the output port of your cable box or the wall outlet to the cable input port on the projector. Ensure a secure and snug connection to prevent signal loss or interference.
3. Power on the Cable Box: If you’re using a cable box, power it on and allow it to initialize. Ensure that the cable box is tuned to the desired channel or content source that you intend to watch through the projector.
4. Select the Input Source: Access the projector’s input selection menu and choose the corresponding input source that you connected the cable to. This step ensures that the projector recognizes the cable input and prepares to display the content from the cable network.
5. Scan for Channels (if applicable): If your projector features a built-in tuner or supports channel scanning, initiate the channel scanning process to detect and store available cable channels. Follow the projector’s user manual for specific instructions on channel scanning and tuning.
6. Fine-Tune Audio and Video Settings: Access the projector’s audio and video settings to optimize the audio output and visual parameters for cable content. Adjust settings such as volume levels, aspect ratio, and picture mode to enhance the viewing experience based on your preferences.
By following these steps, you can seamlessly connect your projector to the cable network, unlocking a world of entertainment possibilities. With the projector now integrated with your cable network, you’re poised to indulge in a diverse array of content, from live sports events to blockbuster movies, all presented on a grand scale within your home theater environment.
Adjusting the Projector Settings
Once your projector is set up and connected to the cable network, fine-tuning the projector settings is essential to optimize the visual and auditory experience. By adjusting the settings with precision, you can ensure that the projected images are vibrant, sharp, and accurately aligned with your preferences. Here’s a comprehensive guide to adjusting the projector settings for an immersive home theater experience.
1. Brightness and Contrast: Access the projector’s display settings and adjust the brightness and contrast levels to achieve optimal image clarity and depth. Calibrating these settings ensures that the projected visuals are vivid and well-defined, regardless of ambient lighting conditions.
2. Color Temperature and Color Balance: Fine-tune the color temperature and color balance settings to achieve natural and lifelike color reproduction. Adjust these settings to eliminate any color casts and ensure that the projected images accurately reflect the intended color palette of the content.
3. Image Sharpness and Clarity: Utilize the projector’s sharpness and clarity controls to enhance the overall crispness and detail of the projected images. Fine adjustments to these settings can significantly impact the perceived sharpness and intricacy of the visuals.
4. Aspect Ratio and Keystone Correction: Ensure that the aspect ratio is set to match the native resolution of the content being displayed. Additionally, use the keystone correction feature to rectify any distortion caused by the projector’s angle, ensuring that the projected images maintain proper proportions and alignment.
5. Audio Configuration: If the projector includes built-in speakers or audio output options, configure the audio settings to optimize the sound quality. Adjust the volume levels, equalization, and audio presets to deliver immersive and balanced audio accompaniment to the projected visuals.
6. Eco Mode and Power Settings: Consider activating the projector’s eco mode to conserve energy and extend the lifespan of the lamp. Additionally, review the power settings to customize power-off timers and standby modes according to your usage patterns and preferences.
7. Firmware Updates and Calibration: Check for firmware updates for your projector to ensure that it is running the latest software version, which may include performance enhancements and feature updates. Consider performing a calibration or utilizing calibration tools to fine-tune the projector’s settings for optimal performance.
By meticulously adjusting these settings, you can tailor the projector’s performance to deliver a captivating and immersive viewing experience that aligns with your discerning preferences. With the projector settings optimized, you’re primed to indulge in a visually stunning and acoustically engaging home theater experience that rivals the allure of a traditional cinema.
Testing the Setup
After setting up and fine-tuning your home theater projector and connecting it to your cable network, it’s crucial to conduct comprehensive testing to ensure that the entire system functions seamlessly and delivers the immersive entertainment experience you desire. Testing the setup allows you to identify and address any potential issues while providing an opportunity to revel in the captivating visuals and immersive audio that your home theater projector can deliver. Here’s a detailed guide to testing your projector setup and cable network connection.
1. Image Quality Assessment: Begin by evaluating the image quality projected by the home theater projector. Use a variety of content, including high-definition movies, live sports broadcasts, and visually intricate scenes, to gauge the projector’s ability to render crisp, vibrant, and detailed images. Pay attention to color accuracy, contrast, and overall sharpness across different types of content.
2. Audio Performance Evaluation: Test the audio output of the projector to assess the quality and immersion of the sound. Play audio-intensive content such as action sequences, music concerts, or dialogue-rich scenes to gauge the projector’s ability to deliver clear and impactful sound reproduction.
3. Cable Network Integration: Switch between different channels and content sources accessed through the cable network to verify the seamless integration of the projector with your cable service. Ensure that channel tuning, program guides, and on-demand content retrieval function reliably and with minimal latency.
4. Ambient Light Adaptability: Assess the projector’s performance in varying lighting conditions. Dim the lights in the room to simulate a cinematic environment and observe how the projector handles low-light settings. Additionally, introduce ambient light to evaluate the projector’s ability to maintain image clarity and vibrancy in moderately lit environments.
5. Connectivity and Input Switching: Test the projector’s connectivity and input switching capabilities by seamlessly transitioning between different media sources, including cable TV, streaming devices, gaming consoles, and external media players. Verify that the projector effectively recognizes and displays content from each input source.
6. User Interface and Navigation: Explore the projector’s user interface, menu system, and remote control functionality to ensure intuitive navigation and seamless access to settings and features. Verify that the user interface enhances the overall usability and accessibility of the projector’s capabilities.
7. Long-Term Performance Considerations: Run the projector for an extended duration to assess its thermal management, noise levels, and overall reliability during prolonged usage. Monitor the projector’s performance over time to identify any potential issues related to heat dissipation, fan noise, or operational consistency.
By meticulously testing the setup, you can gain confidence in the performance and reliability of your home theater projector and cable network integration. Address any identified issues or discrepancies to fine-tune the system and ensure that it consistently delivers a captivating and immersive entertainment experience. With the setup thoroughly tested and optimized, you’re poised to embark on a journey of unparalleled cinematic indulgence within the comfort of your home.
Conclusion
Congratulations on successfully navigating the intricacies of setting up a home theater projector and seamlessly integrating it with your cable network. By following this comprehensive guide, you’ve embarked on a journey to transform your living space into a captivating cinematic oasis, where immersive visuals and engaging audio converge to elevate your entertainment experience.
From the initial process of selecting the perfect projector that aligns with your preferences and viewing environment to the meticulous setup, connectivity, and fine-tuning of the projector’s settings, you’ve demonstrated a commitment to creating an exceptional home theater experience. By testing the setup comprehensively, you’ve ensured that your projector and cable network seamlessly harmonize to deliver captivating visuals and immersive sound, allowing you to indulge in a diverse array of entertainment options within the comfort of your own home.
As you immerse yourself in the world of home theater projection, remember to explore the vast landscape of content that your cable network offers, from live sports events and blockbuster movies to compelling TV shows and documentaries. Embrace the versatility of your home theater setup by seamlessly transitioning between different media sources and savoring the visual splendor and audio richness that your projector delivers.
With your newfound expertise in setting up and optimizing a home theater projector connected to your cable network, you’re poised to embark on a journey of unparalleled cinematic indulgence within the comfort of your home. Whether you’re hosting movie nights, enjoying thrilling sports events, or gaming on a grand scale, your home theater projector is ready to immerse you in a world of captivating entertainment.
As you venture forward, continue to explore the possibilities of your home theater setup, experiment with different content genres, and fine-tune the projector settings to align with your evolving preferences. Embrace the magic of the big screen within your living space and relish the immersive experiences that your home theater projector and cable network connection have to offer.