Factors to consider when choosing a projector screen
Choosing the right projector screen is crucial for maximizing your viewing experience. With a variety of options available, it’s important to consider certain factors to ensure you select the screen that best suits your needs. Here are the key factors to consider:
Screen Material
One of the most important aspects to consider is the screen material. Different materials have different properties when it comes to image reflection, color rendition, and ambient light rejection. Common screen materials include matte white, gray, and high-contrast screens. Consider the lighting conditions in your space and the specific requirements of your projector to choose the right screen material for optimal image quality.
Screen Size and Aspect Ratio
The screen size and aspect ratio play a critical role in your viewing experience. Consider the available space in your room and the distance between the screen and the seating area. For a cinematic experience, it’s important to choose a screen size that allows for comfortable viewing from all angles. Additionally, ensure that the aspect ratio of the screen matches that of your projector to avoid distortion or black bars on the screen.
Gain
The screen gain refers to the reflectivity of the screen surface. A higher gain screen reflects more light, resulting in a brighter image. However, screens with higher gain may have a narrower viewing angle and can cause hotspotting. Consider the brightness capabilities of your projector and the ambient light conditions in your room to choose the appropriate gain for optimal image quality.
Ambient Light Control
If your viewing room has significant ambient light, you should consider screens with better ambient light rejection properties. This will help minimize the impact of external light sources on the projected image, resulting in improved contrast and image clarity.
Viewing Distance and Angle
Understanding the optimal viewing distance and angle is essential for selecting the right screen. Consider the seating arrangement and the distance between the screen and the viewers to ensure a comfortable and immersive viewing experience for everyone.
Installation Options
Consider the ease of installation when choosing a projector screen. Some screens require professional installation and mounting hardware, while others are designed for simple DIY installation. Evaluate your technical abilities and the space available for installation to choose a screen that fits your requirements.
Price and Budget
Set a budget for your projector screen purchase and balance it with the desired screen quality and features. Compare prices and read reviews to ensure you get the best value for your investment.
Portability and Storage Options
If you require a screen that can be easily transported or stored when not in use, consider portable options like tripod screens or roll-up screens. These can be ideal for presentations or outdoor movie nights.
Screen Type: Fixed Frame, Motorized, or Portable
Choose the screen type based on your specific needs. Fixed frame screens provide a professional and seamless look, motorized screens offer convenience with remote control operation, and portable screens are flexible and easy to set up in different locations.
Compatibility with Projector Technology
Ensure that the screen you choose is compatible with the technology of your projector, whether it is LCD, DLP, or laser projection. This will ensure optimal performance and image quality.
Consider these factors when choosing a projector screen to make an informed decision that will enhance your viewing experience and bring your content to life in a way that suits your specific needs and preferences.
Screen Material
When it comes to choosing the right projector screen, one of the most important factors to consider is the screen material. The screen material plays a crucial role in determining the quality of the projected image and how it interacts with ambient light in the room.
There are several different screen materials available, each with its own unique properties and benefits. The most common screen materials include matte white, gray, and high-contrast screens.
A matte white screen is the standard choice for most home theater setups. It offers a wide viewing angle and evenly distributes light, resulting in a balanced and uniform image. Matte white screens are ideal for rooms where you have control over ambient lighting conditions.
Gray screens, on the other hand, are designed to enhance contrast and black levels. They are particularly suitable for rooms with low ambient light or spaces where light control is a challenge. The gray material helps to absorb ambient light, minimizing its impact on the projected image and improving overall contrast.
High-contrast screens are engineered to provide even greater contrast ratios and image depth. They have a specially formulated surface that enhances black levels and improves overall image clarity. High-contrast screens are an excellent choice for dark room environments or setups that require precise color reproduction.
When selecting a screen material, it’s important to consider factors such as the lighting conditions in your room, the brightness capabilities of your projector, and the specific requirements of your content. If you have a room with lots of natural light or plan to use the projector screen in well-lit environments, a high-gain screen may be more suitable. High-gain screens are designed to reflect more light, resulting in a brighter image.
On the other hand, if you have a dedicated home theater room with controlled lighting, a lower-gain screen may be a better choice. A lower-gain screen will provide a wider viewing angle and a more evenly distributed image, ensuring that viewers sitting at different angles will still have a great viewing experience.
Ultimately, the screen material you choose will depend on your specific setup, viewing preferences, and environmental conditions. It’s important to evaluate the pros and cons of each screen material and select one that aligns with your desired image quality and viewing experience.
Screen Size and Aspect Ratio
Choosing the right screen size and aspect ratio is essential for creating an immersive and enjoyable viewing experience with your projector. The screen size and aspect ratio determine how the content is displayed and how it fills the viewing space.
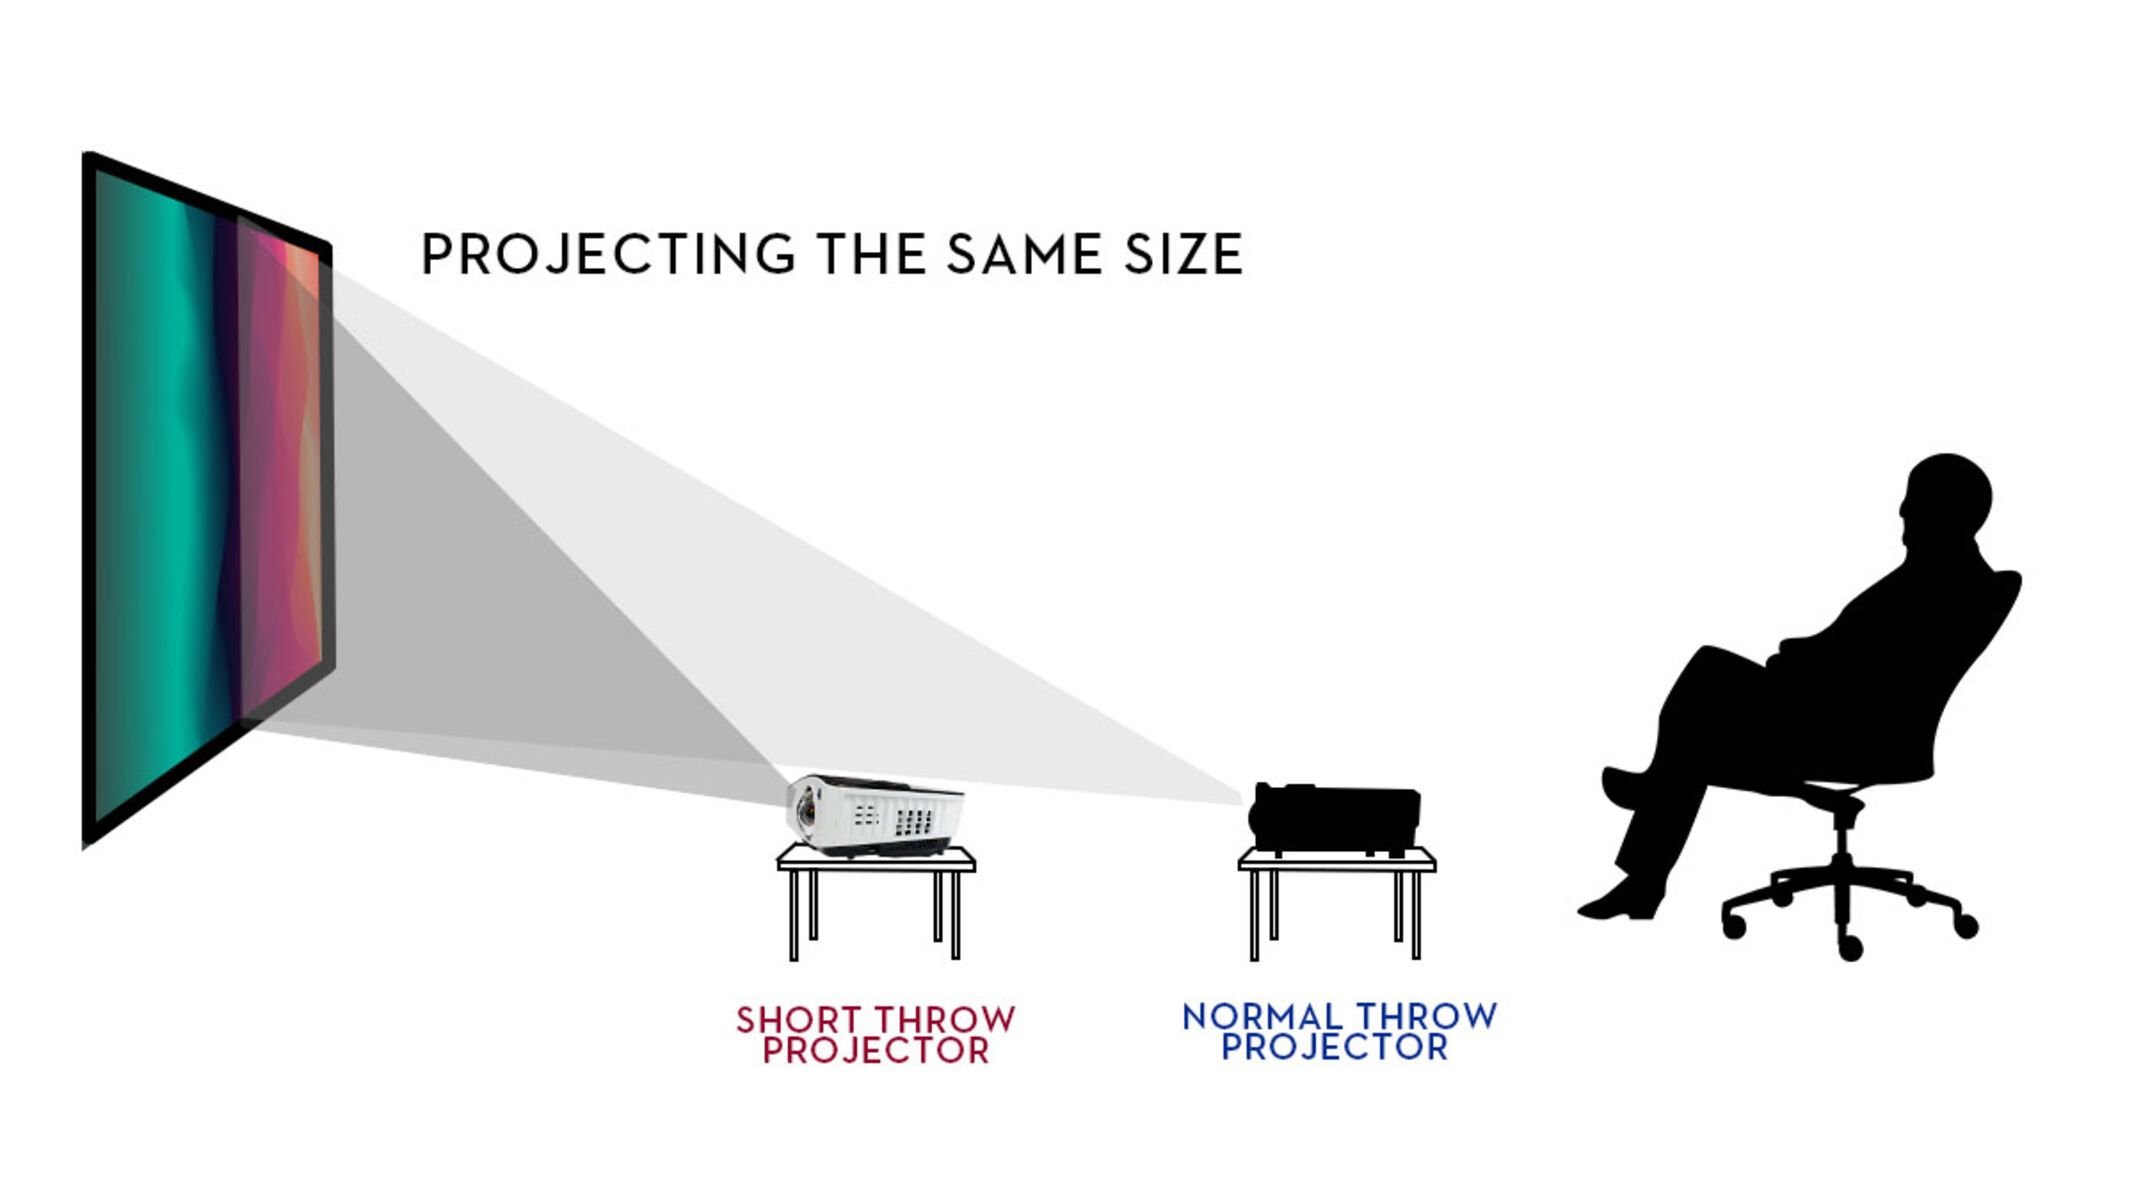
When it comes to screen size, the first consideration is the available space in your room. Measure the distance between the projector and the screen to determine the maximum screen size that can comfortably fit within that space. It’s important to leave some room for the projector’s throw distance to ensure optimal image focus and clarity.
Once you have the measurements, consider the seating arrangement and the viewing distance. You want to choose a screen size that allows all viewers to see the content clearly and comfortably from their seating positions. If the screen is too small, people towards the back of the room may struggle to see smaller details. If the screen is too big, viewers sitting close to the front may feel overwhelmed or have difficulty taking in the entire image.
Another important element to consider is the aspect ratio. The aspect ratio is the proportional relationship between the width and height of the screen. Common aspect ratios include 16:9 (widescreen) and 4:3 (standard). The aspect ratio you choose should align with the content you’ll be projecting. Most modern content, such as movies and TV shows, is produced in a 16:9 widescreen format. If you primarily plan to watch movies or play video games, a 16:9 aspect ratio screen may be the best choice to fully showcase the content without black bars on the top and bottom.
However, if you’ll be using the projector for business presentations or displaying content created in a 4:3 format, a screen with a 4:3 aspect ratio may be more suitable. It’s important to note that some projectors have zoom capabilities that allow you to adjust the image size to fit the screen, regardless of its aspect ratio. This provides flexibility in choosing a screen size and aspect ratio that may not perfectly match the projector’s native aspect ratio.
Ultimately, the screen size and aspect ratio you choose should be based on your specific needs and preferences. Consider the viewing space, seating arrangement, content type, and projector capabilities to select a screen that provides an immersive and visually engaging experience for all viewers.
Gain
The gain of a projector screen refers to its reflective ability and how much light it reflects back to the viewer. It is an essential factor to consider when choosing a projector screen because it directly impacts the brightness and overall image quality of your projections.
The gain of a screen is measured by a numeric value, typically ranging from 1.0 to 2.5. A gain value of 1.0 means that the screen reflects the same amount of light that hits its surface, resulting in a neutral or matte appearance. A gain value greater than 1.0 indicates that the screen reflects more light, resulting in a brighter image.
When considering the gain of a projector screen, it’s important to understand its impact on both ambient light control and viewing angles. A high-gain screen can be beneficial in spaces with high levels of ambient light because it helps to counteract the washout effect caused by the external light sources. The increased reflectivity of the screen allows for a brighter image even in brightly lit environments, improving overall visibility and image clarity.
However, it’s important to note that high-gain screens have a narrower viewing cone. This means that the optimal viewing experience is limited to a narrower range of angles. If viewers move outside of this range, they may experience a loss of brightness or a hotspot effect, where the center of the image appears brighter than the edges.
On the other hand, a screen with a lower gain value provides a wider viewing cone, allowing for a more uniform image across a broader range of viewing angles. This can be advantageous in setups where multiple viewers will be sitting at different positions and angles. However, lower-gain screens may not perform as well in brightly lit rooms and may appear dimmer compared to high-gain screens.
When choosing the gain of your projector screen, consider the lighting conditions in your viewing space and the specific needs of your projector. If you have control over the ambient lighting and prefer a wider viewing angle, a lower-gain screen may be more suitable. Conversely, if you have limited control over ambient light or need a brighter image, a higher-gain screen may be the better choice.
It’s important to strike a balance between gain, ambient light control, and viewing angles to ensure that you achieve the best possible image quality for your specific viewing environment. Consider the trade-offs between brightness, viewing cone, and the specific requirements of your projector to select the right gain for optimal image performance.
Ambient Light Control
Controlling ambient light is crucial in achieving optimal image quality when using a projector screen. Ambient light refers to the natural or artificial light present in the room that can affect the brightness, contrast, and overall clarity of the projected image. Consider the following factors to effectively control ambient light:
Light Source and Placement
The first step in ambient light control is identifying the sources of light in your viewing space. Natural light from windows, overhead lighting, lamps, or other light fixtures can impact the image quality. Consider the placement of these light sources and how they may affect the projection area. If possible, position the projector screen away from direct light sources to minimize their impact on the projected image.
Window Treatments
Windows are a significant source of ambient light. To control the amount of light entering the room, consider using blackout curtains, blinds, or shades. These window treatments can effectively block out external light and create a darker environment for a better viewing experience. Additionally, window films or tinting can also help reduce the amount of light entering the room while maintaining visibility.
Ambient Light Rejecting (ALR) Screens
Ambient Light Rejecting (ALR) screens are specifically designed to combat the negative effects of ambient light. These screens have specialized coatings and surface textures that absorb or reflect ambient light in such a way that it minimally impacts the projected image. ALR screens work by selectively reflecting the light emitted by the projector, while simultaneously absorbing stray ambient light. This helps in maintaining high contrast and image clarity, even in brightly lit environments.
Screen Placement and Room Layout
Consider the placement of your projector screen in relation to the light sources in the room. Avoid placing the screen directly opposite windows or sources of bright light, as this may result in washed-out or dim images. Additionally, ensure that the seating arrangement allows viewers to avoid direct light on their line of sight, as this can affect their viewing experience.
Dimmable Lighting
If you have control over the room’s lighting, consider installing dimmable lighting fixtures. This allows you to adjust the intensity of the light based on your viewing needs. Lowering the light levels in the room can significantly improve the contrast and overall image quality of the projected content.
Effective ambient light control is essential to create an immersive and visually captivating viewing experience with your projector screen. By strategically managing the light sources, utilizing window treatments, considering ALR screens, optimizing screen placement, and using dimmable lighting, you can minimize the negative impact of ambient light and achieve a high-quality image with enhanced contrast and clarity.
Viewing Distance and Angle
Consideration of viewing distance and angle is crucial when selecting a projector screen to ensure an optimal viewing experience for all viewers. The distance at which viewers sit from the screen and the angles at which they view the content can significantly impact the overall immersion and clarity of the projected image.
Viewing Distance
The viewing distance refers to the distance between the viewer and the projector screen. It is essential to strike a balance between being too close to the screen, which could result in a distorted or pixelated image, and being too far away, which may make it difficult to see smaller details.
As a general rule, multiply the screen’s diagonal size by a factor between 1.5 and 2.5 to determine the recommended viewing distance. For example, if you have a 100-inch diagonal screen, the recommended viewing distance would be between 150 to 250 inches. This range provides optimal viewing angles, allowing viewers to comfortably see the entire screen without straining their eyes or losing image sharpness.
It’s also essential to consider the screen resolution and content quality when determining the viewing distance. Higher resolution screens allow for closer viewing distances, while lower resolution screens may require longer viewing distances to achieve the best image quality.
Viewing Angle
The viewing angle refers to the angle at which viewers are positioned relative to the center of the screen. It is crucial to ensure that all viewers have a direct and unobstructed view of the screen to fully enjoy the projected content.
The optimal viewing angle is typically within a 30° to 45° range from the center of the screen. Sitting too far to the side can result in a skewed or distorted image, while sitting too close to the edges may cause viewers to miss out on certain details.
Consider the seating arrangement and the screen size to ensure that viewers from all positions have a clear and unobstructed view. If necessary, adjust the screen placement or seating arrangement to accommodate multiple viewers and provide an immersive viewing experience for everyone.
Additionally, consider the height of the screen to ensure that viewers sitting in the front or back rows have a comfortable viewing experience. Elevating the screen slightly can help to improve the viewing angles, allowing for clearer visibility for those sitting further away.
When selecting a projector screen, it’s crucial to consider both the viewing distance and angle to create an immersive and enjoyable experience for all viewers. By determining the optimal viewing distance, ensuring direct line of sight, and considering the screen’s height, you can create an ideal setup that allows everyone to fully appreciate the projected content.
Installation Options
When choosing a projector screen, it’s important to consider the installation options available to ensure a seamless setup and optimal viewing experience. Different screens are designed for various installation methods, so it’s important to choose one that aligns with your needs and technical abilities.
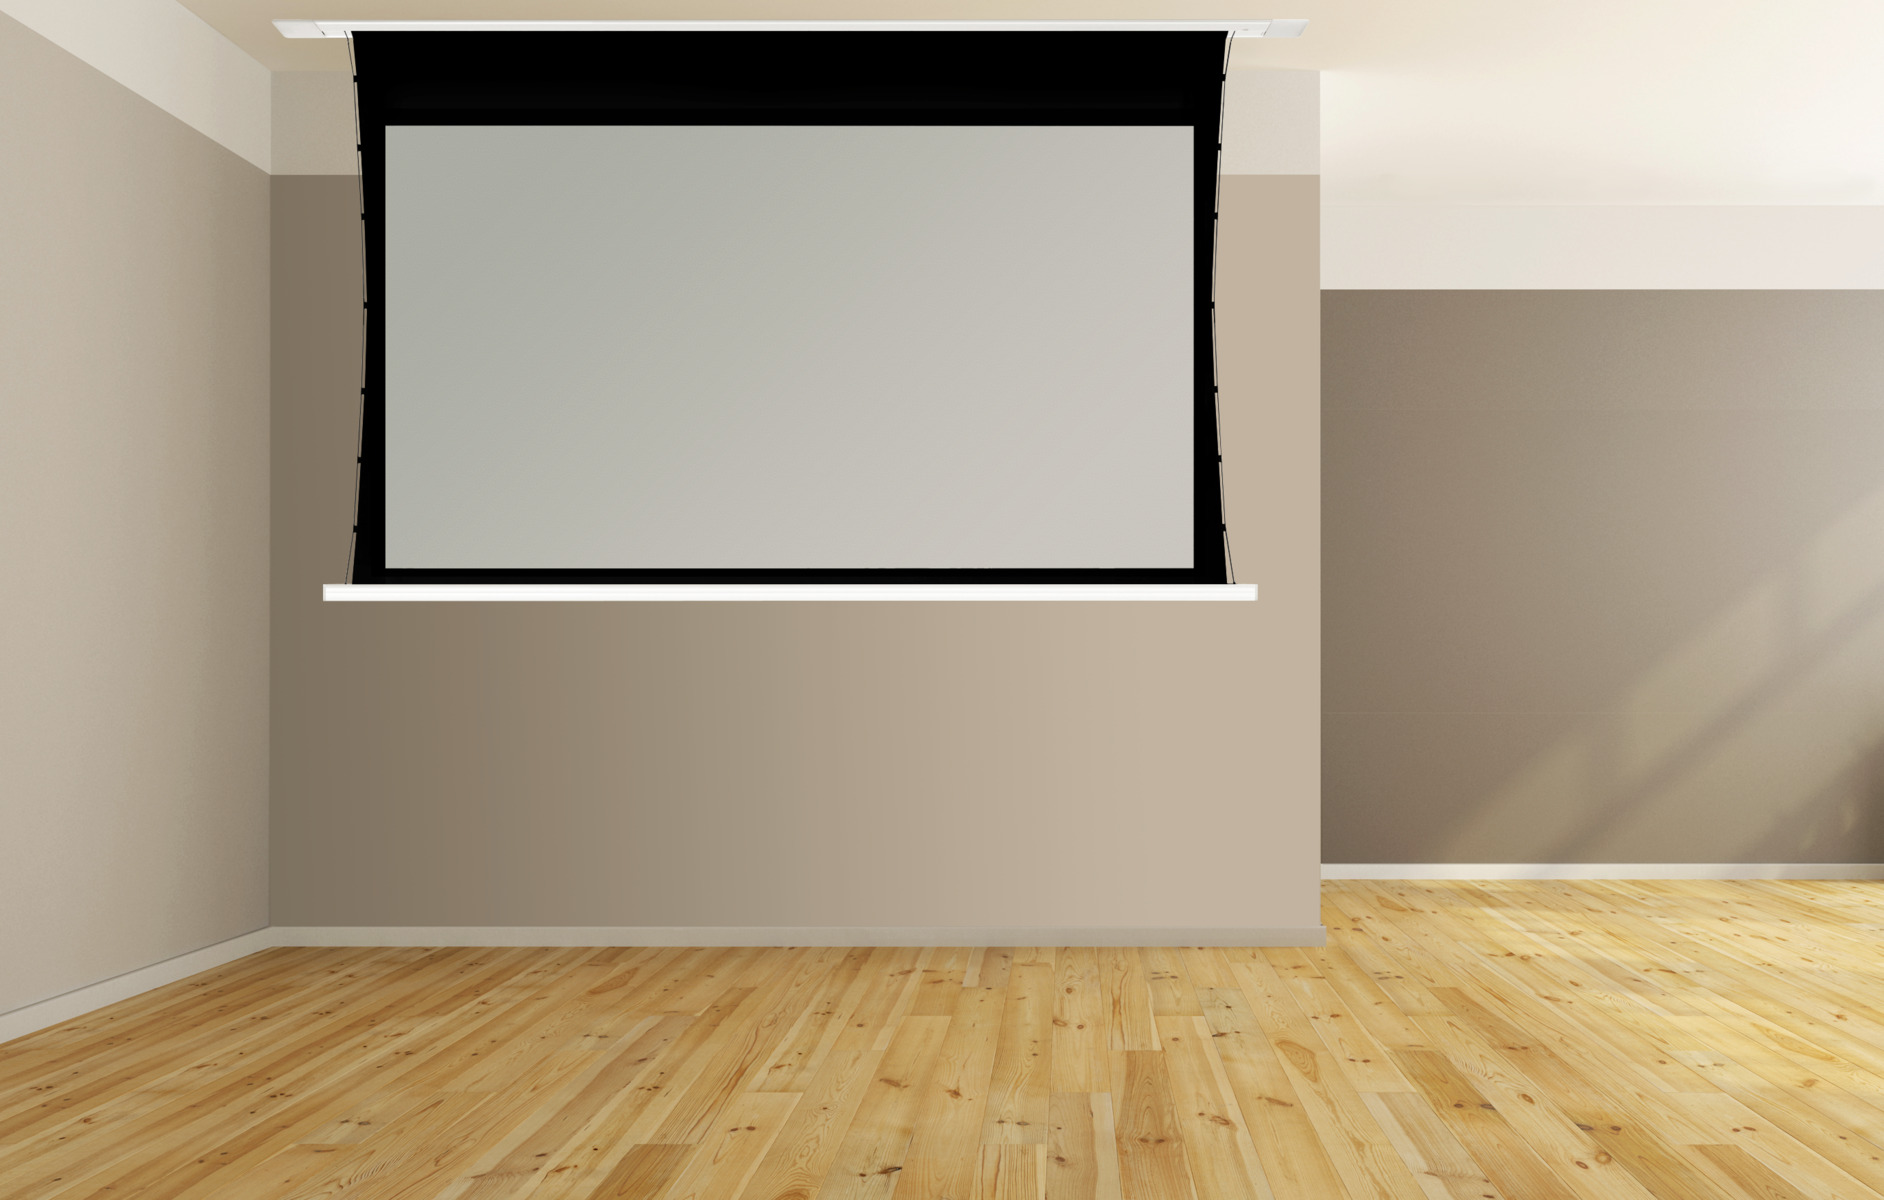
Fixed Frame Screens
Fixed frame projector screens are installed by mounting a rigid frame to the wall or ceiling. The screen material is then stretched tightly across the frame to create a flat and wrinkle-free surface. Fixed frame screens offer a sleek and professional look, and they provide a permanent setup that is always ready for use. However, they require more effort and time to install compared to other options.
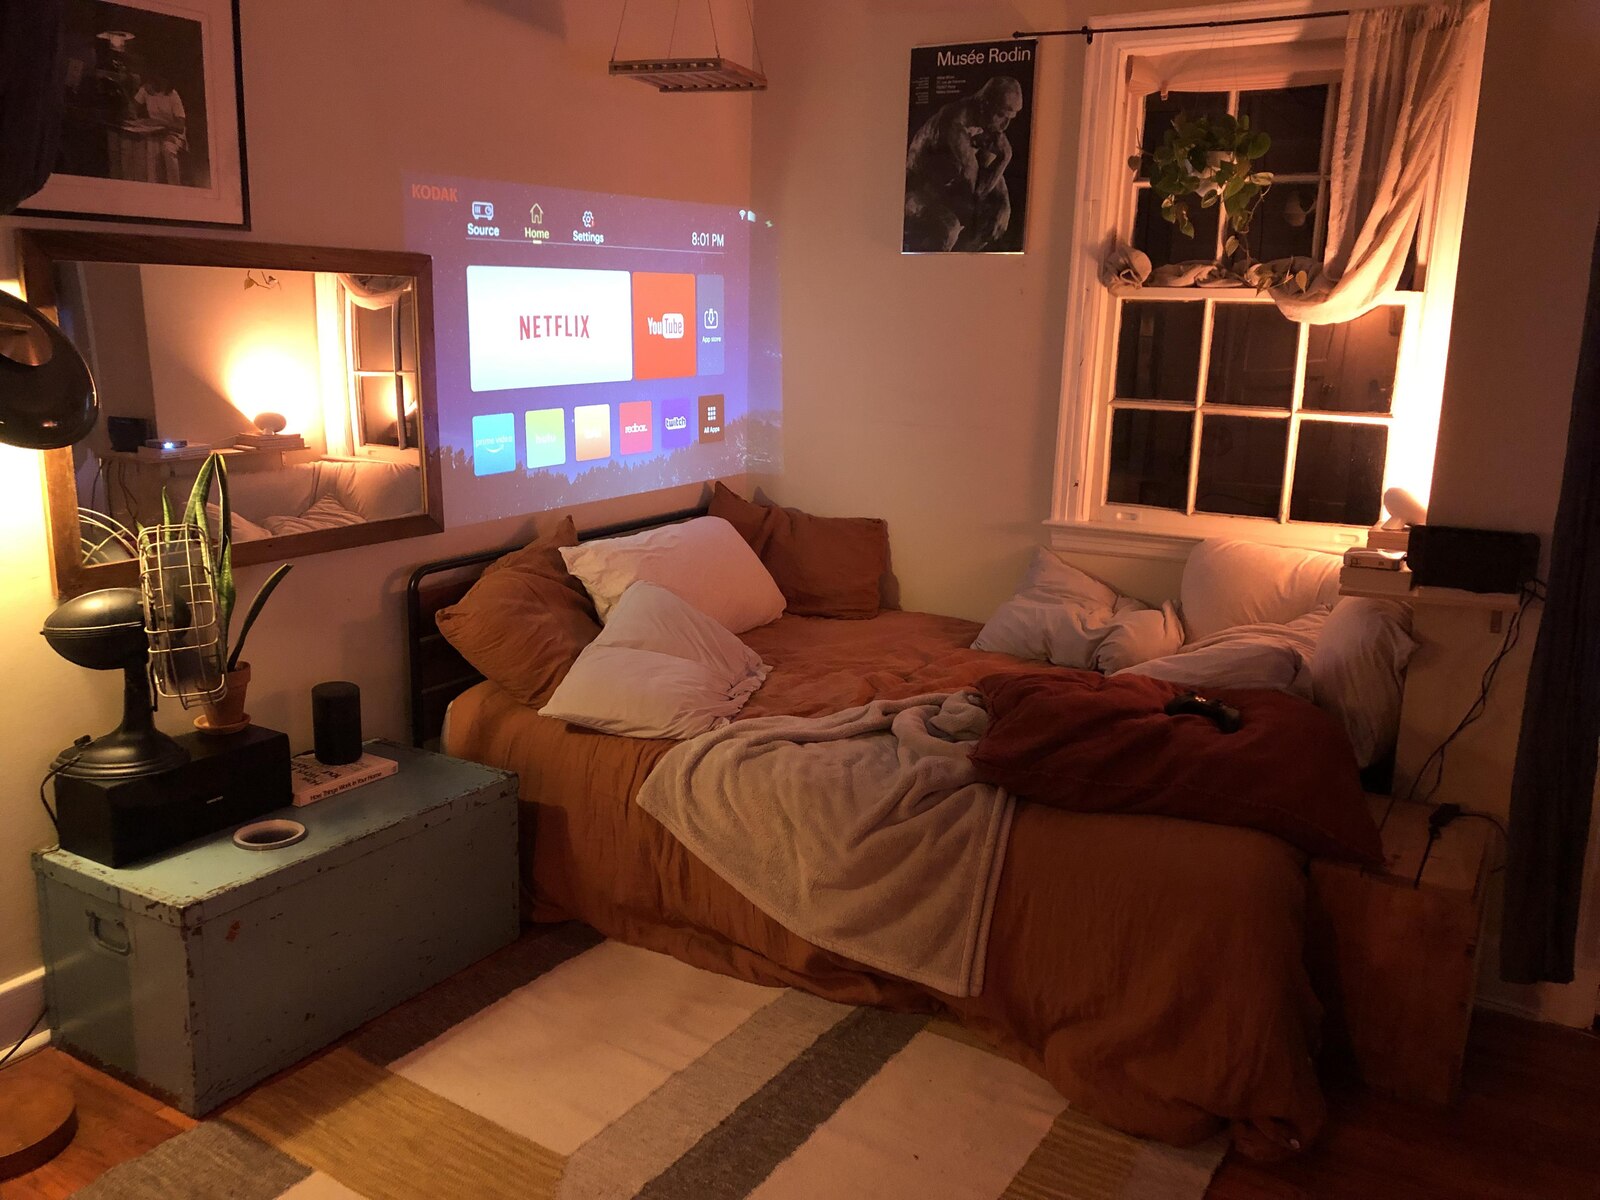
Motorized Screens
Motorized projector screens are an excellent choice if you prefer a screen that can retract and disappear when not in use. These screens are designed with a motorized mechanism that allows them to roll up or down at the touch of a button or via remote control. Motorized screens are ideal for home theaters or multi-purpose rooms where you want the screen to be hidden when not in use. They are usually more expensive compared to fixed frame screens and may require professional installation.
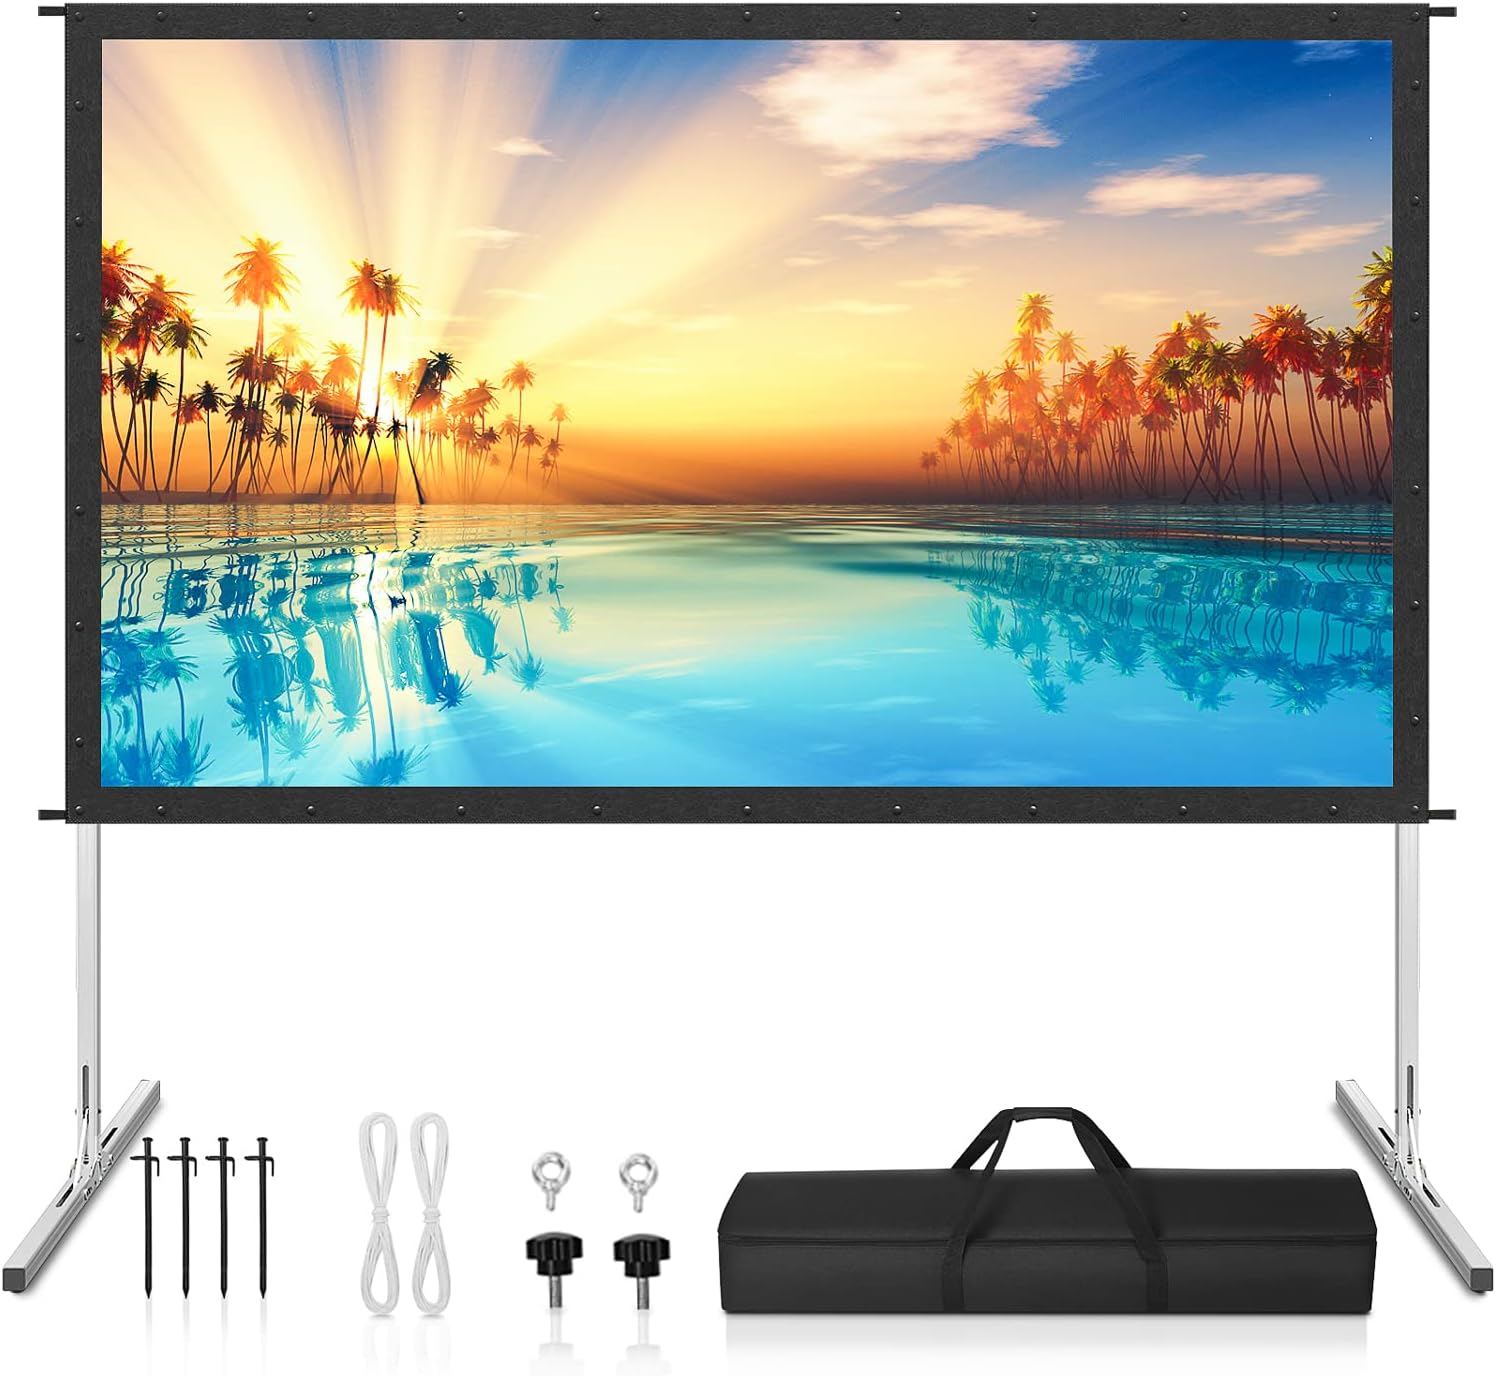
Portable Screens
Portable projector screens are lightweight and easy to transport, making them ideal for on-the-go presentations, outdoor movie nights, or temporary setups. These screens typically come with a folding or retractable mechanism and a carrying bag for easy storage and transportation. Portable screens are versatile and can be set up quickly in different locations. However, keep in mind that portable screens may not offer the same level of stability and screen tension as fixed frame or motorized screens.
Manual Pull-Down Screens
Manual pull-down projector screens are similar to motorized screens, but they require manual effort to lower and retract the screen. These screens are usually more affordable than motorized options and offer similar functionality, albeit without the convenience of motorized control. Manual pull-down screens are easy to install and suitable for environments where a permanent installation is not needed.
When selecting an installation option, consider factors such as the available space, budget, desired functionality, and technical skills. Fixed frame screens and motorized screens provide a more permanent and professional setup but may require more effort and cost. Portable screens offer flexibility but may sacrifice stability. Manual pull-down screens are a budget-friendly option that provides convenience without the need for complex installation.
Take your time to assess your specific needs and the capabilities of your chosen installation option. Consult installation guides and recommendations provided by the manufacturer to ensure successful installation and a long-lasting, enjoyable viewing experience with your projector screen.
Price and Budget
Price and budget are important considerations when choosing a projector screen. The cost of projector screens can vary significantly depending on factors such as the size, material, type, and additional features. It’s important to establish a budget and consider the value and quality that you seek within that range.
When setting a budget, consider how the projector screen fits into your overall home theater or presentation setup. Allocate a reasonable portion of your budget to the screen while keeping in mind the other components, such as the projector, audio system, and seating.
Keep in mind that higher-priced screens often offer superior image quality, durability, and additional features. These screens may have better color accuracy, improved ambient light rejection, or advanced motorized mechanisms. If you prioritize image quality and want a screen that will enhance your viewing experience, investing more in a higher-quality screen may be worth it in the long run.
However, it’s also important to weigh your budget against your specific needs and expectations. There are many budget-friendly projector screens available that still provide good image quality and durability. These screens may lack some of the premium features of higher-priced options but can still offer a satisfying viewing experience.
Do thorough research, read reviews, and compare prices for different projector screens within your budget range. Look for reputable brands that offer a good balance of quality and affordability. Consider the specific requirements of your viewing space, such as the amount of ambient light and the desired screen size and aspect ratio, to make an informed decision.
Additionally, keep an eye out for sales, discounts, or promotions that may help you stretch your budget further. Many retailers offer sales during certain times of the year, so timing your purchase strategically can result in significant savings.
It’s also worth considering the long-term investment value of the projector screen. A well-made screen can last for many years, providing a high-quality viewing experience over an extended period. Spending a little more upfront on a durable and reliable screen can save you money in the long run by avoiding the need for frequent replacements.
Ultimately, the price and budget for a projector screen ultimately depend on your specific needs, priorities, and available funds. By considering the value and quality within your budget range and conducting thorough research, you can find a projector screen that meets your requirements and provides an enjoyable viewing experience.
Portability and Storage Options
Portability and storage options are important considerations when choosing a projector screen, especially if you plan to use it in different locations or need to store it when not in use. Depending on your needs and preferences, different types of projector screens offer varying levels of portability and storage convenience.
Fixed Frame Screens
Fixed frame projector screens are typically not designed with portability in mind. Once installed, they remain in a fixed position, providing a permanent and professional setup. These screens are not easily moved or disassembled, making them less suitable if you require a portable option.
Motorized Screens
Motorized screens offer a high level of convenience and portability. They can be easily raised or lowered at the touch of a button or with a remote control. Motorized screens often come with mounting brackets that allow for easy detachment and reattachment, making them portable and suitable for multi-location use. When not in use, the screen can be retracted into a protective housing, ensuring safe storage and preserving its longevity.
Portable Screens
If portability is a top priority, portable projector screens are the ideal choice. These screens are lightweight, compact, and designed to be easily transported from one location to another. They often feature folding or retractable mechanisms for quick and hassle-free setup. Portable screens are typically accompanied by carrying bags or cases, allowing for convenient storage and transportation. They are perfect for business presentations, outdoor events, or setups that require frequent movement.
Manual Pull-Down Screens
Manual pull-down screens offer moderate portability and storage convenience. While they are not as lightweight or compact as portable screens, they are still relatively easy to transport. Manual pull-down screens can be easily detached and rolled up, making them suitable for temporary setups or rooms where space is limited.
Consider your specific needs for portability and storage when choosing a projector screen. If you require a screen that can be easily transported and stored, portable screens or motorized screens offer the most convenience. If permanent installation is more suitable, consider fixed frame screens or manual pull-down screens that can be detached and rolled up when not in use.
It is important to note that portable screens may sacrifice some stability and screen tension compared to fixed frame or motorized screens. However, the convenience of their portability often outweighs this drawback, especially for those who frequently move or require flexibility in their projector setup.
When evaluating the portability and storage options, also consider the screen’s durability and how well it can withstand the rigors of transportation. Look for screens made from durable materials that can withstand frequent setup and takedown without compromising their image quality or structural integrity.
By considering your need for portability and storage convenience, you can choose a projector screen that aligns with your lifestyle and usage requirements, allowing for easy transportation and hassle-free storage when needed.
Screen Type: Fixed Frame, Motorized, or Portable
When choosing a projector screen, one important decision to make is the type of screen that best suits your needs. There are three main types to consider: fixed frame, motorized, and portable screens. Each type offers unique characteristics and benefits, so it’s essential to understand their differences.
Fixed Frame Screens:
Fixed frame screens are the most common choice for dedicated home theaters or permanent installations. These screens consist of a rigid frame that holds the screen material taut, creating a flat and wrinkle-free display surface. Fixed frame screens provide excellent image quality, as the screen material remains perfectly flat without any distortion. They offer a professional and seamless look, enhancing the overall aesthetics of the room. However, they require more effort and time for installation, and their fixed position makes them less suitable for portable use.
Motorized Screens:
Motorized screens are a popular choice for those who desire a sleek and flexible screen solution. These screens come with a motorized mechanism that allows for easy raising and lowering with the press of a button or a remote control. Motorized screens are ideal for home theaters or multi-purpose rooms where you want the screen to be hidden when not in use. The motorized feature provides convenience and eliminates the need for manual adjustments. However, motorized screens tend to be more expensive and may require professional installation due to their electrical components.
Portable Screens:
Portable screens are designed for those who require flexibility and ease of setup. These screens are lightweight, compact, and easy to transport from one location to another. They are ideal for business presentations, outdoor events, or setups that require frequent movement. Portable screens typically feature folding or retractable mechanisms for quick assembly and disassembly. They often come with carrying bags or cases for convenient storage and transportation. However, portable screens may sacrifice some image quality and stability compared to fixed frame or motorized screens.
When deciding on the screen type, consider your specific needs and usage requirements. If you have a dedicated home theater or space where the screen will remain fixed and visible at all times, a fixed frame screen can provide the best image quality and an elegant look. If you value convenience and want the flexibility to hide the screen when not in use, a motorized screen is a suitable option. For those who require portability and flexibility for various locations, a portable screen offers the convenience of easy setup and transport.
It’s also essential to consider your budget, as motorized screens tend to be more expensive compared to fixed frame and portable screens. Additionally, factor in the available space, installation requirements, and the expected longevity of the screen when making your decision.
By carefully evaluating your needs and considering the benefits and limitations of each screen type, you can select the one that best aligns with your preferences, usage scenario, and budget.
Compatibility with Projector Technology
When choosing a projector screen, it’s important to consider its compatibility with the specific technology of your projector. Different projectors utilize different display technologies, such as LCD (Liquid Crystal Display), DLP (Digital Light Processing), or laser projection. Ensuring compatibility between the projector and the screen technology is essential to achieve optimal image quality and performance.
LCD Projectors:
LCD projectors use liquid crystal panels to produce images. When selecting a screen for an LCD projector, it’s crucial to choose a screen material that complements the technology. LCD projectors tend to have lower contrast ratios compared to other projector technologies, so a screen with higher gain may be beneficial to enhance brightness and compensate for the lower contrast. Additionally, a screen material that provides even light distribution and minimal hotspots can help maximize image quality. Consider screens with a matte white or high-contrast material that can work well with LCD projectors.
DLP Projectors:
DLP projectors use an array of micro mirrors to create images. These projectors typically have high contrast ratios and excellent color accuracy. When selecting a screen for a DLP projector, a lower-gain screen with good light diffusion may be preferable. This combination can help maintain the projector’s contrast capabilities and ensure accurate color reproduction. Many screen materials, including matte white and gray screens, are compatible with DLP projectors, but it’s essential to consider the ambient light conditions and the desired image quality when making your choice.
Laser Projectors:
Laser projectors utilize laser diodes to generate light for projection. These projectors often produce high levels of brightness and wide color gamuts. When selecting a screen for a laser projector, consider screens with high gain and high contrast capabilities to maximize image quality. Alternatively, if the ambient light conditions are well-controlled, a matte white or gray screen may be suitable. It’s essential to consult the manufacturer’s recommendations and specifications for your laser projector to ensure compatibility with the chosen screen material.
Additionally, consider the resolution and aspect ratio of your projector when selecting a screen. Ensure that the screen’s aspect ratio matches that of your projector to avoid distortion or the need for image cropping. If you have a high-definition (HD) or 4K projector, make sure the screen can support the resolution for optimal image clarity and detail.
By considering the compatibility of your projector technology with the chosen screen material, you can achieve the best image quality and performance. Be sure to consult the specifications and recommendations provided by the projector manufacturer and the screen manufacturer to ensure a seamless compatibility match.