Introduction
Using a projector with your MacBook can be a great way to enhance presentations, watch movies, or enjoy gaming on a larger screen. Whether you are a student, professional, or simply someone who appreciates a bigger display, understanding how to properly connect and use a projector with your MacBook is essential.
In this guide, we will walk you through the step-by-step process of connecting your MacBook to a projector and configuring the display settings to ensure optimal performance. We will also address common troubleshooting issues and provide tips to improve the projector display quality.
Before we dive into the details, it’s important to note that the methods mentioned in this guide are applicable to most MacBook models, including MacBook Pro, MacBook Air, and MacBook Pro with Retina display. However, slight variations in ports and settings may exist, so it’s always a good idea to consult the user manual or manufacturer’s website for specific instructions related to your MacBook model.
Now, let’s begin by understanding how to connect the projector to your MacBook.
Connecting the Projector to Your MacBook
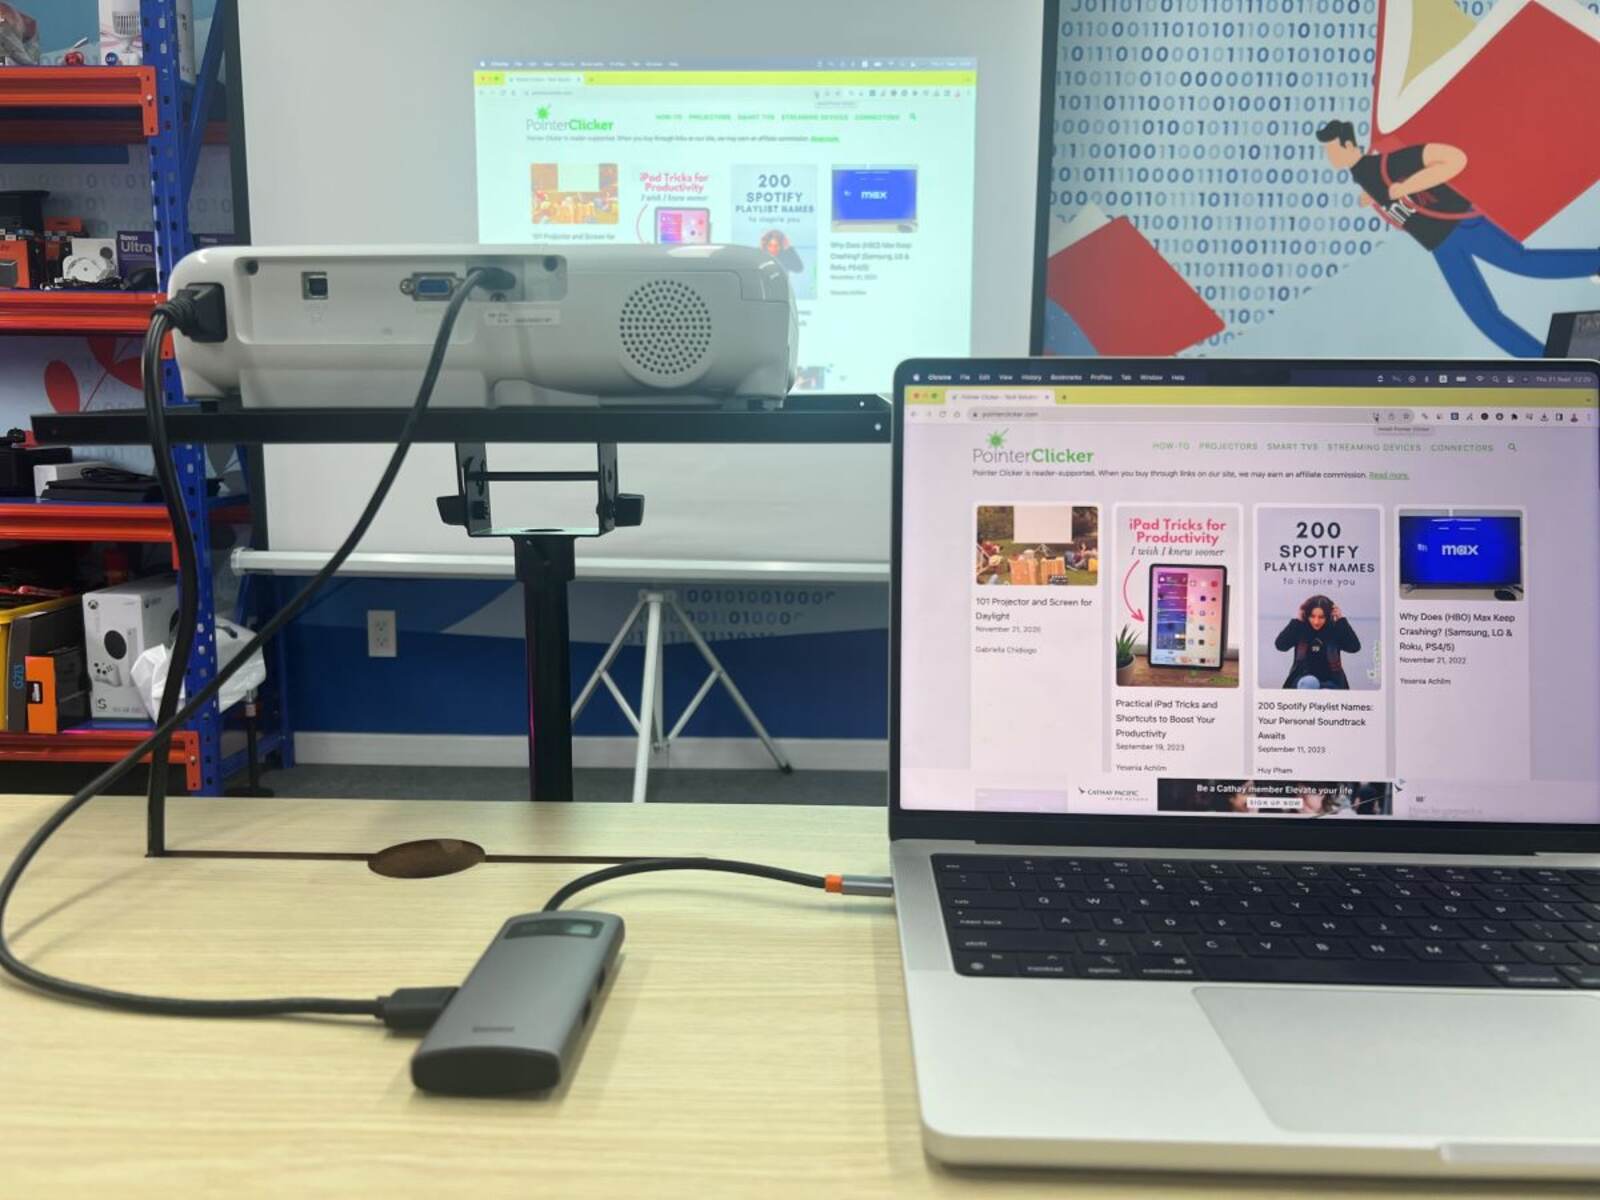
To start using a projector with your MacBook, you’ll need to establish a physical connection between the two devices. Follow these simple steps:
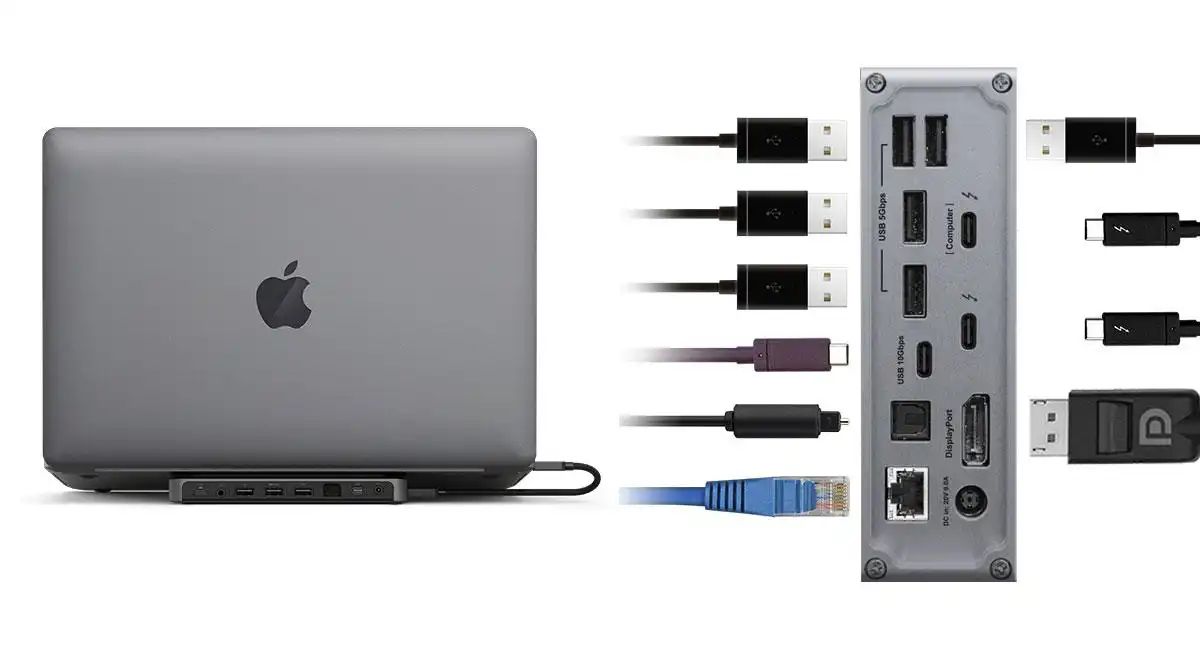
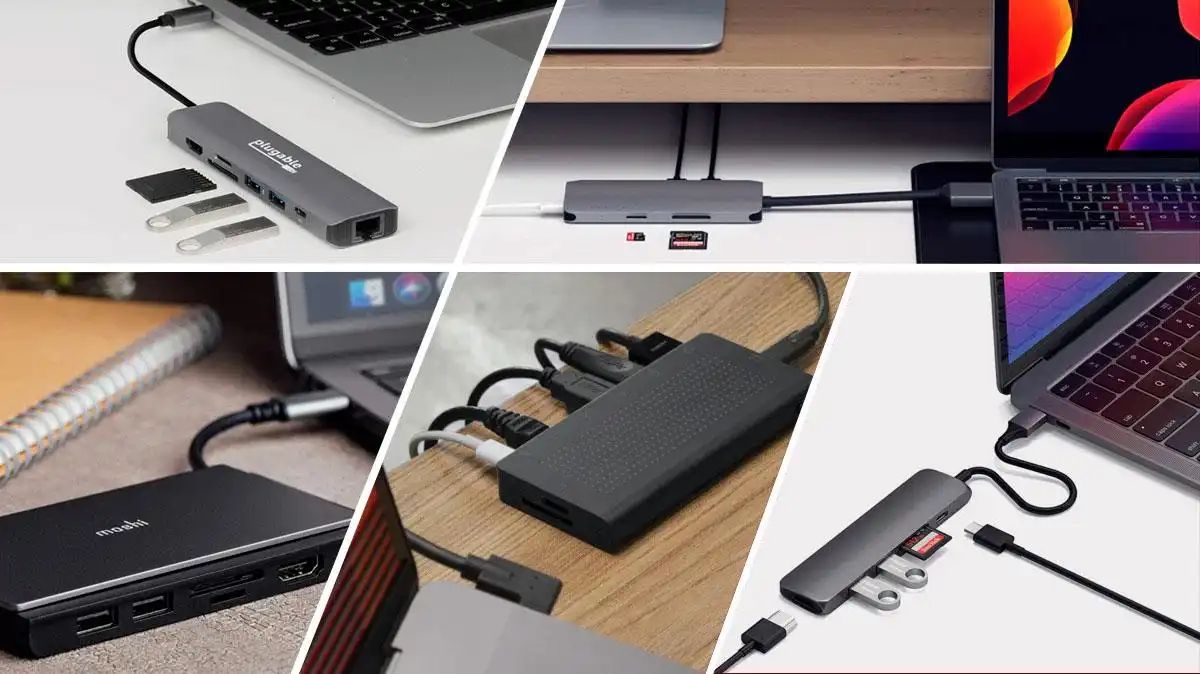
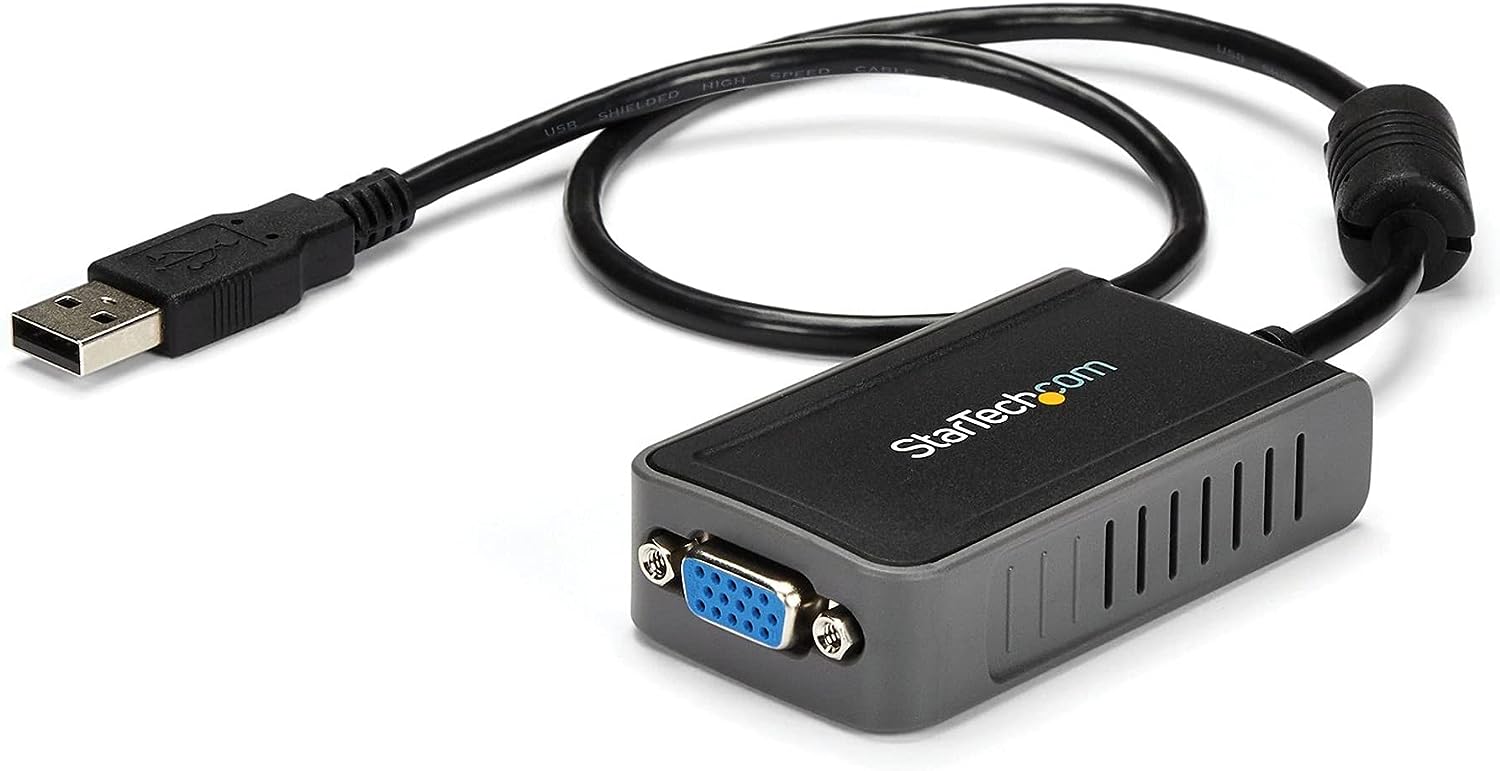
- Check the available ports on your MacBook and the projector. Most projectors support multiple connection options, such as HDMI, VGA, and USB-C. Identify the compatible ports on both devices.
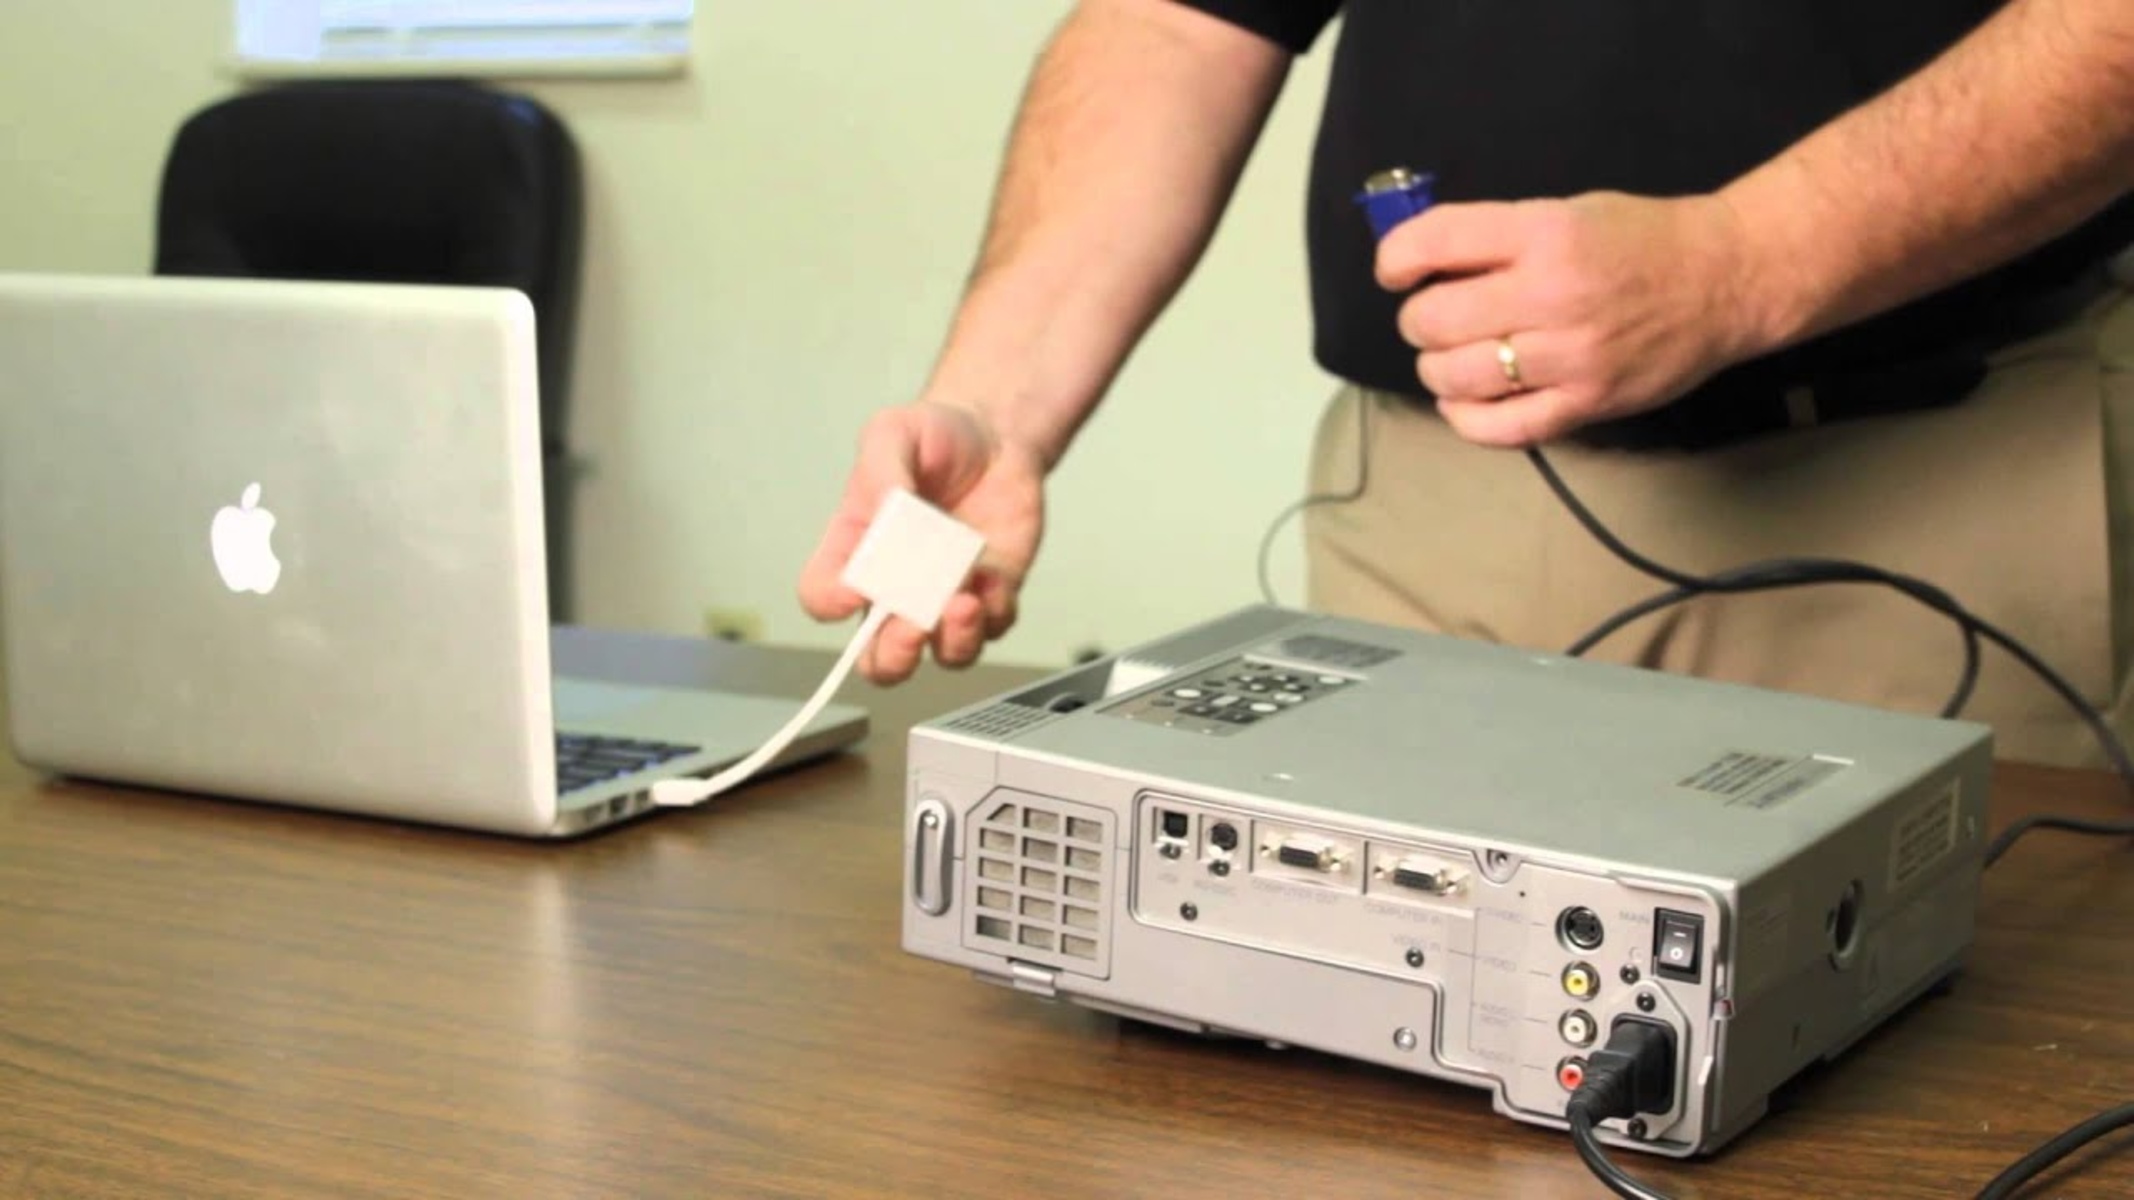
- Choose the appropriate cable or adapter for the connection. If your MacBook has a different port than the projector, you may need to use a suitable adapter or cable to bridge the gap. For example, if your MacBook only has USB-C ports and the projector has VGA ports, you’ll need a USB-C to VGA adapter.
- Once you’ve secured the necessary cable or adapter, connect one end to your MacBook and the other end to the corresponding port on the projector. Ensure a snug fit on both devices to prevent any loose connections.
- Once connected, power on your projector. It may take a few moments for it to initialize.
- On your MacBook, go to the Apple menu in the top-left corner and select “System Preferences” from the dropdown menu.
- In the “System Preferences” window, click on “Displays”. This will open the display settings for your MacBook.
- After the “Displays” window appears, navigate to the “Arrangement” tab. Here, you’ll find options to adjust the positioning and arrangement of multiple displays if you’re using more than one screen.
- Tick the checkbox labeled “Mirror Displays” if you want the same content to be displayed on both the MacBook screen and the projector. If you prefer to use the projector as an extended display, leave this option unchecked.
By following these steps, you have successfully connected your MacBook to the projector. But, to ensure the best display quality, there are some additional settings you should configure, which we will cover in the next section.
Adjusting Display Settings on Your MacBook
Once you have connected the projector to your MacBook, it’s important to adjust the display settings to optimize the visual output. Here’s how you can do it:
- Go to the Apple menu in the top-left corner of your screen and select “System Preferences”.
- In the “System Preferences” window, click on “Displays”.
- In the “Displays” window, you will see several tabs. The first tab, “Display”, allows you to set the resolution and screen brightness. Adjust these settings according to your preference.
- Next, click on the “Color” tab. Here, you can calibrate the colors and adjust the display profile. It’s recommended to use the “Default for display” option to ensure accurate color reproduction.
- If you are using multiple displays, such as your MacBook screen and the projector, you can arrange them in the “Arrangement” tab. Drag and drop the screens to position them as per your setup.
- In the “Arrangement” tab, you will also find checkboxes to enable or disable the menu bar and dock on specific displays. Customize these settings based on your preferences.
- Lastly, navigate to the “AirPlay Display” tab. If your macOS version supports it, you can use AirPlay to wirelessly connect to the projector instead of using cables. Select the projector from the list of available devices.
By adjusting these display settings, you can ensure that the content on your MacBook is properly displayed on the connected projector, providing an optimal viewing experience.
In the next section, we will discuss different display modes you can choose from for various use cases.
Configuring Display Preferences
Configuring display preferences on your MacBook allows you to choose the most suitable settings for your specific needs. Here are some preferences you can customize:
- Resolution: Adjusting the resolution determines the clarity and sharpness of the content displayed on your MacBook and the connected projector. Higher resolutions provide more detail, but they may require more processing power. Choose a resolution that balances visual quality and performance.
- Refresh Rate: The refresh rate determines how many times the display refreshes per second. Higher refresh rates result in smoother motion and reduce flickering. Most projectors support a standard refresh rate of 60Hz, but some may offer higher rates. Check the specifications of your projector and adjust the refresh rate accordingly in the display settings.
- Display Color Profiles: MacBook allows you to use different color profiles to enhance the visual experience. You can choose between the default color profile or select a custom profile. Experiment with different profiles to find the one that suits your preference or the requirements of your task.
- Screen Rotation: If you want to rotate the display orientation, you can do so in the display settings. This is especially useful if you need to present content in portrait mode or if your projector is mounted or positioned differently.
- Hot Corners: Hot corners are shortcuts that allow you to trigger specific actions by moving the cursor to the corners of the screen. You can configure hot corners to activate features such as displaying the desktop, launching Mission Control, or putting the display to sleep. Customize these settings according to your workflow.
It’s important to note that some of these display preferences may vary depending on the macOS version or specific MacBook model you are using. Refer to the user manual or Apple’s support website for detailed instructions specific to your MacBook.
Now that you have configured your display preferences, let’s explore the different display modes you can choose from for a seamless viewing experience.
Choosing the Right Display Mode
When using a projector with your MacBook, you have several display modes to choose from, depending on your specific requirements. Here are the most common display modes:
- Mirror Mode: This mode displays the same content on both your MacBook screen and the projector screen. It is useful when you want to present or share your MacBook screen with a larger audience. Simply enable the “Mirror Displays” option in the display settings to activate this mode.
- Extended Mode: In this mode, you can use your MacBook screen and the projector screen as separate displays. This allows you to multitask, have different content on each screen, and enhance your productivity. To enable extended mode, uncheck the “Mirror Displays” option in the display settings.
- Presentation Mode: This mode is designed for presenting slideshows or presentations. It automatically adjusts the display settings to optimize the projection of presentation content. To activate presentation mode, open the presentation software (such as PowerPoint or Keynote) and enter full-screen mode.
- Theater Mode: As the name suggests, this mode is ideal for watching movies or videos. It enhances the colors and optimizes the display settings for an immersive viewing experience. You can enable theater mode by adjusting the display settings, particularly the color profiles and brightness settings, for optimal video playback.
It’s important to choose the right display mode based on your intended use. Consider factors such as the nature of your task, audience engagement, and personal preferences. Experiment with different modes to find the one that suits your needs best.
In the next section, we will address some common issues that you may encounter when using a projector with your MacBook.
Troubleshooting Common Issues
While using a projector with your MacBook, you may encounter some common issues. Here are a few troubleshooting steps to help you resolve them:
- No Display on the Projector: If you are not seeing any display on the projector screen, ensure that the cable or adapter is securely connected to both the MacBook and the projector. Try unplugging and re-plugging the cable, or try using a different cable or adapter if available.
- Blurred or Distorted Display: If the projected image appears blurry or distorted, check the focus adjustment on the projector and make sure it is properly focused. Additionally, ensure that the resolution settings on your MacBook are set correctly. Try adjusting the resolution to match the native resolution of the projector.
- No Sound from the Projector: If you are not getting any sound from the projector, ensure that the audio settings on your MacBook are configured correctly. Go to the sound settings in the System Preferences and select the correct audio output device. Also, check if the projector has built-in speakers and they are not muted or turned off.
- Intermittent Connection: If the connection between your MacBook and the projector is intermittent or keeps dropping, check the cable or adapter for any signs of damage or loose connections. Try using a different cable or adapter to see if the issue persists. Additionally, make sure that the projector is not overheating, as this can cause intermittent connection problems.
- Incompatible Resolution: If the projector screen is not displaying the entire macOS screen or if certain elements are cut off, it may be due to an incompatible resolution. Adjust the resolution settings on your MacBook to match the native resolution of the projector for a proper fit.
If you are unable to resolve the issue after attempting these troubleshooting steps, consult the user manual of your MacBook or the manufacturer’s instructions for the projector. It’s also advisable to seek assistance from technical support or visit an authorized service center if needed.
In the following section, we will provide some useful tips for improving the display quality when using a projector with your MacBook.
Tips for Improving the Projector Display Quality
To enhance the display quality when using a projector with your MacBook, consider implementing the following tips:
- Avoid Ambient Light: Projectors work best in dark or dimly lit environments. Minimize ambient light in the room by closing curtains or blinds, turning off unnecessary lights, and positioning the projector away from direct light sources.
- Optimize Projector Placement: Position the projector at the optimal distance from the screen or wall to achieve the desired image size. Consult the projector’s user manual for the recommended throw distance and zoom settings to obtain the best image quality.
- Adjust Keystone Correction: Keystone correction helps to correct image distortion caused by the projector’s angle. Use the keystone adjustment feature on the projector or in the display settings of your MacBook to align the projected image properly.
- Use High-Quality Cables and Adapters: Poor quality cables or adapters can result in signal loss or degradation, leading to a decrease in display quality. Invest in high-quality cables and adapters that provide a reliable connection between your MacBook and the projector.
- Regularly Clean the Projector Lens: Dust and smudges on the projector lens can impact the image clarity. Clean the lens using a soft, lint-free cloth to remove any dirt or fingerprints, ensuring a sharp and clear projection.
- Calibrate the Colors: If the colors on the projected image appear inaccurate or washed out, perform a color calibration. Use your MacBook’s display settings or specialized calibration software to adjust the color temperature, contrast, and saturation levels for a more vibrant and accurate image.
- Opt for Native Resolution: Whenever possible, set your MacBook’s display resolution to match the native resolution of the projector. This ensures that the image is displayed at its highest quality and reduces the need for scaling, which can introduce pixelation or blurriness.
- Consider Using External Speakers: If the audio quality from the projector’s built-in speakers is insufficient, connect external speakers directly to your MacBook for a better audio experience.
Implementing these tips can significantly improve the display quality when using a projector with your MacBook. Experiment with different settings and adjustments to find the optimal configuration for your specific setup.
Now that you’re equipped with valuable tips for improving the projector display quality, let’s wrap up this guide.
Conclusion
Using a projector with your MacBook can open up a world of possibilities, allowing you to elevate your presentations, multimedia experiences, and productivity. By following the steps outlined in this guide, you can connect your MacBook to a projector seamlessly and configure the display settings for optimal performance.
Remember to choose the right display mode based on your needs, whether it’s mirroring your MacBook screen, extending the display, or utilizing specific modes like presentation or theater mode. Troubleshooting common issues, such as no display or distorted image, can be easily resolved with the provided tips.
To enhance the projector display quality, consider implementing suggestions like optimizing projector placement, cleaning the lens regularly, and using high-quality cables and adapters. Adjusting color calibration, using the native resolution, and considering external speakers can further enhance your viewing and audio experience.
Whether you’re using a projector for professional presentations, educational purposes, or entertainment, understanding how to connect, configure, and optimize the display settings of your MacBook is essential.
We hope this guide has provided you with the knowledge and tips necessary to make the most out of your MacBook and projector setup. Enjoy your enhanced visuals, immersive experiences, and improved productivity as you explore the capabilities of using a projector with your MacBook!