Introduction
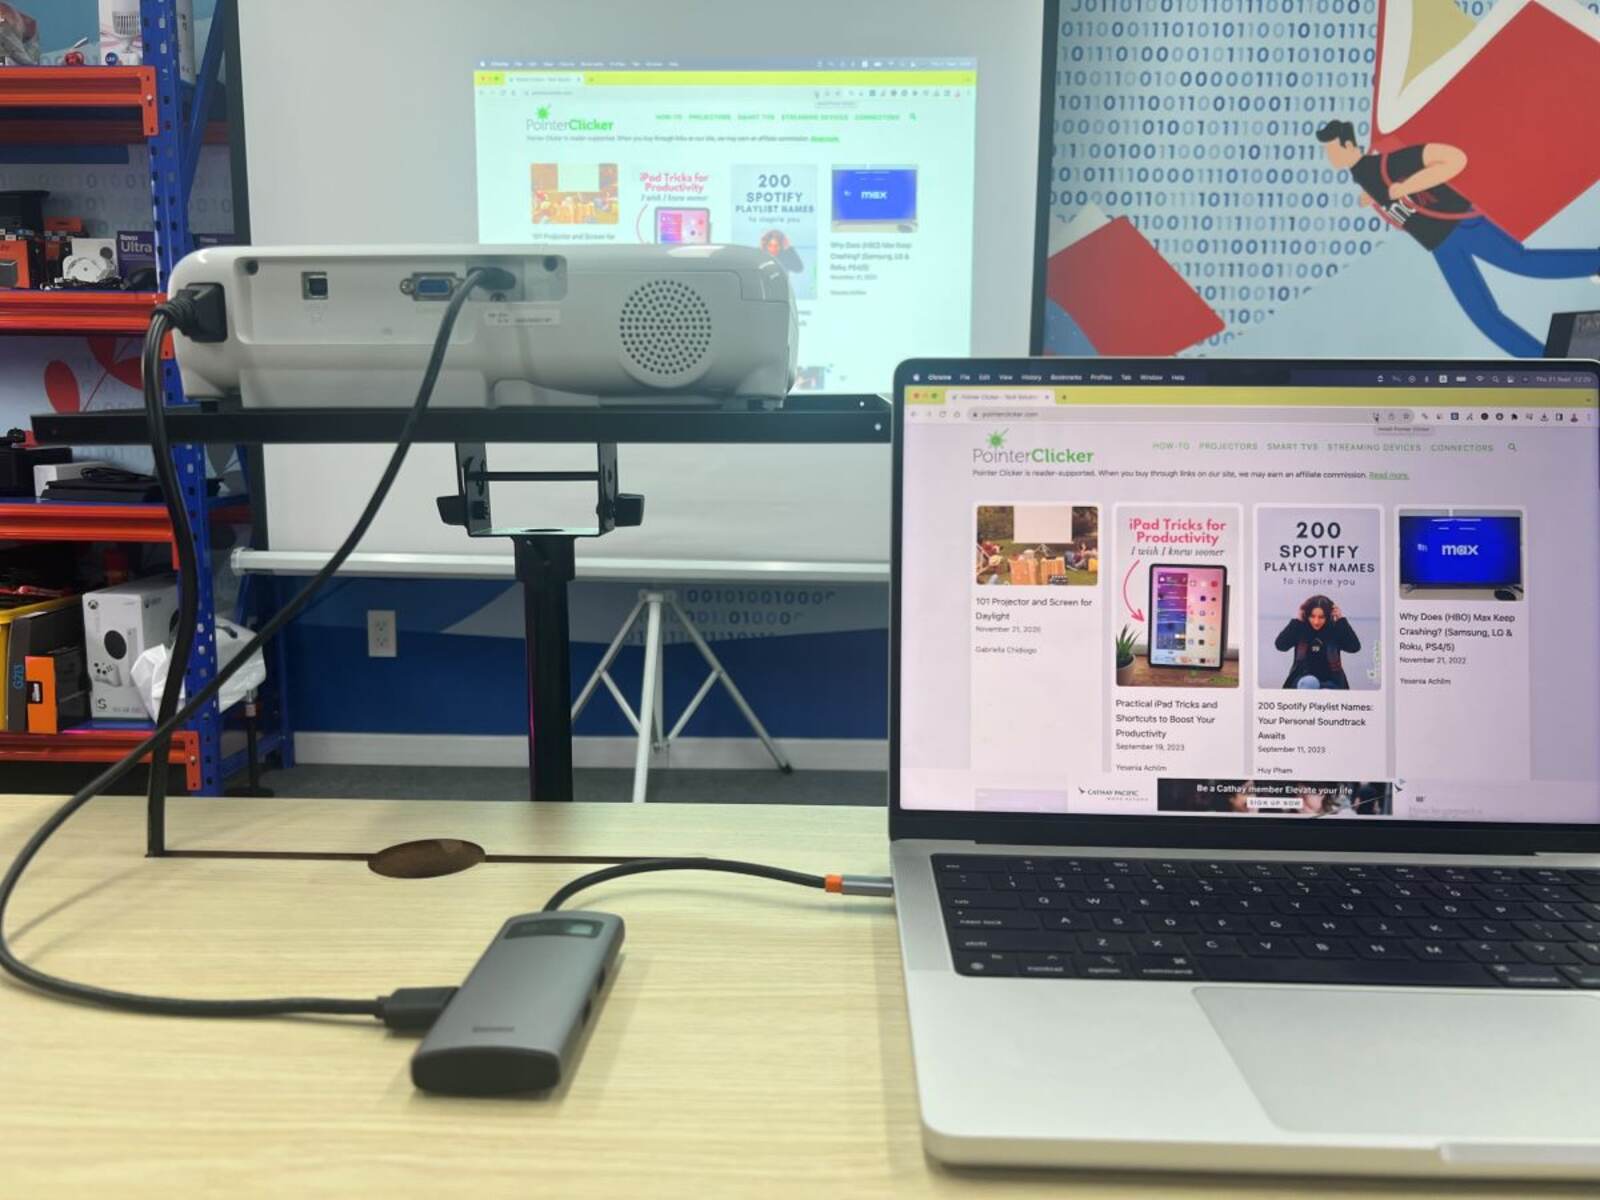
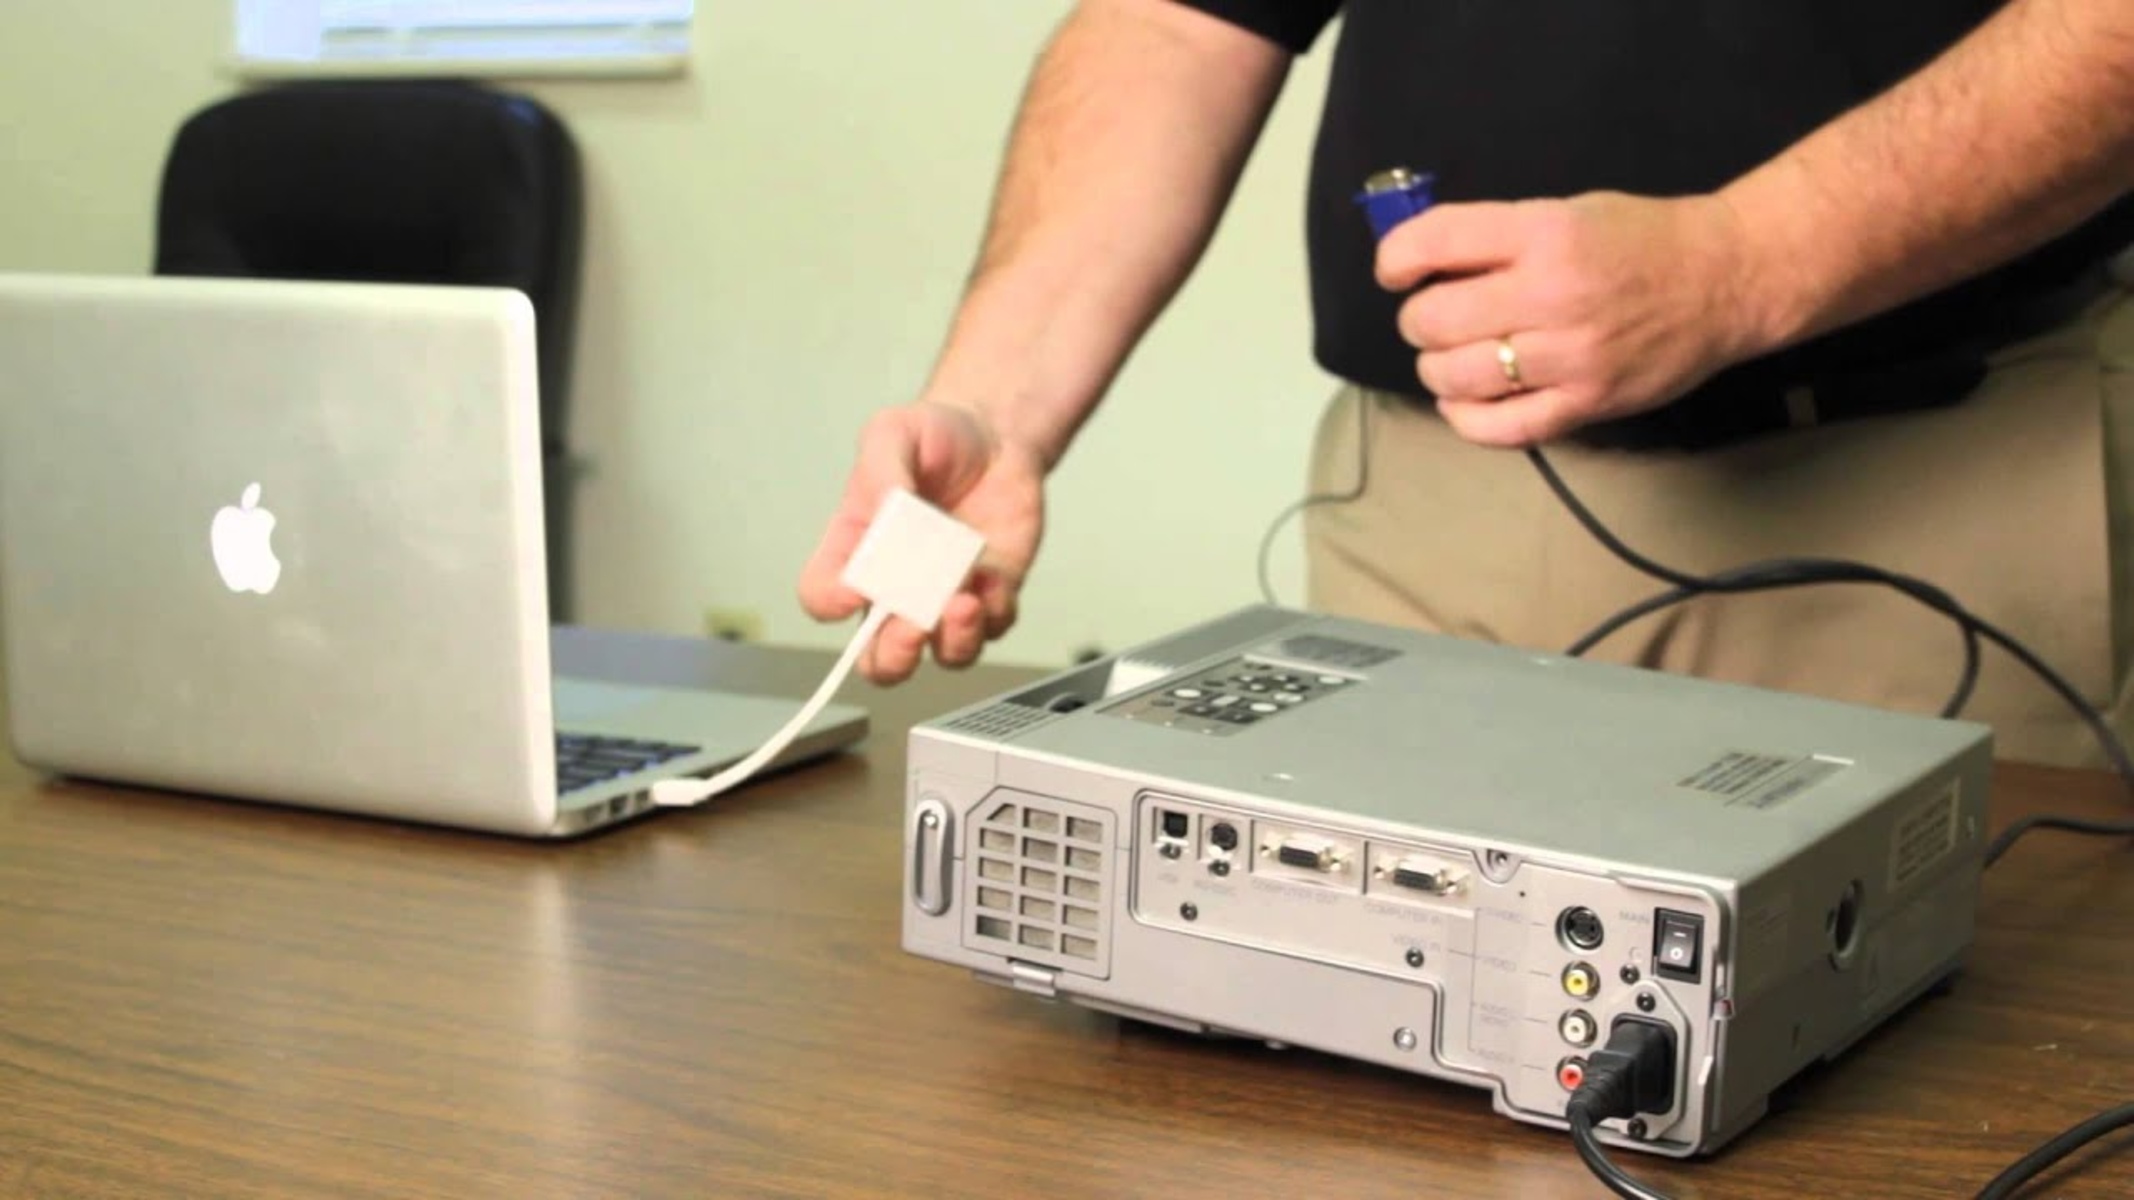
Connecting your MacBook to a projector with an HDMI cable is a convenient way to display your laptop’s screen on a larger display. Whether you’re giving a presentation, watching a movie, or sharing photos with a group, utilizing a projector can enhance the visual experience.
MacBooks are equipped with several ports, including HDMI, which allows for seamless connectivity with compatible projectors. In this guide, we will walk you through the step-by-step process of connecting your MacBook to a projector using an HDMI cable.
Before we begin, it’s important to ensure that your MacBook and the projector have the necessary ports to establish the connection. Most modern MacBooks come with at least one HDMI port, while projectors usually have an HDMI input. Confirming that both devices have the compatible ports will ensure a successful connection.
In the following sections, we will discuss the steps involved in connecting your MacBook to a projector using an HDMI cable. We’ll cover everything from obtaining the appropriate cable to adjusting the display settings on your MacBook. By the end of this guide, you’ll be ready to connect your MacBook to a projector and start projecting your screen’s content with ease.
Step 1: Check the available ports on your MacBook and the projector
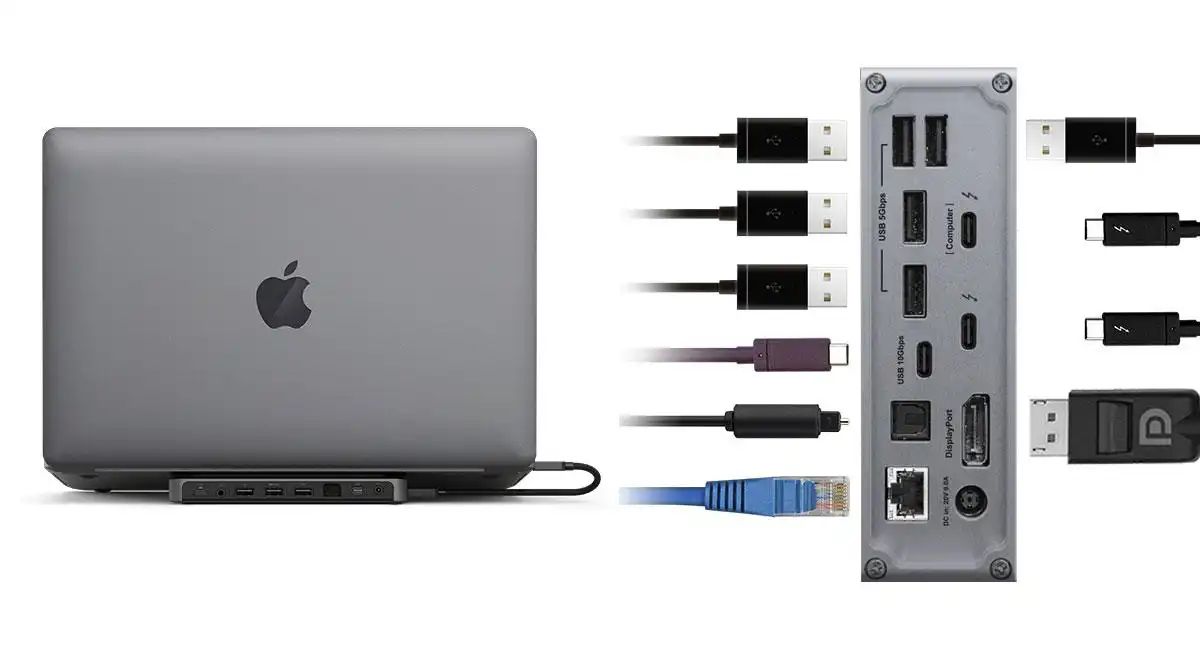
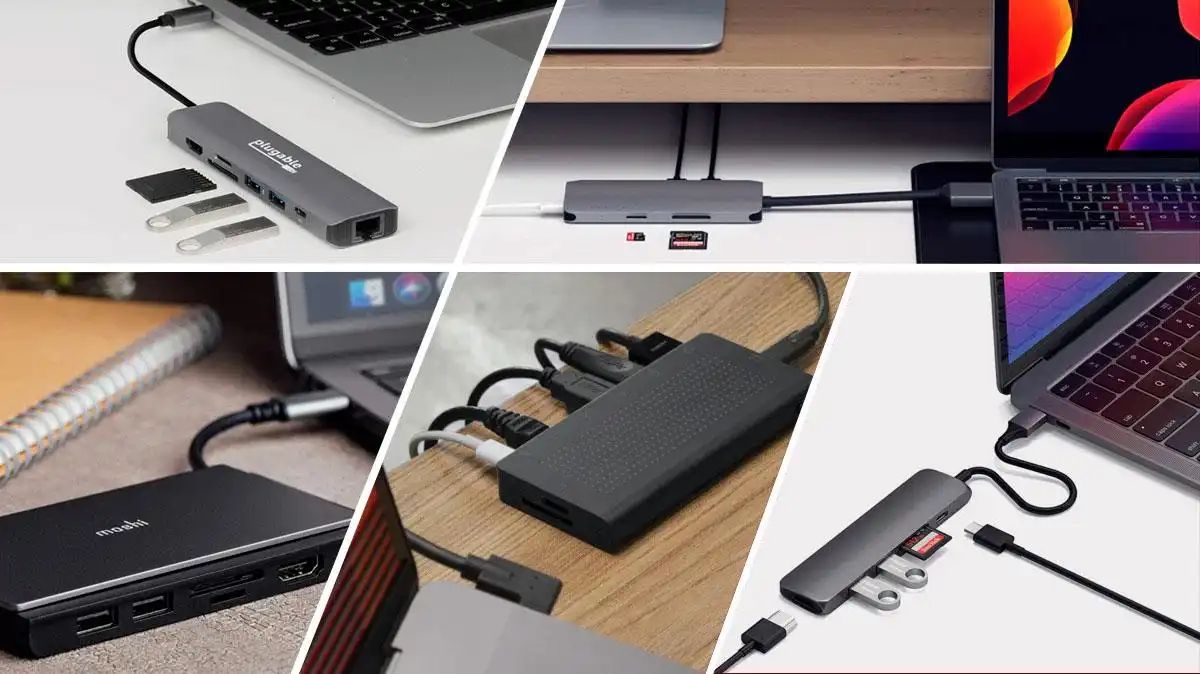
Before connecting your MacBook to a projector, it’s crucial to identify the available ports on both devices to ensure compatibility. Most modern MacBooks are equipped with an HDMI port, which is the most common type of port for connecting to a projector. On the other hand, projectors typically have an HDMI input as well.
Start by examining your MacBook for an HDMI port. It is usually labeled with “HDMI” or represented by an HDMI icon. If your MacBook doesn’t have an HDMI port, you may need to use an adapter that converts another port, such as Thunderbolt or USB-C, to HDMI.
Next, locate the HDMI input on the projector. It is typically found on the back or side of the device and is also labeled with “HDMI” or indicated by an HDMI icon. Take note of the input’s location to ensure easy access when connecting the cable.
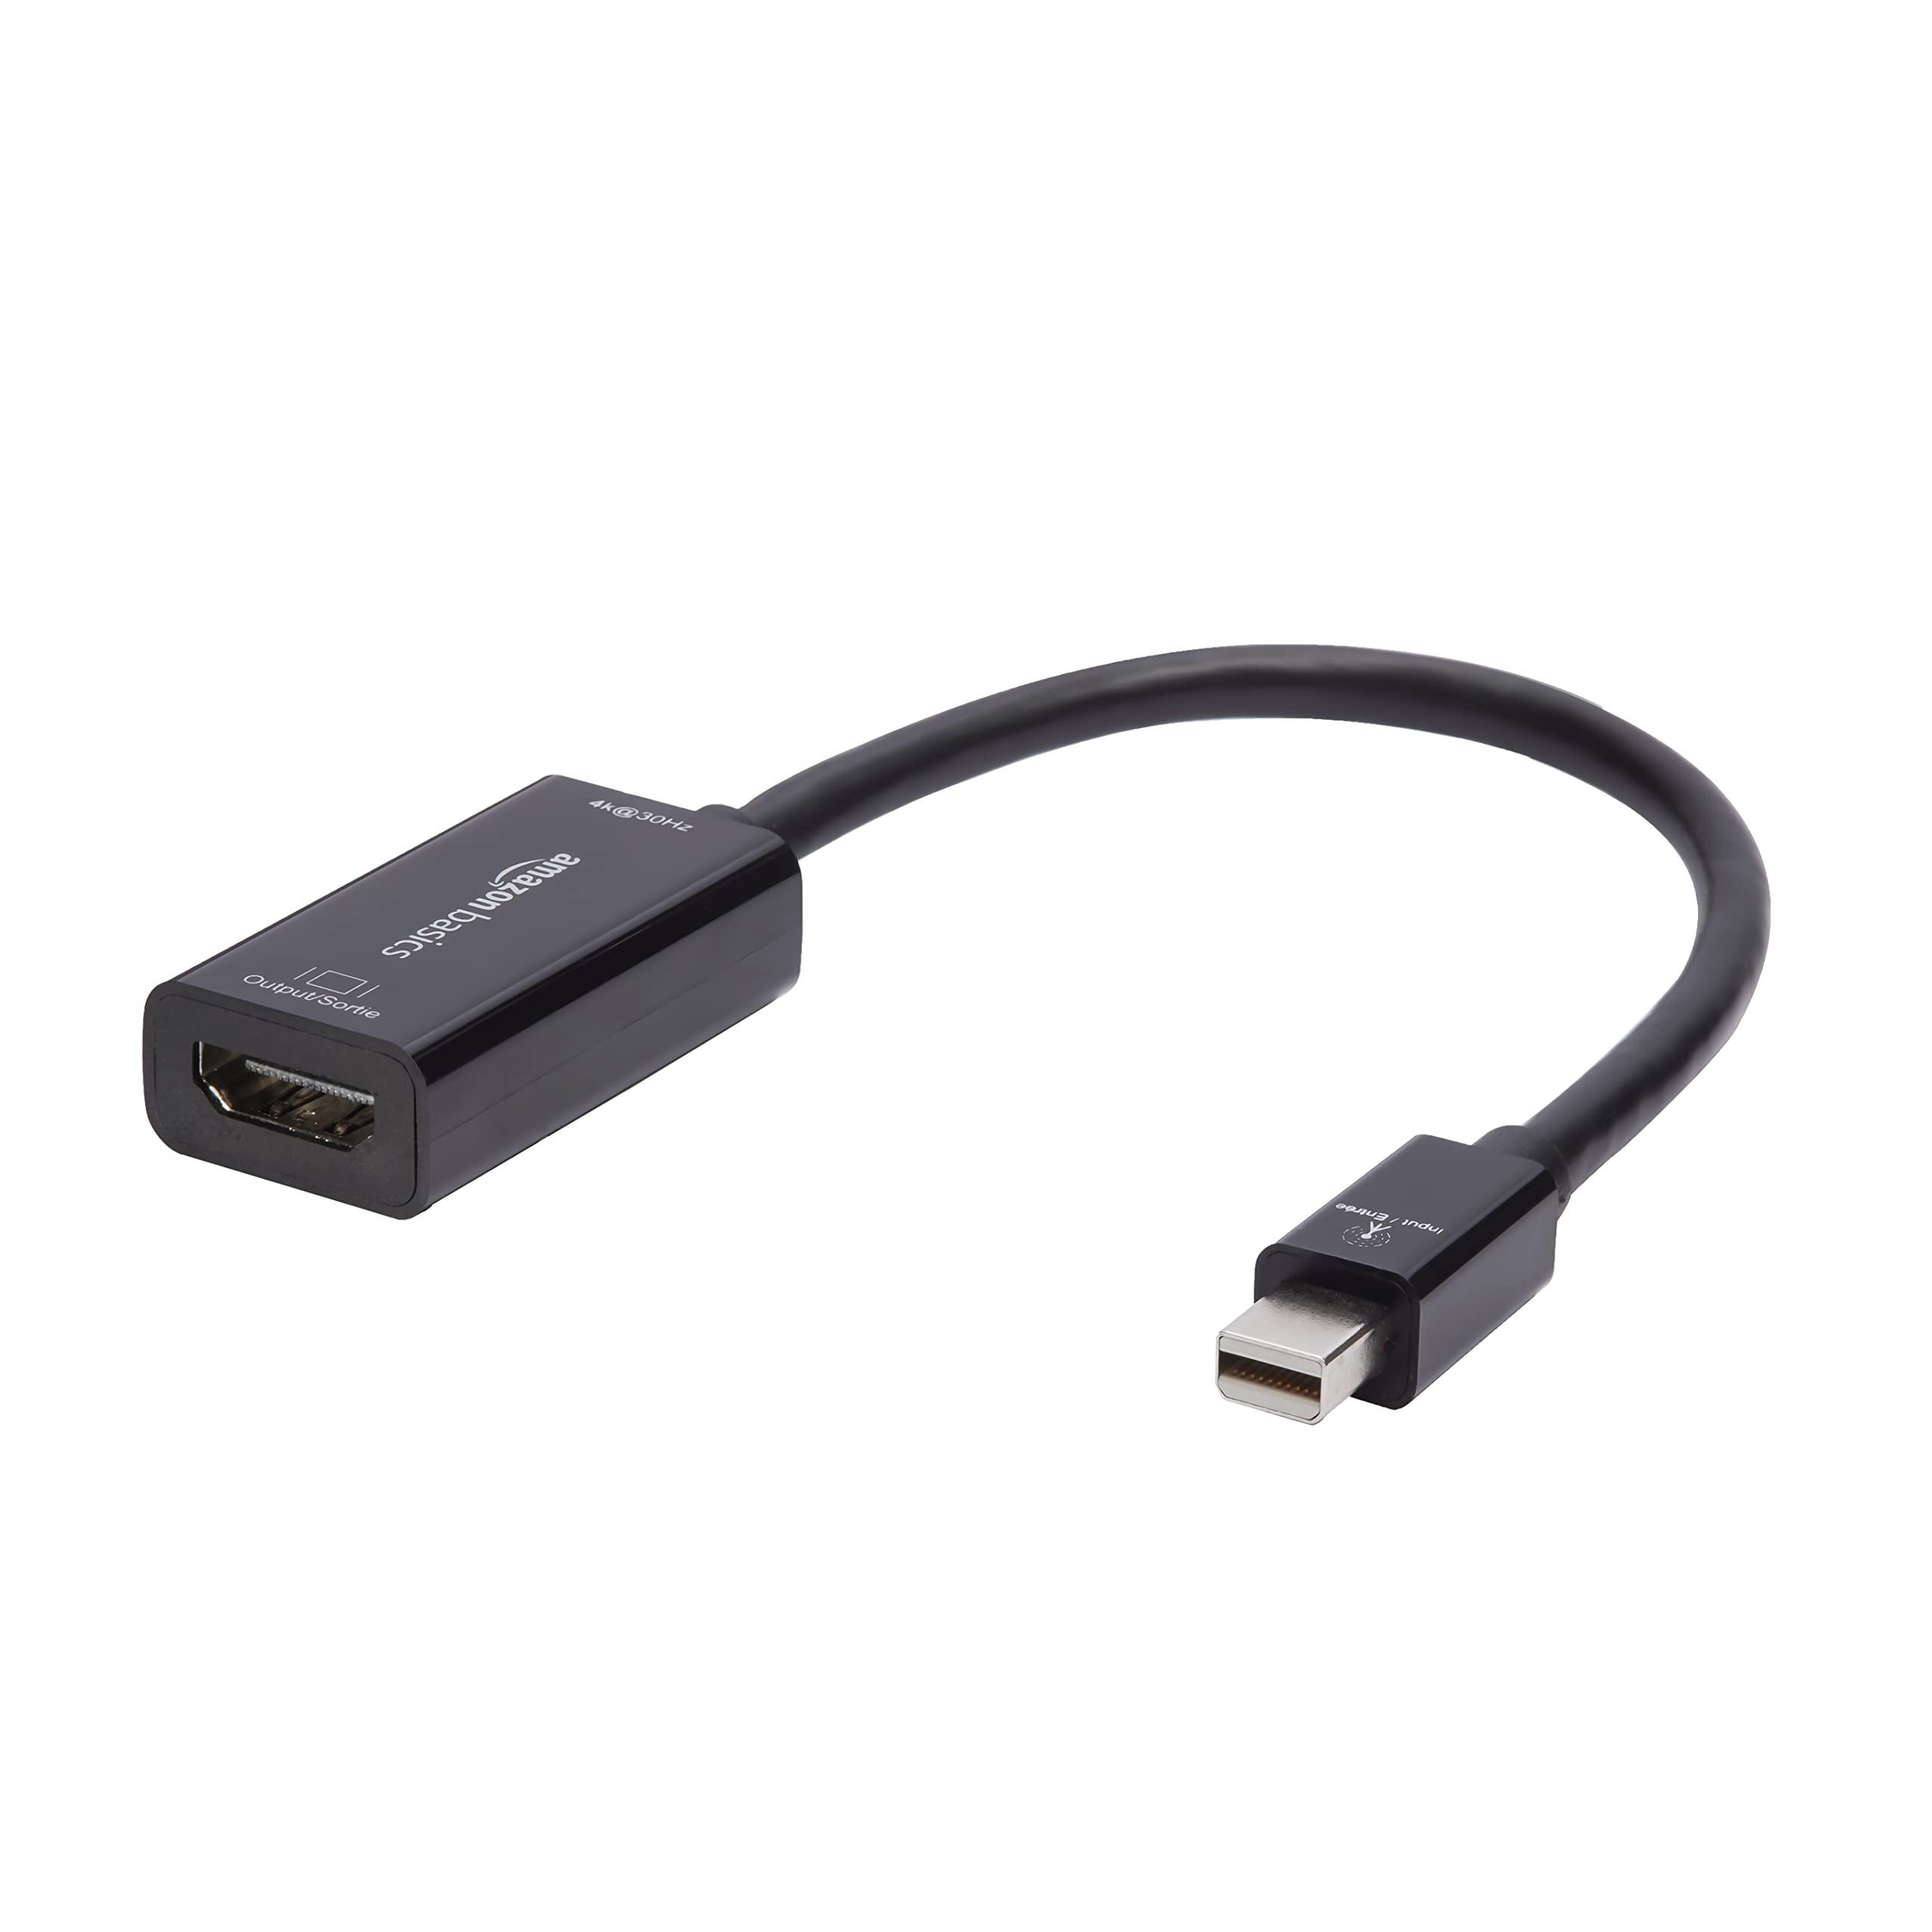
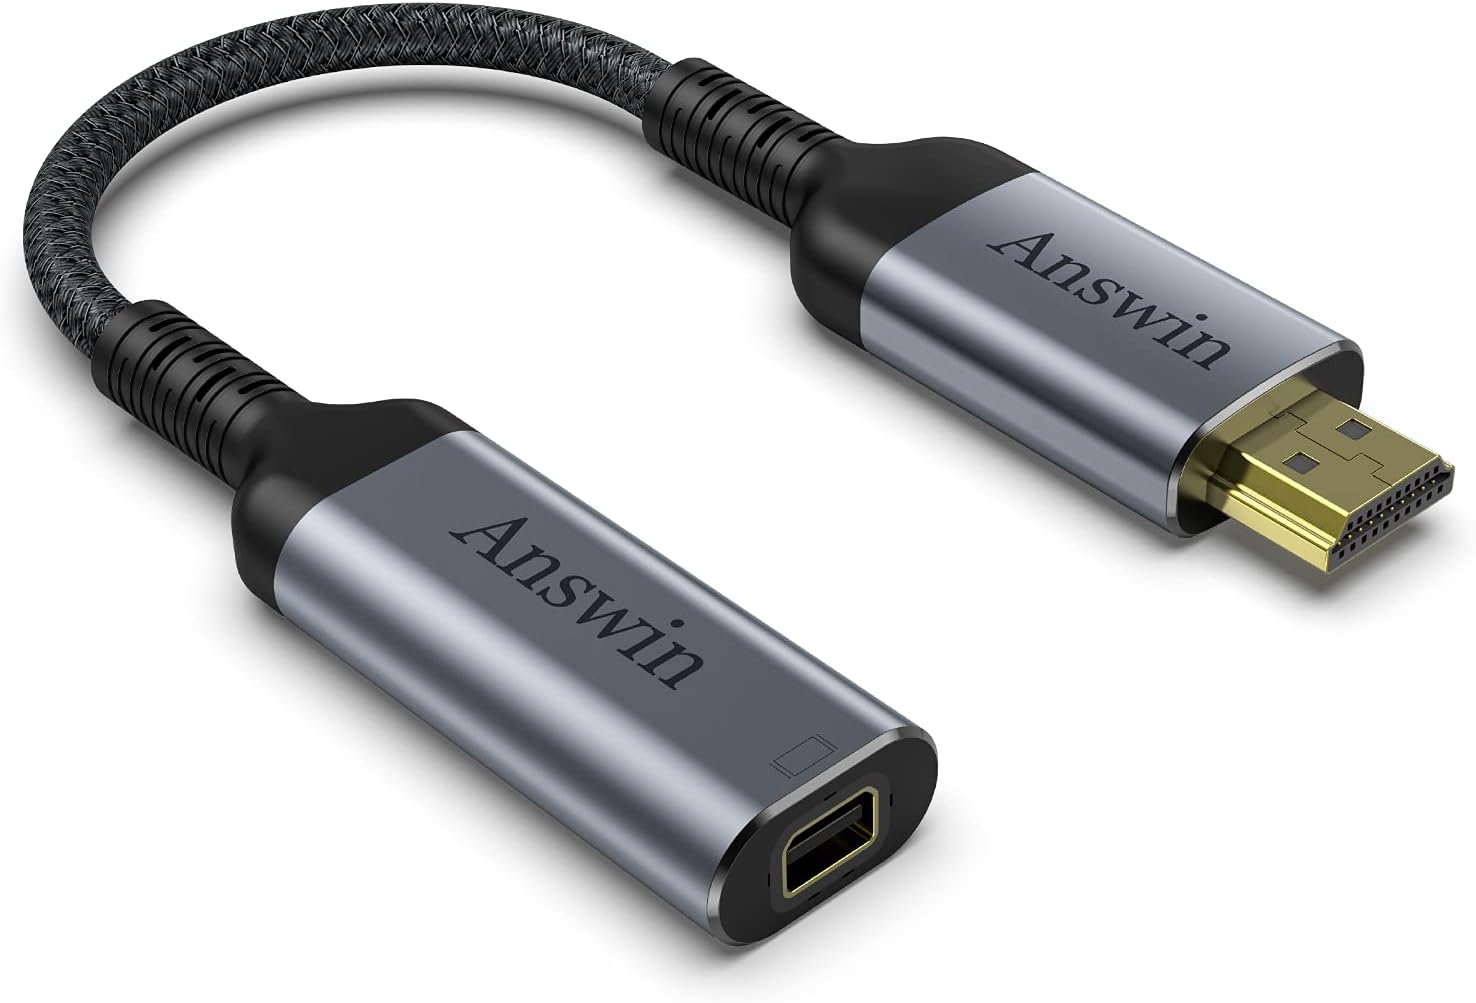
If your MacBook or projector doesn’t have an HDMI port or input, consider checking for alternative ports, such as VGA or DisplayPort. In such cases, you will need to use the appropriate adapter or cable to establish the connection between your MacBook and the projector.
Once you have identified the available ports on both devices, you can proceed to the next step of obtaining an HDMI cable. Remember to choose a cable length that is suitable for your setup and provides ample reach between the MacBook and the projector.
Step 2: Obtain an HDMI cable
Now that you have identified the available ports on your MacBook and the projector, the next step is to obtain an HDMI cable. The HDMI cable is essential for establishing a connection between the two devices and transmitting both audio and video signals.
HDMI cables come in various lengths, so make sure to choose one that suits your needs. If the projector is located relatively close to your MacBook, a shorter cable should suffice. However, if you require more flexibility in terms of distance, opt for a longer cable.
When purchasing an HDMI cable, consider the version and specifications. HDMI cables are categorized into different versions, such as HDMI 1.4, HDMI 2.0, and HDMI 2.1. The version you choose depends on the capabilities of your MacBook and the projector. In most cases, a standard HDMI 1.4 cable should be sufficient for basic needs.
It’s also worth noting that HDMI cables come in various price ranges. While expensive cables may offer additional features or higher build quality, a standard, affordable HDMI cable will typically work just fine for connecting your MacBook to the projector.
Once you have obtained the HDMI cable, you’re ready to proceed to the next step of connecting one end of the cable to your MacBook. Ensure the cable is in good condition and has proper connectors before moving on.
Step 3: Connect one end of the HDMI cable to the MacBook
With the HDMI cable in hand, it’s time to connect one end of the cable to your MacBook. Follow the steps below to ensure a proper connection:
- Locate the HDMI port on your MacBook. It is typically located on the side or back of the device and labeled with “HDMI” or represented by an HDMI icon.
- Take one end of the HDMI cable and insert it firmly into the HDMI port on your MacBook. Ensure that the cable is inserted straight and fully into the port to establish a secure connection.
- Gently push the cable into the port until you hear or feel a click, indicating that it is properly connected.
- Inspect the connection to make sure it is secure and that there are no loose cables or visible damage.
Once you have completed these steps, you have successfully connected one end of the HDMI cable to your MacBook. Proceed to the next step to connect the other end of the cable to the projector.
Step 4: Connect the other end of the HDMI cable to the projector
Now that you have connected one end of the HDMI cable to your MacBook, it’s time to connect the other end to the projector. Follow these steps to ensure a proper connection:
- Locate the HDMI input on the projector. It is usually found on the back or side of the device and labeled with “HDMI” or indicated by an HDMI icon.
- Take the other end of the HDMI cable, ensuring that it is the correct end, and insert it firmly into the HDMI input on the projector.
- Gently push the cable into the input until you hear or feel a click, indicating that it is securely connected.
- Check the connection to make sure it is secure and that there are no loose cables or visible damage.
Once you have completed these steps, you have successfully connected the other end of the HDMI cable to the projector. The HDMI cable serves as the bridge between your MacBook and the projector, allowing for the transmission of audio and video signals.
Before moving on to the next step, ensure that both ends of the HDMI cable are securely connected to their respective devices. A loose or unstable connection can result in a loss of signal or poor display quality.
Step 5: Turn on your MacBook and the projector
With the HDMI cable connected to both your MacBook and the projector, the next step is to turn on both devices. Follow these steps to ensure a successful startup:
- On your MacBook, locate the power button. It is typically found on the top-right or top-left corner of the keyboard.
- Press and hold the power button until you see the Apple logo and hear the startup sound. This indicates that your MacBook is powering on.
- Next, locate the power button on the projector. It is usually located on the device’s control panel or remote.
- Press the power button on the projector to turn it on. You may need to wait a few seconds for the projector to start up and initialize.
Ensure that both the MacBook and the projector are properly powered on before proceeding to the next step. It’s important to note that the startup process may vary slightly depending on the specific models of your MacBook and projector.
By turning on both devices, you are preparing them for the connection and ensuring that they are ready to display the content from your MacBook on the projector’s screen. With the MacBook and projector powered on, you’re ready to move on to the next step of adjusting the display settings on your MacBook.
Step 6: Adjust the display settings on your MacBook
Now that your MacBook and the projector are powered on, it’s time to adjust the display settings on your MacBook to optimize the projection. Follow these steps to ensure the best visual experience:
- On your MacBook, click on the Apple menu located on the top-left corner of the screen.
- Select “System Preferences” from the drop-down menu.
- In the System Preferences window, click on the “Displays” icon.
- In the Displays settings, navigate to the “Arrangement” tab (if available). This tab allows you to configure the positioning of your displays.
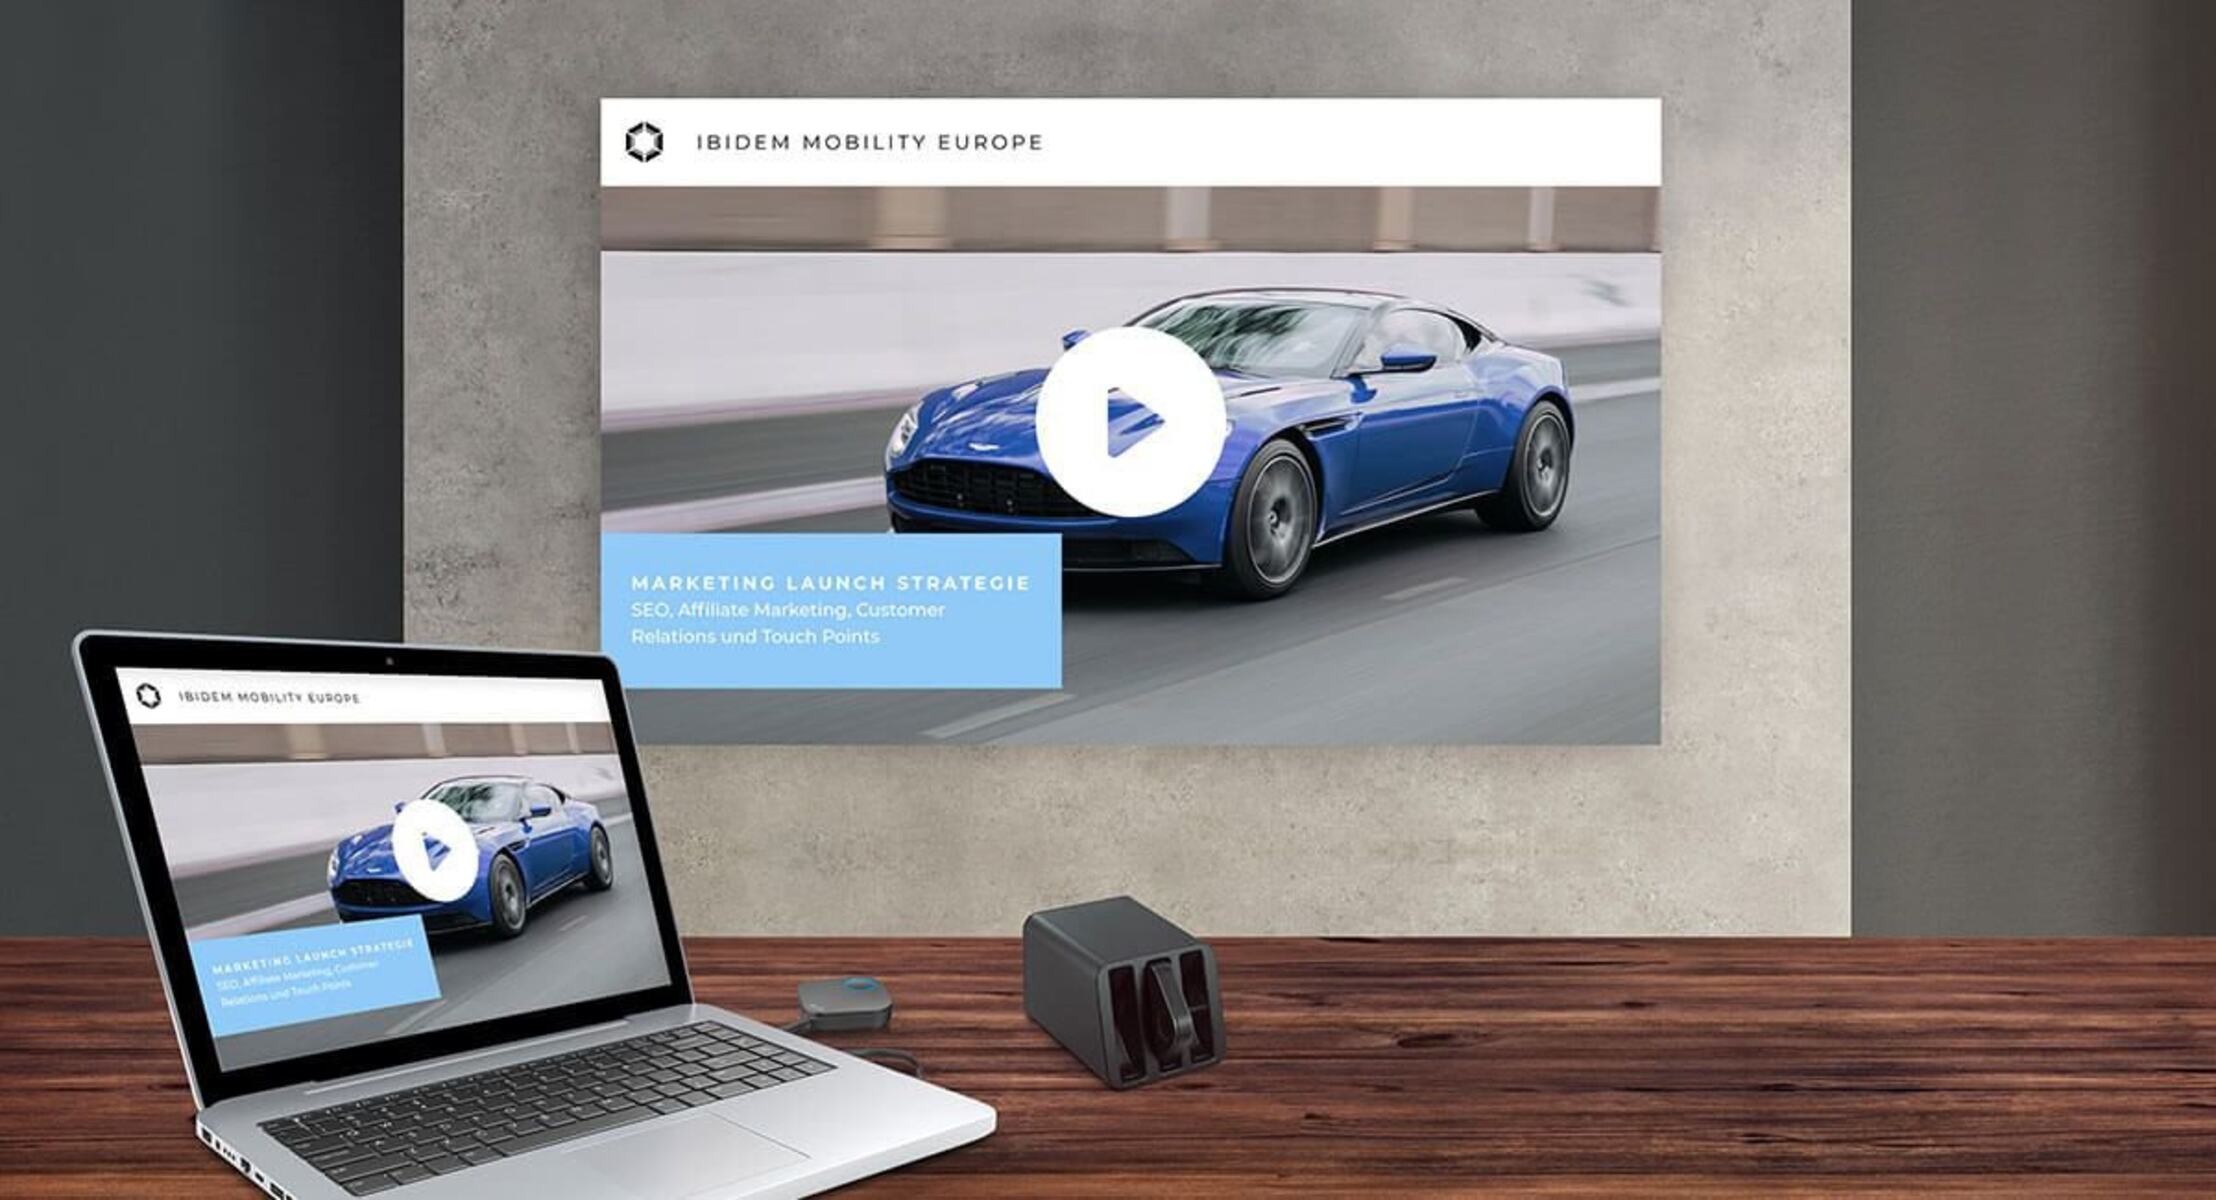
- Check the “Mirror Displays” option if you want your MacBook’s screen to be mirrored on the projector. This will display the same content on both screens.
- Alternatively, if you want to extend your MacBook’s screen and use the projector as a secondary display, uncheck the “Mirror Displays” option.
- Adjust the resolution settings to match the optimum resolution of the projector. This will ensure that the projected content appears clear and crisp.
- Make any additional adjustments to the display settings, such as brightness, color, and aspect ratio, according to your preferences.
- Once you have made the necessary adjustments, close the System Preferences window.
By adjusting the display settings on your MacBook, you can optimize the projection quality, choose the desired display mode (mirrored or extended), and fine-tune the visual parameters to your liking.
With the display settings adjusted, you’re ready to move on to the next step of selecting the HDMI input on the projector.
Step 7: Select the HDMI input on the projector
After adjusting the display settings on your MacBook, the next step is to select the HDMI input on the projector. This ensures that the projector recognizes the signal coming from your MacBook and displays it on the screen. Follow these steps to select the HDMI input:
- On the projector’s control panel or remote, locate the input/source button. It is typically labeled as “Input,” “Source,” or represented by an icon depicting multiple input options.
- Press the input/source button repeatedly until the projector displays “HDMI” or the corresponding HDMI input number on the screen.
- Wait for the projector to recognize the HDMI signal. This may take a few seconds as the projector detects the connection from your MacBook.
- Once the HDMI input is selected and the projector displays the MacBook’s content, adjust the focus and any other necessary settings on the projector to optimize the image quality.
Most projectors automatically detect the HDMI signal when the input is selected. However, in case the projector doesn’t recognize the signal, ensure that the HDMI cable is securely connected to both the MacBook and the projector and that the MacBook is powered on.
By selecting the HDMI input on the projector, you establish the connection between your MacBook and the projector, allowing for the display of your MacBook’s content on the larger screen.
With the HDMI input selected, you’re ready to move on to the final step of starting the projection from your MacBook.
Step 8: Start projecting from your MacBook
Now that the HDMI input is selected on the projector, you can start projecting the content from your MacBook onto the larger screen. Follow these steps to begin the projection:
- On your MacBook, navigate to the content you want to project, such as a presentation, video, or slideshow.
- Ensure that the content is open and ready to be displayed.
- Press the “Play” button, “Start” button, or initiate the projection command within the specific application you are using.
- Depending on the application, you may need to select the display mode or monitor preferences to specify the projector as the output device.
- Check the projector screen to see if the content from your MacBook is being displayed.
- If necessary, make any further adjustments to the MacBook’s display settings, such as resolution, scaling, or screen mirroring, to optimize the projection.
- Once the content is successfully projected, you can control it from your MacBook as you would normally, using the keyboard, trackpad, or any connected peripherals.
It’s important to note that the method of starting the projection may vary depending on the specific application you are using. For example, in presentation software like PowerPoint or Keynote, you may need to click on the “Slideshow” mode and select the external display option.
With the content successfully projected from your MacBook, you can now interact with it, present it to an audience, or enjoy a larger screen experience.
Congratulations! You have successfully connected your MacBook to a projector with an HDMI cable and started projecting your MacBook’s content on the larger screen.
Conclusion
Connecting your MacBook to a projector with an HDMI cable opens up a world of possibilities, allowing you to display your laptop’s screen on a larger scale. By following the step-by-step guide provided, you can easily set up the connection and start projecting your content in no time.
We started by checking the available ports on your MacBook and the projector to ensure compatibility. Then, we obtained an HDMI cable and connected one end to the MacBook and the other end to the projector. After turning on both devices, we adjusted the display settings on the MacBook to optimize the projection. Selecting the HDMI input on the projector ensured that the signal from the MacBook was received and displayed properly.
Finally, by starting the projection from your MacBook, you were able to share presentations, watch movies, or enjoy any other content on a larger screen. Remember, depending on the application you’re using, the process might differ slightly, but the basics remain the same.
With this knowledge, you can confidently connect your MacBook to a projector whenever you need to enhance your visual experience. Whether you’re giving a presentation, hosting a movie night, or sharing a slideshow with friends, the HDMI connection provides a seamless and versatile solution.
Enjoy the benefits of using your MacBook with a projector and make the most out of your multimedia content by projecting it on a grand scale.