Introduction
Welcome to our guide on how to connect your MacBook to an Epson projector. Whether you’re giving a presentation, watching a movie, or sharing content with a larger audience, connecting your MacBook to an Epson projector allows you to seamlessly display your screen on a bigger display. In this article, we will walk you through the steps to make this connection.
Modern MacBooks and Epson projectors are designed to work together seamlessly, allowing you to mirror or extend your MacBook’s screen onto the projector. By following a few simple steps, you can ensure a successful connection and a smooth presentation experience.
Before we dive into the details, make sure you have the necessary equipment and cables. You will need your MacBook, an Epson projector, a compatible cable (usually HDMI or VGA), and any necessary adapters depending on the ports available on your MacBook.
Connecting your MacBook to an Epson projector can enhance your productivity, allowing you to collaborate with colleagues, deliver engaging presentations, or enjoy multimedia content on a larger screen. So, let’s get started with the step-by-step guide on how to connect your MacBook to an Epson projector.
Requirements
Before you begin connecting your MacBook to an Epson projector, there are certain requirements you need to ensure. Here’s a list of the essential items:
1. MacBook: You will need a MacBook laptop equipped with a video output port. The type of port may vary depending on the model of your MacBook, but common options include HDMI, Mini DisplayPort, or USB-C.
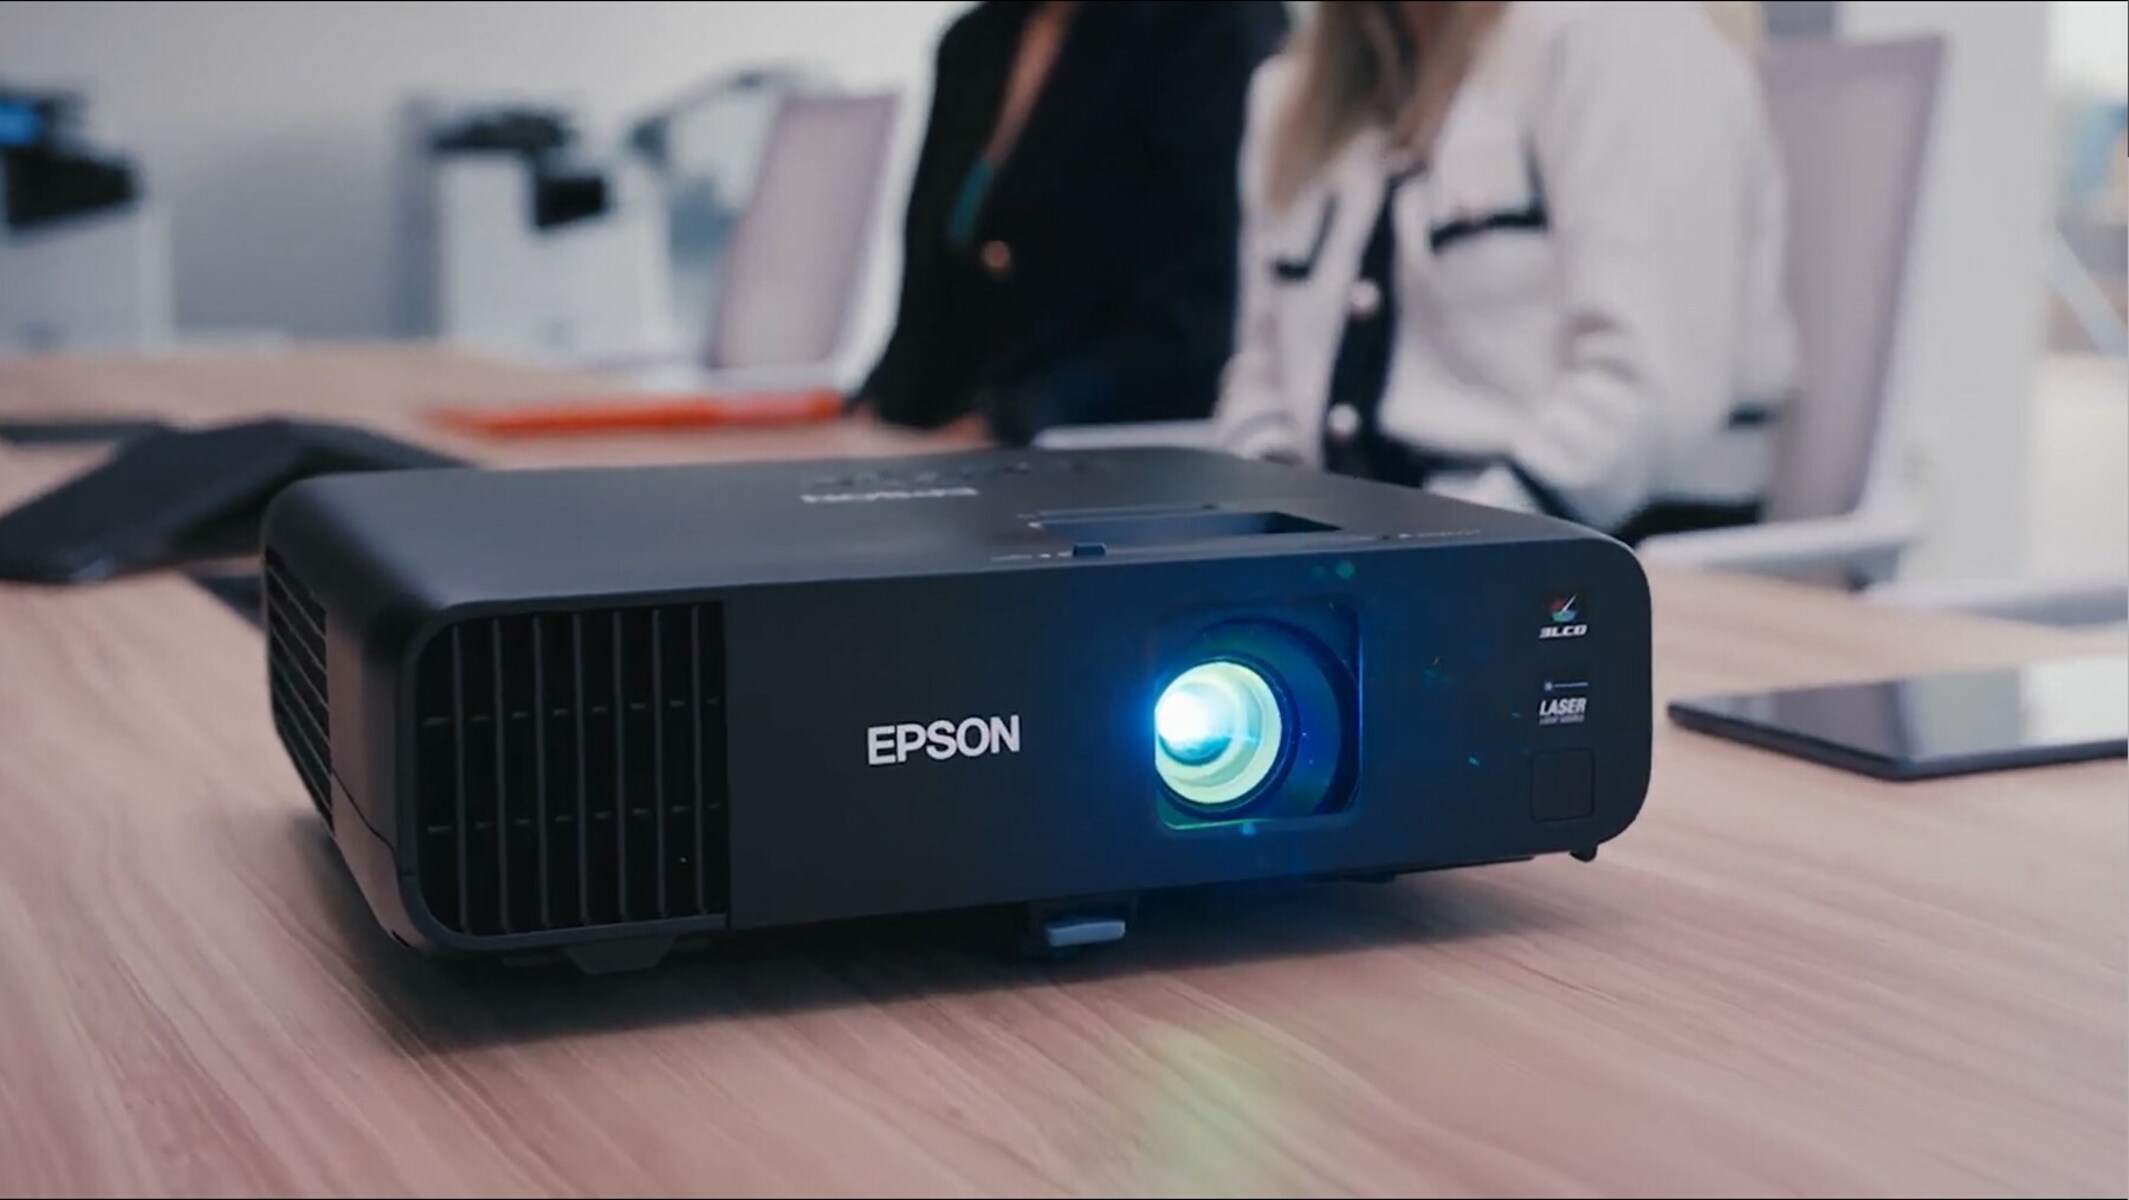
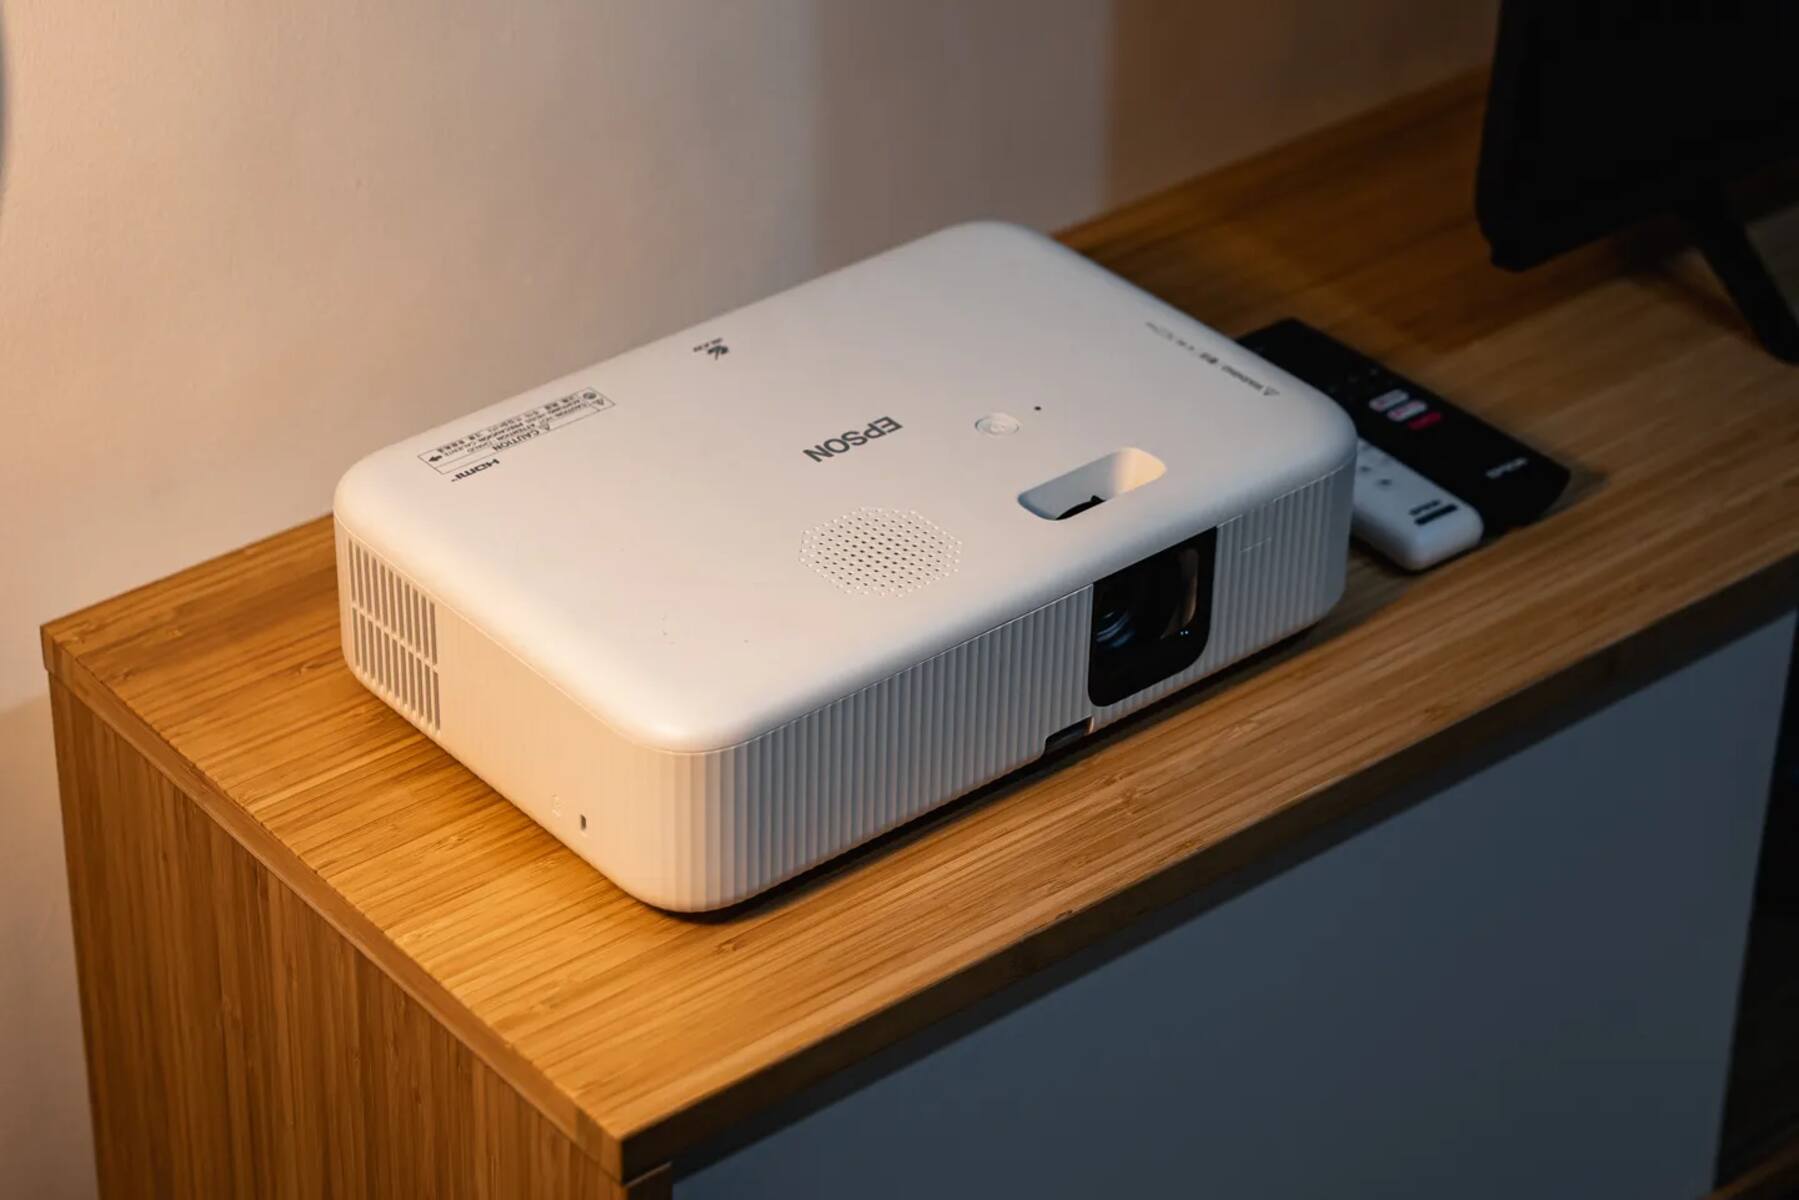
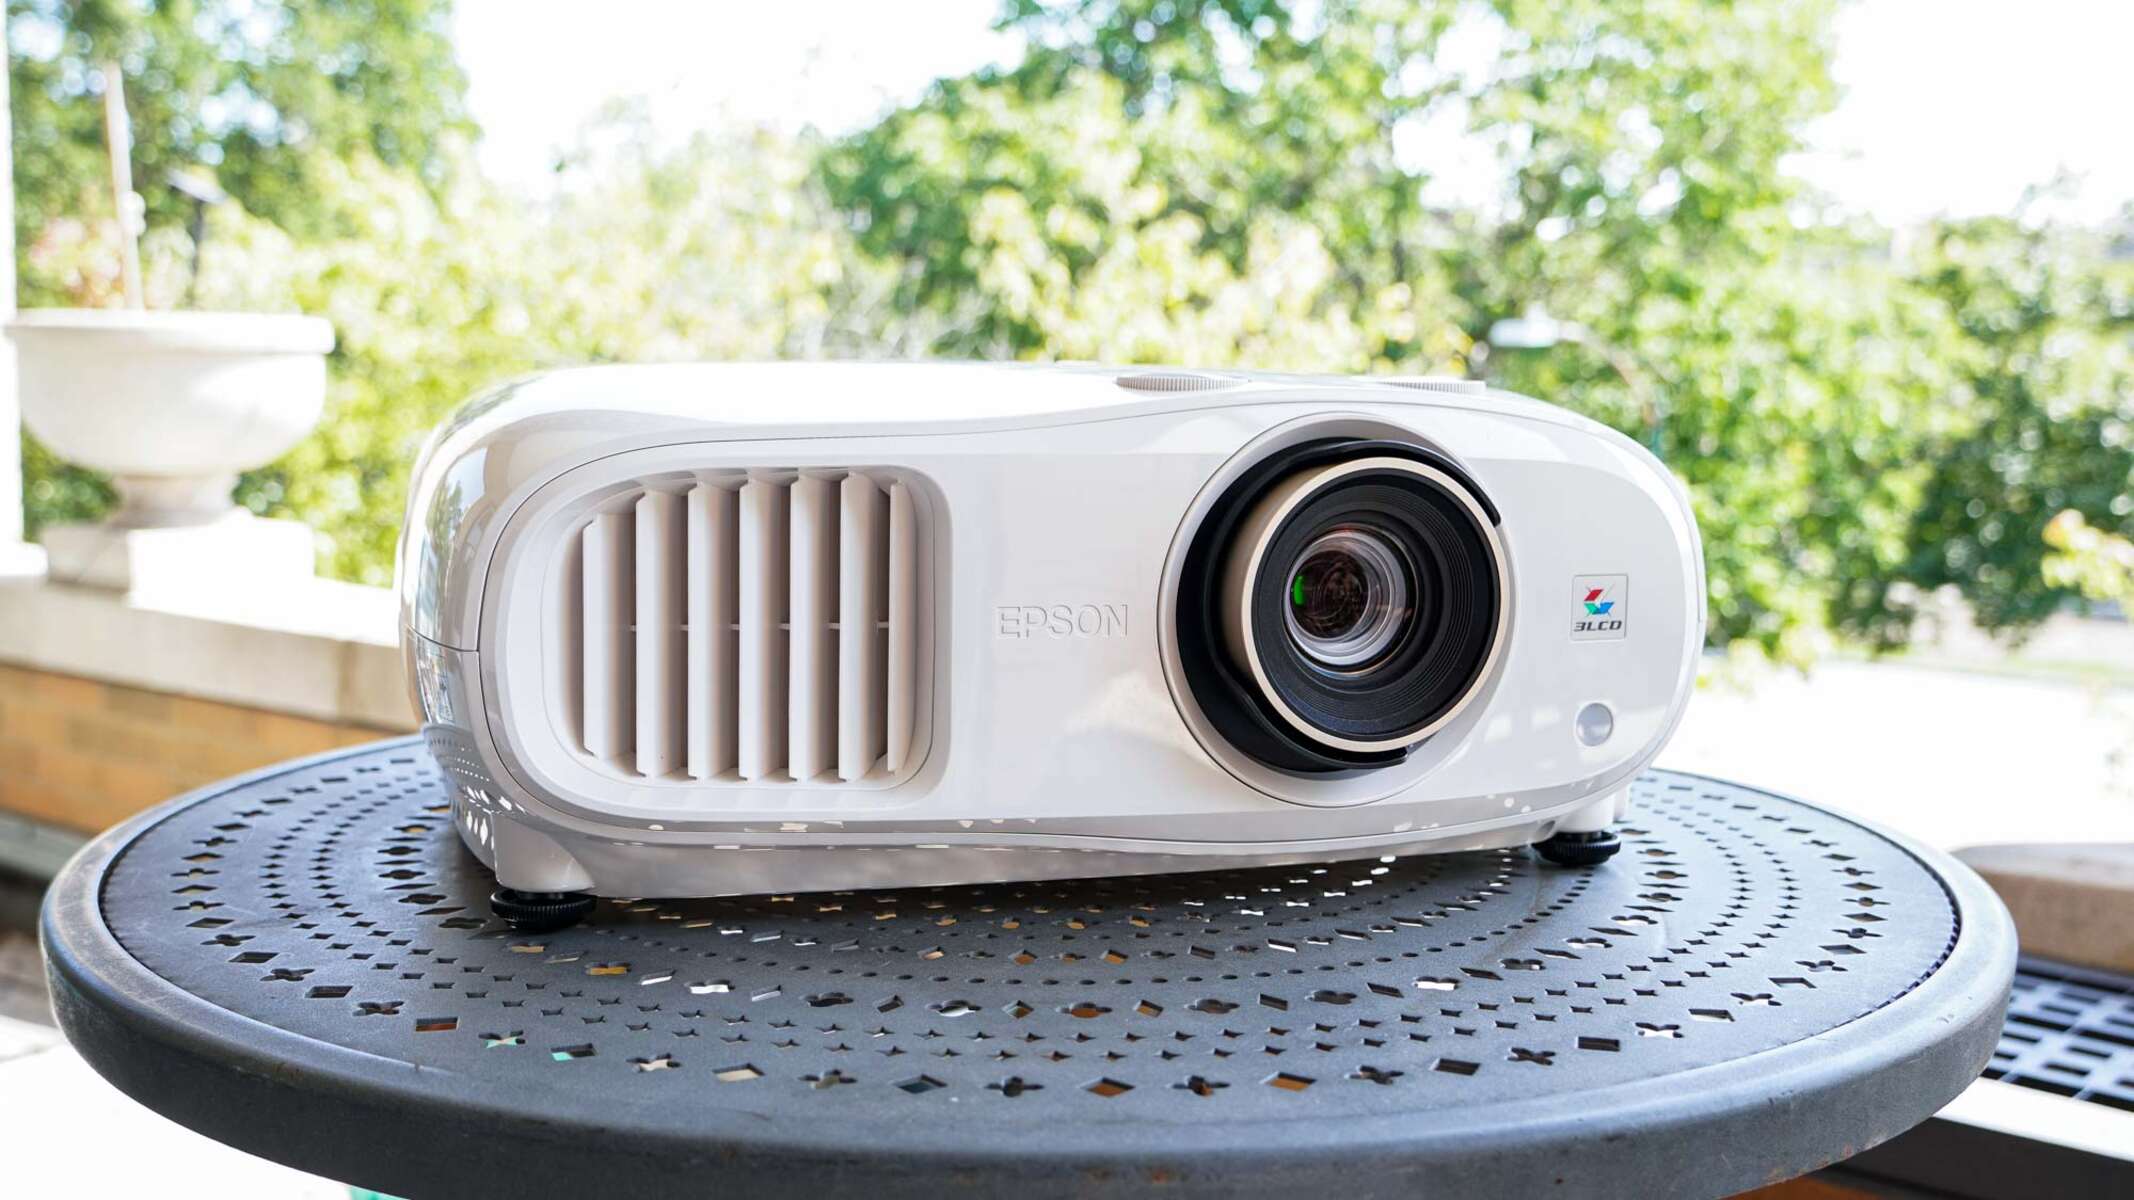
2. Epson Projector: Make sure you have an Epson projector with a compatible input port that matches the output port on your MacBook. The most common ports on Epson projectors are HDMI and VGA.
3. Cable and Adapters: You will need a cable that matches the ports on your MacBook and the Epson projector. For example, if your MacBook has a USB-C port, you may need a USB-C to HDMI adapter or cable. If your MacBook has a Mini DisplayPort, you may need a Mini DisplayPort to VGA adapter or cable. Ensure that you have the necessary adapters handy to connect the cable to your MacBook and Epson projector.
4. Power Source: Make sure both your MacBook and Epson projector are connected to a power source. This will ensure uninterrupted usage and prevent any issues related to power supply during your presentation or multimedia experience.
5. Compatible Software: Check if your MacBook is running the latest operating system, which is compatible with the projector. This will ensure smooth connectivity and optimal performance. Additionally, make sure you have any relevant software or drivers installed on your MacBook, as recommended by Epson, to enable seamless communication between your MacBook and the projector.
By ensuring that you have all these requirements met, you will be well-prepared to connect your MacBook to an Epson projector and enjoy the benefits of a larger display for your presentations, movies, or any other content you wish to share. Once you have gathered all the necessary equipment, let’s proceed to the next section to learn how to establish the physical connection between your MacBook and the Epson projector.
Connecting the MacBook
Once you have gathered all the necessary equipment and made sure you meet the requirements, it’s time to connect your MacBook to the Epson projector. Follow these steps:
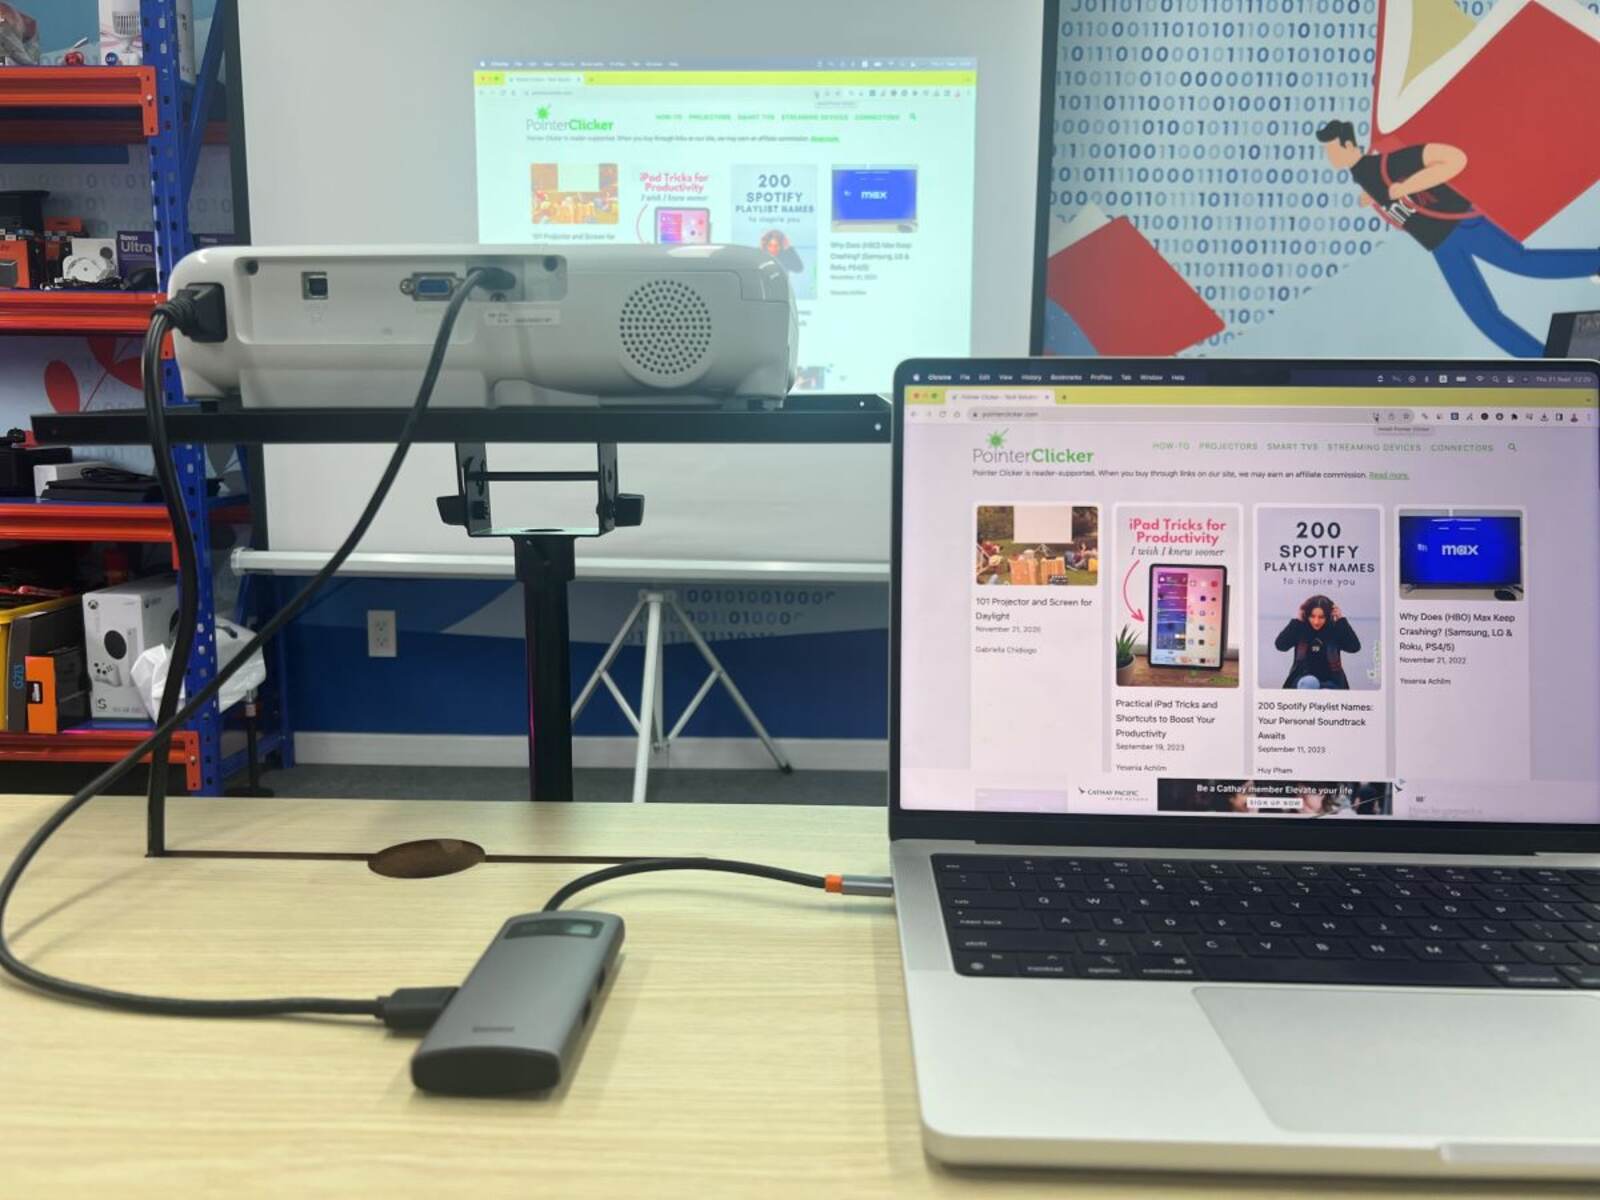
1. Identify the ports: Locate the video output port on your MacBook, which could be HDMI, Mini DisplayPort, or USB-C, depending on the model. Then, identify the corresponding input port on the Epson projector.
2. Connect the cable: Take the appropriate cable and connect one end to the video output port on your MacBook. Make sure it is firmly inserted into the port.
3. Connect the other end: Connect the other end of the cable to the corresponding input port on the Epson projector. If necessary, use any adapters to ensure a secure connection.
4. Power on the devices: Ensure that both your MacBook and the Epson projector are powered on and properly connected to a power source. This will enable the devices to recognize each other and establish a connection.
5. Select the input source: On the Epson projector, navigate to the input or source selection menu using the projector’s remote control or buttons. Select the input source corresponding to the port you connected your MacBook to (e.g., HDMI or VGA).
6. MacBook display settings: On your MacBook, go to the Apple menu and select System Preferences. Then, choose the Displays option. In the Displays window, you can adjust the settings to mirror your MacBook’s screen on the Epson projector or extend your display. Make sure the resolution settings are compatible with the projector’s capabilities.
7. Test the connection: Once the settings are adjusted, you should see your MacBook’s screen on the Epson projector. Test the connection by displaying some content, such as a presentation or video, to ensure everything is working correctly.
That’s it! You have successfully connected your MacBook to the Epson projector. Now you can enjoy a larger display for your presentations, movies, or any content you want to share with a larger audience. If you encounter any issues or face difficulties in establishing the connection, please refer to the troubleshooting section or consult the user manual for your specific MacBook and Epson projector models.
Adjusting Display Settings
Once you have connected your MacBook to the Epson projector, you may need to adjust the display settings to ensure optimal viewing and presentation experience. Here are some key settings you can consider:
1. Mirroring or Extending: Depending on your preference and the purpose of your presentation, you can choose to either mirror your MacBook’s screen on the Epson projector or extend your display. Mirroring duplicates your MacBook’s screen on the projector, while extending allows you to use the projector as an additional display for more workspace.
2. Resolution and Aspect Ratio: It’s important to set the resolution and aspect ratio to match the capabilities of the Epson projector. Go to the Display settings on your MacBook and choose the resolution that best suits your needs. Most projectors support standard resolutions like 1080p (1920×1080) or 720p (1280×720). Adjusting the aspect ratio can ensure that the content displayed on the projector is not distorted.
3. Arrangement of Displays: If you choose to extend your display, you can arrange the position of the projector in relation to your MacBook’s screen. This can be done in the Display settings by dragging and arranging the displays according to your desired layout.
4. Display Color and Brightness: Projectors may require some adjustments in color and brightness settings to achieve the best visual quality. You can fine-tune these settings using the Display or Color settings on your MacBook. Some projectors also have built-in settings for color calibration that you can access through the projector’s menu options.
5. Sound Output: If you need to play audio through the Epson projector, ensure that the sound output is set correctly. Go to the Sound settings on your MacBook and select the Epson projector as the audio output device to ensure the sound is played through the projector’s speakers.
It’s important to note that the steps to adjust display settings may vary slightly depending on the macOS version and the specific Epson projector model. Refer to the user manual or online documentation provided by Apple and Epson for detailed instructions relevant to your setup.
Take some time to explore and experiment with the display settings to find the configuration that suits your presentation needs. With the right display settings, you can deliver impactful presentations, enjoy multimedia content, and make the most of your MacBook and Epson projector combination.
Troubleshooting Common Issues
While connecting and using your MacBook with an Epson projector is usually a straightforward process, you may encounter some common issues. Here are a few troubleshooting steps to help you address these issues:
1. No display on the projector: Double-check that all cables are securely connected and that the projector is set to the correct input source. Try reconnecting the cable or using a different cable, if possible. Restart both your MacBook and the Epson projector to reset the connection.
2. Incorrect display or resolution: If the display on the projector appears distorted or the resolution is not correct, adjust the display settings on your MacBook. Make sure the resolution and aspect ratio are compatible with the projector’s capabilities. Also, ensure that mirroring or extending the display is properly configured.
3. No sound from the projector: If you’re not getting any audio through the Epson projector, check the sound settings on your MacBook. Verify that the audio output is set to the Epson projector. Additionally, make sure the volume on both the MacBook and the projector is turned up and not muted.
4. Adapter compatibility issues: If you are using adapters to connect your MacBook to the Epson projector, ensure that the adapters are compatible with both the MacBook and the projector. Some adapters may be specific to certain MacBook models or may require additional drivers or software installations.
5. Incompatible software or drivers: Verify that your MacBook’s operating system is up to date and compatible with the Epson projector. Check for any recommended software or driver updates for your specific MacBook and Epson projector models. Installing the latest software can help resolve any compatibility issues and ensure a smooth connection.
6. Image quality issues: If you notice image quality issues, such as blurry or distorted visuals, adjust the projector’s focus or keystone correction settings. Ensure that the projector is properly positioned and aligned with the projection surface. Cleaning the projector lens and ensuring proper ventilation can also improve image quality.
If you have tried these troubleshooting steps and are still experiencing issues, consult the user manual for both your MacBook and Epson projector. You can also reach out to Apple support or Epson customer support for further assistance. They will be able to provide specific guidance based on your setup and help you resolve any persistent issues you may be facing.
Conclusion
Connecting your MacBook to an Epson projector opens up a world of possibilities for presentations, movies, and sharing content on a larger screen. By following the steps outlined in this guide, you can easily establish a connection and enjoy the benefits of a seamless display.
We began by discussing the requirements, emphasizing the need for a compatible MacBook, an Epson projector, the right cables, and any necessary adapters. Having these essentials in place ensures a smooth connection process.
We then delved into the step-by-step process of connecting your MacBook to the Epson projector, including identifying the ports, connecting the cable, and selecting the input source. We also touched upon adjusting the display settings, such as mirroring or extending the display, setting the resolution, and arranging the displays for optimal viewing.
Additionally, we provided troubleshooting tips for common issues that may arise during the connection or usage of the MacBook and Epson projector. By following these troubleshooting steps, you can quickly identify and resolve any problems that may occur, ensuring a hassle-free experience.
Now that you have the knowledge to connect your MacBook to an Epson projector and troubleshoot potential issues, you can confidently set up your next presentation or movie night. Enjoy the benefits of a larger display and share your content with a wider audience.
We hope this guide has been helpful, and that you are now ready to make the most of your MacBook and Epson projector combination. Remember to refer to the user manual and online resources for specific instructions based on your MacBook and projector models if you encounter any difficulties.
Happy projecting!