Introduction
When it comes to using a projector during the day, many people assume that the image quality will be compromised due to the presence of ambient light. However, with the right techniques and equipment, it is possible to enjoy a clear and vibrant projection even in well-lit environments.
In this article, we will explore various strategies to optimize projector usage during the day. We will discuss how to understand projector brightness and select the right projector for daytime use. Additionally, we will delve into techniques for optimizing ambient lighting, including the use of sunshades or blinds to control natural light. Furthermore, we will provide insights on adjusting projector settings for daytime viewing, such as increasing contrast and color saturation.
Moreover, we will examine the importance of selecting the right projection screen for daytime use, and highlight the benefits of using short-throw or ultra-short throw projectors. Finally, we will touch upon the use of outdoor projectors for daytime events, providing guidance on how to create an immersive viewing experience despite the challenging lighting conditions.
Whether you need to deliver a professional presentation in a well-lit conference room, enjoy a movie matinee in your living room, or host an outdoor party during the daytime, this article will equip you with the knowledge to make the most out of your projector. So, let’s dive in and discover the secrets to using a projector successfully during the day!
Understanding Projector Brightness
When it comes to using a projector during the day, understanding projector brightness is crucial. Brightness, measured in lumens, refers to the amount of light emitted by the projector. The higher the lumen rating, the brighter the projection will be.
Projectors with higher brightness are generally more suitable for daytime use, as they can combat the ambient light and maintain a clear image on the screen. However, it’s important to note that higher brightness also comes with a higher price tag, so it’s essential to find the right balance between your budget and the level of brightness needed for your specific requirements.
In general, for home use, a projector with a brightness level of around 2,000 to 3,000 lumens should suffice for moderate daylight conditions. For larger venues or spaces with significant ambient light, you may need a projector with 3,500 lumens or higher. On the other hand, for professional presentations in well-lit conference rooms or outdoor events, projectors with brightness levels upwards of 5,000 lumens or even more are recommended.
Keep in mind that projector brightness alone is not the sole factor that determines image quality. Contrast ratio, color accuracy, and resolution also play significant roles. A high contrast ratio ensures vibrant colors and sharp details, while accurate color reproduction enhances the overall viewing experience. The projector resolution determines the level of detail and clarity in the images displayed on the screen.
It is vital to consider the brightness requirements based on your specific use case. When shopping for a projector, pay close attention to the brightness specifications and look for models that offer a balance between brightness, contrast ratio, color accuracy, and resolution, taking into account the ambient light conditions in which the projector will be used.
By understanding projector brightness and its importance, you can make an informed decision when selecting a projector for daytime use and ensure that the images projected are vibrant, clear, and easy to view, even in well-lit environments.
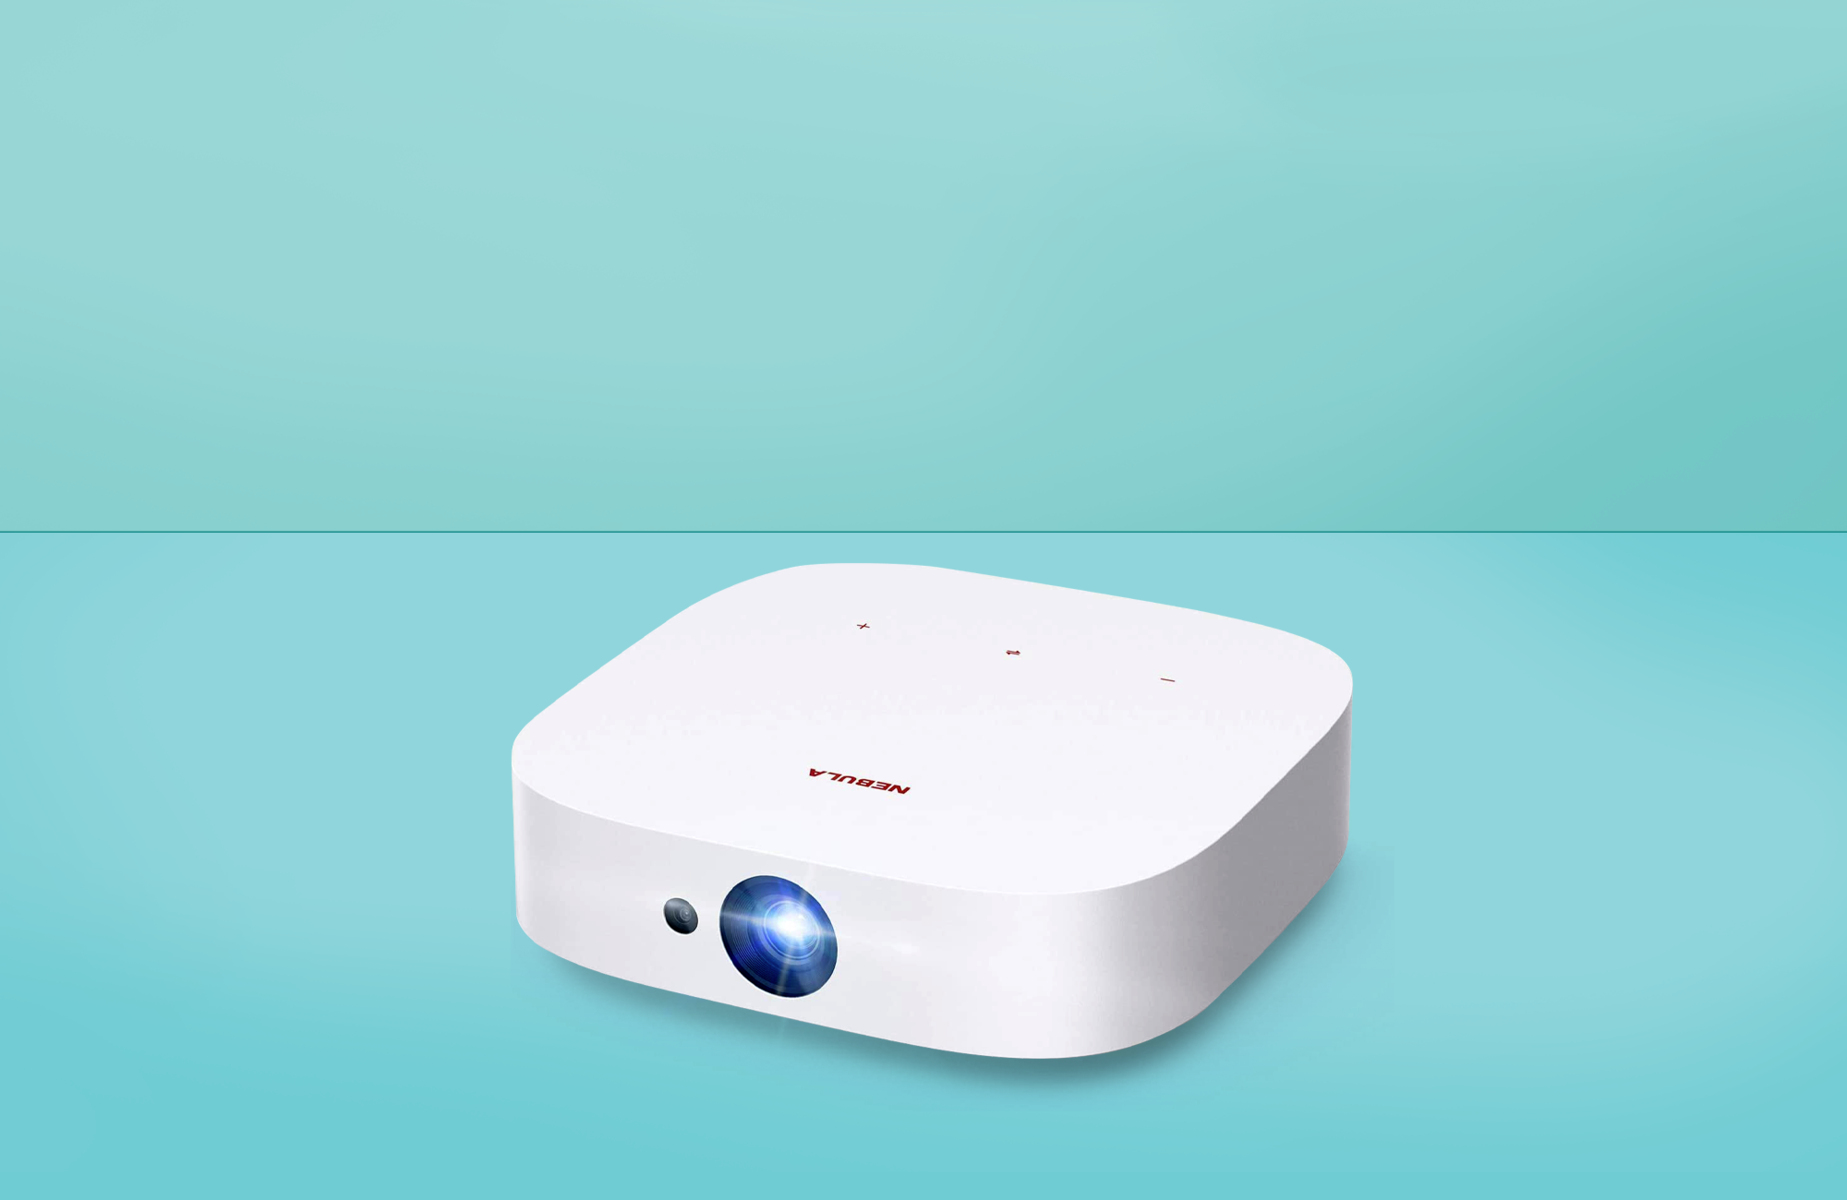
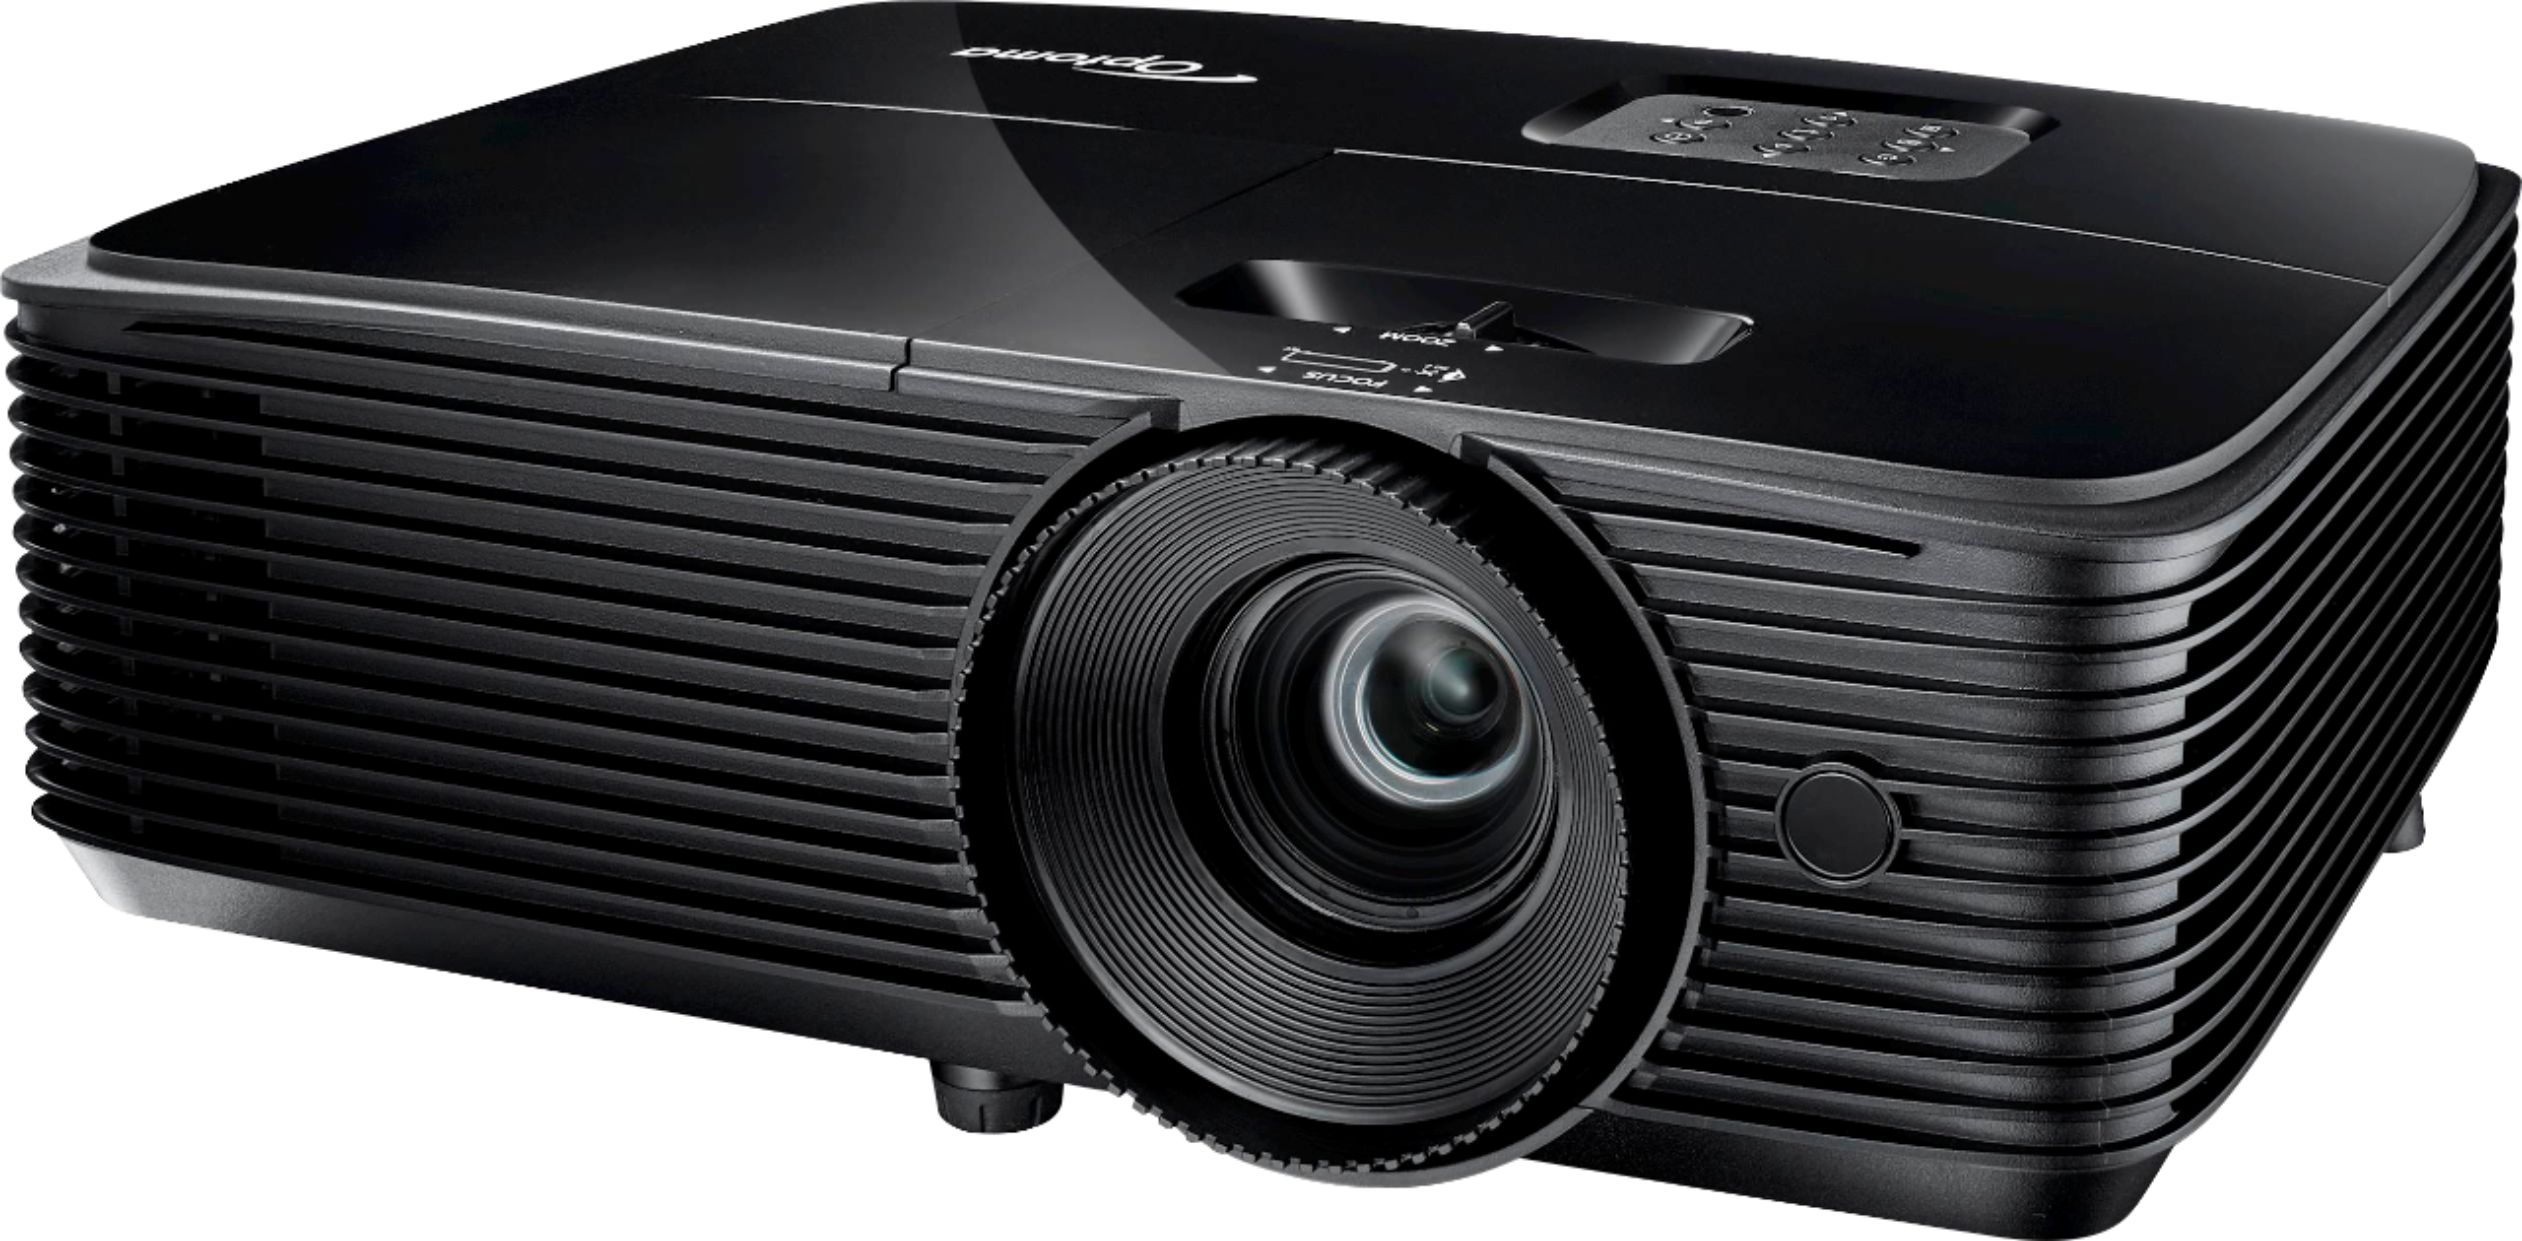
Choosing the Right Projector for Daytime Use
When it comes to using a projector in daylight, selecting the right projector is crucial to ensure optimal image quality and visibility. Here are some key factors to consider when choosing a projector for daytime use:
- Brightness: As mentioned earlier, projector brightness is a critical factor. Look for projectors with higher lumen ratings to combat the ambient light in the daytime. Assess your specific needs and choose a projector with an appropriate brightness level accordingly.
- Contrast Ratio: A high contrast ratio contributes to better image quality, especially in well-lit environments. Look for projectors with a high contrast ratio, as it helps to enhance the differentiation between dark and light areas, resulting in a more vivid and detailed projection.
- Resolution: The resolution of the projector determines the level of detail in the projected images. For daytime use, consider projectors with at least Full HD (1920×1080) resolution or higher. Higher resolutions ensure sharper and clearer images, allowing viewers to enjoy the projection even in brightly lit conditions.
- Connectivity Options: Ensure that the projector has a wide range of connectivity options to support your required devices. HDMI, VGA, and USB ports are commonly used for connecting various devices such as laptops, media players, and gaming consoles.
- Portability: Consider the portability of the projector if you need to move it frequently. Compact and lightweight projectors are ideal for those who require flexibility in terms of setup and transportation.
- Noise Level: Projectors often have cooling fans that can generate noise. For a comfortable viewing experience, choose a projector with a lower noise level to prevent distractions and ensure a quiet environment.
Additionally, it is essential to consult professional reviews and product specifications to make an informed decision. Look for projectors that have positive reviews for their performance in well-lit environments and daytime use. Also, consider seeking recommendations from experts or experienced users to ensure you choose a projector that meets your specific requirements.
By carefully considering factors such as brightness, contrast ratio, resolution, connectivity options, portability, and noise level, you can choose the right projector for daytime use. This will enable you to enjoy bright and vibrant projections, even in well-lit environments, and ensure a superior viewing experience for your presentations, movies, or events.
Optimizing Ambient Lighting for Daytime Projection
One of the key challenges of using a projector during the day is the presence of ambient lighting, which can affect the image quality and visibility. However, with the right techniques, it is possible to optimize the ambient lighting for daytime projection. Here are some strategies to consider:
- Positioning: Place the projector and the screen in a location where the ambient light does not directly hit the projection surface. This helps to minimize the impact of the light and maintain better image clarity.
- Window Placement: If possible, position the screen away from windows or sources of natural light. This reduces the amount of ambient light that enters the room and improves the overall projection quality.
- Avoid Overhead Lighting: Disable or dim overhead lights in the room to minimize the additional light that can interfere with the projection. Instead, rely on indirect lighting or floor lamps to provide a subtle and gentle illumination.
- Use Lamp Shades or Dimmers: If you cannot turn off the overhead lights completely, consider using lamp shades or dimmers to adjust the lighting intensity. This allows you to create a more conducive environment for daytime projection.
- Opt for Natural Lighting Control: Install sunshades, blinds, or curtains on windows to have better control over the natural light entering the room. This can significantly reduce the amount of ambient light and enhance the projection quality.
- Choose Neutral Wall Colors: Opt for neutral or matte wall colors to minimize the reflection of light that can interfere with the projection. Darker or non-reflective wall surfaces help to improve contrast and overall image quality.
- Experiment with Lighting Angles: Adjust the angle of the projector and screen to avoid direct light reflections. This can be achieved by tilting the projector or positioning it at an angle so that the light reflects away from the screen.
- Consider Ambient Light Rejecting (ALR) Screens: ALR screens are specifically designed to reject ambient light and improve projection quality in well-lit environments. These screens have special coatings that absorb or deflect ambient light, resulting in a clearer and more vibrant image.
By implementing these strategies, you can optimize the ambient lighting for daytime projection. Remember that the effectiveness of each technique may vary depending on the specific lighting conditions and the capabilities of your projector. Experimenting with different approaches can help you find the best combination for achieving the desired projection quality in well-lit environments.
Using Sunshades or Blinds to Control Natural Light
Controlling natural light is essential when using a projector during the day. Sunshades or blinds are effective tools for managing the amount of natural light that enters the room and interferes with the projection. Here are some tips on utilizing sunshades or blinds to optimize daylight projection:
- Select the Right Type: Choose sunshades or blinds that are specifically designed to block or filter out sunlight. Options include blackout blinds, light-filtering blinds, or sun-blocking shades.
- Install Window Coverings: Measure your windows and install sunshades or blinds that cover the entire window area to minimize the amount of natural light that enters the room. This allows you to have better control over the lighting conditions.
- Adjust the Blind Angles: Experiment with different angles of the blinds to find the optimal position that reduces direct light while still allowing some natural light to enter the room. This helps create a balance between natural lighting and projection visibility.
- Consider Motorized Blinds: Motorized blinds provide convenience and flexibility when adjusting the amount of natural light in the room. With the touch of a button, you can easily control the blinds’ position, allowing you to fine-tune the lighting for daytime projection.
- Utilize Dual Shades: Dual shades, also known as dual roller blinds, offer the flexibility of two fabric choices on a single roller. You can combine a light-filtering fabric for daytime use with a blackout fabric for improved projection quality during the evening or in darker conditions.
- Coordinate with Time of Day: Adjust the blinds throughout the day to adapt to changing sunlight conditions. For example, during early morning or late afternoon when the sunlight is less intense, you may be able to open the blinds slightly to let in more natural light without compromising the projection quality.
- Consider External Sunshades: If you have the option, external sunshades or awnings can be highly effective in reducing the amount of direct sunlight that enters the room, keeping it cooler and improving the overall projection experience.
- Test Different Lighting Conditions: Experiment with various combinations of natural light and blinds positioning to find the best configuration for optimal projection quality. It may require some trial and error to achieve the desired results.
By using sunshades or blinds to control natural light, you can significantly improve the visibility and image quality of your projector during the day. It allows you to create a darker and more controlled environment conducive to projection, resulting in a more enjoyable and immersive viewing experience.
Adjusting Projector Settings for Daytime Viewing
Aside from optimizing the physical environment, adjusting the projector settings is essential to achieve the best possible image quality during daytime viewing. By making some key adjustments, you can enhance the brightness, contrast, color saturation, and overall visibility of your projection. Here are some tips for optimizing your projector settings:
- Brightness and Contrast: Increase the brightness setting to ensure that the image is bright enough to compete with the ambient light. Adjust the contrast setting to enhance the differentiation between light and dark areas, giving your projection more depth and clarity.
- Color Saturation: Boosting the color saturation setting can make the projected image more vibrant and vivid, compensating for any loss of color intensity caused by the presence of ambient light.
- Sharpness: Adjust the sharpness setting to enhance the overall clarity and definition of the projected image. However, be careful not to increase it excessively, as it may introduce artifacts or distortions.
- Keystone Correction: Use the keystone correction feature to correct any distortion caused by an angled or uneven projection surface. This helps to ensure a properly aligned and rectangular image, improving the viewing experience.
- Aspect Ratio: Set the appropriate aspect ratio to match the content you are projecting. This avoids stretching or compressing the image, maintaining its original proportions and preventing any distortion.
- Color Temperature: Adjust the color temperature setting to achieve a balanced and accurate representation of colors. Experiment with different presets or customize the color temperature to suit your personal preference or the specific requirements of your content.
- Eco Mode: Enable the eco mode feature, if available, to reduce the power output of the projector. This can help to prolong the lamp life and reduce heat generation, which can impact the overall image quality.
- Test and Calibrate: Conduct regular tests and calibrations to ensure that your projector settings are optimized for the specific lighting conditions and content you are projecting. Use calibration tools or professional assistance if necessary.
Remember that each projector model may have slightly different settings and features, so it’s essential to consult the user manual or the manufacturer’s recommendations for the best practices for adjusting your specific projector’s settings. Regularly evaluating and fine-tuning your projector settings for daytime viewing will help you achieve the best possible image quality and ensure a captivating and enjoyable projection experience.
Increasing Contrast and Color Saturation
One of the key challenges when using a projector during the day is maintaining optimal contrast and color saturation in the presence of ambient light. However, by making adjustments to the projector settings, you can enhance these aspects and improve the overall image quality. Here are some tips for increasing contrast and color saturation:
- Optimize Brightness: Brightness plays a crucial role in increasing contrast. Make sure the projector’s brightness setting is appropriately adjusted to compensate for the ambient light and create a vibrant and visible image.
- Adjust Contrast Settings: Increasing the contrast setting will help enhance the differentiation between dark and light areas in the projection. This adjustment brings out more details and depth, improving the overall viewing experience.
- Use Dynamic Contrast: If your projector has a dynamic contrast feature, enable it to automatically adjust the contrast based on the content being projected. This can help improve contrast in scenes with varying brightness levels.
- Explore Color Settings: Experiment with the color settings on your projector to find the optimal color saturation. Increasing color saturation can make the projected image appear more vibrant and vivid, compensating for any loss of color intensity due to ambient light.
- Color Temperature Adjustment: Adjusting the color temperature setting can impact color saturation. Cooler temperatures (higher Kelvin values) can make colors appear more vibrant, while warmer temperatures (lower Kelvin values) can create a more subdued and natural color palette. Find the balance that suits your preference and the content being projected.
- Consider Using Color Filters: Some projectors allow you to use color filters to enhance color saturation. A color filter can be placed over the projector lens to amplify specific hues or create a desired color effect. Experiment with different filters to achieve the desired color saturation for your projection.
- Calibrate Colors: Regularly calibrate your projector to ensure accurate color representation and optimal color saturation. Professional calibration tools or assistance can help ensure precise color reproduction and maximum color vibrancy.
- Content Adjustment: Consider adjusting the content being projected to optimize contrast and color saturation. For example, adjusting the color settings on the source device or using image editing software to enhance color saturation before projecting can help achieve the desired visual effect.
Remember to consider the specific capabilities of your projector and consult the user manual or manufacturer’s guidelines for recommended settings. Every projector model is different, so it’s important to explore and experiment with the available options to find the best combination of contrast and color saturation that suits your preferences and the specific lighting conditions in which you are using the projector.
Selecting the Right Projection Screen for Daytime Use
Choosing the right projection screen is crucial for achieving optimal image quality and visibility when using a projector during the day. The projection screen plays a significant role in reflecting and diffusing the projected light, ensuring a clear and vibrant image. Here are some factors to consider when selecting a projection screen for daytime use:
- Gain Level: Consider the gain level of the projection screen, which measures how efficiently it reflects light back to the viewers. Screens with higher gain levels provide brighter images, making them more suitable for combating the ambient light in daytime conditions.
- Ambient Light Rejecting (ALR) Screens: ALR screens are designed specifically to minimize the impact of ambient light and enhance image quality in well-lit environments. These screens have special coatings or materials that absorb or deflect ambient light, allowing for improved contrast and visibility.
- Reflectivity and Viewing Angle: Opt for a projection screen with high reflectivity to ensure better light reflection and dispersion. Additionally, consider the viewing angle of the screen to ensure that the projected image remains clear and well-defined even when viewed at wide angles.
- Screen Material: Choose a screen material that enhances contrast and color reproduction. The material should reflect light evenly across the entire screen surface without hotspots or color distortion. Consider materials such as matte white or grey screens, which are known for their excellent image quality in various lighting conditions.
- Size and Aspect Ratio: Assess the size and aspect ratio of the projection screen according to your specific needs and the viewing space. Ensure that the screen’s dimensions are compatible with your projector’s native resolution to achieve optimal image sharpness and clarity.
- Portable and Outdoor Screens: If you plan to use the projector outdoors during the day, consider portable or outdoor projection screens specifically designed for daylight use. These screens are often made of durable materials that resist glare and provide better image visibility in bright outdoor settings.
- Black Borders: Screens with black borders enhance the perceived contrast of the projected image by reducing any distracting reflections. They also create a more focused and immersive viewing experience.
- Professional Advice: Consult with professionals or experts in the field of projection screens to receive personalized recommendations based on your specific requirements. They can provide insights and guidance on selecting the most suitable screen for your daytime projection needs.
Consider the specific lighting conditions in which you will be using the projection screen and factor in the ambient light levels. Each projection screen has its own characteristics, so it’s important to assess your needs and prioritize the features that will best optimize image quality and visibility during daytime use.
Using Short-Throw or Ultra-Short Throw Projectors
Short-throw and ultra-short throw projectors offer distinct advantages when it comes to daytime projection. These projectors are specifically designed to project large images from shorter distances, allowing for better visibility and reducing the impact of ambient light. Here’s why you should consider using short-throw or ultra-short throw projectors:
- Reduced Distance: Short-throw and ultra-short throw projectors can be placed closer to the projection surface compared to standard projectors. This eliminates the risk of obstructions caused by people walking in front of the projector or casting shadows on the projected image.
- Reduced Ambient Light Interference: By locating the projector nearer to the projection surface, short-throw and ultra-short throw projectors minimize the distance over which the projected light travels, reducing the impact of ambient light. This results in improved image quality and visibility, even in well-lit environments.
- Enhanced Contrast and Brightness: Short-throw and ultra-short throw projectors often have higher brightness and contrast specifications compared to standard projectors. This enables them to produce brighter, more vibrant, and higher-contrast images, ensuring better visibility in daylight conditions.
- Less Distortion and Glare: Due to their close proximity to the projected surface, short-throw and ultra-short throw projectors minimize distortion and reduce the chances of glare or hotspot formation. This results in a more evenly illuminated and clear projection, regardless of the lighting conditions.
- Flexible Installation: Short-throw and ultra-short throw projectors offer greater flexibility in terms of installation options. They can be ceiling-mounted or placed on a table or shelf, allowing for easy integration into various environments without compromising on image quality.
- Easy Setup and Alignment: With short-throw and ultra-short throw projectors, the setup and alignment process is simplified. The reduced distance between the projector and the screen makes it easier to achieve precise alignment, resulting in a perfectly proportioned and well-aligned image.
- Avoiding Shadow Interference: With short-throw and ultra-short throw projectors, you can position yourself in front of the projection without casting a shadow on the screen. This makes it more convenient for interactive applications, presentations, or when hosting events where the presenter or viewers need to be closer to the screen.
Short-throw and ultra-short throw projectors can be an excellent choice for daytime projection, offering improved visibility, better image quality, and enhanced flexibility in installation and usage. Consider the size of your space, the desired distance between the projector and the screen, and the specific lighting conditions to determine whether a short-throw or ultra-short throw projector is the right option for your daytime projection needs.
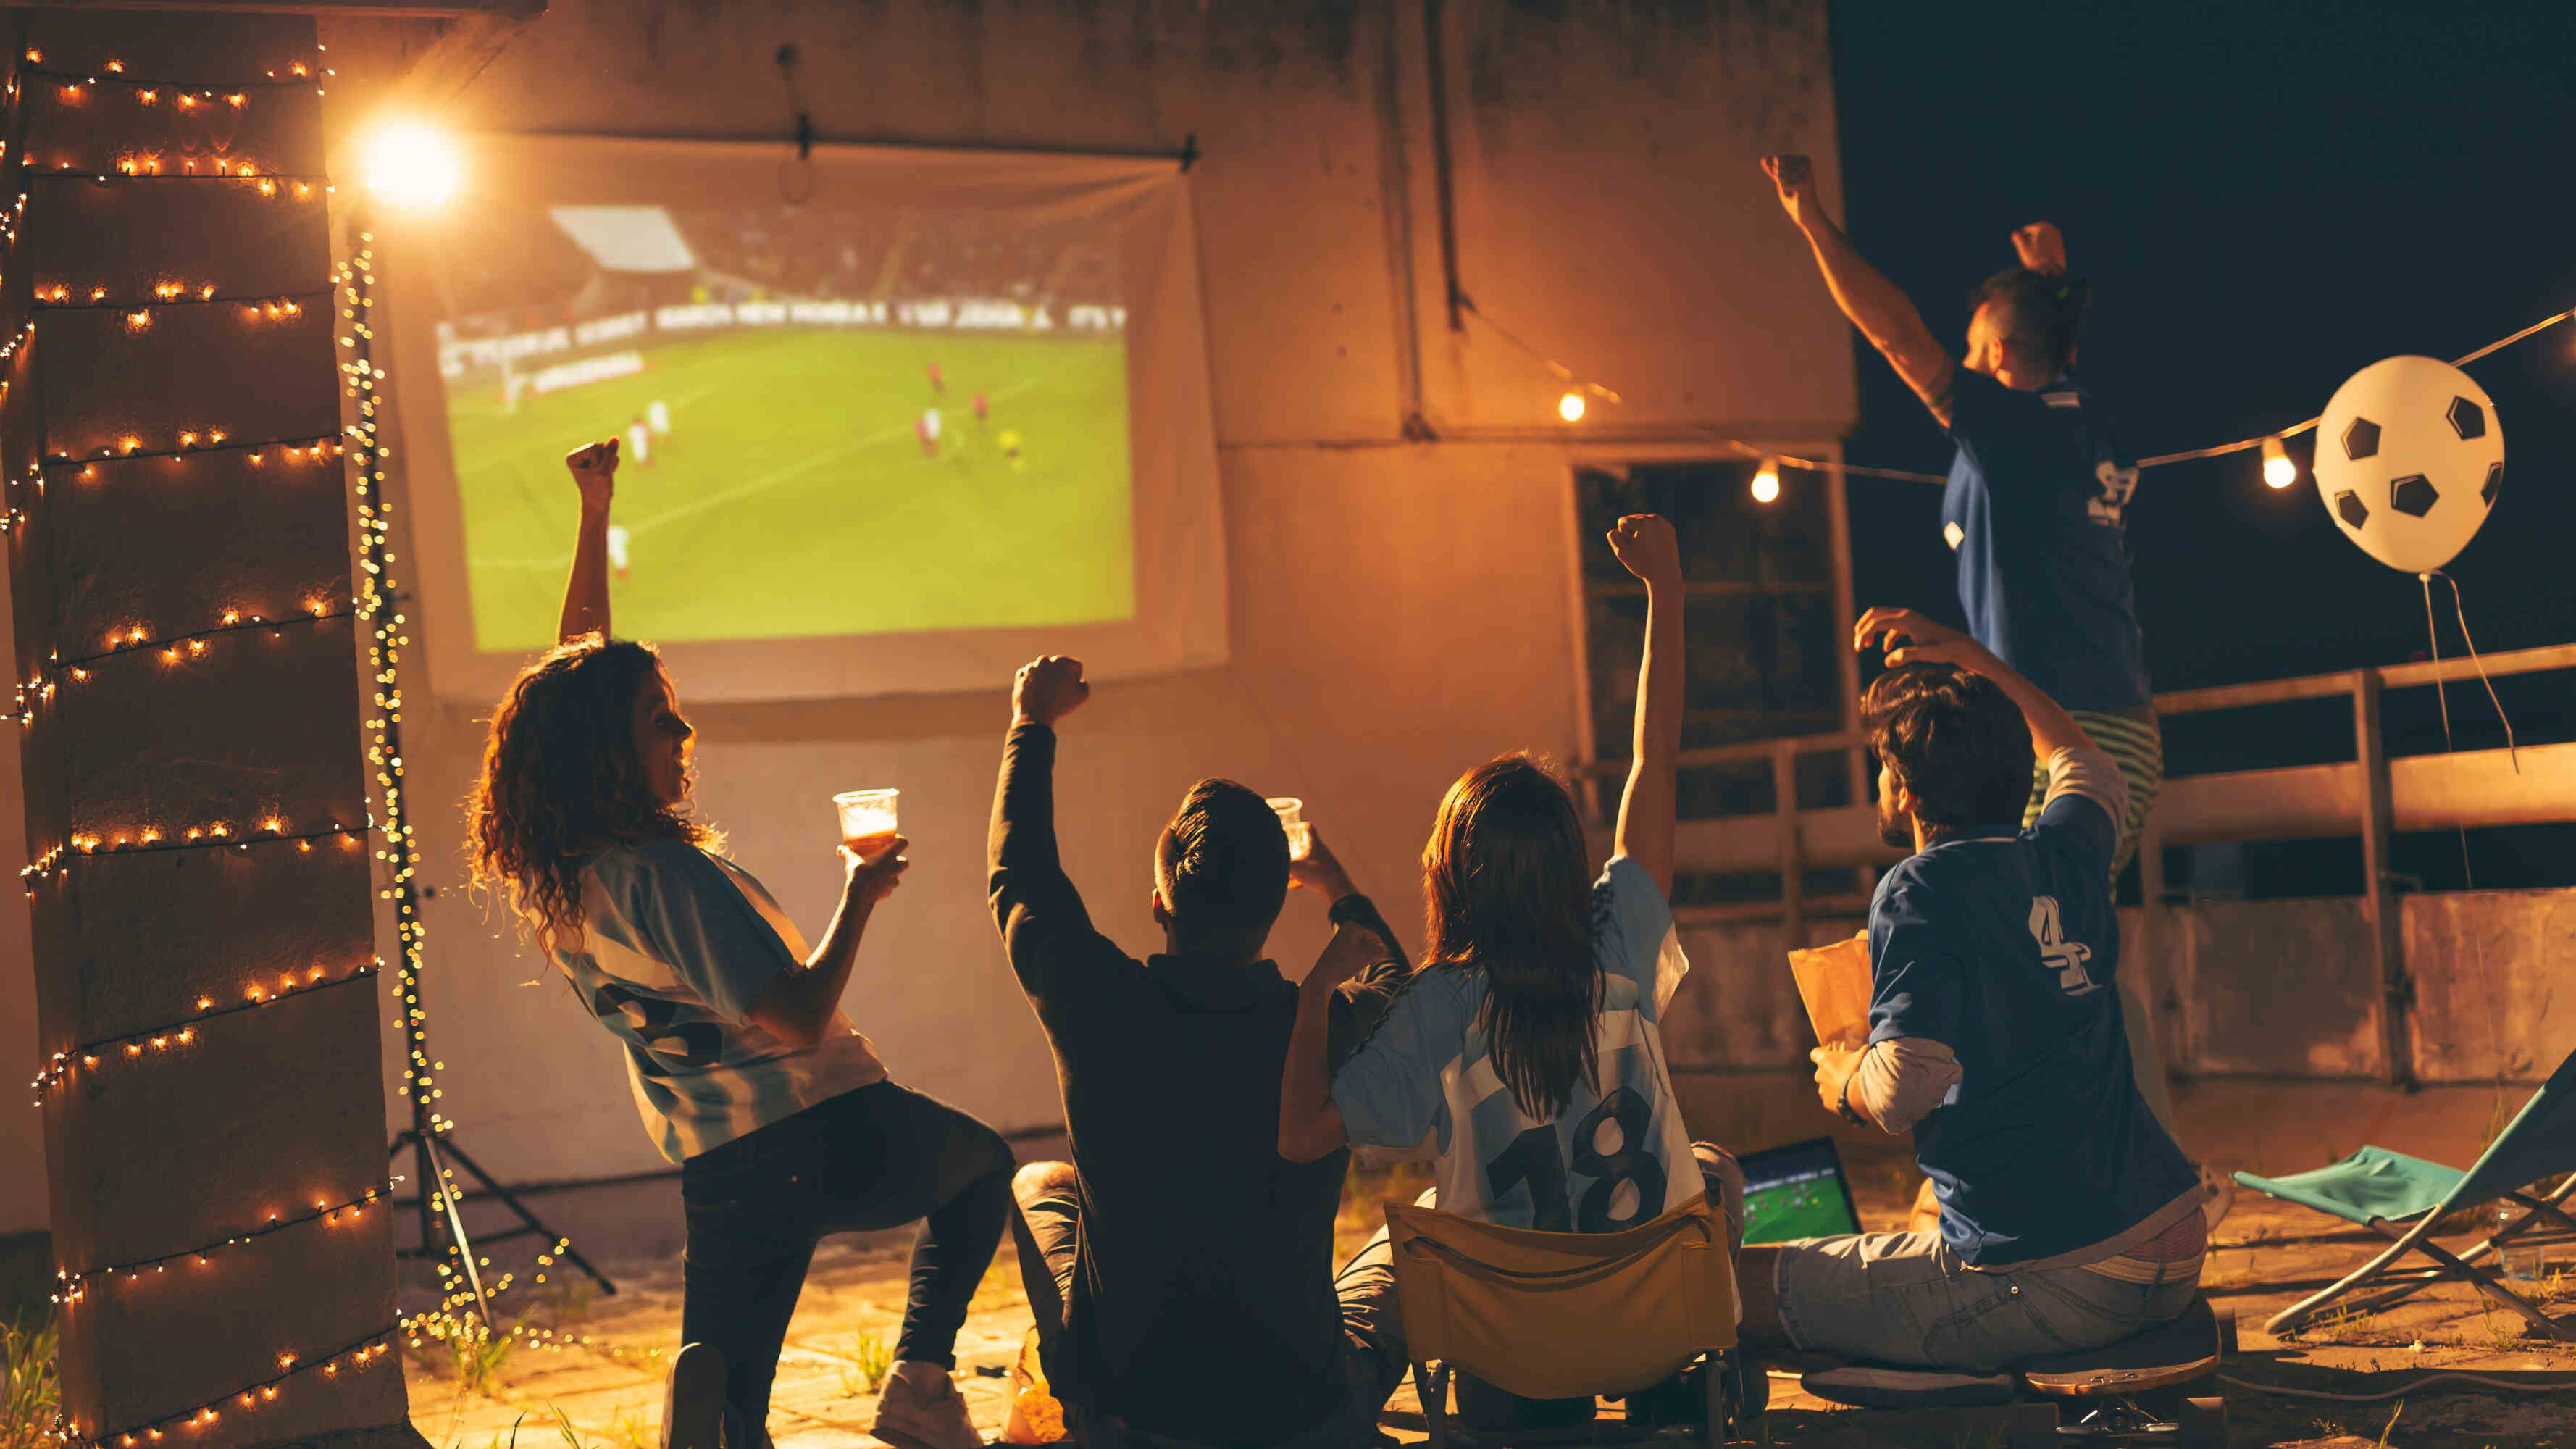
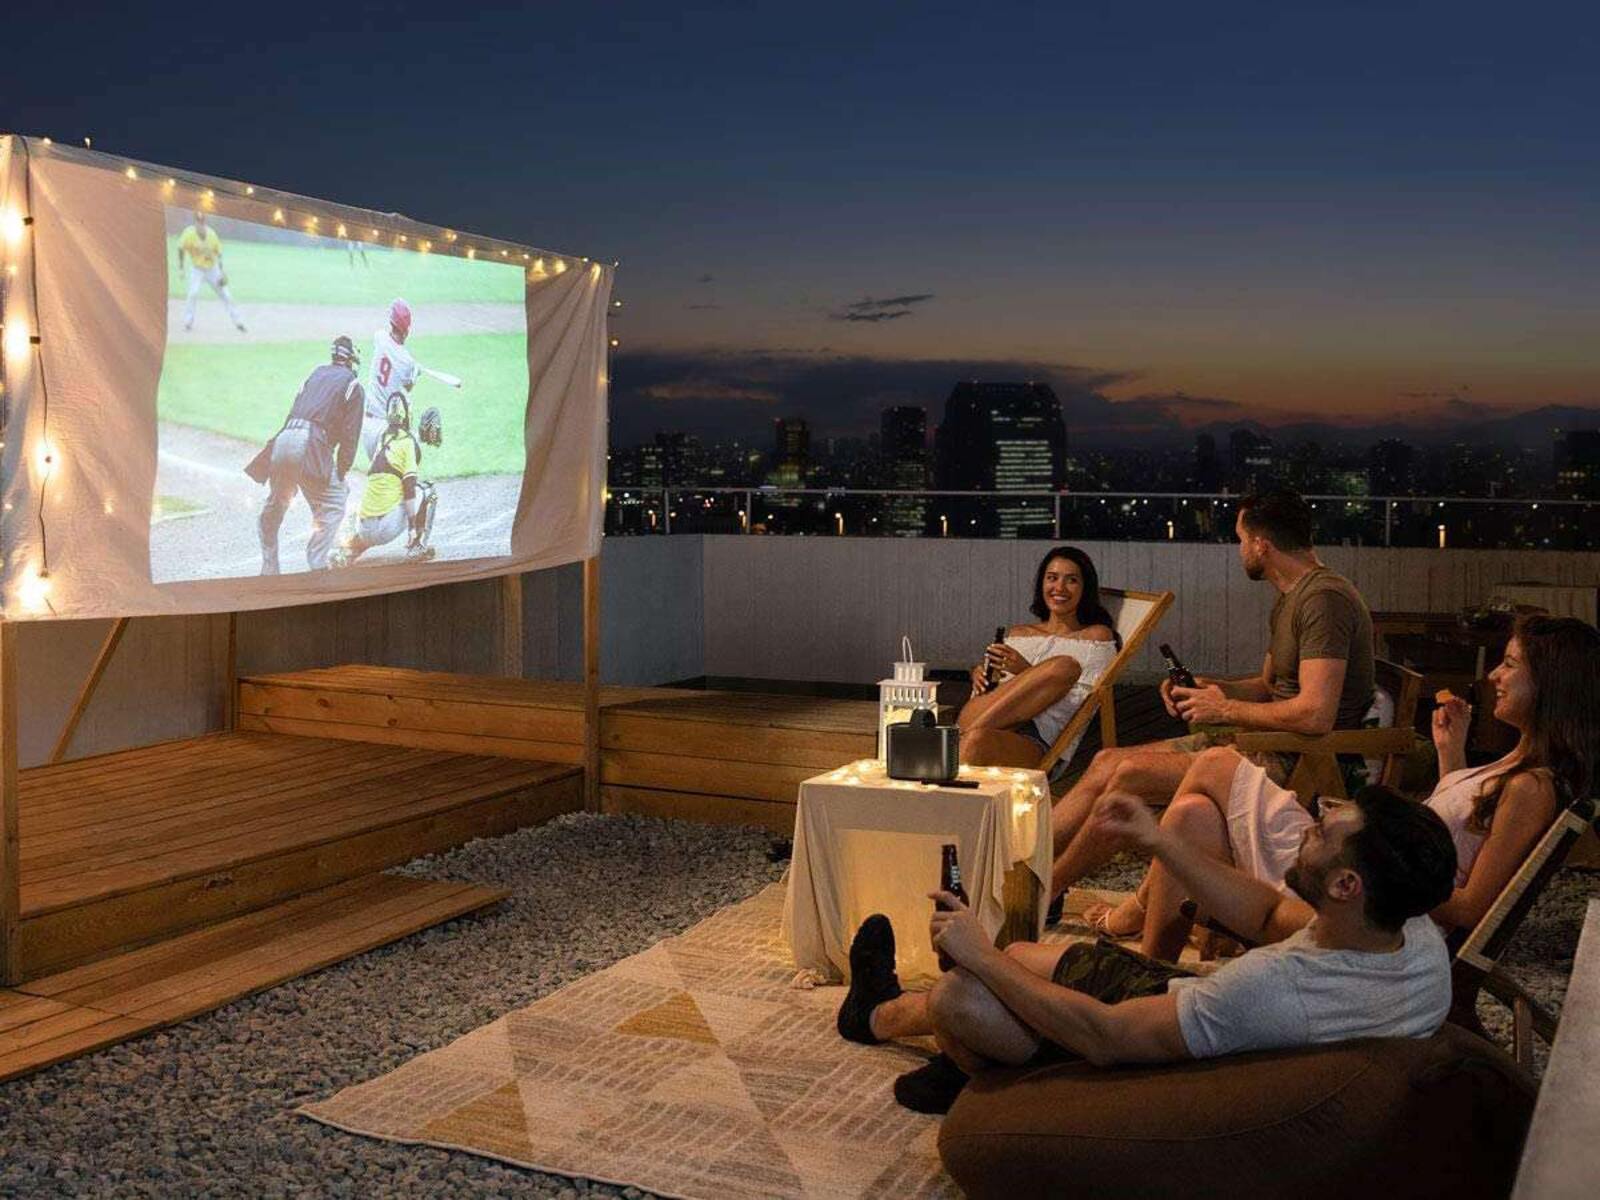
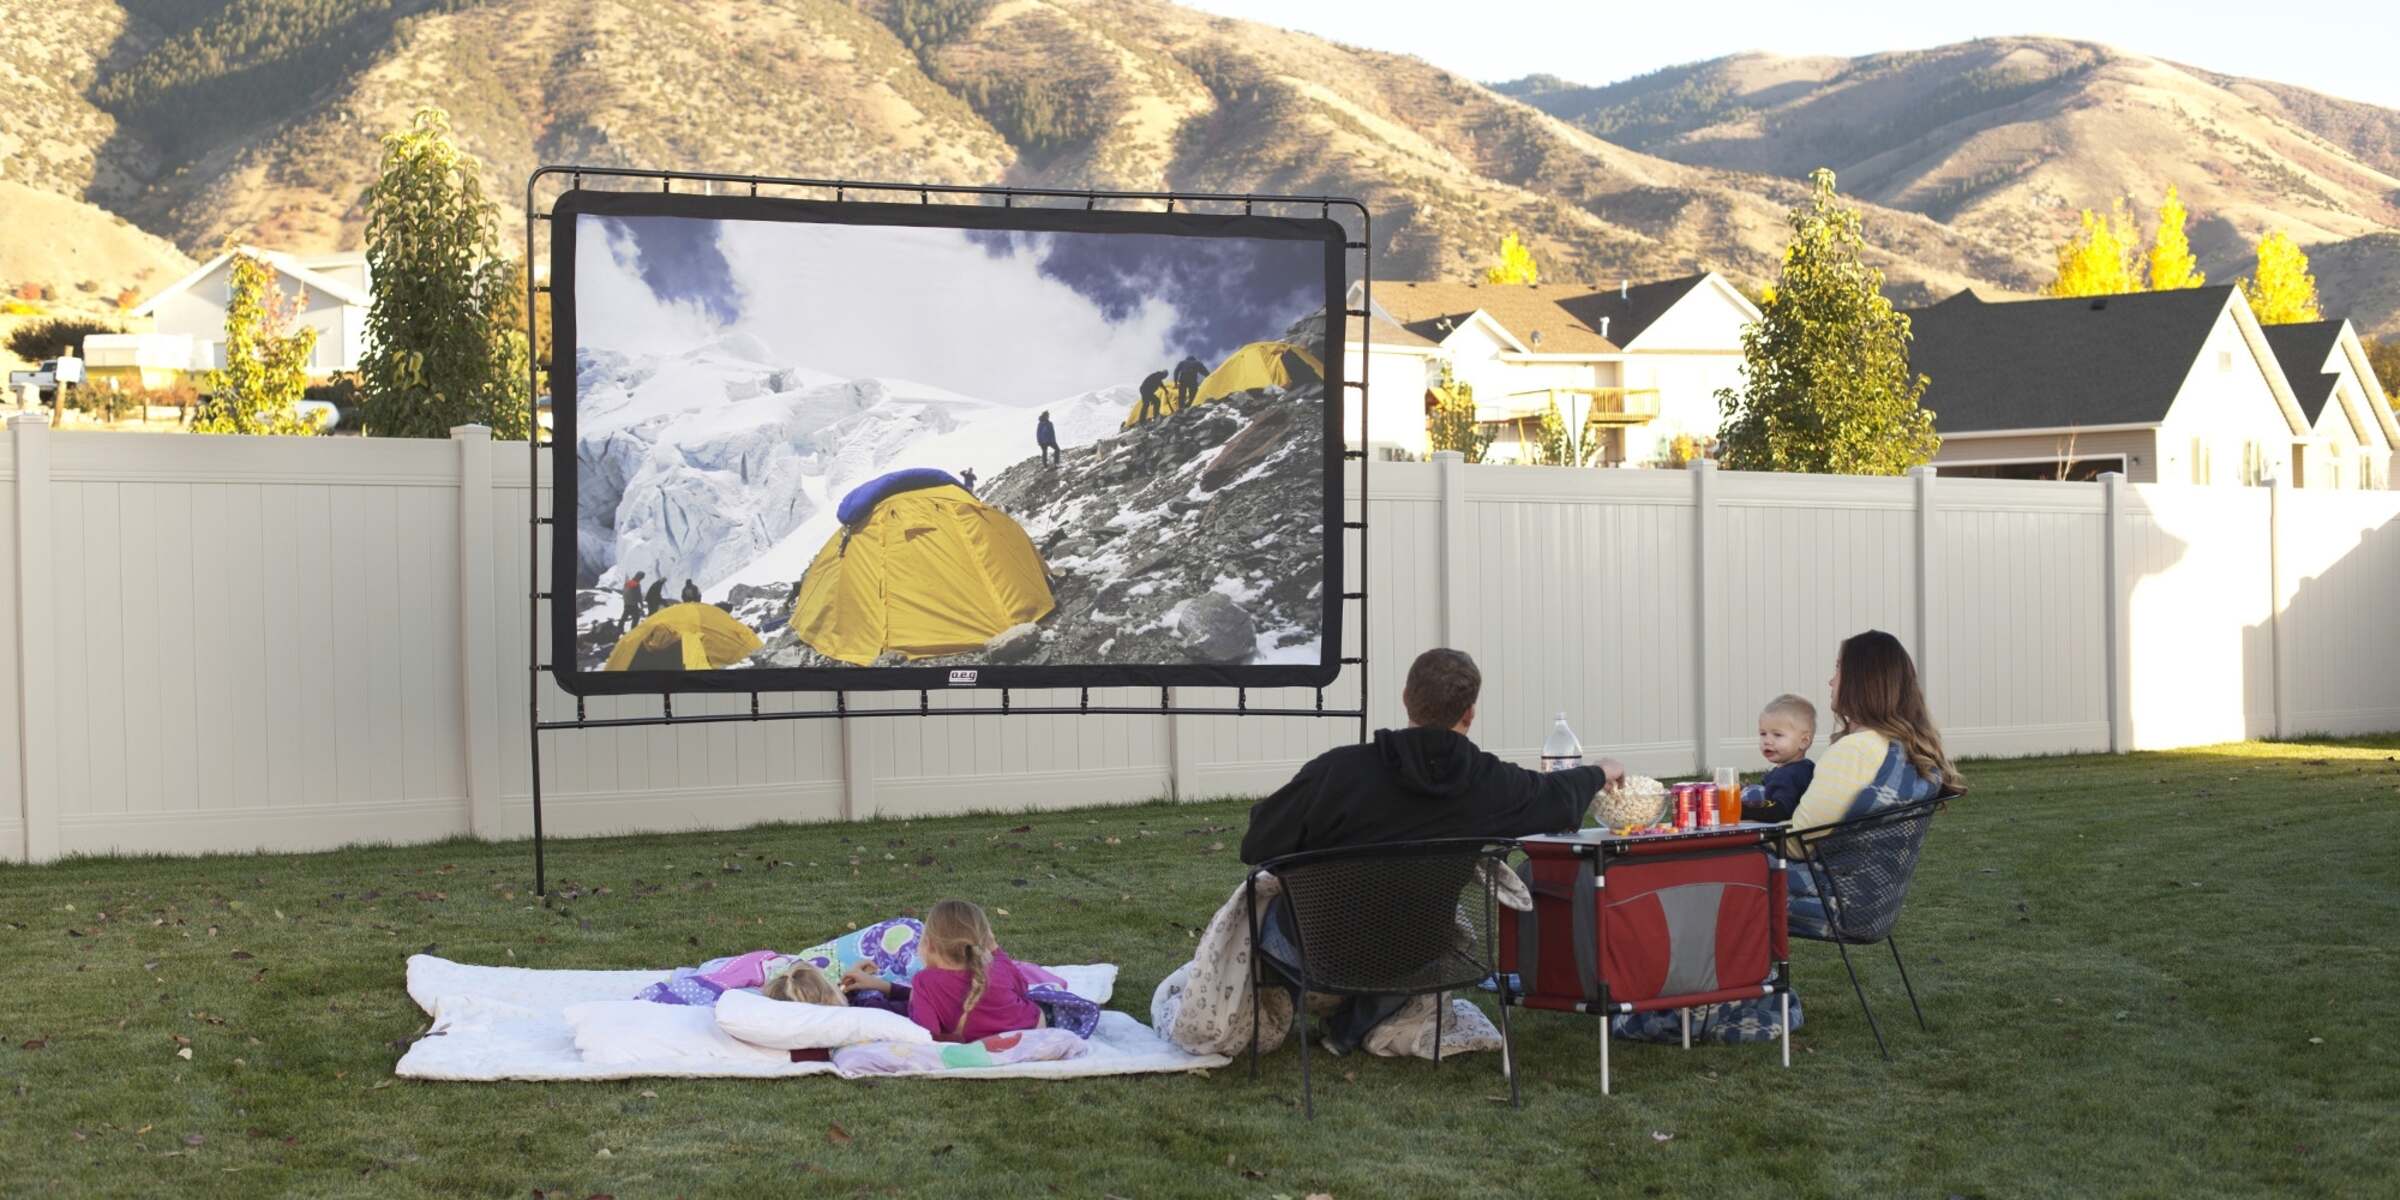
Using an Outdoor Projector for Daytime Events
Hosting outdoor events during the daytime can be a fantastic way to bring people together and enjoy various forms of entertainment. Using an outdoor projector for daytime events can create a captivating and immersive experience for the attendees. Here are some tips for utilizing an outdoor projector during daylight:
- Choose a Bright Projector: Select a projector with high brightness capabilities that can overcome the ambient light present in outdoor settings. Look for projectors with at least 3,500 lumens or higher to ensure a vibrant and visible projection during the daytime.
- Consider Ambient Light Rejecting (ALR) Screens: ALR screens are designed to minimize the impact of ambient light, making them ideal for outdoor daytime events. These screens significantly improve image contrast and visibility, allowing attendees to enjoy a clear and vibrant projection.
- Position the Screen Strategically: Locate the projection screen in an area where it receives minimal direct sunlight. This can be achieved by positioning it under a shaded area or using canopies or tents to create shade over the viewing area. This helps to maintain better visibility and image quality.
- Time the Event: Plan the event during hours with less intense sunlight. Early mornings or late afternoons tend to have softer light and more diffused sunbeams, providing a more favorable environment for projection.
- Use Portable Projection Surfaces: Consider using portable projection screens or inflatable screens designed for outdoor use. These screens are easy to set up, durable, and usually come with a black backing to enhance contrast and minimize light penetration from behind the screen.
- Utilize Tenting or Canopies: Use tenting or canopies to not only provide shade for the projector and screen but also to create a more immersive and comfortable viewing experience for the attendees. This helps to reduce glare and minimize the impact of ambient light on the projection.
- Test Before the Event: Conduct thorough testing of the projector, screen, and positioning before the event to ensure optimal image quality and visibility. This allows you to make any necessary adjustments or implement additional measures to enhance the projection experience.
- Manage Power Supply and Connectivity: Ensure you have access to reliable power sources and the necessary connectivity options. It is advisable to have backup power options in case of unexpected outages or technical issues.
- Consider Audio Solutions: To complement the visual experience, consider using outdoor speakers or a portable sound system to provide high-quality audio that can be enjoyed by all attendees, even in an open-air setting.
- Inform and Engage Attendees: Communicate with attendees in advance about the outdoor nature of the event and encourage them to bring appropriate seating and clothing for optimal comfort during the daytime. Set clear expectations about the projected content and any special instructions regarding viewing angles or seating arrangements.
By considering factors such as brightness, screen selection, positioning, timing, and attendee comfort, you can successfully utilize an outdoor projector for daytime events. With careful planning and attention to detail, you can create a memorable experience where attendees can immerse themselves in the magic of outdoor projection, even in daylight.
Conclusion
Using a projector during the day may pose challenges due to the presence of ambient light. However, by implementing the right strategies, selecting the appropriate equipment, and optimizing the projection environment, you can enjoy clear and vibrant projections even in well-lit settings.
Understanding the importance of projector brightness and choosing the right projector for daytime use is crucial. Look for projectors with higher lumen ratings, balanced contrast ratios, and accurate color reproduction to ensure optimal image quality. Additionally, consider short-throw or ultra-short throw projectors, which provide greater flexibility and improved visibility in daylight conditions.
Optimizing the ambient lighting is vital for daytime projection. Use sunshades, blinds, or curtains to control natural light and reduce its impact on the projection. Position the screen strategically and consider ALR screens, which minimize ambient light interference and enhance contrast and visibility.
Adjusting projector settings, such as brightness, contrast, color saturation, and sharpness, can further enhance the projection quality. Calibration, content adjustment, and utilization of color filters are valuable techniques to optimize the image for daytime viewing.
Choosing the right projection screen is also critical. Consider factors like gain level, screen material, reflectivity, and size. ALR screens or portable outdoor screens specifically designed for daytime use can significantly improve image quality in bright outdoor settings.
Lastly, utilizing an outdoor projector for daytime events allows for engaging and immersive experiences. From selecting a bright projector to managing ambient light and providing shade, careful planning ensures optimal visibility and image quality. Consider complementary audio solutions and inform attendees about the nature of the event to enhance their overall experience.
By following these recommendations and implementing the appropriate techniques, you can overcome the challenges of using a projector during the day and enjoy stunning and captivating projections, regardless of the lighting conditions. So, go ahead and make the most out of your projector, even in the daylight!