Introduction
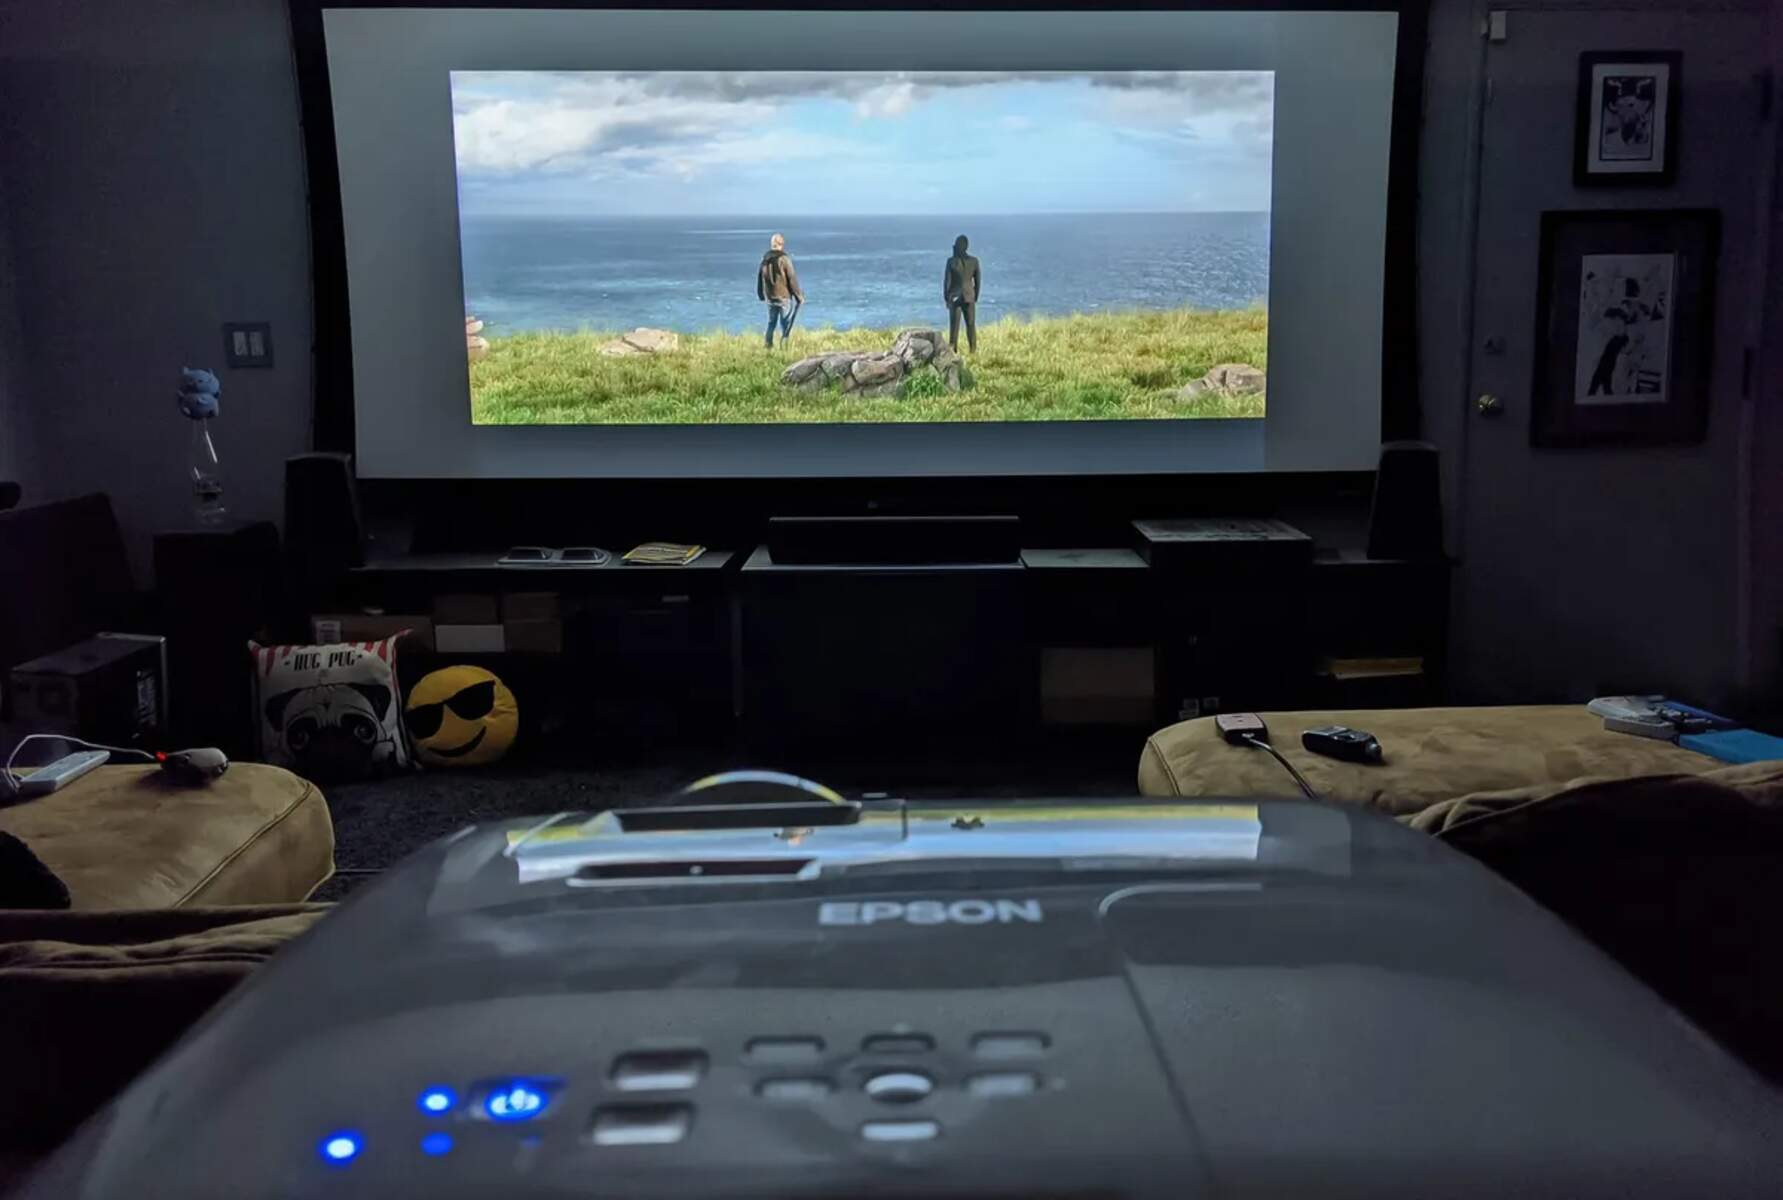
Welcome to the world of projectors, where the big screen comes to life in vivid colors and larger-than-life images. Whether you’re setting up a home theater, delivering a presentation in a conference room, or hosting a movie night in your backyard, a well-focused projector is essential for a clear and immersive viewing experience.
In this guide, we will explore the importance of focusing a projector and provide you with step-by-step instructions on how to achieve optimal image clarity. No matter what type of projector you have, be it a traditional model or a modern digital projector, mastering the art of focus will significantly enhance your visual enjoyment.
So, why is it important to focus a projector in the first place? Simply put, proper focus ensures that the projected image is sharp and clear, free from blurriness or distortion. It allows you to fully appreciate the details, text, and colors portrayed on the screen, creating a more immersive and enjoyable viewing experience for yourself and your audience.
To achieve great focus, you will need a few tools and a basic understanding of the projector’s mechanism. Don’t worry if you’re new to this; we’ve got you covered. In the following sections, we will discuss the essential equipment and guide you through the steps to focus your projector effectively.
Now, let’s dive into the nitty-gritty details of how to focus your projector and unlock the full potential of your visual experience.
Why is it important to focus a projector?
Focusing a projector is a crucial step in achieving optimal image quality and ensuring a rewarding viewing experience. Here’s why it’s important to focus a projector:
- Image clarity: When a projector is properly focused, the projected image appears crisp and clear. Each detail, line, and texture on the screen becomes sharp and defined, enhancing the overall visual quality. Correct focus eliminates blurriness and distortion, allowing you to fully appreciate the content being displayed.
- Text legibility: Whether you’re giving a presentation or watching a movie with subtitles, a well-focused projector makes text easy to read. Misaligned focus can result in fuzzy or distorted text, making it challenging to understand and engage with the information presented. By achieving proper focus, you can ensure that every word is sharp and legible.
- Color accuracy: Projectors rely on precisely calibrated optics to project colors onto the screen. When the focus is not properly adjusted, colors may appear washed out, dull, or inaccurate. By focusing the projector, you can align the internal components to deliver vibrant and true-to-life colors, enhancing your visual experience.
- Enhanced immersion: Whether you’re watching a movie or playing a video game, an out-of-focus image can be distracting and diminish the immersive experience. Proper focus brings the visuals to life, creating a sense of depth and realism. This heightened level of immersion allows you to fully engage with the content and enjoy it to its fullest.
- Professional presentations: When delivering a presentation, you want to ensure that your visuals make the desired impact. A crystal-clear image increases the effectiveness of your visual aids, capturing the attention of your audience and conveying your message with clarity. Properly focused visuals demonstrate professionalism and attention to detail.
By understanding the importance of focusing your projector, you can ensure that every viewing experience is enjoyable, immersive, and visually stunning. Now, let’s move on to the next section, where we’ll discuss the tools you’ll need to focus a projector effectively.
What you will need to focus a projector
Before you embark on the task of focusing your projector, it’s important to gather the necessary tools and equipment. Here’s what you’ll need to focus a projector effectively:
- Projector: Of course, you’ll need the projector itself. Make sure it is set up in a stable position and connected to your desired input source, whether it’s a laptop, DVD player, or gaming console.
- Projection screen or surface: To achieve optimal results, it’s recommended to project onto a dedicated projection screen or a smooth, flat white surface. This ensures that the projected image reflects accurately, resulting in better focus and image quality.
- Remote control or projector menu access: Most projectors come with a remote control or have built-in menu options that allow you to access various settings, including focus. Ensure that you have either the remote control or direct access to the projector’s menu to make adjustments.
- Lighting control: It’s crucial to control the ambient lighting in the room where your projector is set up. Excessive brightness can wash out the projected image, making focus adjustment challenging. Dimming the lights or using blackout curtains can help create an optimal viewing environment.
- Test material: It’s helpful to have test material on hand, such as a test pattern or a sample video or image, to assess the focus accuracy. This will allow you to make precise adjustments and ensure that the projected image is as sharp as possible.
- Patience and attention to detail: Focusing a projector requires time, patience, and attention to detail. Expect to spend some time fine-tuning the focus to achieve the best results. Remember, the ultimate goal is to create a clear and immersive viewing experience.
Gathering these tools and preparing yourself for the task at hand will set you up for success when it comes to focusing your projector. Now that you’re ready to get started, let’s move on to the step-by-step guide for focusing a projector in the next section.
Step-by-step guide to focusing a projector
Now that you have everything you need, let’s dive into the step-by-step process of focusing your projector for optimal image quality:
- Position the projector: Set up your projector in the desired location and make sure it is at the appropriate distance from the projection screen or surface. Refer to the projector’s user manual for the recommended throw distance and positioning guidelines.
- Turn on the projector: Power on the projector and allow it to warm up. This will ensure stable operation and accurate focus adjustment.
- Access the projector’s menu: Use the remote control or the buttons on the projector to access the menu. Look for the “Focus” or “Image Settings” option. If necessary, consult the user manual for specific instructions on accessing the focus settings.
- Display test material: Display the test pattern or sample video/image on the projection screen. This will help you assess the current focus and make the necessary adjustments.
- Adjust the focus ring: Locate the focus ring on the projector lens. Slowly rotate the ring clockwise or counterclockwise to achieve a sharp and clear image. Keep making small adjustments until you are satisfied with the focus.
- Check the corners and edges: After adjusting the focus, pay close attention to the corners and edges of the projected image. Ensure that they are as clear and sharp as the center of the screen. If necessary, make additional adjustments to achieve consistent focus across the entire image.
- Fine-tune the focus: Once you have achieved a satisfactory focus, take a step back and evaluate the overall image quality. Look for any remaining blurriness or distortion. Use the focus adjustment options in the menu to fine-tune the focus and make any necessary tweaks to enhance the clarity.
- Lock the focus: Some projectors have a focus lock feature that allows you to secure the focus settings. If your projector has this option, consider activating it to prevent accidental changes to the focus.
- Test different content: To ensure that your projector is consistently focused, test it with different types of content. Watch some sample videos, view images, and display text to verify that the focus is optimal across various media.
By following these step-by-step instructions, you can effectively focus your projector and enjoy a clear, sharp, and immersive visual experience. Now, let’s move on to the next section, where we’ll discuss common issues you may encounter while focusing a projector and provide troubleshooting tips.
Common issues and troubleshooting tips
While focusing a projector, you may encounter certain common issues that can affect the image quality. Here are some troubleshooting tips to help you overcome these challenges:
- Blurriness or lack of sharpness: If the projected image appears blurry, ensure that the projector is properly aligned with the projection screen or surface. Adjust the focus ring in small increments until the image becomes sharp. Additionally, check if the lens is clean and free from dust or smudges, as these can also cause blurriness.
- Inconsistent focus across the screen: If you notice variations in focus across different areas of the projected image, it may be due to keystone distortion. Keystone distortion occurs when the projector is not positioned perpendicular to the screen. Adjust the projector’s tilt and use keystone correction features, either manual or automatic, to rectify this issue.
- Color inaccuracies: If the projected image appears to have color inaccuracies, first check the projector’s color settings in the menu. Ensure that the color temperature, saturation, and contrast are properly adjusted. If the problem persists, it could be due to environmental factors such as lighting or the color properties of the projection surface. Experiment with different settings and screen options to achieve the desired color accuracy.
- Image distortion: If the image appears distorted, it may be due to a few factors. First, check that the projector and screen are placed on a stable surface to eliminate any vibrations. Additionally, ensure that the projection surface is flat and taut. Lastly, adjust the focus and keystone correction settings to correct any image distortion.
- Remote control issues: If you’re using a remote control to adjust the focus, check that the batteries are fresh and properly installed. Ensure that there is a clear line of sight between the remote and the projector’s receiver. If the remote control still doesn’t work, try replacing it or using the projector’s built-in controls.
- Noise or fan issues: Projectors often have cooling fans that can generate audible noise. If the fan noise is distracting, ensure that the projector has proper ventilation and is not overheating. Place the projector in a well-ventilated area and keep any vents unobstructed. If the noise persists, consult the projector’s manual for guidance on reducing fan noise or consider using external cooling solutions.
By implementing these troubleshooting tips, you can address common issues and ensure that your projector delivers a high-quality and enjoyable viewing experience. Now, let’s wrap up this guide.
Conclusion
Mastering the art of focusing a projector is essential for achieving optimal image quality and ensuring an immersive viewing experience. By following the step-by-step guide outlined in this article, you can effectively focus your projector and enjoy sharp, clear, and vibrant visuals.
We discussed the importance of focusing a projector, highlighting how it enhances image clarity, text legibility, color accuracy, and overall immersion. We also covered the tools needed, including the projector itself, a projection screen or surface, remote control or menu access, lighting control, test material, and patience.
The step-by-step guide took you through the process of positioning the projector, accessing the menu settings, adjusting the focus ring, checking for consistent sharpness, and fine-tuning the focus. We also provided troubleshooting tips for common issues such as blurriness, inconsistent focus, color inaccuracies, image distortion, remote control problems, and fan noise.
Remember, focusing a projector requires attention to detail and patience. Take the time to adjust the focus and experiment with different settings to achieve the best results. Regularly test your projector with different content to ensure consistent focus and image quality.
With proper focus, you can elevate your home theater, classroom presentations, or business meetings to the next level. The captivating visuals and immersive experience will leave a lasting impression on your audience.
Now that you have the knowledge and tools to focus a projector, it’s time to start enjoying your favorite movies, presentations, and events with crystal-clear clarity. Happy projecting!