Introduction
Welcome to this comprehensive guide on how to focus an Epson projector. Achieving a crisp and clear image is essential for a captivating viewing experience. Whether you are setting up a home theater or conducting a business presentation, properly focusing your projector is the key to ensuring optimal image quality. In this article, we will walk you through the step-by-step process of focusing an Epson projector.
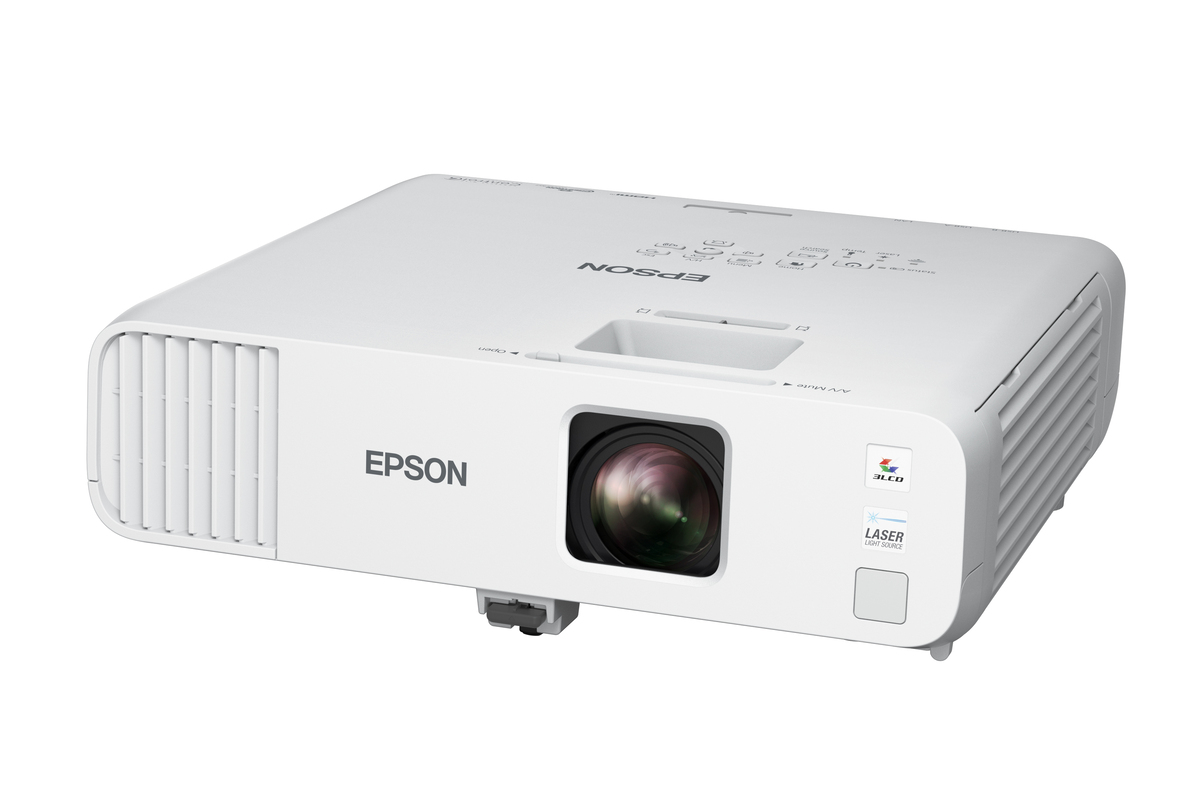
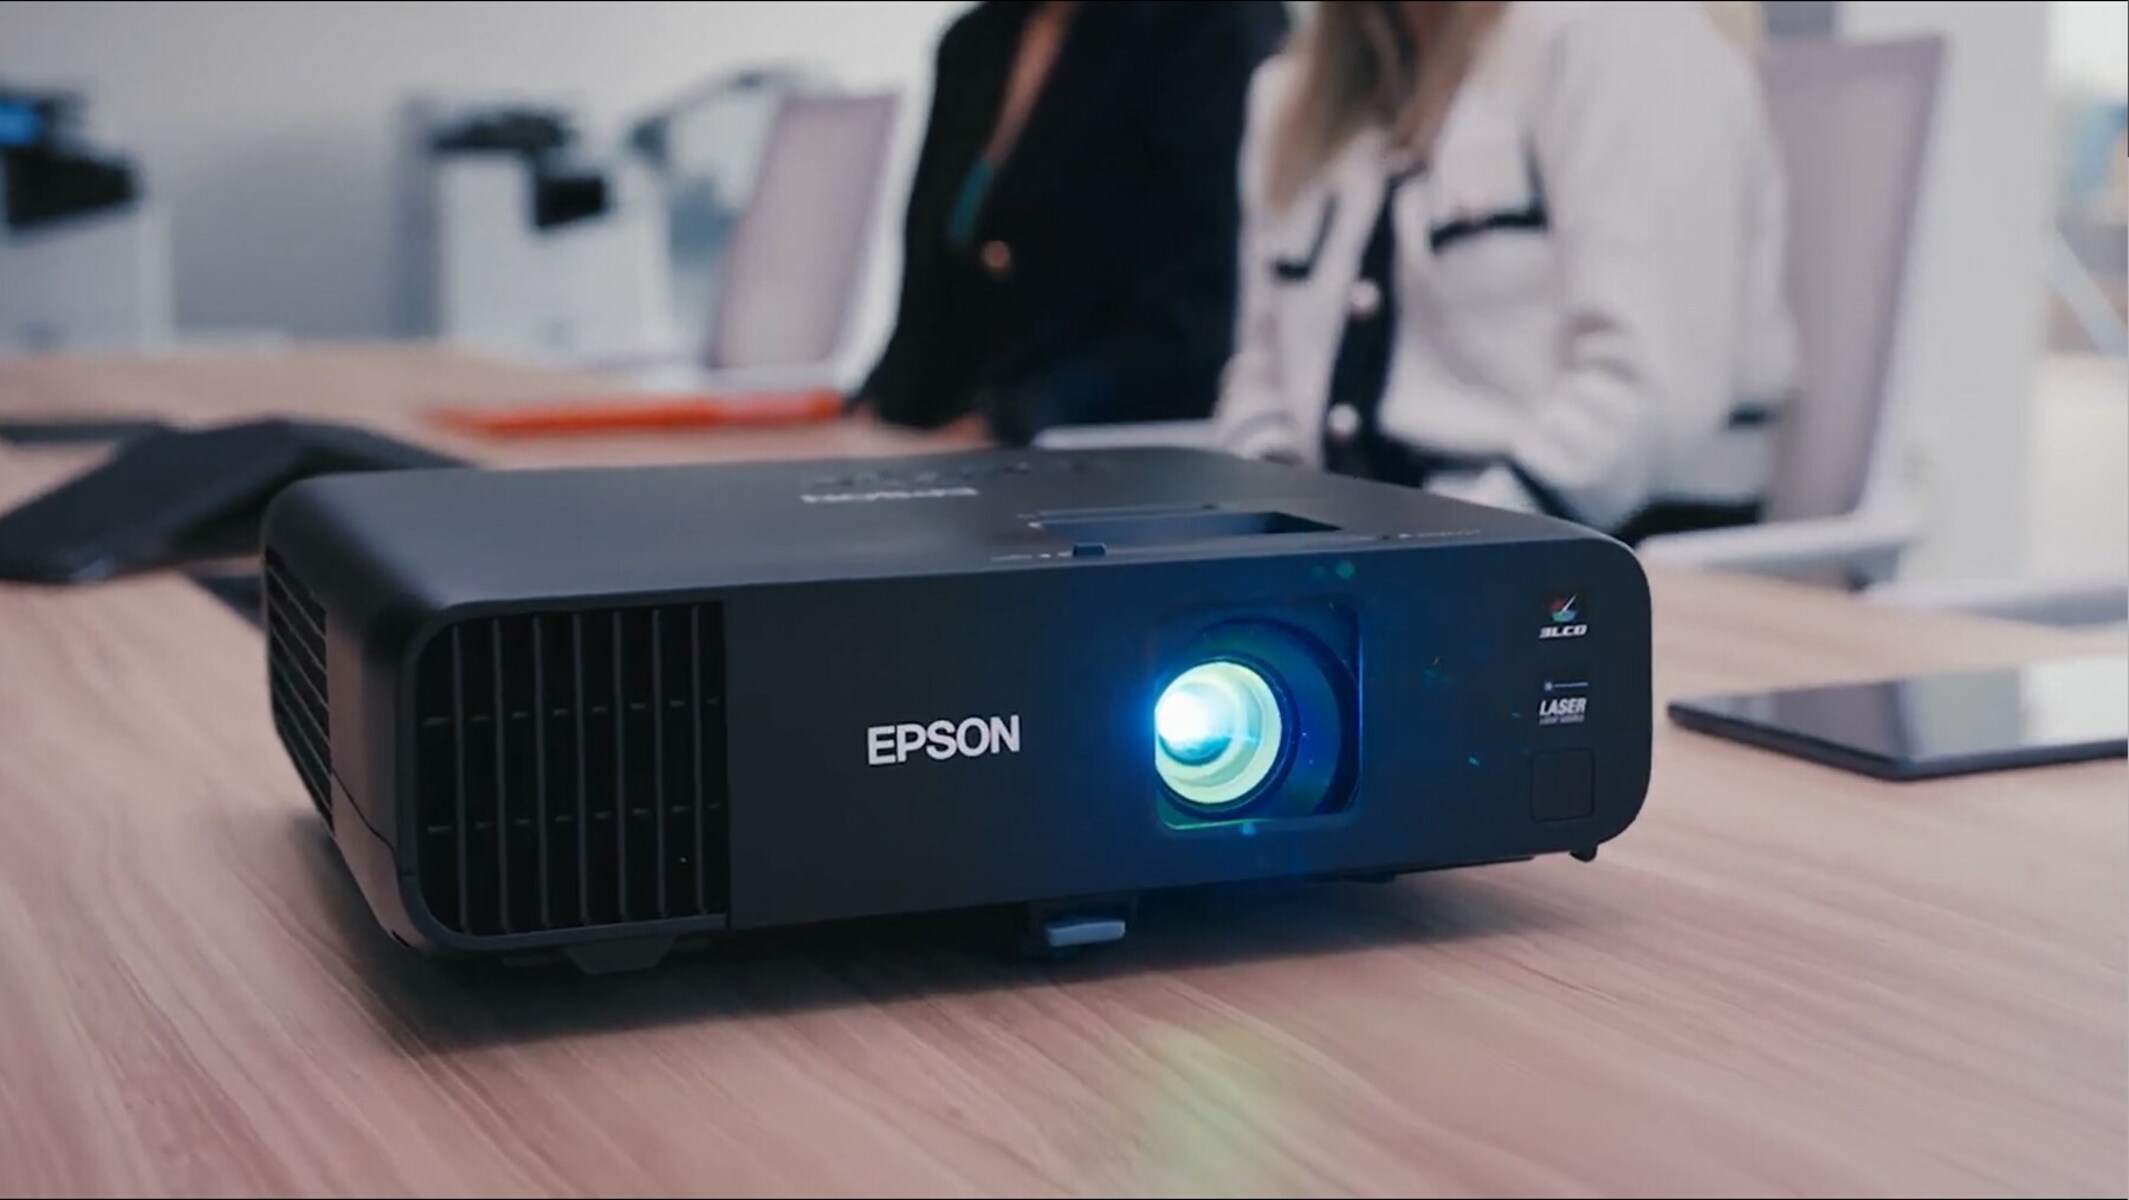
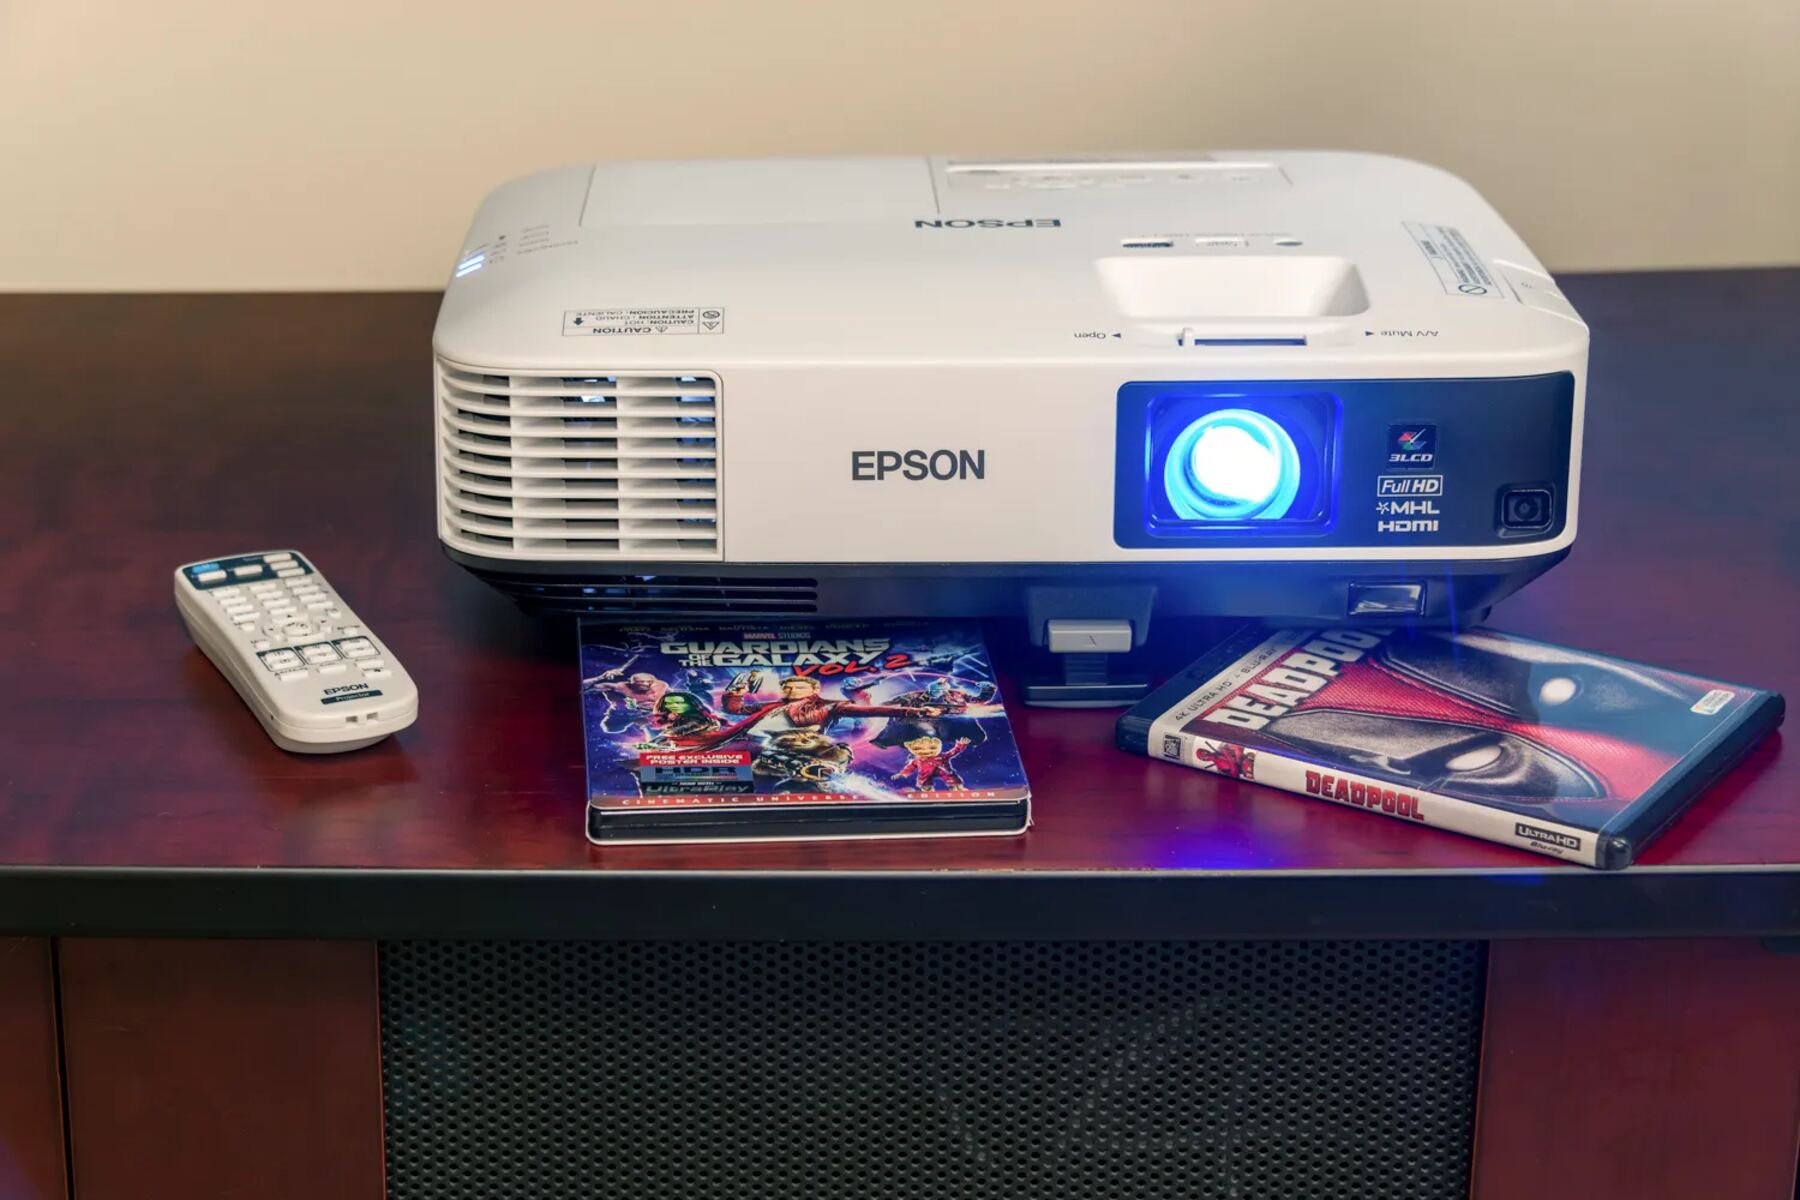
When it comes to projectors, Epson is a trusted name known for producing high-quality devices that deliver vibrant and sharp images. However, even the best projectors require proper calibration to display the best possible picture. Failing to focus your Epson projector correctly can lead to blurry or distorted images, which can obstruct the visual clarity and impact the overall quality of your presentation or movie experience.
Fortunately, focusing an Epson projector is a straightforward process that does not require any technical expertise. By following a few simple steps, you can easily adjust the projector settings and achieve a crystal-clear image.
Before we dive into the step-by-step instructions, it’s important to note that the specific steps may vary slightly depending on the model of your Epson projector. Therefore, it’s always a good idea to consult the user manual that comes with your projector for model-specific instructions. Additionally, make sure you have a suitable projection surface, such as a projector screen or a smooth white wall, to ensure the best image quality.
Now, let’s get started with the process of focusing an Epson projector and optimizing the image quality for your viewing pleasure.
Checking the Projector Lens
The first step in focusing your Epson projector is to ensure that the lens is clean and free from any obstructions. Dust, smudges, or fingerprints on the lens can negatively impact the image quality. Here’s how you can check and clean the projector lens:
- Turn off the projector and unplug it from the power source. This will prevent any accidental damage while working on the lens.
- Locate the lens on the front or top of the projector, depending on the model.
- Inspect the lens for any visible dirt, dust, or smudges. If you notice any, gently blow on the lens or use a soft, lint-free cloth to wipe away the particles. Avoid applying excessive pressure or using abrasive materials that could scratch the lens.
- Once you have cleaned the lens, you can also clean the projector’s ventilation vents. Use a can of compressed air to blow away any dust that may have accumulated in the vents. This will help maintain proper airflow and prevent overheating.
After performing these simple maintenance steps, you are ready to proceed with the focus adjustment process. Ensuring that the lens is clean and unobstructed will contribute to a sharper and more vibrant image. Remember to double-check for any remaining smudges or dirt before moving on to the next step.
Adjusting the Keystone Correction
Keystone correction is an essential feature that allows you to adjust the shape of the projected image when the projector is placed at an angle or off-center. It helps to correct the trapezoidal distortion that can occur in such situations. Before focusing your Epson projector, it’s important to ensure that the keystone correction is properly adjusted. Follow these steps to adjust the keystone correction:
- Turn on your Epson projector and display an image or test pattern.
- Look for the keystone correction button or option in the projector’s menu. It is usually represented by an icon resembling a trapezoid or a square with diagonal lines.
- Using the projector’s remote control or the buttons on the projector itself, navigate to the keystone correction option.
- Adjust the keystone correction until the projected image appears rectangular and free from trapezoidal distortion. Use the arrow keys or navigation buttons to make horizontal and vertical adjustments as needed.
- Take your time to fine-tune the keystone correction until you are satisfied with the shape of the image. Avoid overcompensating, as it may result in a distorted image in the opposite direction.
- Once you have adjusted the keystone correction, recheck the focus of the image to ensure it is still clear and sharp. If necessary, proceed to the next step for further adjustments.
Properly adjusting the keystone correction will help you achieve a more balanced and accurate image shape, resulting in a better viewing experience. However, it’s important to note that excessive keystone correction should be avoided, as it can degrade the image quality. In cases where the keystone correction adjustment is unable to rectify the distortion completely, it may be necessary to reposition the projector or use additional tools, such as a ceiling mount or projector stand, to ensure a more optimal projection angle.
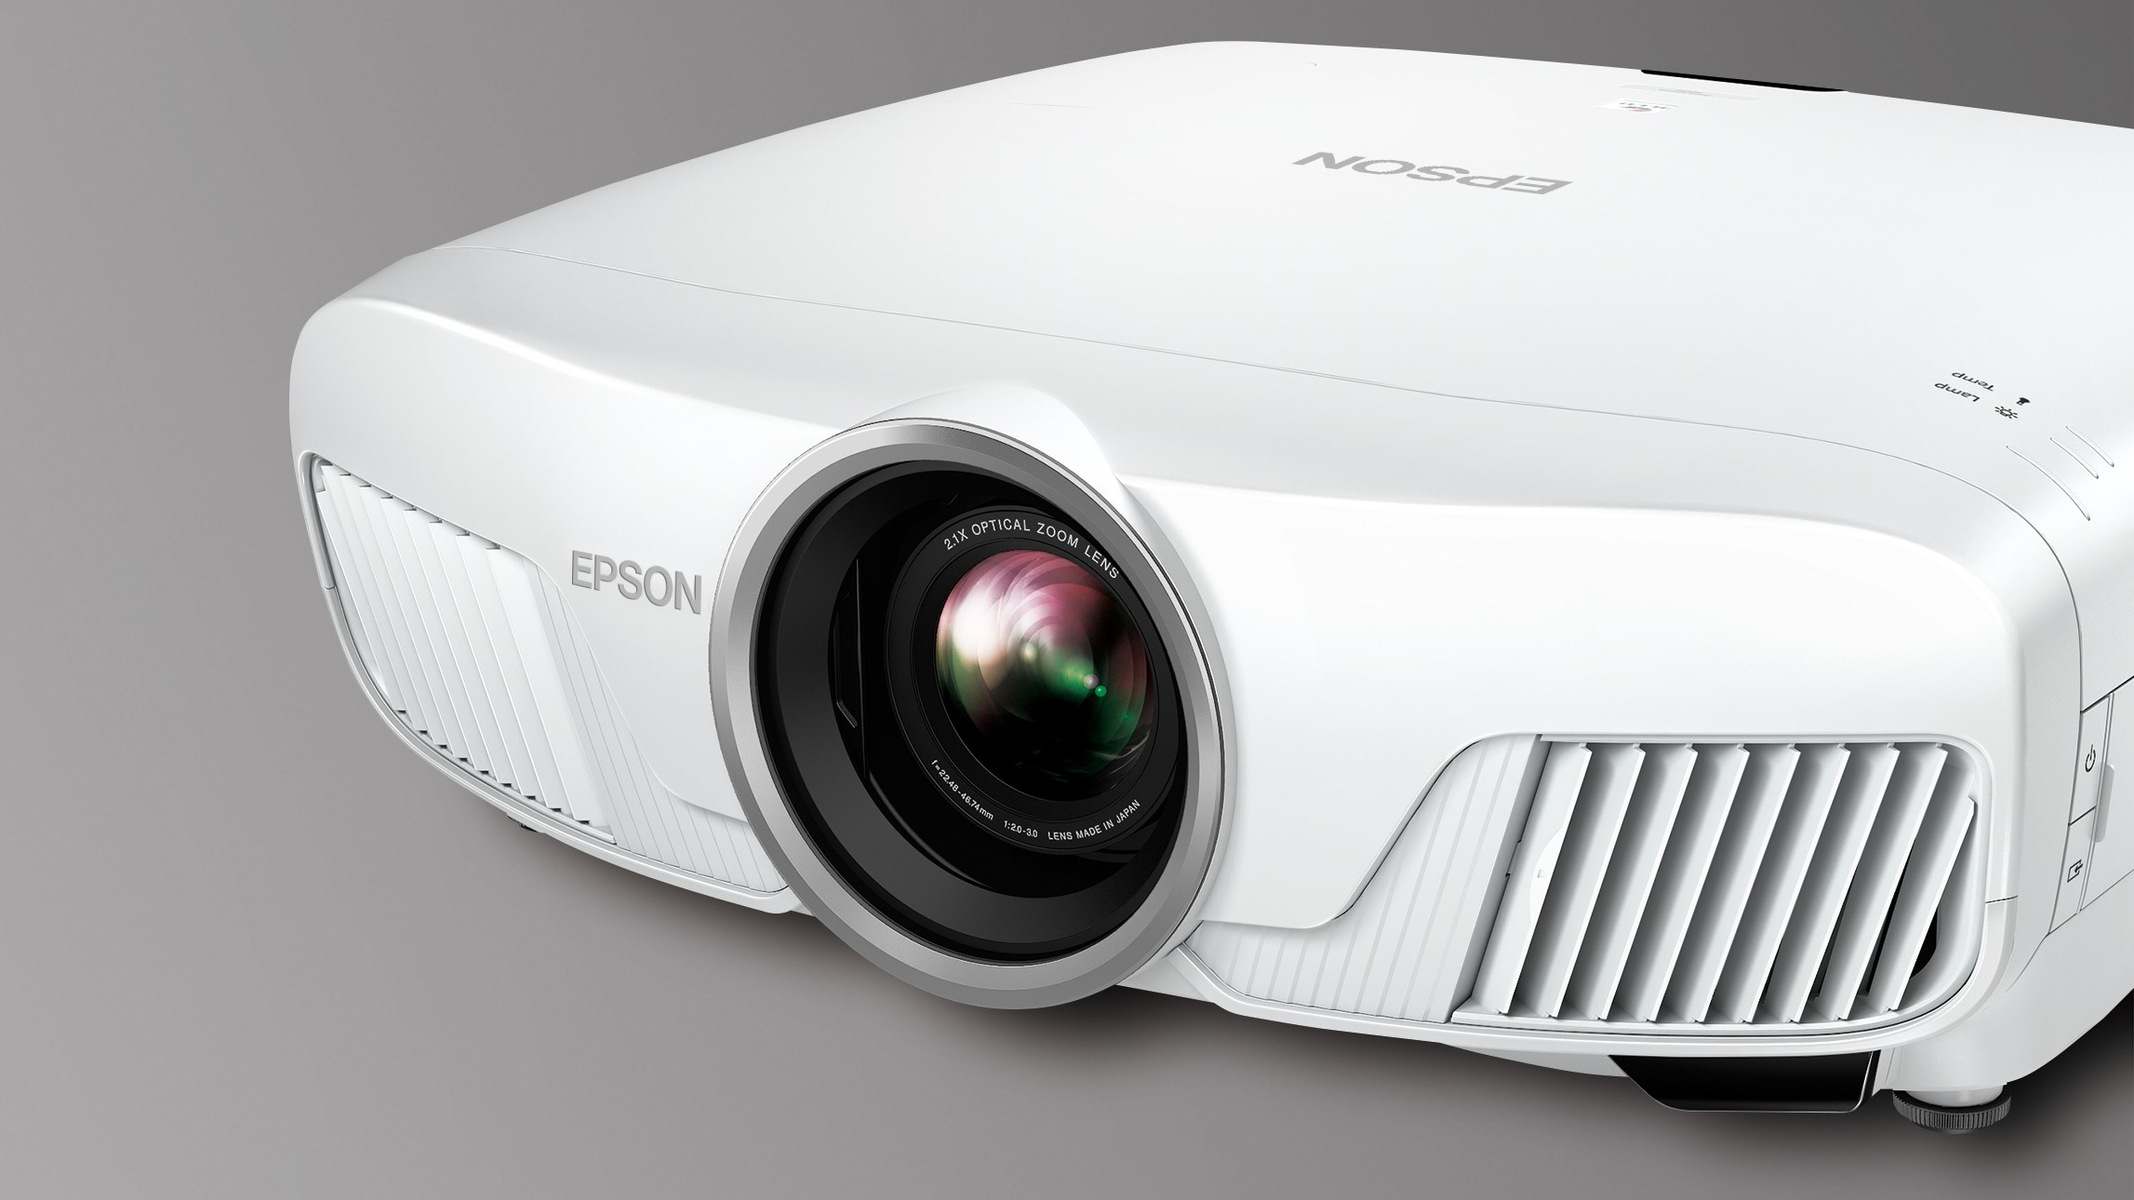
Using the Focus Ring
Now that you have checked and adjusted the keystone correction, it’s time to focus your Epson projector using the focus ring. The focus ring allows you to fine-tune the sharpness and clarity of the projected image. Follow these steps to use the focus ring effectively:
- Ensure that the projector is still powered on and displaying an image or test pattern.
- Locate the focus ring on the lens barrel. It is usually a small ring that can be rotated.
- Stand at the optimum viewing position, which is usually where you plan to sit or where the audience will be seated.
- Slowly rotate the focus ring in either direction. As you do this, pay close attention to the projected image and make incremental adjustments.
- Continue rotating the focus ring until the image appears sharp and clear. Take your time to find the sweet spot where the details in the image are the most distinct.
It’s important to note that different projectors may have varying focusing mechanisms. Some projectors may have an electronic focus adjustment accessible through the projector’s menu or remote control. Refer to the user manual for your specific model to determine the available focus adjustment options.
Once you have achieved the desired focus, take a moment to evaluate the overall image quality. Pay attention to details, colors, and clarity. If necessary, you can make minor adjustments to the keystone correction or revisit the cleaning process to ensure optimal image projection.
Remember that focusing a projector is subjective, and personal preferences may vary. Take the time to experiment and find the focus setting that best suits your needs and viewing environment.
By using the focus ring correctly, you can ensure that the projected image is sharp, detailed, and visually appealing, providing an immersive experience for both entertainment and professional use.
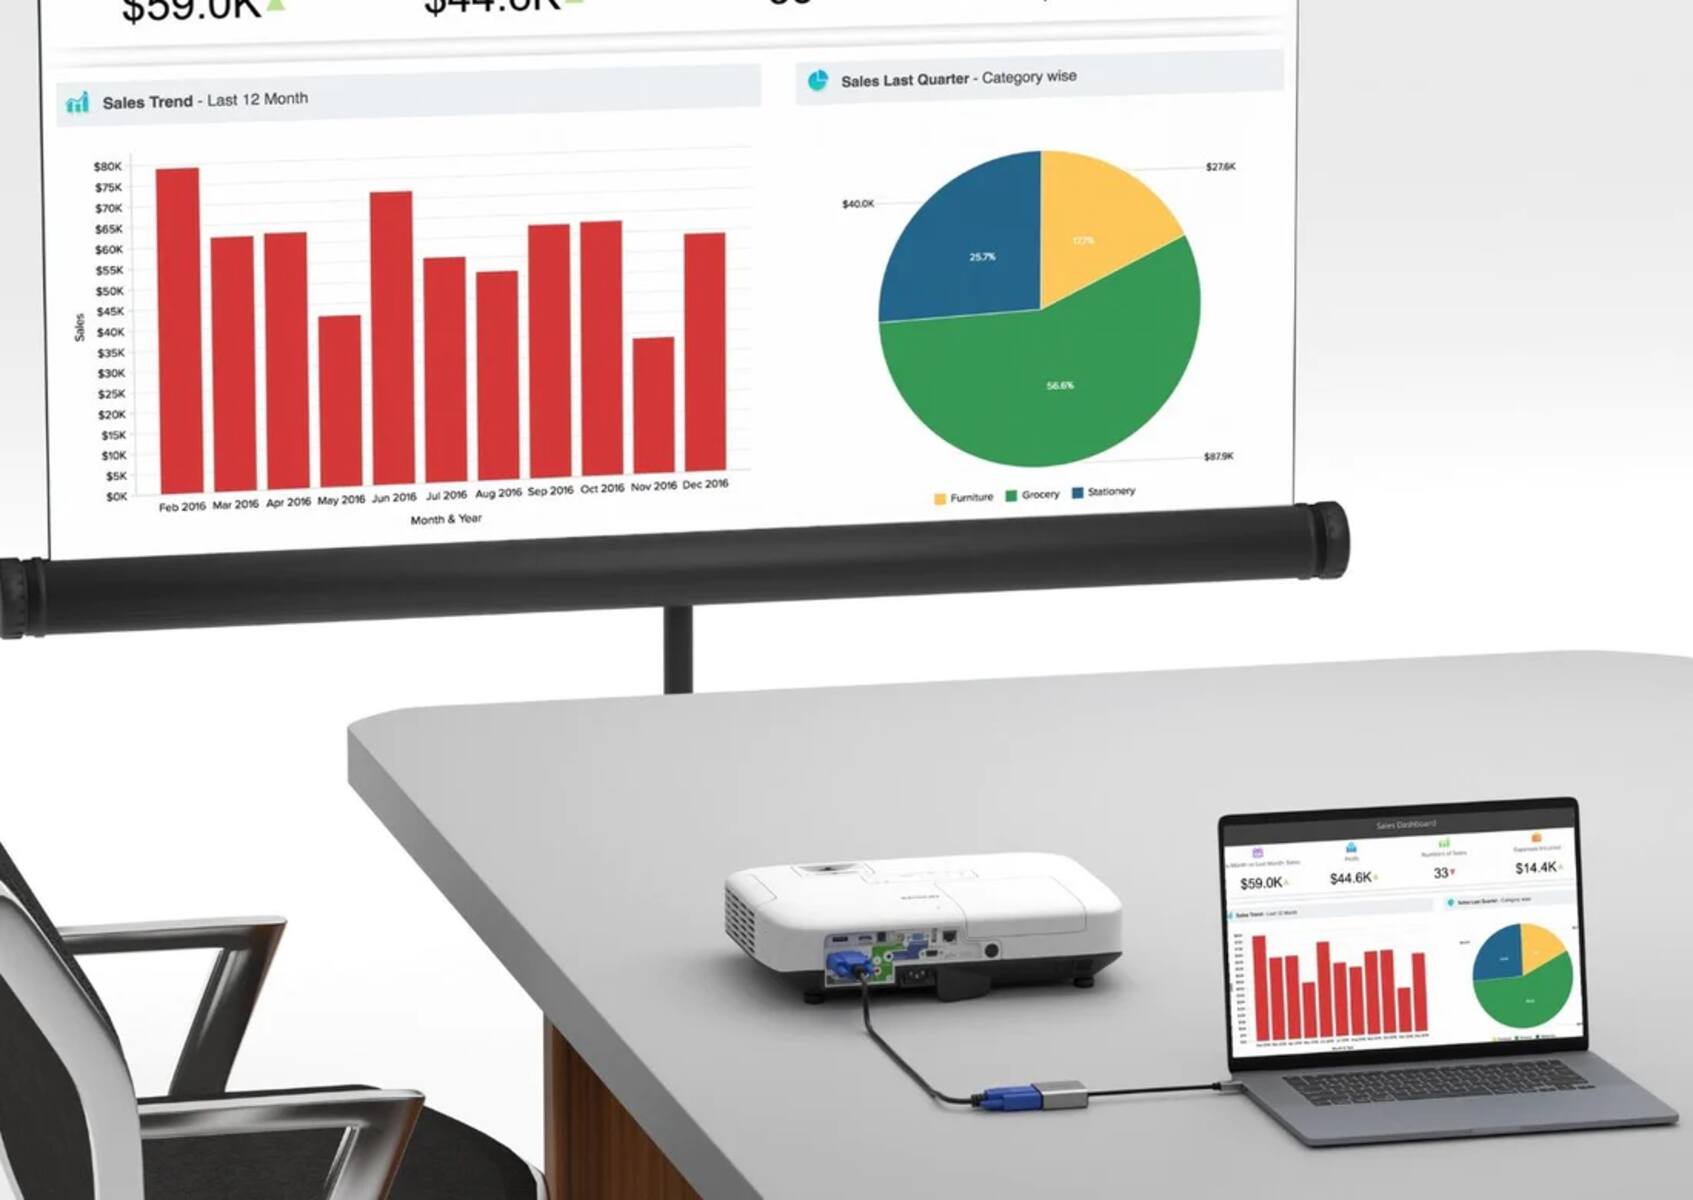
Testing the Image Quality
After adjusting the keystone correction and focusing your Epson projector, it’s crucial to test the image quality to ensure that it meets your expectations. Here are some steps to follow when testing the image quality:
- Display a variety of content on your projector, such as photos, videos, or presentations. This will allow you to assess the image quality in different scenarios.
- Pay attention to the details, colors, and sharpness of the projected image. Look for any signs of blurriness, distortion, or color inaccuracies.
- Check the brightness and contrast levels. Adjust these settings if necessary to achieve a balanced and visually pleasing image.
- Evaluate the uniformity of the image across the entire projection area. Look for any dark or bright spots that may indicate an alignment or calibration issue.
- Take note of any artifacts or image flickering that may be present. These can be indicative of a compatibility issue with the content source or a problem with the projector itself.
- Make adjustments as needed based on your observations. This may include fine-tuning the focus, keystone correction, or other projector settings.
It’s essential to conduct this image quality test in the environment where you will be using the projector. Factors such as ambient lighting, screen size, and viewing distance can impact the perceived image quality. Therefore, it’s recommended to replicate the actual usage conditions as closely as possible during the testing phase.
If you notice any issues with the image quality during the test, refer to the troubleshooting guide or consult the Epson support resources for possible solutions. Sometimes, minor adjustments or settings tweaks can significantly improve the overall image quality and performance of your Epson projector.
Testing the image quality is a crucial step to ensure that your Epson projector is delivering the best possible visuals. By paying attention to the details and making any necessary adjustments, you can optimize the viewing experience and fully enjoy the benefits of your Epson projector.
Troubleshooting Guide
While Epson projectors are known for their reliability and performance, occasional issues may arise that can affect the image quality or functionality. Here is a troubleshooting guide to help you address common problems you may encounter while using your Epson projector:
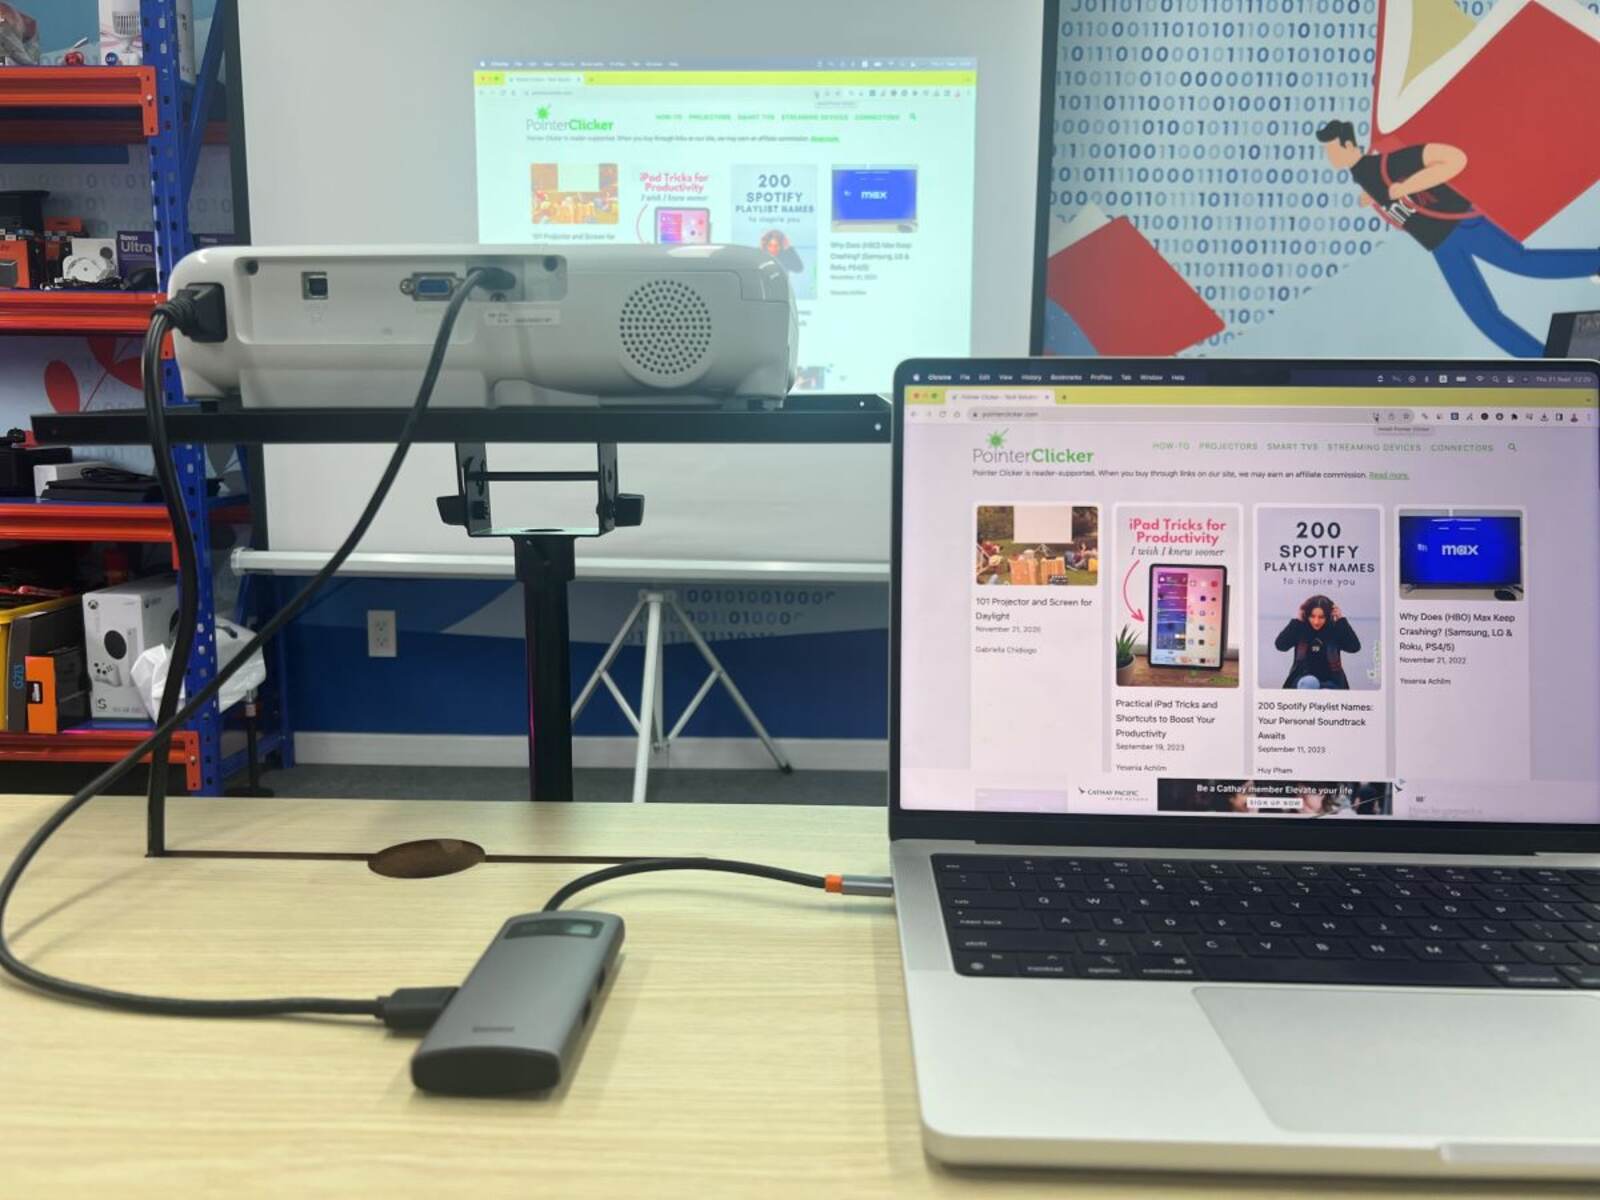
- No image or distorted image: Check if the projector is properly connected to the content source, such as a computer or media player. Ensure that the correct input source is selected on the projector. Check the cables for any damage or loose connections.
- Poor image quality: Clean the lens and ventilation vents as we mentioned earlier in this article. Adjust the focus and keystone correction settings. Check the brightness and contrast levels to ensure they are optimal for the viewing environment.
- Image flickering or artifacts: Verify that the content source is compatible with the projector’s specifications. Try using a different cable or video source to rule out any connectivity issues. Update the projector’s firmware to the latest version, if available.
- Overheating or automatic shutdown: Ensure that the projector is not blocked or placed too close to a wall or other obstructive objects that hinder ventilation. Clean the dust and debris from the air filters. Avoid operating the projector in excessively hot or humid environments.
- Noise or abnormal fan operation: Ensure that the projector is placed on a stable and level surface. Check for any obstructions near the cooling fans. If the noise persists, contact Epson customer support for further assistance.
- Remote control not working: Replace the batteries in the remote control. Ensure that there are no obstructions between the remote control and the projector’s sensor. Reposition yourself within the range specified by the manufacturer.
If you encounter any other issues not covered in this troubleshooting guide, refer to the user manual or visit the Epson website for additional resources and support. Epson provides comprehensive support and a dedicated customer service team to assist with any technical difficulties you may face.
Remember that troubleshooting is a systematic process, and it may take some trial and error to identify and resolve the issue. Patience and attention to detail are key in effectively troubleshooting any problems with your Epson projector.
Conclusion
In conclusion, properly focusing your Epson projector is crucial for achieving optimal image quality and ensuring an immersive viewing experience. By following the steps outlined in this guide, you can easily adjust the projector lens, keystone correction, and focus ring to obtain a sharp and clear image.
Checking the projector lens for cleanliness, adjusting the keystone correction to correct any trapezoidal distortion, and using the focus ring to fine-tune the sharpness are essential steps in the focusing process. It is also important to test the image quality and make any necessary adjustments to achieve the desired result.
If you encounter any issues, refer to the troubleshooting guide and take appropriate steps to address the problem. Remember to consult the user manual or reach out to Epson customer support for further assistance if needed.
Properly focusing your Epson projector will greatly enhance your home theater experience, business presentations, or any other multimedia applications. Enjoy the vibrant and detailed visuals, and immerse yourself in the captivating world that your Epson projector can create.