Introduction
Welcome to our guide on how to play video on an Epson projector. Epson projectors are renowned for their high-quality image and vibrant colors, making them a popular choice for home theaters, classrooms, and business presentations. Whether you’re looking to enjoy your favorite movies on the big screen or need to deliver a visually captivating presentation, connecting your video sources to an Epson projector is a straightforward process.
In this article, we will walk you through the step-by-step instructions on how to connect and play video on your Epson projector. We will cover the necessary equipment, as well as the settings and adjustments required to ensure optimal picture and sound quality. So, whether you’re a tech enthusiast, a teacher, or simply a movie lover, this guide will help you make the most out of your Epson projector.
Before we begin, it’s important to note that the specific steps may vary slightly depending on the model of your Epson projector. However, the overall process and principles will remain the same. Make sure to consult your projector’s user manual for any model-specific instructions.
Now, let’s dive into the exciting world of playing video on an Epson projector and unlock the full potential of your home theater or presentation setup!
Step 1: Connect the Video Source to the Projector
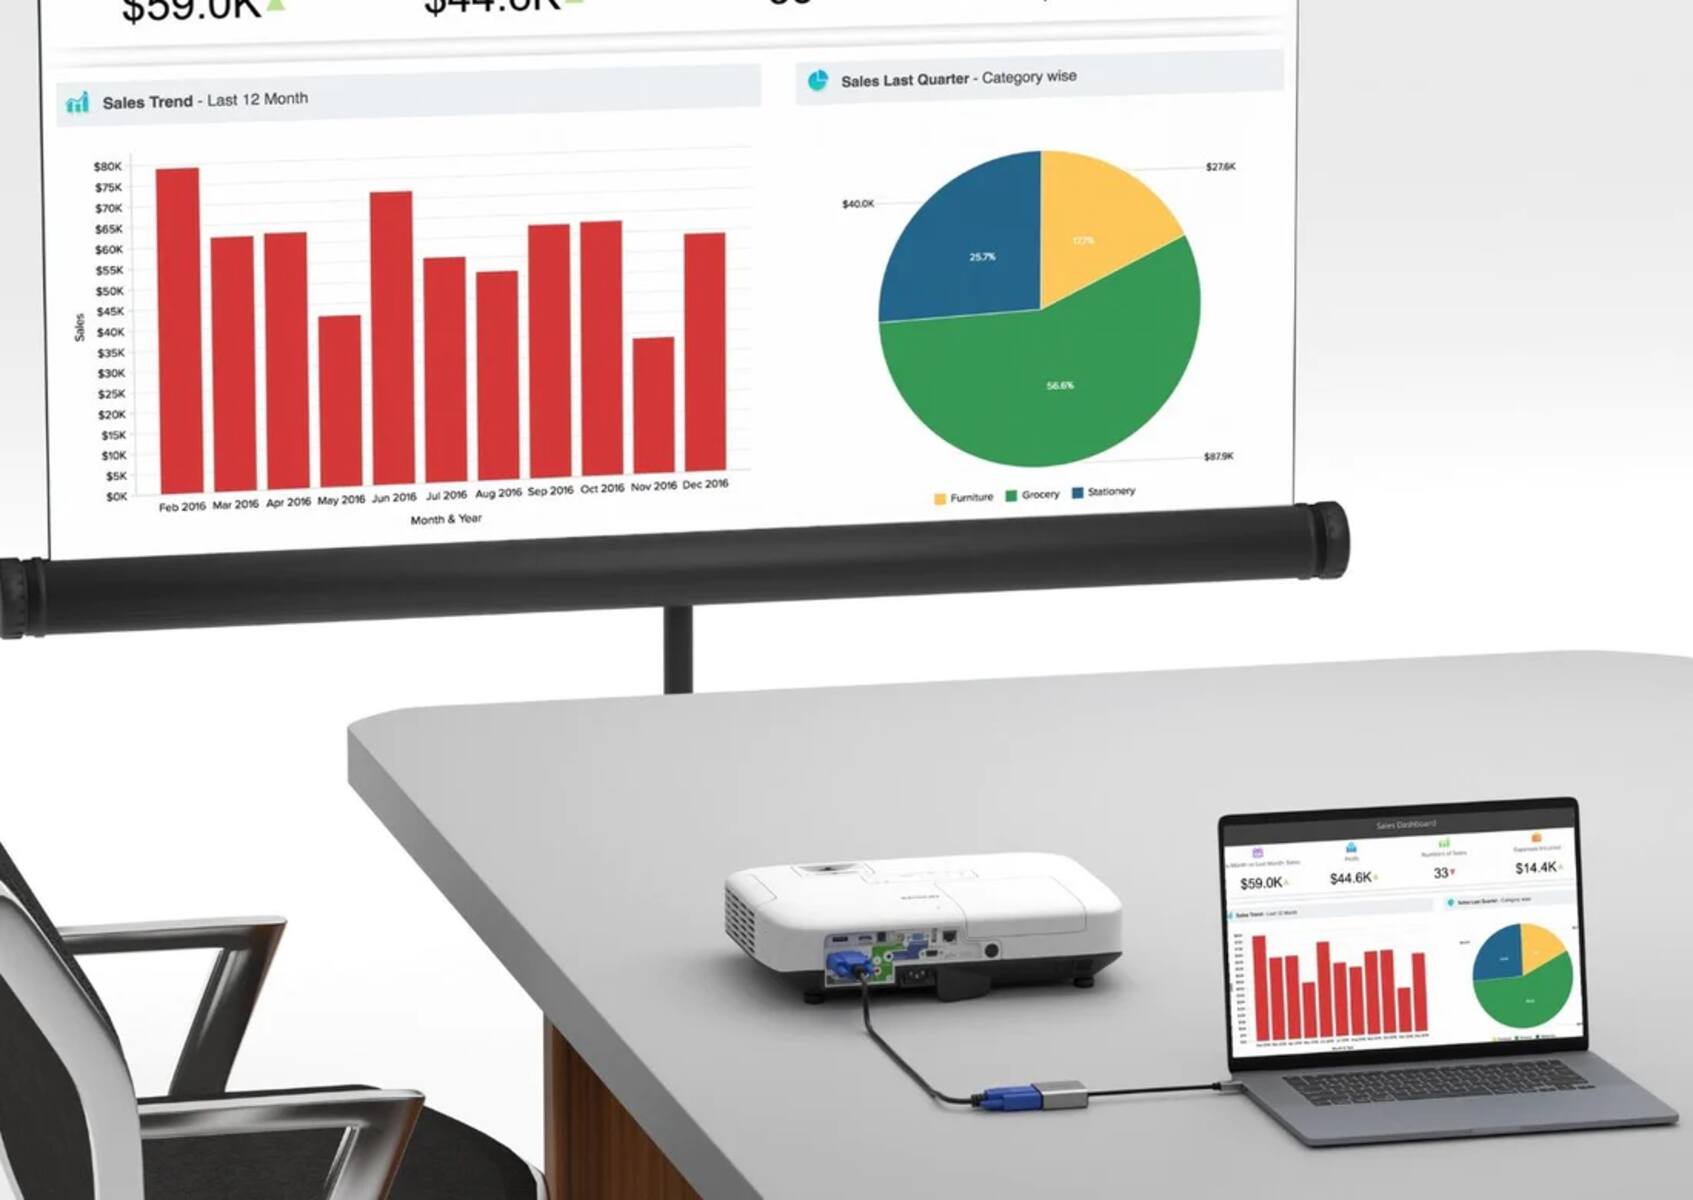
To play video on an Epson projector, the first step is to establish a connection between your video source and the projector. Here’s how you can do it:
- Identify the video output ports on your video source device. Common video sources include laptops, DVD players, Blu-ray players, and gaming consoles. Look for ports such as HDMI, VGA, or DVI.
- Inspect your Epson projector and locate the corresponding input ports. Epson projectors typically have multiple input options, including HDMI, VGA, and composite video. Choose the port that matches the output port of your video source.
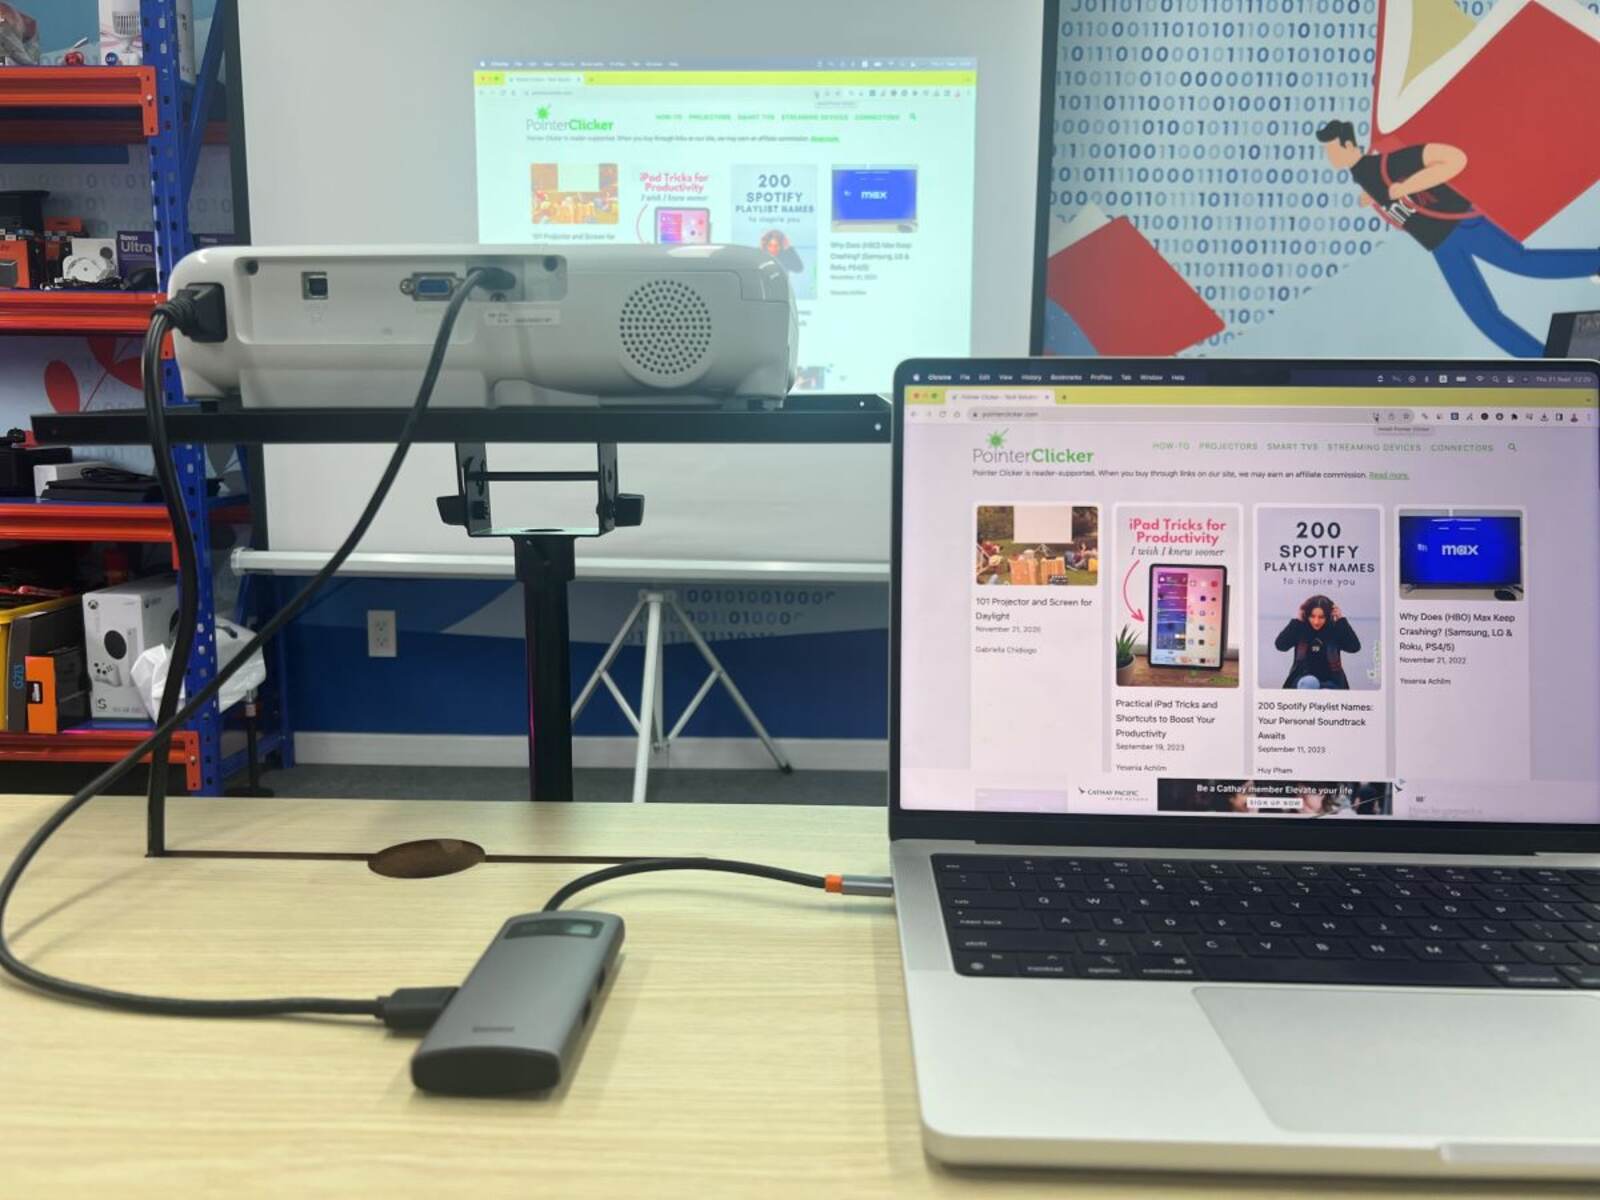
- Once you have identified the matching ports, connect one end of the appropriate video cable (HDMI, VGA, etc.) to the respective output port on your video source device. Ensure that the connections are secure.
- Next, connect the other end of the cable to the corresponding input port on the Epson projector.
- If your video source and Epson projector both support HDMI, we recommend using an HDMI cable for the connection. HDMI provides a high-definition digital signal, resulting in superior video and audio quality.
- For devices that use VGA or DVI connections, you may need to use additional adapters to convert the signal to a format compatible with the Epson projector’s input ports.
- Once the physical connections are in place, power on both your video source device and the Epson projector.
With the video source connected to the Epson projector, you have completed the first step towards playing video content. In the next step, we will discuss how to adjust the projector settings to ensure the best possible display.
Step 2: Adjust the Projector Settings
Now that you have successfully connected your video source to the Epson projector, it’s time to adjust the projector settings for an optimal viewing experience. Follow these steps to get the most out of your projector:
- Use the projector’s remote control to power it on if it hasn’t already automatically turned on.
- On the projector or its remote control, locate the menu button. Press it to access the projector’s settings menu.
- Navigate through the menu using the arrow keys or directional pad on the remote control. Look for an option related to “Input” or “Source” to select the input source you connected to the projector.
- Once you have selected the input source, adjust the display settings such as brightness, contrast, and color. These settings may vary depending on the specific model of your Epson projector.
- Take advantage of any preset display modes, such as “Cinema” or “Game,” that are available on your projector. These modes are optimized for different types of content and can enhance the overall viewing experience.
- If necessary, use the projector’s keystone correction feature to adjust the shape and alignment of the projected image. This feature can help compensate for any angle or distortion resulting from the projector’s placement.
- Experiment with the aspect ratio settings to ensure that your video content is displayed in the correct proportions. Most video sources and projectors have options for 16:9 (widescreen) or 4:3 (standard) aspect ratios.
- Once you have made the necessary adjustments, exit the settings menu and return to the main display. You should now see your video content projected onto the screen or surface.
By properly adjusting the projector settings, you can enhance the image quality, color accuracy, and overall viewing experience. In the next step, we will discuss how to set up the audio output to complement the video playback.
Step 3: Set up the Audio Output
Now that you have connected your video source and adjusted the projector settings, it’s time to set up the audio output for a complete cinematic experience. Follow these steps to ensure that your audio is properly synchronized with the video:
- Identify the audio output options on your video source device. Common options include headphone jacks, HDMI audio, or optical audio outputs.
- Determine the available audio input ports on your Epson projector. These can include audio jacks or HDMI audio inputs.
- Choose the audio output option that matches the audio input port on your projector. For example, if your video source has an HDMI audio output, connect it to the HDMI audio input on the projector.
- Connect the audio cable (such as an AUX cable or an HDMI cable) from the audio output of your video source device to the corresponding input on the Epson projector. Make sure the connections are secure.
- If your projector supports built-in speakers, you should now be able to hear the audio directly from the projector. However, for a more immersive sound experience, consider connecting external speakers or a sound system to the audio output of the projector using appropriate cables.
- Adjust the volume settings on both your video source device and the projector to achieve the desired audio level.
- Test the audio by playing a video or audio file. Make sure that the sound is synchronized with the video and that the audio quality is clear and enjoyable.
By setting up the audio output correctly, you can enhance the overall viewing experience and immerse yourself in the audiovisual content. In the next step, we will guide you on how to play the video on the Epson projector.
Step 4: Play the Video on the Epson Projector
Now that you have connected your video source, adjusted the projector settings, and set up the audio output, it’s time to play the video on your Epson projector. Follow these steps to start enjoying your favorite movies, presentations, or other video content:
- Ensure that both your video source device and the Epson projector are turned on and properly connected.
- On your video source device, open the media player or video playback software that you intend to use.
- Select the video file or content that you want to play. You can choose a local video file stored on your device or stream online content.
- On your video source device, press the play button or click on the play icon to start the video playback.
- On the Epson projector, you should see the video being projected onto the screen or surface. Adjust the focus and position of the projected image as needed to achieve the best display.
- Use the projector’s remote control to pause, resume, or navigate through the video playback as desired.
- Enjoy the immersive experience of watching the video on your Epson projector. Sit back, relax, and let the high-quality image and sound transport you into the world of your chosen content.
Playing video on an Epson projector is as simple as connecting your video source, adjusting the settings, and pressing play. With these steps, you can now fully utilize your Epson projector to enjoy movies, presentations, slideshows, or any other video content you desire.
Step 5: Fine-tuning the Picture and Sound Quality
After playing the video on your Epson projector, you may want to further enhance the picture and sound quality for an immersive viewing experience. Here are some tips to fine-tune the settings:
- Experiment with the projector’s picture settings, such as brightness, contrast, sharpness, and color temperature. Adjust these settings according to your personal preferences and the environment in which the projector is installed.
- If the projected image appears distorted, use the aspect ratio settings on both the projector and the video source device to ensure that the content is displayed correctly.
- Consider adjusting the projector’s keystone correction feature to correct any image distortion caused by the projector’s placement. Keystone correction can help ensure a rectangular and aligned image.
- If you’re experiencing any issues with color accuracy, you may need to calibrate the projector’s color settings. Some Epson projectors offer advanced color management options, allowing you to fine-tune the color reproduction to your liking.
- If you have connected external speakers or a sound system, adjust their settings to achieve the desired audio quality. Experiment with the equalizer settings to optimize the bass, treble, and overall sound balance.
- Pay attention to the room lighting. Dimming the lights or using blackout curtains can significantly improve the contrast and overall picture quality of the projected image.
- Regularly clean the projector’s lens and air vents to prevent any dust or debris from affecting the picture quality or causing the projector to overheat.
- Finally, adjust the volume levels on your video source device and the projector to ensure a balanced and pleasant sound experience.
By fine-tuning the picture and sound quality, you can maximize your enjoyment of the video content on your Epson projector. Take the time to experiment with the settings and make adjustments according to your preferences and viewing environment.
Conclusion
Congratulations! You have successfully learned how to play video on an Epson projector. By following the steps outlined in this guide, you will be able to connect your video source, adjust the projector settings, set up the audio output, and enjoy an immersive viewing experience.
Remember, the key steps to playing video on an Epson projector include connecting the video source to the projector, adjusting the projector settings for optimal display, setting up the audio output for synchronized audio, and finally, playing the video content on the projector.
With an Epson projector, you can transform any space into a captivating home theater, an engaging classroom, or an impressive presentation setup. The high-quality image and vibrant colors will bring your video content to life, immersing you in a truly cinematic experience.
Don’t forget to fine-tune the picture and sound quality according to your preferences and the viewing environment. Experiment with the settings, utilize the projector’s features, and ensure that the audio and visual elements are perfectly balanced for an enjoyable experience.
Now that you are equipped with the knowledge and skills to play video on an Epson projector, it’s time to sit back, relax, and enjoy your favorite movies, presentations, or other video content on the big screen.
So, grab some popcorn, dim the lights, and let your Epson projector transport you into a world of immersive entertainment and captivating visuals!