Introduction
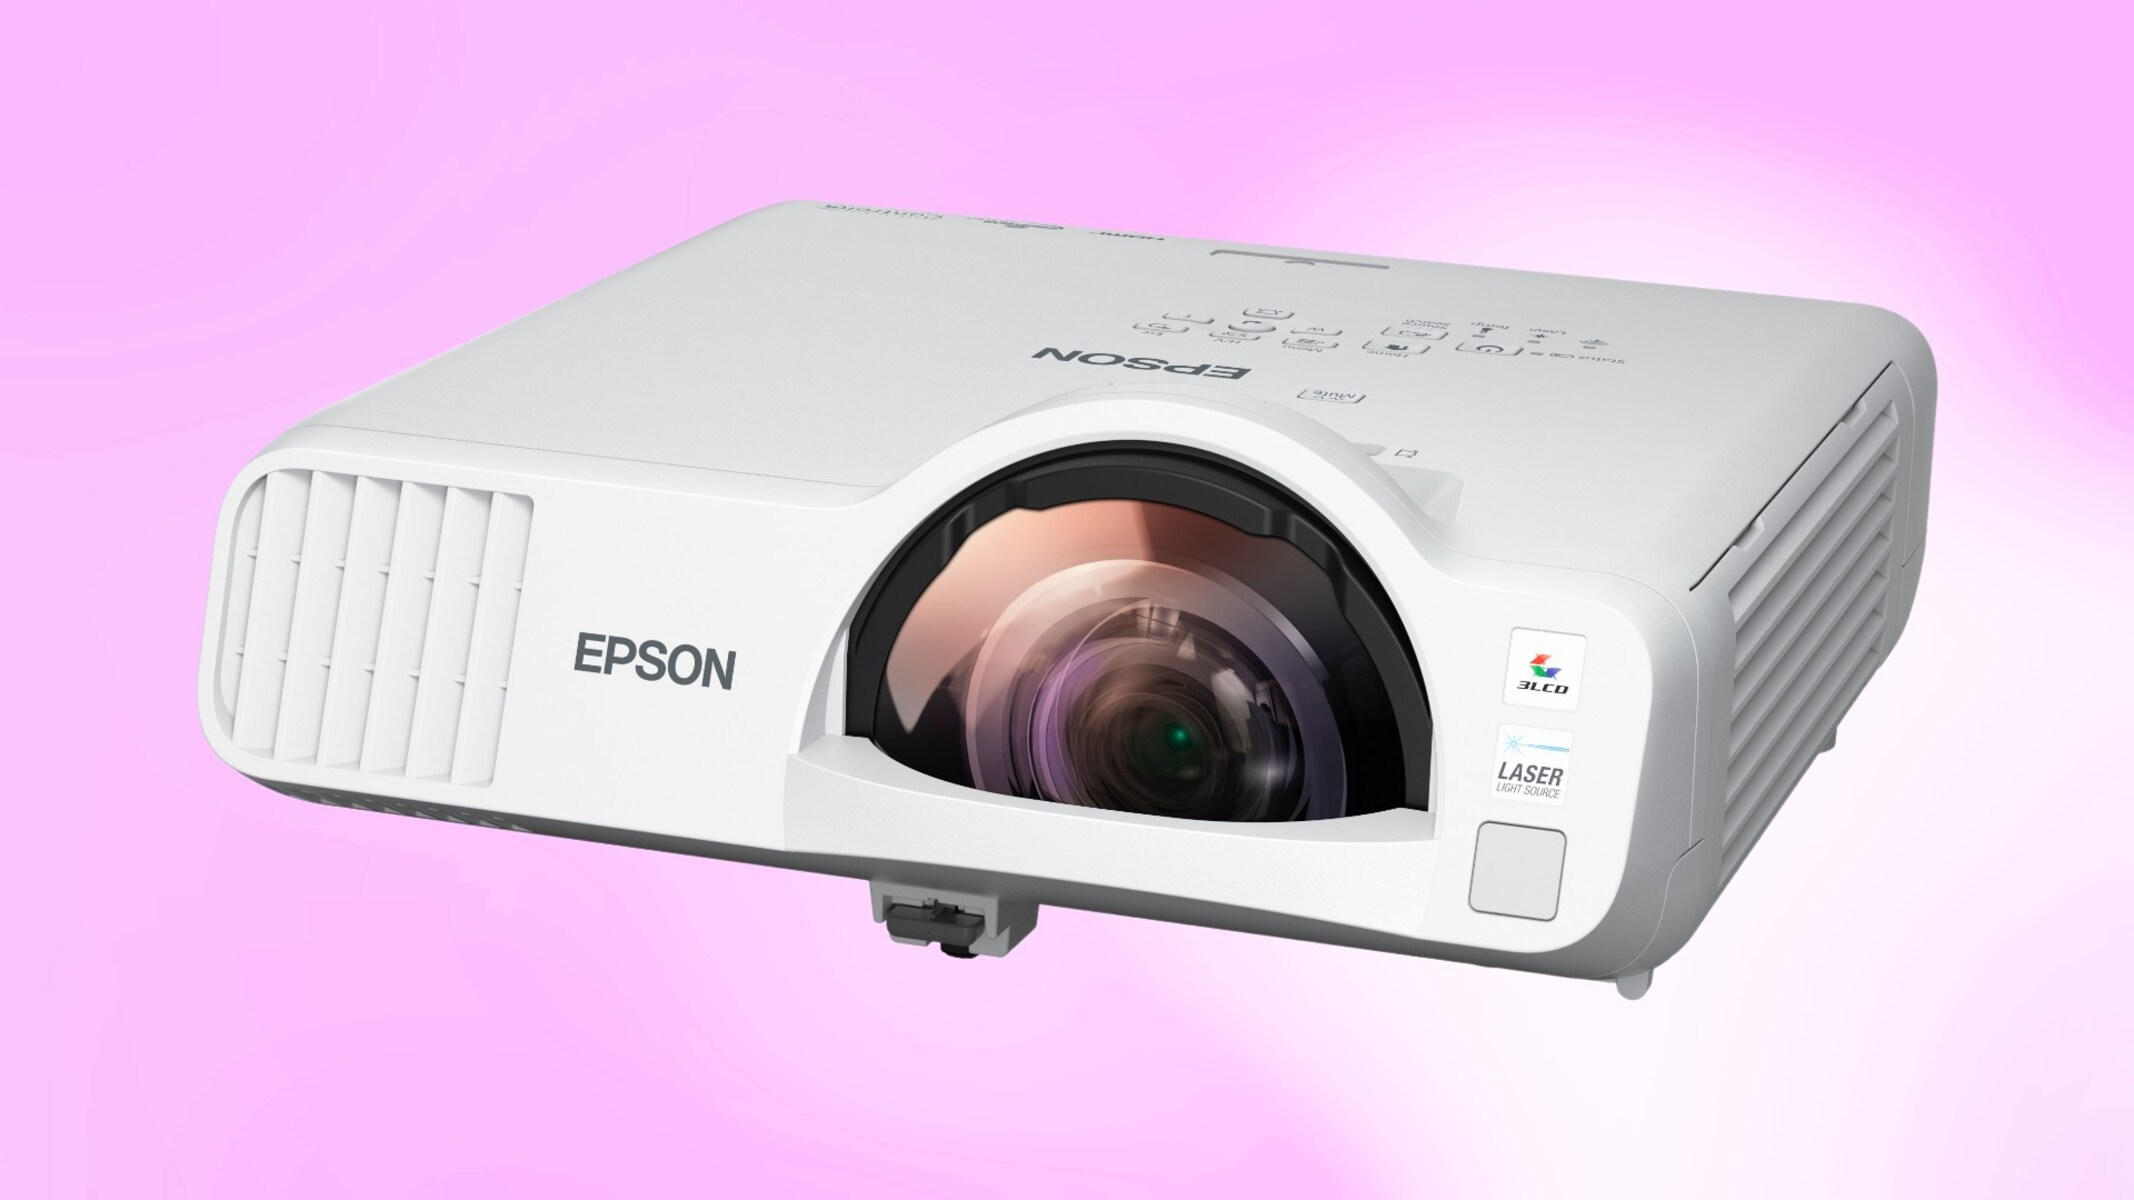
Are you struggling to get your Epson projector to work with your computer? Don’t worry, you’re not alone. Many people encounter difficulties when trying to connect and synchronize these two devices. However, with the right knowledge and guidance, you can easily overcome these challenges and enjoy the stunning visuals and immersive experience that an Epson projector can offer.
In this guide, we will walk you through the step-by-step process of getting your Epson projector set up and working smoothly with your computer. From checking the system requirements to troubleshooting common issues, we’ll cover everything you need to know to make the connection seamless and hassle-free.
Before we dive into the technical details, it’s important to note that the process may vary slightly based on the specific model of your Epson projector and the operating system of your computer. However, the general principles and steps outlined in this guide will provide a solid foundation for you to follow.
So, whether you’re setting up a projector for a business presentation, a home theater setup, or any other purpose, let’s get started on ensuring that your Epson projector and computer work together harmoniously to deliver outstanding visuals and performance.
Checking the System Requirements
Before connecting your Epson projector to your computer, it’s crucial to check that your system meets the necessary requirements for compatibility. This will ensure a smooth and error-free connection between the two devices. Here are the key factors to consider:
- Operating System: Verify that your computer’s operating system is supported by the Epson projector. Epson projectors typically work well with Windows, macOS, and various Linux distributions. Ensure that your operating system version is also compatible.
- Processor and RAM: Check the minimum processor and RAM requirements specified by Epson for your projector model. Although most modern computers exceed these minimum requirements, it’s important to confirm that your system meets or exceeds them.
- Graphics Card: Epson projectors rely heavily on the graphics processing capabilities of your computer. Make sure that your graphics card meets the minimum specifications recommended by Epson to ensure optimal performance during projection.
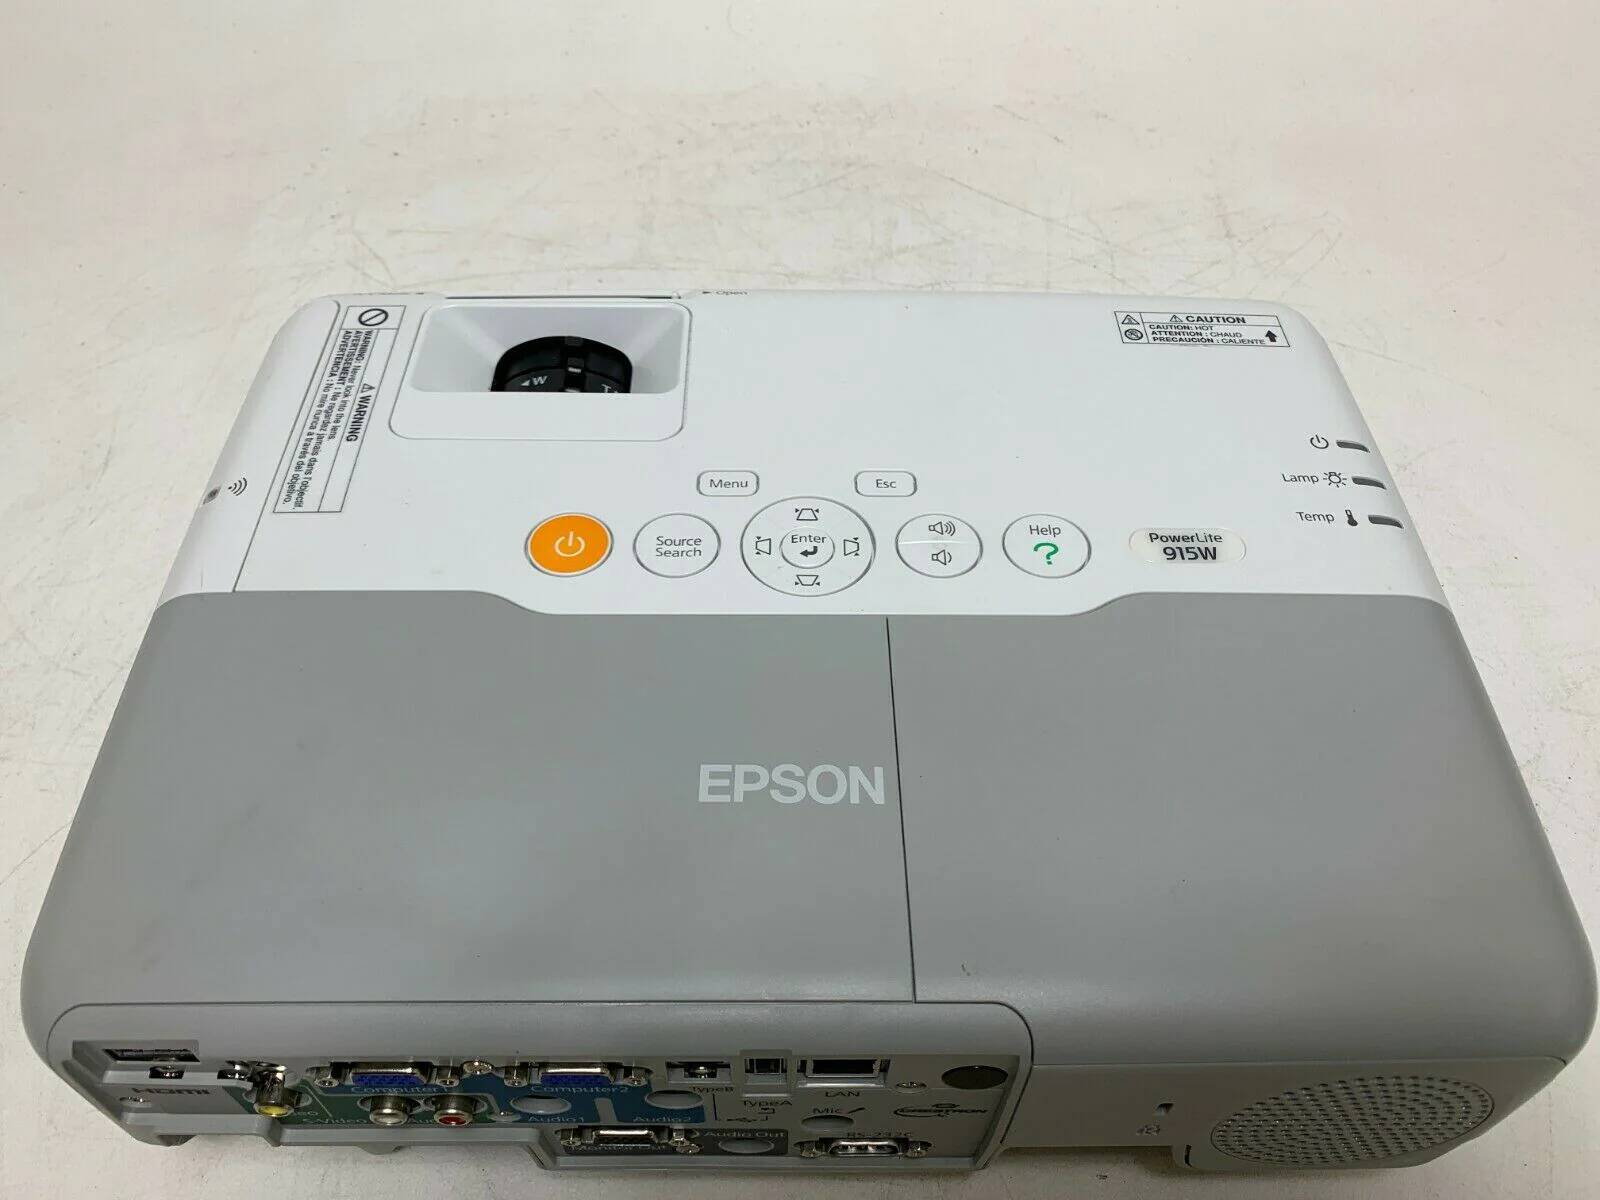
- Available Ports: Determine if your computer has the necessary video outputs to connect to the Epson projector. The most common video ports are HDMI, VGA, and DisplayPort. Check if your computer has one or more of these ports and ensure that the Epson projector supports the same type.
- Resolution Compatibility: Confirm that your computer and Epson projector have matching resolution capabilities. This will help avoid display issues and ensure that the projected image is clear and sharp. Check the maximum supported resolution of your computer’s graphics card and verify that it aligns with the recommended resolution for your Epson projector.
By thoroughly reviewing the system requirements, you can address any potential compatibility issues upfront and take the necessary steps to resolve them. This ensures that you’ll have a seamless setup process when connecting your Epson projector to your computer, reducing the chances of encountering frustrating errors or technical glitches.
Connecting the Projector to the Computer
Once you have verified that your computer meets the necessary system requirements, it’s time to connect your Epson projector. Follow the steps below to establish a physical connection between the two devices:
- Locate the video output port on your computer. It might be an HDMI port, VGA port, or DisplayPort. If your computer has multiple video output options, choose the one that is compatible with your Epson projector.
- Next, identify the corresponding video input port on the Epson projector. Common input ports include HDMI, VGA, and DisplayPort. Make sure to use the appropriate cable for your selected video output port on your computer.
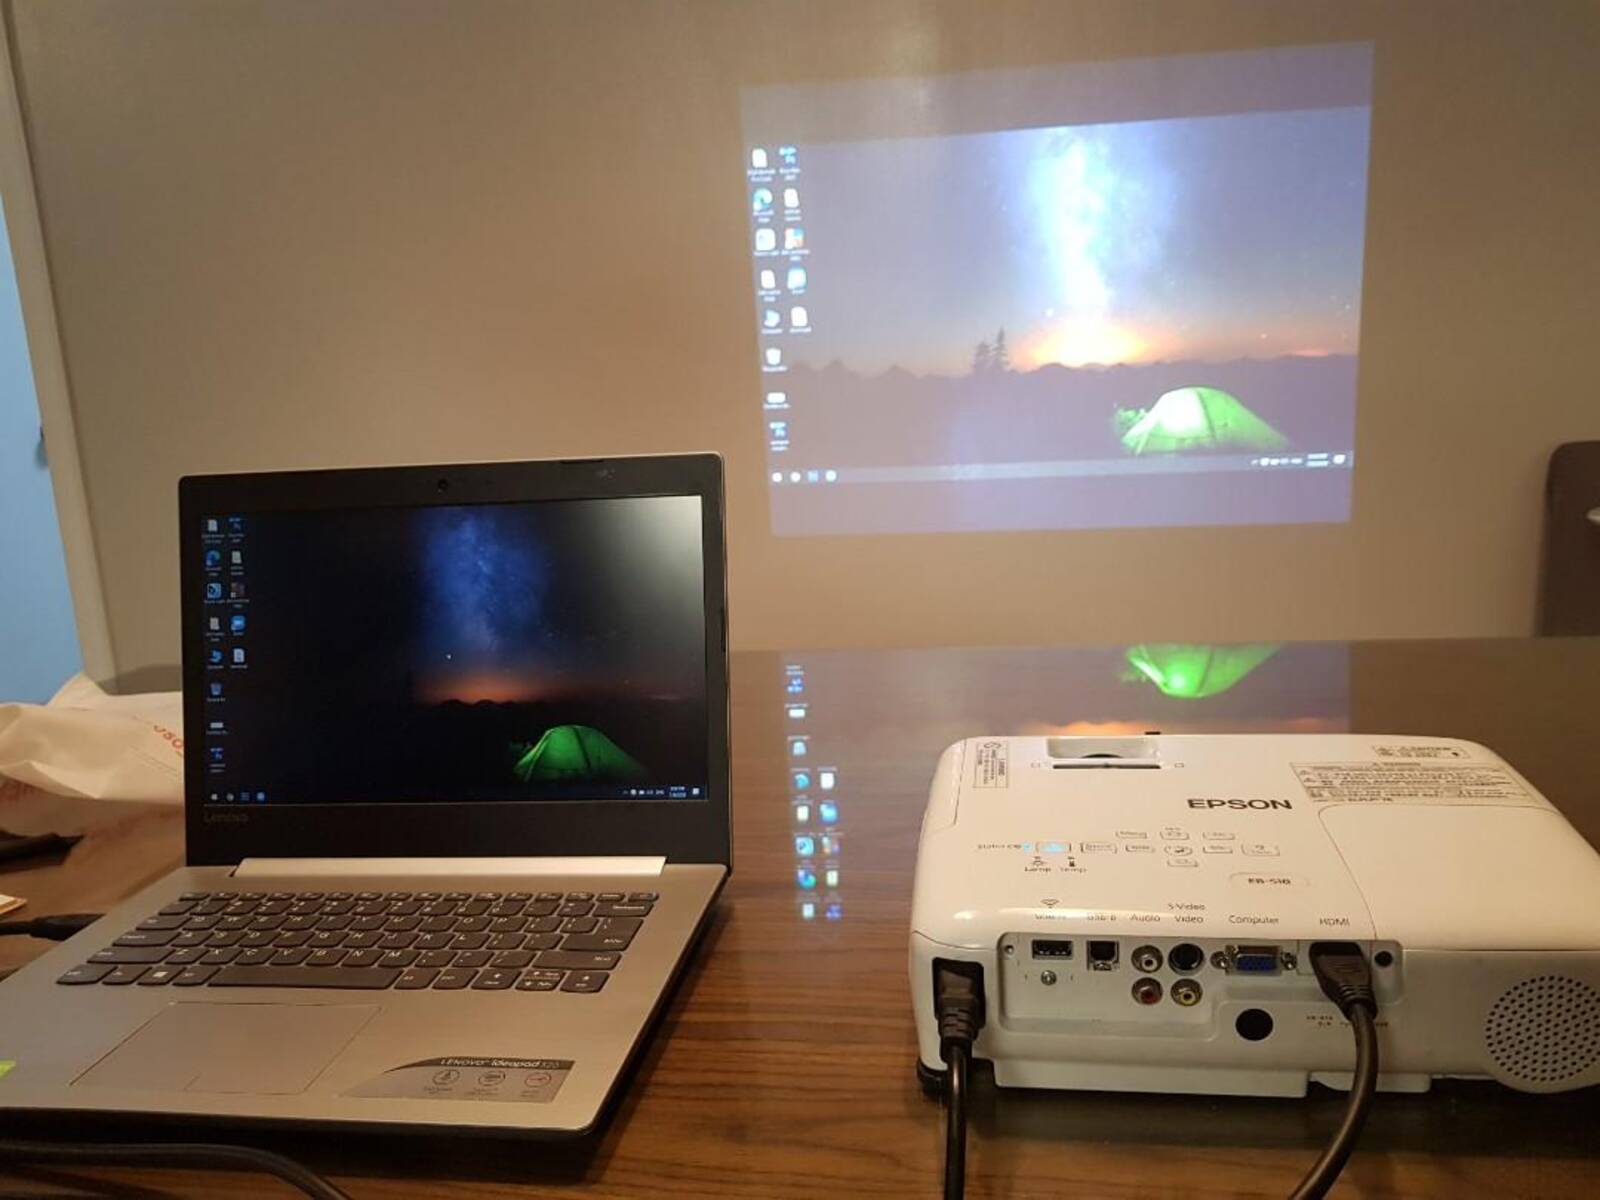
- Connect one end of the video cable to the video output port on your computer and the other end to the video input port on the Epson projector. Ensure that the cable is securely plugged into both devices.
- Once the video cable is connected, locate the audio output port on your computer (usually a 3.5mm audio jack). If you want to hear sound through the projector’s built-in speaker or external speakers connected to the projector, plug one end of an audio cable into the audio output port on your computer and the other end into the audio input port on the projector.
- Power on both the computer and the Epson projector. Allow the devices to initialize.
After completing these steps, your computer and Epson projector should be successfully connected. The projector will detect the input signal from your computer, and you should see the projected display on the screen.
If you encounter any issues during the connection process, double-check the cable connections, ensuring they are secure and properly inserted. Also, make sure that both devices are powered on. If the problem persists, consult the user manual or Epson’s support resources for troubleshooting guidance.
Remember, the specific steps for connecting the projector may vary depending on the model and type of Epson projector you have. Carefully read the instruction manual provided with your projector for any additional guidelines or setup requirements.
Installing the Necessary Software
In order to fully utilize the capabilities of your Epson projector and ensure compatibility with your computer, it is important to install the necessary software. Follow the steps below to install the required software:
- Visit the official Epson website and navigate to the support or downloads section.
- Enter the model number of your Epson projector to search for the appropriate software and drivers.
- Download the software and driver package that is compatible with your operating system.
- Open the downloaded file and follow the on-screen prompts to begin the installation process.
- Read and accept the terms and conditions, if prompted.
- Choose the installation options that best suit your needs. Typically, the default settings are sufficient for most users.
- Click “Install” and wait for the software to be installed on your computer.
- Once the installation is complete, restart your computer to ensure that the changes take effect.
After following these steps, your computer will have the necessary software and drivers to effectively communicate with your Epson projector. This will enable seamless control and enhanced functionality, such as adjusting display settings and accessing advanced features.
In addition to the basic software and drivers, Epson often provides additional utilities and applications that allow you to customize your projector settings and optimize the projection experience. Explore the resources available on the Epson website to discover these additional tools and make the most of your Epson projector.
Remember to periodically check the Epson website for any updated software or drivers to ensure that your projector continues to work optimally. Keeping the software up to date will help prevent compatibility issues and ensure a smooth and efficient connection between your computer and Epson projector.
Adjusting the Display Settings
After connecting your Epson projector to your computer and installing the necessary software, it’s time to adjust the display settings to ensure optimal image quality. Here are the steps to adjust the display settings:
- On your computer, navigate to the display settings. The steps to access the display settings may vary depending on your operating system.
- Locate the external display settings, which should show your Epson projector as an available display option. Select the Epson projector as the primary or secondary display, based on your preference.
- Adjust the screen resolution to match the recommended resolution of your Epson projector. This can help ensure that the projected image is sharp and clear.
- Configure the screen orientation, whether you want the display to be in landscape or portrait mode.
- Explore additional display settings, such as color calibration, brightness, contrast, and aspect ratio, to fine-tune the image quality to your liking.
- Test the display settings by projecting a sample image or video onto a screen or wall. Make any necessary adjustments to refine the image quality further.
By carefully adjusting the display settings, you can enhance the visual experience and tailor it to your specific requirements. Take your time to experiment with different settings and find the configuration that works best for you.
It’s important to note that the available display settings and options may differ depending on the operating system and graphics card of your computer. Refer to the user manual or online resources for your specific operating system to access and modify the display settings effectively.
Once you have adjusted the display settings to your satisfaction, you can start enjoying the vivid and immersive visuals that your Epson projector provides. Whether you are giving a presentation, watching a movie, or playing games, these optimized display settings will ensure a fantastic viewing experience.
Configuring the Projector Settings
Now that you have adjusted the display settings on your computer, it’s time to configure the settings on your Epson projector itself. By customizing the projector settings, you can fine-tune the projection to suit your specific needs. Follow these steps to configure the projector settings:
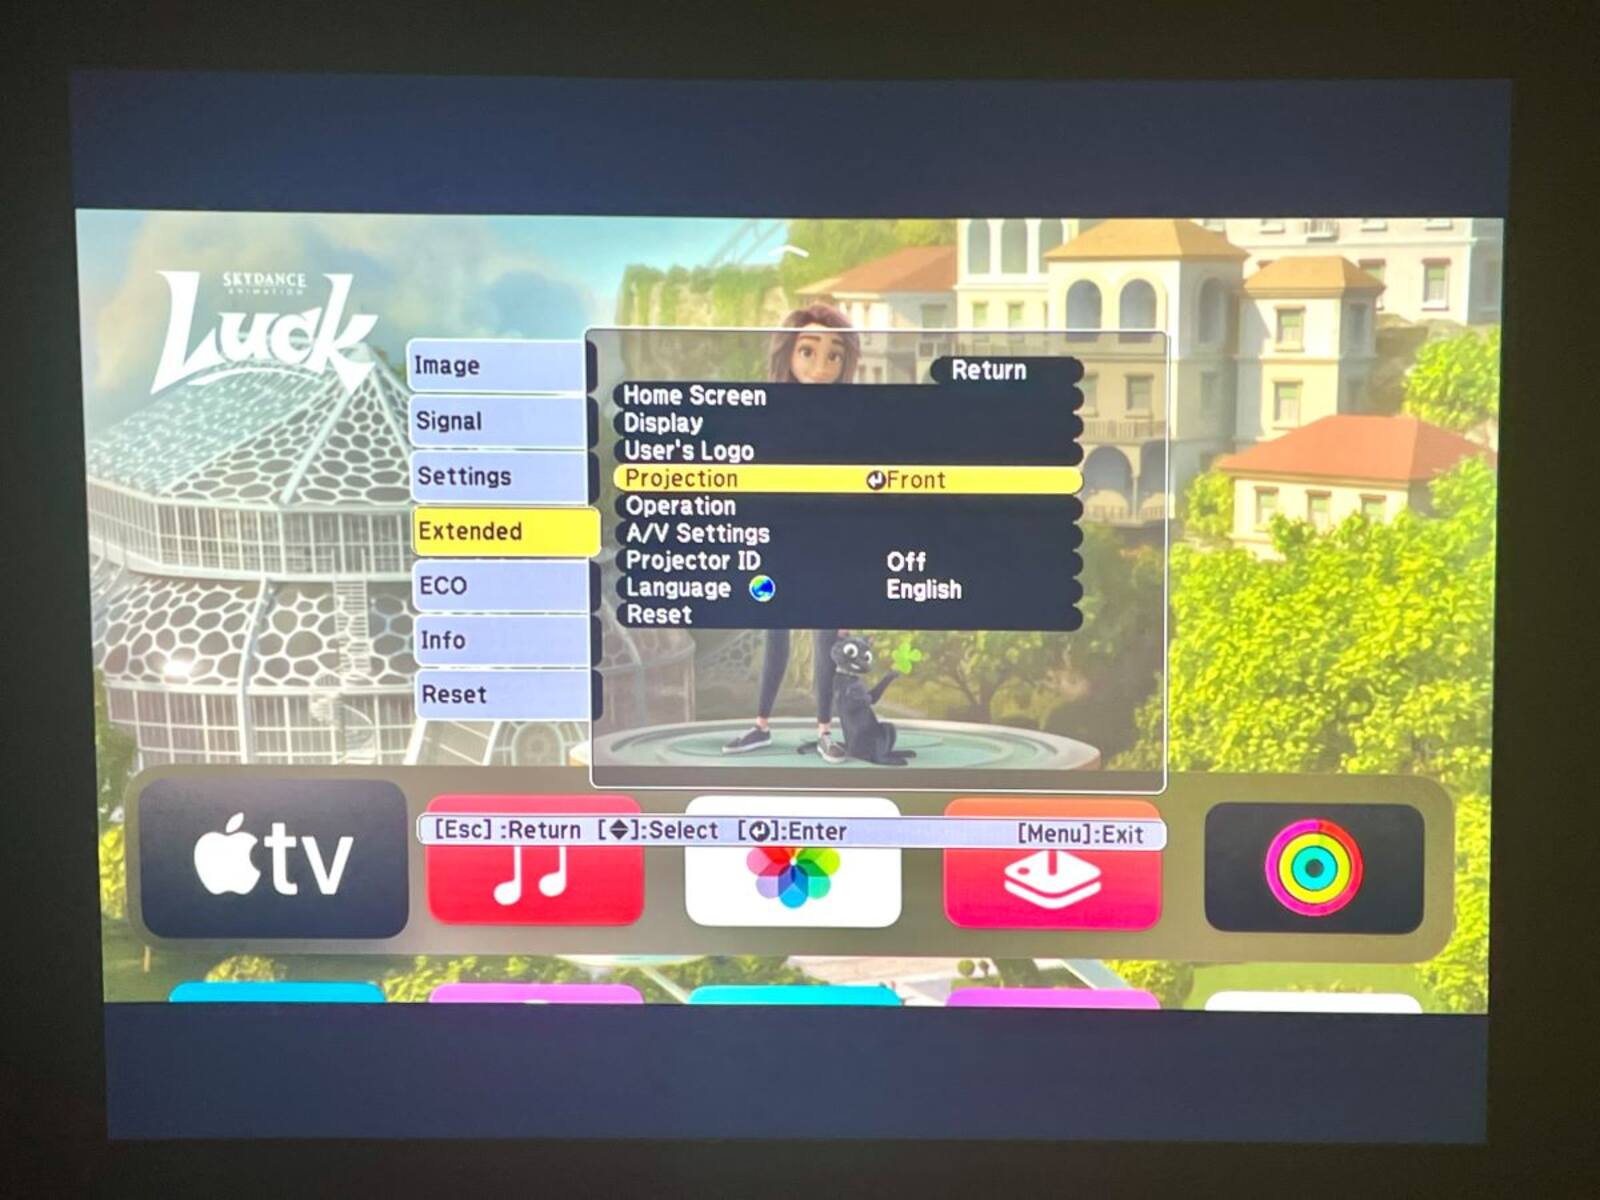
- Using the remote control or the buttons located on the projector, access the on-screen display (OSD) menu.
- Navigate through the menu options to find the settings related to image quality, color, brightness, contrast, and other display parameters.
- Adjust the image settings based on your preferences and the ambient lighting conditions in the room. This can include settings like brightness, contrast, saturation, and sharpness.
- Explore any advanced settings and features provided by your Epson projector, such as keystone correction, zoom, aspect ratio, and 3D projection, if applicable. Familiarize yourself with these options and configure them as desired.
- Make sure to save the changes after adjusting the projector settings.
Every Epson projector model may have a slightly different menu layout and options. It’s advisable to consult the user manual or online resources specific to your Epson projector to understand the available settings in more detail.
During the configuration process, it’s beneficial to project a test image or video onto a screen or wall and observe the results. This allows you to make real-time adjustments and ensure that the projection meets your expectations in terms of color accuracy, brightness, and overall image quality.
Remember that projector settings can greatly impact the viewing experience, so it’s worth spending time to experiment and find the optimal configuration for your needs.
Once you have successfully configured the projector settings, you can start enjoying the enhanced visuals and customized projection provided by your Epson projector. Take full advantage of the features and settings available to always deliver an impressive and immersive projection experience.
Troubleshooting Common Issues
While setting up and using your Epson projector with your computer, you may encounter some common issues that can be easily resolved. Here are a few troubleshooting tips to help you overcome these problems:
- No Signal: If your projector displays a “no signal” message, ensure that the video cable is securely connected to both the computer and projector. Check that the correct input source is selected on the projector. Restart both the computer and the projector to establish a new connection.
- Poor Image Quality: If the projected image appears blurry or distorted, first check the focus and zoom settings of the projector. Adjust these settings until the image becomes sharp. Ensure that the resolution settings on your computer match the native resolution of the projector. If necessary, clean the projector lens with a soft cloth to remove any dust or smudges that may be affecting the image quality.
- No Sound: If you’re not getting any sound from the projector, check the audio connections. Ensure that the audio cable is properly plugged into both the computer and the projector. Verify that the audio settings on your computer are correctly configured to output sound through the projector. You may also need to adjust the volume settings on both the computer and the projector.
- Unresponsive Remote Control: If the remote control is not functioning properly, check the batteries and ensure they are correctly inserted. Make sure there are no obstructions between the remote control and the projector. If the issue persists, try replacing the batteries or using the control buttons on the projector itself.
- Overheating: If the projector becomes excessively hot or shuts down unexpectedly due to overheating, ensure that it has proper ventilation. Check if the projector’s air vents or filters are clogged with dust and clean them if necessary. Avoid operating the projector in a confined space or in close proximity to heat sources.
If you encounter any other issues that are not mentioned here, refer to the user manual of your Epson projector or visit the Epson website for troubleshooting guides and support resources specific to your model. Additionally, reaching out to Epson’s customer support team can provide you with expert assistance on resolving any technical issues you may encounter.
By troubleshooting common issues and promptly addressing any technical difficulties, you can ensure a seamless and enjoyable projection experience with your Epson projector.
Conclusion
Setting up and getting your Epson projector to work with your computer may initially seem like a daunting task, but with the right knowledge and guidance, it can be a straightforward and rewarding experience. By following the steps outlined in this guide, you can successfully connect and synchronize your Epson projector with your computer, enabling you to enjoy stunning visuals and a captivating projection experience.
Remember to check the system requirements to ensure compatibility between your computer and the Epson projector. Take the time to connect the devices properly, install the necessary software, adjust display settings, and configure the projector settings to suit your needs.
In the event that you encounter any common issues, use the troubleshooting tips provided to overcome them. Don’t hesitate to consult the user manual, online resources, or Epson’s support channels for further assistance when needed.
By taking the time to set up and optimize your Epson projector and computer connection, you’ll be able to enjoy an immersive and impressive projection experience for a wide range of applications. Whether it’s for business presentations, home theater setups, or gaming sessions, your Epson projector will unlock a new level of visual entertainment.
Now that you have the knowledge and steps at your disposal, go ahead and connect your Epson projector to your computer. Transport yourself to a world of vibrant colors, sharp images, and exceptional visual performances. Happy projecting!


