Introduction
Welcome to this step-by-step guide on how to connect an Elmo document camera to a projector. If you are a teacher or presenter who wants to display documents, images, or 3D objects in a larger format, an Elmo device combined with a projector can be a powerful tool. By following the instructions provided in this article, you will be able to connect your Elmo to a projector and enhance your visual presentations.
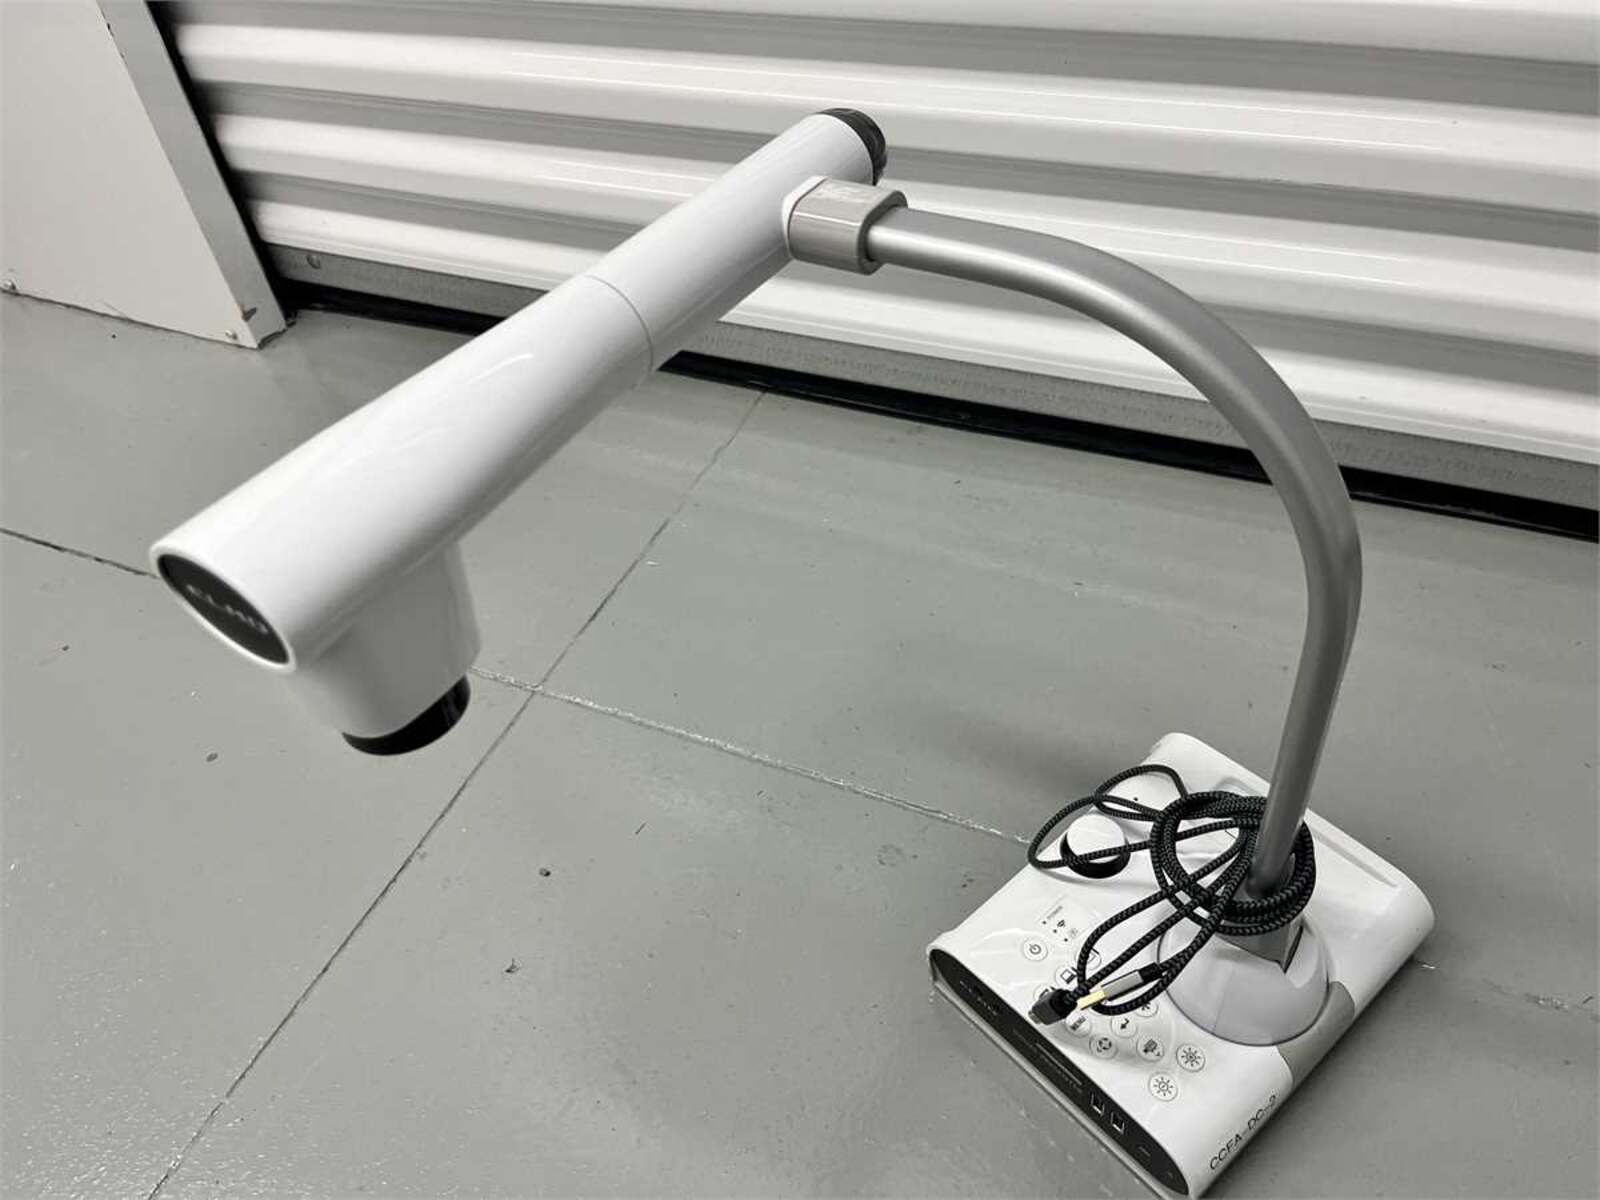
Elmo document cameras are widely used in educational institutes, conference rooms, and business settings. These devices allow users to capture real-time images or videos of documents and objects to display on a larger screen. They are especially useful in classrooms, where teachers can project worksheets, textbook pages, or science experiments for the whole class to see.
Before we delve into the steps, let’s take a look at the equipment you will need for this setup. Make sure you have the following items ready:
- An Elmo document camera
- A projector
- An HDMI or VGA cable (depending on the inputs available on your Elmo and projector)
- An audio cable (if your Elmo has sound recording capabilities)
- A power source for both the Elmo and the projector
Now that you have gathered all the necessary equipment, let’s move on to the step-by-step instructions on how to connect your Elmo document camera to a projector.
Step 1: Gather the Required Equipment
Before you can connect your Elmo document camera to a projector, it is essential to gather all the necessary equipment. Here’s a checklist to ensure you have everything you need:
- An Elmo document camera: This is the device that allows you to capture and display documents, images, and objects.
- A projector: You will need a projector to display the images or videos captured by the Elmo document camera onto a larger screen.
- An HDMI or VGA cable: Depending on the inputs available on both your Elmo and projector, you will need either an HDMI cable or a VGA cable to establish the connection between the two devices. Check the ports on the back of your Elmo and projector to determine which cable is compatible.
- An audio cable: If your Elmo document camera has sound recording capabilities and you want the audio to be amplified through the projector, you will need an audio cable to connect the Elmo to the projector. The type of audio cable required will depend on the audio output port on your Elmo and the audio input port on your projector.
- A power source: Ensure that both the Elmo document camera and the projector are connected to power sources. This will ensure that they have sufficient power to operate during your presentation or class.
Double-check that you have all the necessary equipment listed above before proceeding to the next step. Having these items ready will ensure a smooth connection process and allow you to fully utilize the features of your Elmo document camera with the projector.
Step 2: Set Up the Elmo Device
Once you have gathered all the required equipment, it’s time to set up the Elmo device. Follow these steps to prepare the Elmo for connection to the projector:
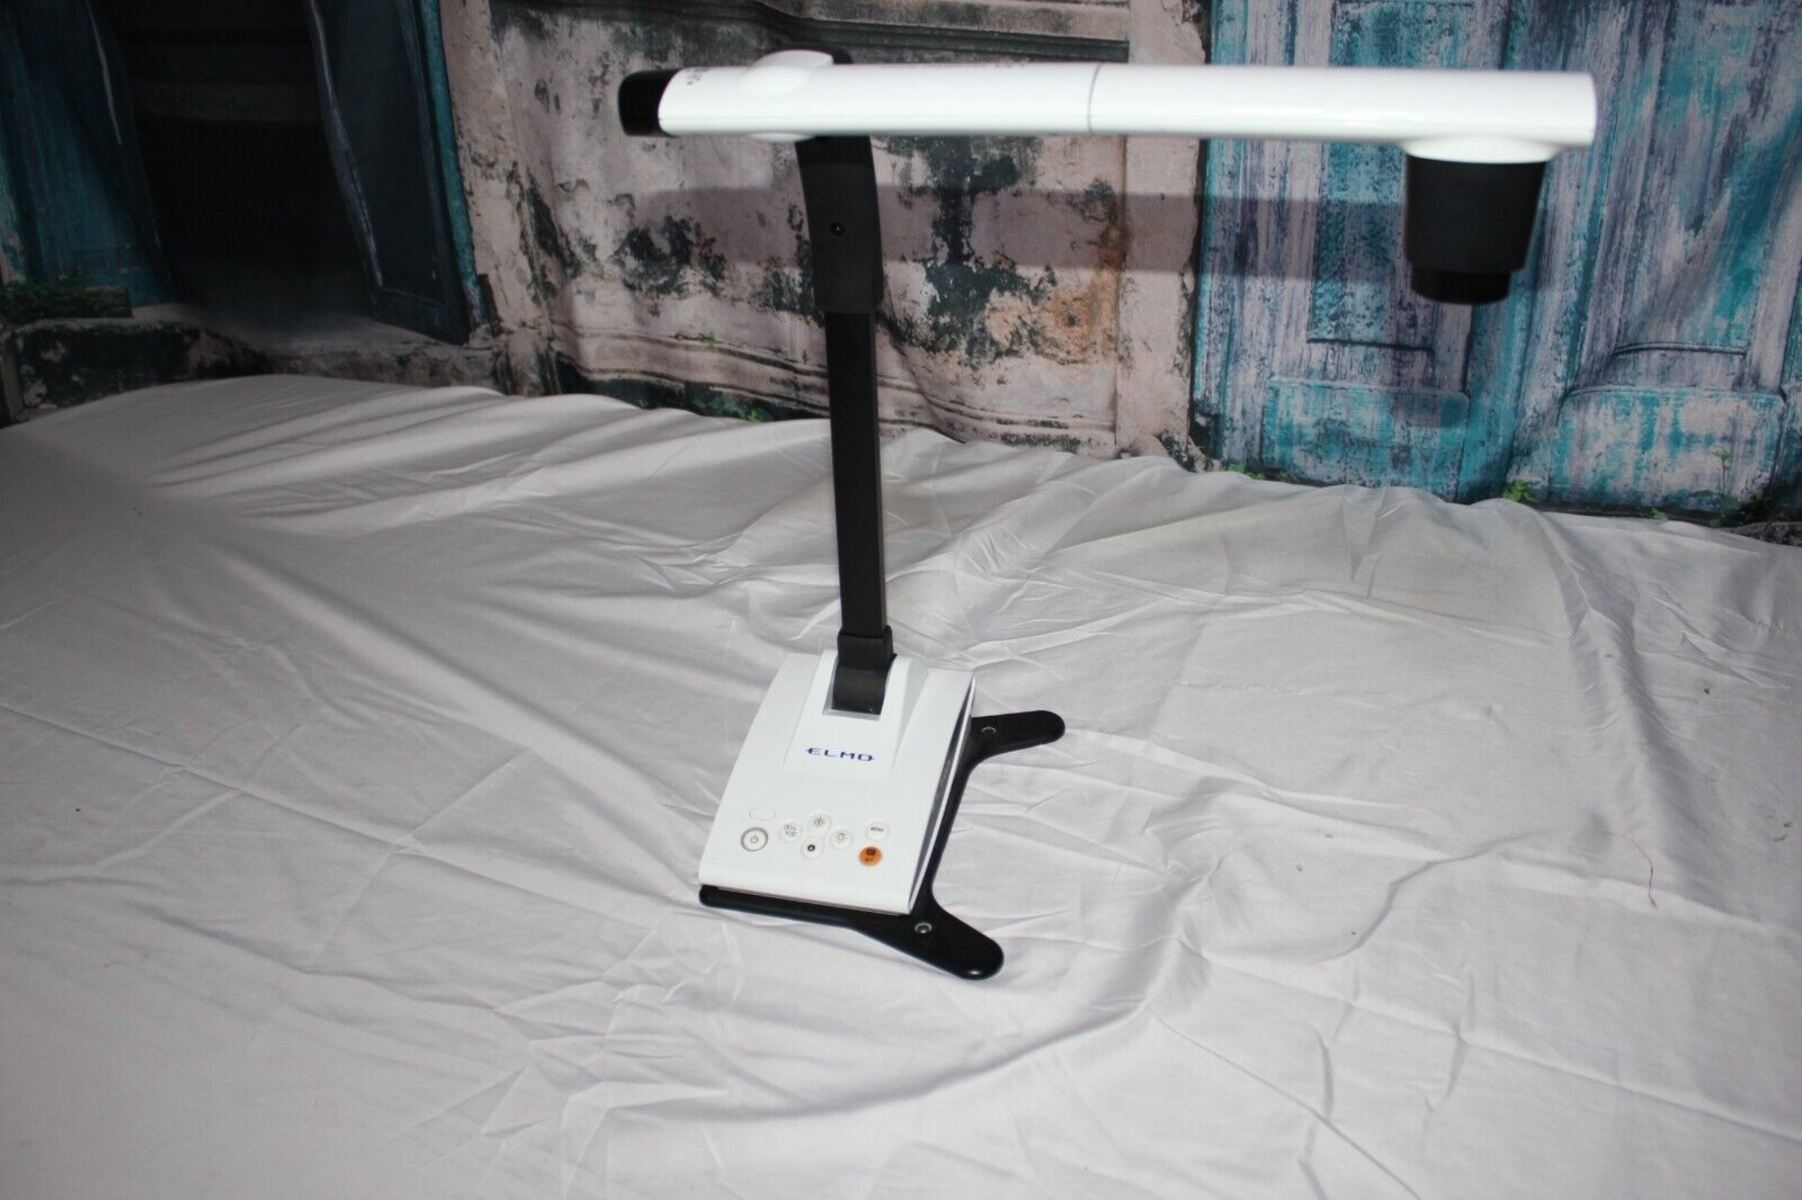
- Position the Elmo: Find a stable and convenient location for your Elmo document camera. Ensure that it is placed on a flat surface and positioned in a way that allows easy access to the controls and ports.
- Connect the Power: Plug the power cable of the Elmo into a power outlet. Make sure the power source is stable and reliable.
- Turn on the Elmo: Locate the power button on the Elmo document camera and press it to turn on the device. Wait for the Elmo to initialize and display its menu on the built-in screen.
- Adjust the Camera Head: The camera head of the Elmo can usually be tilted, rotated, and adjusted to capture the desired content. Use the control buttons or knobs on the Elmo to adjust the camera head’s position, focus, and zoom, ensuring that you achieve a clear view of the document or object you want to display.
- Configure Additional Settings: Depending on your specific Elmo model and preferences, there may be additional settings you can adjust. These settings might include image brightness, saturation, or image stabilization. Consult the user manual for your Elmo device if you need help navigating the menu and adjusting these settings.
- Connect Additional Devices (Optional): If you plan to connect audio devices, such as microphones or speakers, to the Elmo for sound amplification, now is the time to do so. Refer to the user manual for your Elmo to determine the appropriate audio input/output ports and connect the devices accordingly.
By following these steps, you can effectively set up your Elmo document camera in preparation for connecting it to the projector. Once you have completed the setup, you are ready to move on to the next step and establish the connection between the Elmo and the projector for a seamless presentation experience.
Step 3: Connect the Elmo to the Projector
Now that you have set up your Elmo device, it’s time to connect it to the projector. Follow the steps below to establish the connection:
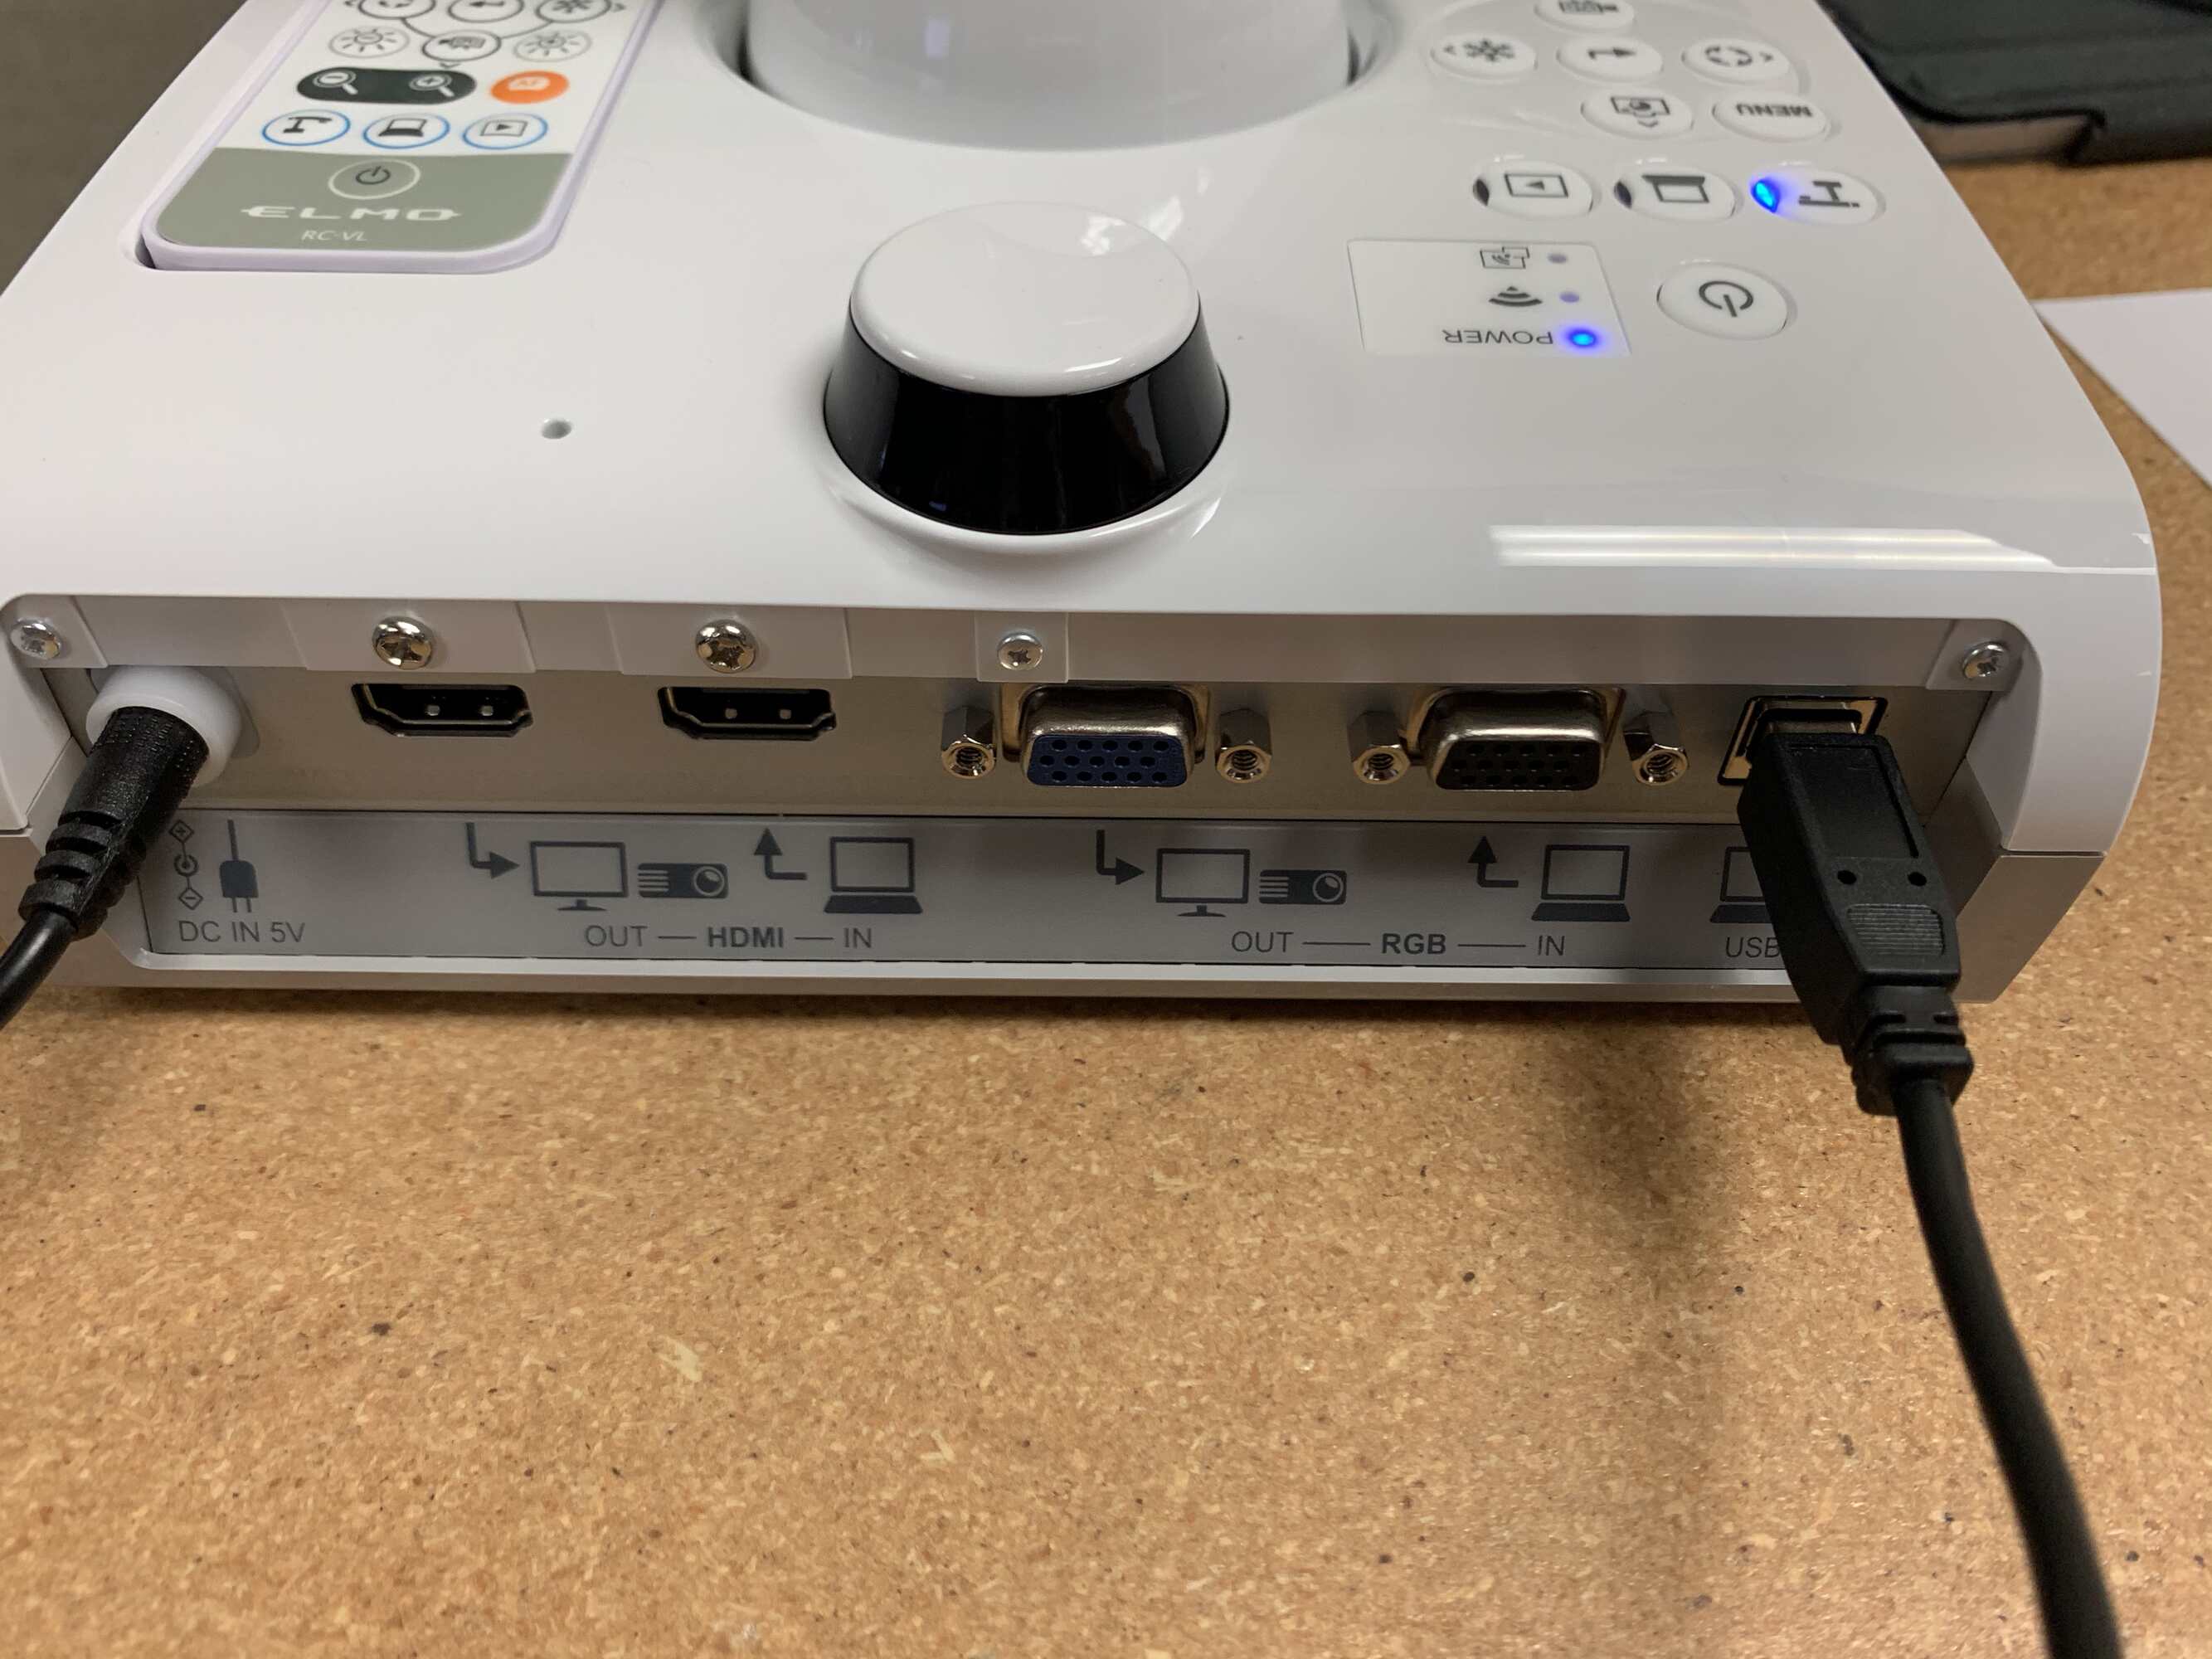
- Locate the Video Input Ports: Identify the video input ports on both your Elmo document camera and your projector. Common video input ports include HDMI and VGA. Ensure that you have the necessary cables corresponding to these ports.
- Connect the Video Cable: Take the appropriate video cable (HDMI or VGA) and connect one end to the video output port on your Elmo document camera, and the other end to the corresponding video input port on your projector. Insert the connectors firmly, ensuring a secure connection.
- Connect the Audio Cable (If Required): If you want to transmit audio from the Elmo to the projector, connect the audio cable between the audio output port on the Elmo and the audio input port on the projector. Make sure the audio connectors are appropriately plugged in and secured.
- Power on the Projector: Turn on the projector and allow it to warm up. Wait for the projector to display its startup screen or a blank projection surface.
- Switch the Projector Source: On the projector’s control panel or remote, select the correct input source that corresponds to the video input connected to the Elmo. For example, if you connected the Elmo to the projector’s HDMI input, select the HDMI source on the projector.
- Power on the Elmo: If the connected Elmo document camera is not already powered on, press the power button on the device to turn it on. Wait for the Elmo to initialize and display the live feed from the camera on its built-in screen.
Double-check all the connections and ensure that both the Elmo and the projector are powered on and functioning correctly. Once the connection is established, you should see the live feed from the Elmo document camera projected onto the larger screen through the projector.
If you encounter any issues with the connection, check the cable connections, ensure that the correct input source is selected on the projector, and confirm that both the Elmo and the projector are powered on. Refer to the user manuals for your specific devices for detailed troubleshooting steps if necessary.
Once you have successfully connected the Elmo to the projector, you’re ready to move on to the next step and adjust the settings for optimal display.
Step 4: Adjust Settings for Proper Display
After connecting the Elmo to the projector, it’s important to adjust the settings to ensure a proper display of the captured content. Follow these steps to make the necessary adjustments:
- Image Alignment: If the projected image appears misaligned, use the adjustment controls on the projector to fine-tune the image position, focus, and size. This will ensure that the content displayed by the Elmo is properly aligned and centered on the projection surface.
- Aspect Ratio: Depending on the aspect ratio of the documents or objects you are displaying, you may need to adjust the aspect ratio settings on the projector. This will prevent any distortion in the displayed content and ensure that it maintains its original proportions.
- Brightness and Contrast: Use the projector controls to adjust the brightness and contrast settings. This will help optimize the visibility of the captured content and make it easier for your audience to view.
- Color Calibration: If the colors of the displayed content appear inaccurate or washed-out, consult the projector’s user manual for instructions on adjusting the color settings. Calibration options such as color temperature, saturation, and hue can help achieve a more vibrant and realistic display.
- Keystone Correction: If the projected image appears distorted or skewed due to the angle of the projector, use the keystone correction feature (if available) to adjust the image and correct any trapezoidal distortion caused by the projection angle.
- Zoom and Focus: Depending on the size and distance of the projected image, you may need to adjust the zoom and focus of the Elmo document camera. Use the controls on the Elmo to ensure a clear and well-focused image on the projected screen.
Take your time to fine-tune the settings and make adjustments until the displayed content is clear, properly aligned, and visually appealing. Experiment with different settings to determine the optimal configuration for your specific presentation needs.
Remember to reference the user manuals for both your Elmo document camera and projector for detailed instructions on adjusting specific settings. These manuals can provide valuable insights and troubleshooting tips to help you optimize the display quality.
Once you have adjusted the settings, you’re ready to proceed to the next step and test the connection between the Elmo and the projector.
Step 5: Test the Connection
Now that you have connected the Elmo to the projector and adjusted the settings, it’s time to test the connection to ensure everything is working as expected. Follow these steps to verify the connection:
- Display a Sample Document or Object: Place a sample document or object under the Elmo document camera. Ensure that it is properly centered and aligned within the camera’s view. This can be a textbook page, a handwritten note, or a small object that you want to display.
- Activate the Elmo: Make sure the Elmo document camera is powered on and the live feed is displayed on its built-in screen.
- Check the Projection: Look at the projected image on the larger screen and ensure that the document or object is clearly visible and properly aligned. Pay attention to details such as the text clarity, image sharpness, and color accuracy.
- Test Additional Features (If Applicable): If your Elmo document camera has additional features such as zoom, annotations, or image capturing, test them to ensure they are functioning as intended. Explore the functionality of the device and familiarize yourself with its capabilities.
- Adjust as Needed: If you notice any issues with the displayed content, such as a misaligned image or incorrect colors, refer back to the previous step and make adjustments to the settings accordingly.
- Verify Sound (If Applicable): If you connected an audio cable from the Elmo to the projector, play a sound or video file that includes audio to ensure that it is transmitted successfully through the connection and amplified by the projector’s speakers.
By testing the connection and verifying the quality of the displayed content, you can ensure that your Elmo document camera is successfully connected to the projector and functioning properly. Use this opportunity to make any necessary adjustments or troubleshoot any issues to guarantee a seamless and professional presentation experience.
If you encounter any difficulties or notice any problems during the testing process, consult the user manuals for both the Elmo document camera and the projector to troubleshoot and resolve any issues. These manuals can provide you with further guidance and troubleshooting steps specific to your devices.
Once you are satisfied with the test results and confident that the connection is working correctly, you can proceed with your presentation, classroom activity, or any other visual display that requires the use of the Elmo and projector.
Conclusion
Connecting an Elmo document camera to a projector enables you to display documents, images, and objects on a larger screen, making it an invaluable tool for teachers, presenters, and professionals. By following the step-by-step guide outlined in this article, you can easily connect your Elmo to a projector and enhance the visual impact of your presentations.
In the initial steps, we emphasized the importance of gathering all the necessary equipment, including the Elmo document camera, projector, video and audio cables, and power sources. By having these items prepared, you can ensure a smooth and efficient setup process.
In step two, we covered the process of setting up the Elmo device, including positioning it, connecting the power, adjusting the camera head, and configuring additional settings. Taking the time to properly set up the Elmo provides a solid foundation for a successful connection to the projector.
Step three focused on connecting the Elmo to the projector by identifying the video input ports and properly connecting the video and audio cables. We also discussed selecting the correct input source on the projector to establish the connection and ensure the live feed is projected onto the screen.
Adjusting the settings for proper display was the subject of step four. Fine-tuning the image alignment, aspect ratio, brightness and contrast, color calibration, and keystone correction allows for optimal projection of the captured content.
Finally, we explored step five, which involved testing the connection by displaying a sample document or object, checking the projection quality, testing additional features if applicable, and verifying the sound quality if an audio connection was made.
By following these steps and troubleshooting any issues that may arise, you can confidently connect an Elmo device to a projector, ensuring that your audience can clearly view and engage with the displayed content.
Remember to consult the user manuals for your specific Elmo document camera and projector models for detailed instructions and troubleshooting tips. With a successful connection between the Elmo and the projector, you can elevate your presentations, lectures, and demonstrations, making your content more engaging and impactful for your audience.