Introduction
Welcome to this guide on how to transfer photos from iPhone to Chromebook. If you’re a Chromebook user and want to access your iPhone photos on your device, you’ve come to the right place.
Chromebooks are known for their seamless integration with Google services, and transferring photos from an iPhone to a Chromebook may seem daunting at first. However, with the right methods and tools, it can be a simple and straightforward process.
In this article, we’ll explore three different methods that you can use to transfer your photos from your iPhone to your Chromebook. Whether you prefer using Google Photos, a USB cable, or a third-party app, we’ve got you covered.
Transferring your photos allows you to easily access and organize them on your Chromebook, making it convenient for editing, sharing, and backing up your precious memories. So, let’s dive in and get started with the first method.
Method 1: Using Google Photos
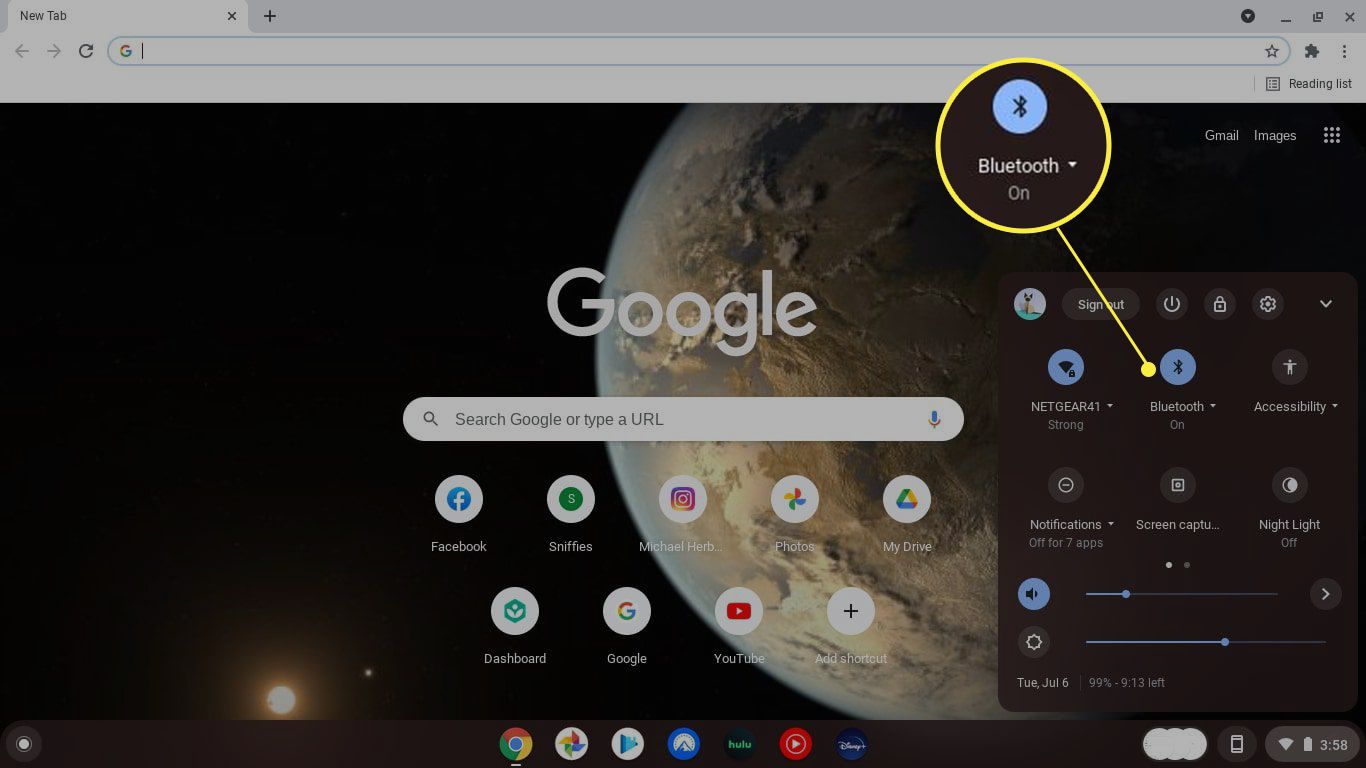
Google Photos is a powerful cloud-based service that allows you to store, organize, and share your photos and videos. It’s available on both iOS and Chromebook, making it a convenient option for transferring your iPhone photos.
To get started, make sure you have the Google Photos app installed on your iPhone. If not, you can download it from the App Store. Sign in to your Google account or create a new one if you don’t have an account already.
Next, on your Chromebook, open a web browser and navigate to the Google Photos website (https://photos.google.com). Sign in to your Google account if you haven’t already done so.
In the top right corner, click on the “Upload” button (represented by a cloud with an upward arrow) to start the photo transfer process. A file picker will appear, allowing you to select the photos you want to transfer from your iPhone.
Choose the photos you want to transfer and click on the “Open” button to start uploading. The photos will now be uploaded to your Google Photos account and will be accessible on your Chromebook.
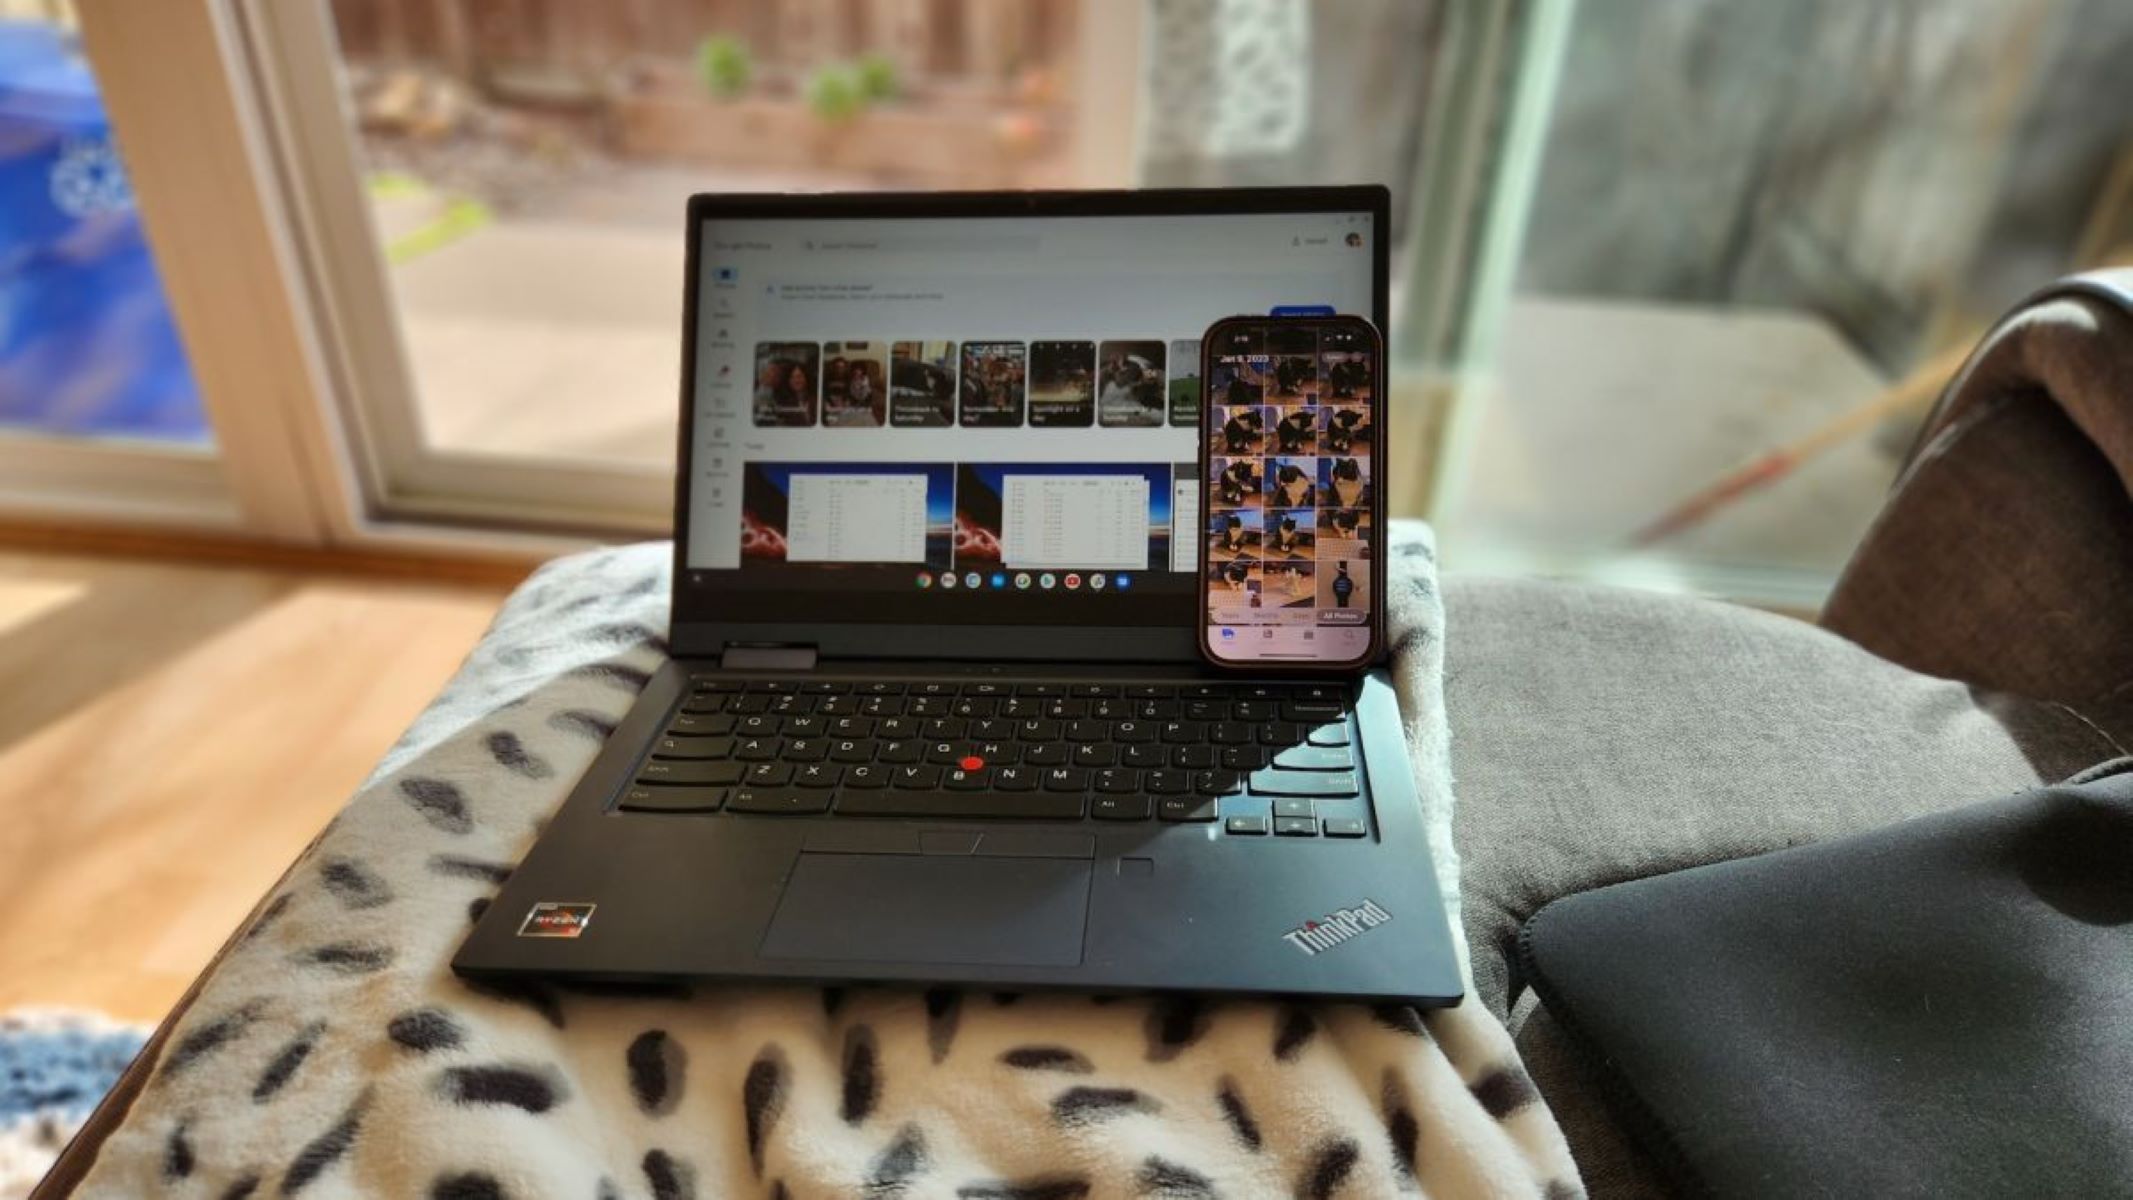
Once the upload is complete, you can view your iPhone photos on your Chromebook by navigating to the “Photos” section in Google Photos. Here, you’ll find all your uploaded photos organized by date.
Google Photos also offers advanced features like editing tools, automatic organization, and easy sharing options. You can edit your photos, create albums, and share them with friends and family effortlessly.
Now that you have successfully transferred your iPhone photos to your Chromebook using Google Photos, you can enjoy seamless access to your entire photo library across both devices.
Remember, the photos you upload to Google Photos will be stored in your Google account’s cloud storage. If you have a large photo library, you may need to ensure that you have enough storage space available or consider purchasing additional storage from Google if needed.
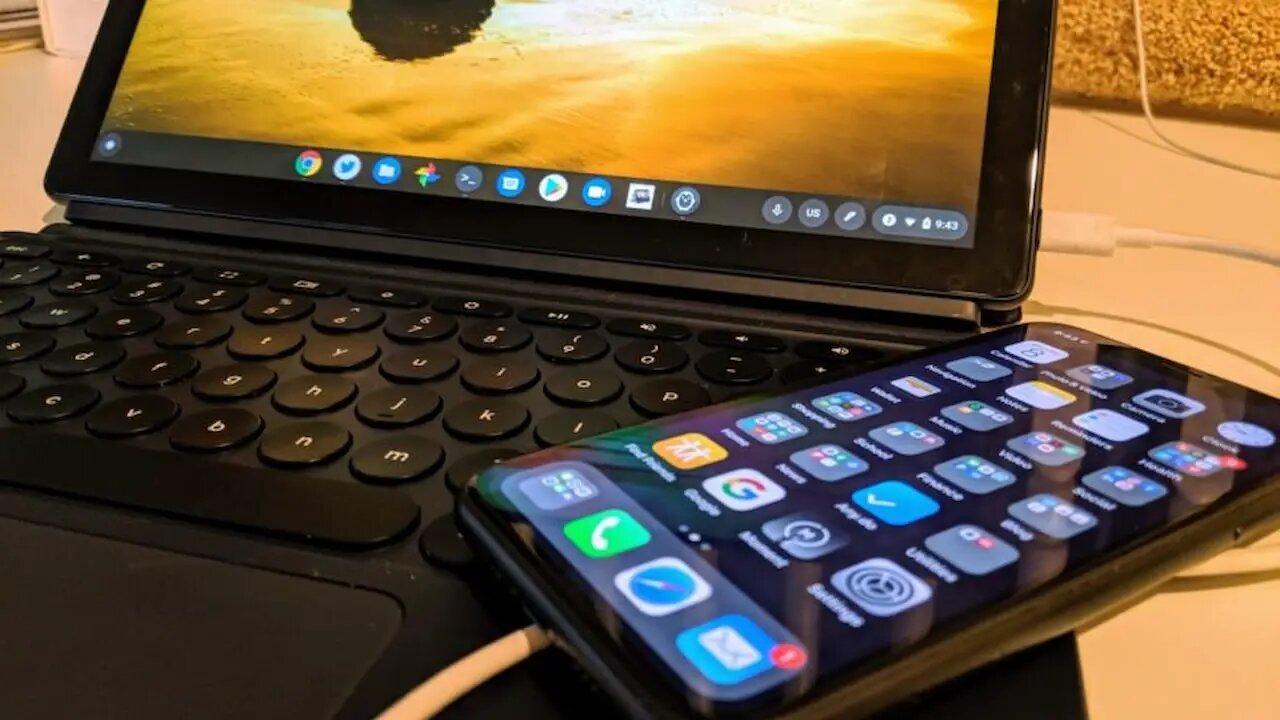
Method 2: Using a USB Cable
If you prefer a direct and faster method for transferring your iPhone photos to your Chromebook, using a USB cable is the way to go. This method allows you to transfer photos directly from your iPhone to your Chromebook without the need for any additional apps or services.
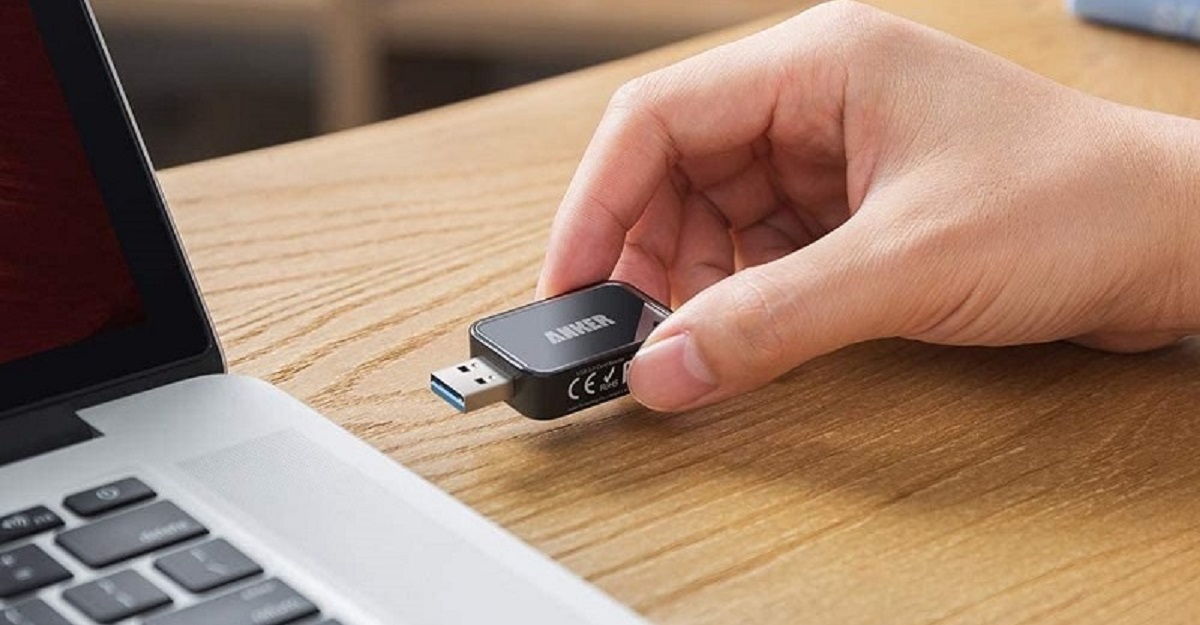
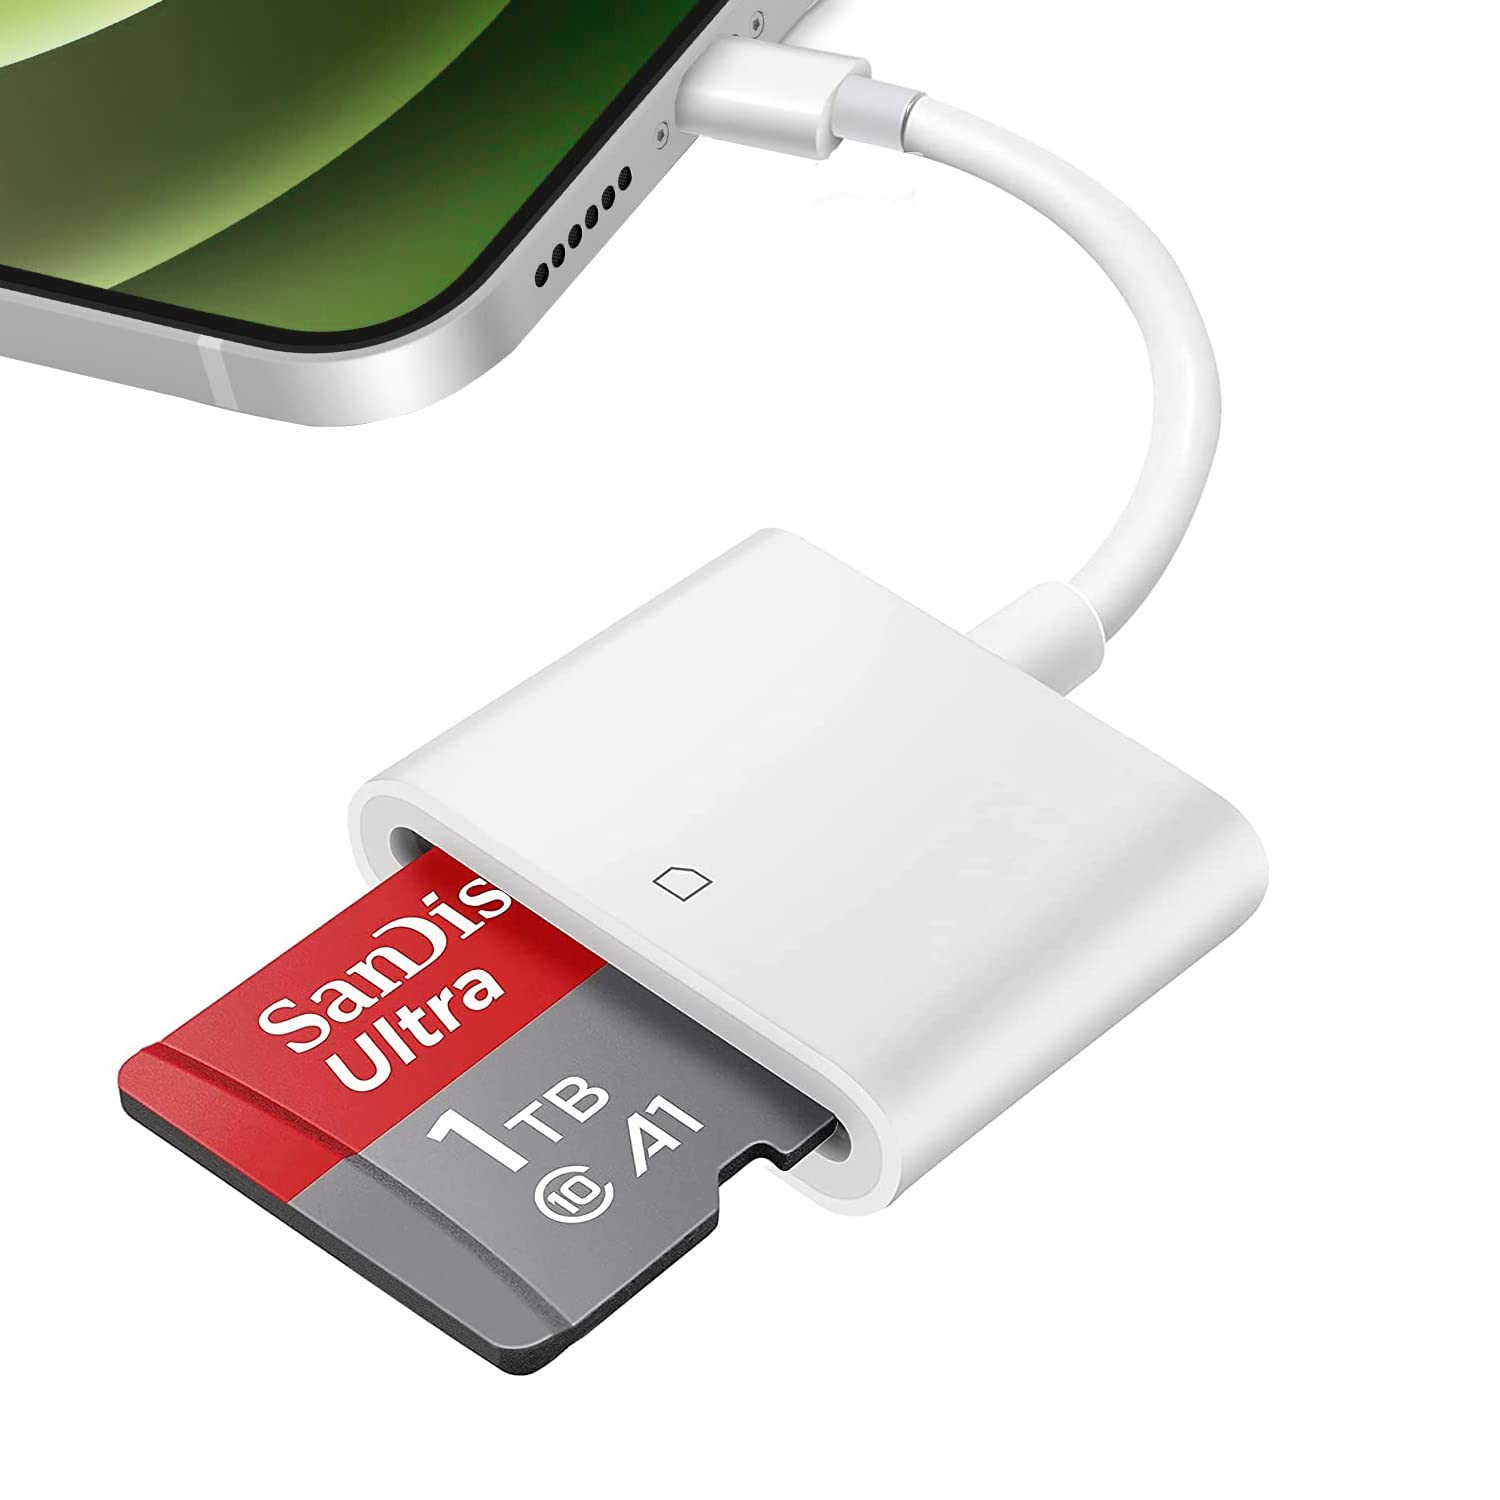
To begin, you’ll need a Lightning to USB cable to connect your iPhone to your Chromebook. This is the same cable that you use to charge your iPhone or connect it to your computer.
Start by connecting one end of the USB cable to your iPhone and the other end to an available USB port on your Chromebook.
Once connected, you may see a notification on your iPhone asking for permission to trust the connected device. Tap “Trust” to establish a secure connection between your iPhone and Chromebook.
On your Chromebook, you may see a notification informing you that a device has been connected. Click on the notification and select the option to open the files or photos.
Your iPhone will be recognized as a connected device on your Chromebook, and you’ll be able to access the DCIM folder containing your photos. Simply navigate through the folder to find the photos you want to transfer.
To transfer the photos, you can either select individual photos or a group of photos by holding down the Shift key and clicking on the first and last photos of the group. Then, right-click and choose the “Copy” option.
Next, open the desired folder on your Chromebook where you want to save the transferred photos. Right-click and select the “Paste” option to transfer the copied photos to the Chromebook.
Depending on the size of the photos and the transfer speed, the process may take some time. Once the transfer is complete, you will have successfully transferred your iPhone photos to your Chromebook using a USB cable.
It’s important to note that when using this method, the transferred photos will be saved as individual files on your Chromebook. You can then organize them into folders or use any photo management software of your choice to further organize and edit them.
Using a USB cable for transferring photos provides a more direct and secure method, ensuring that your photos remain on your devices without being stored in the cloud or relying on an internet connection.
Method 3: Using a Third-Party App
If you’re looking for an alternative method to transfer photos from your iPhone to your Chromebook, using a third-party app can provide additional options and features.
There are several third-party apps available on both the App Store and the Chrome Web Store that facilitate the transfer of photos between iPhone and Chromebook. One popular option is the “Files by Google” app, which offers seamless file management and transfer capabilities.
To get started, download and install the “Files by Google” app from the App Store on your iPhone. Likewise, install the “Files by Google” app from the Chrome Web Store on your Chromebook.
Launch the “Files by Google” app on both devices and ensure that they are connected to the same Wi-Fi network.
On your iPhone, tap on the “Send” option in the app and select the photos you want to transfer. Once selected, tap on the “Next” button.
On your Chromebook, tap on the “Receive” option in the app and confirm that you want to receive files. The app will generate a unique QR code.
Back on your iPhone, scan the generated QR code using the scanner in the “Files by Google” app. The transfer process will then begin, and the selected photos will be transferred from your iPhone to your Chromebook wirelessly.
Once the transfer is complete, you can access the transferred photos on your Chromebook through the “Files by Google” app. They will be saved in a designated folder, allowing you to manage and organize your photos as desired.
Using a third-party app for transferring photos provides you with more flexibility and control over the transfer process. These apps often offer additional features such as file compression, batch transfers, and even support for transferring other types of files in addition to photos.
Before choosing a third-party app, make sure to read reviews, check the app’s compatibility with your devices, and ensure that it provides a secure and reliable transfer process.
With the help of a reputable third-party app like “Files by Google,” you can easily transfer your iPhone photos to your Chromebook and enjoy seamless access to your memories on both devices.
Conclusion
Transferring photos from your iPhone to your Chromebook is a straightforward process that opens up new possibilities for accessing, organizing, and sharing your precious memories. In this article, we explored three different methods to accomplish this task.
Using Google Photos provides a convenient and cloud-based approach. By uploading your iPhone photos to your Google account, you can easily access them on your Chromebook and take advantage of Google Photos’ advanced features for editing and sharing.
The second method involves using a USB cable to establish a direct connection between your iPhone and Chromebook. This method allows for fast and secure photo transfers without relying on any additional apps or services.
For those who prefer more options and flexibility, using a third-party app like “Files by Google” offers a seamless transfer experience between your iPhone and Chromebook. This method allows for wireless transfers and additional features such as file compression and batch transfer capabilities.
Each method has its own advantages, so choose the one that best suits your preferences and needs. It’s worth noting that these methods can also be applied to transfer files other than photos, adding to the versatility of your Chromebook.
Remember to consider factors such as storage space, internet connectivity, and security when choosing the method that works for you. Whether you prefer the convenience of cloud storage or the simplicity of a direct connection, transferring your iPhone photos to your Chromebook should be a seamless experience.
Now that you have the knowledge and tools to transfer photos from your iPhone to your Chromebook, you can easily enjoy your favorite memories on a larger screen, edit them with powerful Chromebook software, and conveniently keep them organized for future use.
So, go ahead and start transferring your iPhone photos to your Chromebook, and unlock a world of possibilities for enjoying and sharing your precious moments.