Introduction
Welcome to the world of Adobe Lightroom, an advanced and powerful photo editing software that is widely used by professionals and enthusiasts alike. With its array of features and user-friendly interface, Lightroom offers a seamless editing experience for photographers who are looking to enhance their images and bring out their true potential.
In this article, we will guide you through the process of downloading Lightroom on your Mac computer. Whether you are a seasoned photographer or just getting started with photo editing, this step-by-step guide will help you install Lightroom and begin your creative journey.
Before we dive into the installation process, it’s important to note that Lightroom is part of the Adobe Creative Cloud suite of applications. This means that you will need to have an Adobe ID and have the Adobe Creative Cloud desktop application installed on your Mac to access Lightroom. Don’t worry if you don’t have these yet, we will walk you through the steps to set them up.
Once you have Adobe Creative Cloud installed and your Adobe ID set up, you can easily download and install Lightroom on your Mac. The software provides a wide range of editing tools and features such as exposure adjustments, color corrections, lens corrections, and much more. You will also have access to presets, which are pre-designed editing settings that can help you achieve specific looks with just a single click.
With Lightroom’s non-destructive editing workflow, you can experiment with different adjustments and edits without altering your original image. This provides you with the freedom to make creative decisions and refine your photos until they match your vision perfectly. Additionally, Lightroom allows you to organize your images using catalogs, making it easier to keep track of your growing collection and find specific photos when you need them.
Whether you are a professional photographer or just passionate about capturing and editing stunning images, downloading Lightroom on your Mac will open up a world of creative possibilities. So, let’s get started with the installation process and unlock the full potential of your photography skills.
System Requirements
Before downloading Lightroom on your Mac, it’s important to ensure that your computer meets the necessary system requirements. This will help ensure that the software runs smoothly and you can make the most of its features. Here are the minimum system requirements for running Lightroom on a Mac:
- Operating System: macOS 10.14 (Mojave) or later
- Processor: Intel® or Apple M1 processor
- RAM: 8 GB of RAM or more
- Storage: 2 GB of available hard-disk space for installation
- Screen Resolution: 1024 x 768 pixels or greater
- Graphics: AMD GPU with OpenGL 3.3 or Apple Metal support, or NVIDIA GPU with CUDA support and OpenGL 3.3
- Internet Connection: An internet connection is required for software activation and accessing online features
It’s worth mentioning that while these are the minimum requirements, having a more powerful computer will provide a smoother editing experience, especially when working with large files or applying resource-intensive edits.
It’s also important to keep your operating system and graphics drivers up to date to ensure compatibility with the latest version of Lightroom. This will often result in improved performance and access to new features and bug fixes.
Before proceeding with the installation, it’s a good idea to check that your computer meets these requirements. If your Mac falls short in any area, you may need to consider upgrading certain components to ensure optimal performance. Additionally, be sure to free up disk space on your hard drive to accommodate the installation and allow room for storing your photos and catalogs.
Once you’ve confirmed that your Mac meets the system requirements, you’re ready to move on to the next step: downloading Adobe Creative Cloud.
Step 1: Download Adobe Creative Cloud
The first step in downloading Lightroom on your Mac is to install Adobe Creative Cloud, the platform from which you can access and manage all Adobe Creative Cloud applications, including Lightroom.
To begin, open your preferred web browser and navigate to the official Adobe website. Look for the “Creative Cloud” section or search for “Adobe Creative Cloud” in the search bar.
Once you’ve found the Creative Cloud page, click on the “Download” button to start the downloading process. The website will automatically detect your operating system and provide the appropriate installer for your Mac.
Once the installer file has finished downloading, locate it in your Downloads folder or the designated destination on your computer and double-click to run it. Follow the on-screen instructions to install Adobe Creative Cloud on your Mac.
After the installation is complete, launch the Adobe Creative Cloud desktop application. Here, you will be prompted to sign in with your Adobe ID or create a new one if you don’t have an account yet.
If you already have an Adobe ID, enter your email address and password, then click on the “Sign In” button. If you don’t have an Adobe ID, click on the “Get an Adobe ID” link and follow the steps to create one.
Once you have successfully signed in or created your Adobe ID, you will have access to the Adobe Creative Cloud app. From here, you can easily download and install Lightroom, along with any other Adobe applications you may need.
Now that you have Adobe Creative Cloud installed and your Adobe ID set up, you’re ready to move on to the next step: accessing Lightroom.
Step 2: Sign in or Create an Adobe ID
To access Lightroom and other Adobe Creative Cloud applications, you’ll need to sign in with your Adobe ID. If you don’t have an Adobe ID yet, don’t worry – we’ll guide you through the process of creating one.
If you already have an Adobe ID, launch the Adobe Creative Cloud desktop application on your Mac. On the sign-in screen, enter your Adobe ID email address and password. Click on the “Sign In” button to proceed.
If you don’t have an Adobe ID, you can easily create one by clicking on the “Get an Adobe ID” link on the sign-in screen. This will open a web page where you can create a new Adobe ID.
On the Adobe ID creation page, fill in the required information, including your email address, first name, last name, and create a password. Make sure to choose a strong password that includes a combination of letters, numbers, and special characters.
Once you’ve filled in the necessary details, review Adobe’s terms of use and privacy policy. If you agree to the terms, check the box to indicate your acceptance. Finally, click on the “Sign Up” or “Create Account” button to create your Adobe ID.
After creating your Adobe ID, go back to the Adobe Creative Cloud desktop application and sign in using your newly created Adobe ID email address and password. Once signed in, you will have access to the full range of Adobe Creative Cloud applications, including Lightroom.
Having an Adobe ID allows you to easily manage your subscriptions and licenses, sync your settings and files across devices, and access cloud-based features and services. It’s a convenient and essential step in your journey toward using Lightroom to its full potential.
Now that you’ve signed in or created your Adobe ID, you’re ready to move on to the next step: accessing Lightroom from the Adobe Creative Cloud app.
Step 3: Accessing Lightroom
Now that you have Adobe Creative Cloud installed and your Adobe ID set up, it’s time to access Lightroom from the Adobe apps library in the Creative Cloud desktop application.
To begin, launch the Adobe Creative Cloud app on your Mac. You can usually find it in your Applications folder or by searching for “Adobe Creative Cloud” in Spotlight.
Once the Adobe Creative Cloud app is open, sign in with your Adobe ID if you haven’t already done so. This will grant you access to the full range of Adobe applications.
In the Creative Cloud app’s main interface, you will see a list of different Adobe apps categorized by type. Look for the section labeled “All Apps” or “Photography.” Lightroom will be listed under this section.
Click on the Lightroom icon to access the Lightroom page. Here, you will find more information about the software, including its features and system requirements.
To install Lightroom on your Mac, click on the “Install” button next to its name. The Creative Cloud app will begin downloading and installing Lightroom automatically.
Depending on your internet speed and the size of the Lightroom installation file, this process may take a few minutes. You can monitor the progress under the “Activity” tab in the Creative Cloud app.
Once the installation is complete, Lightroom will appear in your list of installed apps within the Creative Cloud app. It’s now ready to be launched and used for your photo editing needs.
Before moving on to the next step, it’s a good idea to familiarize yourself with the Lightroom interface and the various tools and features it offers. This will enable you to make the most out of your editing experience and achieve the desired results for your photographs.
Now that you have accessed Lightroom through the Adobe Creative Cloud app, you’re ready to move on to the next step: installing Lightroom on your Mac.
Step 4: Installing Lightroom
After accessing Lightroom through the Adobe Creative Cloud app, the next step is to install it on your Mac. The installation process is straightforward and will have you up and running in no time.
Once you’re on the Lightroom page within the Creative Cloud app, you will notice an “Install” button next to the Lightroom icon. Click on this button to begin the installation process.
The Creative Cloud app will initiate the download and installation of Lightroom automatically. The time it takes for the installation to complete will depend on your internet speed and the size of the Lightroom installation file.
You can monitor the progress of the installation under the “Activity” tab in the Creative Cloud app. Once the installation is finished, Lightroom will be listed as an installed application.
Before proceeding, make sure to close any other Adobe applications that may be running on your Mac. This will ensure a smooth installation process without any conflicts or issues.
With Lightroom successfully installed on your Mac, you are now ready to launch the application and begin using its powerful editing tools and features. However, it’s a good practice to restart your computer before launching Lightroom. This will ensure that any background processes or updates are applied, creating a clean starting point for your editing session.
Remember, Lightroom is a professional-grade photo editing software, so it’s important to allocate sufficient system resources to ensure optimal performance. Close any unnecessary applications and consider freeing up some disk space if you’re running low.
Now that Lightroom is installed on your Mac, you’re ready to move on to the final step: launching Lightroom and getting started with your photo editing journey.
Step 5: Launching Lightroom
Now that Lightroom is installed on your Mac, it’s time to launch the application and embark on your photo editing journey. Launching Lightroom is a simple process that will allow you to start working on your images right away.
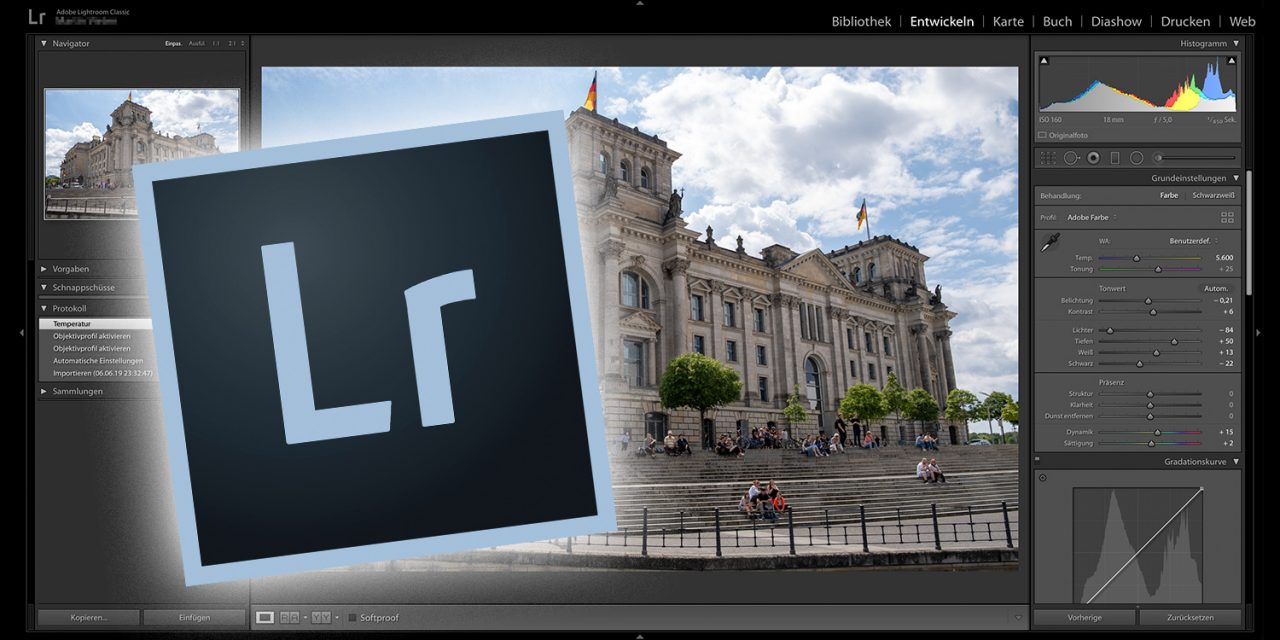
To launch Lightroom, locate the Lightroom application icon in your Applications folder or on your desktop, depending on where you chose to install it during the installation process. It is represented by an icon that resembles a black square with a white L in the center.
Double-click on the Lightroom icon to launch the application. It may take a few seconds for Lightroom to load, depending on the speed of your computer.
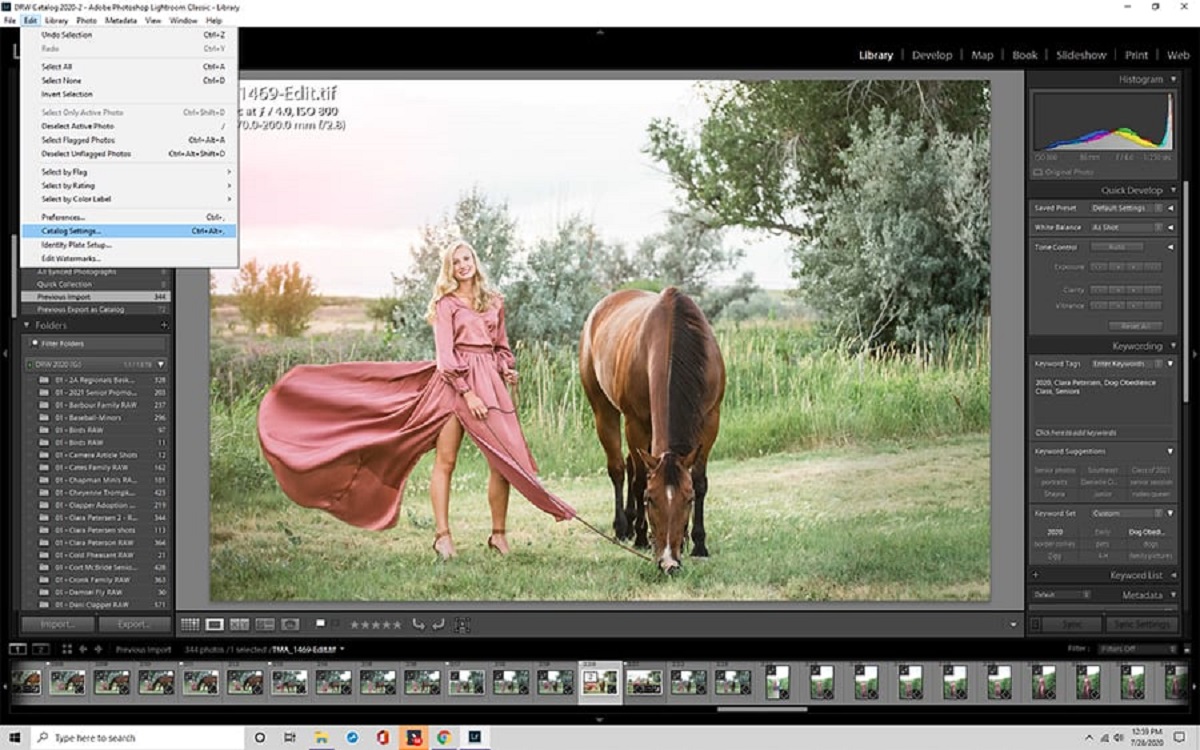
Once Lightroom is open, you will be greeted by the Lightroom Home screen. From here, you can either create a new catalog or open an existing one. A catalog is a database that helps you organize and manage your photos in Lightroom.
If you are new to Lightroom, you can create a new catalog by clicking on the “Create New Catalog” button and following the prompts. Give your catalog a name, choose a location to save it, and click on “Create” to proceed.
If you already have an existing catalog, click on “Open Catalog” and navigate to the location where your catalog is saved. Select the catalog file and click “Open” to access it in Lightroom.
Once you have your catalog open, you can start importing photos by clicking on the “Import” button located in the lower-left corner of the Lightroom interface. This will allow you to organize and edit your images within Lightroom.
The Lightroom interface consists of various panels and modules that provide you with a comprehensive set of tools and features for editing and enhancing your photos. Explore the different modules, such as Library, Develop, and Export, to acquaint yourself with the capabilities of Lightroom.
With your photos imported and your catalog set up, you are now ready to dive into the world of editing in Lightroom. Take advantage of the wide range of editing options, including exposure adjustments, color corrections, cropping, and more, to bring your images to life and achieve your desired results.
Remember to save your work regularly by clicking on the “Save” button or using the keyboard shortcut (Cmd/Ctrl + S) to ensure that your edits are preserved. Lightroom’s non-destructive editing workflow allows you to experiment with different edits without altering your original photos.
Now that you have successfully launched Lightroom, you can start exploring its vast array of features and tools to enhance your photography and take your editing skills to new heights.
Conclusion
Congratulations! You have successfully downloaded and installed Adobe Lightroom on your Mac. With this powerful photo editing software at your fingertips, you are now equipped to take your photography to the next level.
Throughout this step-by-step guide, you learned how to download Adobe Creative Cloud, sign in or create an Adobe ID, access Lightroom from the Creative Cloud app, install Lightroom on your Mac, and finally, launch the application to begin your editing journey.
Lightroom offers a wide range of features and tools that allow you to enhance and transform your photos. From basic adjustments like exposure and color corrections to advanced techniques such as selective editing and creating presets, Lightroom provides a comprehensive set of capabilities to bring your creative vision to life.
Remember to explore the various modules and panels within Lightroom to familiarize yourself with the interface and its functionalities. Take the time to experiment with different editing techniques and discover your unique editing style.
Additionally, make use of Lightroom’s organization and cataloging capabilities to keep your growing photo collection organized. Take advantage of keywords, ratings, and collections to easily find and sort your images for efficient workflow management.
As you continue to use Lightroom, consider expanding your knowledge by exploring online tutorials, joining photography communities, and experimenting with new editing techniques. The possibilities are endless, and the more you practice and experiment, the better you will become at harnessing the full potential of Lightroom.
Photography is a journey, and Adobe Lightroom is an essential companion on that journey. Whether you are a professional photographer or an enthusiast looking to enhance your photos, Lightroom provides the tools and capabilities to help you achieve your creative vision.
So, don’t hesitate! Open Lightroom, import your photos, and start exploring the endless possibilities that await you. Let your creativity soar as you transform your images and create stunning visual masterpieces.
Enjoy your Lightroom journey, and happy editing!