Introduction
Welcome to the world of Creative Cloud, where imagination and innovation come together. Adobe Creative Cloud is a suite of creative applications and services that allow users to bring their ideas to life. Whether you’re a professional graphic designer, a photographer, or someone who simply enjoys playing with digital media, Creative Cloud has something for everyone.
With Creative Cloud, you have access to a vast collection of industry-leading software, including Photoshop, Illustrator, InDesign, and many more. These powerful tools empower you to create stunning visuals, manipulate images, craft compelling designs, and bring your artistic vision to fruition.
If you’re new to Creative Cloud and wondering how to get started, you’ve come to the right place. In this guide, we’ll walk you through the steps to download Creative Cloud onto your computer, giving you access to the incredible universe of Adobe’s creative applications.
Whether you’re looking to upgrade to the latest version of Photoshop or explore the world of video editing with Premiere Pro, these step-by-step instructions will help you quickly and easily download and install the software you need.
Don’t worry if you’re not well-versed in technical jargon or you’ve never downloaded software before. This guide is designed to be user-friendly and accessible to everyone. So, let’s dive in and get started on your Creative Cloud journey!
Step 1: Go to the Adobe website
The first step in downloading Creative Cloud is to go to the official Adobe website. You can do this by opening up your preferred web browser and navigating to www.adobe.com.
Once you’re on the Adobe website, you’ll notice a navigation bar at the top of the page. Take a moment to explore the different options available, such as Products, Support, and Learn & Support. These sections can provide valuable information and resources for your creative journey.
In the top right corner of the page, you’ll find a “Sign In” button. If you already have an Adobe ID, go ahead and click on this button to sign in. If you don’t have an Adobe ID yet, don’t worry – you can create one in the next step.
Creating an Adobe ID is simple and only takes a few moments. Just click on the “Sign In” button and then select the “Get an Adobe ID” option. This will guide you through the process of creating your Adobe ID by providing some basic information, such as your name and email address.
Once you have successfully signed in or created your Adobe ID, you’ll be ready to explore and utilize the various features and services offered by Adobe Creative Cloud. Your Adobe ID will also allow you to manage your subscription, access tutorials and resources, and participate in the vibrant Adobe community.
Now that you’re familiar with the Adobe website and have either signed in or created your Adobe ID, let’s move on to step two: selecting the Creative Cloud plan that best suits your needs.
Step 2: Select the Creative Cloud plan
After signing in or creating your Adobe ID on the Adobe website, the next step is to select the Creative Cloud plan that fits your requirements. Adobe offers several different plans tailored to meet the specific needs of individuals and businesses.
To choose a plan, navigate to the Creative Cloud section of the Adobe website. You can do this by clicking on the “Products” tab in the navigation bar and then selecting “Creative Cloud” from the dropdown menu.
On the Creative Cloud page, you’ll find an overview of the different plans available. Take the time to explore the features and pricing of each plan to determine which one aligns with your creative goals and budget.
Adobe offers plans that cater to various user types, such as individuals, students and teachers, photographers, and businesses. You’ll also have the option to choose between a monthly subscription or an annual commitment, depending on your preference.
Once you’ve decided on a plan, click on the “Buy now” or “Start free trial” button to proceed with the selection. If you’re unsure about committing to a plan right away, don’t worry – Adobe offers a free trial period, allowing you to test-drive Creative Cloud before making a purchase.
If you opt for the free trial, you’ll need to provide your payment information upfront. Rest assured that you won’t be charged until the trial period ends, and you have the flexibility to cancel your subscription at any time during the trial.
On the other hand, if you’re ready to make a purchase, you’ll need to choose a payment method and enter your billing details. Adobe accepts various payment options, including credit cards, PayPal, and direct debit.
After completing the payment process, you’ll receive a confirmation email with important account details. Keep this email for future reference, as it contains information about managing your subscription and accessing your Creative Cloud account.
Now that you have selected and purchased your Creative Cloud plan, it’s time to move on to the next step: downloading the Creative Cloud app.
Step 3: Sign in or create an Adobe ID
Before you can begin downloading and using Creative Cloud, you need to sign in or create an Adobe ID. The Adobe ID is a unique identifier that allows you to access and manage your Creative Cloud subscription and related services.
If you already have an Adobe ID, you can skip this step and move on to the next one. Simply click on the “Sign In” button located in the top right corner of the Adobe website, and enter your Adobe ID email address and password. Once signed in, you will have access to your account information and the ability to download Creative Cloud applications.
If you don’t have an Adobe ID yet, don’t worry – creating one is a quick and easy process. To get started, click on the “Sign In” button on the Adobe website, and then select the “Get an Adobe ID” option.
Next, you will be prompted to provide some basic information to set up your Adobe ID. This includes your name, email address, and a password. Make sure to choose a strong password to protect your account.
After entering the required information, review and agree to the Adobe terms of use and privacy policy. It is always a good practice to read through these documents to understand your rights and responsibilities as a user.
Once you’ve completed the sign-up process, you will receive a verification email from Adobe containing a link to confirm your Adobe ID. Click on the link within the email to verify your account and activate your Adobe ID.
After confirming your Adobe ID, you can now sign in with your email address and password. Once signed in, you’ll have access to your Adobe Creative Cloud account, where you can manage your subscription, access tutorials and resources, and engage with the Adobe community.
Now that you have signed in or created your Adobe ID, you’re ready to move on to the next step: choosing a payment method and completing the purchase of your Creative Cloud plan.
Step 4: Choose a payment method and complete the purchase
Now that you have signed in or created your Adobe ID, it’s time to choose a payment method and complete the purchase of your selected Creative Cloud plan.
After signing in, you will be directed to the billing and payment page. Here, you’ll find the different payment options available, such as credit card, PayPal, or direct debit. Choose the method that is most convenient for you and enter your payment details accordingly.
If you choose to pay with a credit card, provide the necessary information, including the card number, expiration date, and security code. Make sure to double-check your entries for accuracy before proceeding.
If you prefer to use PayPal, select the PayPal option and follow the prompts to log in to your PayPal account and authorize the payment. This option provides an additional layer of security and convenience for online transactions.
For those who prefer direct debit, you will need to provide your bank account information, typically the account number and routing number. This method allows Adobe to automatically deduct the subscription fee from your bank account on a recurring basis.
Once you have inputted the payment details and reviewed your purchase data, click on “Confirm” or a similar button to proceed with the purchase. At this point, your payment will be processed, and you will receive a confirmation email with your purchase receipt.
It’s important to note that certain plans may include a free trial period before the payment is due. During this trial period, you can explore the features of Creative Cloud without any immediate charge. If you decide to cancel your subscription before the trial period ends, you will not be charged.
After completing the purchase, you now have full access to your Creative Cloud subscription. You are one step closer to unlocking a world of creative possibilities.
Now that you have successfully completed the purchase process, we can move on to the next step: downloading the Creative Cloud app onto your computer.
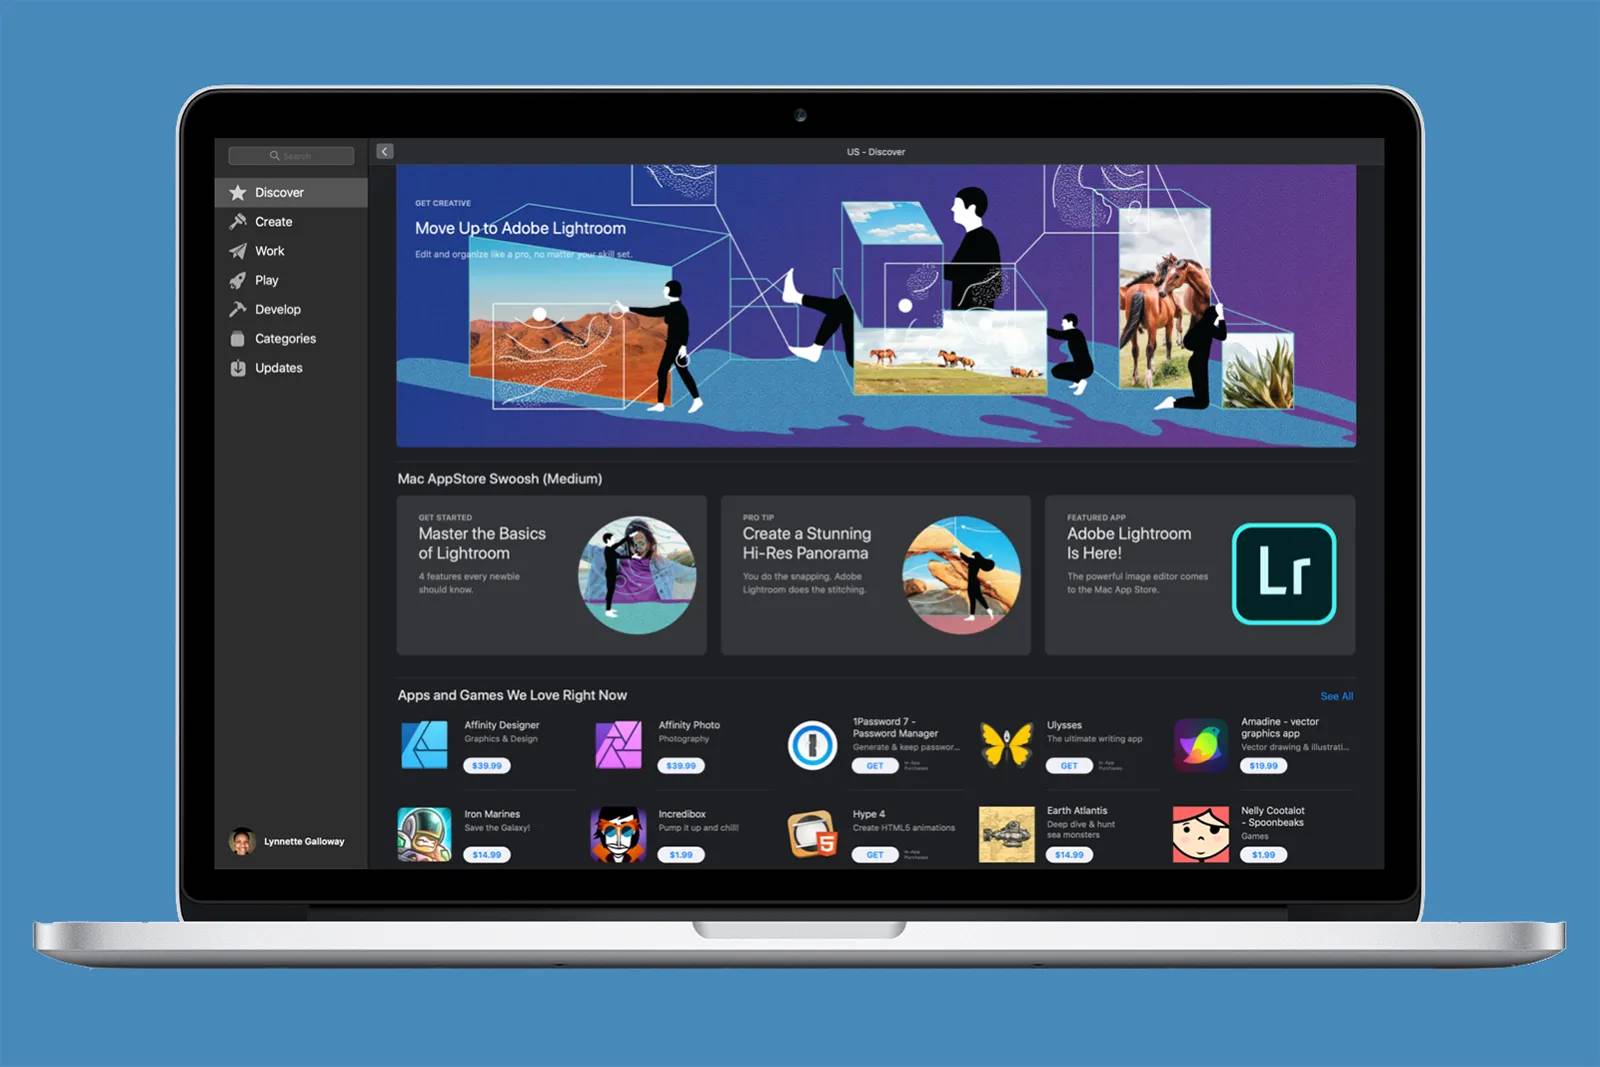
Step 5: Download the Creative Cloud app
Now that you have signed in and completed the purchase of your Creative Cloud plan, it’s time to download the Creative Cloud app onto your computer. The Creative Cloud app serves as a hub for accessing and managing all the Adobe Creative applications you’ll be using.
To begin the download, go to the Adobe website and sign in with your Adobe ID. Once you’re signed in, navigate to the Creative Cloud section of the website. Look for the “Download Creative Cloud” or similar button, and click on it to initiate the download process.
Depending on your operating system, you may be prompted to choose between downloading Creative Cloud for Windows or Mac. Select the appropriate option for your computer, and the download will begin automatically.
During the download, you may be asked to select the installation location and agree to the terms and conditions. Follow the on-screen instructions and make any necessary selections to proceed with the installation process.
Once the download is complete, locate the downloaded file and double-click it to launch the installer. The installation process may take a few minutes to complete, so be patient. Follow the prompts and provide any required authorization or permissions as needed.
After the installation is finished, you will find the Creative Cloud app icon on your desktop or in your application folder. Double-click on the icon to launch the app and sign in with your Adobe ID.
The Creative Cloud app provides a user-friendly interface where you can manage your Creative Cloud subscription, access and install Creative Cloud applications, and discover additional resources and features available to you.
Now that you have successfully downloaded and installed the Creative Cloud app, you’re ready to move on to the next step: signing in to the Creative Cloud app and accessing the Creative Cloud applications.
Step 6: Install the Creative Cloud app
Once you have downloaded the Creative Cloud app, the next step is to install it on your computer. The Creative Cloud app serves as a gateway to access, install, and manage all the Creative Cloud applications available to you.
To begin the installation process, locate the downloaded Creative Cloud app file on your computer. Depending on your operating system, the installation file may be a .exe file for Windows or a .dmg file for Mac.
Double-click on the installation file to initiate the installation process. You may be prompted to confirm that you want to run the file or provide administrative permissions. Follow the on-screen prompts and provide the necessary authorizations to proceed.
The installation process may take a few minutes, so be patient while the Creative Cloud app is being installed. During the installation, the app will prompt you to log in with your Adobe ID. Make sure to use the same Adobe ID that you used to purchase your Creative Cloud subscription.
Once you have successfully logged in, the Creative Cloud app will continue the installation process. It will download and install any necessary updates to ensure that you have the latest version of the app.
After the installation is complete, you will find the Creative Cloud app icon on your desktop or in your application folder. Double-click on the icon to launch the app.
When the Creative Cloud app launches, you will be greeted with a user-friendly interface that allows you to manage your Creative Cloud subscription and access the various Creative Cloud applications available to you.
Now that you have successfully installed the Creative Cloud app, you’re ready to move on to the next step: signing in to the Creative Cloud app using your Adobe ID.
Step 7: Sign in to the Creative Cloud app
After installing the Creative Cloud app, the next step is to sign in using your Adobe ID. Signing in enables you to access all the features and benefits of your Creative Cloud subscription.
Launch the Creative Cloud app by double-clicking on its icon on your desktop or in your application folder.
Once the app opens, you will be prompted to enter your Adobe ID credentials. This is the same email address and password you used when creating your Adobe ID or signing in to the Adobe website.
Enter your Adobe ID email address and password in the provided fields and click on the “Sign In” or similar button to proceed.
If you have multiple Adobe IDs or subscriptions, select the appropriate one from the drop-down menu to sign in to the relevant account.
If you’re signing in from a public or shared computer, make sure to uncheck the “Remember Me” option to ensure your account remains secure.
After you have successfully signed in, you will have access to the Creative Cloud app’s main interface. From here, you can explore various features, manage your subscription, and access the Creative Cloud applications.
If you encounter any issues signing in, ensure that you have a stable internet connection and verify that your Adobe ID credentials are correct. If you have forgotten your password, you can click on the “Forgot password” link to reset it.
Signing in to the Creative Cloud app is essential as it provides a personalized experience tailored to your subscription, allowing you to seamlessly manage your account and access your Creative Cloud applications.
Now that you have successfully signed in to the Creative Cloud app, you’re ready to move on to the next step: accessing and downloading the Creative Cloud applications.
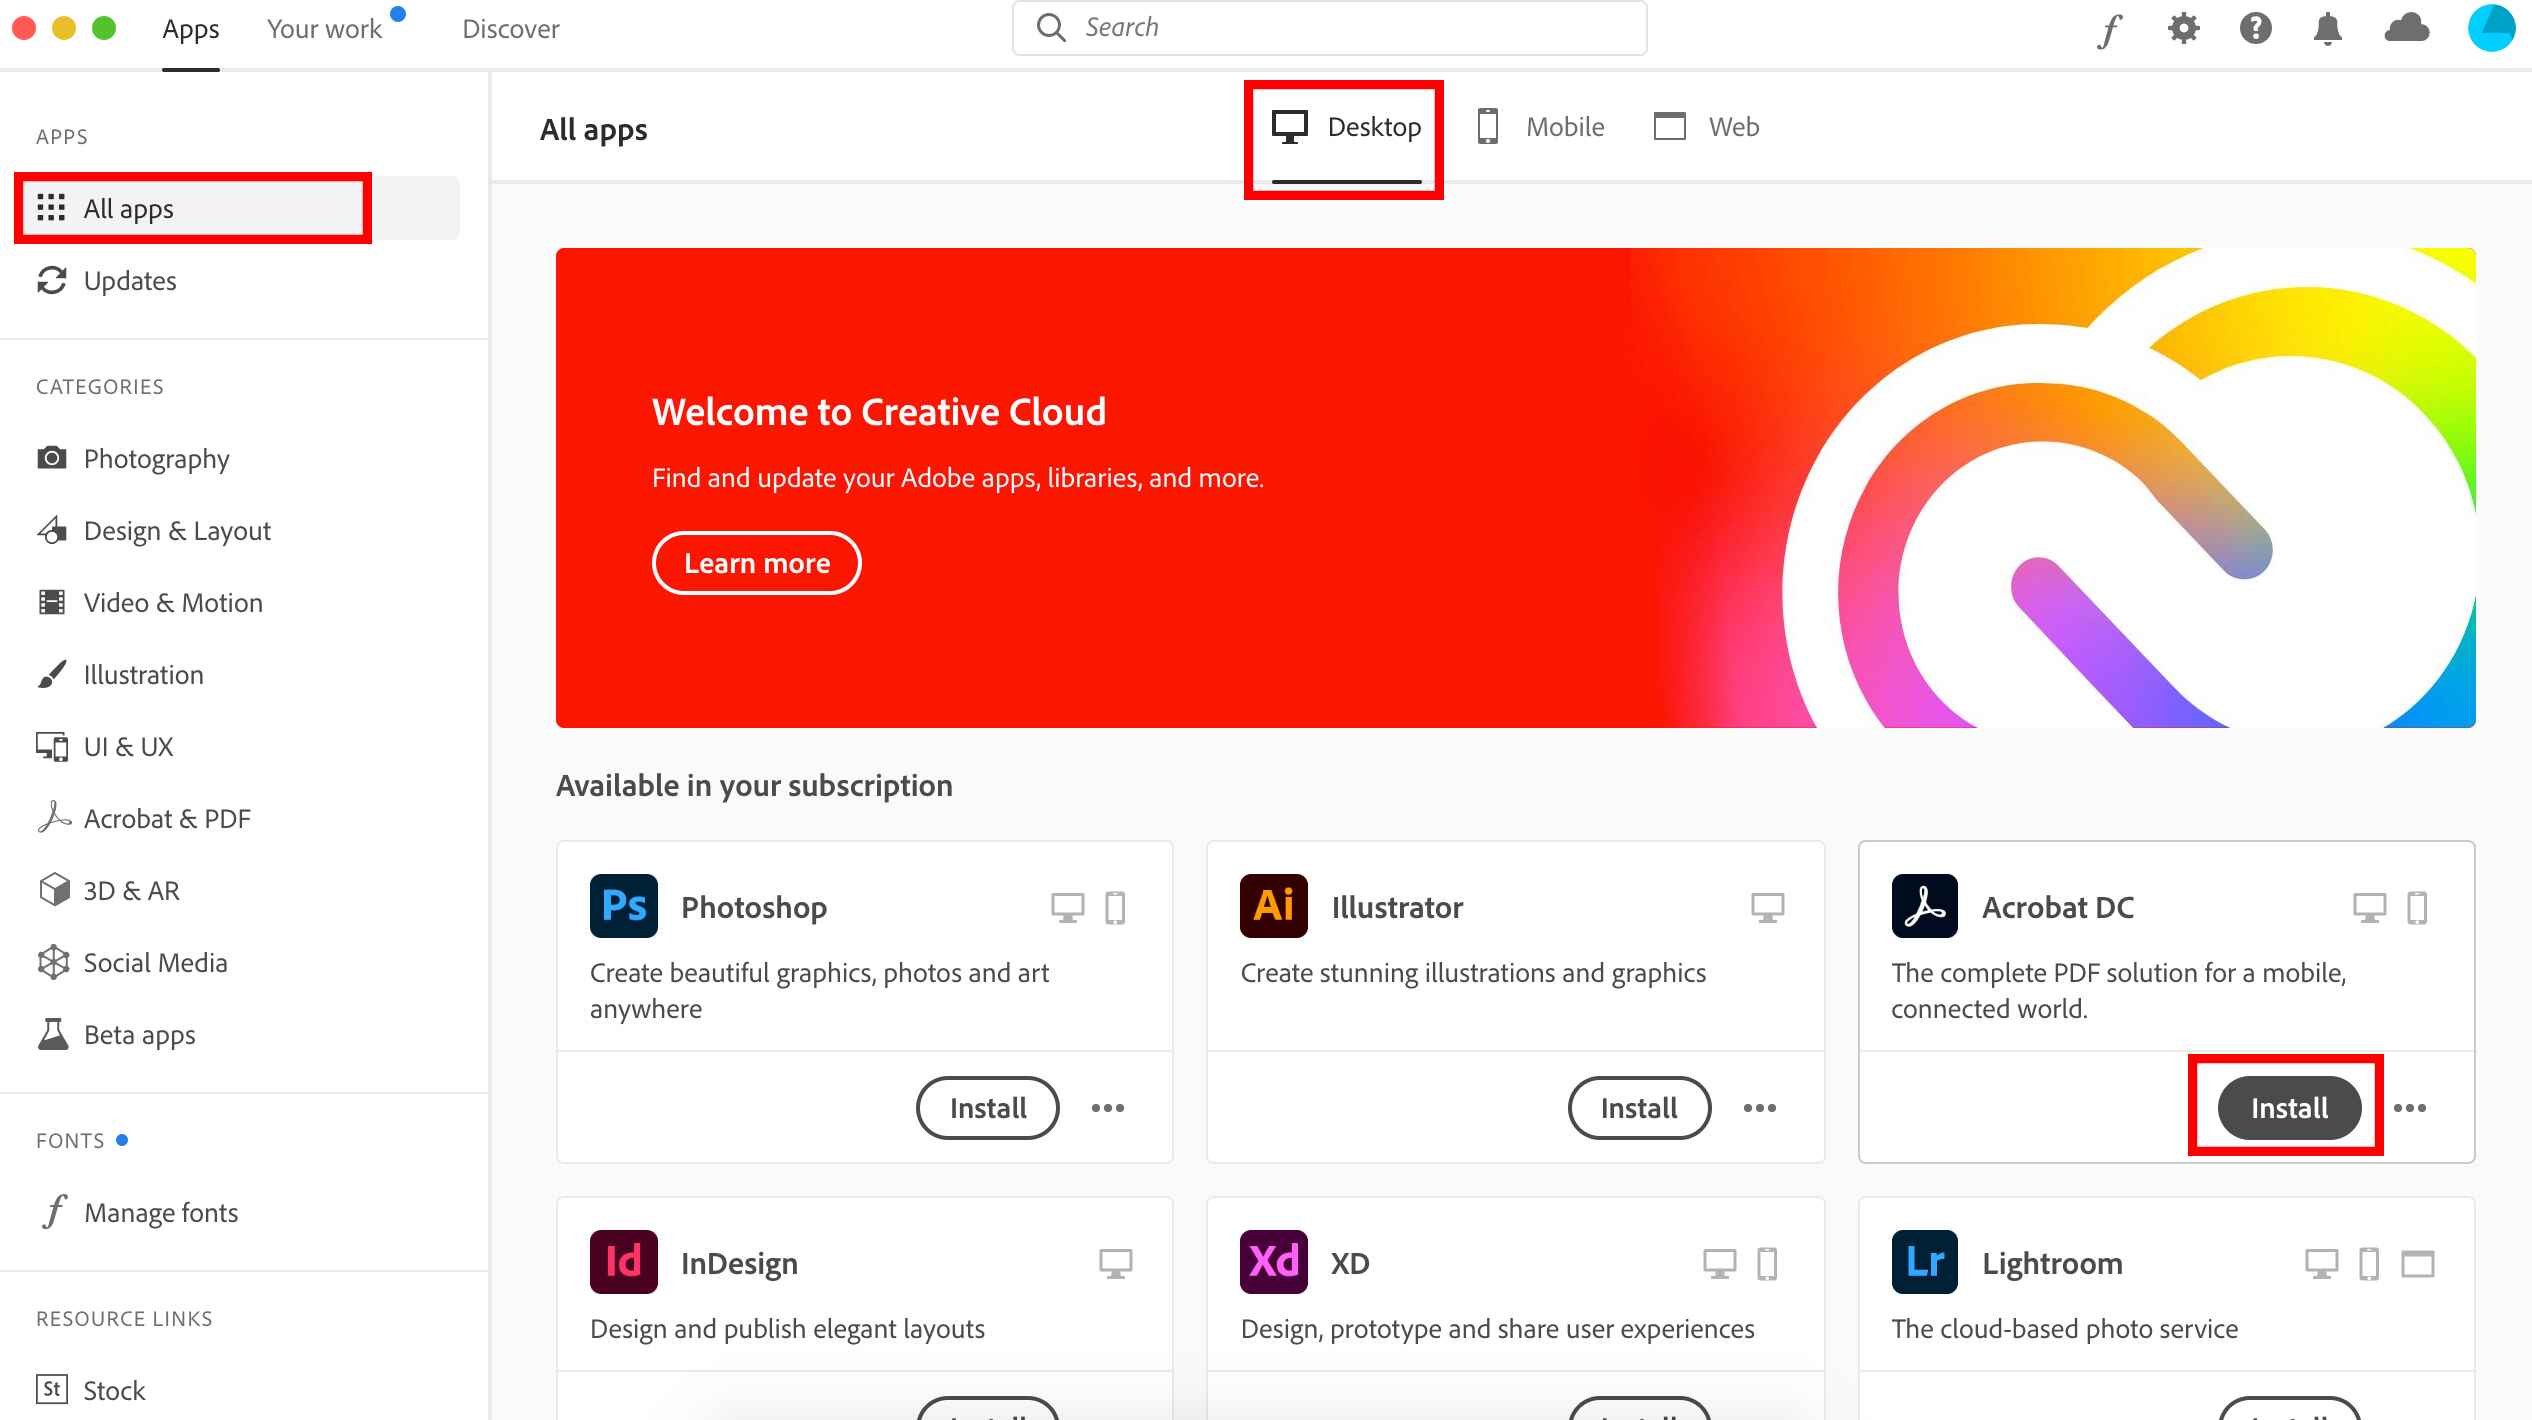
Step 8: Access and download Creative Cloud applications
Now that you are signed in to the Creative Cloud app, you can easily access and download the Creative Cloud applications that you need for your creative projects.
In the Creative Cloud app interface, you’ll find different sections such as “Apps,” “Assets,” “Marketplace,” and “Community.” Click on the “Apps” section to proceed with accessing and downloading the Creative Cloud applications.
Within the “Apps” section, you will see a list of available Adobe applications that come with your Creative Cloud subscription. These can include popular applications like Photoshop, Illustrator, InDesign, Premiere Pro, and many more.
Browse through the list of applications and click on the ones you want to install. You can also use the search bar to quickly find specific applications.
For each application, you’ll find a brief description, system requirements, and an “Install” or “Download” button. Click on the button to initiate the installation process.
The Creative Cloud app will start downloading and installing the selected application(s) onto your computer. The time it takes to complete the download and installation will depend on the size of the application and the speed of your internet connection.
Once the download and installation process is finished, you will see the installed applications listed in the “Apps” section of the Creative Cloud app. From here, you can launch the applications directly, update them, or uninstall them if needed.
You can also customize the installation settings for each application, such as choosing the installation location, language, and version.
It’s important to keep your Creative Cloud applications up to date to benefit from the latest features, improvements, and security patches. The Creative Cloud app will notify you when updates are available, and you can easily install them with just a few clicks.
With the Creative Cloud app, you have easy access to all of your installed Creative Cloud applications in one centralized location, making it convenient to manage and utilize your Adobe tools efficiently.
Now that you have successfully accessed and downloaded the Creative Cloud applications, you’re all set to unleash your creativity and bring your ideas to life.
Conclusion
Congratulations! You have successfully completed all the necessary steps to download and install Adobe Creative Cloud onto your computer. By following these steps, you have gained access to a vast collection of powerful and innovative creative applications that can take your artistic endeavors to new heights.
With Creative Cloud, you can explore the world of graphic design, digital art, photography, video editing, and so much more. The range of applications available allows you to unleash your creativity and bring your vision to life, no matter what your passion or profession is.
Remember to regularly check for updates and take advantage of new features and improvements offered by Adobe. Keeping your Creative Cloud applications up to date ensures that you are always equipped with the latest tools to fuel your creativity and expand your skillset.
Additionally, make use of the resources and tutorials available through the Creative Cloud app and the Adobe website. They are valuable assets that can enhance your knowledge and proficiency in using the applications.
Now that you have access to the Adobe Creative Cloud suite, the possibilities are endless. It’s time to let your imagination run wild, experiment with different techniques, and create something truly remarkable.
Whether you’re a professional designer, a hobbyist, or a student, Adobe Creative Cloud provides you with the tools and resources to bring your ideas to life. So, go ahead, start creating, and let your imagination soar!