Introduction
Lightroom is a powerful photo editing and management software developed by Adobe. It offers a range of tools and features that enable photographers to enhance their images and organize their photo libraries efficiently. One of the common tasks photographers often encounter is the need to download pictures from Lightroom to their local storage. Whether you want to share your photos with others, create backups, or simply have local copies for offline access, knowing how to download pictures from Lightroom is essential.
In this tutorial, we will guide you through the step-by-step process of downloading pictures from Lightroom. We will show you how to select the desired pictures and configure the export settings, as well as where to locate the downloaded files on your computer. By following these instructions, you will be able to easily transfer your edited or original photos from Lightroom to your local storage.
Before we dive into the details, please note that the steps in this tutorial are based on the latest version of Lightroom. However, the general concepts and features discussed here should be applicable to most versions of Lightroom. So, without further ado, let’s get started with the first step of the process: launching Lightroom.
Step 1: Launch Lightroom
The first step in downloading pictures from Lightroom is to launch the application on your computer. If you haven’t already installed Lightroom, you can download it from the Adobe Creative Cloud website and follow the installation instructions.
Once Lightroom is installed, open the application by clicking on its icon in your computer’s application launcher or by searching for “Lightroom” in the search bar. After a few moments, Lightroom will launch and you will be greeted with the welcome screen.
If you already have a Lightroom catalog containing the pictures you want to download, select the catalog from the list of recent catalogs on the welcome screen. Alternatively, you can create a new catalog by clicking on the “Create New Catalog” button.
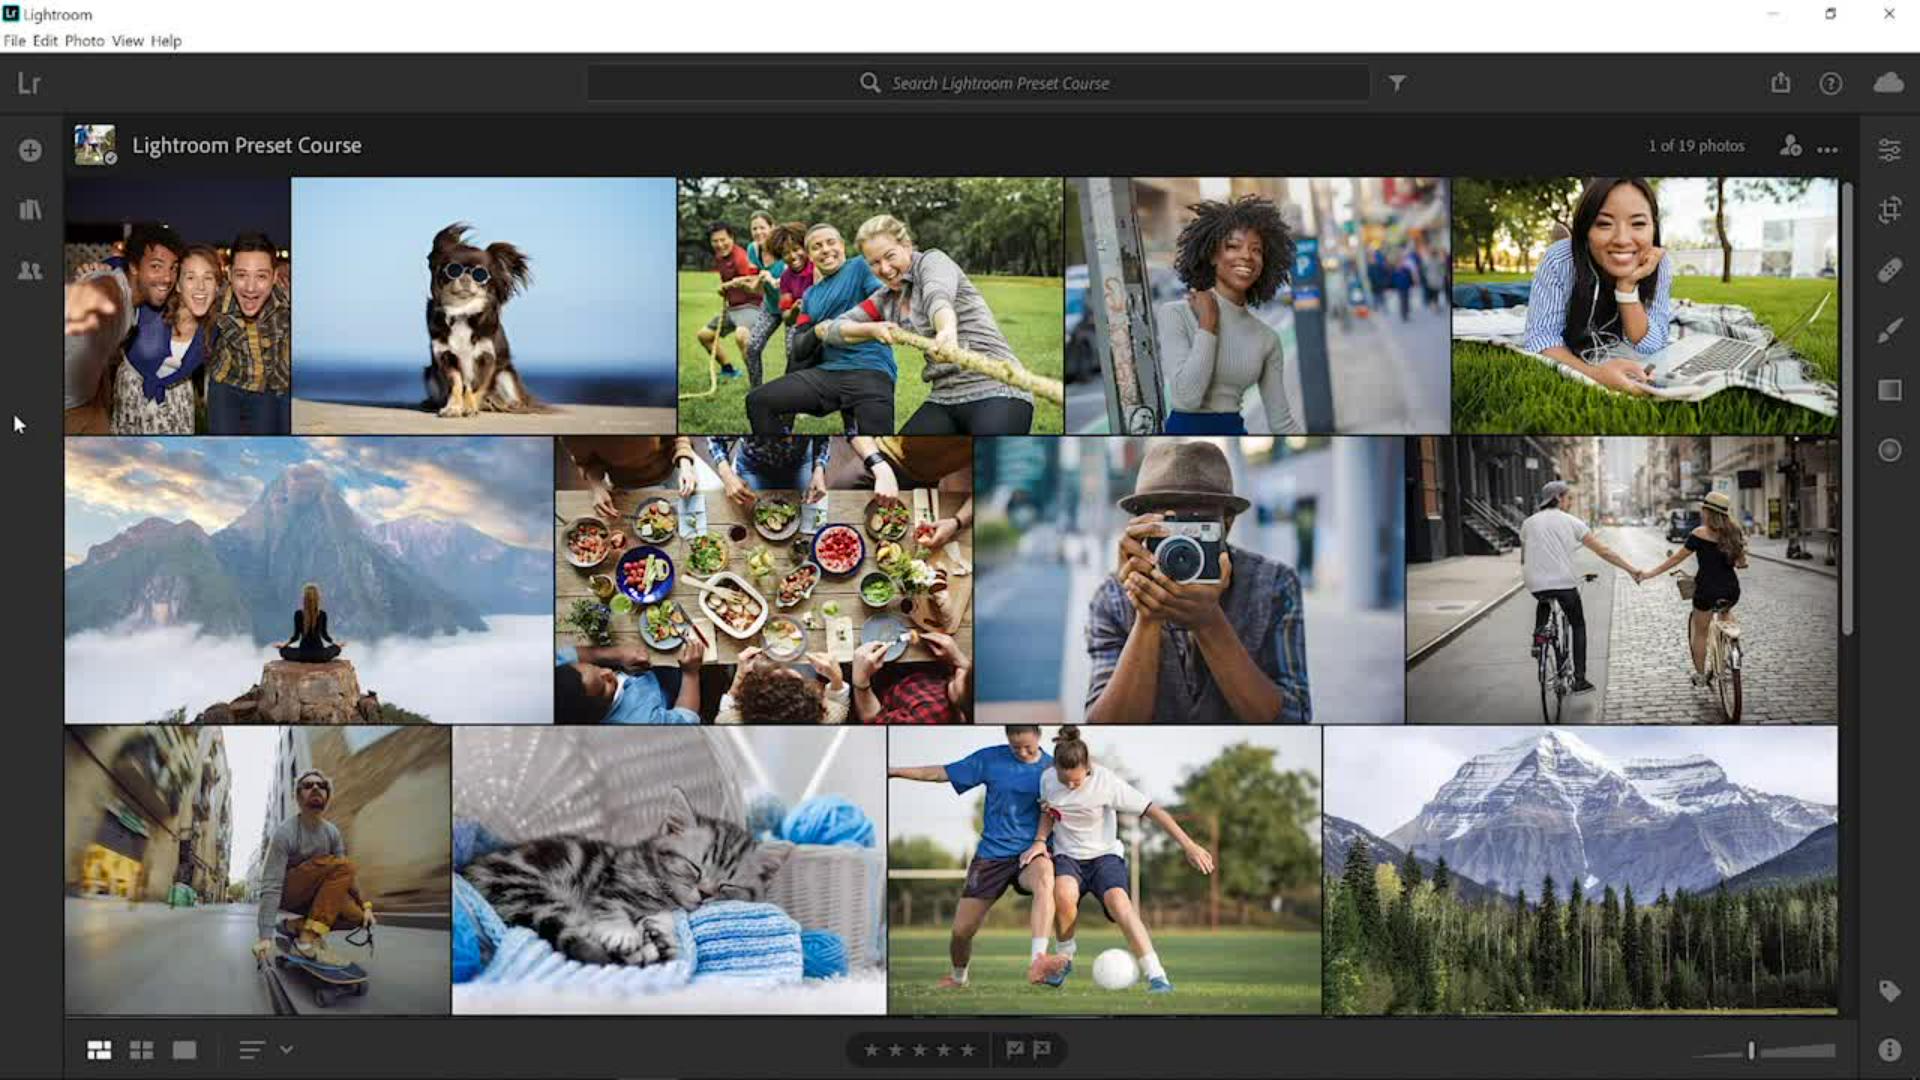
After selecting or creating a catalog, Lightroom will load your photo library and display the Library module, which is where you can organize and manage your pictures. Take a moment to familiarize yourself with the various panels and options in the Library module, as these will be useful throughout the downloading process.
Note: The steps mentioned here assume you already have a Lightroom catalog with the pictures you want to download. If you need help importing pictures into Lightroom, refer to the Lightroom documentation or our tutorial on how to import photos into Lightroom.
With Lightroom launched and your catalog loaded, you are now ready to move on to the next step: selecting the desired pictures for downloading.
Step 2: Select the Desired Pictures
Once Lightroom is up and running, the next step in downloading pictures is to select the desired images from your photo library. Lightroom provides various methods to help you quickly and efficiently choose the pictures you want to download.
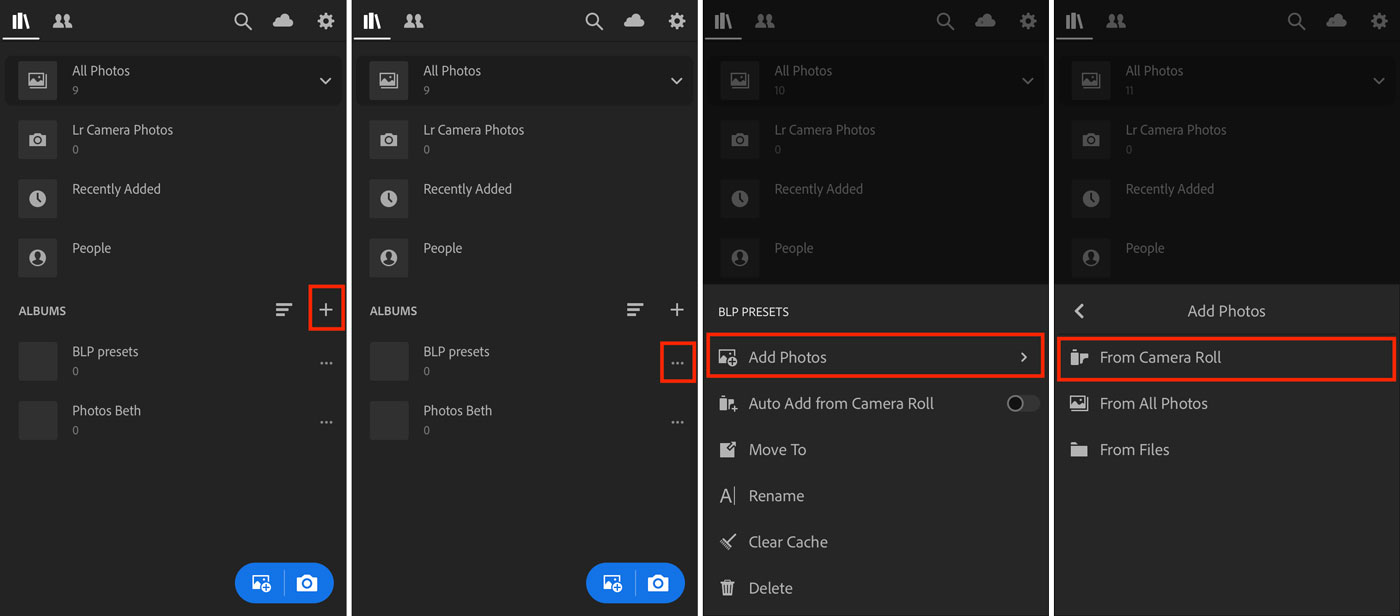
To select individual pictures, navigate to the Library module and browse through your photo library. You can use the thumbnail grid view to see all your images at once. Simply click on a thumbnail to select or deselect an image. Holding down the Ctrl (Windows) or Command (Mac) key allows you to select multiple individual images.
If you prefer a more streamlined approach to selecting pictures, Lightroom also offers flags, star ratings, and color labels. You can assign these attributes to your images to mark them for downloading. For example, you can flag your favorite images, assign star ratings to indicate their quality, or use color labels to categorize them.
To use flags, simply press the “P” key to pick a picture or the “X” key to reject it. For star ratings, press the number keys from 1 to 5 to assign a rating. To use color labels, press the number keys from 6 to 9 to assign a specific color.
In addition to manual selection methods, Lightroom also provides filters and smart collections that allow you to narrow down your selection based on various criteria such as keywords, metadata, or date taken. By utilizing these options, you can quickly isolate the pictures you want to download.
Note: Make sure to double-check your selection before proceeding to the next step. This will ensure that you only download the desired pictures and avoid unnecessary duplicate files on your local storage.
With the desired images selected, you are now ready to proceed to the next step: choosing the export settings.
Step 3: Choose the Export Settings
After selecting the desired pictures, the next step in downloading pictures from Lightroom is to choose the export settings. Export settings determine the file format, resolution, quality, and other parameters of the downloaded images.
To begin, navigate to the Library module if you’re not already there. Select the images you want to export by either clicking on them individually or using the various selection methods mentioned in the previous step.
Once you have selected the images, navigate to the top menu and click on “File” followed by “Export…” or use the shortcut Ctrl + Shift + E (Windows) or Command + Shift + E (Mac).
A dialog box will appear, presenting you with numerous options for configuring the export settings.
The first setting to consider is the “Export Location.” Here, you can choose where you want Lightroom to save the downloaded images on your computer. You can select a specific folder or create a new one for this purpose.
Next, decide on the file format under the “File Settings” section. Lightroom offers a variety of formats, including JPEG, TIFF, and PNG, among others. JPEG is typically the most commonly used format for web sharing and general use, while TIFF offers higher quality but larger file sizes.
Adjust the quality and compression settings based on your preference and requirements. You can select a specific quality level or choose a preset like “Low,” “Medium,” or “High.” Keep in mind that higher quality settings will result in larger file sizes.
Under the “Image Sizing” section, you can specify the dimensions and resolution for the exported images. If you want to retain the original size and resolution, leave this section unchanged. Alternatively, you can resize the images to specific dimensions or set a maximum width or height.
Lastly, consider enabling or disabling additional options such as sharpening, metadata inclusion, watermarking, and color space settings based on your needs.
Take the time to review and adjust the export settings to ensure they align with your intended use for the downloaded images.
Note: If you plan to share the downloaded images online, reducing the file size can help with faster loading times. However, keep in mind that excessively low-quality settings may compromise image clarity and detail.
Once you have chosen the export settings, you are now ready to proceed to the next step: exporting the pictures.
Step 4: Export the Pictures
With the export settings configured to your liking, it’s time to proceed to the next step: exporting the selected pictures from Lightroom. The export process will generate the downloadable files based on the chosen settings and save them to the specified location on your computer.
Once you have finalized the export settings, click on the “Export” button at the bottom right corner of the export dialog box. Lightroom will start processing the selected images and create the downloadable files.
During the export process, you will see a progress bar indicating the status of the export. The time it takes to export the pictures depends on several factors, including the number of images, the file format selected, and the performance of your computer.
Note: It’s important to ensure that you have sufficient disk space available on the destination drive to accommodate the downloaded files. Large batches of high-resolution images can occupy a significant amount of storage.
After the export process is complete, Lightroom will notify you with a completion message. You can click on the “Show Files” button to open the destination folder and verify that the downloaded pictures are saved correctly.
It’s recommended to double-check the exported files to ensure their quality and correctness. Open a few images in your preferred image viewer to confirm that they match your desired settings, such as the chosen file format, resolution, and level of compression.
Now that you have successfully exported the pictures from Lightroom, you can proceed to the final step: locating the downloaded files on your computer.
Step 5: Locate the Downloaded Pictures
Once you have exported the pictures from Lightroom, the final step is to locate the downloaded files on your computer. By default, Lightroom saves the exported images in the designated export location as specified in the export settings.
To find the downloaded pictures, navigate to the folder you selected as the export location during the export process. If you’re unsure of the exact folder location, you can refer to the completion message displayed by Lightroom after the export is finished.
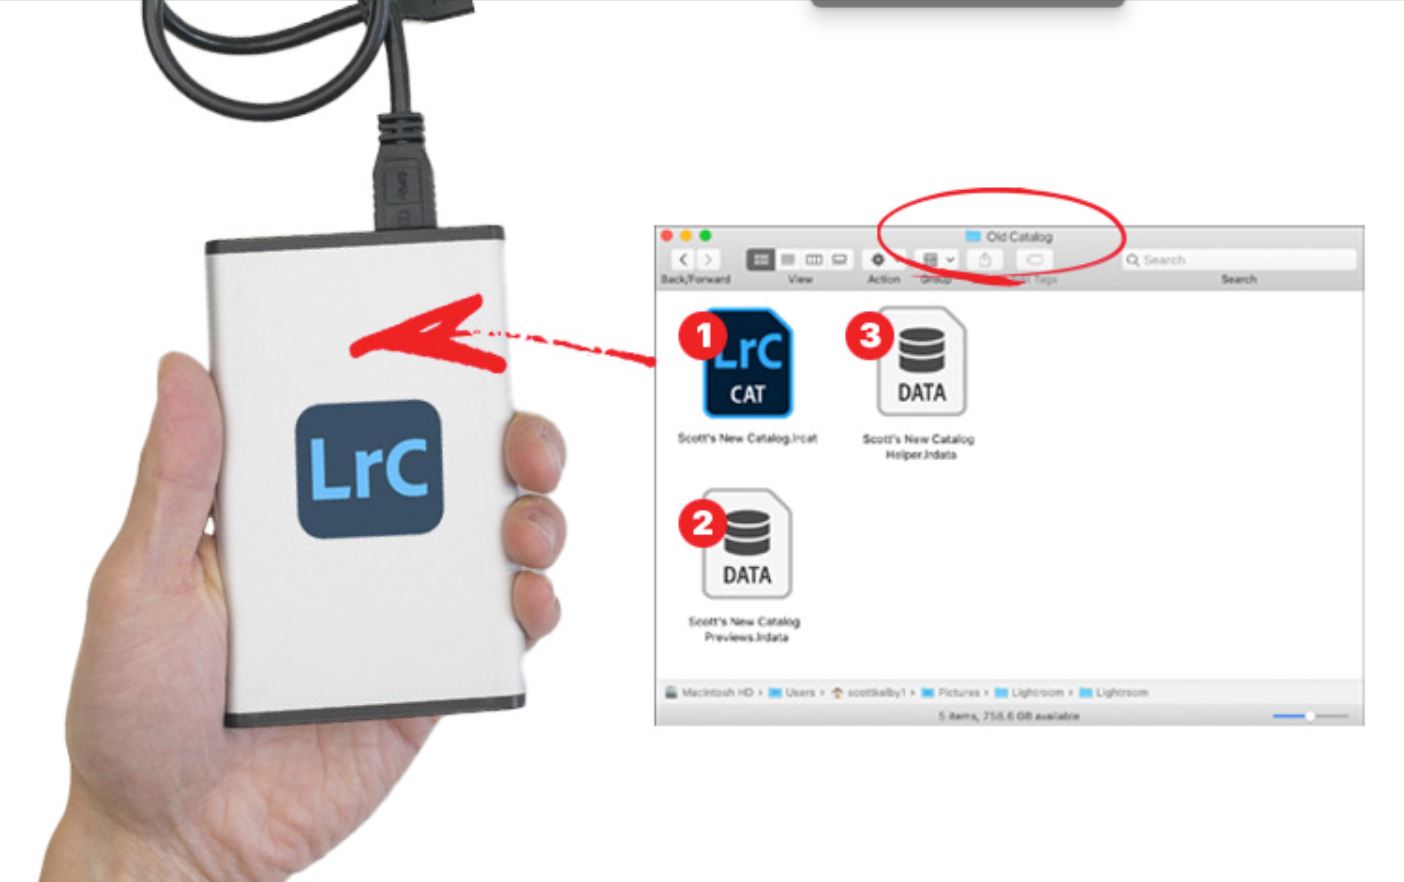
Open your file explorer or Finder on your computer and browse to the designated export location. The exported pictures will be organized and saved within this folder according to the settings you specified during the export process.
Depending on your export settings, you may find the images in the format you selected, such as JPEG, TIFF, or PNG. The files will have the same file names as they appeared in Lightroom, but with the appropriate file extensions.
Note: It’s a good practice to create a backup of your exported images to ensure their safety and prevent accidental loss. You can consider copying them to an external hard drive, cloud storage, or another reliable medium.
Once you have located the downloaded pictures, you can view, share, or use them for your desired purposes. They are now ready for offline access, printing, sharing on social media, or any other use you have in mind.
Remember to keep the exported files organized and labeled appropriately for future reference. It’s recommended to create a system that works best for you, such as organizing images into folders based on date, event, or subject.
Congratulations! You have successfully completed the process of downloading pictures from Lightroom. With these newfound skills, you can easily transfer your edited or original photos to your local storage and enjoy them outside of the Lightroom environment.
Feel free to explore other features and capabilities of Lightroom to further enhance your photography workflow. Whether you’re editing, organizing, or sharing your images, Lightroom offers a wide range of tools and options to help you achieve your desired results.
Conclusion
Downloading pictures from Lightroom is a straightforward process that allows photographers to transfer their edited or original images to their local storage. By following the steps outlined in this tutorial, you can easily export and download pictures from Lightroom with just a few clicks.
We started by launching Lightroom and selecting the desired pictures from our photo library. Then, we moved on to choosing the export settings, where we determined the file format, resolution, and other parameters for the downloaded images. After finalizing the settings, we proceeded to export the pictures, allowing Lightroom to process and save the files based on our specifications.
Lastly, we located the downloaded pictures on our computer by navigating to the designated export location. By following these steps, we ensured that the images were successfully downloaded and ready for offline access, sharing, or any other use.
Lightroom offers a powerful platform for photographers to edit, organize, and manage their photo collections. Whether you’re a professional photographer or an enthusiast, knowing how to download pictures from Lightroom gives you the flexibility to work with your images outside the software environment.
We encourage you to explore and experiment with different export settings to optimize the quality and file size of your downloaded images. This allows you to adapt to various usage requirements, such as sharing on the web, printing, or archiving.
Remember to keep your exported files organized and backed up to prevent any accidental loss or damage. Creating a systematic folder structure and implementing a backup strategy ensures the long-term security and accessibility of your cherished photographs.
Now that you have a solid understanding of the process, we hope you feel more confident in downloading pictures from Lightroom. Use these skills to enhance your photography workflow and share your amazing images with the world.
Happy downloading!