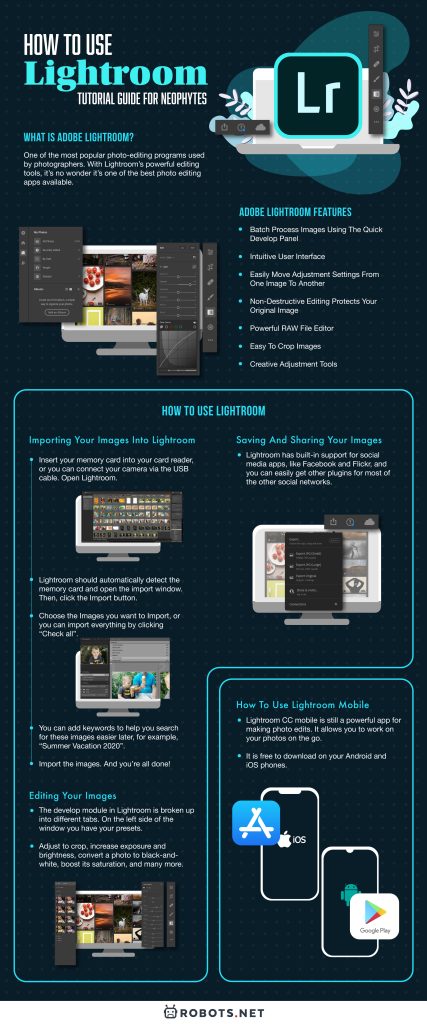
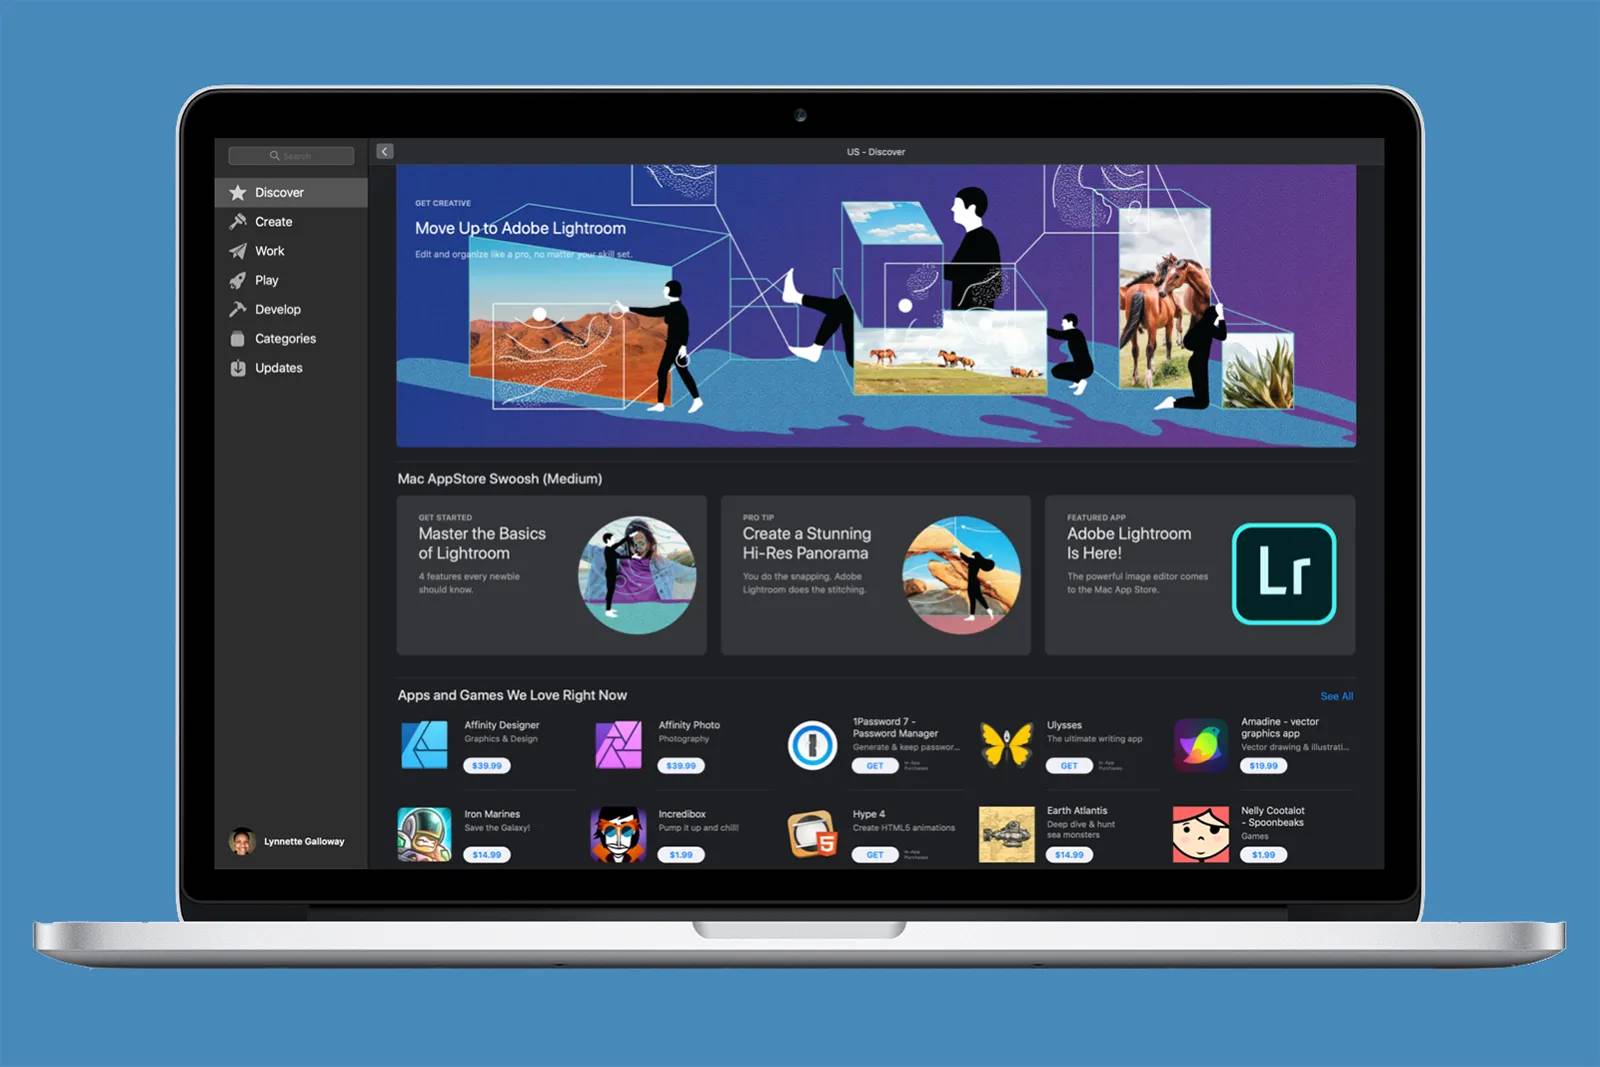
Adobe Photoshop Lightroom is one of the most popular photo-editing programs used by photographers. The application is simple. You can easily manage, process, and post to social media from using Lightroom. This is the reason why photographers love it, and why you should be using it too. But if you don’t know how to use Lightroom, this guide is the one for you.
Adobe recently announced Lightroom’s split into two related programs. One is solely focused on mobility, while the other remains the same editor creators use. Regardless of the change, both share common features. The interface and mechanics are similar in function and will be easy to navigate. Plus, an Adobe CC subscription will get you both programs.
If you’re new to Lightroom, no need to worry. We will walk you through the basics, and show you the best way to keep your workflow simple and easy.
What is Adobe Lightroom?

One of the biggest problems that people are facing nowadays is keeping track of all the images that we take. While there are apps available, many lack the flexibility and power of Lightroom. With Lightroom’s powerful editing tools, it’s no wonder it’s one of the best photo editing apps available.
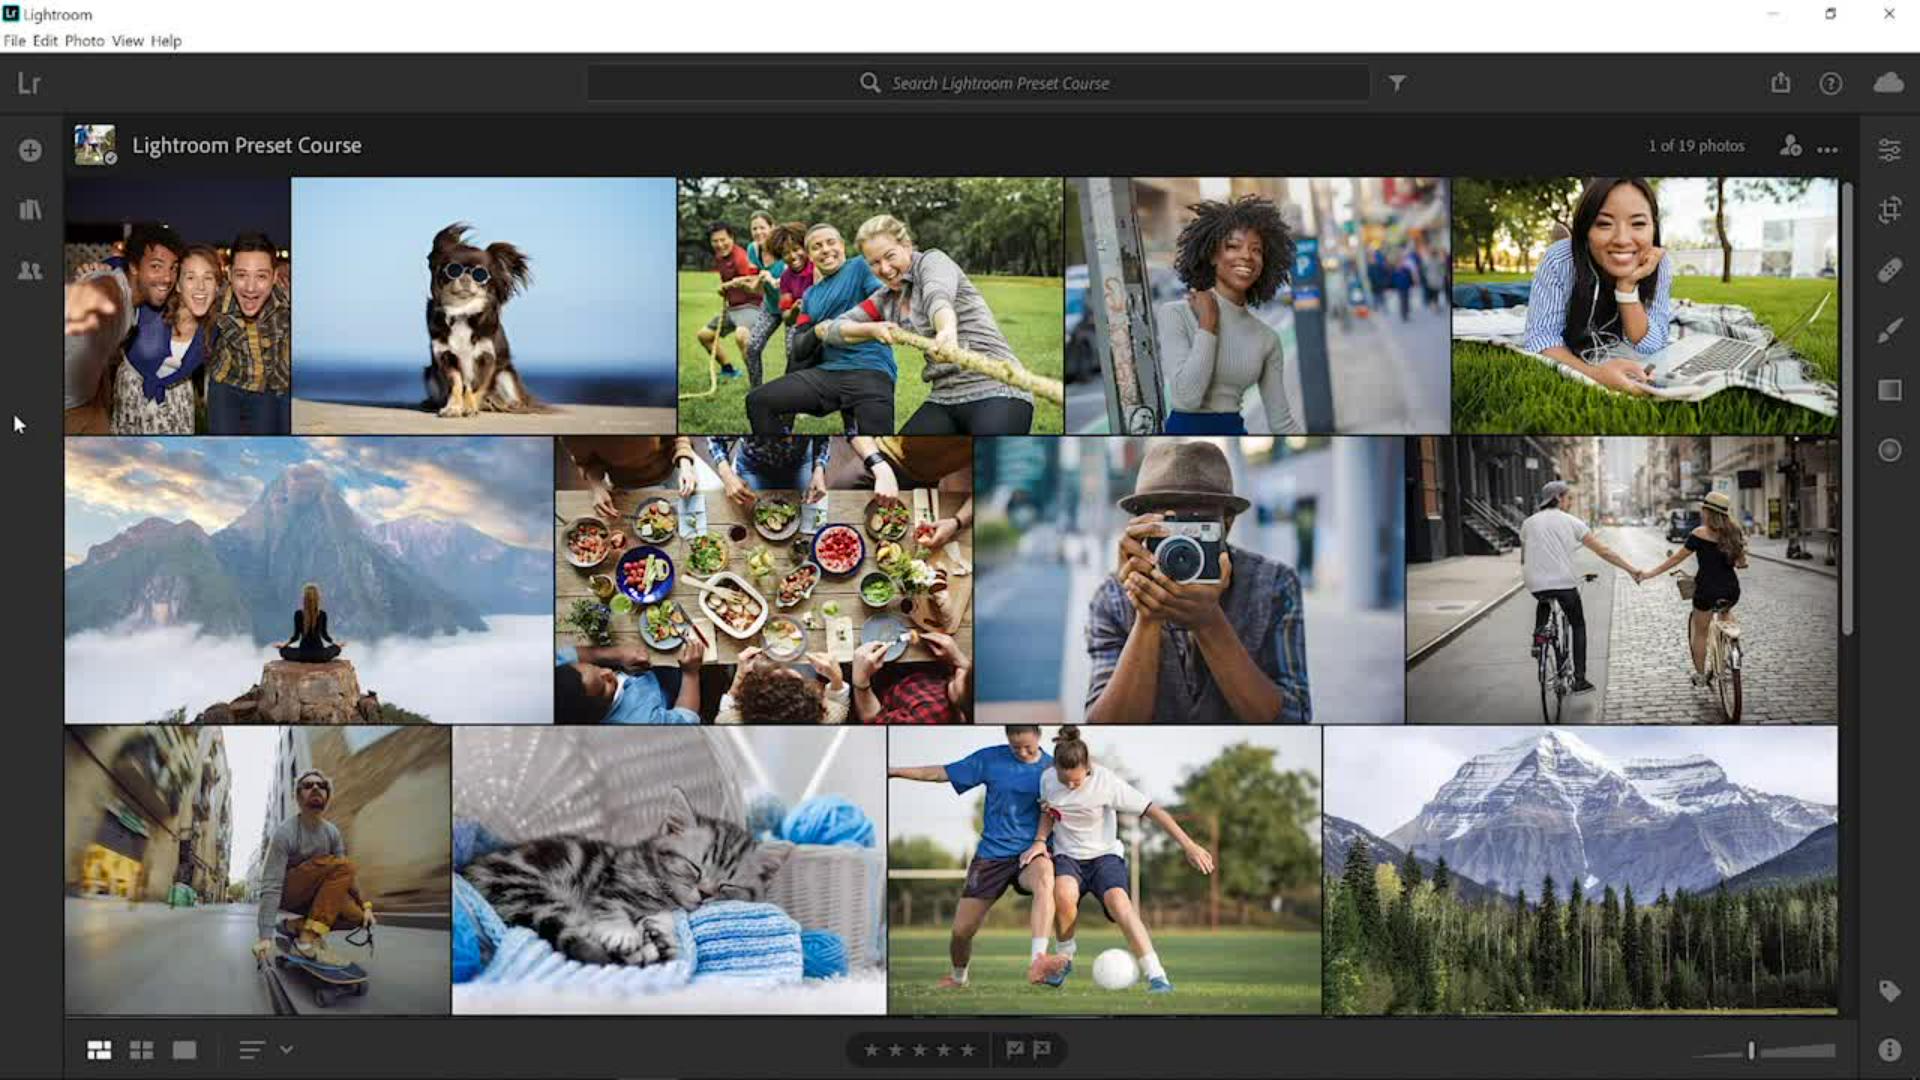
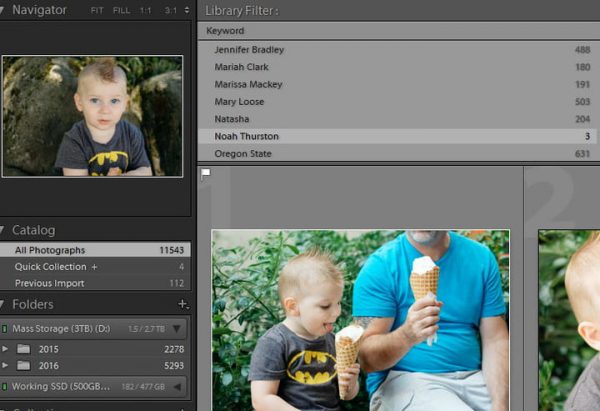
Adobe Lightroom has a catalog system that can automatically create and manage folders. You can keep track of images across multiple locations, including hard drives. You import your photos on the program and Lightroom makes it easy to find them again. Lightroom also allows you to add multiple tags for more refined searches.
The app also has a facial recognition feature which helps you find images of specific people. You can set it up by adding tags for each portrait you take. After you have tagged a certain person multiple times, the software can suggest matches.
When you need to find a good picture of family and friends, you can simply open up Lightroom and search for them by name. The software will pull up all of the images on your system that have that face.
Adobe Lightroom Features

Before you learn how to use Lightroom, it is best to know what features this program offers. You also need to make sure you’re taking full advantage of all of them.
Create Presets To Save Time And Develop Style
With Lightroom, you can easily save any adjustments made to a photo. Saving these presets will allow you to apply the same edits to another photo with just one click. This can save you a lot of time with your processing.
It will make it easier for you to apply your filters to match a specific photo. You can also create a wide range of presets to save time and quickly experiment with different looks. By using presets, the images you create will have a more consistent look. It is an important part of creating recognizable edits. This is a handy trick for maintaining your Instagram feed.
Batch Process Images Using the Quick Develop Panel
When you use the Quick Develop panel, you can batch process and apply presets to multiple images at once. Do you have a couple of overexposed images? Simply select them all and correct them simultaneously. By roughly batch processing your images, you’ll save more time when you fine-tune them later.
Intuitive User Interface
You can easily move from photo to photo in the Develop module. This also works for the view contact sheets in the Library grid view. The Develop module’s interface allows for a smoother workflow. The tools are laid out by function, making it more efficient to work through adjustments.
Easily Move Adjustment Settings from One Image to Another
Aside from batch processing, there are other ways to apply the same edits to more than one photo. You can move adjustment settings to a new photo with just one click. Simply press the “Previous” button in the Develop module and you’re finished. This one feature alone allows you to go through groups of images efficiently. You can also copy settings to multiple images at once for faster editing.
Non-destructive Editing Protects Your Original Image
No need to worry about damaging your original file. When you make adjustments to an image, Lightroom can keep your original photo safe. Lightroom has recommended guidelines on how to export the image.
These guidelines can be automatically embedded in DNG files. With RAW, JPEG and TIFF images an XMP sidecar file can be created that stores those instructions right beside the original image. In essence, Lightroom protects your original files. You can edit with freedom, knowing you can always go back to a perfect quality original.
Powerful RAW File Editor
Adobe Lightroom is an amazing RAW file editor. The RAW format is the highest setting on most DSLR cameras and with Lightroom, you can really take advantage of that. When shooting RAW format, it is easy to correct the exposure and white balance in the program. When you shoot in JPEG format, exposure and white balance is can be difficult to adjust especially without losing the quality.
Because of the high quality of RAW files, you are also able to perform adjustments like conversion to black and white, adding custom color toning effects, and fine-tuning brightness and contrast with only a little loss in quality.
Easy to Crop Images
With the Crop tool of Lightroom, it is super easy to creatively crop photos into any aspect ratio. You can also straighten your photos in just a snap with the straighten tool. You can click and drag along any vertical or horizontal line and your image will be automatically cropped and rotated. It seems like a feature that every photo editor has, but believe us, you will find these tools very useful.
Creative Adjustment tools
- Graduated filter – Introduce gradient-type effects to your image. Darkening skies can now be easy and natural-looking.
- Adjustment brush – Using Lightroom, you can paint any adjustments to specific parts of your image. This means you can easily dodge and burn, sharpen or soften, or apply brightness, contrast, and other adjustments to specific parts of your image.
- Post-crop vignette – Produce natural-looking vignettes to help draw your viewer’s eye towards the center of the image. You can also use Lightroom to remove any vignettes created by the lens.
Adobe Lightroom lets you get creative when you want to and saves you time when you need it. Learning how to use Lightroom features will help you create better photos, and spend more time shooting.
How to Use Lightroom
Navigating Lightroom

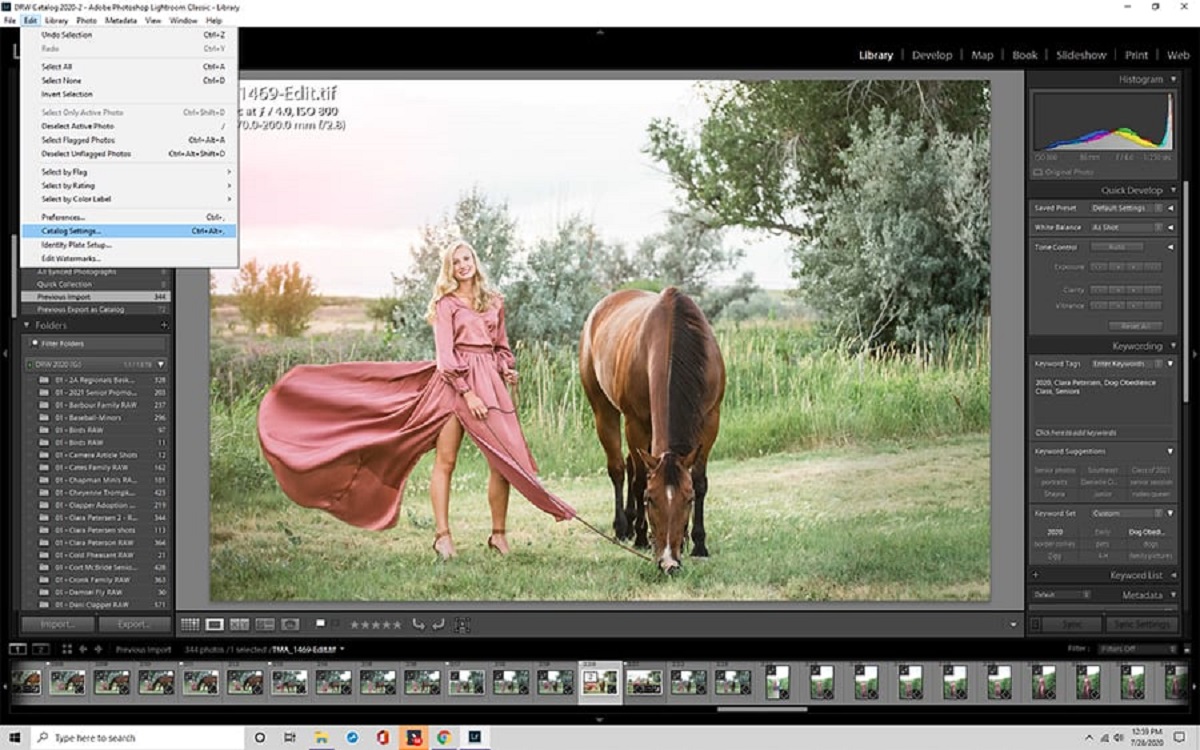
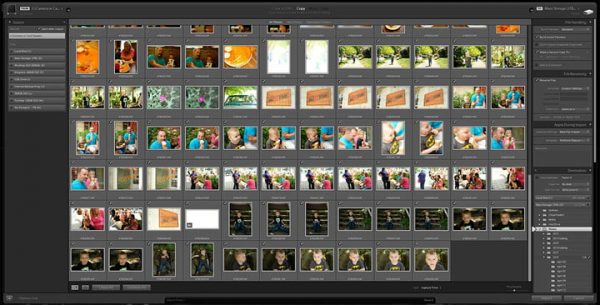
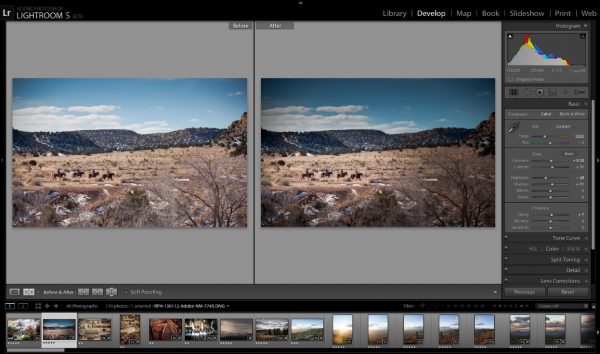
Lightroom is broken up into different modules that separate the steps in your workflow. The Library module is the place where you can import photos, add keywords, create folders, and otherwise manage your catalog. The Develop module, on the other hand, is where you will do the bulk of your image editing such as adding filters, fixing red-eye, increasing sharpness, removing blemishes, and much more. Then followed by the Map module, which you may not utilize much, but is where you can search your image library based on GPS data for photos that include that information even those taken on your phone.
Next is the Book module, this is where you can design your own photo albums that you can print yourself or through online vendors. Then, you have the Slideshow module, which obviously helps you set up a slideshow. Lastly, you have the Print and Web modules, which are mostly for professional users, but the Print module helps you print your images on your home printer and the Web helps you make a gallery that you can upload straight to a website.
To navigate between the several modules in Lightroom, you just simply click the different tabs located in the upper right portion of the Lightroom window.
Importing Your Images into Lightroom
The first thing and the most important step you need to do in using Lightroom is giving it some photos to work with. You may have thousands of pictures saved on your computer already, and Lightroom can work with those in addition to any new ones you take. The steps below will give you the outline of the process for importing new photos from a camera or memory card, but Lightroom’s Import window is very easy to manage folders and import photos from your PC.
- Insert your memory card into your card reader, or you can connect your camera via the USB cable. Open Lightroom.

Photo by Anthony Thurston via Digital Trends - Lightroom should automatically detect the memory card and open the import window. Then, click the Import button.
Photo by Anthony Thurston via Digital Trends - Choose the Images you want to Import, or you can import everything by clicking “Check all”.
Photo by Anthony Thurston via Digital Trends - You can add keywords to help you search for these images easier later, for example, “Summer Vacation 2020”.
- Import the images. You can also tell it what location on your computer to import the images, but it defaults to your images folder, so most of you will want to just leave it alone. And you’re all done!
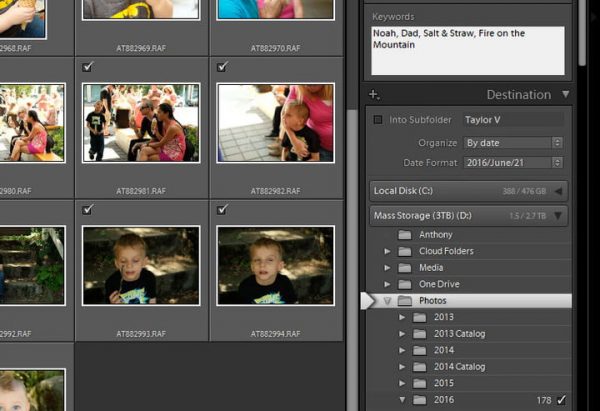
In the case of importing images from a different location on your computer, Lightroom gives you three choices for how it manages those files. You can select to simply “add” the photos, which leaves the physical files where they are; “copy” them, which duplicates the files and puts a copy in your designated Lightroom folder; or “move” them, which puts the files in your Lightroom folder and deletes them from their original location.
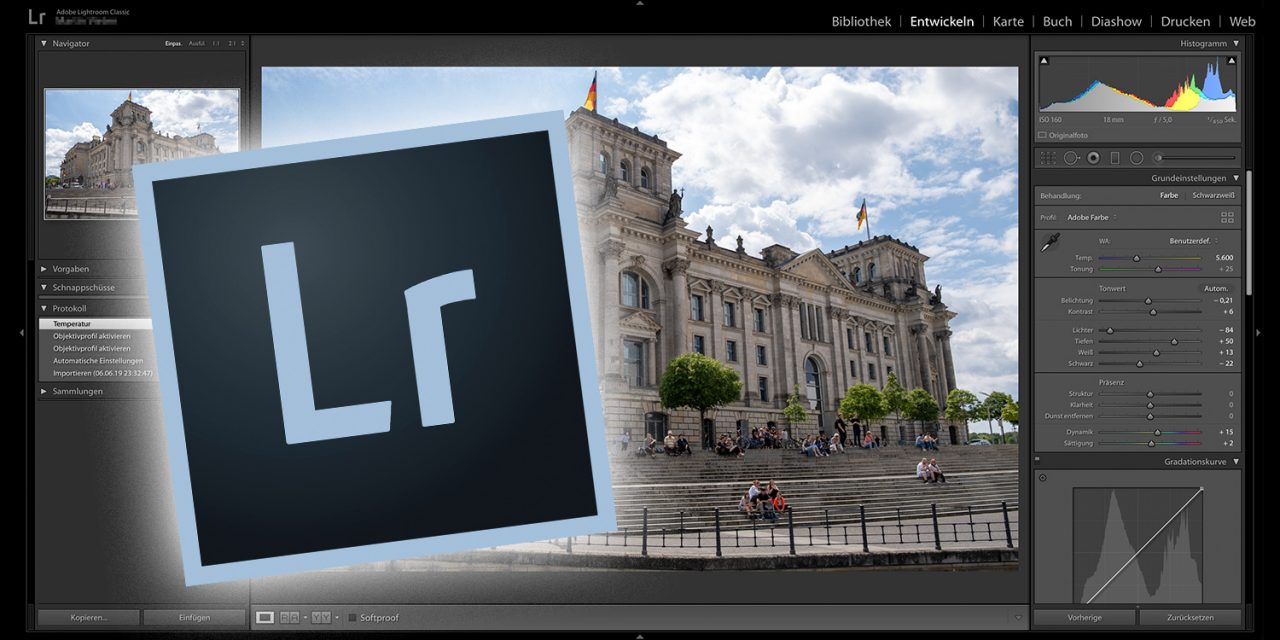
Using Lightroom’s Editing Tools to Level Up Your Images
As mentioned above, the ability to edit your photos in the Lightroom application is very convenient and powerful. You can do everything from applying one-click presets like VSCO or Instagram-style ease of use, to spending more time and changing each setting one at a time for a more refined, professional look. Adobe Lightroom does it all, mostly. Some professional photographers still rely on Photoshop for advanced features and techniques, but for most people, Lightroom is more than what you need.
Editing Your Images
When using the Develop module, you are able to process and edit your images with more control than whatever built-in photo management program on your computer. Aside from that, when combined with the Lightroom’s Mobile app, Adobe’s free Lightroom extension app, you can even process and edit your images on your phone or tablet, and all the adjustments you made will be synchronized back to your computer.
Lightroom works best when processing RAW images, which offer the most freedom for making adjustments, but you can also process and edit JPEGs. Whatever image file your choose, every adjustment you make within Lightroom is non-destructive, so anything you do to an image, even deleting its edits will be reversible.
The develop module in Lightroom is broken up into different tabs. On the left side of the window you have your presets, which are fast, one-click edits that you can do to quickly get your images to your preferred look, and then fine-tune with the controls on the right half of the screen. Adjust to crop, increase exposure and brightness, convert a photo to black-and-white, boost its saturation, and many more.
The presets are one of Lightroom’s most powerful tools, as mentioned above, and is one of the reasons why it is so popular among photographers. You aren’t limited to certain preinstalled ones and you can buy additional presets created by other photographers, or you can simply make your own. These allow you to quickly and easily get your image to your desired look, or at least close to it, without having to spend a lot of time playing with the more advanced and detail-oriented sliders.
Think of the presets sort of like Instagram filters, but you have way more control and much better results. Take VSCO’s film presets, for example, it mimics the quality of various films to lend a classic look to your modern digital photographs.
Saving and Sharing Your Images
Lightroom has built-in support for social media apps, like Facebook and Flickr, and you can easily get other plugins for most of the other social networks. In other words, you can easily process and share your images from one program, across most of your social networks. So even as Lightroom is more advanced and complex than the photos app on your phone, it doesn’t sacrifice the easy sharing abilities that we all want.
Those users who have advanced experience can also export images to a wide range of file formats, change quality and image size, and even add a watermark to help guard against image theft.
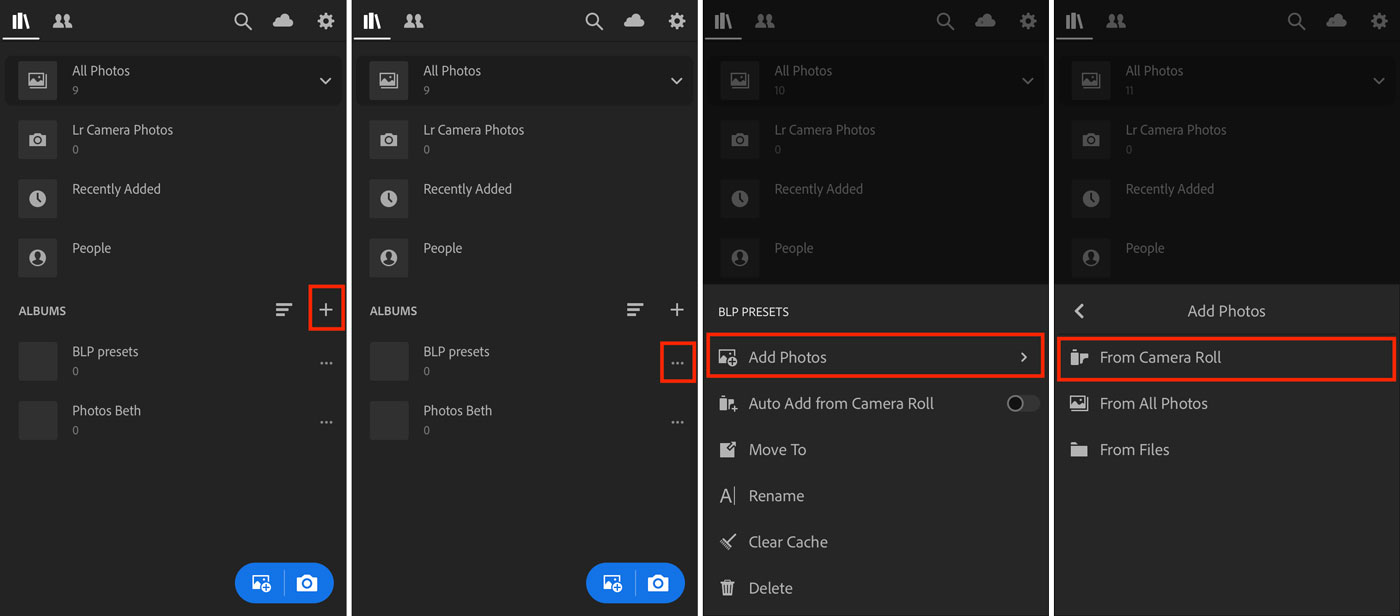
You can get Lightroom Mobile on both Android and iOS. The downloading process is just like any other app. All you have to do is go to the app store and download it.
How to Use Lightroom Mobile

Do you know that you can also use Adobe Lightroom on your mobile phone? Well, if not then you should go ahead and download it. It is free to download on your Android and iOS phones. The only thing is that you will an Adobe Creative Cloud account to use all of Lightroom Mobile’s features. If you have on already, all you have to do is sign in and you’re good to go. You don’t have to pay to unlock the editing tools. As a paid Creative Cloud subscriber, you will get mobile access to selective edit tools and the ability to edit raw files. You can also sync any version of Lightroom to its mobile app.
But even though you don’t have any Adobe Creative Cloud subscription. Lightroom CC mobile is still a powerful app for making photo edits. In a lot of ways, this photo editing app serves as a supplement to your Lightroom desktop. It allows you to work on your photos on the go.
In fact, you can even sync your desktop collection on your phone. To do this, you’ll just simply need to open your Lightroom desktop app, click the Library tab then your name on the upper left side of the screen. Lastly, select ‘Sync with Lightroom Mobile” and you’re good to go.
What Makes Lightroom Different from other Software?

This is probably one of the top questions about Lightroom, and this is with good reason. Lightroom does not work like how you might expect, and, in some important ways, it is vastly different from other options on the market, including software like Photoshop.
For example, when you make changes to your photo in Lightroom, that change only shows up in Lightroom. What does it mean? So let’s say that you brighten a photo in Lightroom. You might be surprised to realize that, if you open the same photo in any other software, it won’t look any brighter than normal. The actual, underlying file is totally unchanged. This is a fundamental part of Lightroom, and it’s not a feature you can turn off. The biggest question is; if Lightroom makes it impossible to actually edit your photos, and your edits are only visible in Lightroom, why would most professionals ever use it?
To simply answer this question, the system has lots of benefits.
Easy Exporting
Yes, there is a way for you to see your Lightroom edits outside of the software. When you edit an image in Lightroom, the edits do only show up in there. However, when you export a photo — which is mentioned earlier, is one of the three most important things you can do in Lightroom — all the edits are now present in the photo you’ve exported.
You can edit a photo all day in Lightroom to look exactly how you want, but you won’t see any of the changes if you try to open the file outside of Lightroom. The fix is really simple: Re-enter Lightroom, right-click, click Export > Export, and export the photo how you want. The exported copy of the image now has all the edits you just made. It does not replace the original file, which is still happily saved on your computer. Instead, what it does is create an entirely new photo, complete with all the export settings you chose like the file type, pixel dimensions, compression, file name, and so on.
So why is this better than simply editing the actual, original photo? There are a few reasons, but here’s the most important one: This type of photo editing is non-destructive. You’re never changing and editing anything about your original file at all. Also, there are only three settings within Lightroom that do affect the original: renaming the photo, moving the photo to a new folder on your hard drive, and deleting the photo from your disk. Lightroom makes it simply impossible to accidentally ruin anything beyond repair.
The same cannot be said to the other popular photo editing software, Photoshop. If you open one of your images in Photoshop, crop it, save the photo, and exit, your photo will be permanently cropped. There are ways around this like specifically, unchecking the “delete cropped pixels” option and saving it as a .PSD file, but this isn’t an intuitive fix. It’s far too easy to edit the original photo by mistake.
Lightroom is great exactly because you’re never touching the original file. Lightroom is non-destructive editing software, and that is a critical feature for almost every photographer even non-professional ones.