Introduction
Welcome to our guide on how to do a factory reset on a MacBook Pro. If you’re experiencing issues with your MacBook and want to start fresh or if you’re planning to sell or give away your device, a factory reset is the way to go. Performing a factory reset will erase all the data and settings on your MacBook, essentially restoring it to its original state when you first got it.
Before we dive into the step-by-step instructions, it’s important to note that a factory reset should be approached with caution. Make sure to back up all your important files and data before proceeding, as the process will completely erase everything on your MacBook. Additionally, once you perform a factory reset, you won’t be able to recover any data that was not backed up.
With that said, let’s get started with the steps required to do a factory reset on your MacBook Pro. Following these instructions will guide you through the process of backing up your data, signing out of iCloud and other services, erasing your Mac’s hard drive, reinstalling macOS, and restoring your data from backup. By the end of this guide, you’ll have a fresh and clean MacBook Pro ready for use or sale.
Step 1: Back Up Your Data
Before you embark on the factory reset process, it is crucial to back up all of your important data. This ensures that you won’t lose any files or documents during the reset. There are several methods you can use to back up your data:
- Time Machine: If you have been regularly using Time Machine, Apple’s built-in backup feature, you’re in luck. Simply connect an external hard drive or use a network-attached storage (NAS) device, and Time Machine will automatically create a backup of your entire system. To initiate a Time Machine backup, go to the Apple menu, select System Preferences, then click on Time Machine. Follow the on-screen instructions to set up and perform a backup.
- iCloud: If you have sufficient iCloud storage space, you can opt to back up your important files, photos, and documents to the cloud. To do this, go to the Apple menu, select System Preferences, then click on Apple ID. From there, click on iCloud and ensure that the necessary options, such as iCloud Drive and Photos, are enabled. Once enabled, your data will be automatically synced to iCloud.
- External Storage: If you don’t use Time Machine or want a physical copy of your data, you can manually copy and paste your files to an external storage device, such as a USB flash drive or an external hard drive. Connect the storage device to your MacBook Pro, then navigate to your important files and copy them over.
Remember, it’s important to double-check that all your crucial data is backed up and easily accessible before proceeding with the factory reset. Take the time to ensure that your backup is complete and error-free. By doing this, you can have peace of mind knowing that your files are safe and secure.
Step 2: Sign Out of iCloud and Other Services
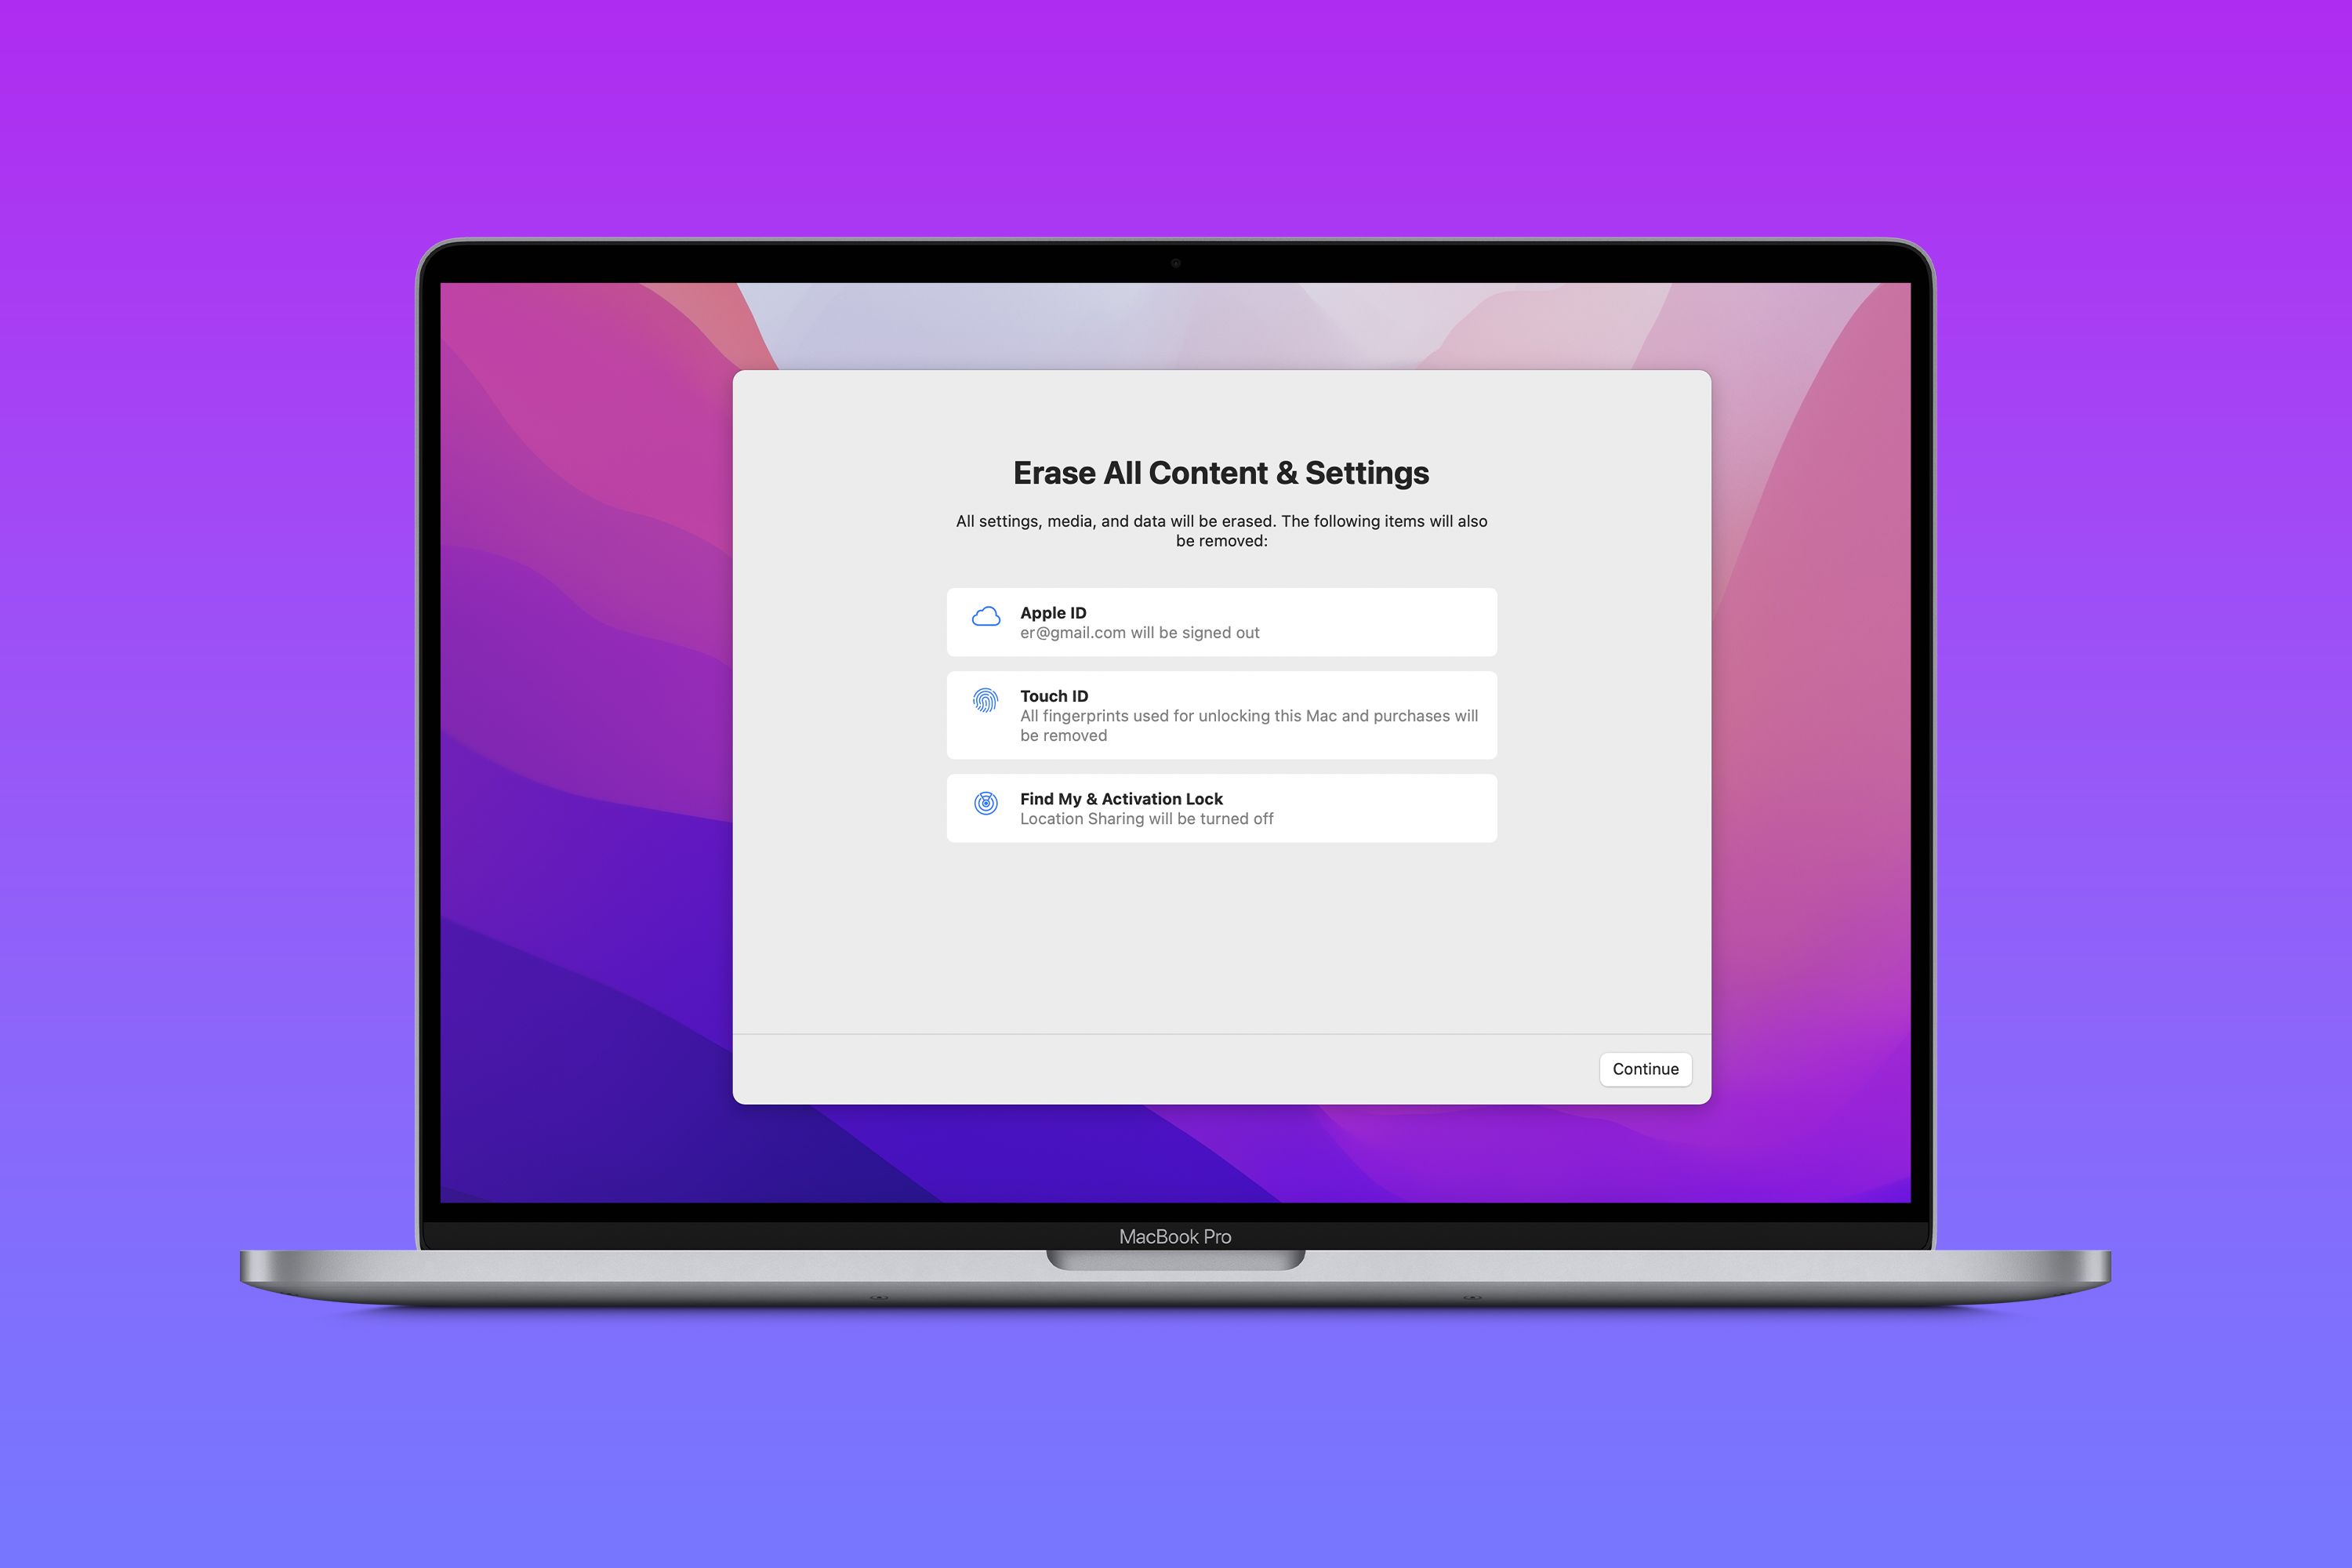
Before proceeding with the factory reset, it’s important to sign out of iCloud and other services on your MacBook Pro. This step ensures that your device is disassociated from your account and prevents any potential issues during the reset process. Here’s how you can sign out of iCloud and other services:
- iCloud: Start by clicking on the Apple menu and selecting System Preferences. From there, click on Apple ID and select iCloud. In the iCloud pane, you’ll see a list of services that are currently enabled. To sign out, simply click on the “Sign Out” button. You’ll be prompted to choose whether you want to keep a copy of your iCloud data on your Mac. If you have already backed up your data, you can choose to remove the data from your Mac. Enter your Apple ID password when prompted, and your MacBook Pro will sign out of iCloud.
- iMessage: If you use iMessage on your MacBook Pro, it’s important to sign out of your account to ensure that your messages are not tied to the device. Open the Messages app, go to Preferences, and click on the “Accounts” tab. Select your iMessage account, then click on the “Sign Out” button.
- Other Services: In addition to iCloud and iMessage, you may be signed in to other services such as iTunes, App Store, and FaceTime. To sign out of these services, click on the Apple menu, select System Preferences, and choose the relevant service. Look for the option to sign out or deactivate your account, and follow the on-screen instructions.
By signing out of iCloud and other services, you ensure a seamless factory reset process and prevent any account-related issues. It’s essential to disconnect your MacBook Pro from your accounts before proceeding to the next steps.
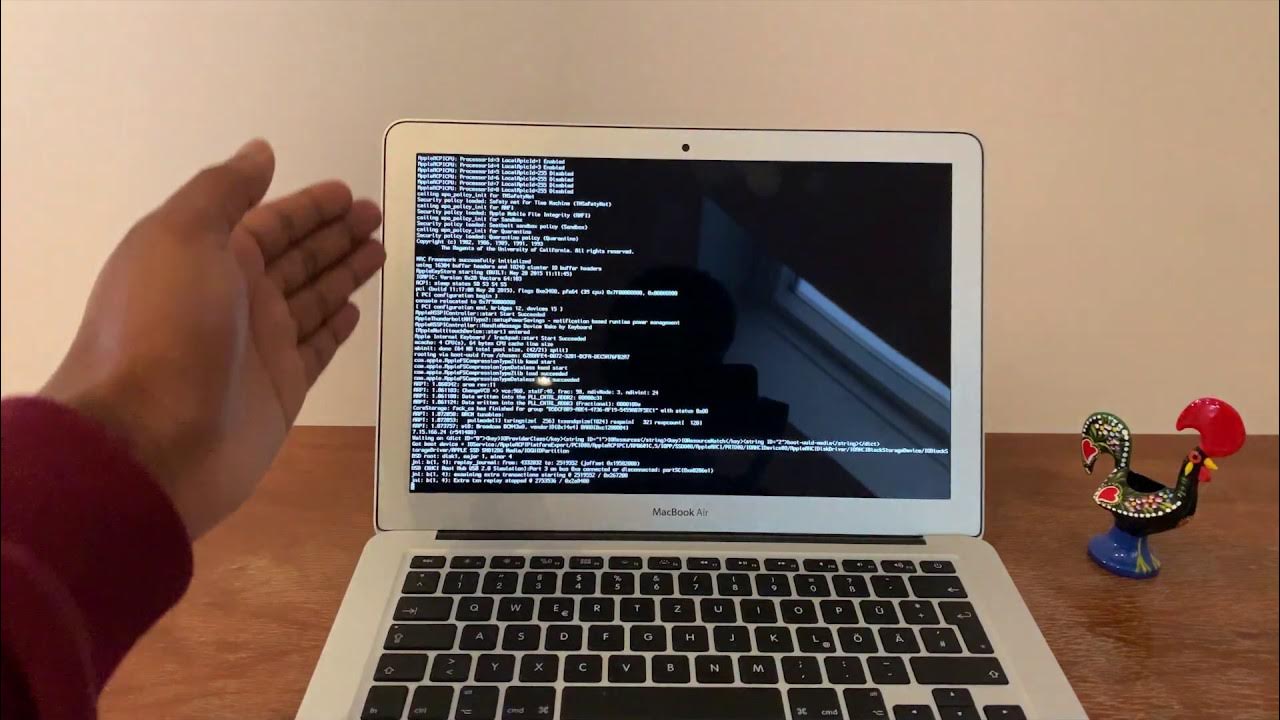
Step 3: Restart Your Mac in Recovery Mode
To initiate the factory reset process on your MacBook Pro, you’ll need to restart your device in Recovery Mode. Recovery Mode is a built-in macOS feature that provides various tools for repairing and reinstalling the operating system. Follow these steps to restart your Mac in Recovery Mode:
- Shut down your MacBook Pro: Click on the Apple menu and select “Shut Down” to turn off your device.
- Start your Mac in Recovery Mode: Press and hold the power button, then press and hold the Command (⌘) and R keys simultaneously. Continue holding the buttons until you see the Apple logo or a spinning globe icon. This indicates that your MacBook Pro is starting up in Recovery Mode.
- Connect to the internet (if necessary): Depending on your network setup, you may be prompted to connect to a Wi-Fi network. Follow the on-screen instructions to connect if needed. Connecting to the internet allows you to download the necessary files for the factory reset.
- Launch Disk Utility: In the macOS Utilities window, select “Disk Utility,” then click on the “Continue” button. Disk Utility is a powerful tool that allows you to manage and format your Mac’s hard drive.
By restarting your MacBook Pro in Recovery Mode, you gain access to vital tools needed for the factory reset process. The next step involves erasing your Mac’s hard drive, which we’ll cover in the following section.
Step 4: Erase Your Mac’s Hard Drive
Once you’ve accessed Disk Utility in Recovery Mode, it’s time to erase your Mac’s hard drive. This step ensures that all data is completely removed, preparing your MacBook Pro for a clean installation of macOS. Follow the instructions below to erase your Mac’s hard drive:
- Select your Mac’s internal drive: In Disk Utility, you’ll see a list of available drives on the left sidebar. Select your Mac’s internal drive (most likely labeled “Macintosh HD” or “Macintosh SSD”).
- Click on Erase: At the top of the Disk Utility window, you’ll find the “Erase” button. Click on it to access the erase options.
- Choose a format and name: In the erase options, you’ll be prompted to choose a format for your hard drive. For most users, the recommended format is “APFS” or “Mac OS Extended (Journaled).” Give your hard drive a name or keep the default name, then click on the “Erase” button.
- Confirm the erase: You’ll be presented with a warning that erasing your Mac’s hard drive will delete all data. Double-check that you have backed up all important files, then click “Erase” to confirm and proceed with the erasing process. This process may take a while, so be patient.
- Close Disk Utility: Once the erase process is complete, you can close the Disk Utility window. This will bring you back to the macOS Utilities window.
By erasing your Mac’s hard drive, you are wiping all data and preparing the device for a fresh installation of macOS. In the next step, we will guide you through the process of reinstalling macOS on your MacBook Pro.
Step 4.1: Securely Erasing Data (Optional)
While erasing your Mac’s hard drive in the previous step ensures that your data is no longer accessible, some users may require an extra level of security. In this optional step, we will guide you through the process of securely erasing your data, making it much more difficult for anyone to recover your personal information. Follow the instructions below if you prefer to securely erase your data:
- Open Disk Utility in Recovery Mode: Restart your MacBook Pro and hold down the Command (⌘) and R keys until you see the Apple logo or a spinning globe icon. Once in Recovery Mode, select “Disk Utility” from the macOS Utilities window.
- Select your Mac’s internal drive: In Disk Utility, select your Mac’s internal drive from the list on the left sidebar.
- Click on Erase: At the top of the Disk Utility window, click on the “Erase” button.
- Select “Security Options”: In the erase options, you’ll find a button labeled “Security Options.” Click on it to access the settings for securely erasing your data.
- Choose an erasure method: In the Security Options window, you’ll see different levels of security for erasing your data. The most secure option is “Most Secure,” but keep in mind that it will take longer to complete. Choose the option that aligns with your need for security.
- Start the secure erase: Once you’ve selected your desired security level, click on the “OK” button to proceed. You will be prompted to confirm the action, so double-check that you have a backup of any important data before proceeding. Click “Erase” to start the secure erase process.
- Wait for the process to complete: Securely erasing your data may take a significant amount of time, depending on the size of the drive and the chosen security level. Be patient and allow the process to complete.
- Close Disk Utility: Once the secure erase process is finished, you can close the Disk Utility window and continue with the factory reset process.
By securely erasing your data, you provide an additional layer of protection for your personal information. However, keep in mind that this process will prolong the reset process, so evaluate your needs for security and time accordingly.
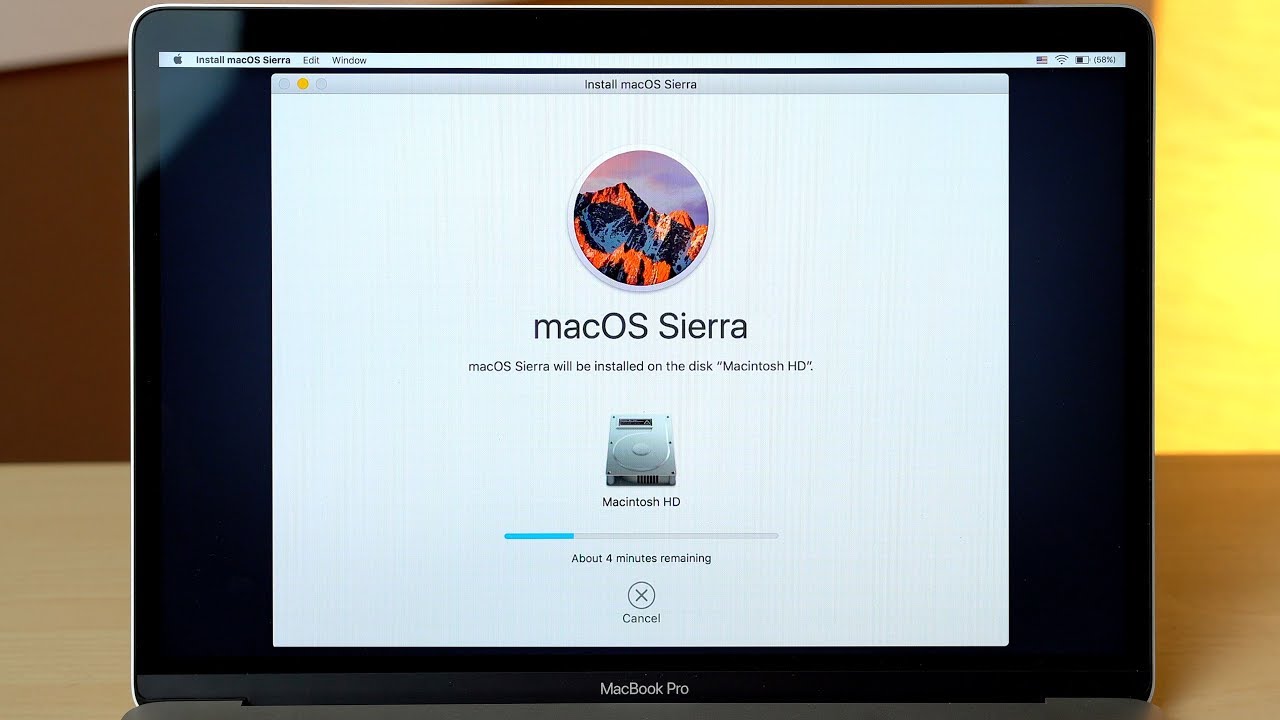
Step 5: Reinstall macOS
With your Mac’s hard drive erased, it’s time to reinstall macOS on your MacBook Pro. Follow the steps below to complete the reinstallation process:
- Open macOS Utilities: Once you have closed Disk Utility, you will be back in the macOS Utilities window. From here, select “Reinstall macOS” and click on the “Continue” button. This will initiate the reinstallation process.
- Choose your installation disk: You will be prompted to select the disk where you want to install macOS. Select your Mac’s internal drive and click on the “Install” button.
- Wait for the installation: The reinstallation process may take some time, depending on your internet connection and the version of macOS you are installing. Be patient and allow the installation to complete.
- Set up macOS: Once macOS is installed, your MacBook Pro will automatically restart. Follow the on-screen instructions to set up macOS, including selecting your region, language, and creating a user account. You can also choose to migrate data from a Time Machine backup, if applicable.
- Continue with the setup process: Once you have completed the initial setup, your MacBook Pro should boot into the fresh installation of macOS. Follow the on-screen prompts to complete the setup process, such as signing in with your Apple ID and enabling necessary features like iCloud, Siri, and FileVault.
Once the macOS reinstallation is complete, your MacBook Pro will be restored to its original factory settings. All your files and personal information will be erased, providing a clean slate for you to use or sell your device.
Step 6: Restore Your Data from Backup
Now that you have successfully completed the factory reset and reinstalled macOS on your MacBook Pro, it’s time to restore your data from the backup you created earlier. Follow the steps below to restore your data:
- Connect your backup device: If you backed up your data using an external hard drive, USB flash drive, or Time Machine, connect the device to your MacBook Pro.
- Open Migration Assistant: In the macOS Utilities window, select “Restore from Time Machine Backup” or “Migrate Data from Another Mac” and click on the “Continue” button. This will launch Migration Assistant, a tool that helps transfer your files and settings from the backup.
- Select your backup source: In Migration Assistant, you’ll be prompted to select the source of your backup. Choose the appropriate option based on your backup method, such as “From a Mac, Time Machine backup, or startup disk.” Click on the “Continue” button to proceed.
- Select the files to restore: Migration Assistant will scan your backup source and display a list of files and data that can be restored. Choose the files and settings you want to restore to your MacBook Pro. You can select specific files or opt for a full restore. Click on the “Continue” button to start the restoration process.
- Wait for the restoration to complete: Migration Assistant will copy the selected files and settings from the backup to your MacBook Pro. This process may take some time, depending on the size of your backup and the speed of your connection or device.
- Complete the setup: Once the restoration is finished, you will be prompted to complete the setup of your MacBook Pro, including signing in to your user account and configuring any additional settings. Follow the on-screen instructions to finalize the setup.
After completing these steps, your data will be restored from the backup, and you can access your files and settings as they were before the factory reset. Take a moment to double-check that all your important files and data are present and accessible as expected.
Conclusion
Congratulations! You have successfully completed the factory reset process on your MacBook Pro. By following the steps outlined in this guide, you have erased your Mac’s hard drive, reinstalled macOS, and restored your data from a backup. Your MacBook Pro is now ready for a fresh start or ready to be passed on to a new owner.
It’s important to remember that performing a factory reset is a significant step that should be approached with caution. Make sure to back up all important files and data before starting the process, as the reset will permanently erase everything on your MacBook Pro.
Throughout this guide, we have covered each step in detail, from backing up your data and signing out of iCloud to restarting in Recovery Mode, erasing your hard drive, reinstalling macOS, and restoring your data. Following these steps ensures a smooth and successful factory reset process.
Once your MacBook Pro is reset, you can tailor the device to your preferences again, installing the necessary apps, setting up email accounts, and customizing your settings. Take the opportunity to start with a clean slate and optimize your device for your specific needs.
Remember, if you encounter any difficulties or have further questions, consult the official Apple support resources or seek assistance from an authorized service provider. They can provide additional guidance and support throughout the process.
Thank you for choosing this guide as your resource for performing a factory reset on your MacBook Pro. We hope this guide has been helpful to you and wish you the best with your refreshed device!