Introduction
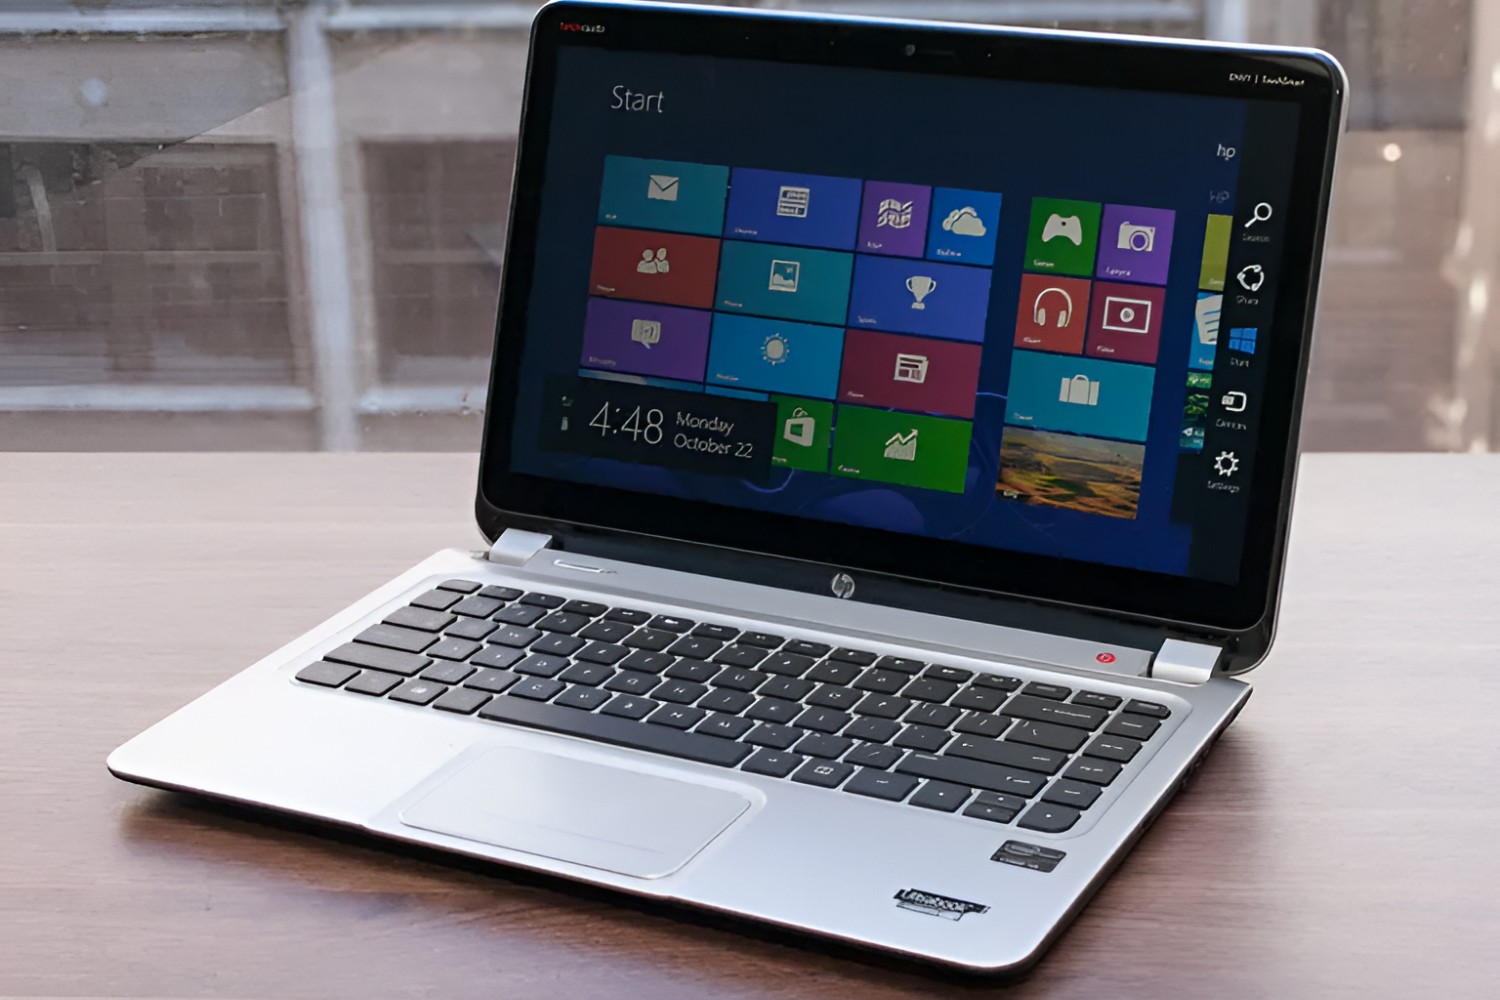
The HP Envy TouchSmart 23 All-In-One PC is a powerful and versatile device, perfect for both work and leisure activities. However, over time, you may find the need to replace the hard drive to increase storage capacity or resolve any issues that may have arisen. If you’re new to computer hardware repairs, don’t worry! In this guide, we will walk you through the step-by-step process of replacing the hard drive in the HP Envy TouchSmart 23 All-In-One PC.
Swapping out the hard drive is a relatively straightforward task, and with the right tools and a little patience, you’ll have your PC up and running with a new hard drive in no time. Before you begin, it’s important to ensure you have the necessary tools and supplies. Additionally, backing up any important files or data is highly recommended, as the process of replacing the hard drive may result in data loss.
Throughout this guide, we’ll provide detailed instructions and helpful tips to make the process as smooth as possible. We’ll cover everything from powering down the PC and removing the back cover to connecting the new hard drive and reinstalling the operating system. By the end of this tutorial, you’ll be equipped with the knowledge and confidence to successfully replace the hard drive in your HP Envy TouchSmart 23 All-In-One PC.
Step 1: Gather the necessary tools and supplies
Before you begin replacing the hard drive in your HP Envy TouchSmart 23 All-In-One PC, it’s essential to gather all the required tools and supplies. Having everything prepared in advance will make the process smoother and more efficient. Here’s a list of items you’ll need:
- Replacement hard drive: Make sure to purchase a compatible hard drive that meets your storage needs. It should match the specifications of the previous hard drive.
- Screwdriver set: You’ll need a Phillips head screwdriver to remove and install screws throughout the process. Ensure you have the appropriate size that fits the screws in your PC.
- Anti-static wrist strap: This wrist strap helps discharge any static electricity from your body, preventing damage to sensitive components of the PC.
- Microfiber cloth: Use a soft, lint-free microfiber cloth to clean any dust or smudges from the screen and other surfaces.
- Clean and well-lit workspace: Find a suitable area to work on where you have ample space and good lighting to see the components clearly.
- Backup storage device: Before removing the old hard drive, it’s crucial to back up all your important files and data to another storage device, such as an external hard drive or a cloud service. This step ensures you don’t lose any valuable information during the replacement process.
As you gather these tools and supplies, double-check that you have everything on hand. It’s frustrating to start the task only to realize you’re missing a crucial item. Once you’ve confirmed you have all the necessary equipment, you’re ready to proceed to the next steps in replacing the hard drive in your HP Envy TouchSmart 23 All-In-One PC.
Step 2: Power down and unplug the HP Envy TouchSmart 23 All-In-One PC
Before you begin replacing the hard drive in your HP Envy TouchSmart 23 All-In-One PC, it’s crucial to power down the system and unplug it from the electrical outlet. This step ensures your safety and prevents any damage to the computer or the new hard drive during the installation process. Here’s how to proceed:
- Save and close any open programs: Before shutting down your PC, make sure to save any unsaved work and close all running programs.
- Shut down the computer: To power down your HP Envy TouchSmart 23, click on the Start button in the bottom-left corner of the screen. From the Start menu, select the Power option and then click on Shutdown.
- Unplug the power cord: Once the PC has shut down completely and the screen is black, locate the power cord connected to the back of the computer. Gently unplug it from the electrical outlet.
- Disconnect any peripherals: If you have any external devices connected to your PC, such as a printer or a USB hub, disconnect them from the computer. This step ensures a safer and easier removal of the back cover in the following steps.
After completing these steps, take a moment to double-check that the HP Envy TouchSmart 23 is not plugged into any power sources and all peripherals are disconnected. This precautionary measure eliminates any risk of electric shock during the hard drive replacement process. Once you’re confident that the PC is powered down and unplugged, you’re ready to proceed to the next step of removing the back cover to access the internals of the computer.
Step 3: Remove the back cover of the PC
With the HP Envy TouchSmart 23 All-In-One PC powered down and unplugged, you can now proceed to remove the back cover of the computer. The back cover provides access to the internal components, including the hard drive. Follow these steps to safely remove the cover:
- Lay the PC on a soft, non-abrasive surface: Place a soft cloth or towel on your workspace to protect the screen and prevent scratches. Gently lay the HP Envy TouchSmart 23 face down on the cloth.
- Locate and remove the screws: Look for the screws that secure the back cover of the PC. They are typically located around the edges, and there may be several of them. Use a Phillips head screwdriver to carefully remove each screw and set them aside in a safe place.
- Use a pry tool to release the clips: Once the screws are removed, you’ll need to gently pry open the back cover. To avoid damaging the cover or any internal components, use a plastic or nylon pry tool. Carefully insert the tool into the seam between the back cover and the main body of the PC. Apply gentle pressure to release the clips holding the cover in place.
- Lift off the back cover: With the clips released, carefully lift off the back cover of the HP Envy TouchSmart 23. Take your time and ensure you don’t force or bend the cover. Set it aside in a safe location.
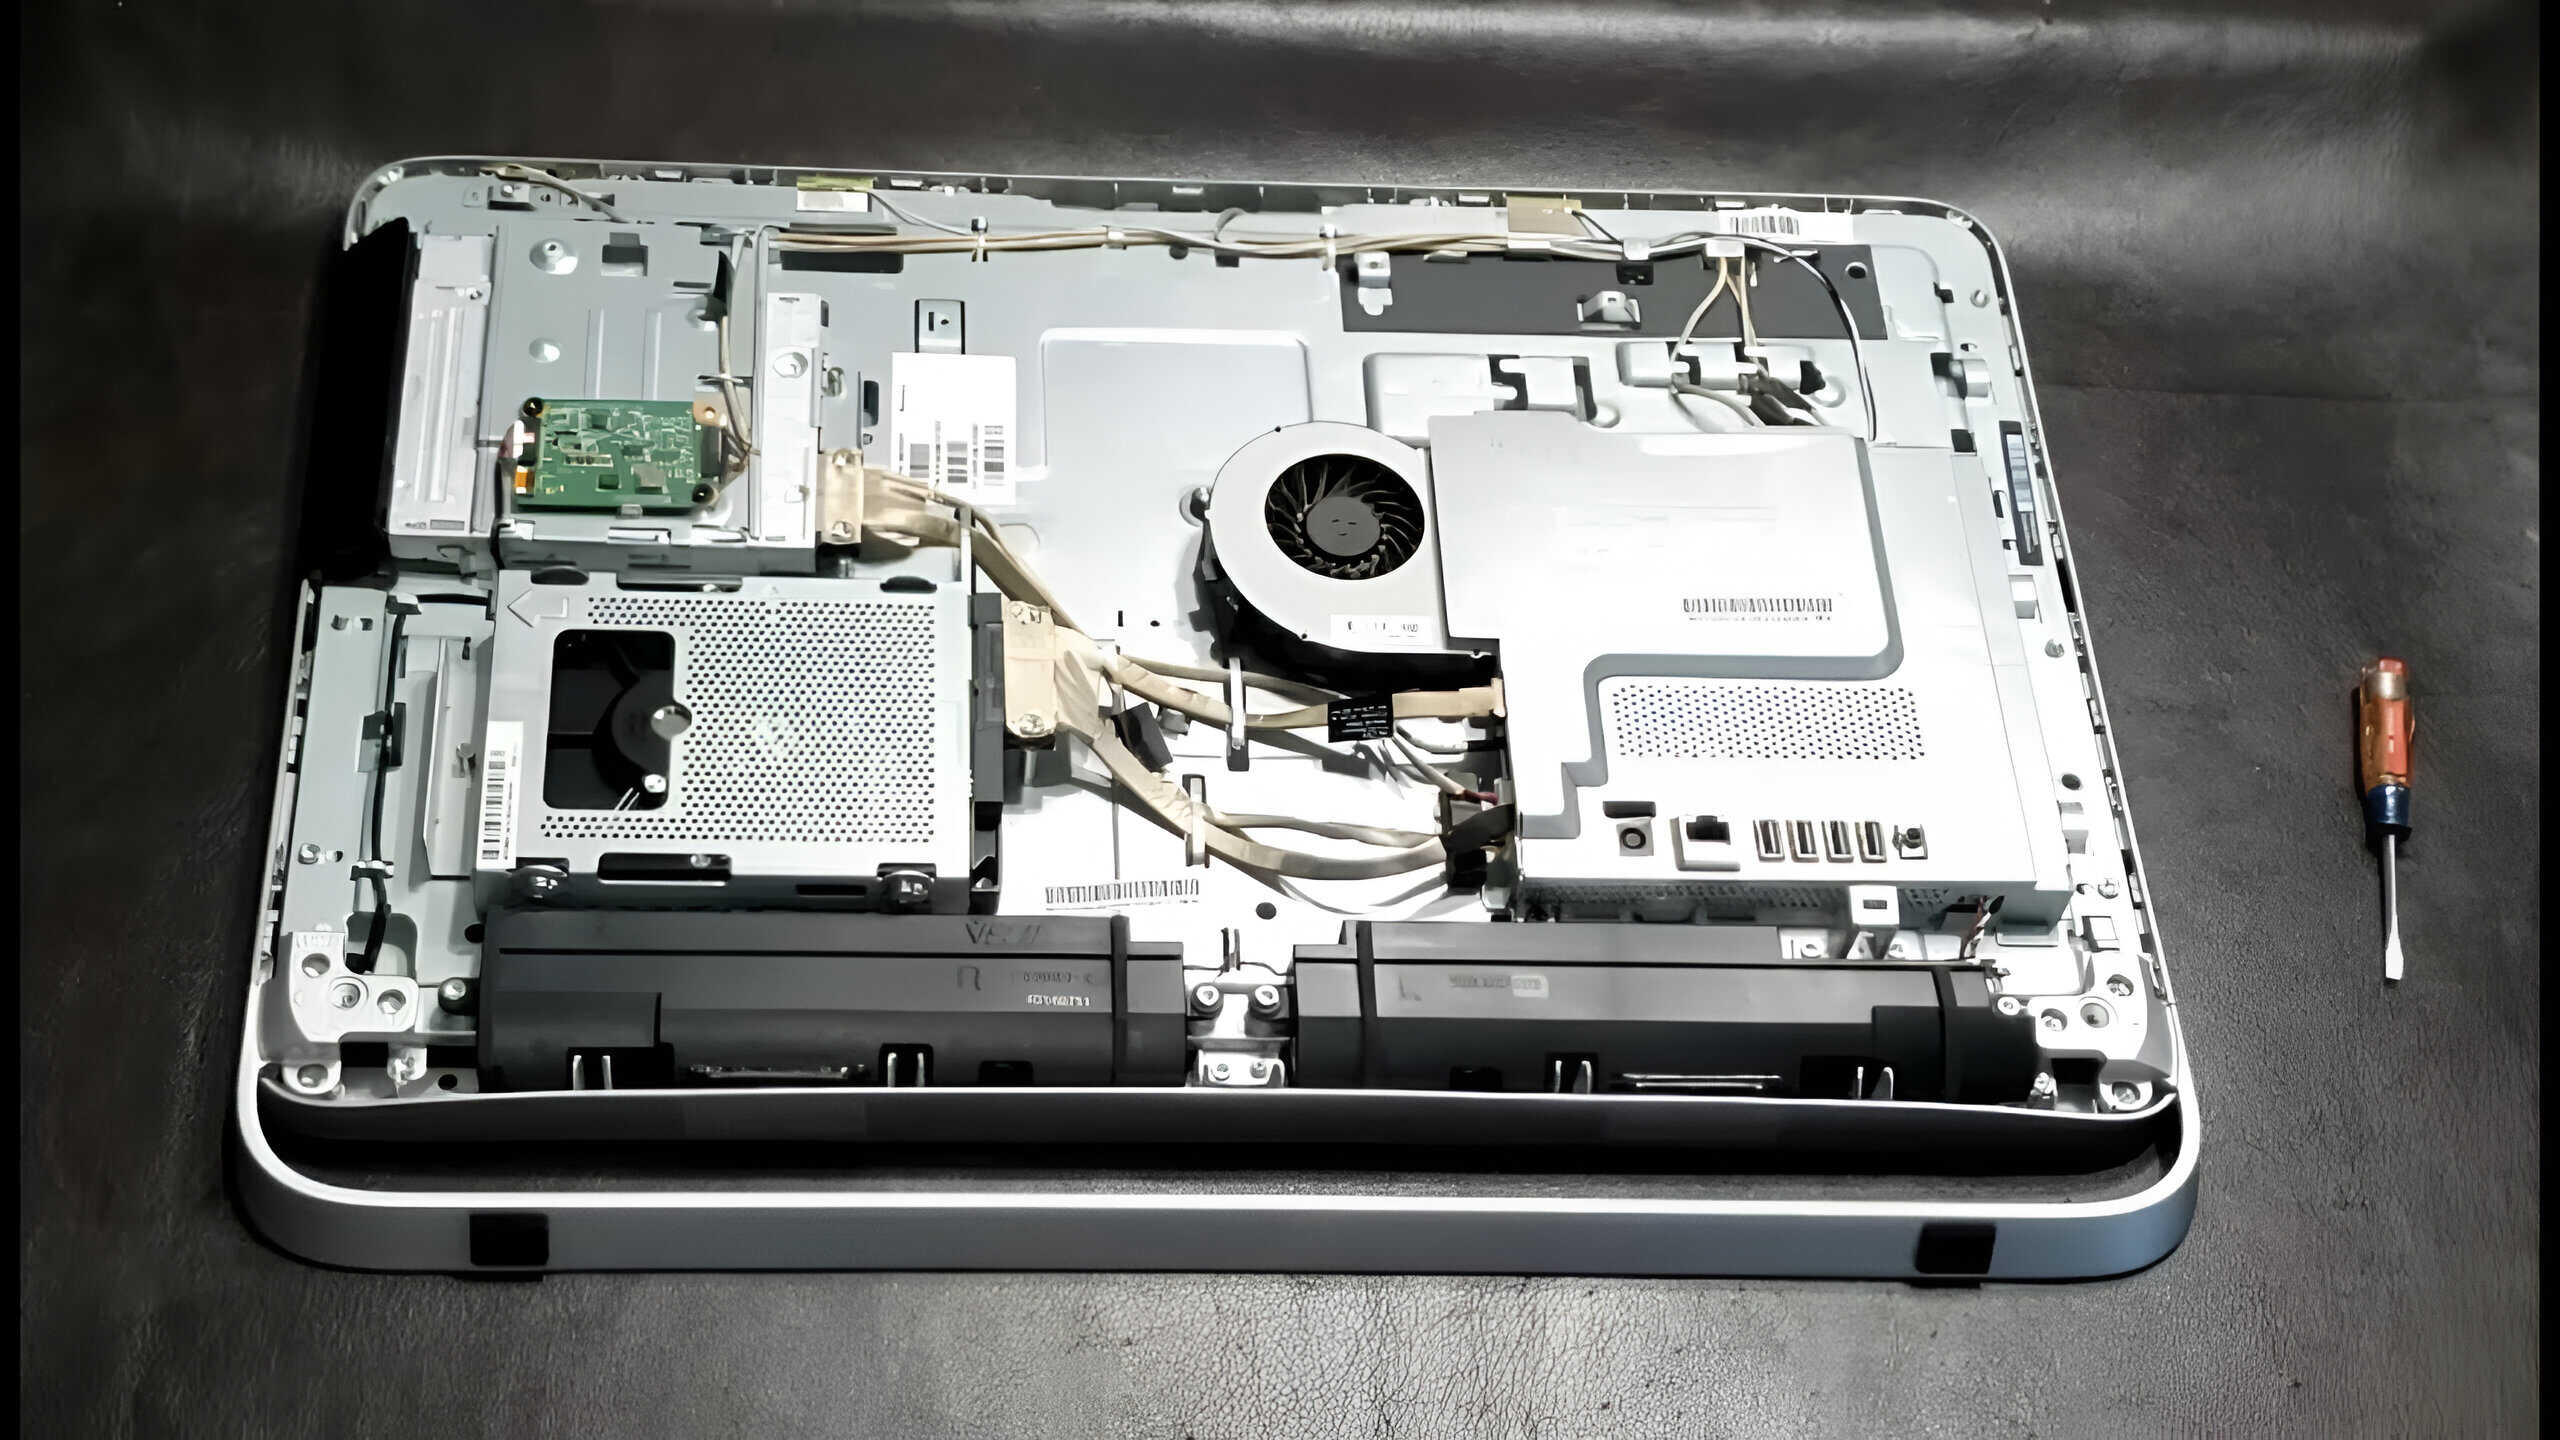
Once the back cover is removed, you’ll have a clear view of the internal components, including the existing hard drive. However, be cautious not to touch any exposed components or cables, as they may be sensitive and prone to damage. In the following steps, we’ll guide you through safely disconnecting the hard drive cables and replacing the hard drive in your HP Envy TouchSmart 23 All-In-One PC.
Step 4: Locate and disconnect the hard drive cables
Now that you have successfully removed the back cover of the HP Envy TouchSmart 23 All-In-One PC, it’s time to locate the hard drive and disconnect its cables. The hard drive is usually located towards the bottom of the PC’s chassis. Follow these steps to safely disconnect the hard drive cables:
- Identify the existing hard drive: Look for a rectangular-shaped component with cables connected to it. This is the hard drive. Take note of how it is positioned and connected.
- Disconnect the SATA data cable: Locate the SATA data cable, which connects the hard drive to the motherboard. It’s a thin, flat cable with a small connector on each end. Gently pull the connector away from the hard drive, ensuring even pressure on both sides until it is completely detached.
- Disconnect the power cable: Next, you’ll find a power cable plugged into the hard drive. This cable provides the necessary power for the hard drive to function. Carefully unplug the power connector from the hard drive, making sure to apply even pressure and avoid damaging the connector or the drive.
- Set aside the cables: Once both cables are disconnected, set them aside in a safe place. You may need to reuse these cables or replace them with the new hard drive installation.
As you disconnect the cables, it’s important to handle them with care and avoid pulling or bending them forcefully. Take your time and work gently to prevent any damage to the cables or the hard drive. With the cables disconnected, you’re now ready to remove the hard drive from its mounting bracket in the following step.
Step 5: Remove the hard drive from its mounting bracket
With the hard drive cables disconnected, you can now proceed to remove the hard drive from its mounting bracket in the HP Envy TouchSmart 23 All-In-One PC. The mounting bracket securely holds the hard drive in place. Follow these steps to safely remove the hard drive:
- Locate the hard drive bracket: Look for the metal bracket that secures the hard drive. It is usually located near the bottom of the PC and may have screws or clips holding it in position.
- Remove any screws or clips: If the mounting bracket is secured with screws, use your Phillips head screwdriver to carefully remove them. Set the screws aside in a safe place. If there are any clips holding the bracket in place, gently release them by applying light pressure.
- Slide the hard drive out of the bracket: Once the screws or clips are removed, you can slide the hard drive out of the mounting bracket. Hold the hard drive from the sides and gently pull it away from the bracket, making sure not to force it or damage any nearby components.
- Set the hard drive aside: Once the hard drive is out of the bracket, place it in a safe and clean location. It’s always a good idea to keep the hard drive in an anti-static bag or on an anti-static mat to prevent any potential damage from static electricity.
Be attentive and ensure you don’t misplace any screws or lose any clips as you remove the hard drive from its mounting bracket. Take your time to handle the components delicately and avoid unnecessary force. With the hard drive removed from the bracket, you’re now ready to install the new hard drive into the same mounting bracket in the upcoming steps.
Step 6: Install the new hard drive into the mounting bracket
With the old hard drive removed, it’s time to install the new hard drive into the mounting bracket of your HP Envy TouchSmart 23 All-In-One PC. Follow these steps to safely and securely install the new hard drive:
- Align the new hard drive: Take the new hard drive and align it with the brackets inside the PC. Ensure that the connectors on the hard drive are facing towards the back of the PC.
- Slide the hard drive into the bracket: Gently slide the new hard drive into the mounting bracket, making sure it fits properly. Be careful not to force the hard drive or damage any nearby components.
- Secure the hard drive: If you removed screws from the old hard drive’s mounting bracket, use those same screws to secure the new hard drive. Tighten them just enough to hold the hard drive securely in place.
- Double-check the connection: Verify that the SATA data and power cables are still disconnected from the motherboard and are not connected to the new hard drive just yet.
Take your time during this step to ensure that the new hard drive is properly aligned with the mounting bracket and securely fastened. Double-check that the connections are still disconnected to avoid any accidental data loss or damage to the new hard drive. Once you have successfully installed the new hard drive into the mounting bracket, we’ll move on to reconnecting the hard drive cables in the next step.
Step 7: Reconnect the hard drive cables
After installing the new hard drive into the mounting bracket, it’s time to reconnect the hard drive cables inside your HP Envy TouchSmart 23 All-In-One PC. Follow these steps to ensure a secure and proper connection:
- Locate the SATA data cable: Find the SATA data cable that you disconnected from the old hard drive. It will have a small connector on each end.
- Connect the SATA data cable: Carefully align the connectors on the SATA data cable with the corresponding ports on the new hard drive and the motherboard. Gently push the connectors into place until they are securely attached.
- Locate the power cable: Locate the power cable that you disconnected from the old hard drive. It will have a larger connector on one end.
- Connect the power cable: Align the power cable’s connector with the corresponding port on the new hard drive. Ensure that the connection is secure but avoid using excessive force to prevent any damage.
Make sure that both connections are properly seated and fully inserted. Take a moment to double-check that the cables are connected securely to the new hard drive and the respective ports on the motherboard. A loose connection can cause issues or prevent the system from recognizing the hard drive properly.
With the hard drive cables reconnected, we’re one step closer to completing the replacement process. In the next step, we’ll guide you through the process of replacing the back cover of the HP Envy TouchSmart 23 All-In-One PC.
Step 8: Replace the back cover of the PC
Now that the new hard drive is securely connected, it’s time to replace the back cover of your HP Envy TouchSmart 23 All-In-One PC. Follow these steps to ensure a proper fit and secure enclosure:
- Align the back cover: Take the back cover and align it with the edges of the PC’s chassis. Make sure that all the ports and connectors on the back of the PC match up with the corresponding openings in the cover.
- Push the cover into place: Starting at one corner, gently push the back cover towards the PC. Apply even pressure along the edges while ensuring that the cover slides securely and smoothly into position.
- Secure the cover with screws: Locate the screws that were removed earlier to secure the back cover. Use a Phillips head screwdriver to carefully tighten them back into place. Start with one corner and then move to the remaining screws.
- Double-check the fit: Once all the screws are securely tightened, give the back cover a gentle shake to ensure it is snug and properly fitted. Verify that there are no gaps or loose areas.
Take your time during this step to ensure that the back cover is aligned properly and securely fastened. Be careful not to over-tighten the screws, as it can potentially damage the cover or the chassis. Once you’re confident that the back cover is securely in place, we can move on to the next step of powering up your HP Envy TouchSmart 23 All-In-One PC with the new hard drive.
Step 9: Power up the HP Envy TouchSmart 23 All-In-One PC
With the back cover securely in place, it’s time to power up your HP Envy TouchSmart 23 All-In-One PC and ensure that the new hard drive is properly recognized. Follow these steps to successfully power up your PC:
- Double-check all connections: Before powering on the PC, verify that all cables, including the power cord and any peripherals, are properly connected.
- Plug in the power cord: Locate the power cord that came with your HP Envy TouchSmart 23 and connect it to the PC. Then, plug the other end into a nearby electrical outlet.
- Power on the PC: Press the power button, generally located on the front or side of the computer. The PC will start to boot up, and you should see the HP logo appear on the screen.
- Boot into the BIOS: During the startup process, you may need to press a specific key, such as F2 or Del, to enter the BIOS setup. Consult your PC’s documentation or check the manufacturer’s website for the exact key to access the BIOS.
- Verify the hard drive: Once in the BIOS setup, navigate to the storage device section or a similar option. Confirm that the new hard drive is detected and listed correctly. This ensures that the PC recognizes the new hard drive.
If the new hard drive is detected in the BIOS setup, you can proceed with formatting and installing the operating system. However, if the hard drive is not recognized, double-check the connections and consult the manufacturer’s documentation for troubleshooting steps.
Congratulations! You have successfully powered up your HP Envy TouchSmart 23 All-In-One PC. In the final step, we’ll guide you through formatting and installing the operating system on the new hard drive.
Step 10: Format and install the operating system on the new hard drive
With the new hard drive recognized by the PC, it’s time to format the drive and install the operating system. Follow these steps to successfully format and install the operating system on your HP Envy TouchSmart 23 All-In-One PC:
- Access the boot menu: Restart the PC and access the boot menu by pressing a specific key, such as F12 or Esc, during the startup process. Consult your PC’s documentation or check the manufacturer’s website for the exact key to access the boot menu.
- Select the installation media: When the boot menu appears, use the arrow keys to navigate and select the installation media, such as a USB drive or DVD, that contains the operating system installation files.
- Follow the on-screen instructions: Once you’ve selected the installation media, follow the on-screen instructions to begin the installation process. The steps may vary depending on the operating system you’re installing.
- Format the new hard drive: During the installation process, you’ll be prompted to choose a drive for installation. Select the new hard drive and choose the option to format it. This will erase any existing data on the drive.
- Complete the operating system installation: After formatting the new hard drive, proceed with the installation. Follow the on-screen prompts to select language preferences, enter product keys (if required), and customize any other settings.
- Wait for the installation to complete: The operating system installation process may take some time. Be patient and allow the PC to complete the installation. It will automatically restart once finished.
Once the operating system installation is complete, you’ll have a fresh installation of the operating system on your new hard drive. You can now begin setting up your PC, installing necessary drivers, and transferring backed-up files and data onto the new hard drive.
Congratulations! You have successfully replaced the hard drive and installed the operating system on your HP Envy TouchSmart 23 All-In-One PC. Enjoy your upgraded and reliable storage device!
Conclusion
Replacing the hard drive in your HP Envy TouchSmart 23 All-In-One PC may seem like a daunting task, but with proper guidance and the right tools, it can be accomplished successfully. By following the step-by-step instructions outlined in this guide, you can upgrade your storage capacity or resolve any issues with ease.
Remember to gather all the necessary tools and supplies before starting, and take the time to back up your important files and data to avoid any potential loss during the process. Carefully power down and unplug your PC, remove the back cover, and locate and disconnect the hard drive cables. After that, remove the old hard drive from its mounting bracket and install the new one securely.
With the new hard drive in place, reconnect the cables, replace the back cover, and power up the PC. Verify that the new hard drive is recognized in the BIOS setup and then proceed with formatting and installing the operating system.
Throughout the entire process, be mindful of handling the components delicately and double-checking all connections. If you encounter any difficulties or uncertainties, consult the manufacturer’s documentation or seek professional assistance to ensure a successful replacement.
Remember, replacing the hard drive in your HP Envy TouchSmart 23 All-In-One PC is a valuable skill that can increase storage capacity and improve the performance of your system. By mastering this process, you have the power to upgrade your PC and enhance your computing experience.