Introduction
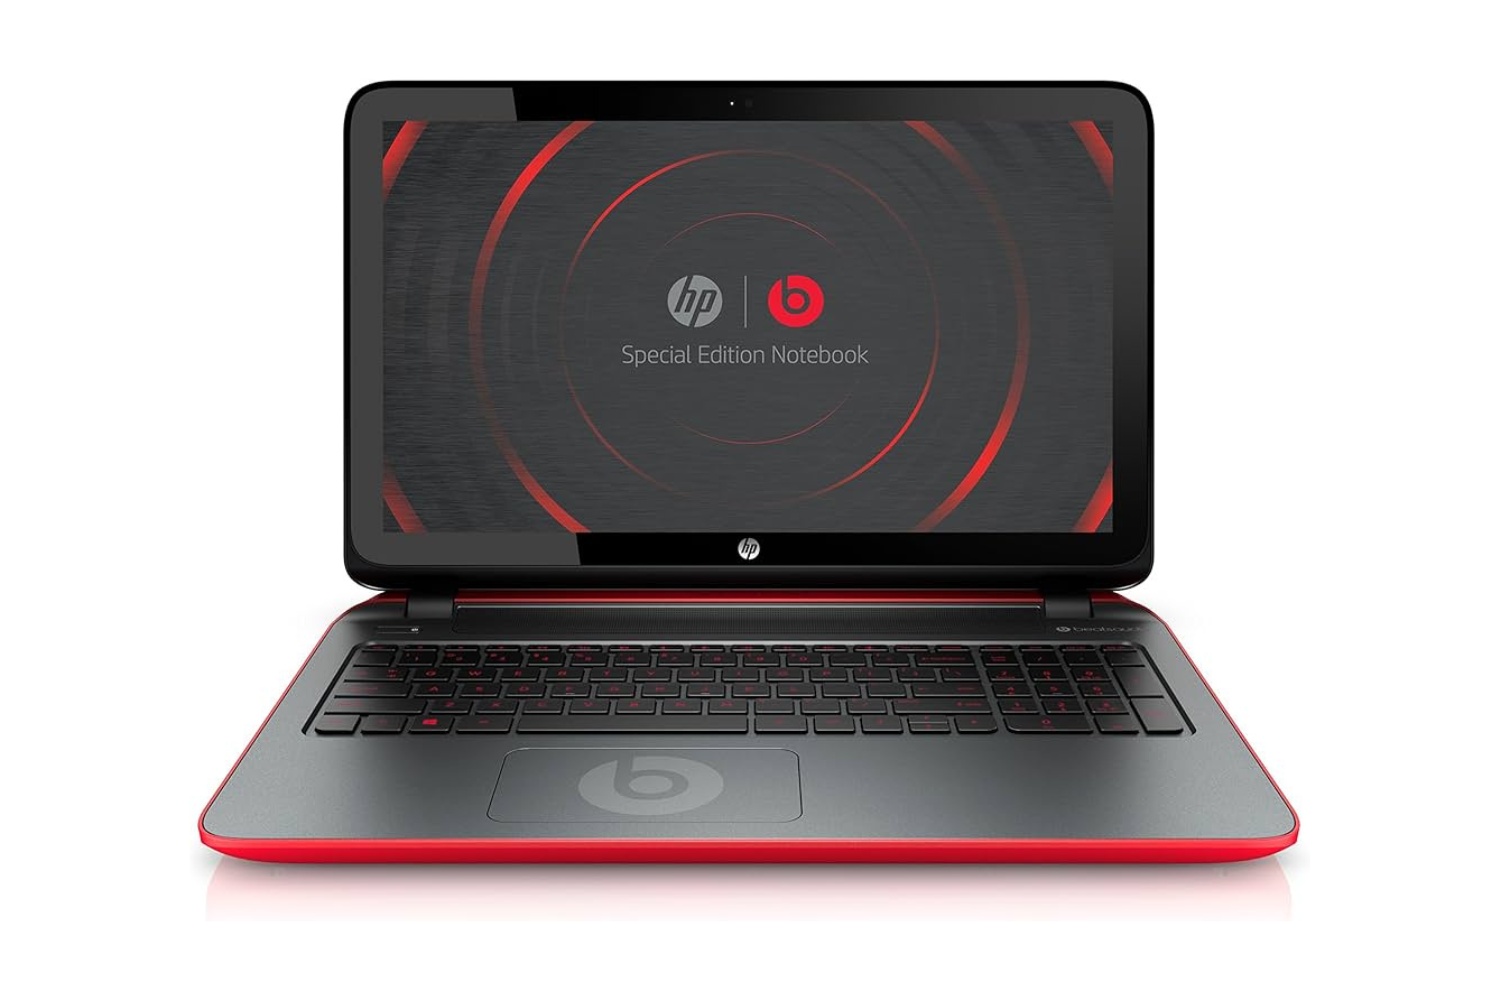
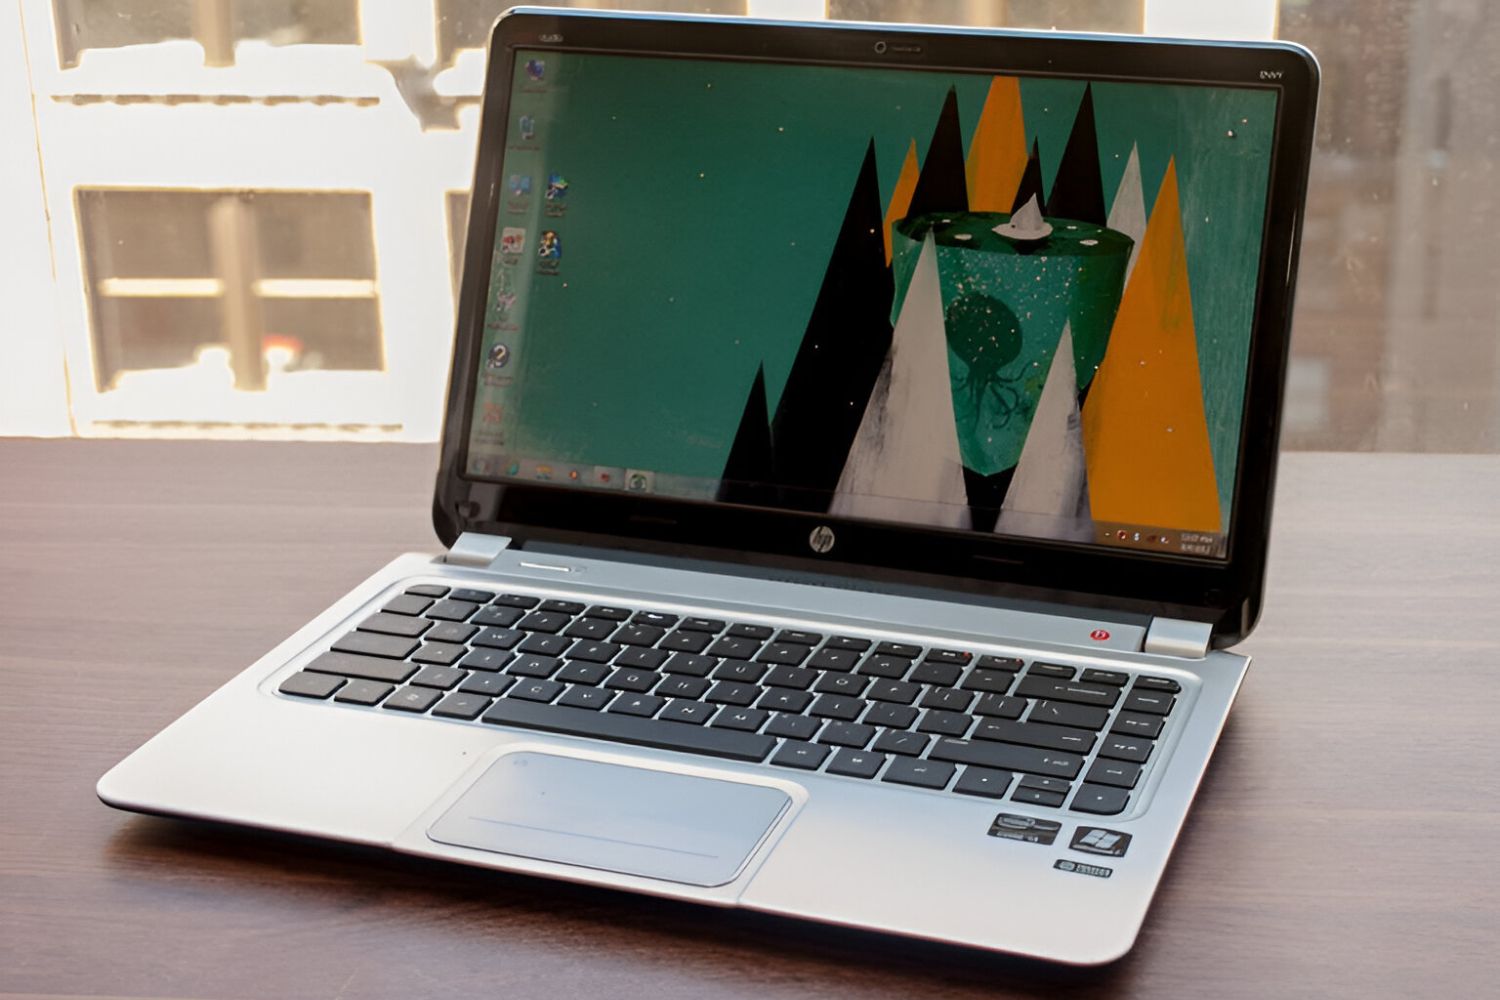
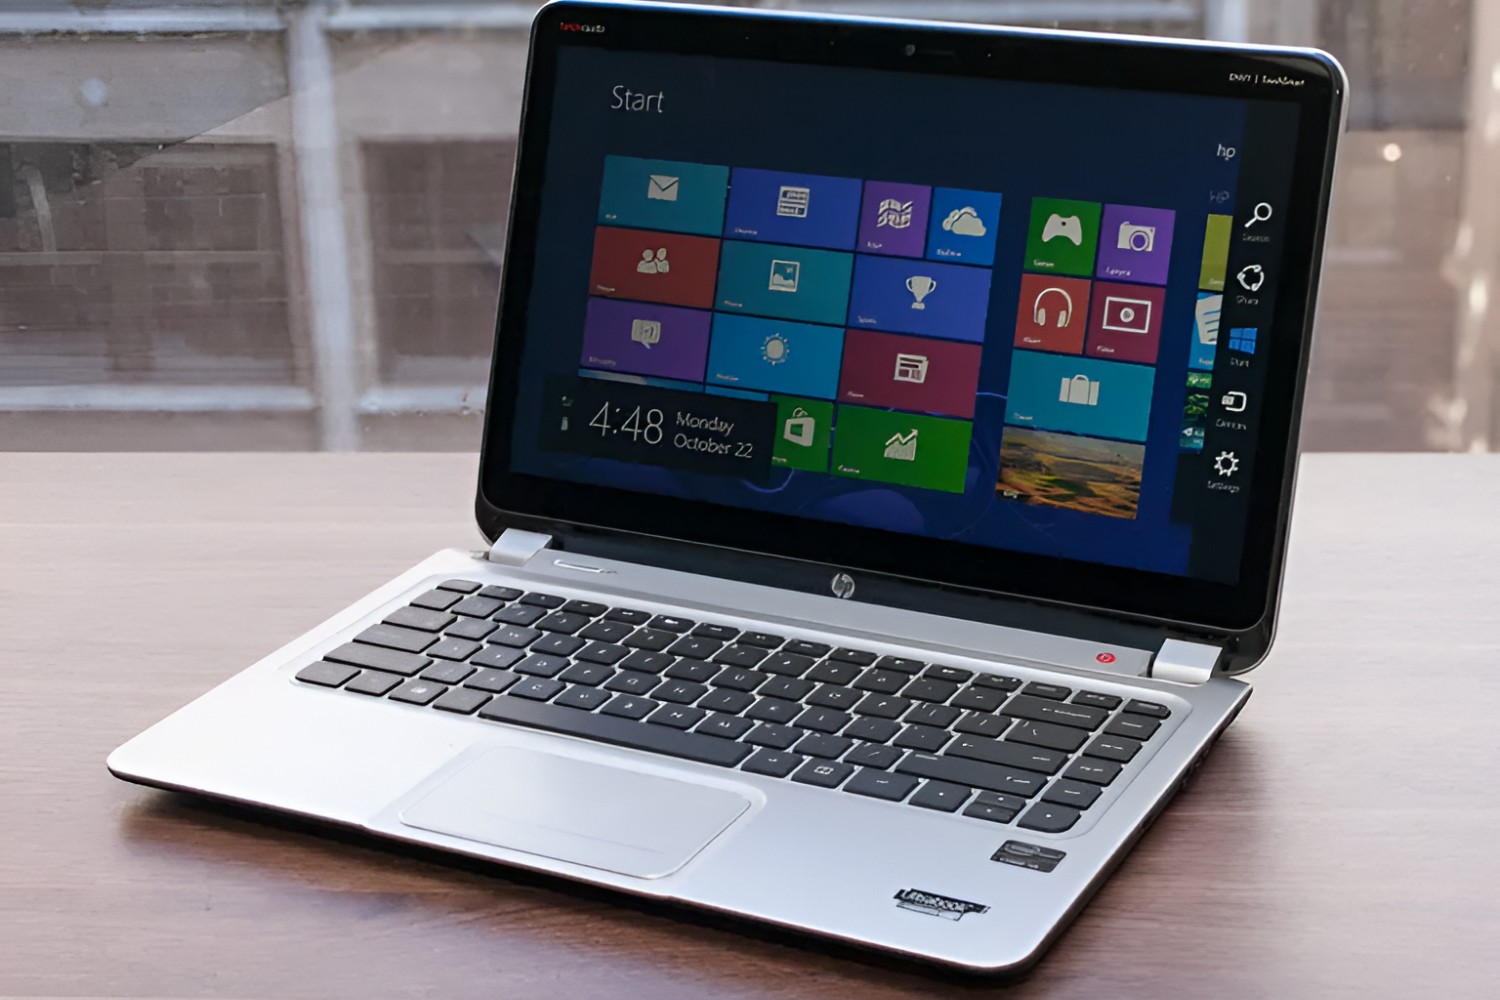
Welcome to our guide on how to reinstall Beats Audio on the HP Envy TouchSmart Ultrabook 4. If you’re a music enthusiast or someone who enjoys a rich multimedia experience, then you’re likely familiar with the incredible audio quality that Beats Audio provides. Developed by Dr. Dre and Jimmy Iovine, Beats Audio technology delivers exceptional sound performance, enhancing the overall audio experience on compatible HP devices.
However, there may be instances where you need to reinstall the Beats Audio driver on your HP Envy TouchSmart Ultrabook 4. This could be due to various reasons, such as a driver conflict, software update issues, or even accidental deletion of the driver files. Whatever the case may be, this guide will walk you through the steps to reinstall Beats Audio and restore the exceptional audio performance you expect from your Ultrabook.
Before we dive into the step-by-step instructions, it’s important to note that these methods are specifically tailored for the HP Envy TouchSmart Ultrabook 4. While the general approach may be similar for other HP devices, it’s always best to consult the official documentation or support resources for your specific model.
In the following sections, we will guide you through each step of the process, from downloading the Beats Audio driver to testing the functionality to ensure everything is working as expected. Let’s proceed to the first step in our journey: downloading the Beats Audio driver.
Step 1: Downloading the Beats Audio driver
The first step in reinstalling Beats Audio on your HP Envy TouchSmart Ultrabook 4 is to download the appropriate driver. To ensure compatibility and optimal performance, it’s crucial to obtain the driver from the official HP website. Here’s how you can do it:
- Open your preferred web browser and navigate to the official HP Support website.
- On the HP Support page, locate the search bar and enter the model number of your HP Envy TouchSmart Ultrabook 4. The model number is usually located on the bottom of the device or on the manufacturer’s sticker.
- Once you’ve entered the model number, click on the search or magnifying glass icon to initiate the search.
- From the search results, find the official support page for your specific model and click on it to access further information and downloads.
- On the support page, look for a section related to drivers or software downloads. This section may vary based on the specific HP model, so make sure to explore all available options.
- In the drivers or software downloads section, locate the Beats Audio driver for your HP Envy TouchSmart Ultrabook 4. It may be listed as “Audio Driver,” “Sound Driver,” or something similar. Click on the download link to initiate the download process.
- Before the driver download commences, you may be prompted to accept the terms and conditions or provide additional information. Follow the on-screen prompts accordingly.
Once the download completes, make sure to save the driver file to a location on your computer that is easily accessible, such as the desktop or a dedicated folder. Now that you have successfully downloaded the Beats Audio driver, we can proceed to the next step: uninstalling the previous driver.
Step 2: Uninstalling the previous Beats Audio driver
Before reinstalling the Beats Audio driver on your HP Envy TouchSmart Ultrabook 4, it is necessary to uninstall the previous driver. This ensures a clean installation and helps resolve any conflicts or issues that may have been causing the audio problems. Here’s how you can uninstall the previous Beats Audio driver:
- Press the Windows key + X on your keyboard to open the Power User menu.
- From the list of options, select Device Manager.
- In the Device Manager window, expand the Sound, video, and game controllers category.
- Locate the Beats Audio driver from the list of audio devices. It may be listed as “Beats Audio” or “IDT High Definition Audio CODEC.”
- Right-click on the Beats Audio driver and select Uninstall device from the context menu. Confirm any prompted dialogs to proceed with the uninstallation process.
- Restart your HP Envy TouchSmart Ultrabook 4 to complete the uninstallation.
After the reboot, the previous Beats Audio driver should be completely removed from your system. You’re now ready to move on to the next step: installing the downloaded Beats Audio driver.
Step 3: Installing the downloaded Beats Audio driver
With the previous Beats Audio driver uninstalled, it’s time to install the downloaded driver to restore the audio functionality on your HP Envy TouchSmart Ultrabook 4. Follow these steps to install the Beats Audio driver:
- Navigate to the location on your computer where you saved the downloaded Beats Audio driver file.
- Double-click on the driver file to initiate the installation process.
- Follow the on-screen prompts to proceed with the installation. You may be required to accept the terms and conditions, choose the installation location, or provide additional information as needed.
- Once the installation is complete, restart your HP Envy TouchSmart Ultrabook 4 to ensure that the changes take effect.
Upon rebooting your Ultrabook, the Beats Audio driver should be successfully installed and ready to enhance your audio experience. To ensure that the installation was successful and everything is working properly, it’s essential to test the Beats Audio functionality, which we’ll cover in the next step.
Step 4: Restarting the computer
After installing the Beats Audio driver on your HP Envy TouchSmart Ultrabook 4, it’s essential to restart the computer to ensure that all changes take effect. Restarting the computer allows the system to initialize the newly installed driver and configure the audio settings accordingly. Here’s how you can restart your computer:
- Save any unsaved work and close all open applications.
- Click on the Start menu and select the Power icon.
- From the Power menu, click on the Restart option.
- Alternatively, you can use the keyboard shortcut by pressing the Ctrl + Alt + Del keys simultaneously. Then, select the Restart option from the menu.
Wait for your HP Envy TouchSmart Ultrabook 4 to shut down and restart. It may take a few moments to complete the restart process, so please be patient.
Once the computer has rebooted, the Beats Audio driver will be fully integrated into the system. This ensures that you can now take advantage of the enhanced audio experience offered by Beats Audio on your Ultrabook.
Now, let’s move on to the final step: testing the Beats Audio functionality to ensure everything is working as expected.
Step 5: Testing the Beats Audio functionality
After reinstalling the Beats Audio driver and restarting your HP Envy TouchSmart Ultrabook 4, it’s essential to test the Beats Audio functionality to ensure that everything is working as expected. Here’s how you can test the Beats Audio functionality:
- Play a piece of audio or video content that includes sound on your Ultrabook.
- Pay attention to the audio quality and volume levels. With Beats Audio, you should experience enhanced bass, clearer vocals, and a more immersive audio experience.
- Adjust the volume using the volume controls on your Ultrabook or the keyboard shortcuts designated for volume adjustment.
- Try using headphones or external speakers to see if the Beats Audio enhancements also apply to external audio output devices.
- Test different types of audio content, such as music, movies, and online videos, to ensure that the Beats Audio functionality is consistent across various media platforms.
If you notice any issues with the audio quality or if the Beats Audio enhancements are not applied, you may need to revisit the installation process or consult the official HP support resources for further assistance. Often, updating the audio driver or troubleshooting specific settings can help resolve any audio-related problems.
Congratulations! You have successfully reinstalled Beats Audio on your HP Envy TouchSmart Ultrabook 4 and tested the audio functionality. You can now enjoy a superior audio experience while listening to music, watching movies, or engaging in any multimedia activities on your Ultrabook.
Remember, if you encounter any difficulties during the reinstallation process or need additional support, it’s always recommended to reach out to the official HP support team or consult the product documentation for further guidance.
Conclusion
Reinstalling Beats Audio on your HP Envy TouchSmart Ultrabook 4 is a straightforward process that can significantly enhance your audio experience. Whether you encountered issues with the previous driver or simply want to optimize the audio quality on your Ultrabook, following the steps outlined in this guide will allow you to reinstall the Beats Audio driver and restore the exceptional sound performance.
By downloading the official Beats Audio driver from the HP Support website, uninstalling the previous driver, and installing the new driver, you can ensure a clean and effective installation. Restarting your computer after the installation will enable the system to initialize the driver and configure the audio settings.
Finally, testing the Beats Audio functionality by playing different audio and video content will confirm that the audio enhancements are working as expected. Should you experience any difficulties or require further assistance, don’t hesitate to consult the official HP support resources or contact their dedicated support team.
Reinstalling Beats Audio on your HP Envy TouchSmart Ultrabook 4 will allow you to enjoy an immersive audio experience with enhanced bass, clarity, and richness. So go ahead, follow the steps outlined in this guide, and elevate your audio experience to new heights!


