Introduction
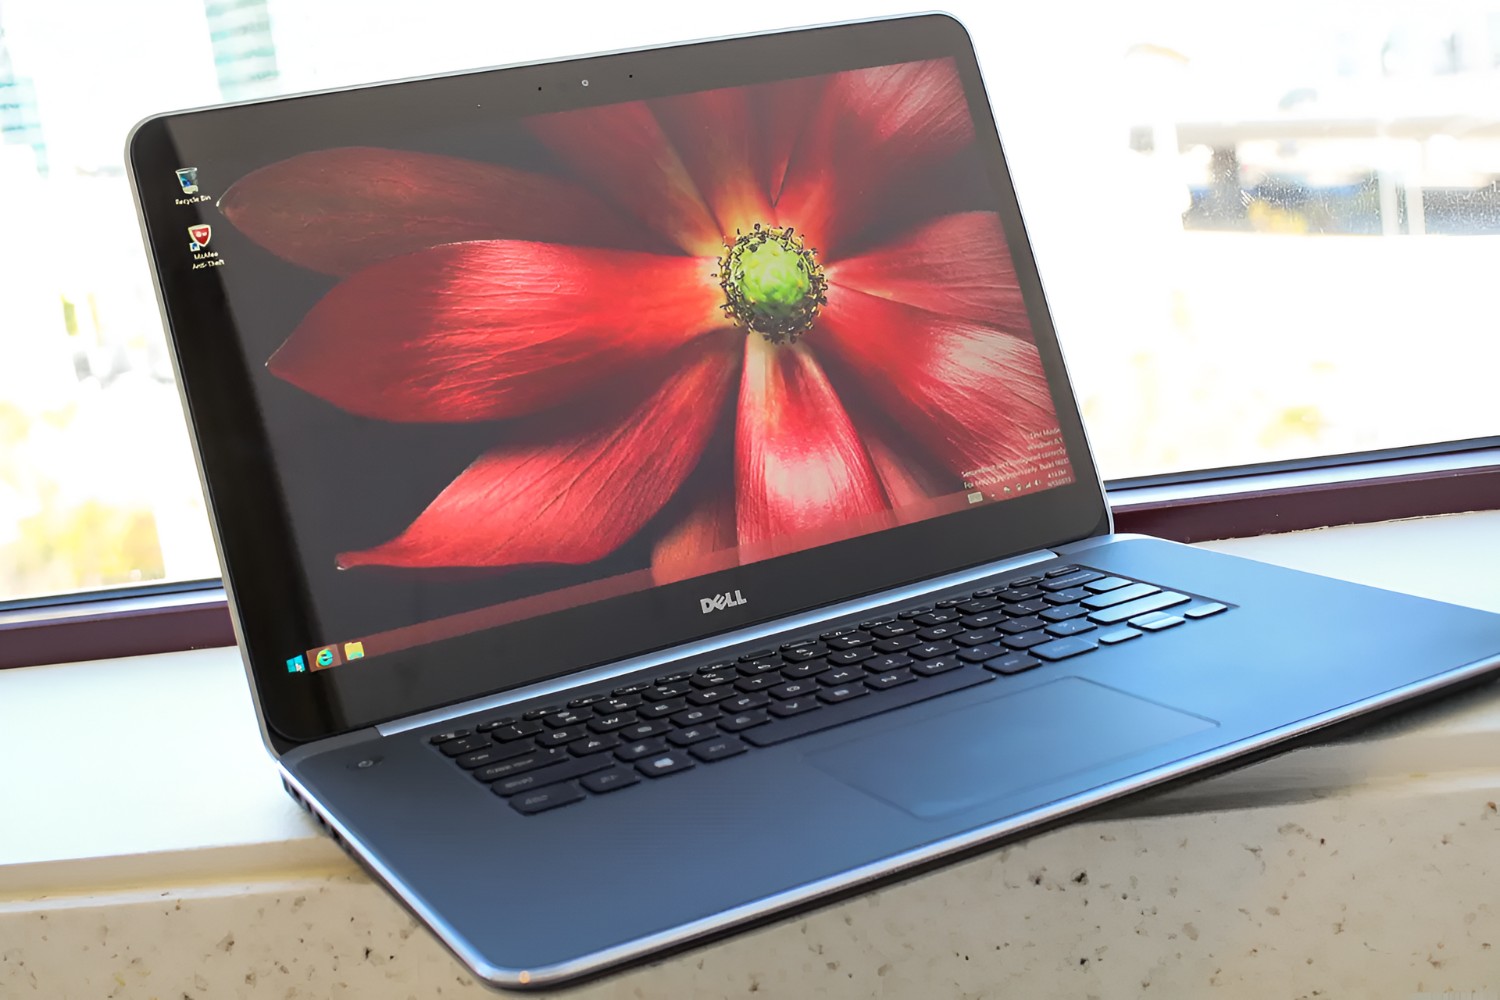
Welcome to the world of Dell Ultrabooks, where sleek design and high-performance technology come together to provide an exceptional user experience. One of the many features that sets these laptops apart is the ability to rotate the screen, giving you the flexibility to view content from different angles. Whether you want to unwind and watch a movie in tablet mode or collaborate with colleagues in tent mode, the screen rotation feature on Dell Ultrabooks makes it all possible.
In this article, we will explore various methods to rotate the screen on your Dell Ultrabook. We will guide you through keyboard shortcuts, display settings, graphics control panel, and graphics driver settings. These methods are easy to follow and require no technical expertise, allowing you to seamlessly switch between landscape and portrait orientations.
Screen rotation can be incredibly useful in a variety of scenarios. For instance, if you prefer reading long articles or e-books in portrait mode, rotating the screen can provide a more comfortable reading experience. Similarly, if you are giving a presentation, rotating the screen to landscape mode can maximize the visibility of your slides to the audience.
Whether you are a student, professional, or casual user, the ability to rotate the screen on your Dell Ultrabook can greatly enhance your productivity and overall user experience. So, let’s dive into the methods and explore how easy it is to rotate the screen on your Dell Ultrabook.
Method 1: Keyboard Shortcut
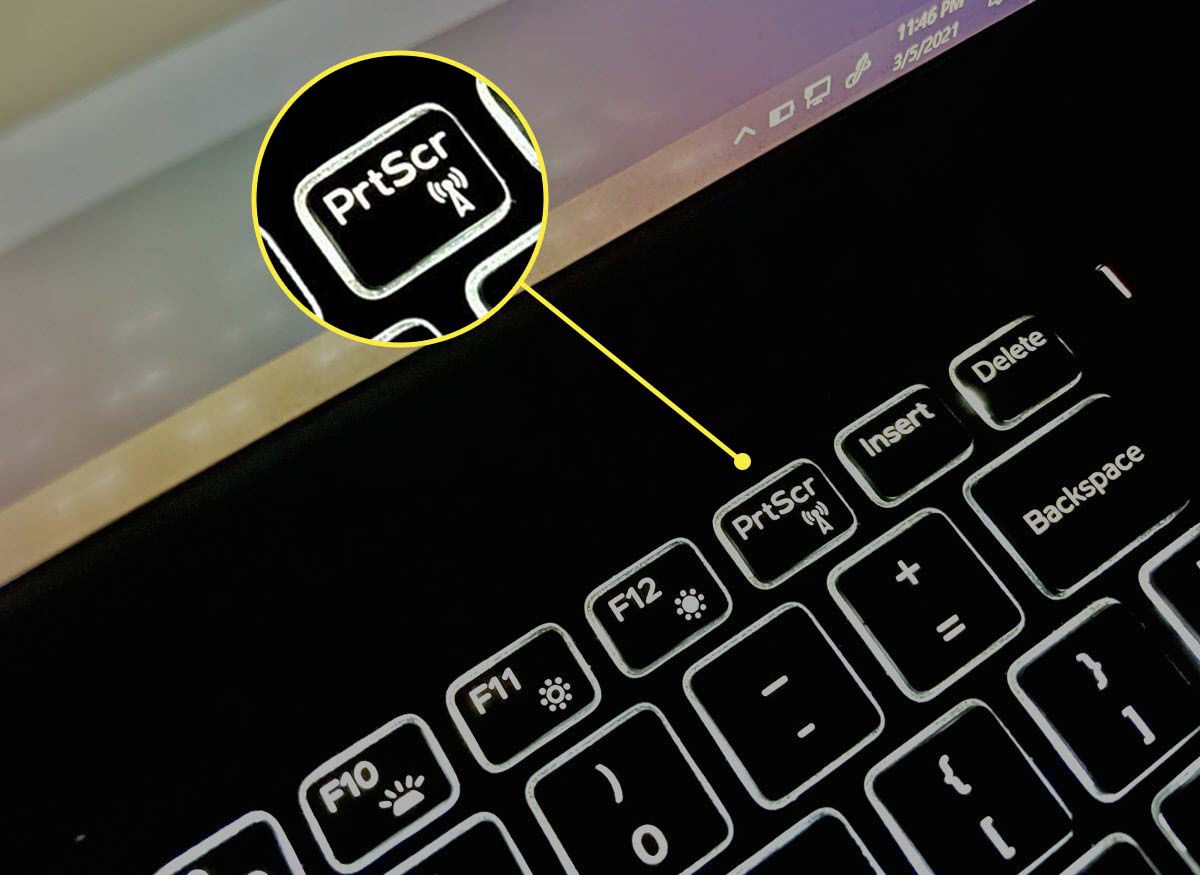
A quick and convenient way to rotate the screen on your Dell Ultrabook is by using a keyboard shortcut. Dell Ultrabooks typically come with a dedicated key combination that allows you to rotate the screen with ease. Here’s how you can do it:
- Make sure you are on the desktop or any open window on your Dell Ultrabook.
- Press and hold the Ctrl and Alt keys on your keyboard.
- While holding down the Ctrl and Alt keys, simultaneously press the arrow key in the direction you want to rotate the screen. For example, press the right arrow key to rotate the screen clockwise, or press the left arrow key to rotate it counterclockwise.
- Release the keys and your screen will rotate accordingly.
It’s important to note that the keyboard shortcuts may vary slightly depending on the Dell Ultrabook model and operating system you are using. If the above keyboard shortcut doesn’t work for you, refer to the user manual or Dell’s support website for the specific key combination for your device.
This method is not only quick and easy but also convenient when you need to rotate the screen on the go. Whether you’re in a meeting, a coffee shop, or working from the comfort of your own home, the keyboard shortcut method allows you to switch screen orientations effortlessly.
Now that you know how to rotate the screen on your Dell Ultrabook using the keyboard shortcut, let’s explore another method that involves adjusting the display settings.
Method 2: Display Settings
If you prefer a more visual approach to rotating the screen on your Dell Ultrabook, you can utilize the display settings. This method allows you to make the screen rotation adjustment through the Windows settings. Follow the steps below to do so:
- Right-click on the desktop of your Dell Ultrabook to open a context menu.
- Select “Display settings” from the menu. This will open the Display settings page in the Windows Control Panel.
- In the Display settings, scroll down to the “Orientation” section.
- Click on the drop-down menu under “Orientation” and select the desired screen orientation, such as “Portrait” or “Landscape”.
- Once you have selected the desired orientation, the screen will automatically rotate accordingly.
By using the display settings, you have the flexibility to choose the exact screen orientation that suits your needs. This method is especially useful when you want to make precise adjustments or if you’re looking to customize the screen orientation based on different activities.
It’s worth mentioning that the display settings method requires you to access the Windows Control Panel. Depending on the version of Windows you are using, the layout and interface may vary slightly. However, the overall process should remain similar.
Now that you’ve mastered the display settings method, let’s move on to another method that involves the graphics control panel for more advanced options.
Method 3: Graphics Control Panel
If you’re looking for more advanced options and fine-tuned control over screen rotation on your Dell Ultrabook, the graphics control panel is the way to go. Dell Ultrabooks often come with dedicated graphics cards that allow you to access the graphics control panel. Here’s how you can use it to rotate the screen:
- Right-click on the desktop and select “Graphics Options” or “Graphics Properties”. This will open the graphics control panel.
- Navigate to the “Display” or “Screen” section within the control panel.
- Look for the option related to screen rotation. It may be labeled as “Rotation”, “Orientation”, or something similar.
- Click on the option and select the desired screen rotation, such as “90 degrees”, “180 degrees”, or “270 degrees”.
- Apply the changes and the screen will rotate according to your selection.
The graphics control panel provides more flexibility and customization options for screen rotation. You can precisely adjust the rotation angle and experiment with different orientations to find the one that best suits your needs.
It’s important to note that the graphics control panel may vary depending on the graphics card installed in your Dell Ultrabook. If you’re unable to locate the graphics control panel or if the options are different, refer to the documentation provided by the graphics card manufacturer or Dell’s support website for further assistance.
Now that you’re familiar with the graphics control panel method, let’s explore the final method that involves adjusting the graphics driver settings.
Method 4: Graphics Driver Settings
If you want even more control over screen rotation on your Dell Ultrabook, you can delve into the graphics driver settings. This method allows you to access advanced options provided by the graphics driver software. Here’s how you can use the graphics driver settings to rotate the screen:
- Right-click on the desktop and select “Graphics Options” or “Graphics Properties” to open the graphics control panel.
- Navigate to the “Advanced” or “Advanced Settings” section within the control panel.
- Look for the option related to screen rotation or orientation. It may be listed under a sub-menu or tab.
- Click on the option and select the desired screen rotation, such as “Clockwise 90 degrees”, “Counterclockwise 90 degrees”, or other available options.
- Apply the changes and the screen will rotate accordingly based on your selection.
The graphics driver settings provide an extensive range of options, allowing you to fine-tune the screen rotation to your exact preferences. You may find additional settings related to color calibration, resolution, and display enhancements in this section as well.
It’s important to note that the graphics driver settings can vary depending on the graphics card and driver version installed on your Dell Ultrabook. If you’re unable to locate the specific options or if the settings are different from what is mentioned here, refer to the graphics card manufacturer’s documentation or visit Dell’s support website for more information.
Congratulations! You now have a comprehensive understanding of various methods to rotate the screen on your Dell Ultrabook. Whether you prefer using keyboard shortcuts, accessing the display settings, utilizing the graphics control panel, or exploring the graphics driver settings, these methods provide you with the flexibility to customize your screen orientation with ease.
Conclusion
Rotating the screen on your Dell Ultrabook is a valuable feature that enhances your user experience and productivity. Whether you need to adjust the screen orientation for reading, presenting, or simply personal preference, the methods outlined in this article offer simple and effective ways to accomplish this task.
We started with the keyboard shortcut method, which allows you to quickly rotate the screen using a combination of keys. This method is ideal for those who prefer a convenient and on-the-go solution.
The display settings method provides a more visual approach, allowing you to easily adjust the screen orientation through the Windows Control Panel. It gives you the freedom to select the precise screen orientation that suits your needs.
For those seeking more advanced options and fine-tuned control, the graphics control panel method offers customization features specific to your Dell Ultrabook’s graphics card. This method is great for users who require precise screen rotation adjustments for their activities.
Last but not least, the graphics driver settings method provides the most comprehensive range of options. It allows you to dive deep into the driver software and fine-tune every aspect of the screen rotation to your exact preferences.
Remember to consult the user manual or Dell’s support website if you encounter any difficulties or if the steps provided in this article don’t align with your specific Dell Ultrabook model and operating system.
With these methods at your disposal, you can easily rotate the screen on your Dell Ultrabook to fit any situation or activity. So, go ahead and experiment with different orientations to find the one that maximizes your viewing pleasure and enhances your productivity.