Introduction
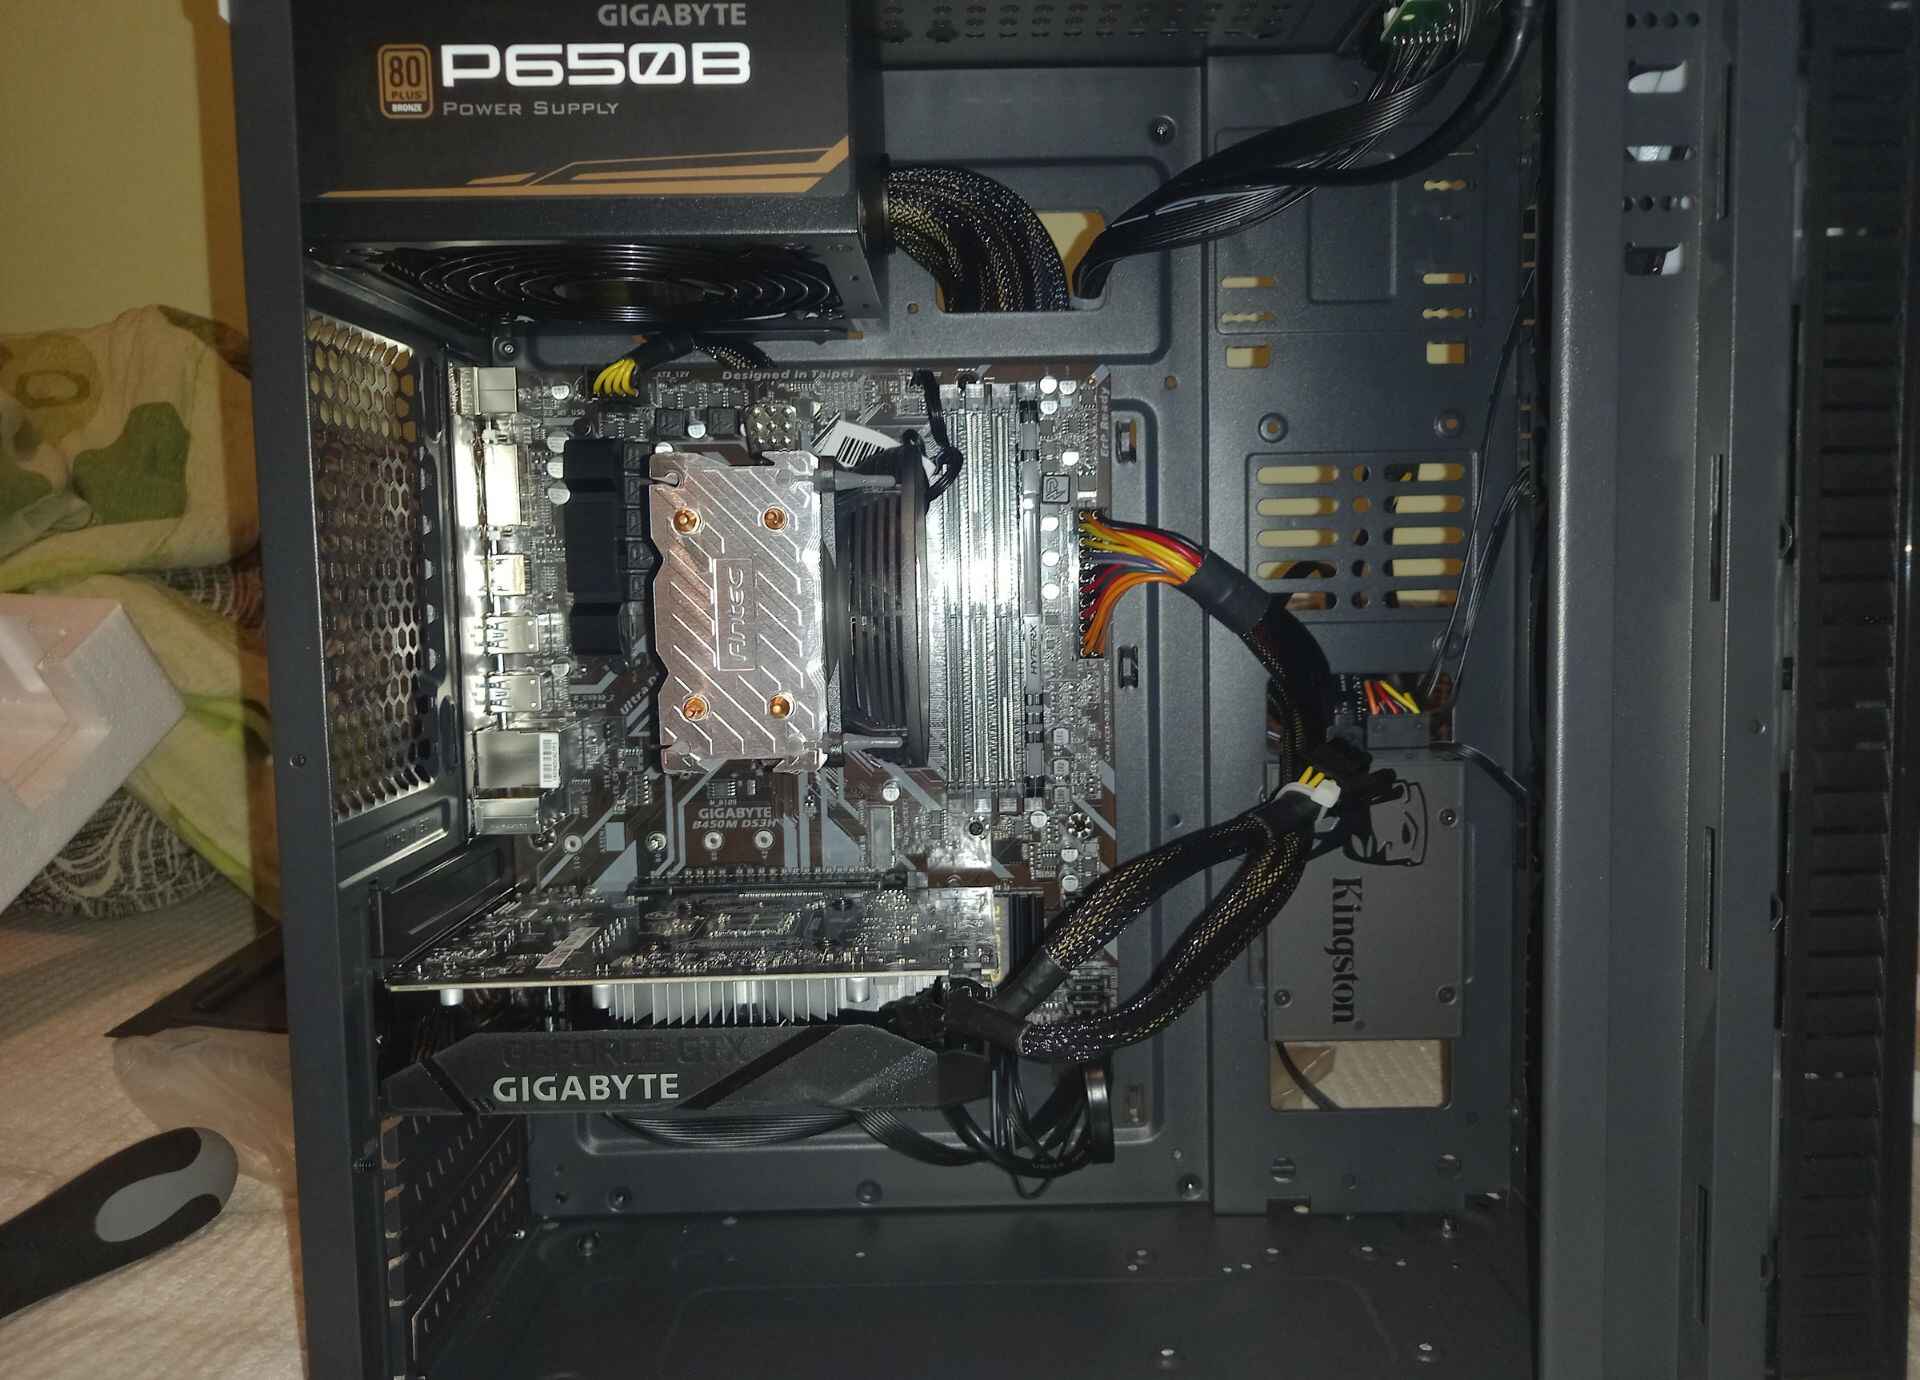
When it comes to building your gaming PC, one of the critical components you need to consider is the case. It not only houses all the internal hardware but also plays a crucial role in the overall aesthetics and functionality of your setup. However, you might come across one challenge: finding that your gaming PC case lacks a hard drive slot.
This can be frustrating, as the hard drive is essential for storing all your games, applications, and data. But don’t worry; there are several solutions you can consider to overcome this problem and ensure you have sufficient storage space for your gaming rig.
In this article, we will explore various options that you can explore if your gaming PC case does not have a hard drive slot. Whether you prefer an external storage solution or want to install additional internal components, we have you covered. By the end of this article, you’ll have a better understanding of how to tackle this issue and choose the best solution for your needs.
Understanding the Problem
Before diving into the solutions, let’s first understand the problem at hand. It’s not uncommon to come across gaming PC cases that lack a dedicated hard drive slot. This can happen for various reasons, including design choices, size constraints, or simply outdated case models. Whatever the reason may be, it poses a challenge when it comes to installing a traditional hard drive.
A hard drive slot provides a dedicated space within the case to securely mount and connect the hard drive. Without this slot, you may find yourself looking for alternative ways to add storage to your gaming PC. Fortunately, there are several solutions available that can help you overcome this limitation and expand your storage options.
It’s important to note that the lack of a hard drive slot does not mean you won’t be able to install a hard drive altogether. It simply means you’ll need to explore alternative methods and be creative in finding a suitable solution. Additionally, you’ll also need to consider factors such as available space, compatibility, and ease of installation when evaluating the different options.
Now that we have a better understanding of the problem, let’s explore some of the possible solutions that can help you address the issue of a gaming PC case without a hard drive slot.
Considerations Before Proceeding
Before you proceed with any solution, there are a few important considerations to keep in mind. These factors will help you make an informed decision and choose the best solution for your specific needs:
- Available Space: Take into account the available space inside your gaming PC case. Depending on the size and layout of your case, certain solutions may be more feasible than others.
- Compatibility: Ensure compatibility between the solution you choose and your existing hardware. This includes factors such as the type of connection (e.g., SATA, USB, PCIe), the size and form factor of the drive, and any additional power requirements.
- Performance: Consider the performance implications of the chosen solution. If you require fast read and write speeds, for example, an SSD or PCIe expansion card might be a better choice than an external hard drive.
- Installation Difficulty: Evaluate the ease of installation for each solution. Some options may require more technical know-how or additional tools, while others may be more straightforward and user-friendly.
- Budget: Take your budget into consideration. Different solutions come at different price points, so it’s important to find the balance between functionality and cost.
By considering these factors, you’ll be able to make a more informed decision and select the solution that best fits your requirements. Now, let’s explore some of the possible solutions to address the lack of a hard drive slot in your gaming PC case.
External Hard Drive
One of the easiest and most versatile solutions to overcome the lack of a hard drive slot in your gaming PC case is to use an external hard drive. External hard drives are portable storage devices that connect to your PC through USB or Thunderbolt ports.
With an external hard drive, you can expand your storage capacity without the need to open up your case or make any hardware modifications. Simply connect the external hard drive to an available USB port, and you’re good to go. It’s a plug-and-play solution that offers convenience and flexibility.
When choosing an external hard drive, consider factors such as storage capacity, speed, and reliability. Opt for a drive with enough space to accommodate your games, applications, and files. Additionally, look for a drive with fast transfer speeds (e.g., USB 3.0 or higher) to ensure seamless data access and gameplay.
There are various types of external hard drives available, including traditional spinning hard drives (HDD) and solid-state drives (SSD). HDDs generally offer larger capacities at a lower cost per gigabyte, while SSDs provide faster performance but are typically more expensive.
It’s essential to note that while an external hard drive is a convenient solution, it does come with a few considerations. Firstly, it adds an extra device that requires space on your desk or gaming setup. Secondly, the drive’s performance may be slightly slower compared to an internal hard drive since it relies on the USB connection for data transfer. However, for most gamers, the performance difference is negligible.
Overall, an external hard drive is an excellent solution if you need additional storage capacity for your gaming PC without the hassle of opening up your case. It provides flexibility, portability, and the ability to easily transfer your games and data between different computers. Consider your storage needs and budget when choosing the right external hard drive for your gaming setup.
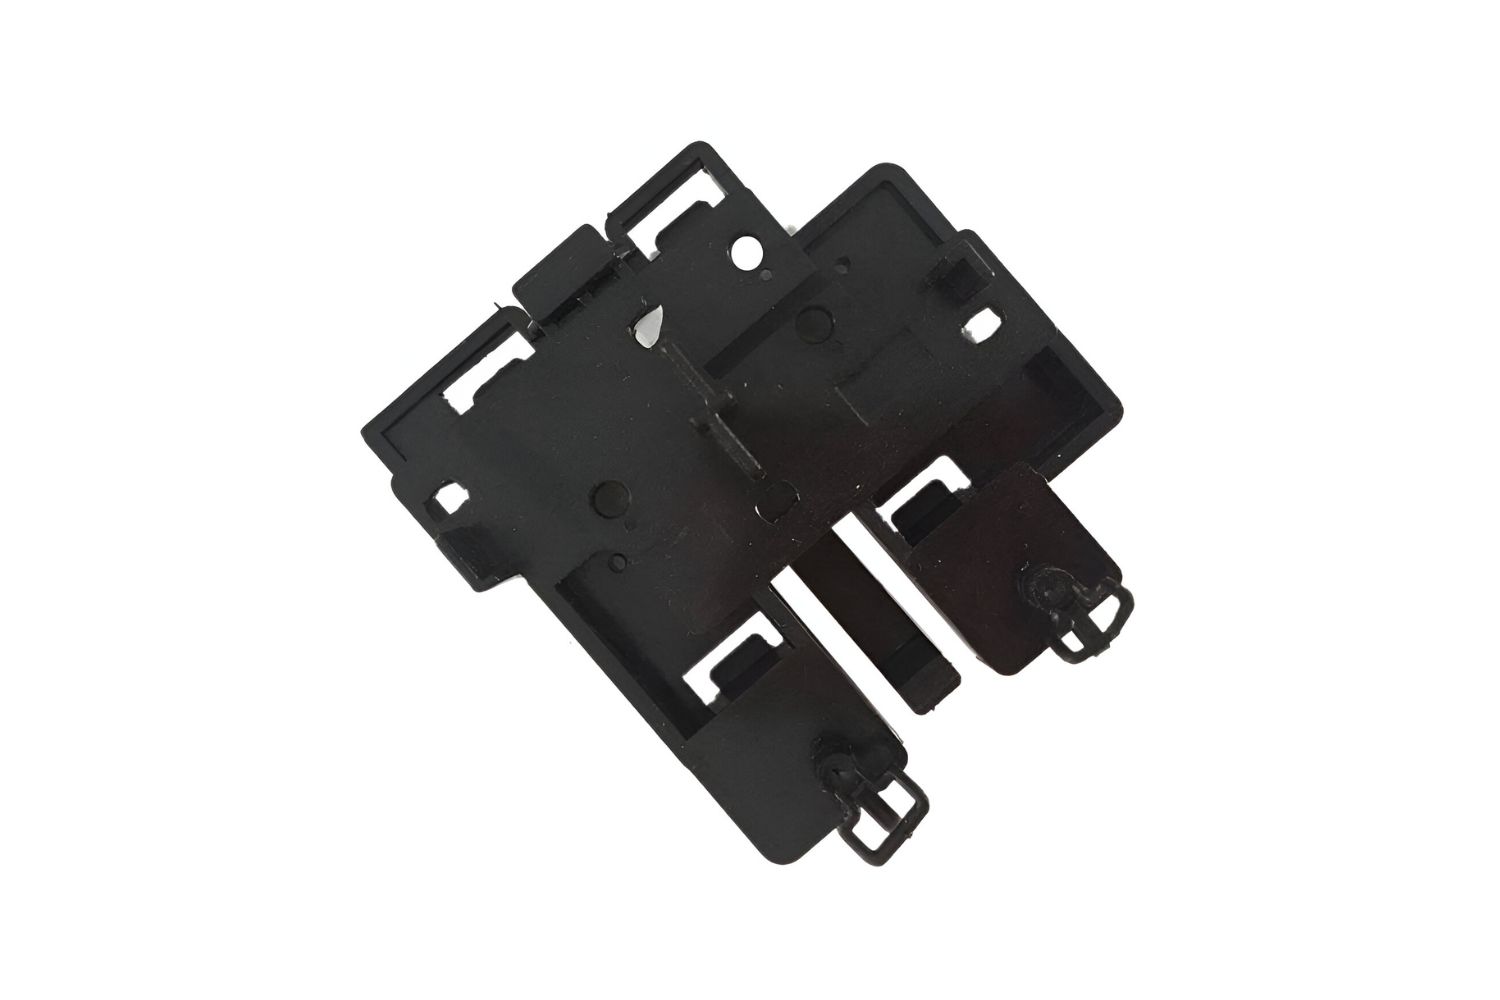
Install an Internal Hard Drive Bay
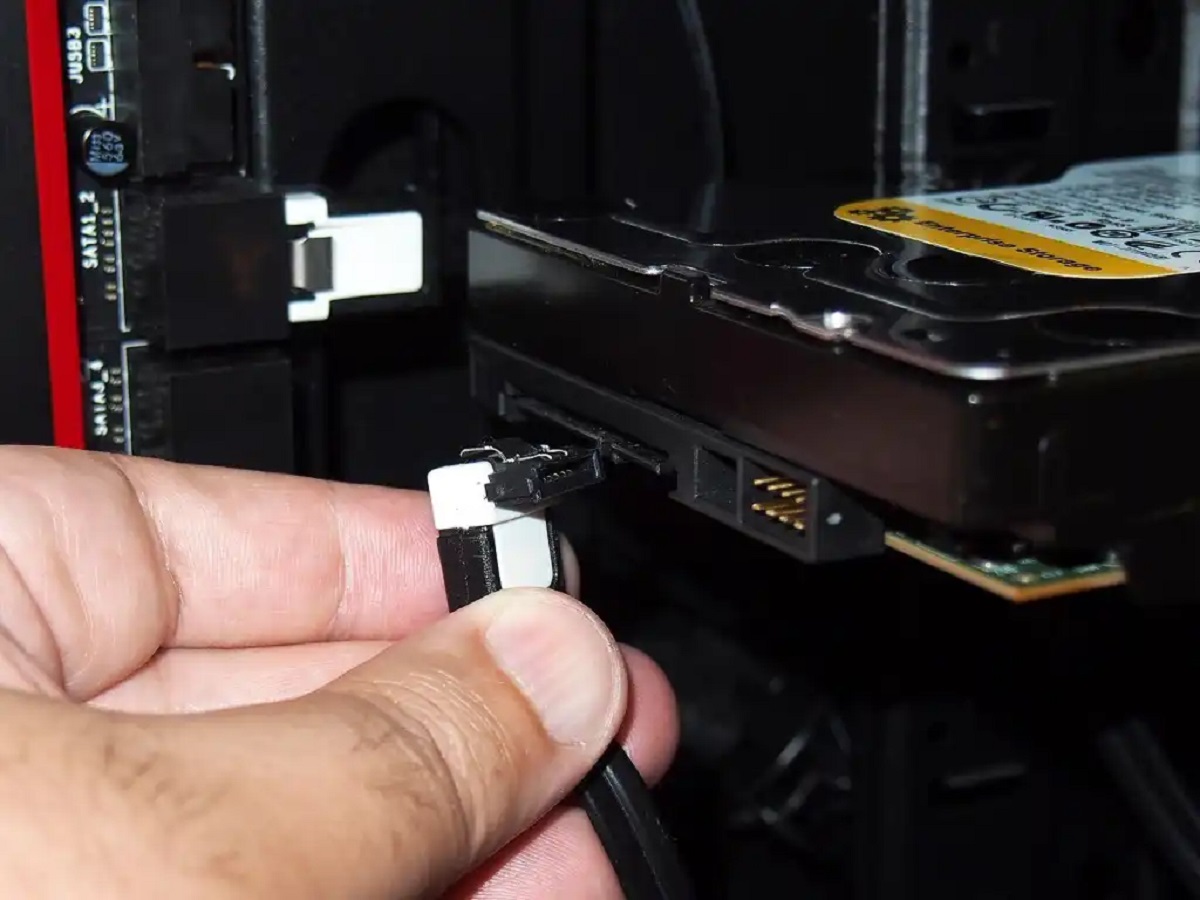
If you’re comfortable with opening up your gaming PC case and making hardware modifications, installing an internal hard drive bay can be a permanent and straightforward solution to the lack of a hard drive slot. By adding an internal hard drive bay, you can securely mount a traditional hard drive and ensure easy connectivity.
Before proceeding with installing an internal hard drive bay, ensure that your case has enough space to accommodate it. Measure the available space inside the case and check the dimensions of the hard drive bay you plan to install. Additionally, make sure your power supply unit (PSU) has an available SATA power cable to connect the hard drive.
To install an internal hard drive bay, follow these general steps:
- Choose a suitable hard drive bay or caddy that matches the form factor of your hard drive (e.g., 3.5-inch or 2.5-inch).
- Identify an available mounting location within your gaming PC case. This may involve removing a removable drive cage or utilizing a spare 5.25-inch or 3.5-inch drive bay.
- Securely mount the hard drive bay in the chosen location using screws or any included mounting hardware.
- Connect the data cable (usually a SATA cable) from the internal hard drive bay to an available SATA port on your motherboard.
- Connect the power cable from the PSU to the hard drive to provide it with power.
- Close up your gaming PC case and ensure all connections are secure.
- Power on your PC and check whether the newly installed internal hard drive is detected in your system.
By installing an internal hard drive bay, you can enjoy the benefits of a traditional hard drive with larger storage capacities at a potentially lower cost. This solution provides a more permanent and streamlined storage solution for your gaming needs.
Keep in mind that the specific steps for installing an internal hard drive bay may vary depending on your case and hardware setup. Refer to the instruction manual included with the hard drive bay or consult online resources for case-specific guidance.
If you prefer faster storage options, such as SSDs or M.2 drives, continue reading for alternative solutions that may better suit your needs.
Utilize an SSD or M.2 Drive
If you’re looking for faster storage options and want to maximize performance, utilizing an SSD or M.2 drive can be an excellent solution. These drives offer high-speed data transfer rates, faster boot times, and improved overall system responsiveness.
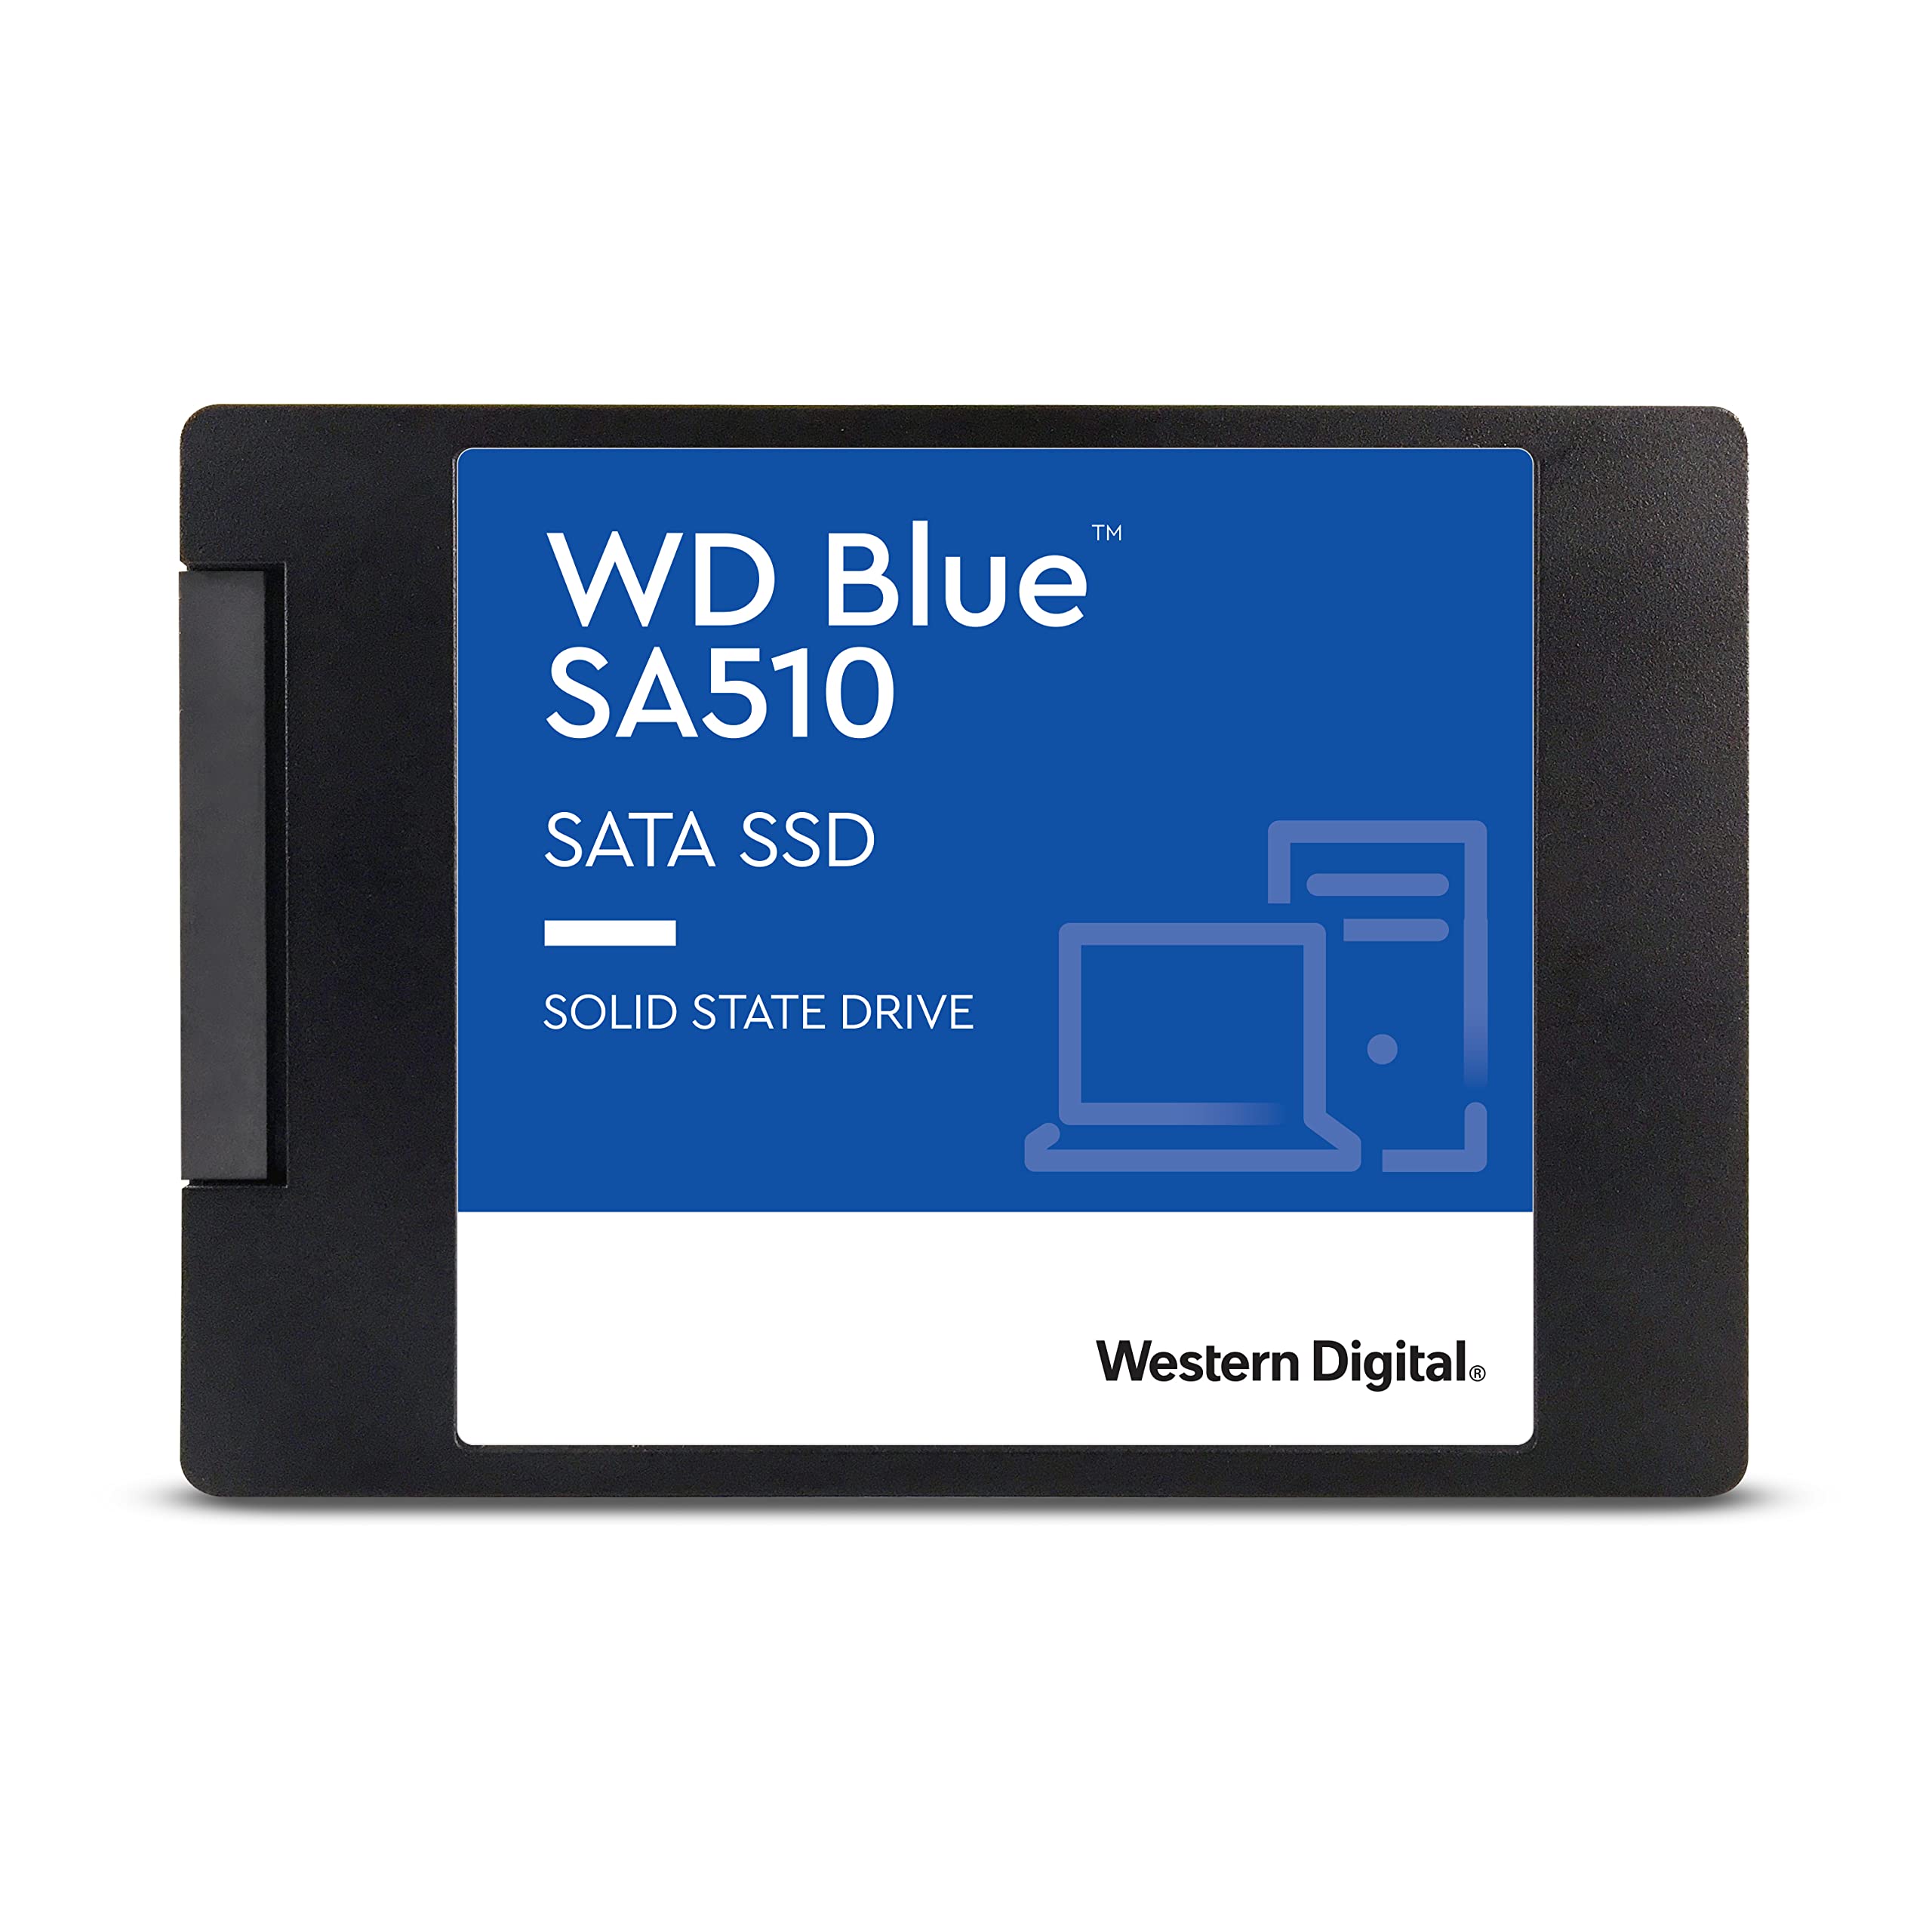
An SSD (Solid State Drive) is a storage device that uses flash memory to store data, providing faster read and write speeds compared to traditional hard drives. They come in various form factors, including 2.5-inch drives that can be installed in an internal hard drive bay or mounted directly on the motherboard using an adapter. Alternatively, some gaming PC cases feature dedicated SSD mounting points.
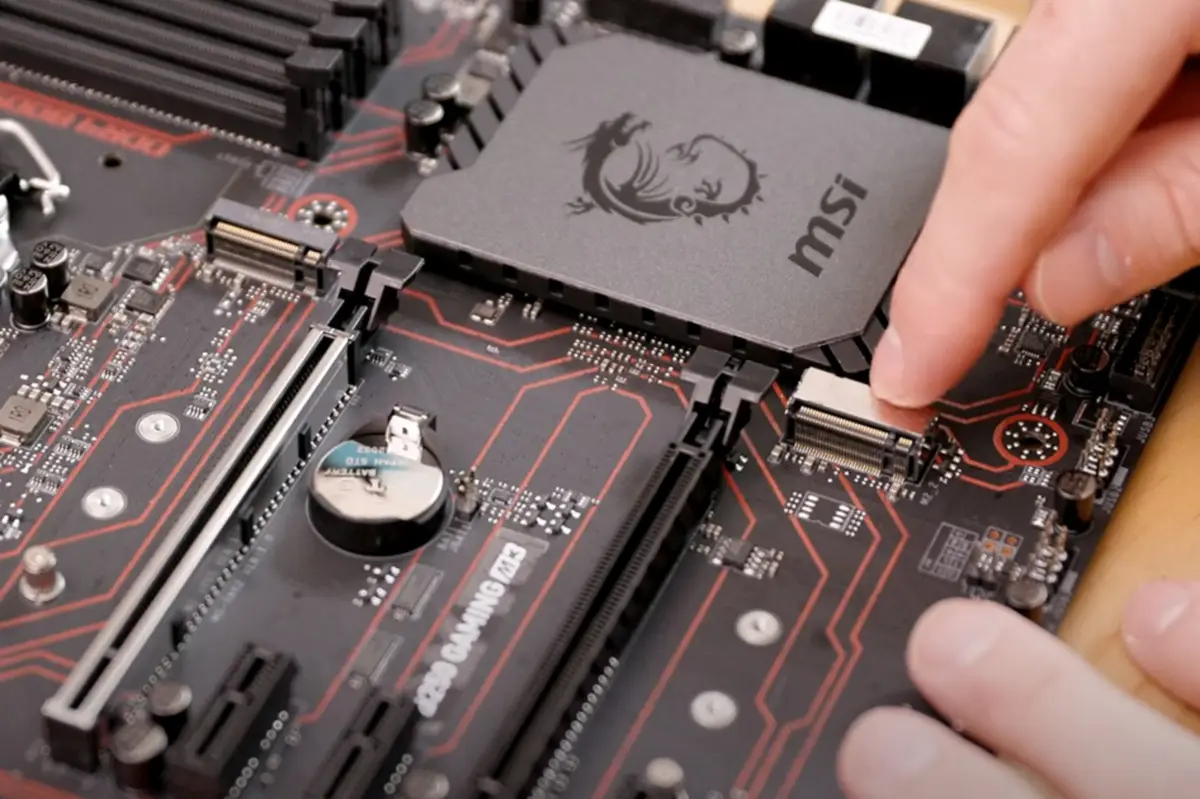
M.2 drives, on the other hand, are a newer form of storage that connect directly to the motherboard via an M.2 slot. These drives are smaller in physical size and often offer faster speeds than traditional SSDs. M.2 drives can be an ideal choice if your motherboard has available M.2 slots and you want to maximize performance and minimize cables within your gaming PC case.
To utilize an SSD or M.2 drive, follow these general steps:
- Choose the appropriate SSD or M.2 drive based on your storage needs and budget.
- For an SSD, mount it securely in an available 2.5-inch drive bay using screws or within a dedicated SSD mounting point in your case.
- For an M.2 drive, locate the M.2 slot on your motherboard and carefully insert the drive into the slot at an angle. Apply gentle pressure until the drive is fully seated, and secure it with the provided screw if necessary.
- Identify an available SATA port on your motherboard for an SSD or check the motherboard specifications for M.2 compatibility.
- Connect the appropriate SATA data cable (for an SSD) or ensure that the M.2 drive is correctly seated in the M.2 slot.
- If using an SSD, connect a SATA power cable from your PSU to provide power to the drive. For an M.2 drive, power is typically provided directly through the motherboard.
- Double-check all connections, close up your gaming PC case, and power on your PC.
By utilizing an SSD or M.2 drive, you’ll experience faster load times, smoother gameplay, and improved overall system performance. These drives offer the advantage of high-speed data transfer rates and can significantly enhance your gaming experience.
Remember to consult your motherboard’s manual or manufacturer’s website to ensure compatibility and for specific installation instructions related to SSDs and M.2 drives.
Utilize an Expansion Card
If your gaming PC case lacks a hard drive slot and you’re looking for an alternative internal storage solution, utilizing an expansion card can be a viable option. Expansion cards, such as PCIe SATA or NVMe adapters, allow you to add extra storage capabilities to your system without replacing your motherboard or making any significant hardware modifications.
A PCIe SATA expansion card provides additional SATA ports that can be used to connect and power traditional hard drives or SSDs. This solution is suitable if you have available PCIe slots on your motherboard and want to expand your storage capacity with ease. Simply insert the expansion card into an available PCIe slot, connect the necessary cables, and you can start using the additional storage.
If you prefer faster storage options, consider utilizing a PCIe NVMe adapter for M.2 drives. This expansion card allows you to install an M.2 drive directly onto the card, providing high-speed data transfer rates and maximizing performance. By utilizing a PCIe NVMe adapter, you can take advantage of the benefits of fast M.2 drives even if your motherboard does not have available M.2 slots.
When choosing an expansion card, ensure compatibility with your motherboard and check for any specific hardware requirements. Some expansion cards may require additional power connections from your power supply unit (PSU), so make sure you have the necessary cables available.
To utilize an expansion card, follow these general steps:
- Select the appropriate expansion card based on your storage needs and the available PCIe slots on your motherboard.
- Insert the expansion card into an available PCIe slot on your motherboard. Make sure it is securely seated and fasten it with any included screws or clips.
- Connect the necessary cables to the expansion card. This may include power cables, SATA data cables, or M.2 drives in the case of NVMe adapters.
- Double-check all connections and ensure the expansion card is securely installed.
- Close up your gaming PC case, power on the PC, and check that the additional storage is recognized in your system.
Utilizing an expansion card provides a convenient and flexible solution to add extra storage capacity to your gaming PC. Whether you choose a PCIe SATA expansion card or a PCIe NVMe adapter for M.2 drives, this solution allows you to expand your storage capabilities without the need for complex hardware modifications.
Refer to the manufacturer’s instructions and your motherboard’s manual for specific installation steps and compatibility requirements regarding expansion cards.
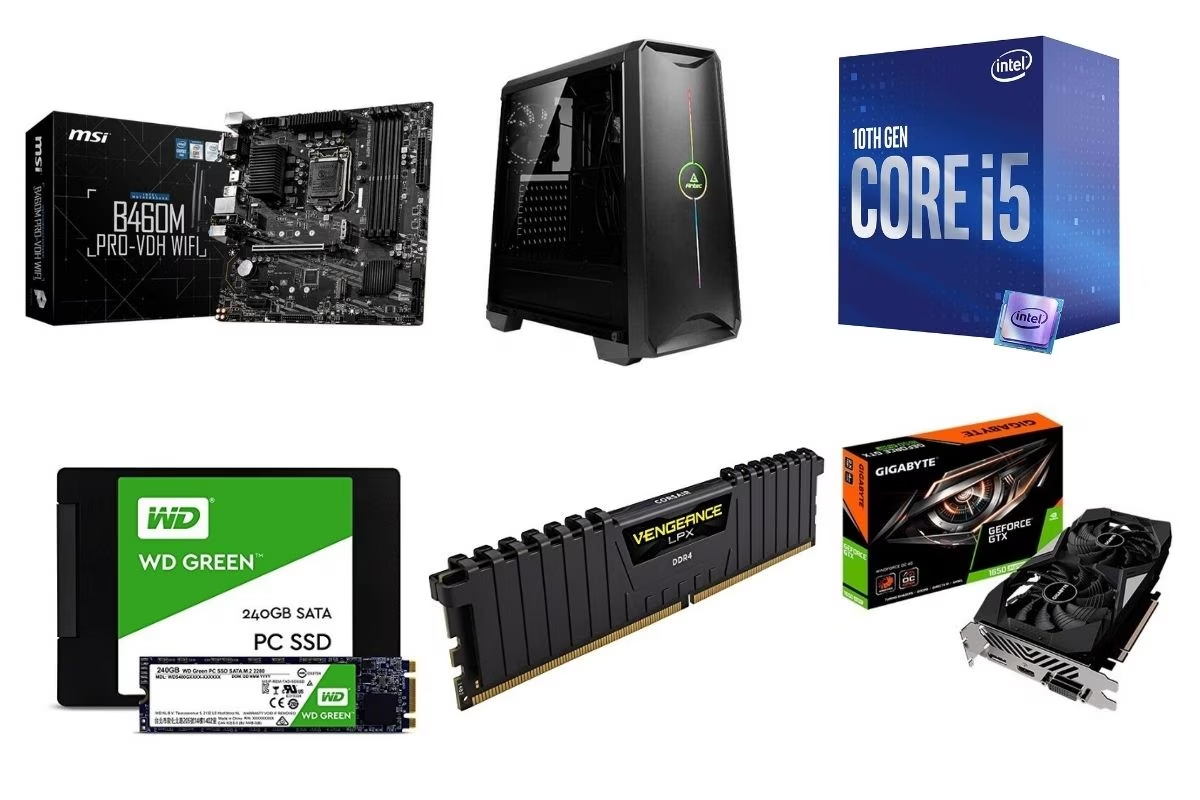
Upgrade the Motherboard
If your gaming PC case does not have a hard drive slot and you’re looking for a more comprehensive solution, upgrading the motherboard is worth considering. Upgrading the motherboard allows you to choose a model that includes the necessary hard drive slots and supports the latest technologies for improved performance and future expansion.
When deciding to upgrade the motherboard, there are a few key factors to consider:
- Form Factor: Determine the form factor that fits your case and meets your needs (e.g., ATX, Micro-ATX, Mini-ITX). Ensure that the new motherboard matches the form factor of your current case to ensure compatibility.
- Hard Drive Slots: Look for a motherboard that includes sufficient hard drive slots for your storage needs. Consider the number of drives you plan to install, whether you prefer SATA or M.2 connections, and any future expansion requirements.
- Connectivity and Features: Identify the desired connectivity options, such as USB ports, audio jacks, and networking capabilities, to ensure they align with your requirements.
- Processor Socket Compatibility: Check that the new motherboard is compatible with your existing processor or plan to upgrade both the motherboard and processor together.
- RAM Compatibility: Ensure the new motherboard supports your existing RAM modules or consider upgrading the RAM as well if necessary.
- Budget: Take your budget into account and find a motherboard that offers a good balance between features and price.
Upgrading the motherboard provides the opportunity to not only overcome the lack of a hard drive slot but also improve other aspects of your gaming PC’s performance and functionality. With a new motherboard, you can enjoy the benefits of additional hard drive slots, updated technologies, and enhanced compatibility.
It’s important to note that upgrading the motherboard involves more complex steps and potentially reinstalling your operating system. Ensure that you have the necessary technical knowledge and follow manufacturer instructions for a successful upgrade. Additionally, consider backing up your data before the upgrade process to prevent any data loss.
By upgrading the motherboard, you can future-proof your gaming PC and ensure seamless compatibility with the latest technologies and storage options. Assess your needs, research compatible models, and proceed with the upgrade if it aligns with your goals and budget.
Conclusion
Dealing with a gaming PC case that lacks a hard drive slot can be a frustrating challenge, but there are several solutions available to overcome this limitation. By understanding the available options and considering factors such as space, compatibility, performance, installation difficulty, and budget, you can choose the best solution for your specific needs.
If convenience and simplicity are your priorities, utilizing an external hard drive provides a flexible and plug-and-play solution for expanding your storage capacity. On the other hand, installing an internal hard drive bay offers a more permanent and streamlined storage solution, albeit requiring some hardware modifications.
For those seeking faster storage options, utilizing an SSD or M.2 drive can significantly enhance performance, providing faster load times and improved system responsiveness. Meanwhile, utilizing an expansion card, such as a PCIe SATA or NVMe adapter, allows for additional storage capabilities without the need to replace the entire motherboard.
If you’re considering a more comprehensive approach, upgrading the motherboard provides the opportunity to not only address the lack of a hard drive slot but also improve other aspects of your gaming PC’s performance and functionality.
Ultimately, the solution you choose depends on your specific requirements, preferences, and technical capabilities. By carefully evaluating the available options and considering the factors mentioned, you can confidently overcome the lack of a hard drive slot and ensure sufficient storage space for your gaming needs.
Remember to consult product manuals, online resources, and seek expert advice if needed during the installation or upgrade process. With the right solution in place, you can enjoy a seamless gaming experience without any storage limitations.